Alliance 310RL
System Schematic

Basic Parts List
- 4 - Battle Born GC3 lithium 270 amp hour batteries
- 2 - Victron Multiplus 12/3000/200-120/50 Inverter with Charger - 120V
- Victron 1000 amp SmartShunt
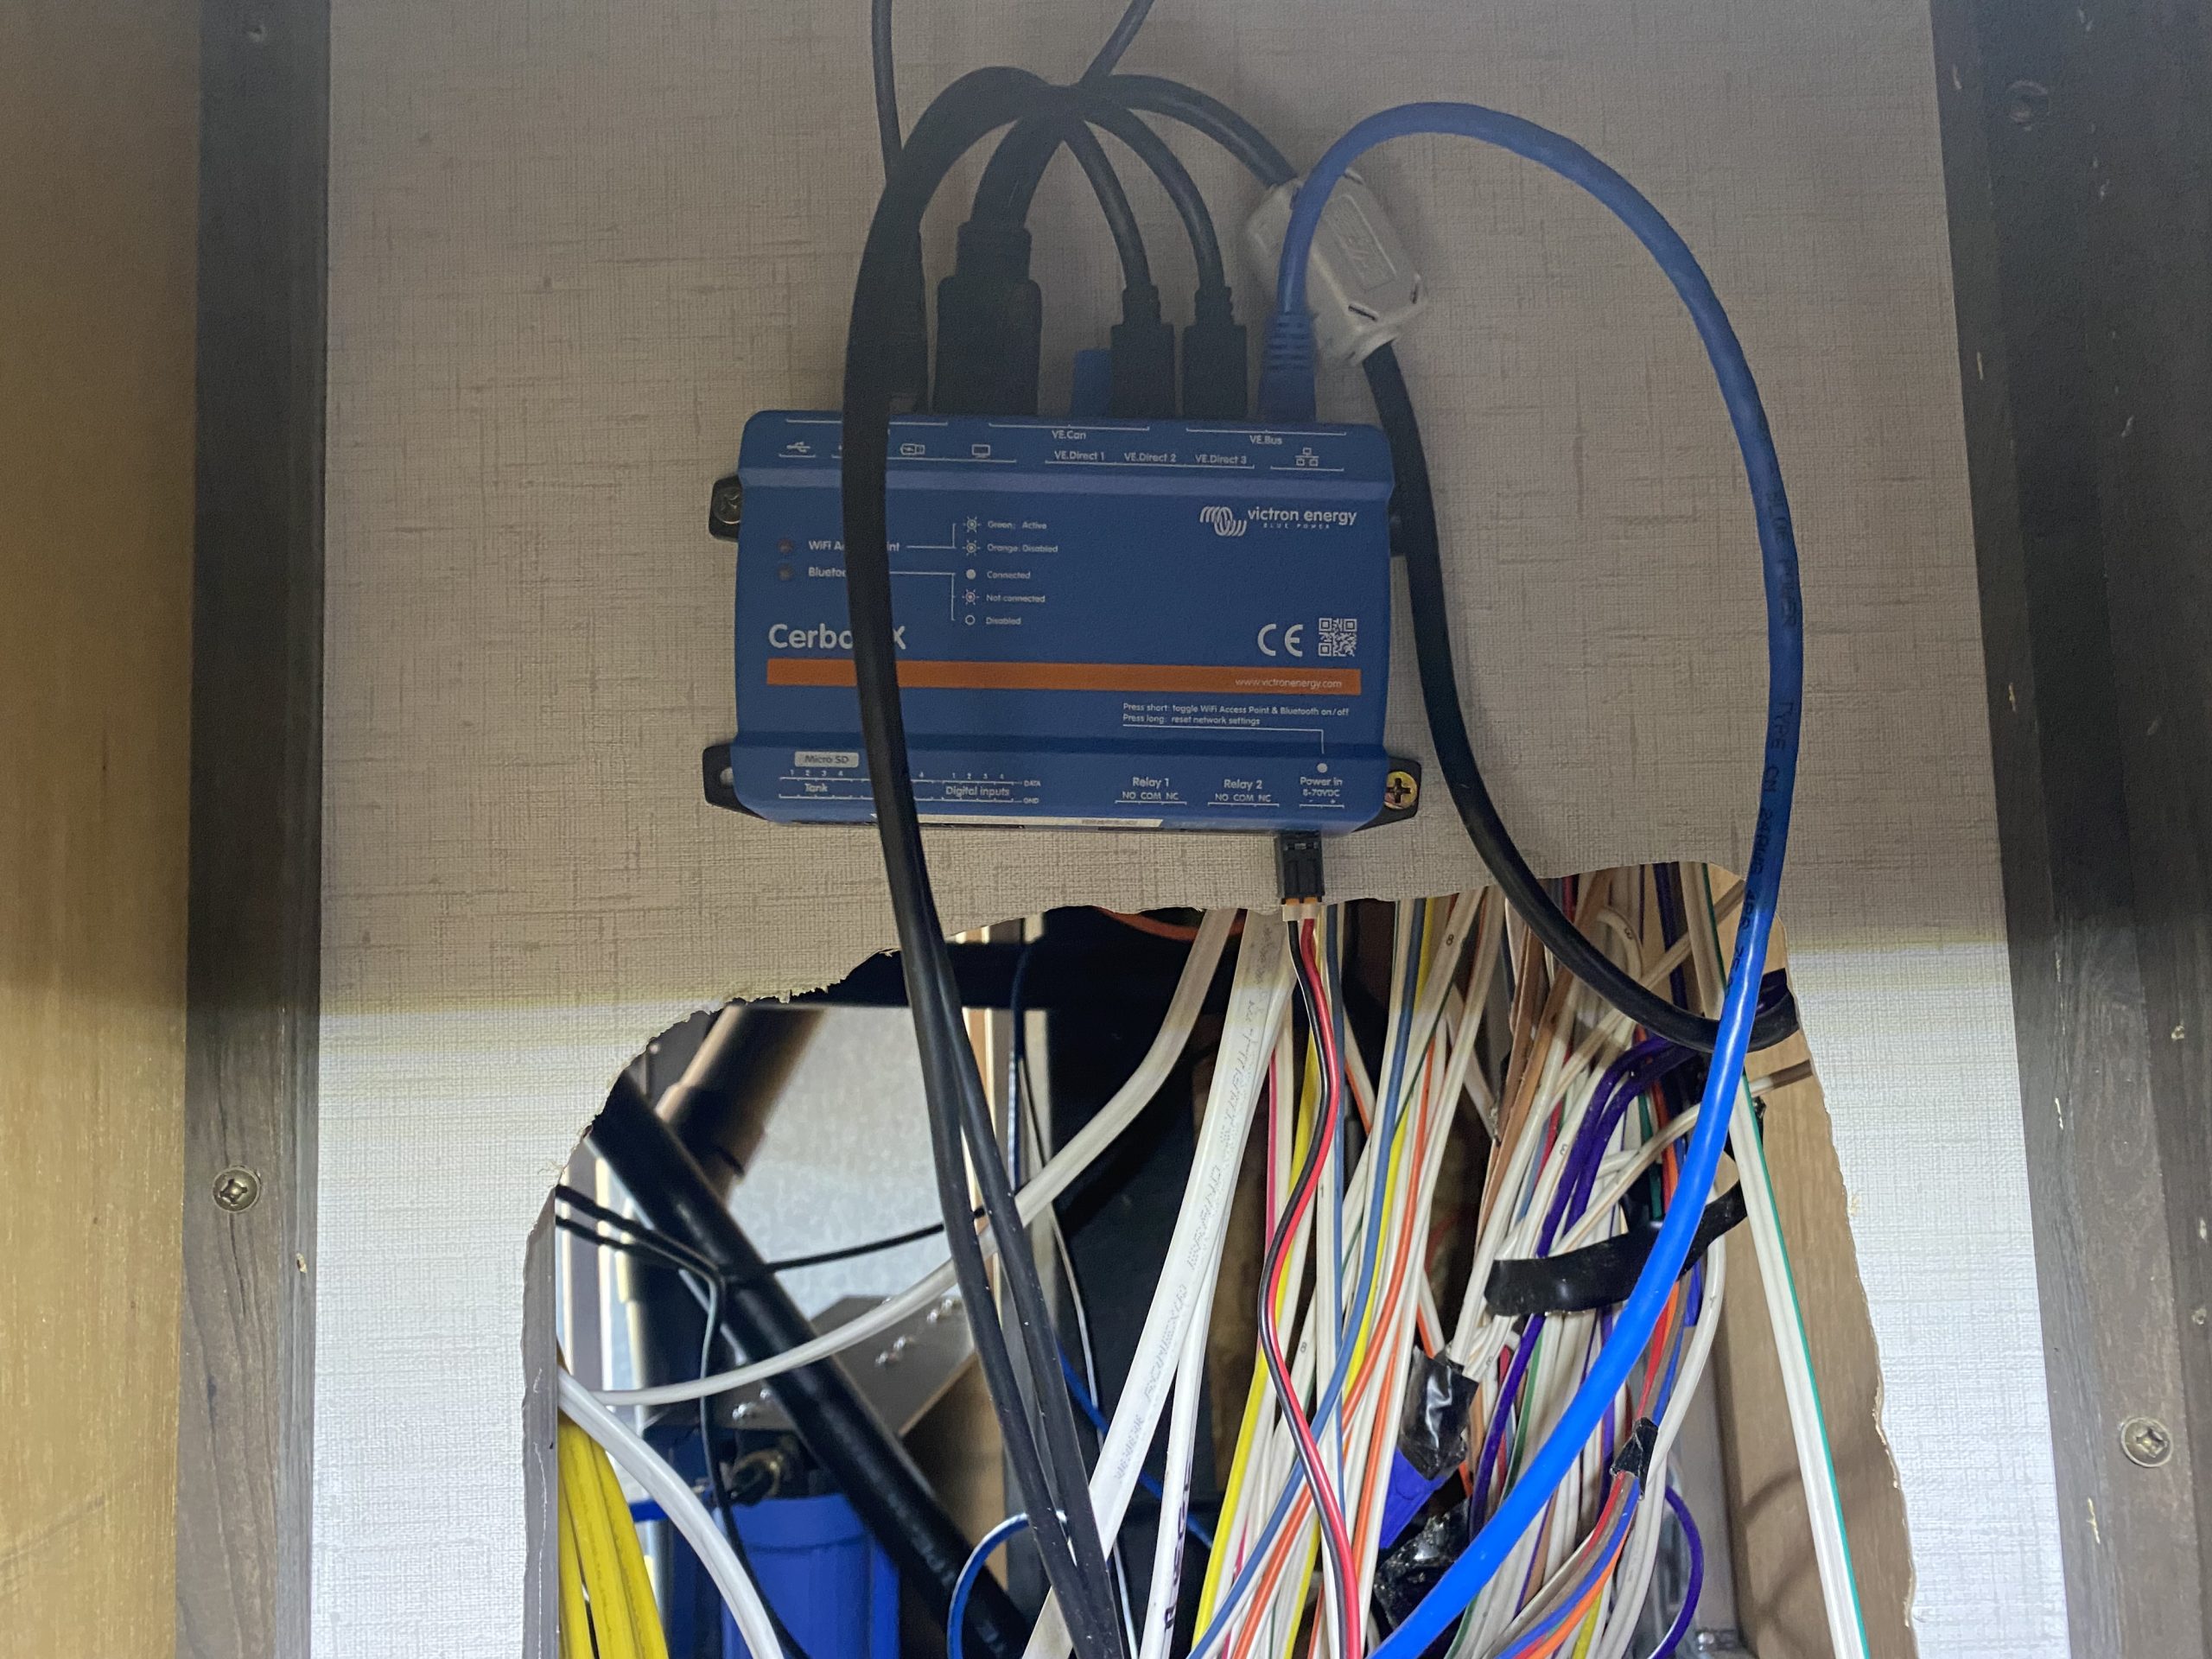
- Victron Cerbo GX Communication Center
- Victron Touch 70 GX with Mount
- Victron SmartSolar MPPT 150/100 Charge Controller with Bluetooth
- Miscellaneous Victron VE.Direct and RJ45 Cables
- Victron Lynx Distributors
- Victron 32 V MEGA-Fuses for 12 Volt and 24 Volt Systems (400, 200 & 125 Amp)
- Victron VE.Bus Smart Dongle
- Blue Sea 3000 Battery Switch HD On/Off
- 2 - 70 amp load centers with 50 amp double pole breakers to divide and then combine power legs going to and from the Multiplus inverters
- Atkinson Electronics GSCM Mini generator control module
- 2 – BEP Pro Installer 3 Stud Bus Bar – 600 amp
- 18 Feet of 6/3 Soow Cord
- 10 Feet of 6/4 Soow Cord
- Midnite Solar Baby Box Enclosure with DIN Rail
- Midnite Solar MNEPV Series 150 V DIN Mount DC Breakers (100 amp & 30 Amp)
- 13 Feet of 2/0 Welding Cable - Red
- 14 Feet of 2/0 Welding Cable - Black
- 15 Feet of 4/0 Welding Cable - Red
- 10 Feet of 4/0 Welding Cable – Black
- 5 Feet of 2 AWG Welding Cable - Red
- 5 Feet of 2 AWG Welding Cable – Black
- 3 Feet of 6 AWG Bare Copper Grounding Wire
- Red and Black Dual Wall Shrink Tubing
- Various 4/0 Tinned Copper Lugs
- Various 2/0 Tinned Copper Lugs
- Various 2 AWG Tinned Copper Lugs
- Various 6 AWG Tinned Copper Lugs
- 8 - Hightec 215 watt solar panels
- 32 - Z-Bracket Solar Panel Mounts
- Newpowa MC4 Male/Female Solar Panel Cable Connectors
- MC4 Y Solar Panel Cable Connectors
- 40 Feet 10 AWG PV cable
- Miscellaneous parts, sealant and connectors
Installation Notes
This installation was completed in March of 2022. I met with the owner in January and we discussed what he wanted and how best to achieve that. I came up with a system design based on our conversations and the customer agreed to it. There was a bit of a hold up to start the installation due to the availability of the solar panels. Once the solar panels arrived, we set an installation date.
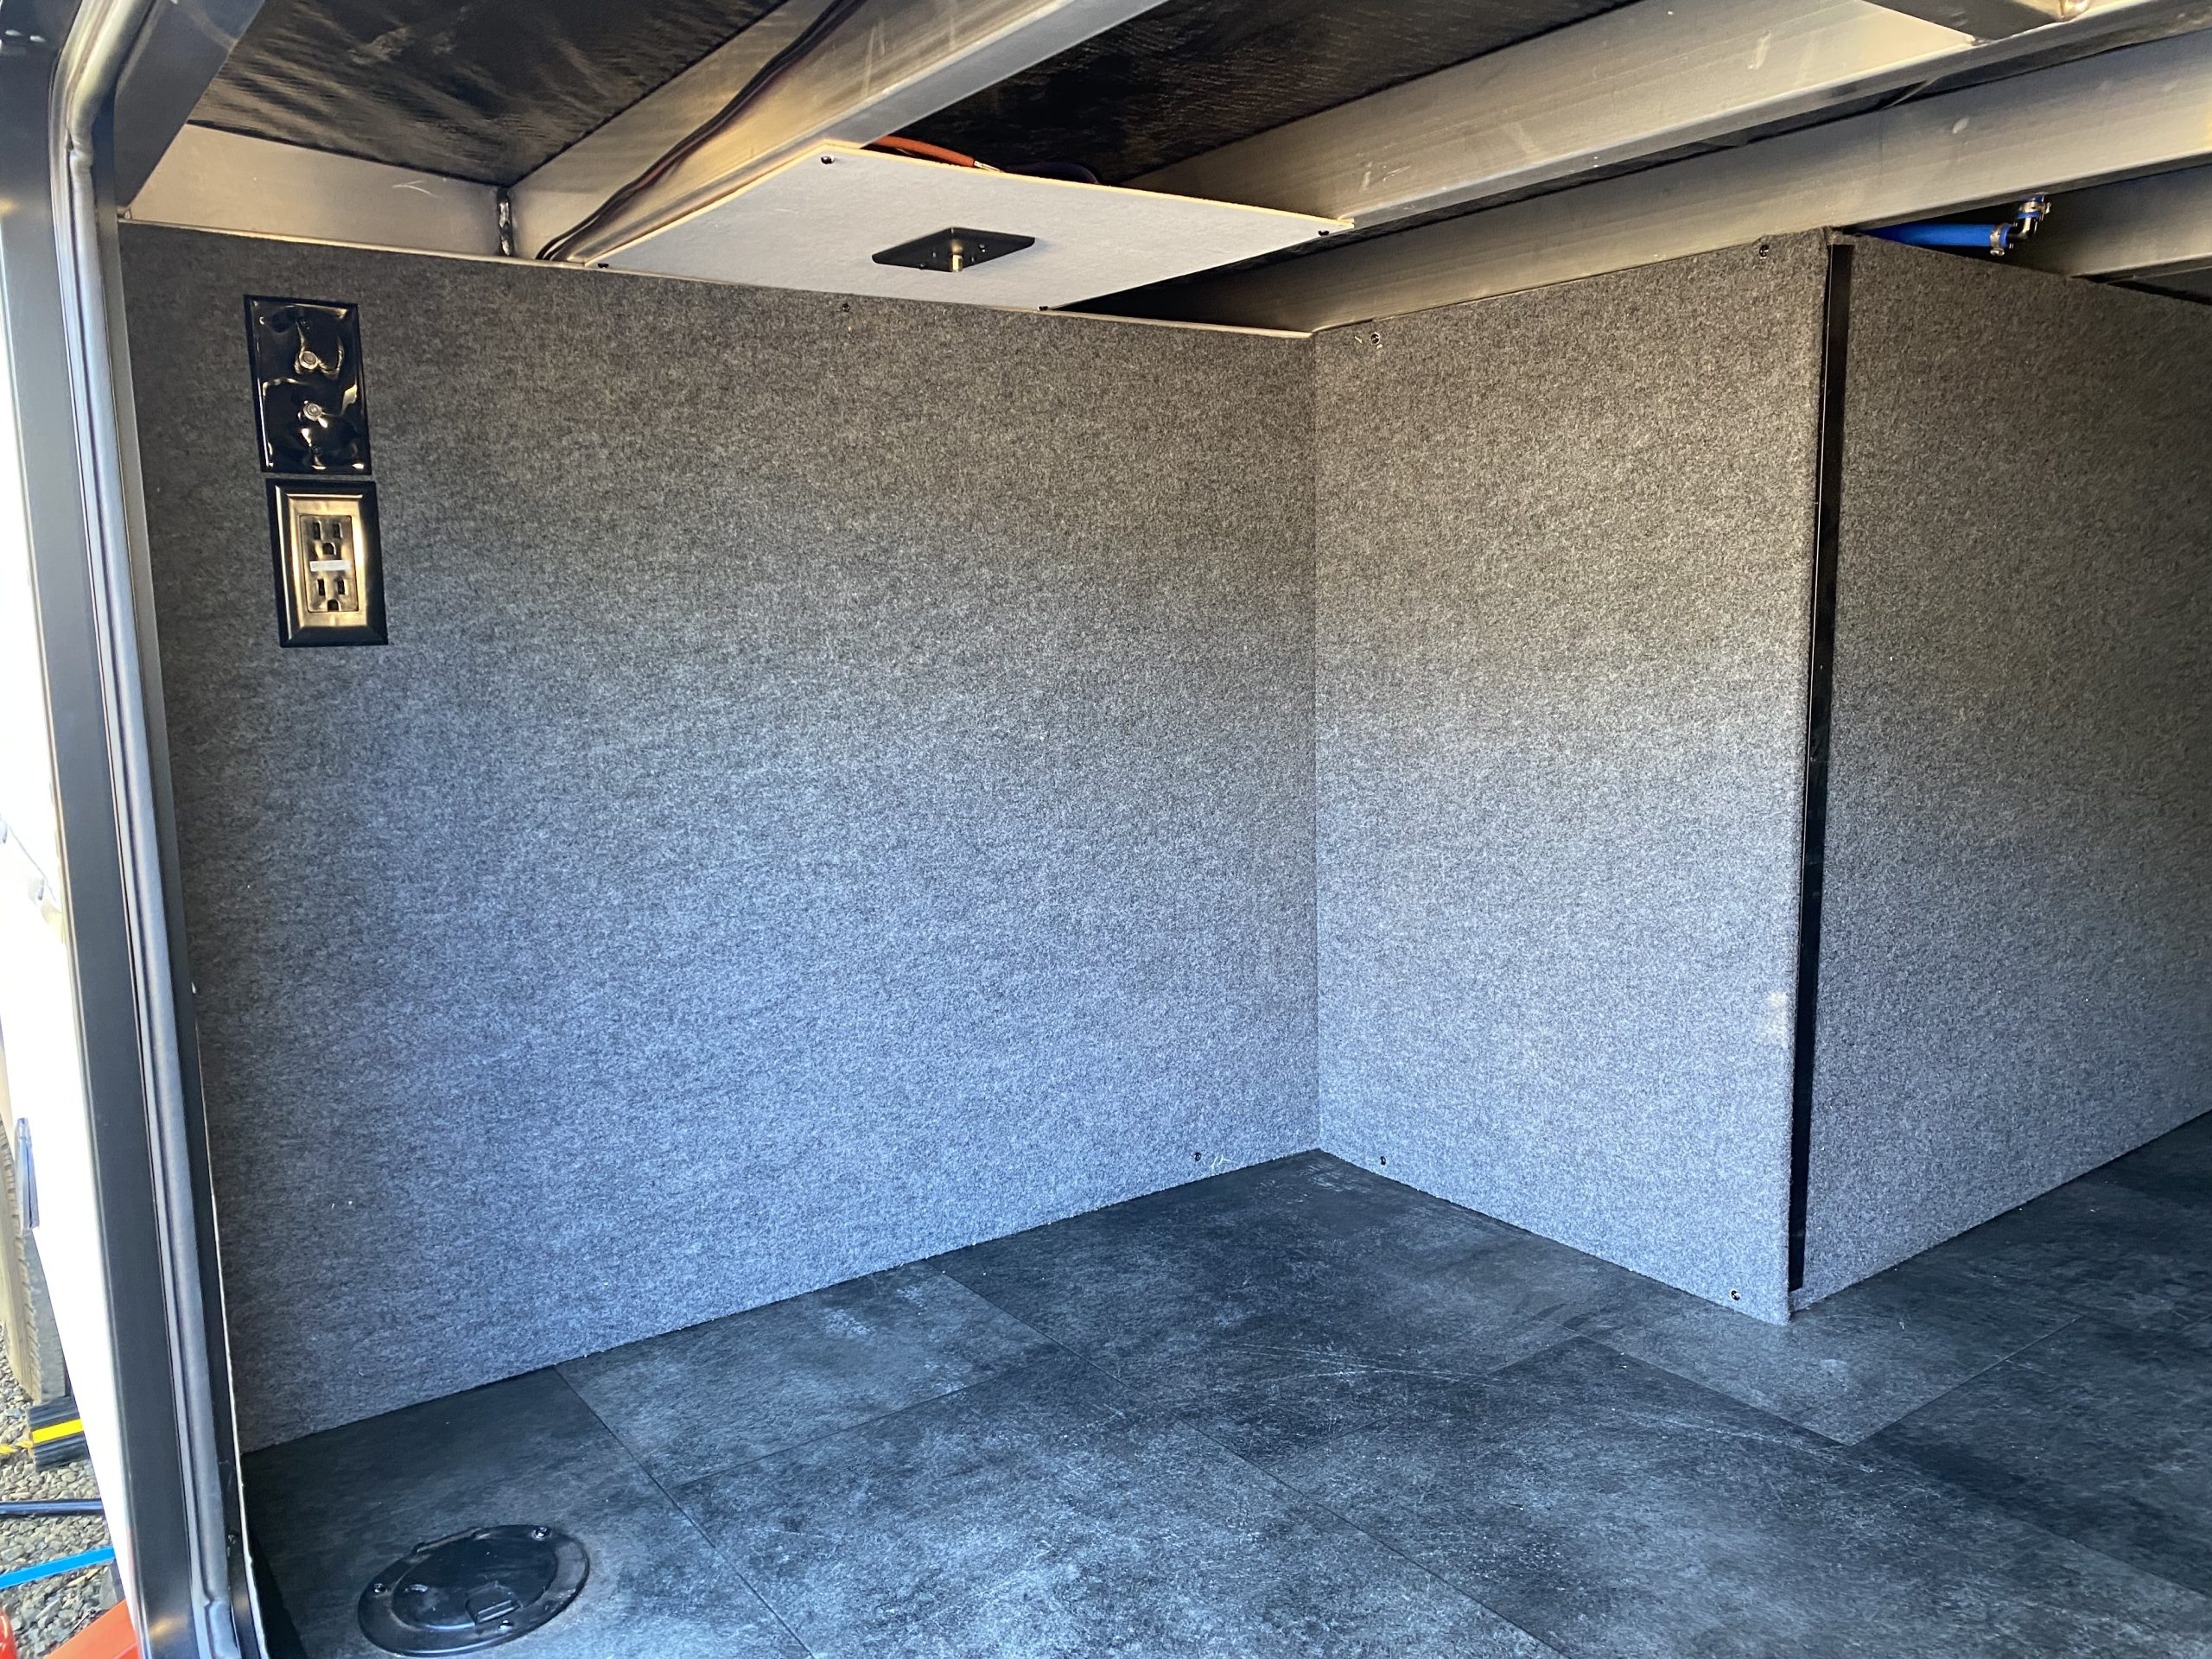
The installation went very well. I installed the relatively new Battle Born GC3 batteries. The GC3 batteries offer a number of installation options. Ultimately, based on the available space in the RV, I mounted the batteries by screwing them directly to the basement floor. The batteries are extremely secure. The floor plan of this particular RV had a small alcove in the basement. The alcove was just big enough to fit the four GC3 batteries on the floor and still leave the main passthrough area open. I mounted the Victron components to the walls of the alcove above the batteries. I reinforced the wall the inverters were mounted to in order to better support their weight. The overall installation was very compact and is easily accessible.
I programmed the inverters to work in split phase. With this programming, the inverters are capable of producing 120/240 volt power. This particular RV has no 240 volt appliances currently, but this programming gives options for adding one in the future (like a 240 volt clothes dryer).
I mounted the solar panels in two series strings of four panels each. I did this to take advantage of the 8 AWG solar wiring installed by the factory. I also took advantage of the existing 2000 watt inverter installed by the factory. This inverter powered the refrigerator and several specific 120 volt outlets in the trailer. I left it in place so that it can still be used for travel to keep the residential refrigerator running without powering the entire RV from the new dual inverter system. It can also act as a backup system in case there is ever an issue with the new system. The OEM inverter is a pass through inverter so it simply passes power through (either shore or large inverter power) when it is available.
The customer had an Onan generator on order, but it was not installed yet. I added a transfer switch (supplied by the customer) in preparation for the generator installation. I also added an Atkinson Electronics GSCM-mini to allow the Cerbo GX to control the generator. I wired the GSCM to the factory installed Onan generator control wires.
I removed the single OEM 12 volt battery and replaced it with bus bars for all the OEM battery connections. I ran new 2/0 wire from the new battery bank to the bus bars to supply the OEM connections with DC power. This freed up some space in the front compartment of the RV for storage to make up for some of the lost space in the basement.