Grand Design Solitude ST345GK
System Schematic

Basic parts list
- 4 - Battle Born 100 Ah 12V LiFePO4 Deep Cycle Battery
- Victron Energy MultiPlus II 12/3000/120 Inverter with Charger
- Victron Energy VE.Bus Smart Dongle with Bluetooth
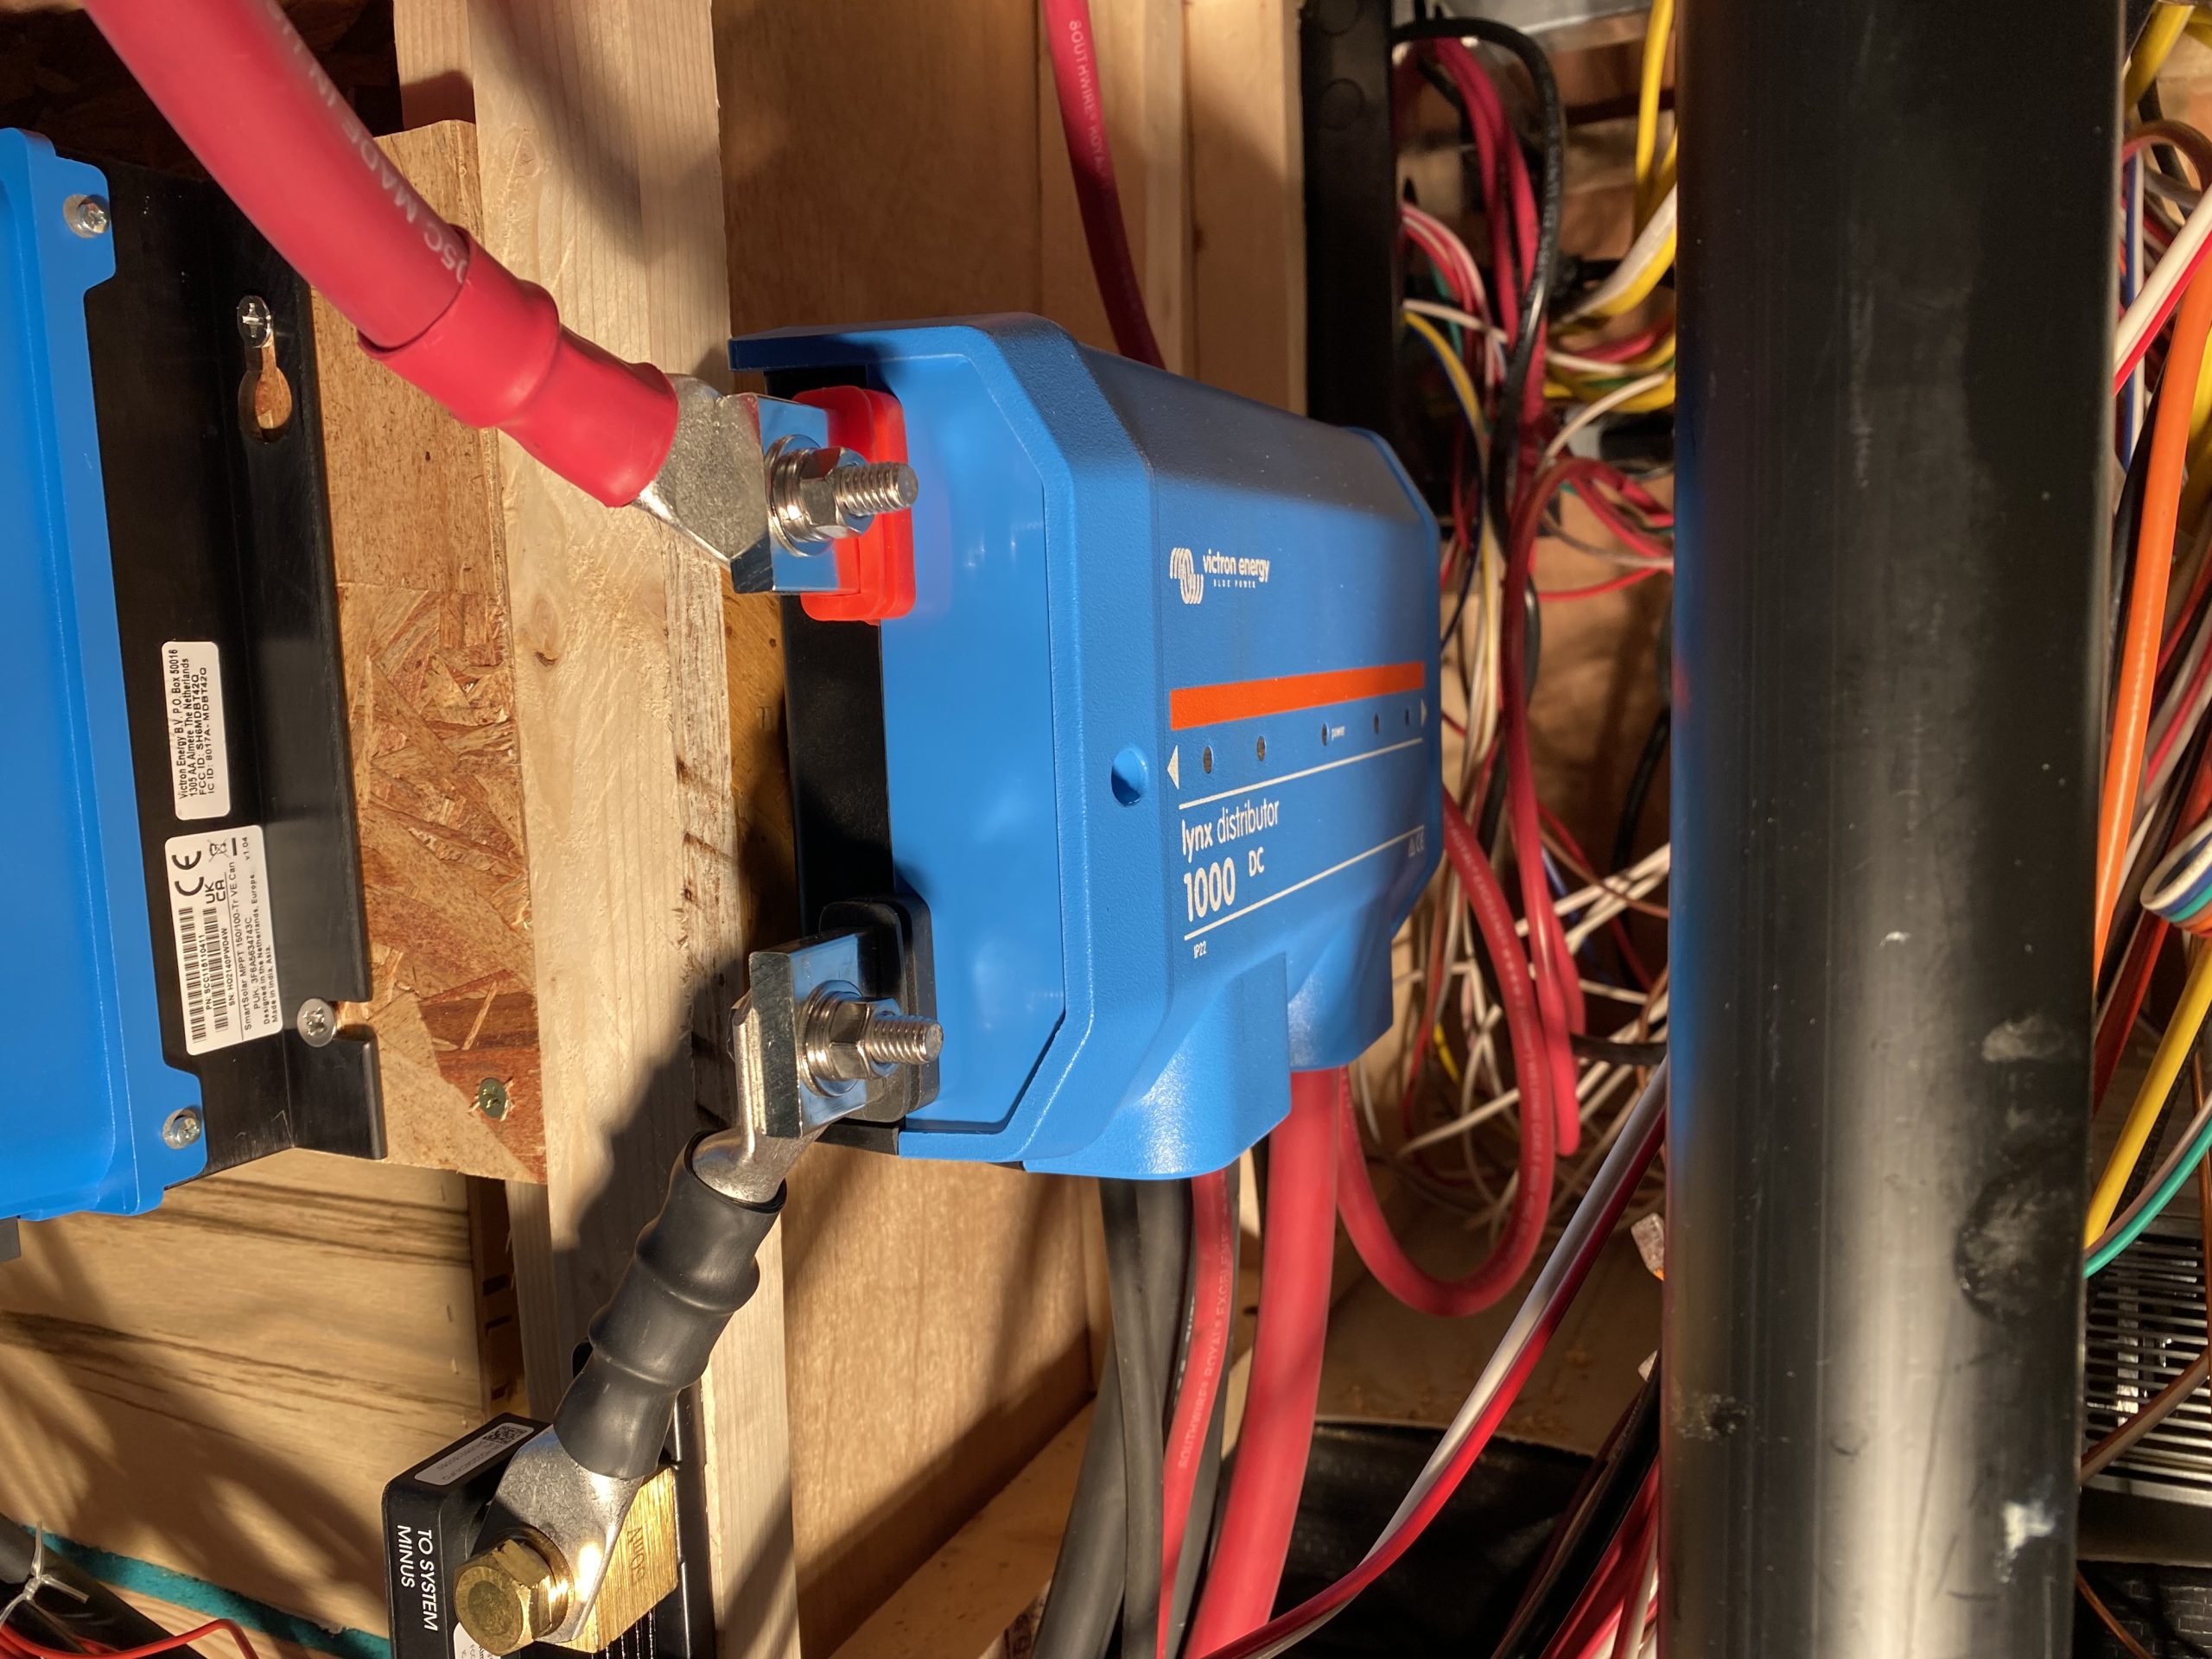
- Victron Energy Lynx Distributor
- Miscellaneous Victron Mega Fuses
- Victron SmartSolar MPPT150/100 Solar Controller
- Victron Energy 500A SmartShunt
- Victron Energy Cerbo GX
- Victron Energy GX Touch 50 Display & Mount
- Miscellaneous Victron Energy RJ45 & VE.Direct Cables
- 2 - Victron 150 Amp Bus Bars
- 2 - Micro Air Easy Starts
- Blue Sea Systems HD-Series Heavy Duty On-Off Battery Switch
- AM Solar Roof Combiner Box with Strain Relief
- Atkinson Electronics GSCM-mini auto generator control module
- 90 Feet of 10AWG PV Cable
- 15 Feet of 4/0 Welding Cable – Red
- 14 Feet of 4/0 Welding Cable – Black
- 9 Feet of 2 AWG Welding Cable – Red
- 3 Feet of 2 AWG Welding Cable – Black
- 30 Feet of 4 AWG Welding Cable – Black
- 2 Feet of 6 AWG Bare Solid Copper Wire
- 4 Feet of Portable Cord Soow 6/4 6 AWG 4 Conductor
- Red and Black Dual Wall Shrink Tubing
- Various 4/0, 2 AWG, 4 AWG and 6 AWG Tinned Copper Lugs
- Miscellaneous parts, sealants, and connectors
- Midnite Solar Baby Box Enclosure with DIN Rail Mounting System
- Midnite Solar MNEPV Series DIN Mount DC Breakers (100 amp & 50 amp)
Installation Notes
This installation was completed in January of 2023. The owner of this 5th wheel contacted me regarding an installation for his rig and we came up with a system design and set an installation date. The installation was pretty straight forward. This basement layout is common on several Grand Design Solitude models and affords a lot of hidden space to install components. I was able to install all the components and batteries behind the basement walls. I was even able to widen the basement by about an inch on the passenger side by moving the rear wall back. Not only did the basement storage grow slightly due to the wall movement, but all the space in the front compartment where the OEM batteries used to be located was gained as storage space.
I originally specified mounting the solar panels in a 2S2P (2 series, 2 parallel) configuration, but due to the roof layout and the resulting separation in panels I changed this plan. Instead, I opted to install the panels in a 1S4P (1 series, 4 parallel) configuration. This will minimize any issues with shading . There is still plenty of room on the roof to allow for an additional 1000 watts of solar if the customer decides to upgrade in the future.
The only issue I ran into with this installation had to do with the on board generator. The 5th wheel had an on board Onan 5500 LP generator. This particular generator was producing slightly “dirty” power (approximately 63 hz instead of the standard 60 Hz). This resulted in the Multiplus II not passing the power from the generator through consistently. I was able to compensate for this dirty power through some settings on the Multiplus II and get everything working as it should. I also combined the two legs of the generator output into a single leg of power output. This is necessary because the Multiplus II will only pass through power on both legs (l1 & L2) if the incoming power is 120/240 volt (180 degrees out of phase). In this case, the Onan generator produced two legs of power, but the legs were in phase. This means when power was measured between the two legs, the resulting voltage was 0 volts instead of 240 volts. When the Multiplus II sees this in phase power on both legs, it ignores the incoming power on L2 and only passes through power on L1. By combining the two legs, all of the generator power was available on L1 and could therefore be passed through the Multiplus II and used in the 5th wheel. The Multiplus II combines L1 & L2 internally so the power can be used on either leg in the 5th wheel.