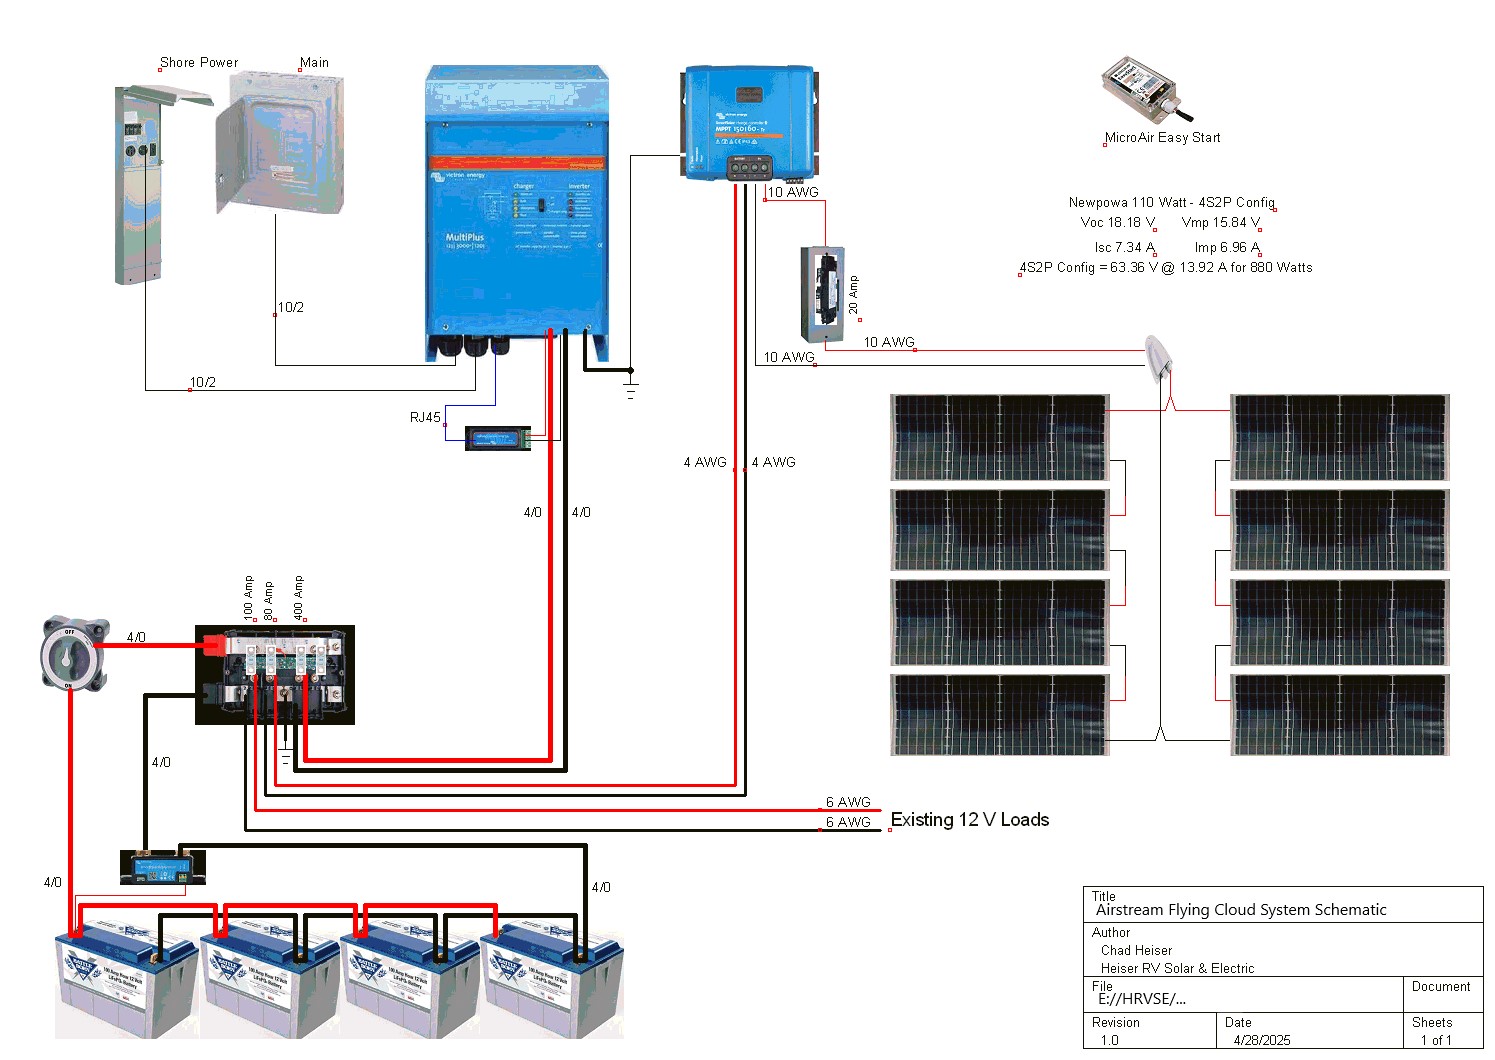
Airstream Flying Cloud
System Schematic
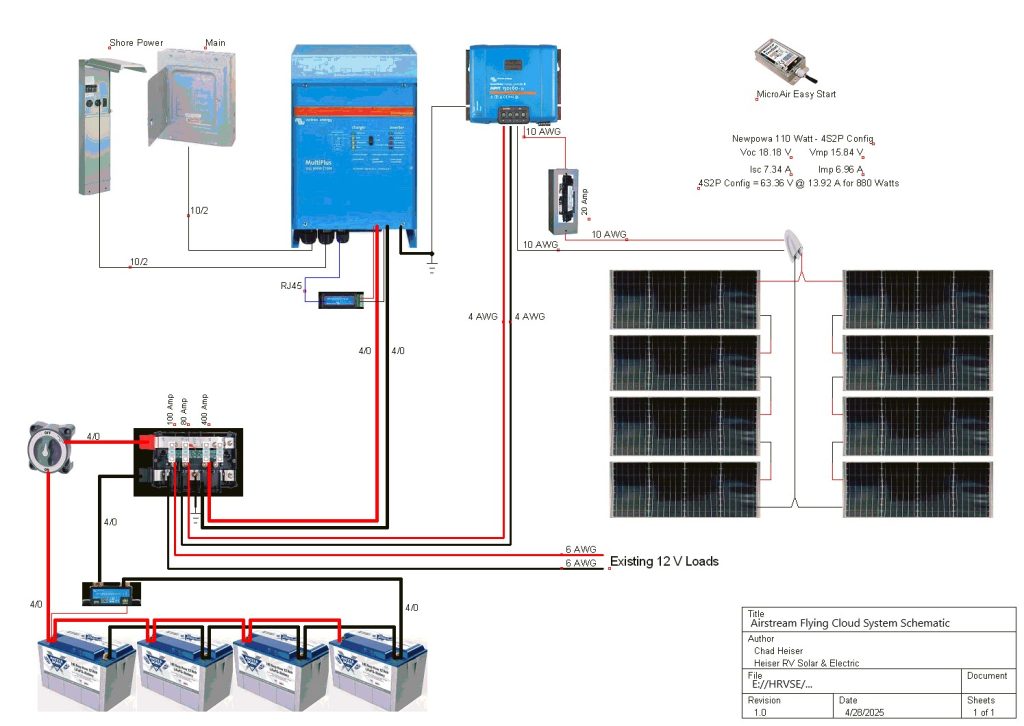
Basic Parts List
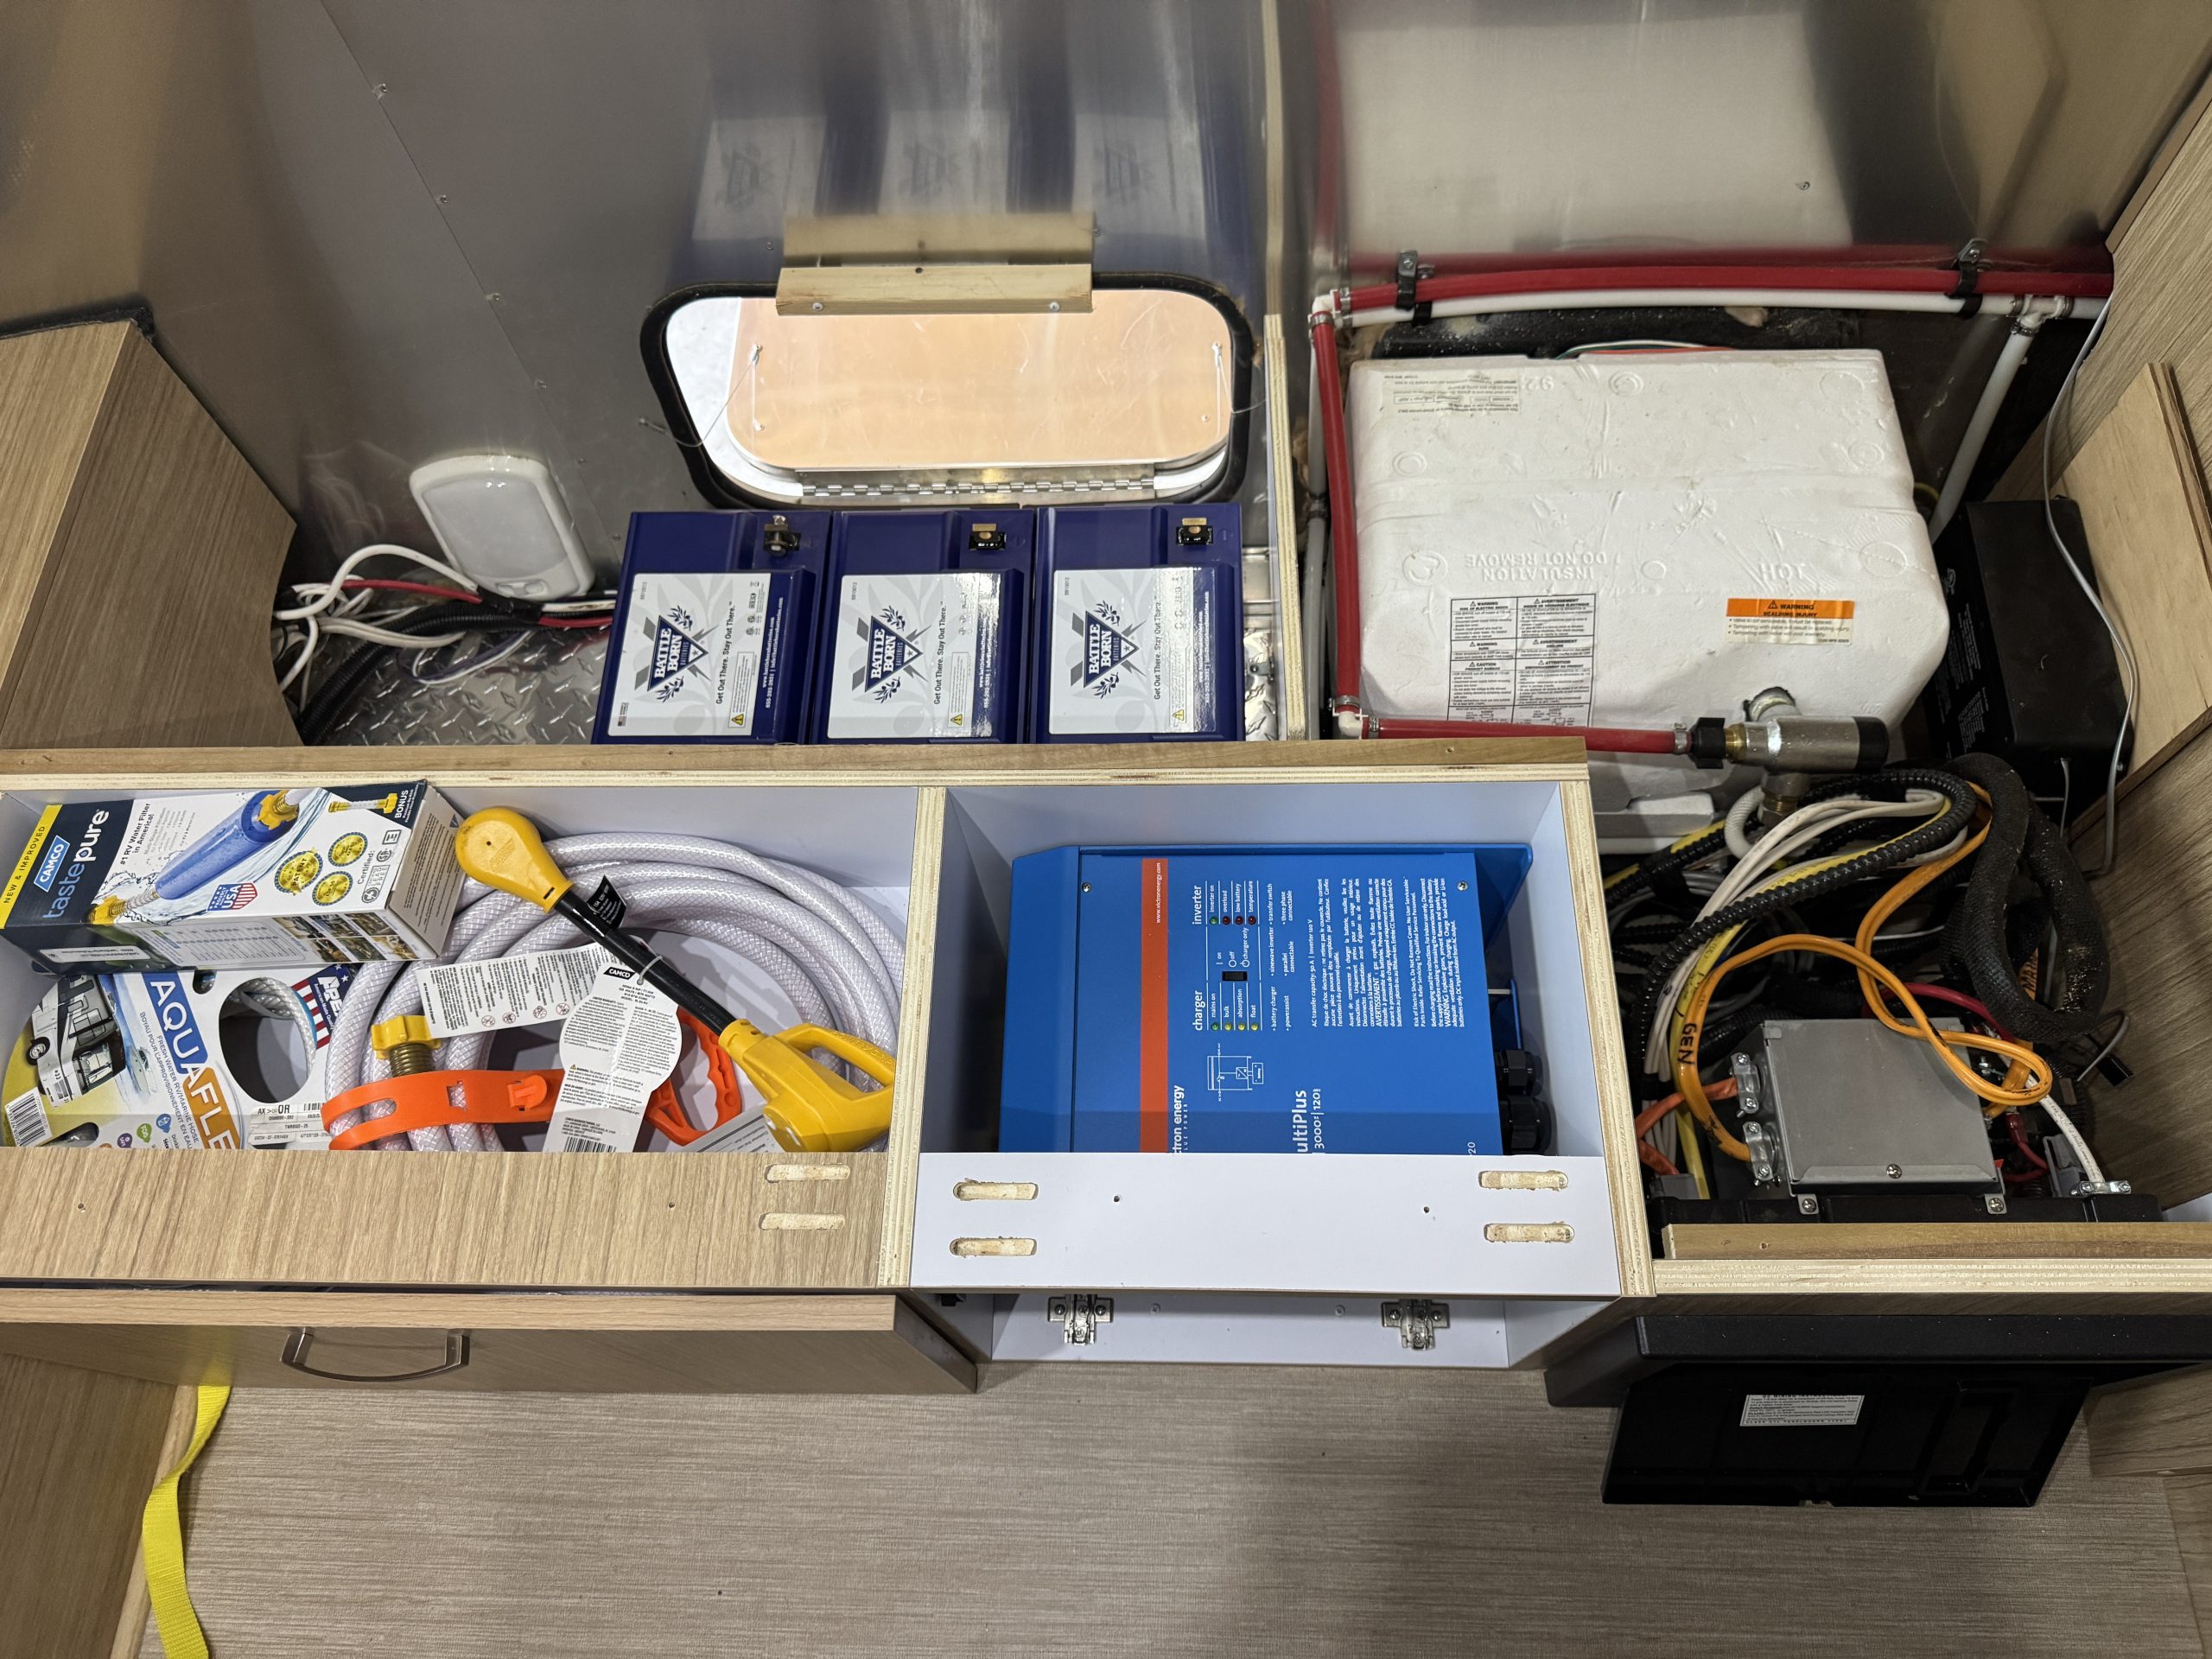
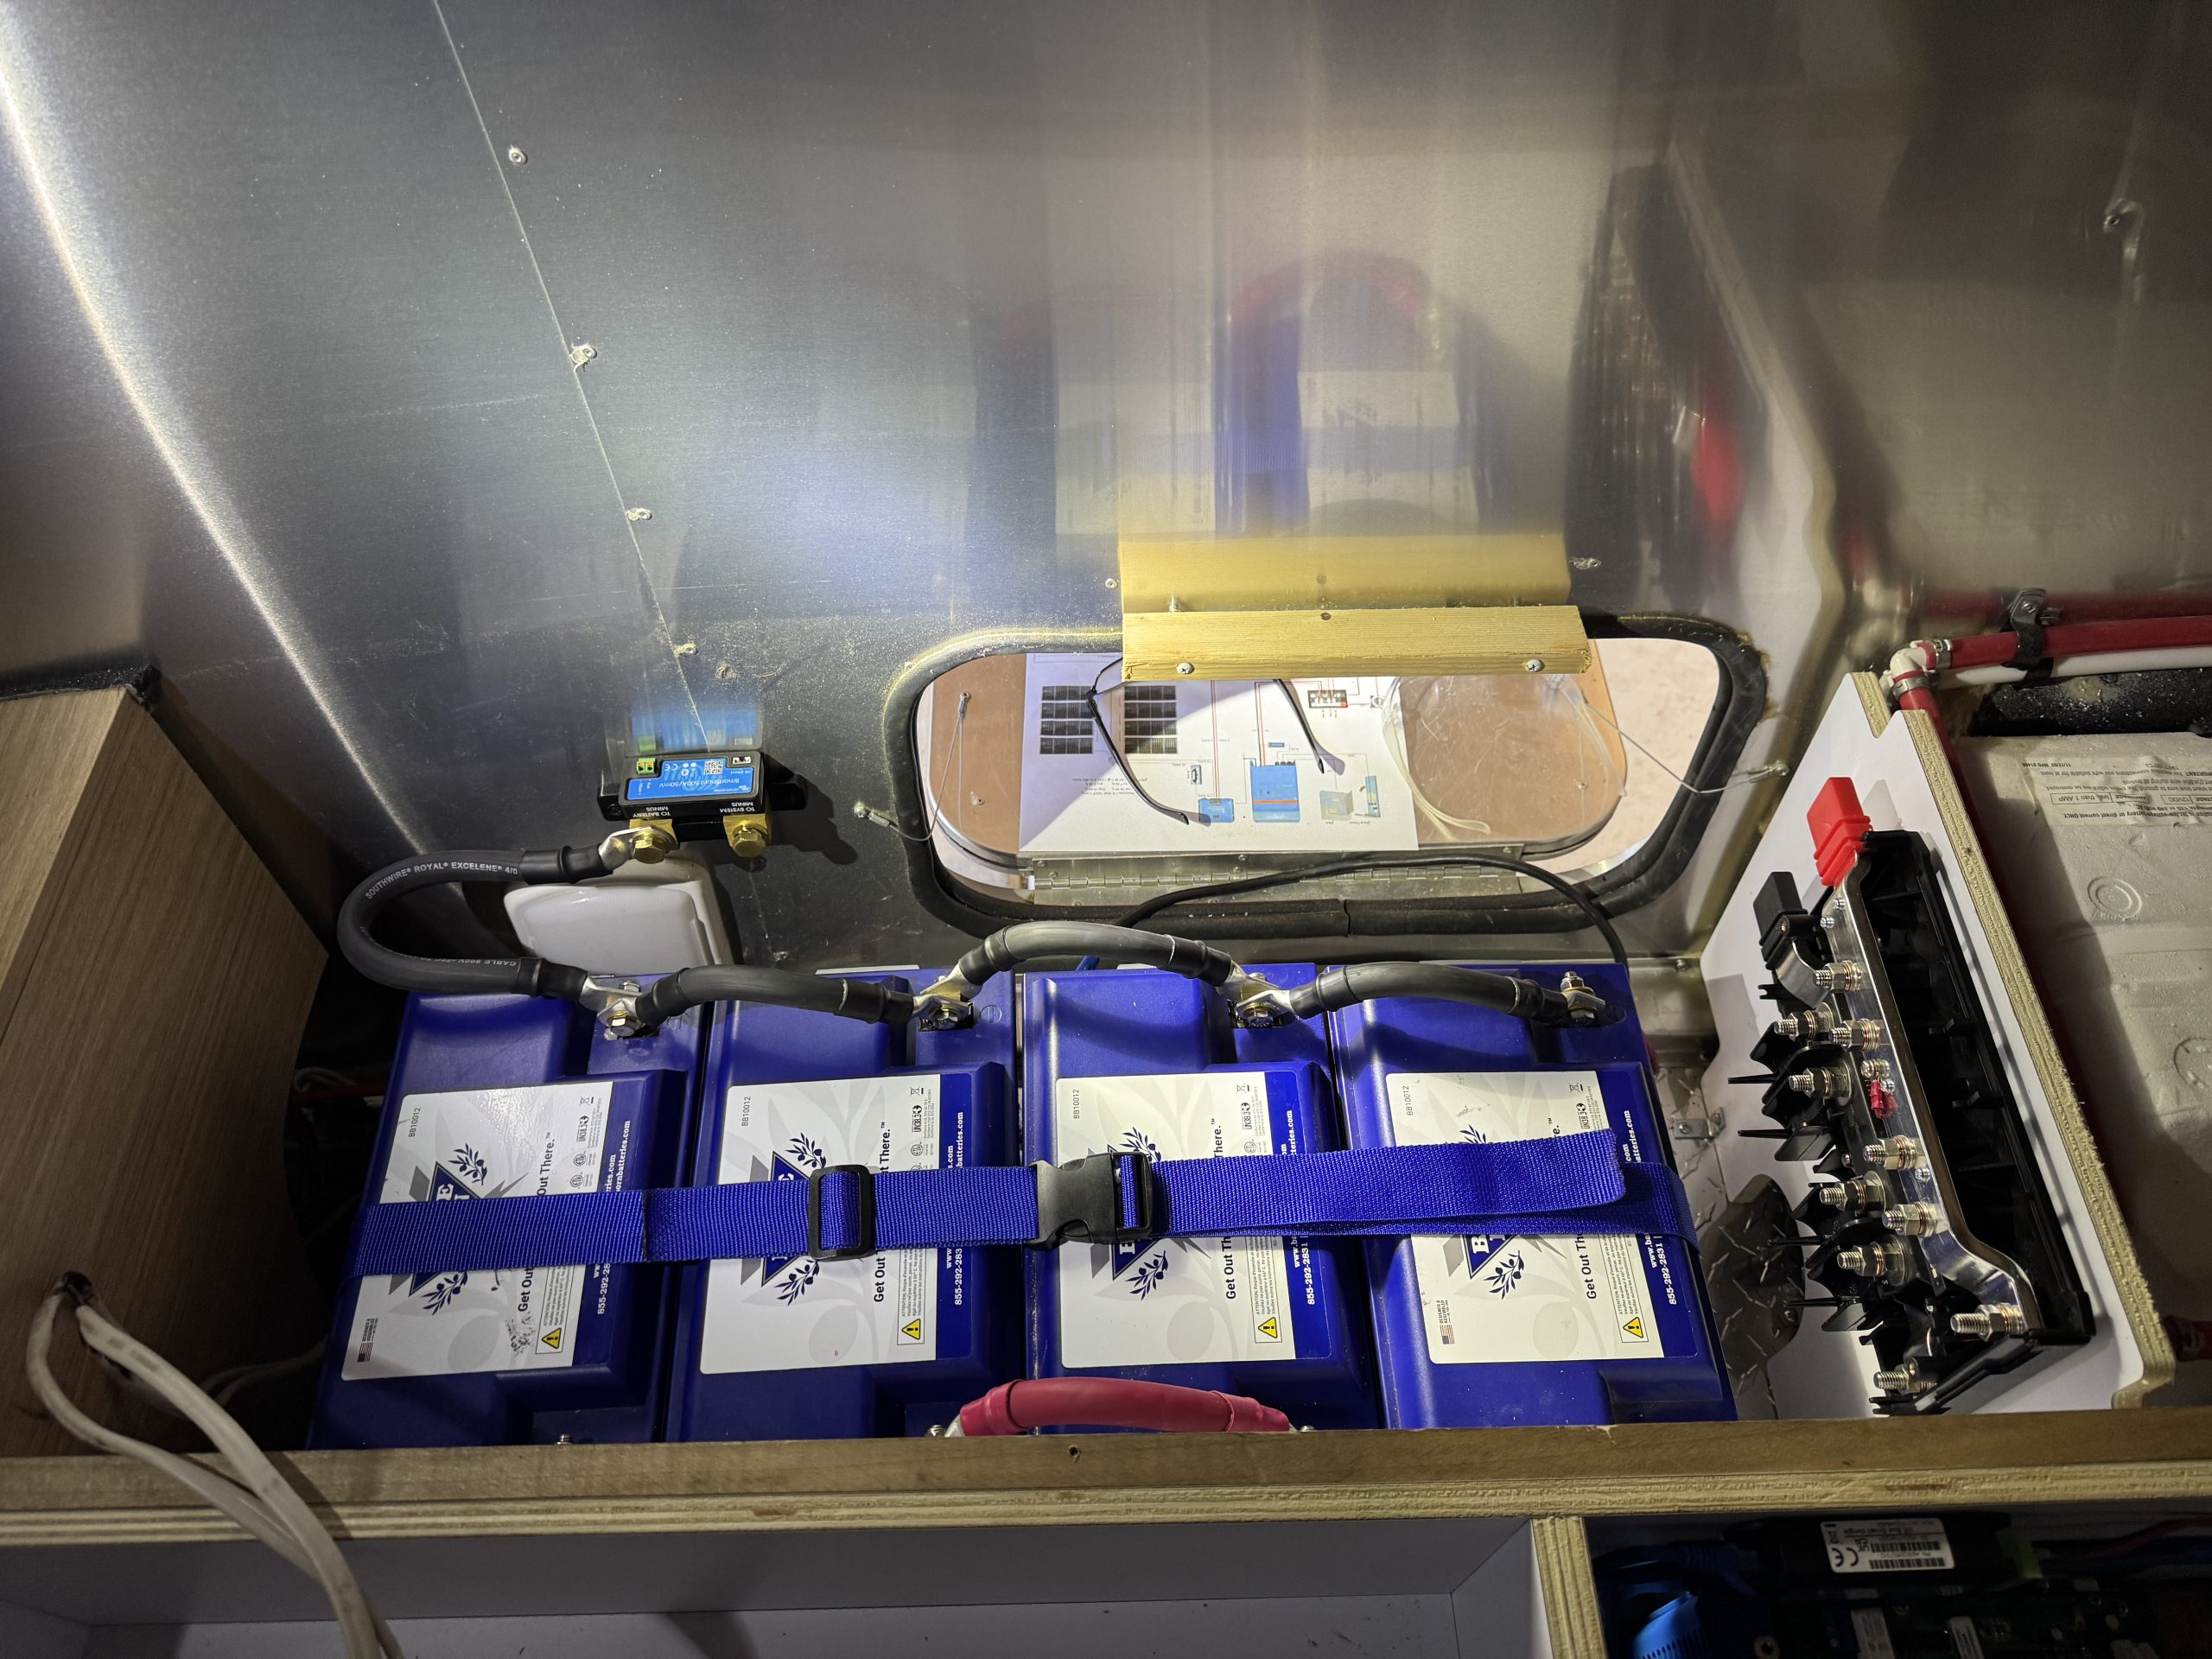
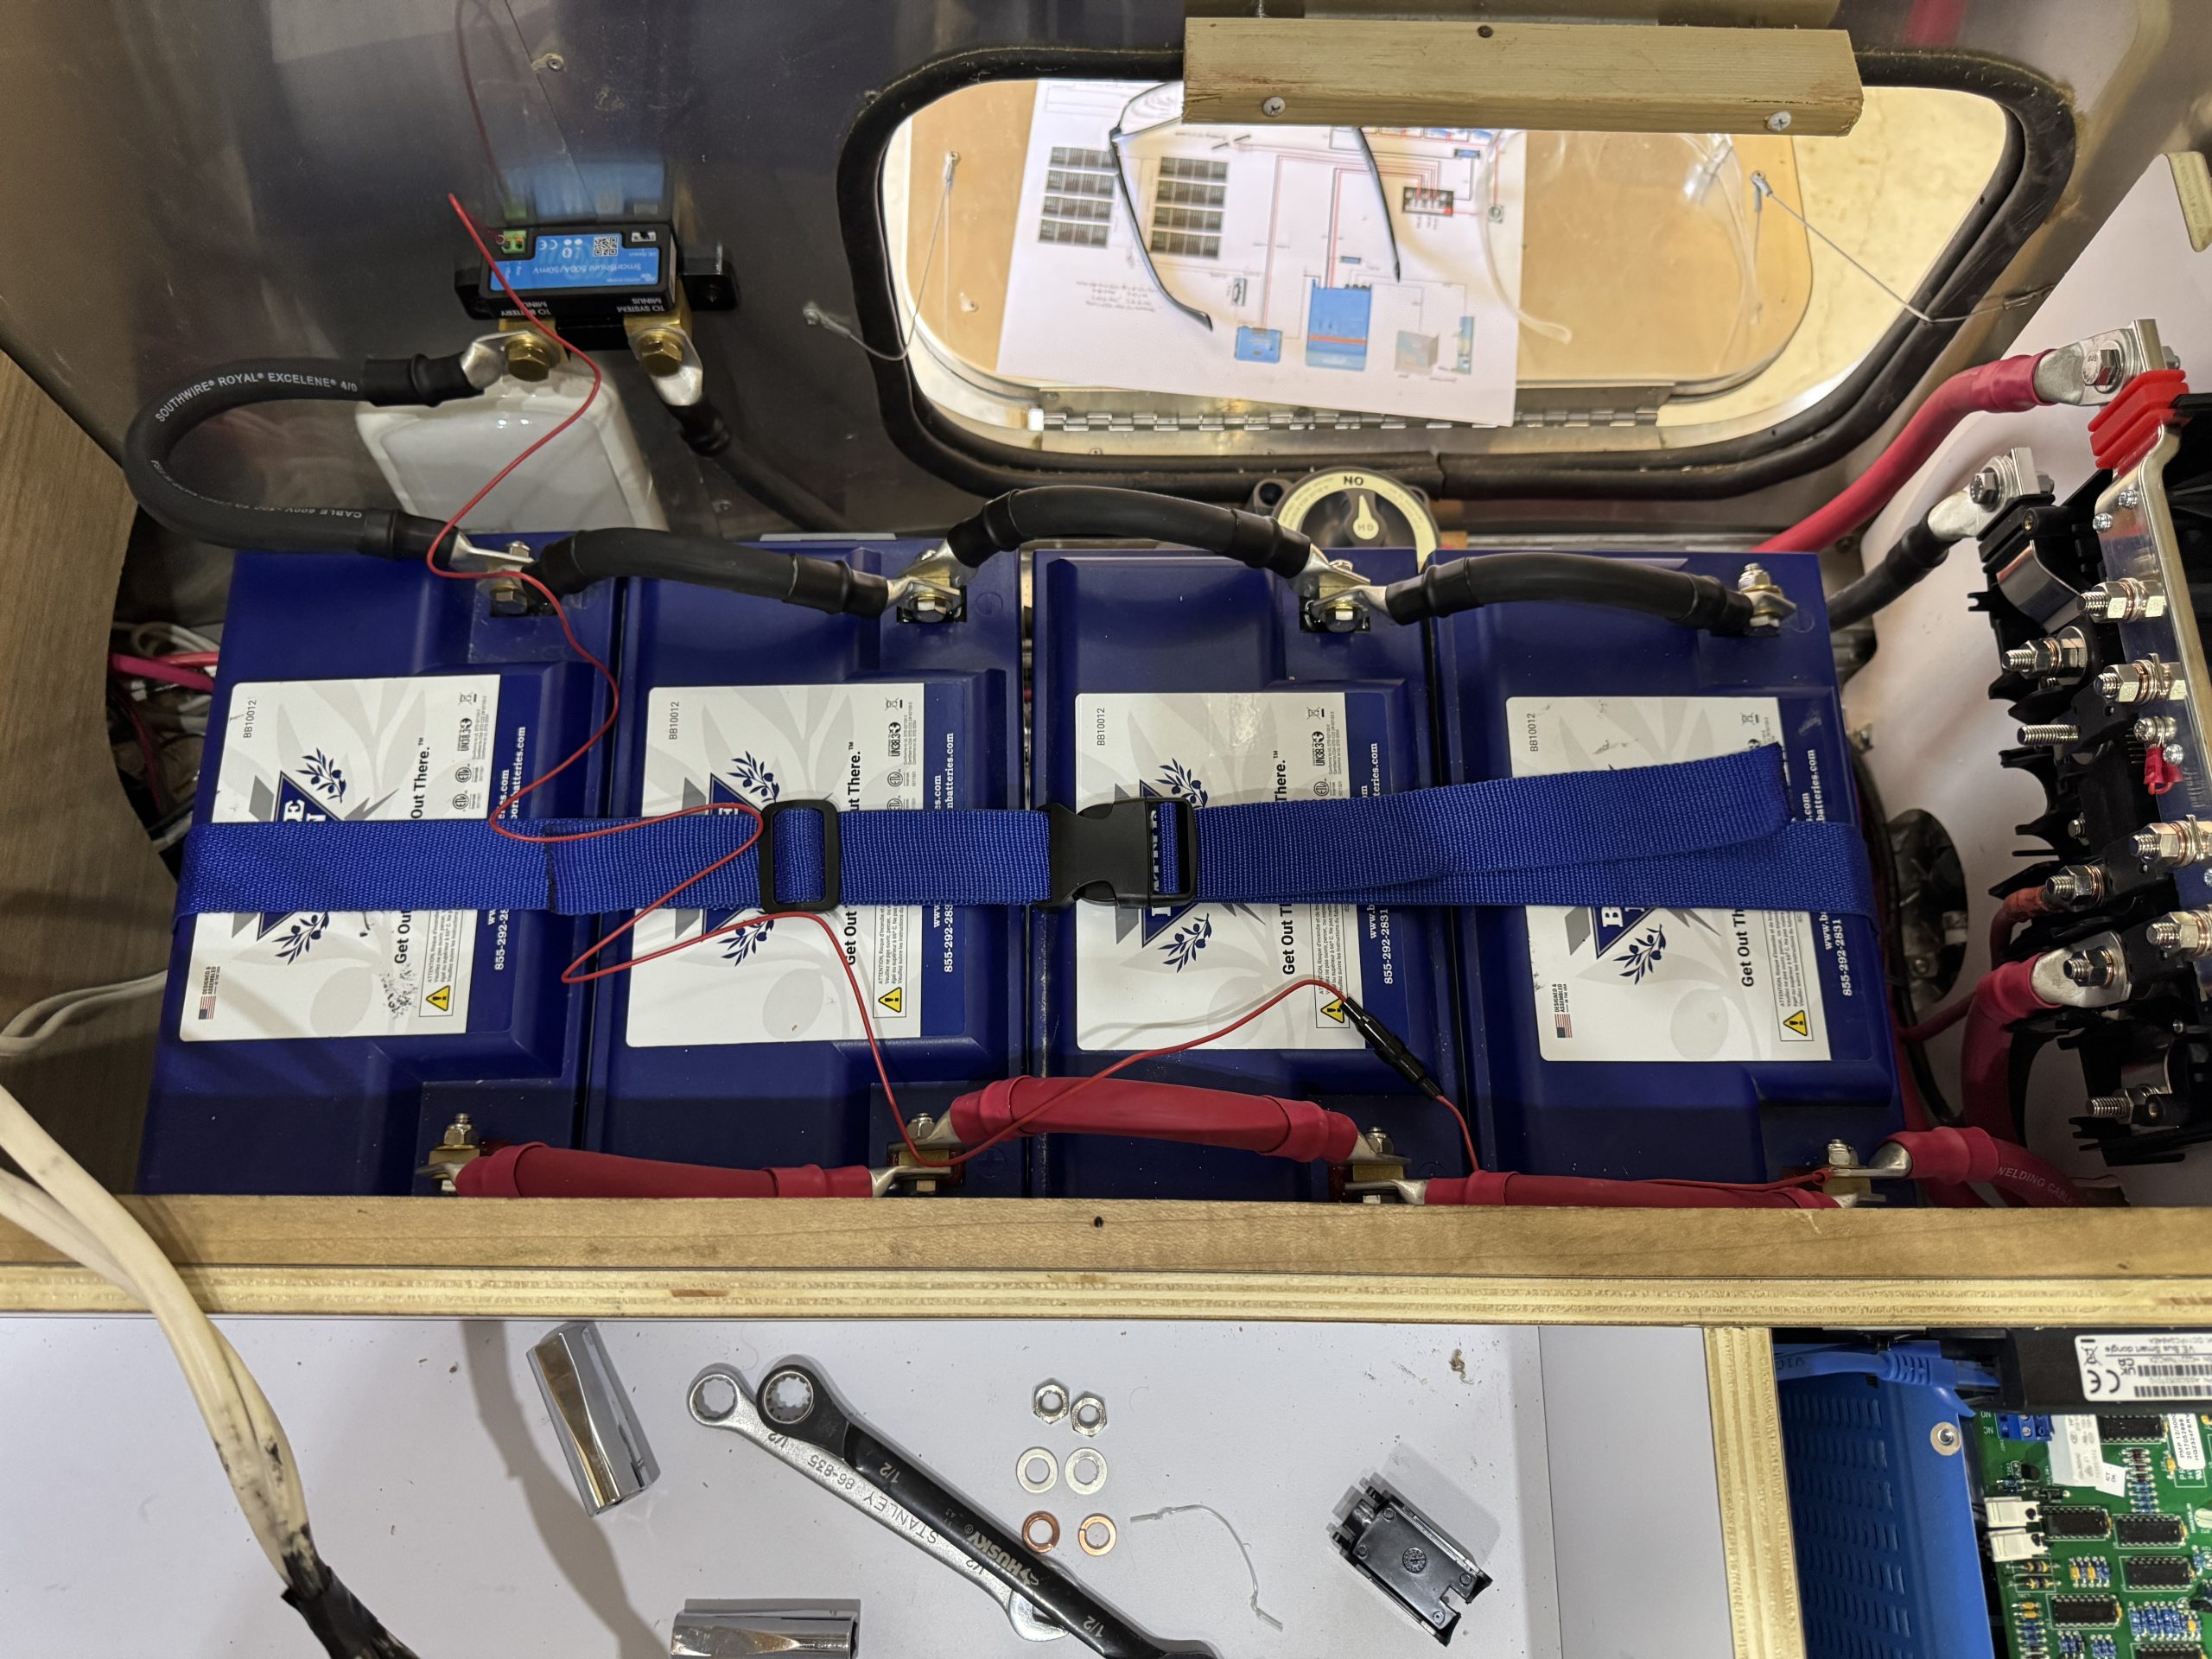
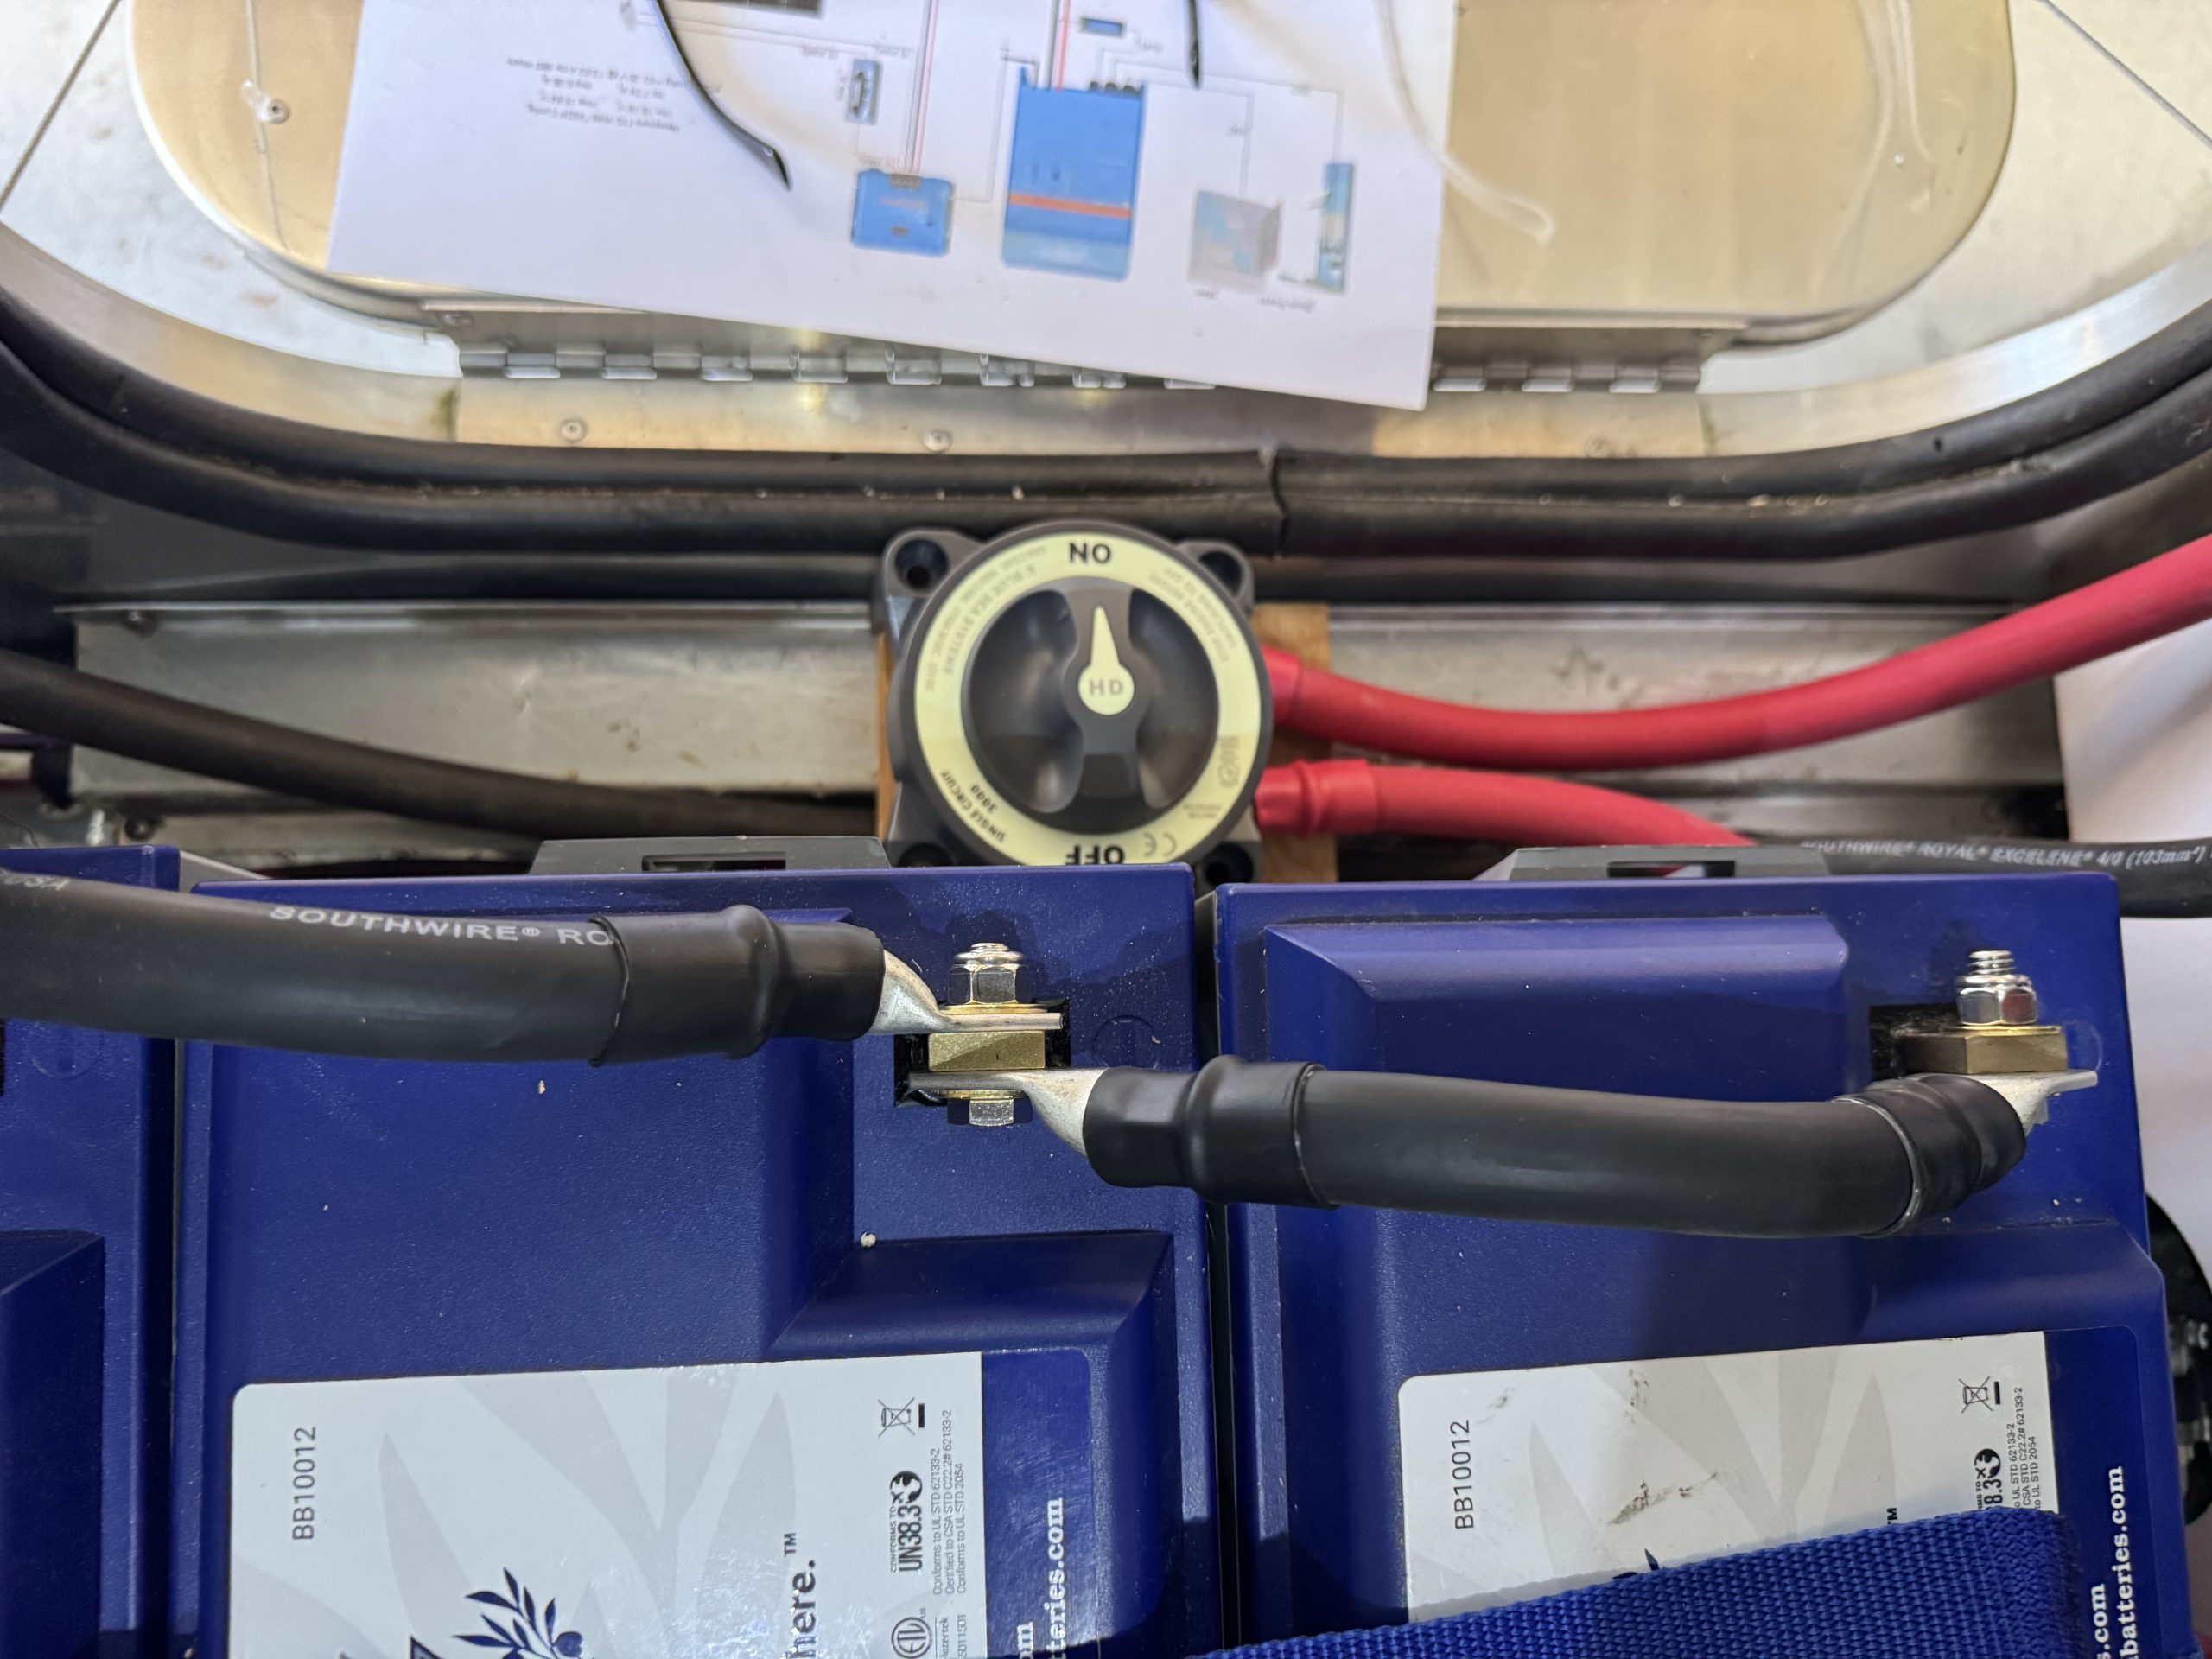
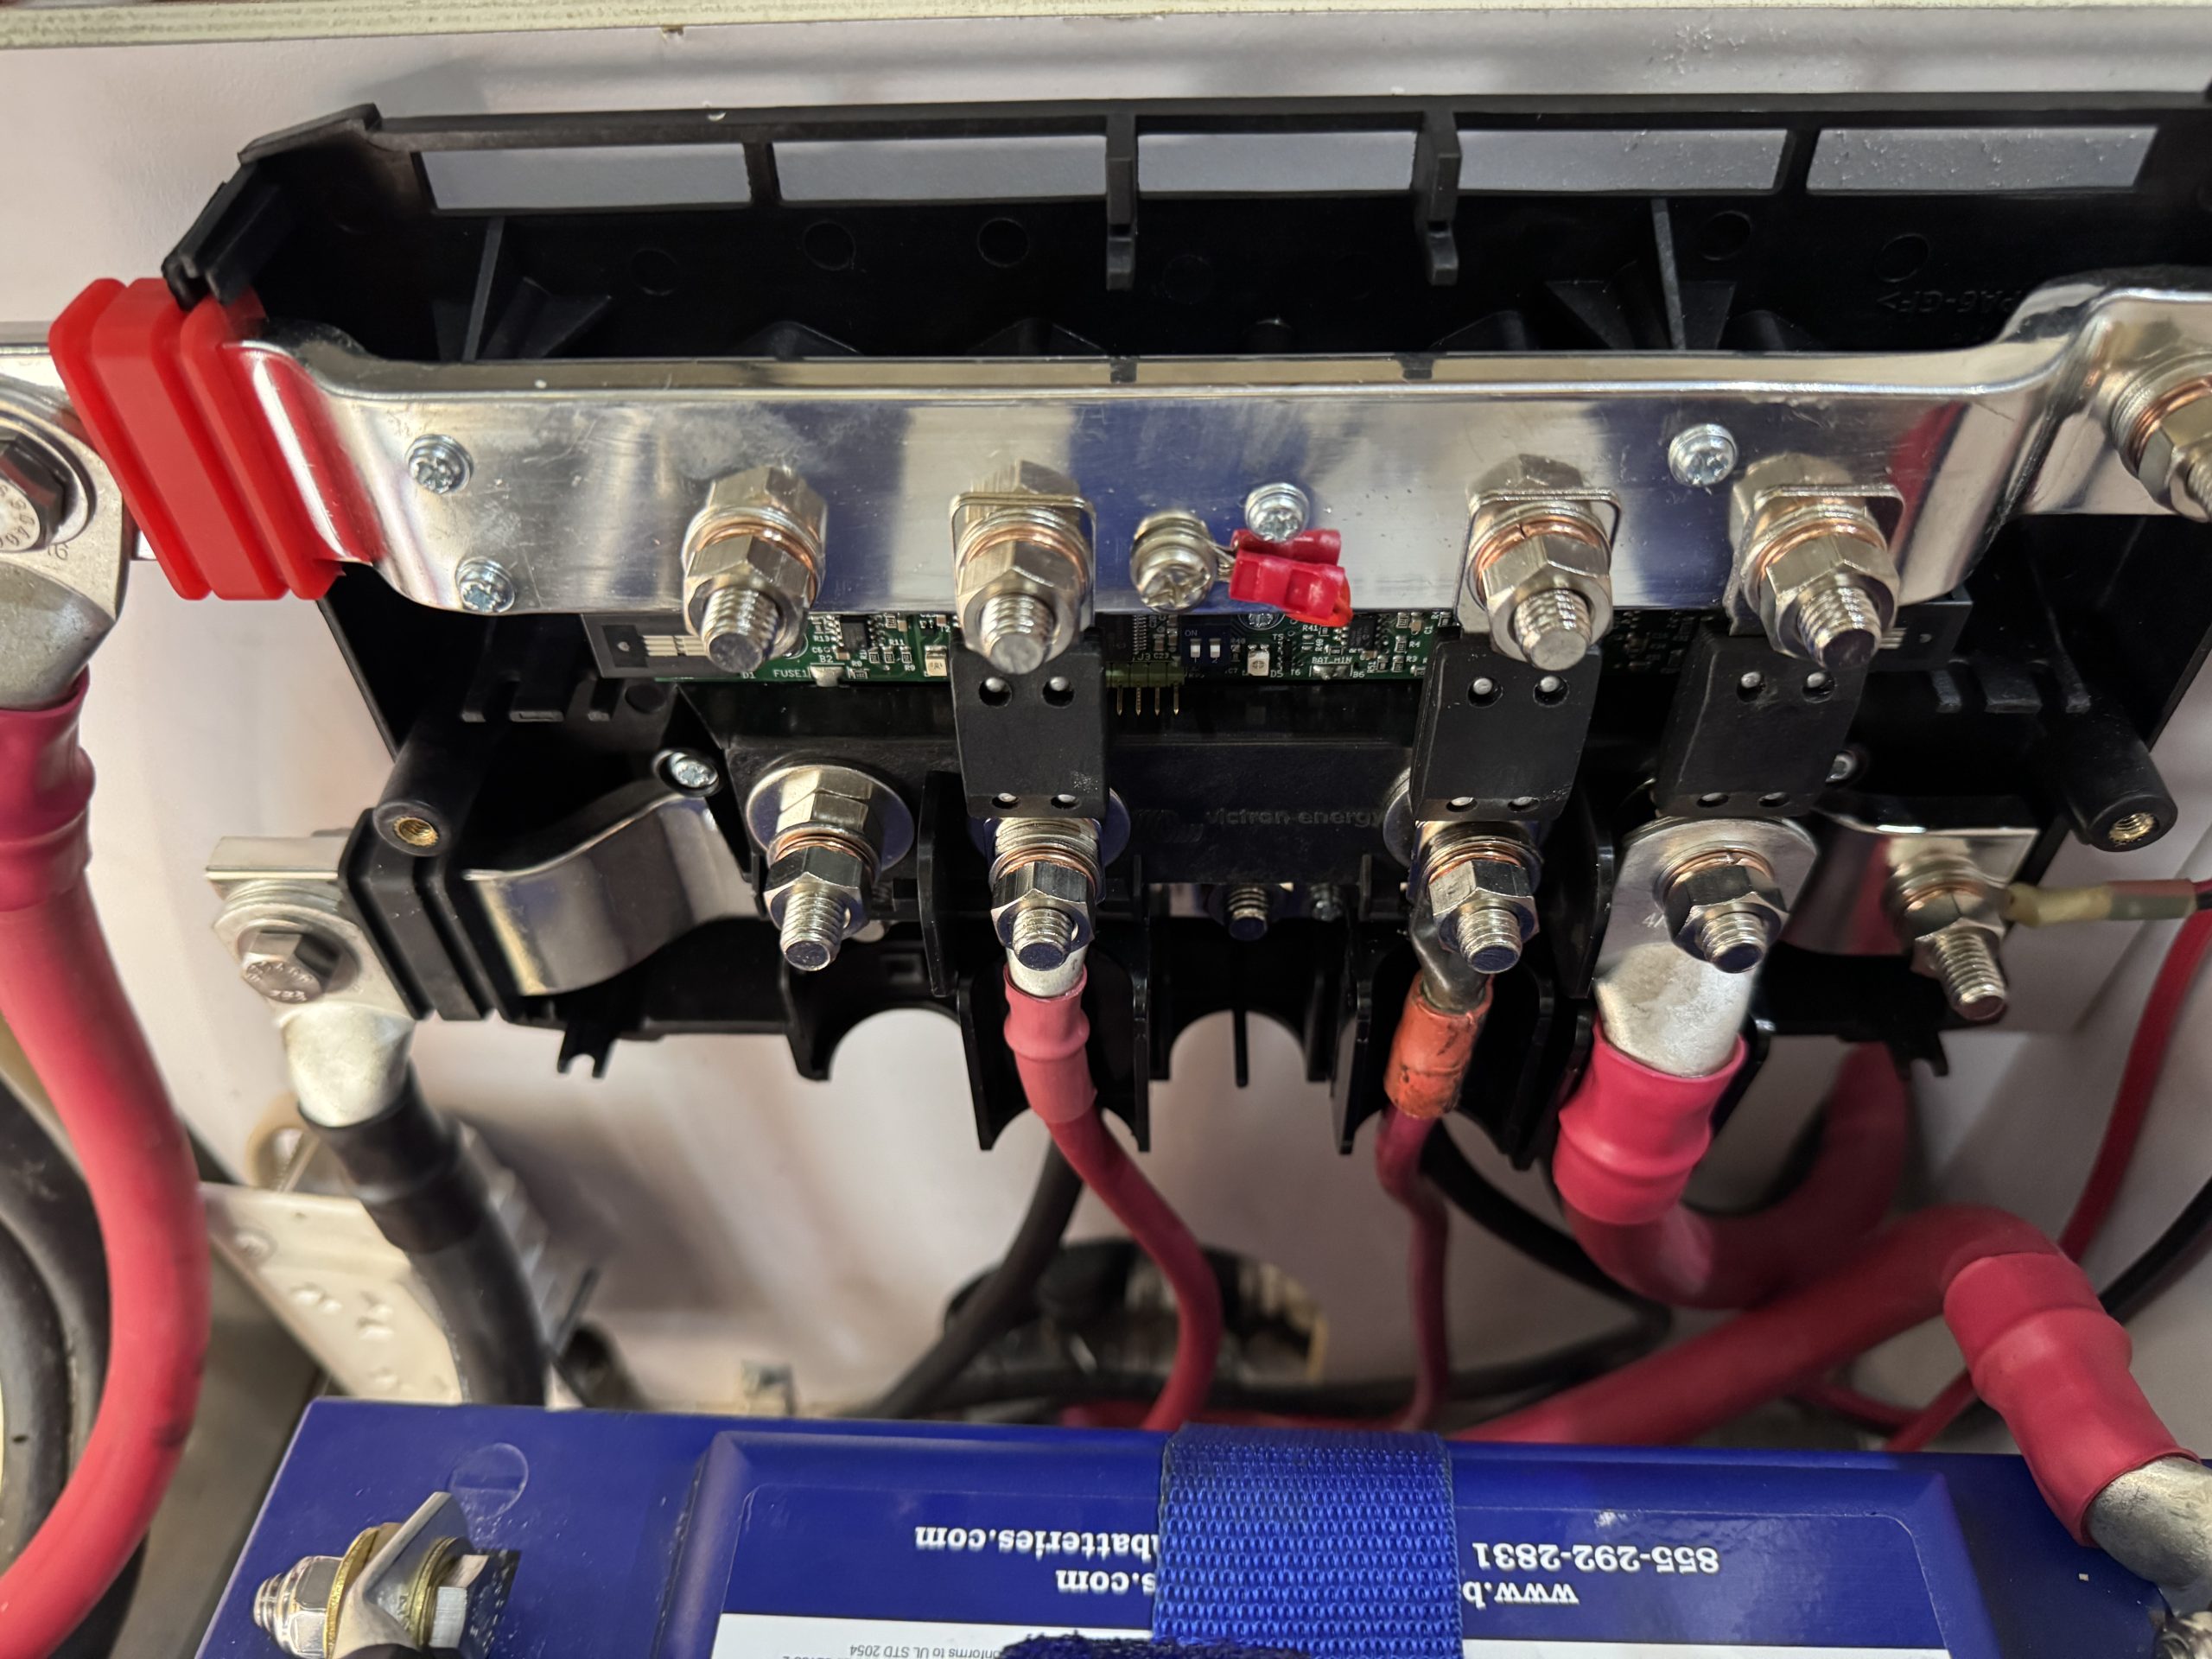
- 4 -Battle Born 100 amp lithium batteries
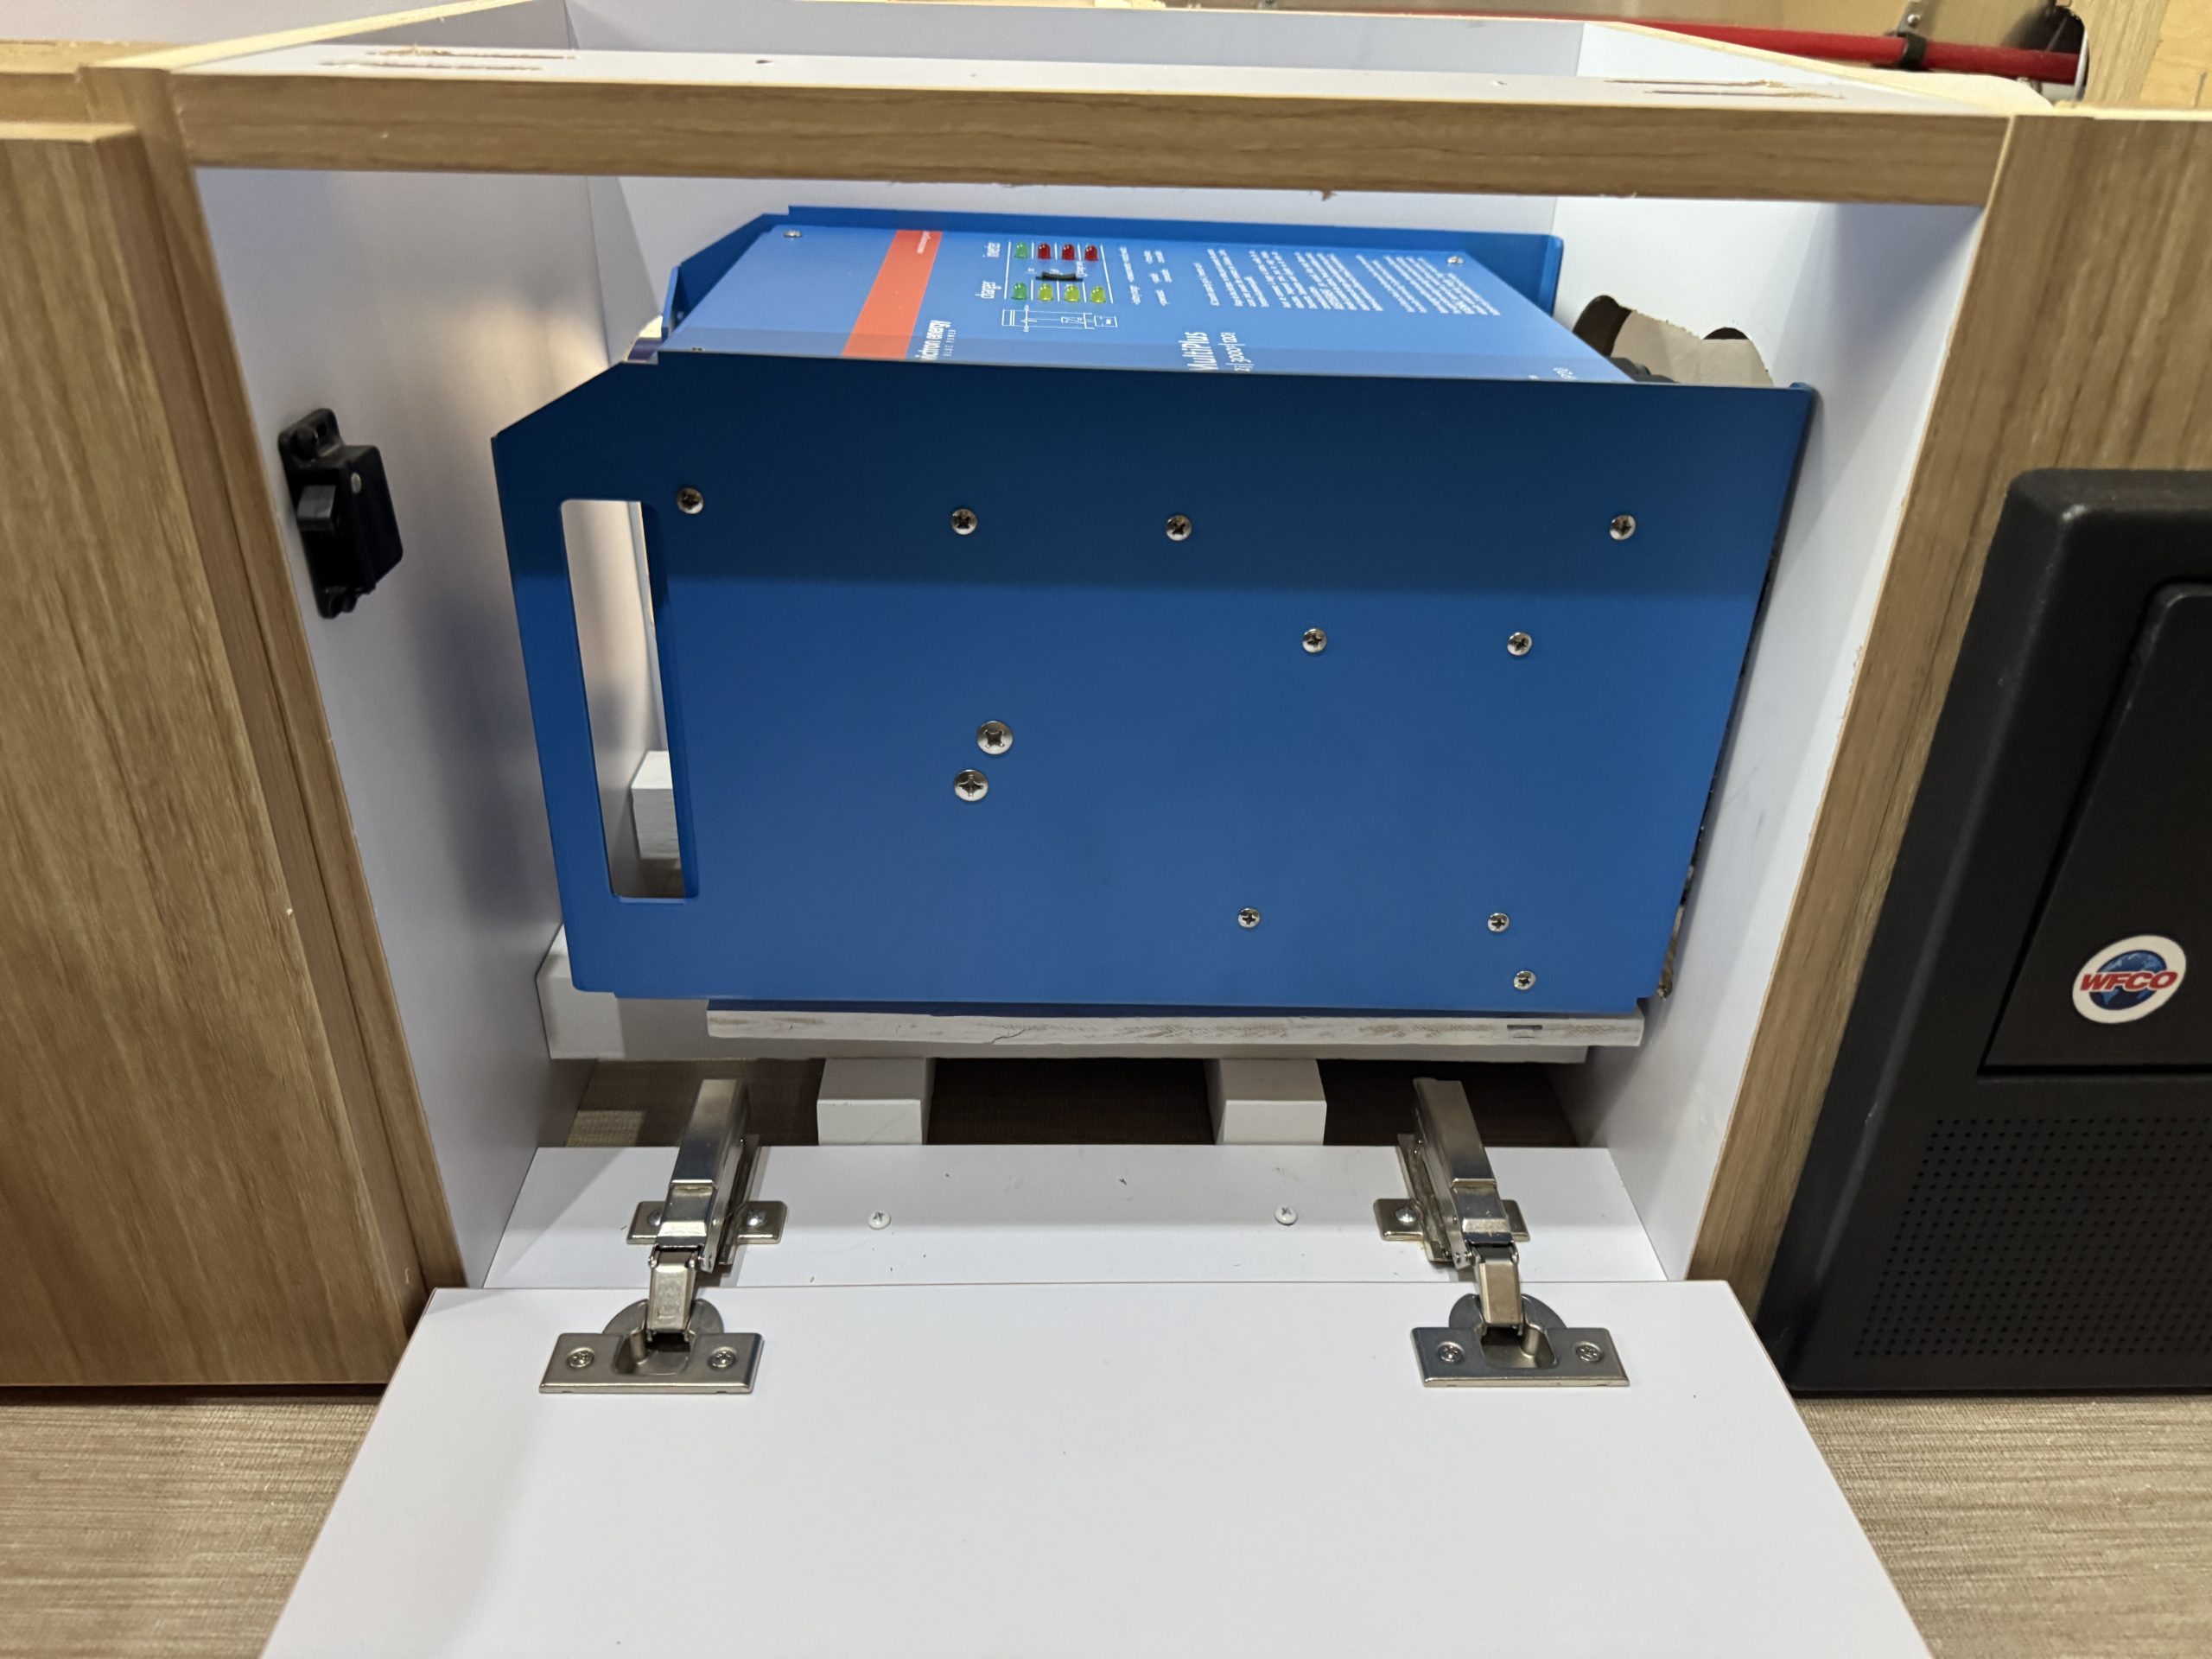
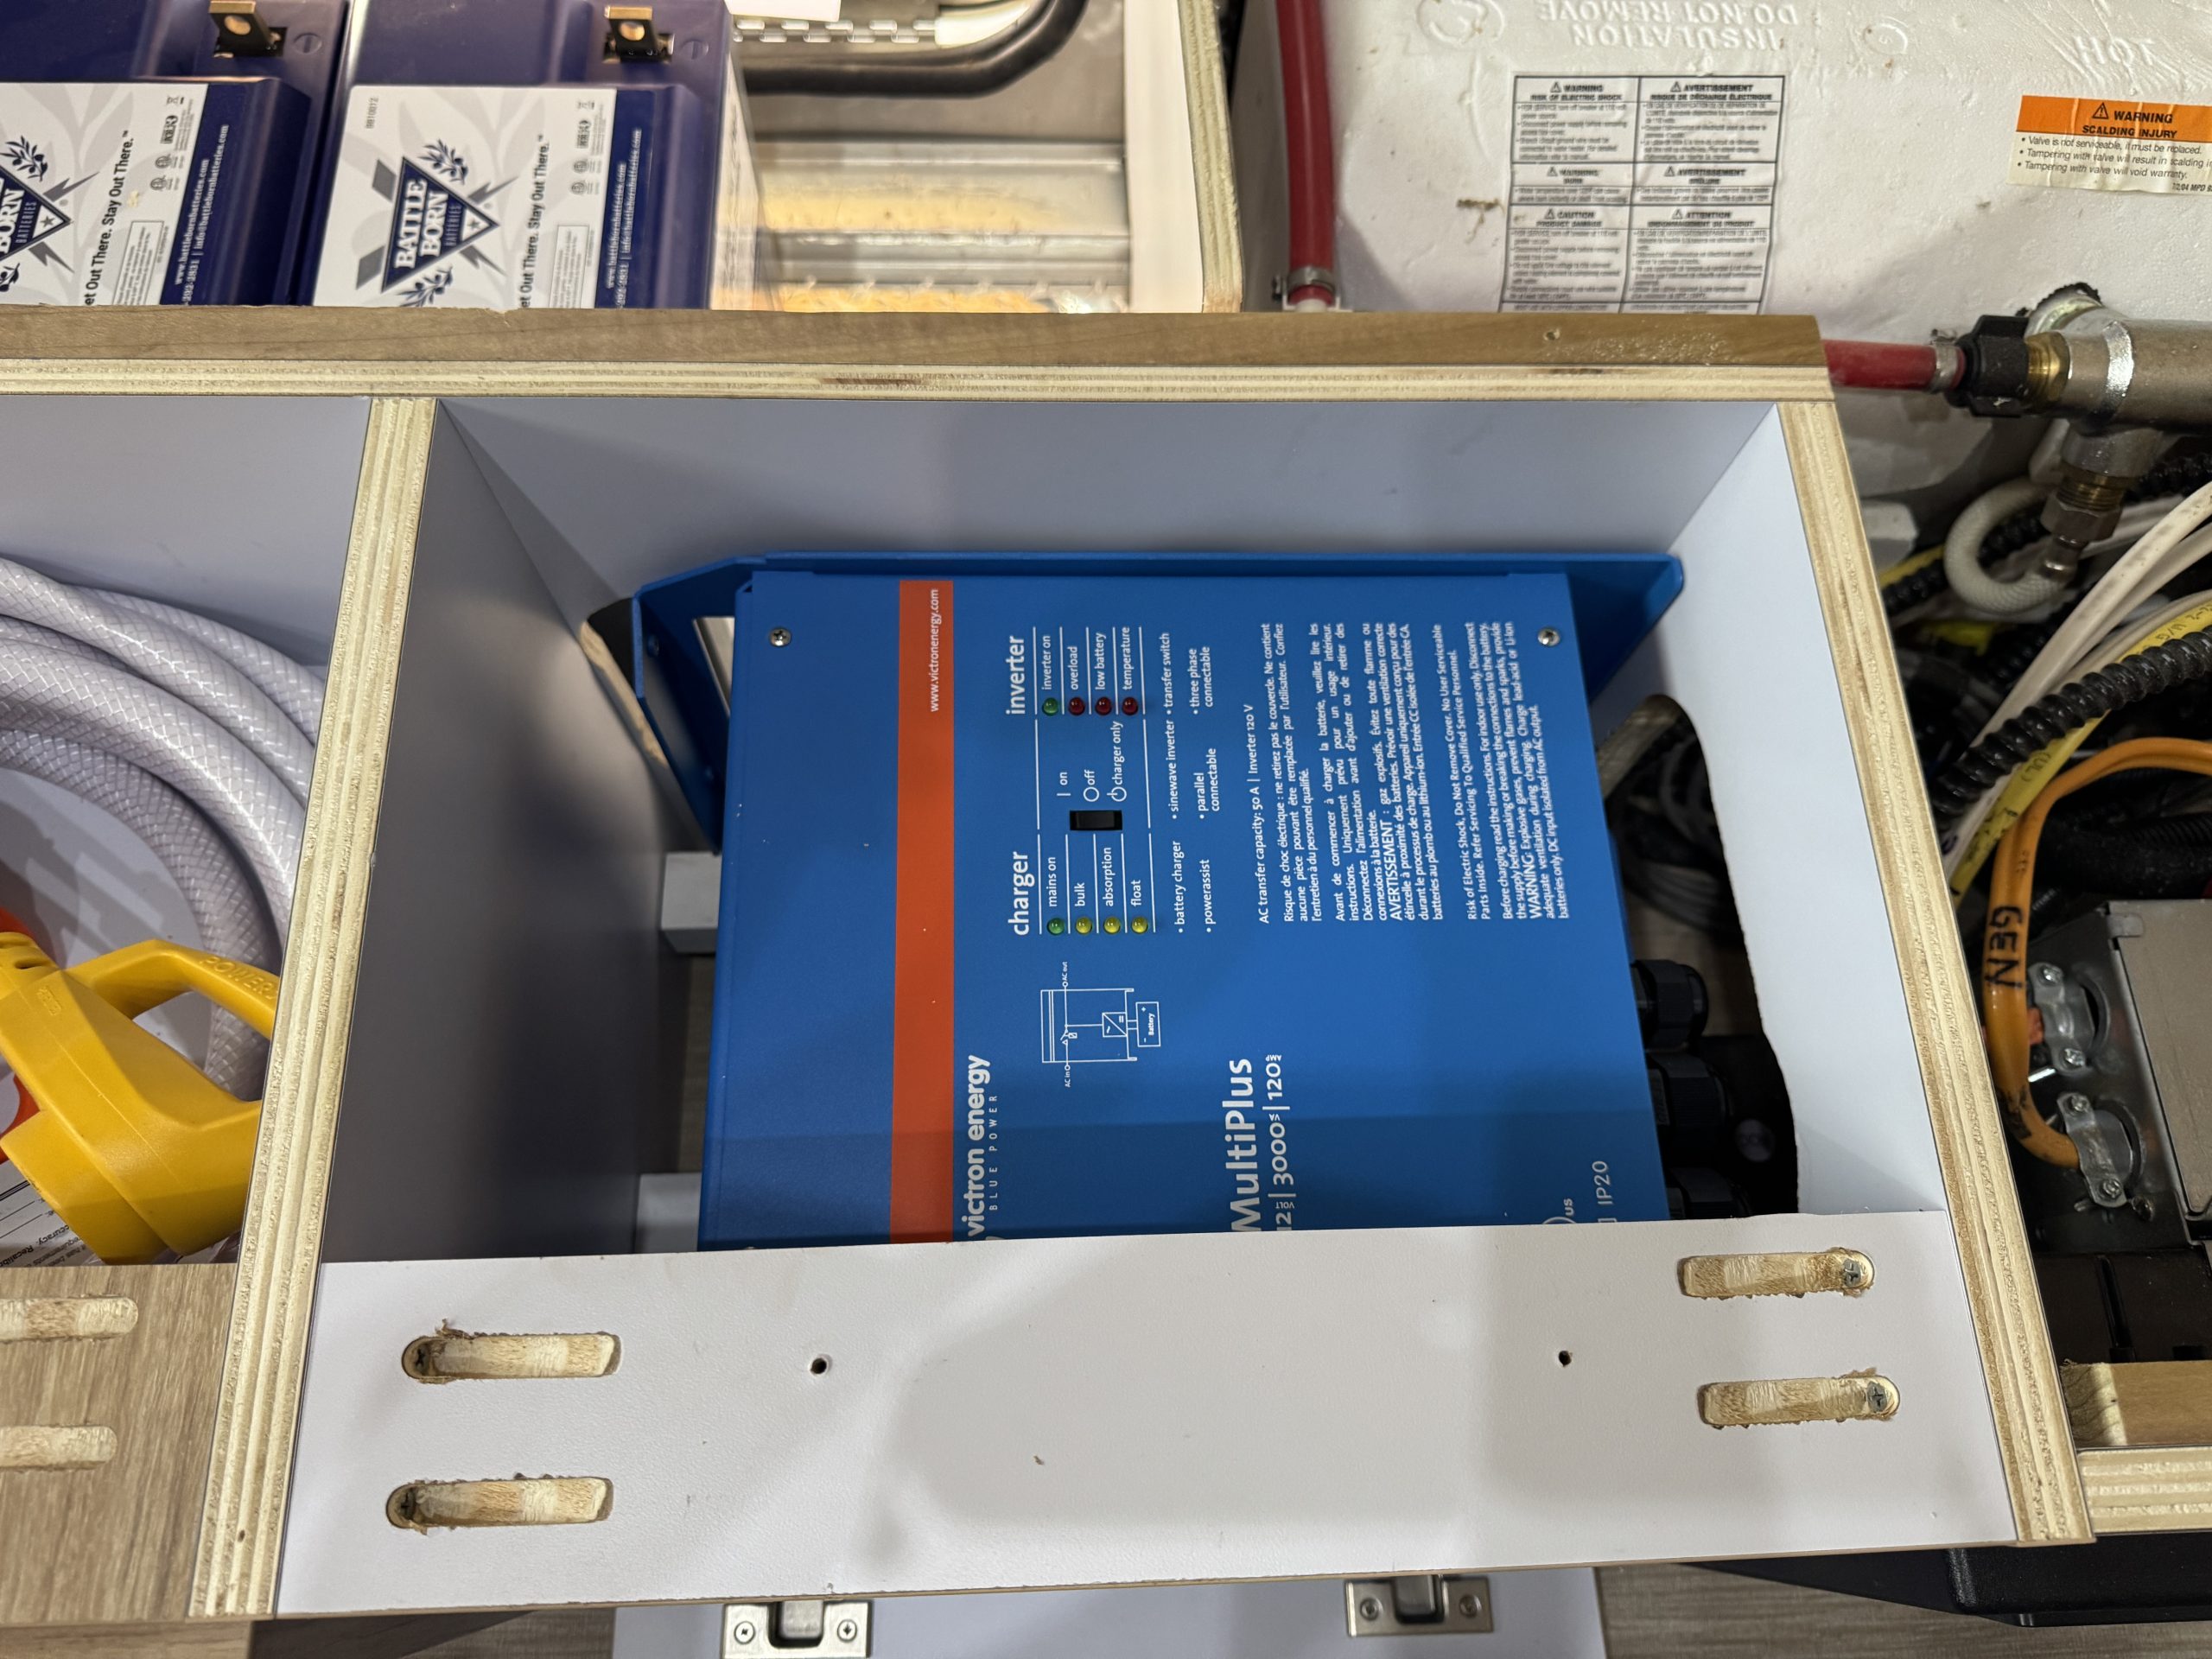
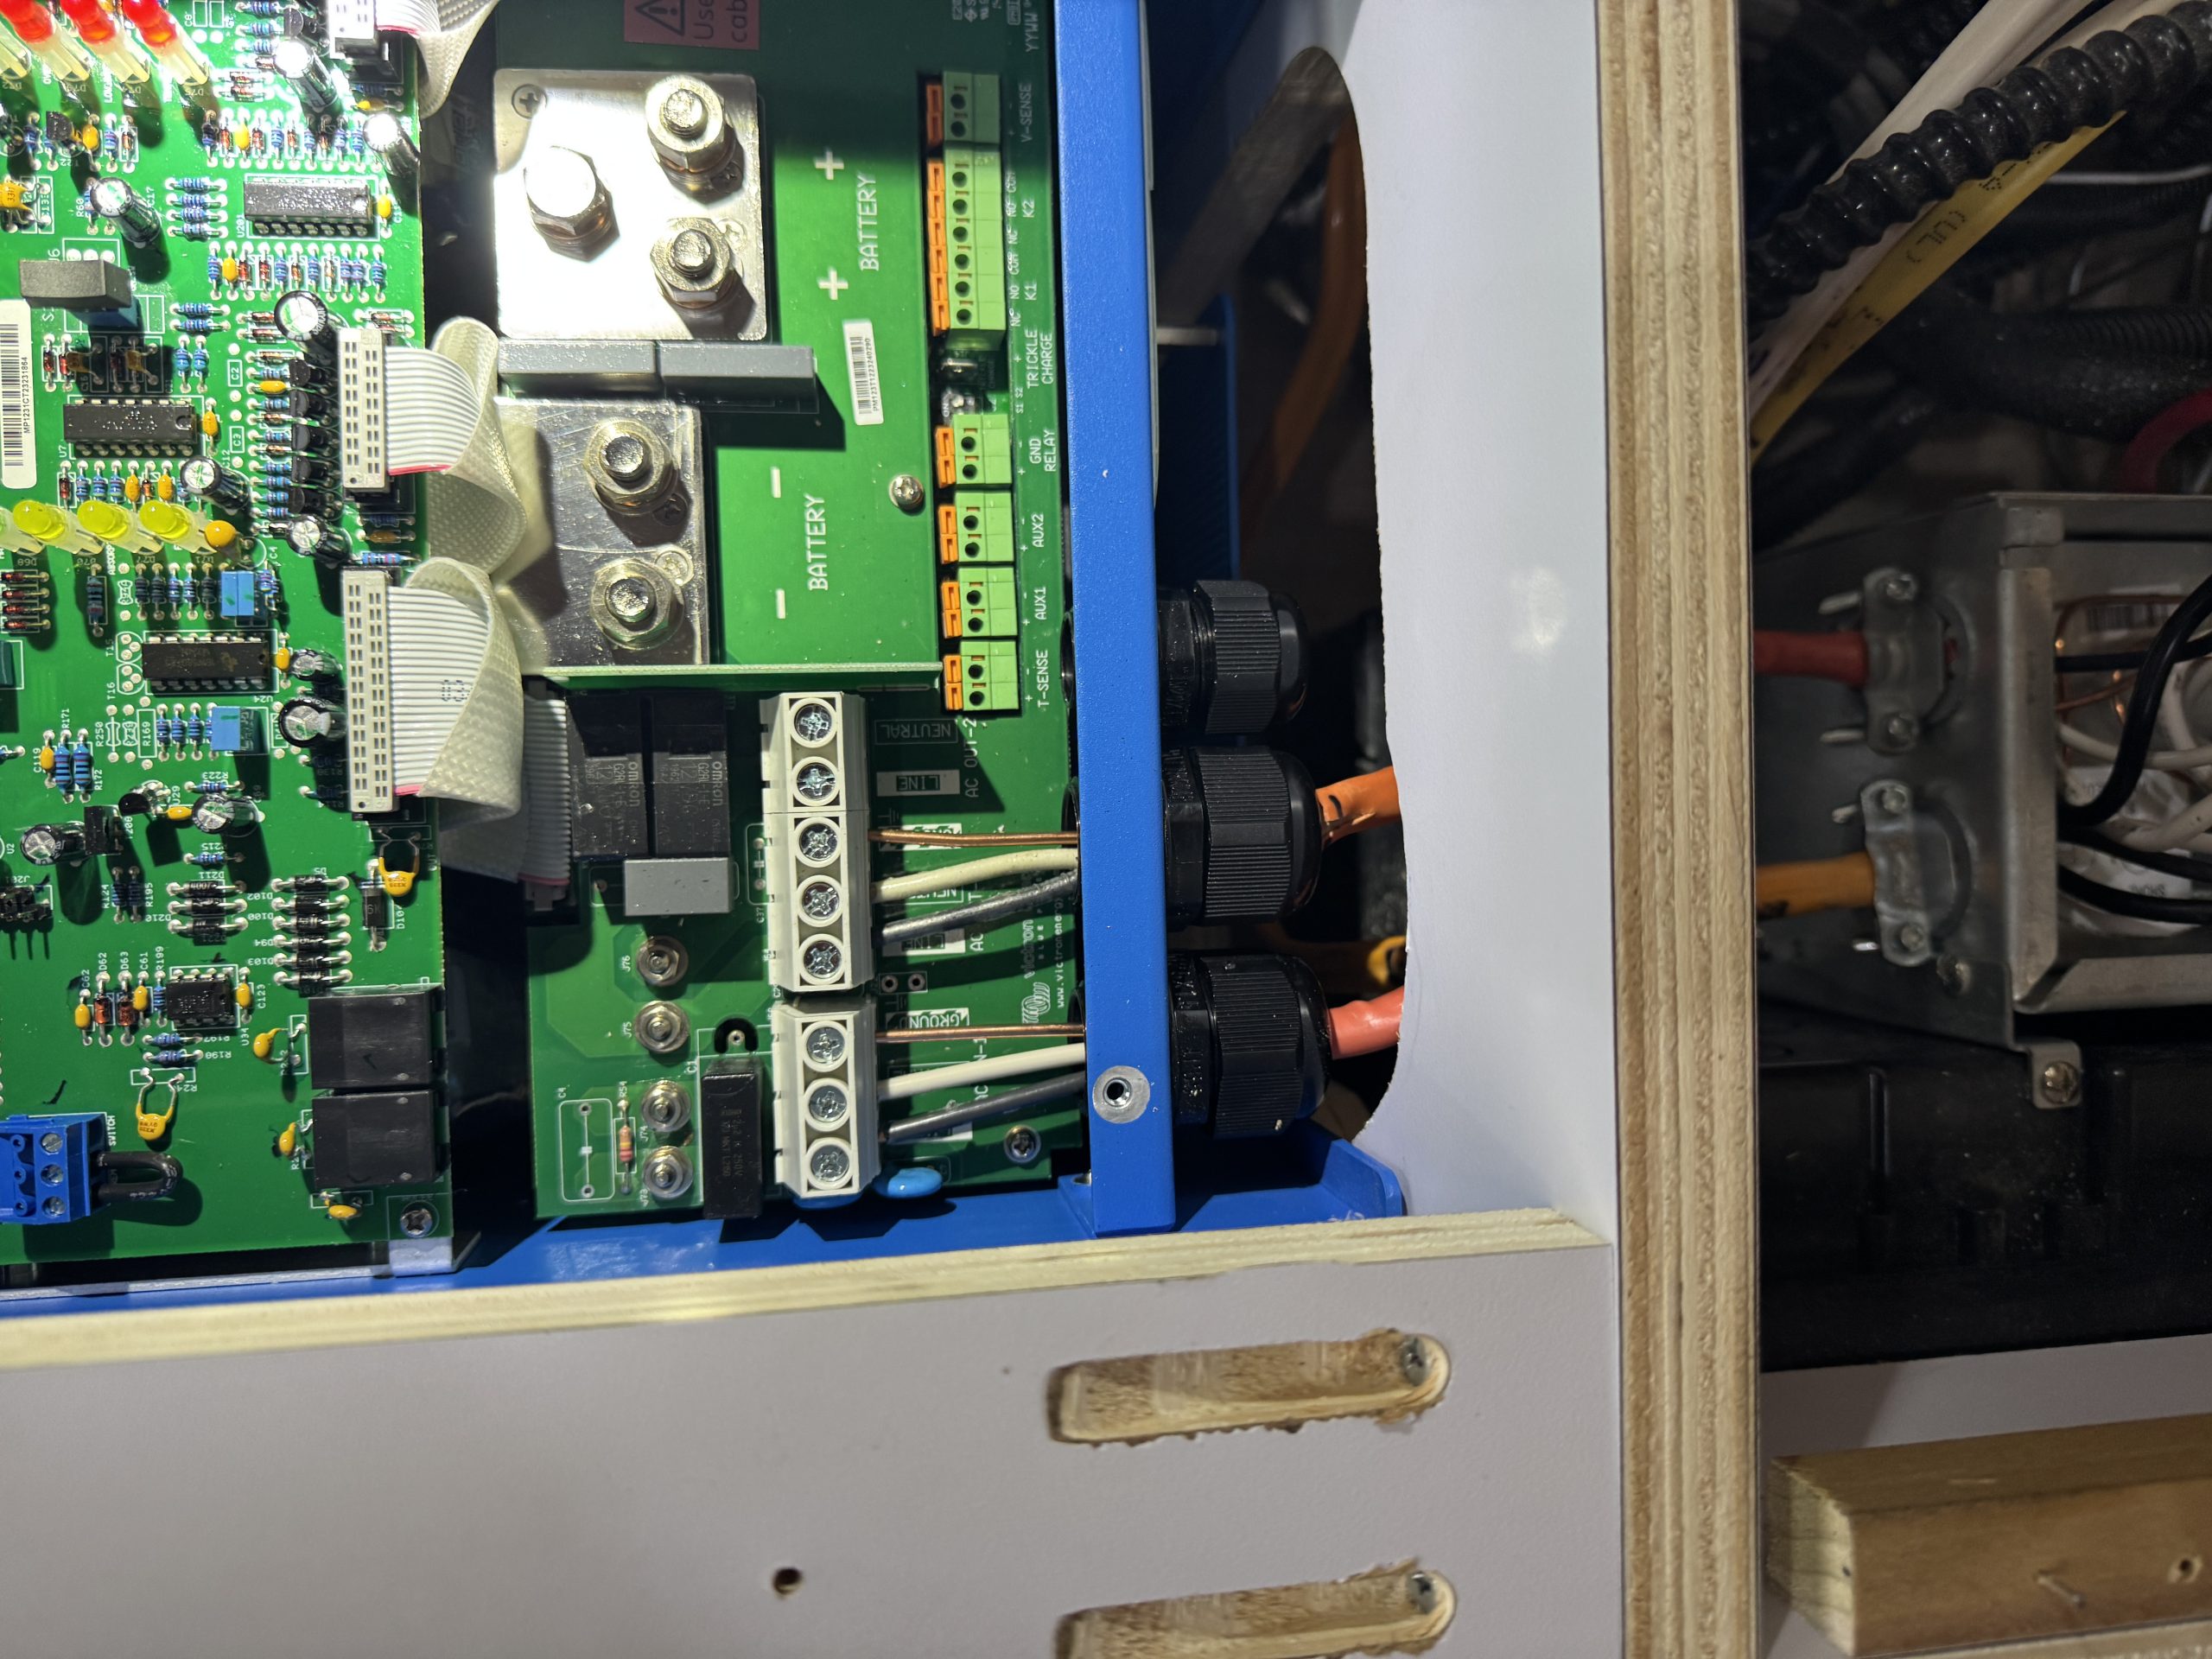
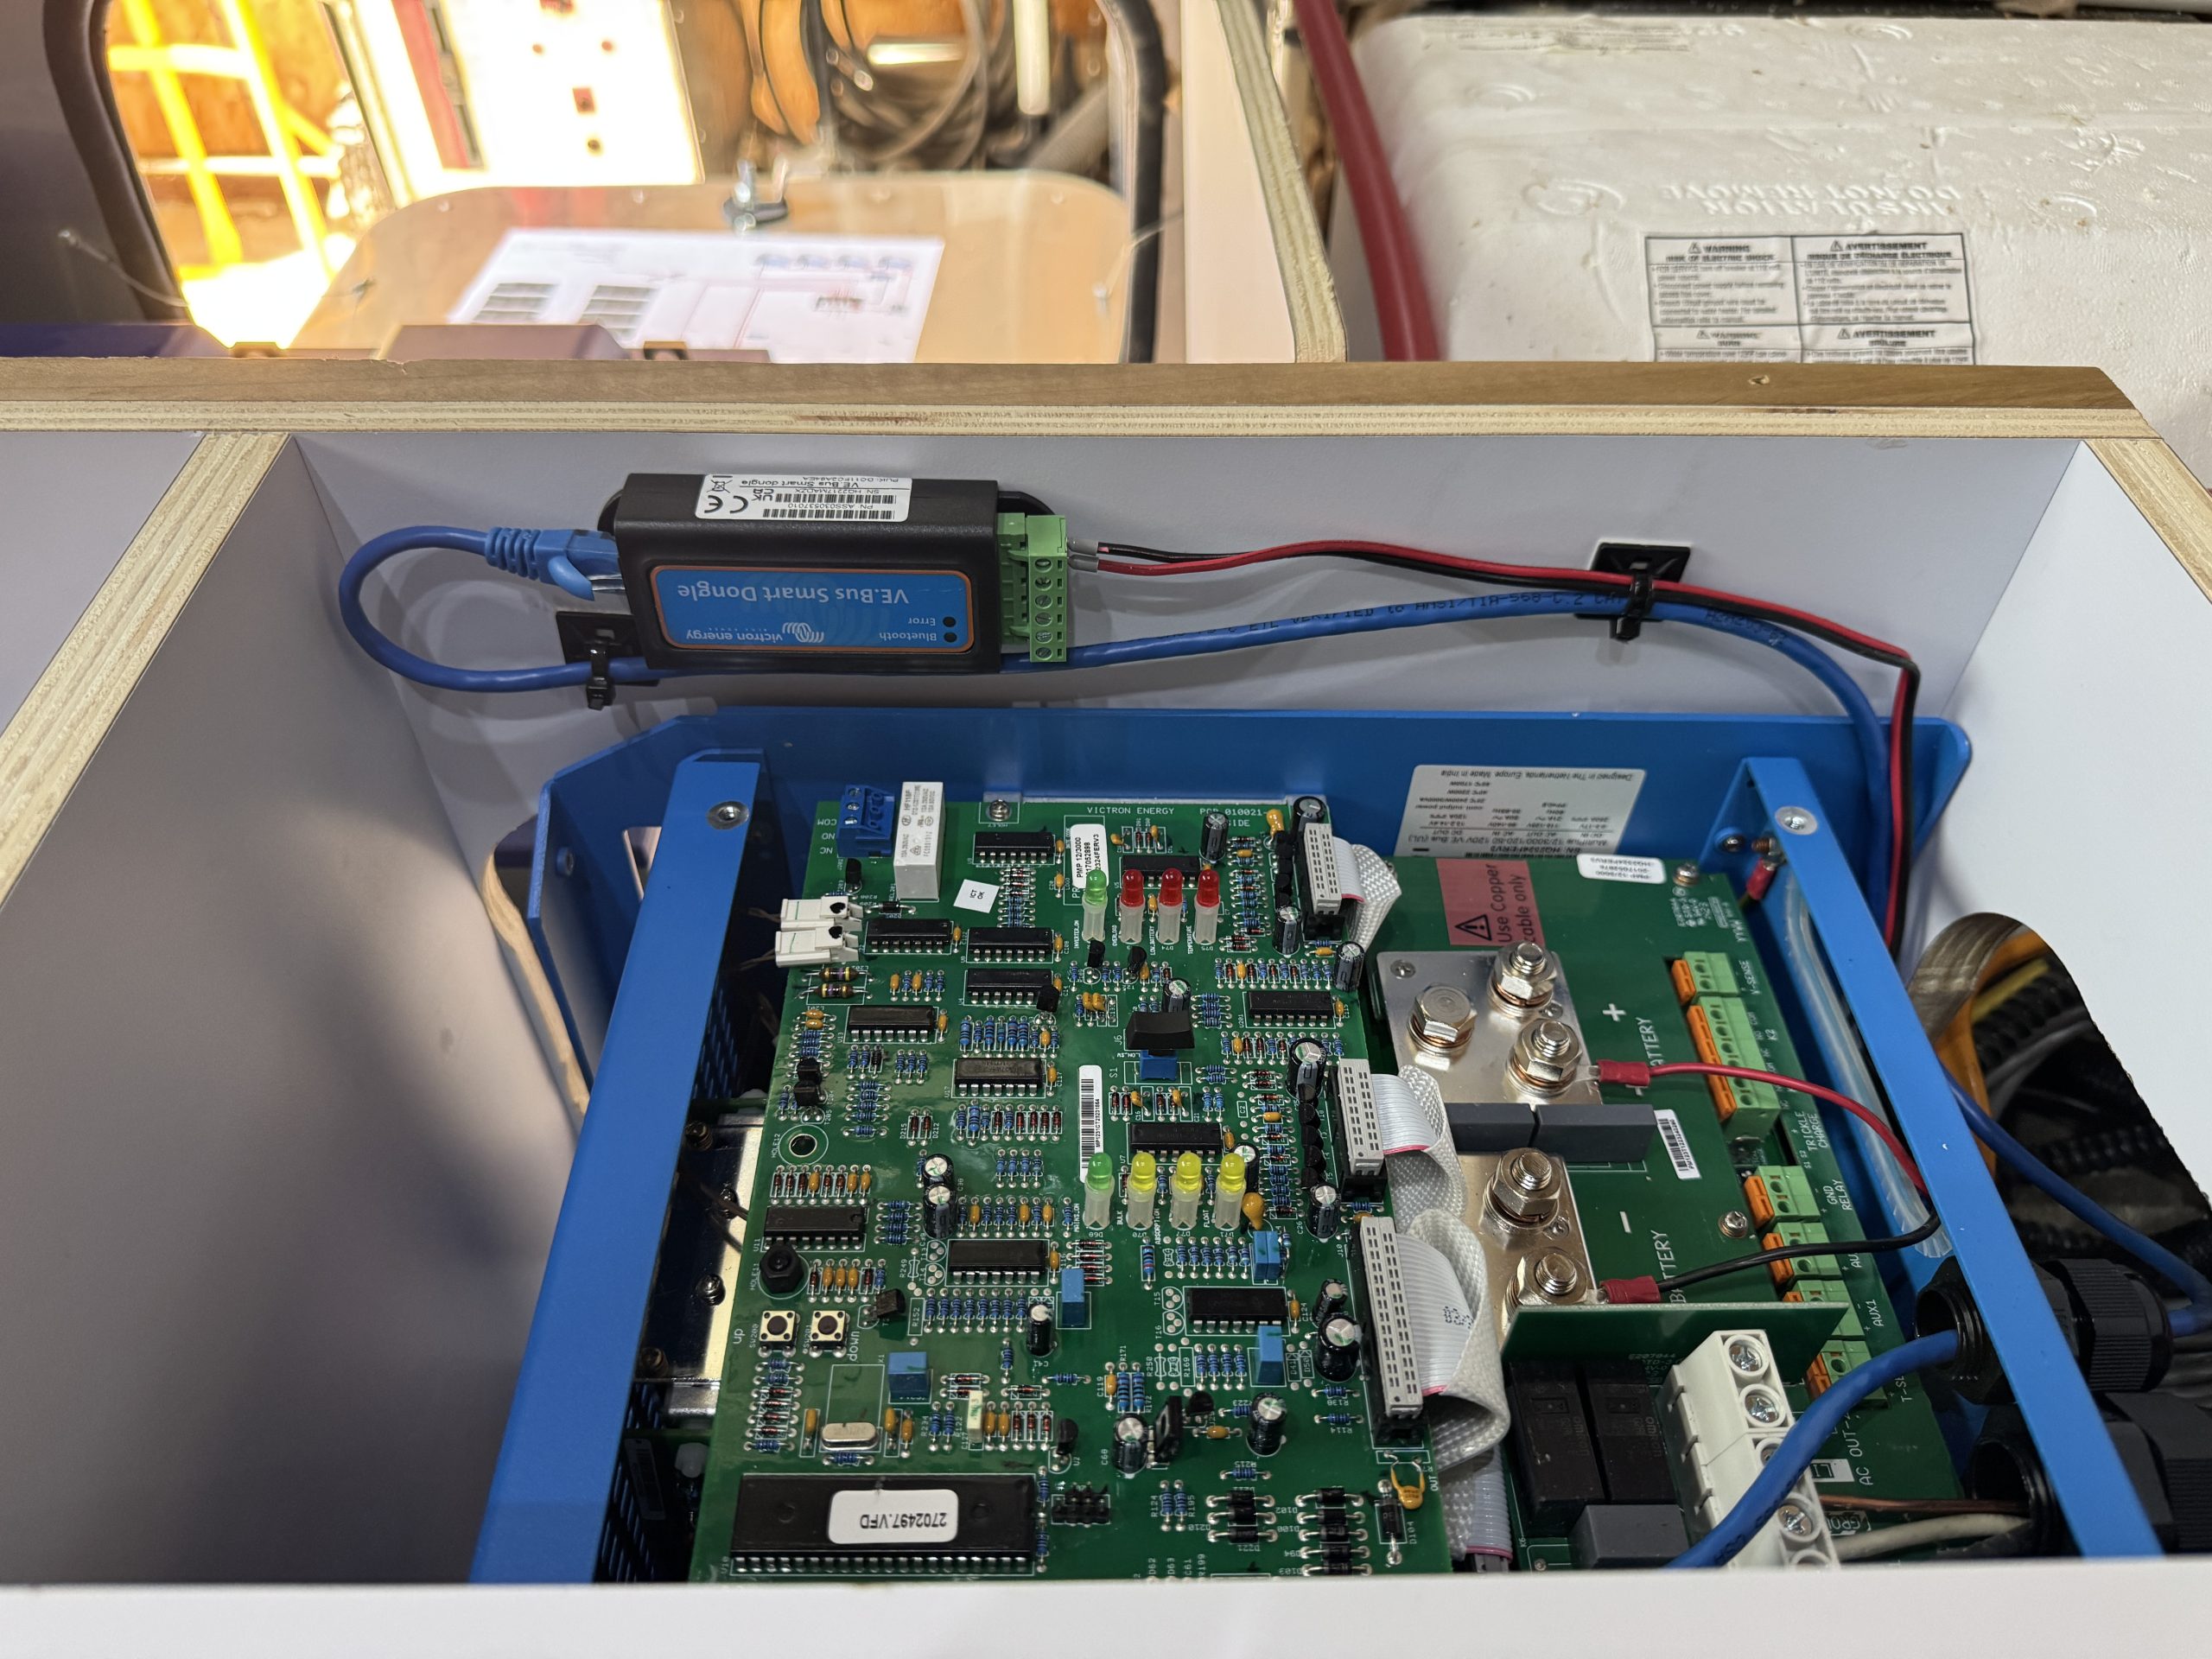
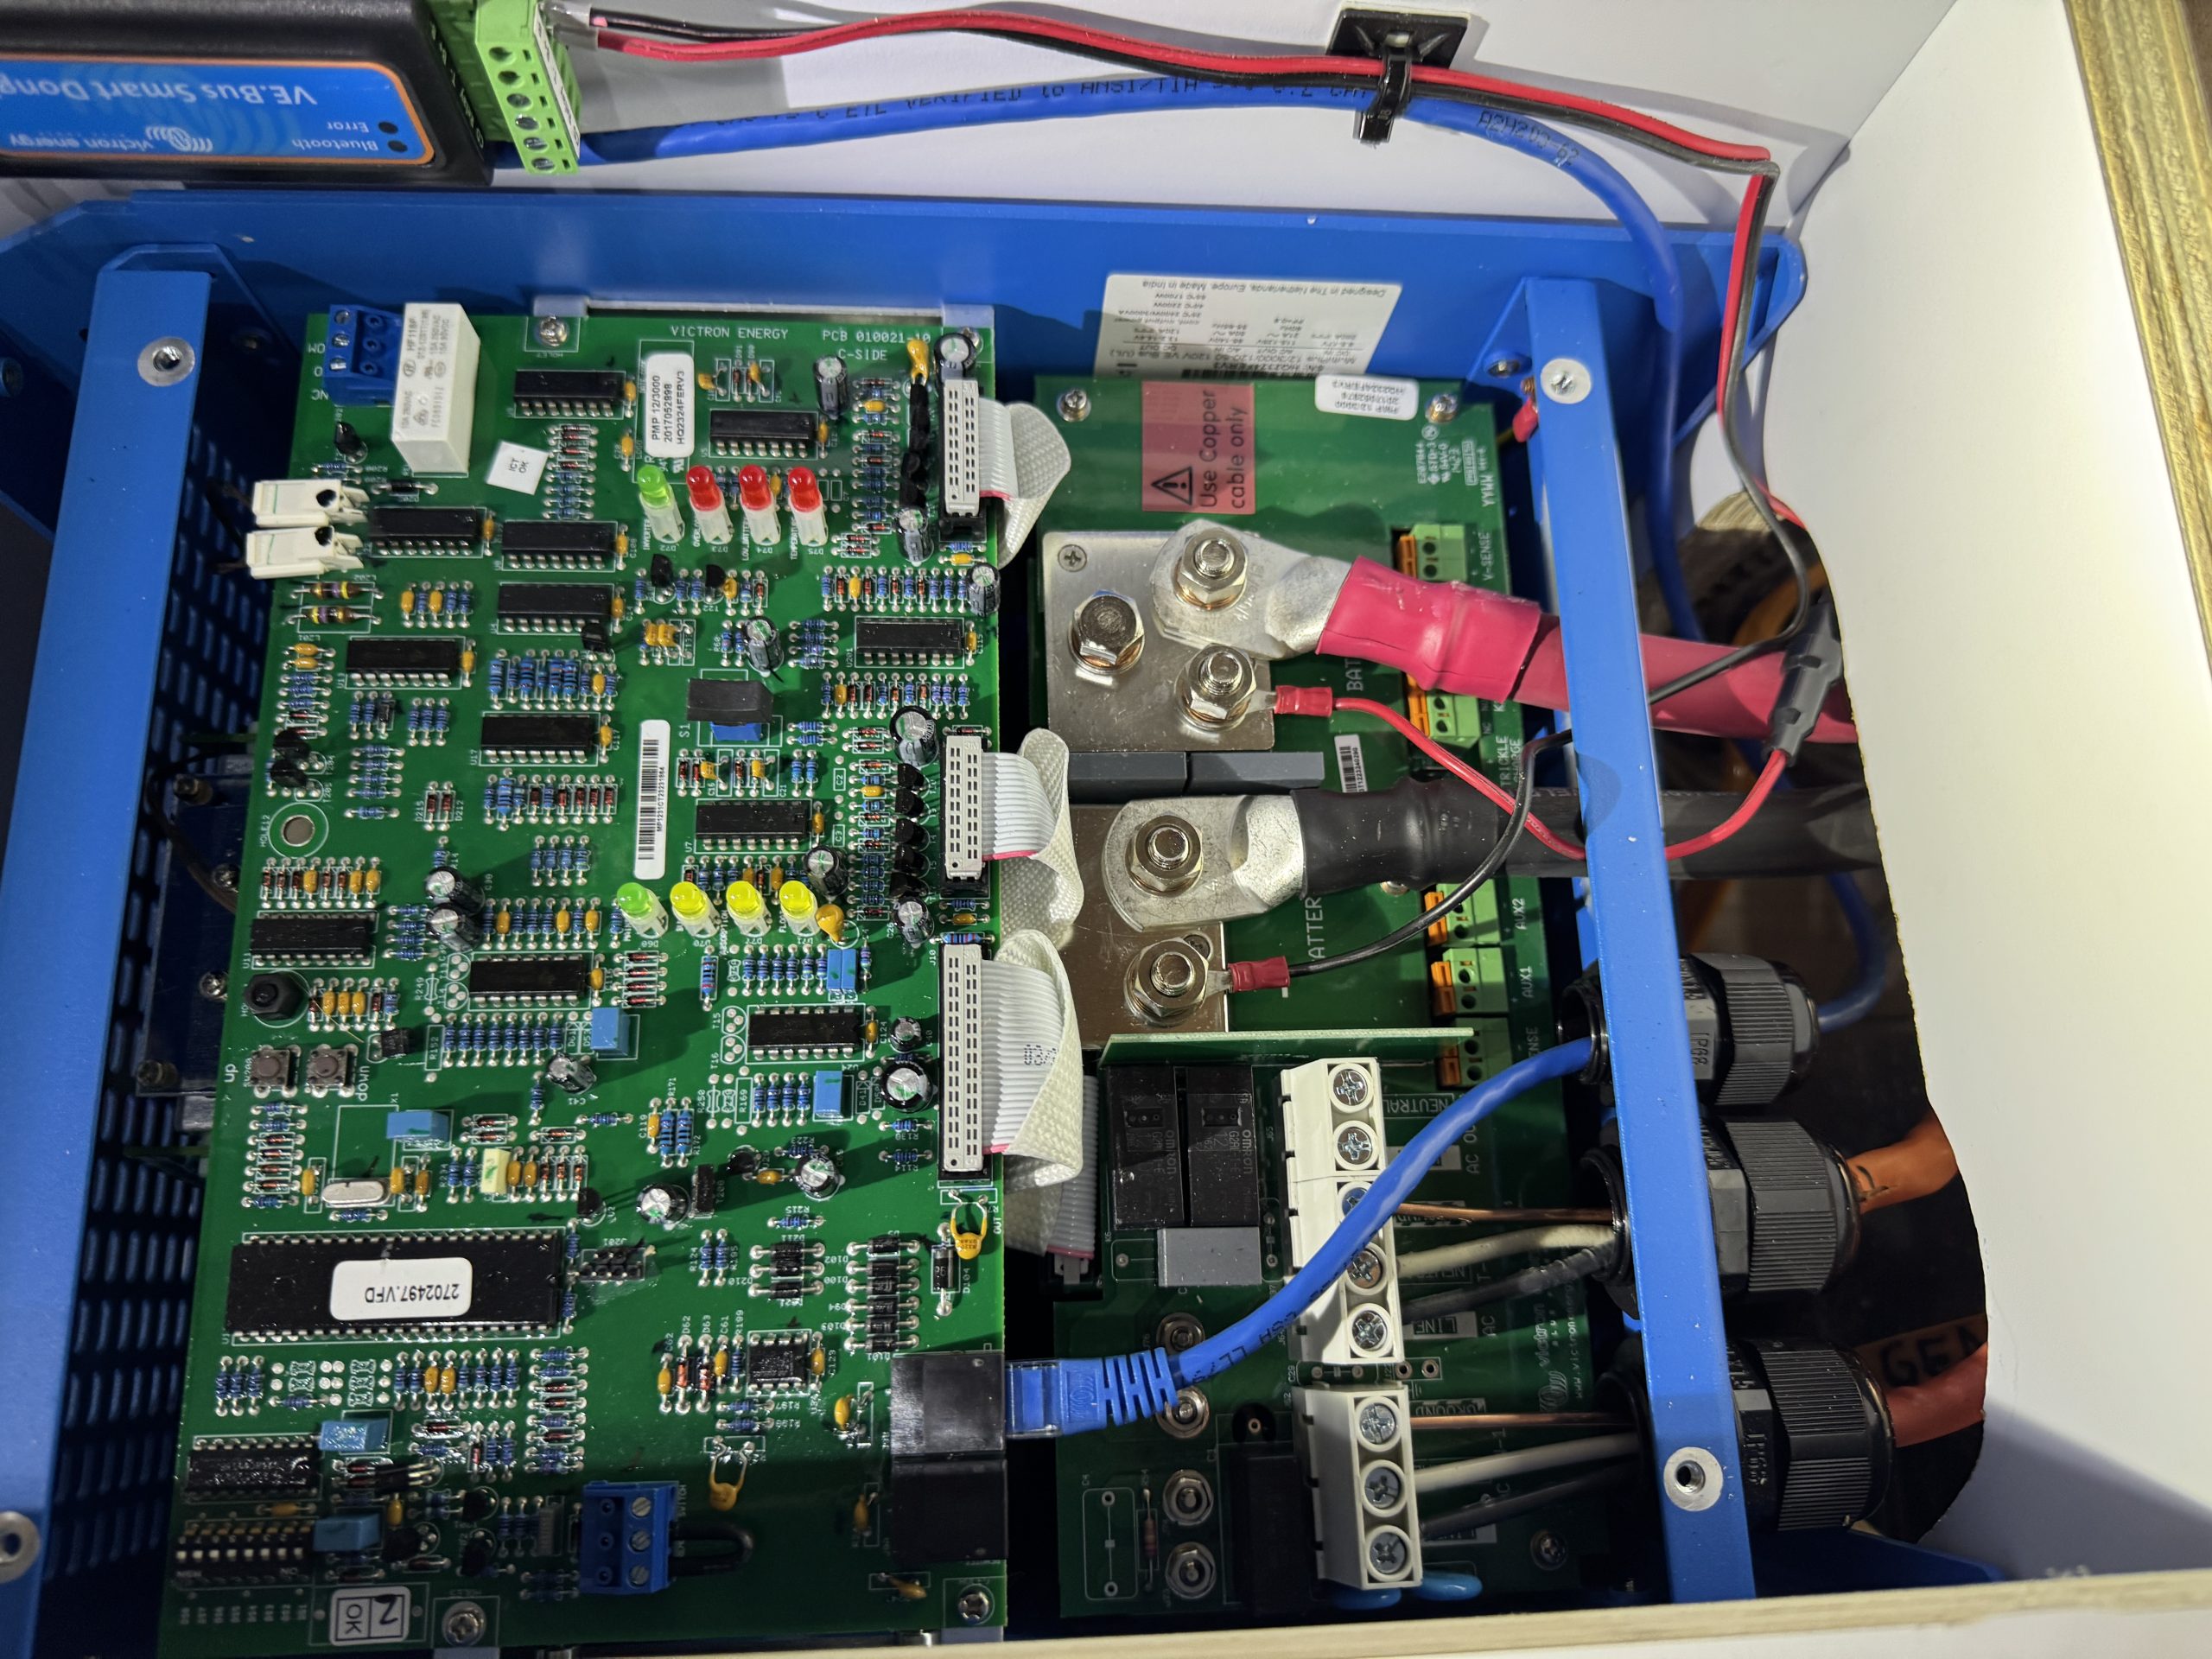
- Victron Multiplus 12/3000/120 inverter charger
- Victron VE.Bus Smart Dongle – allows Bluetooth connectivity to Multiplus
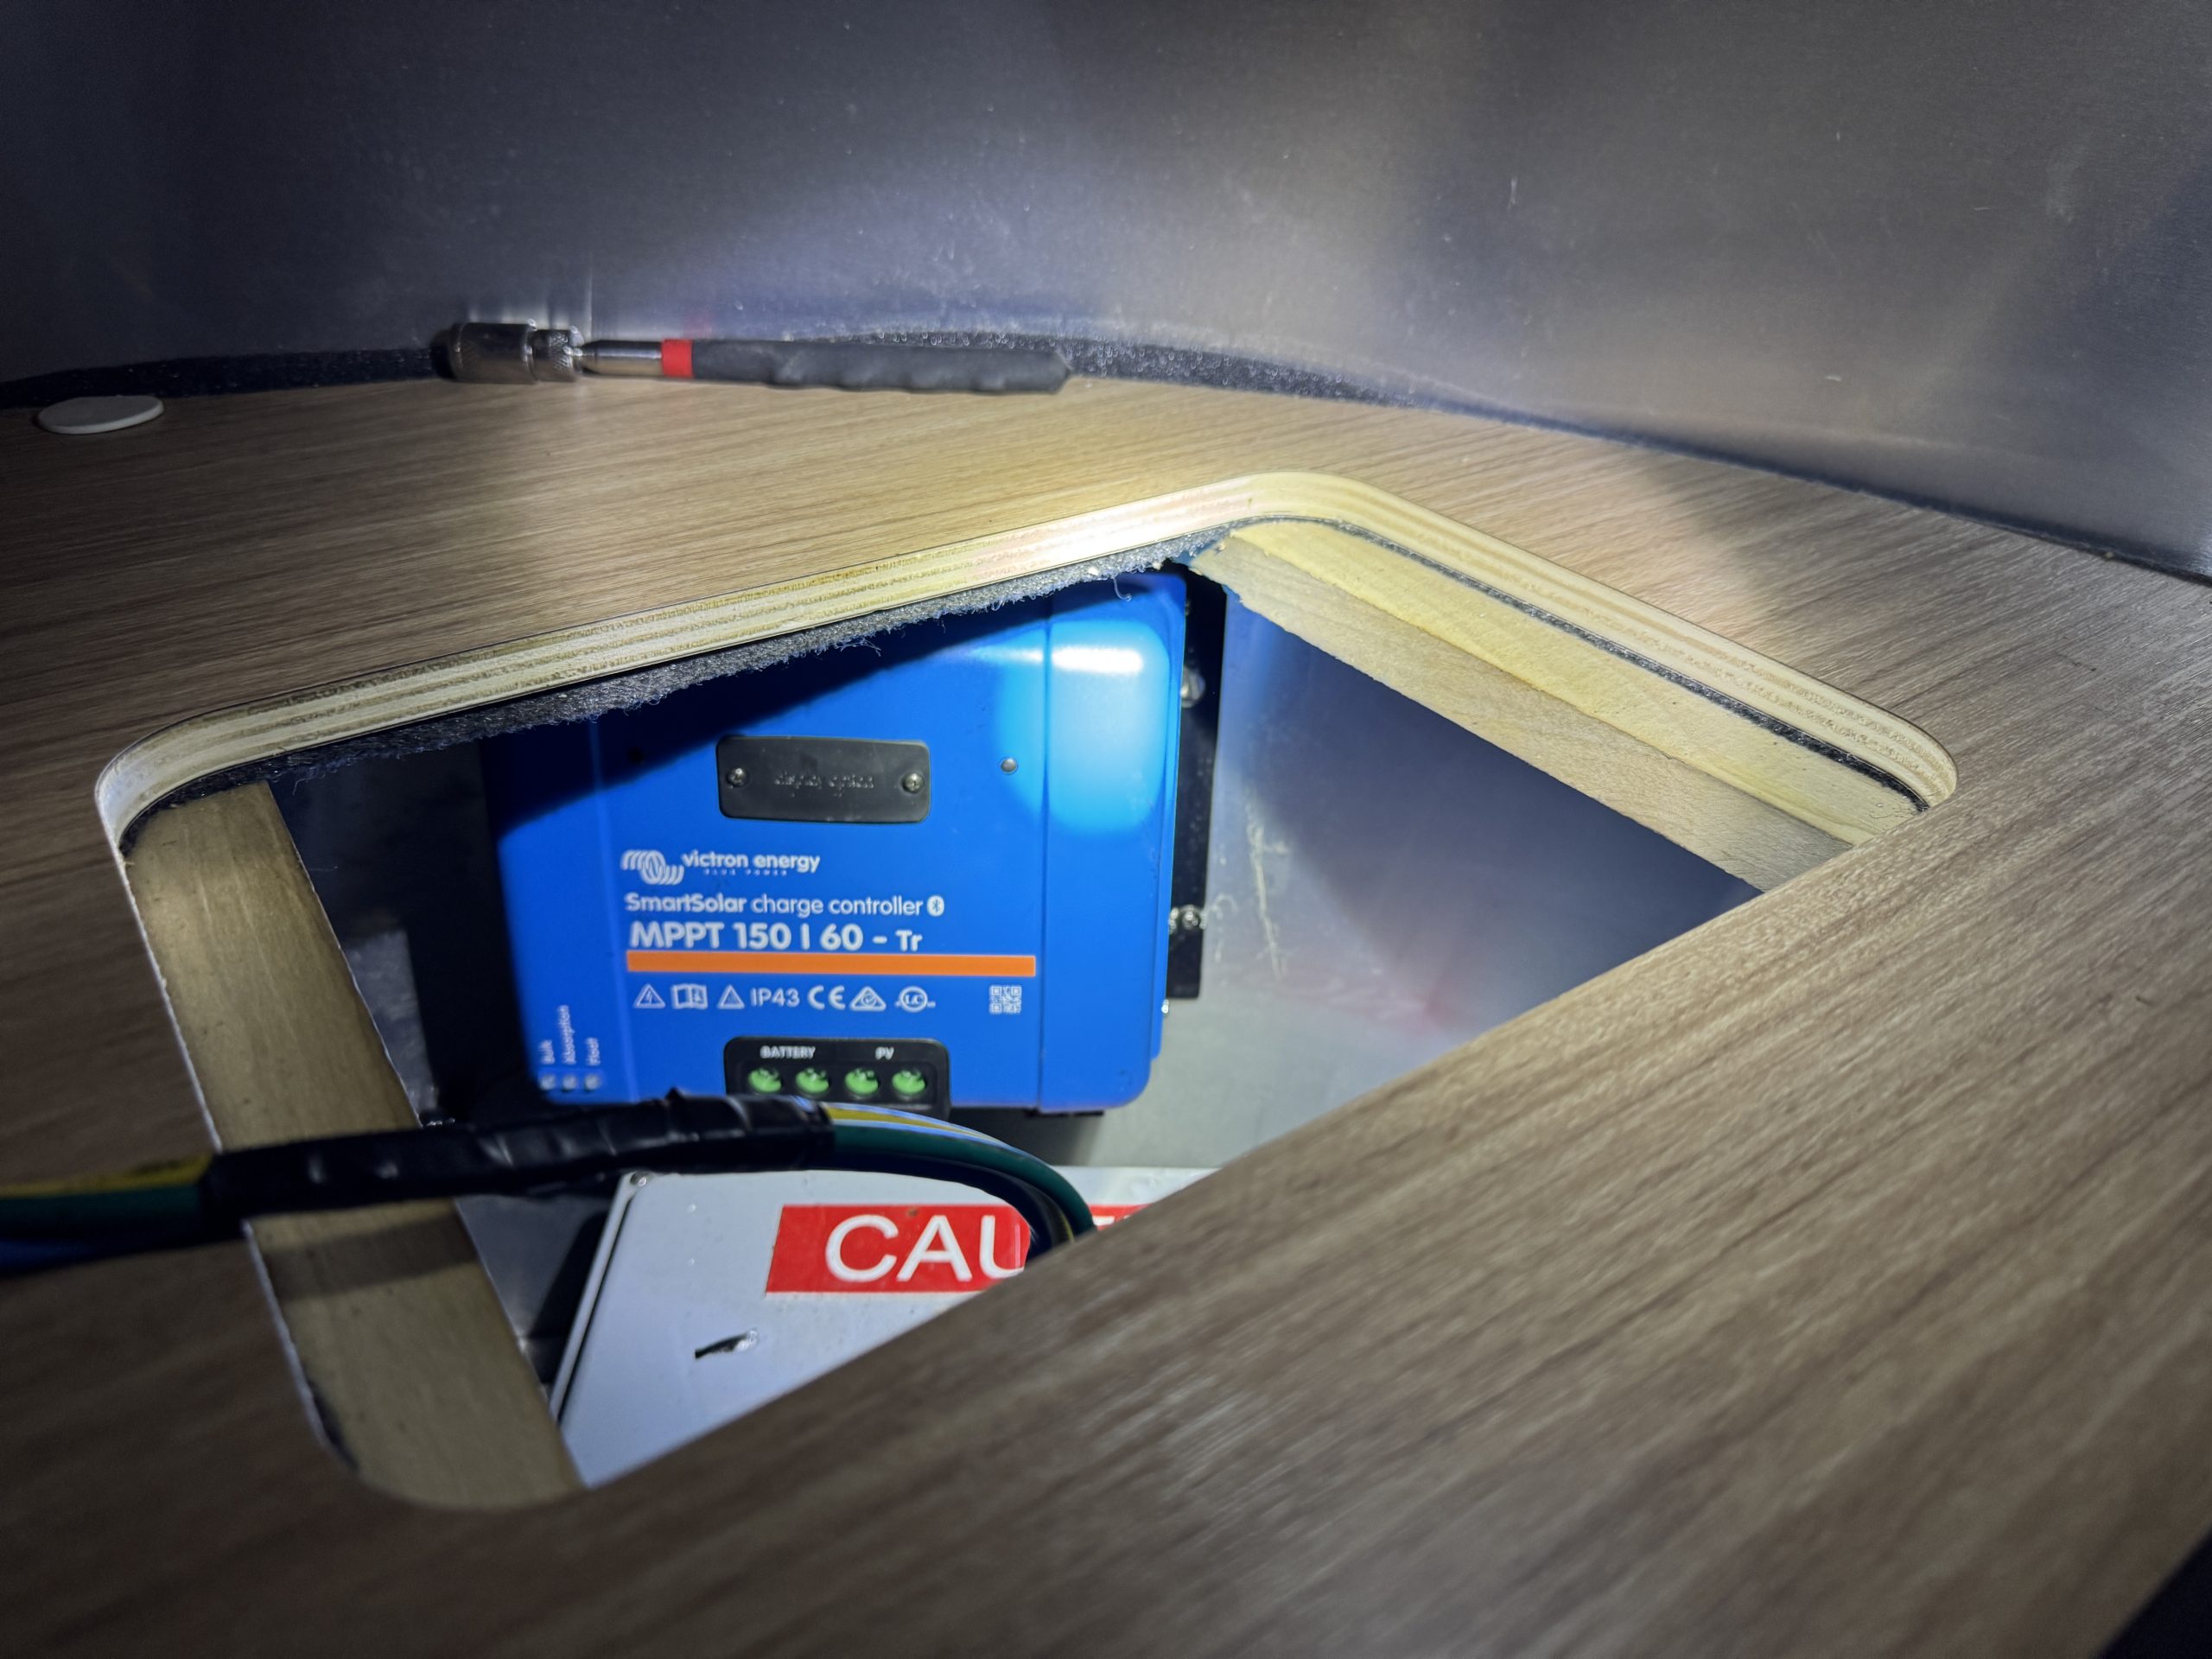
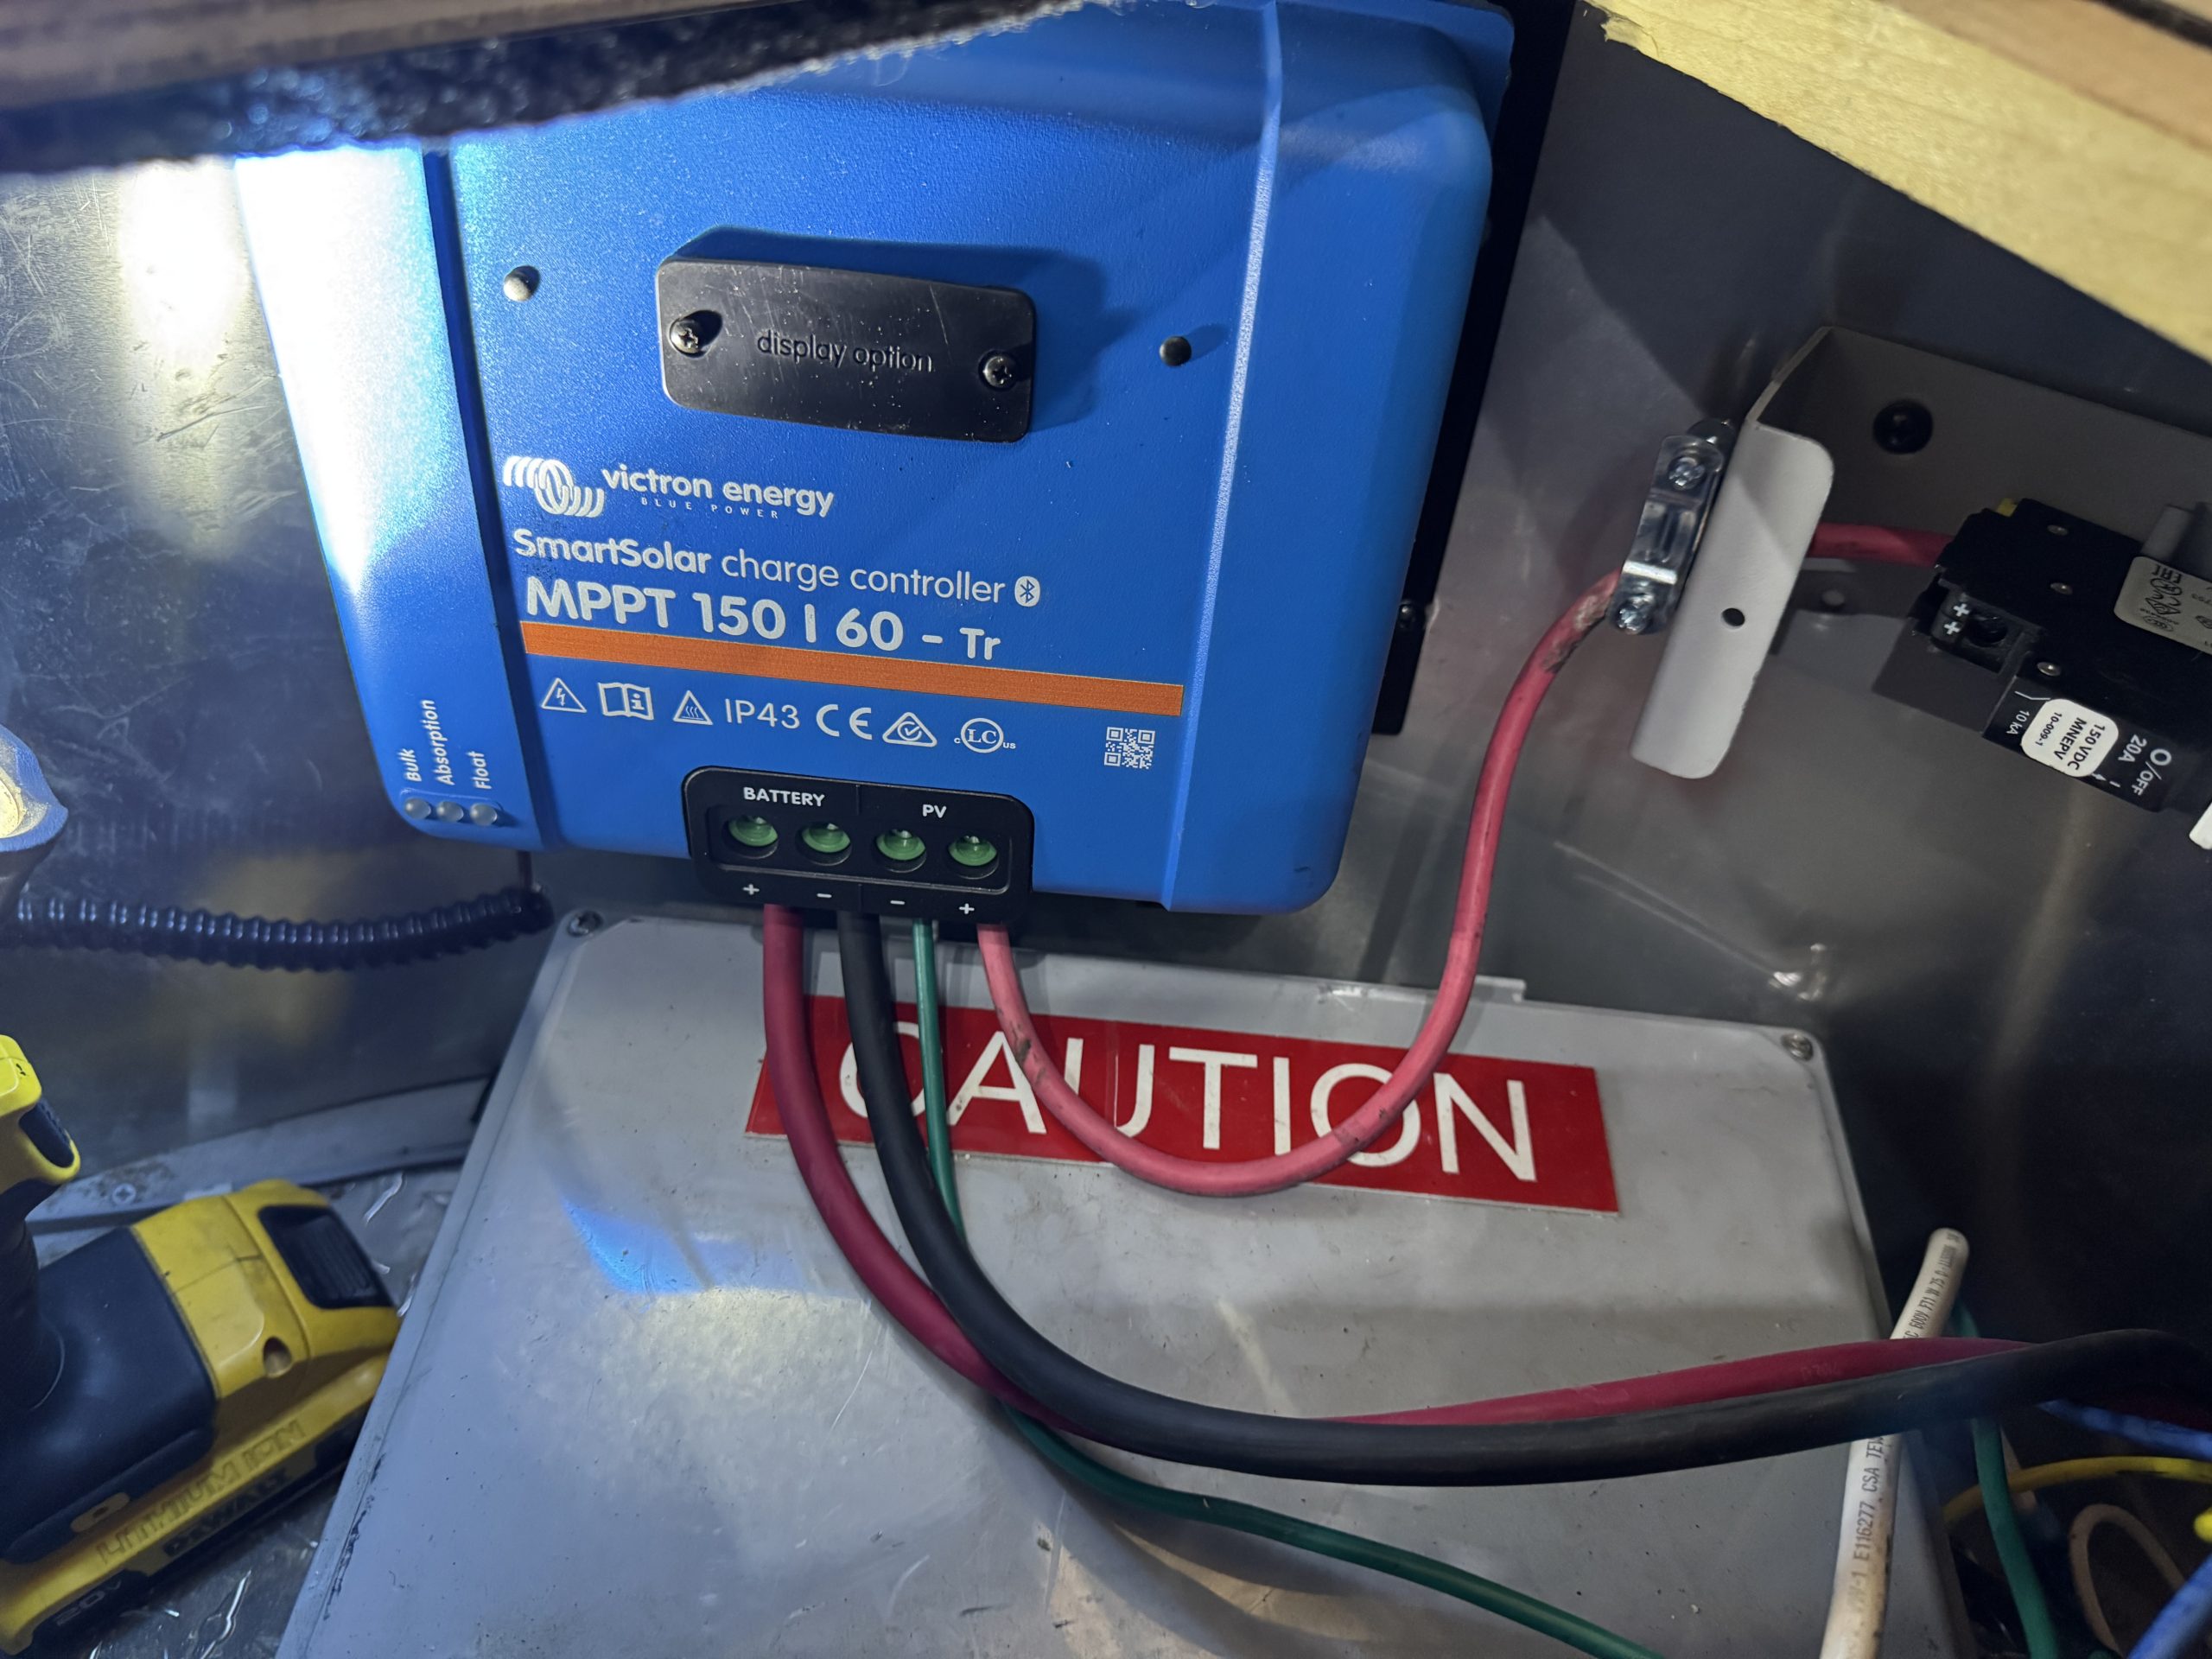
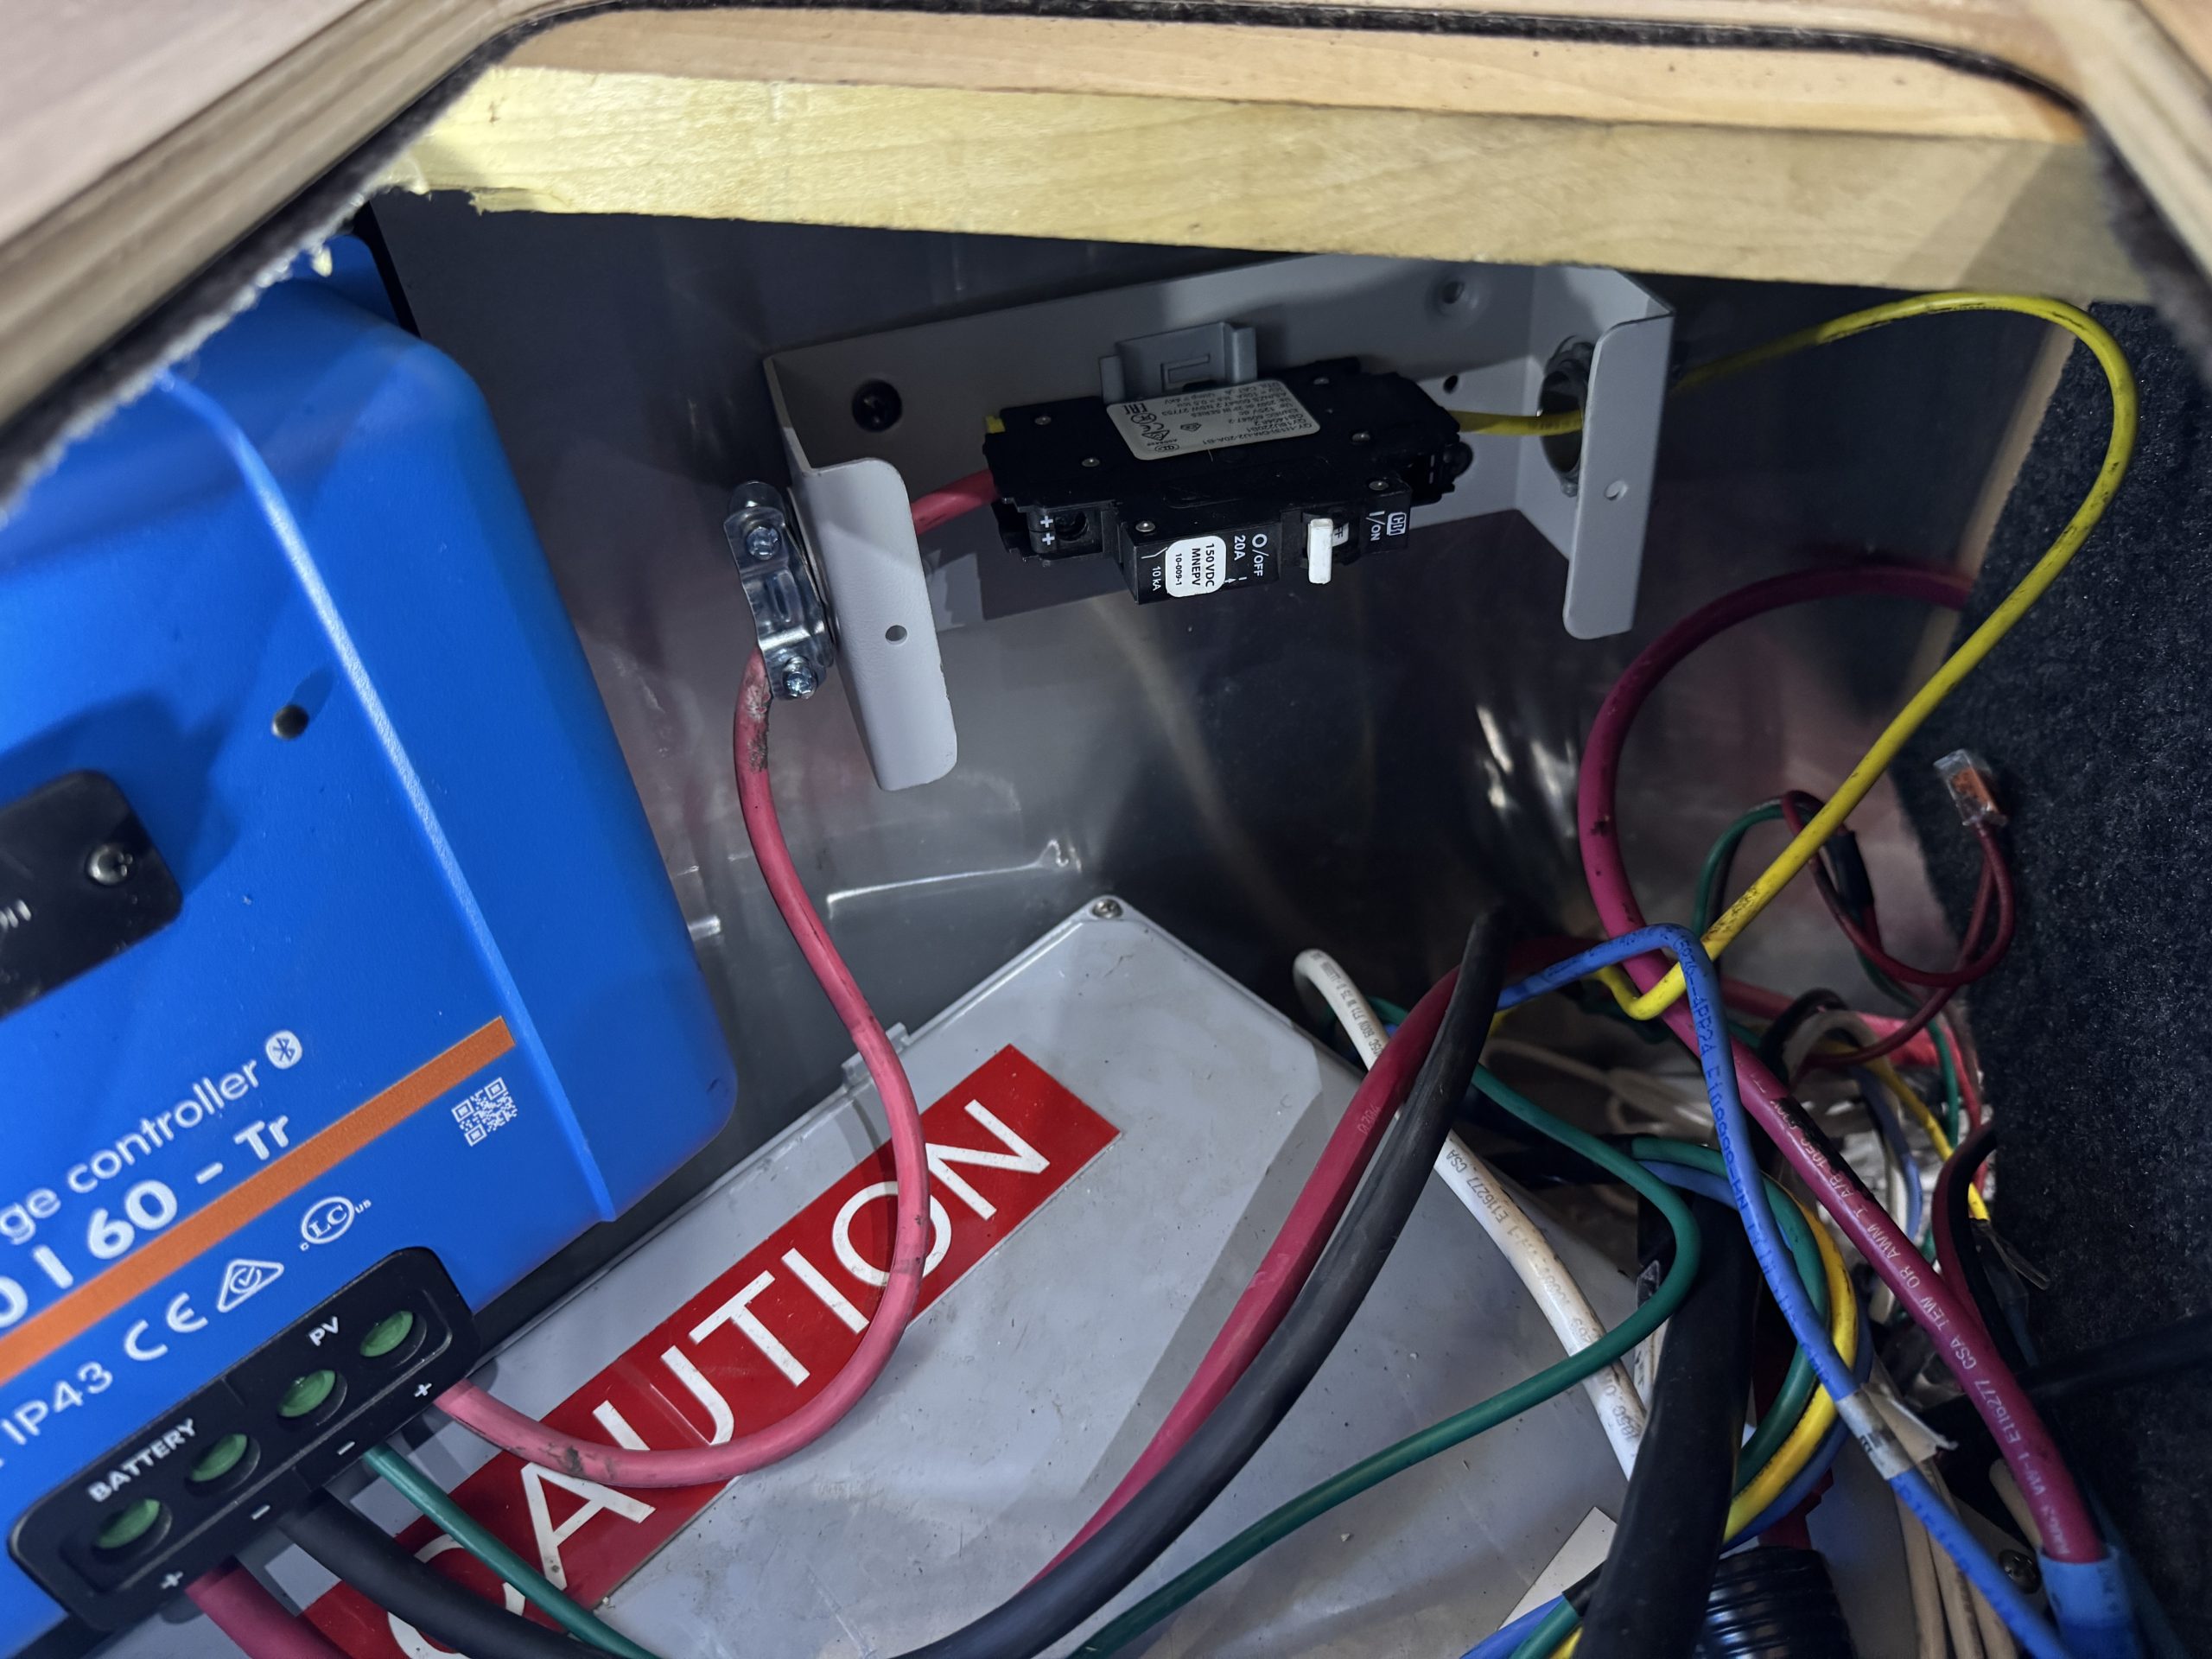
- Victron MPPT 150/60 Smart Solar charge controllers with built in Bluetooth
- Victron SmartShunt
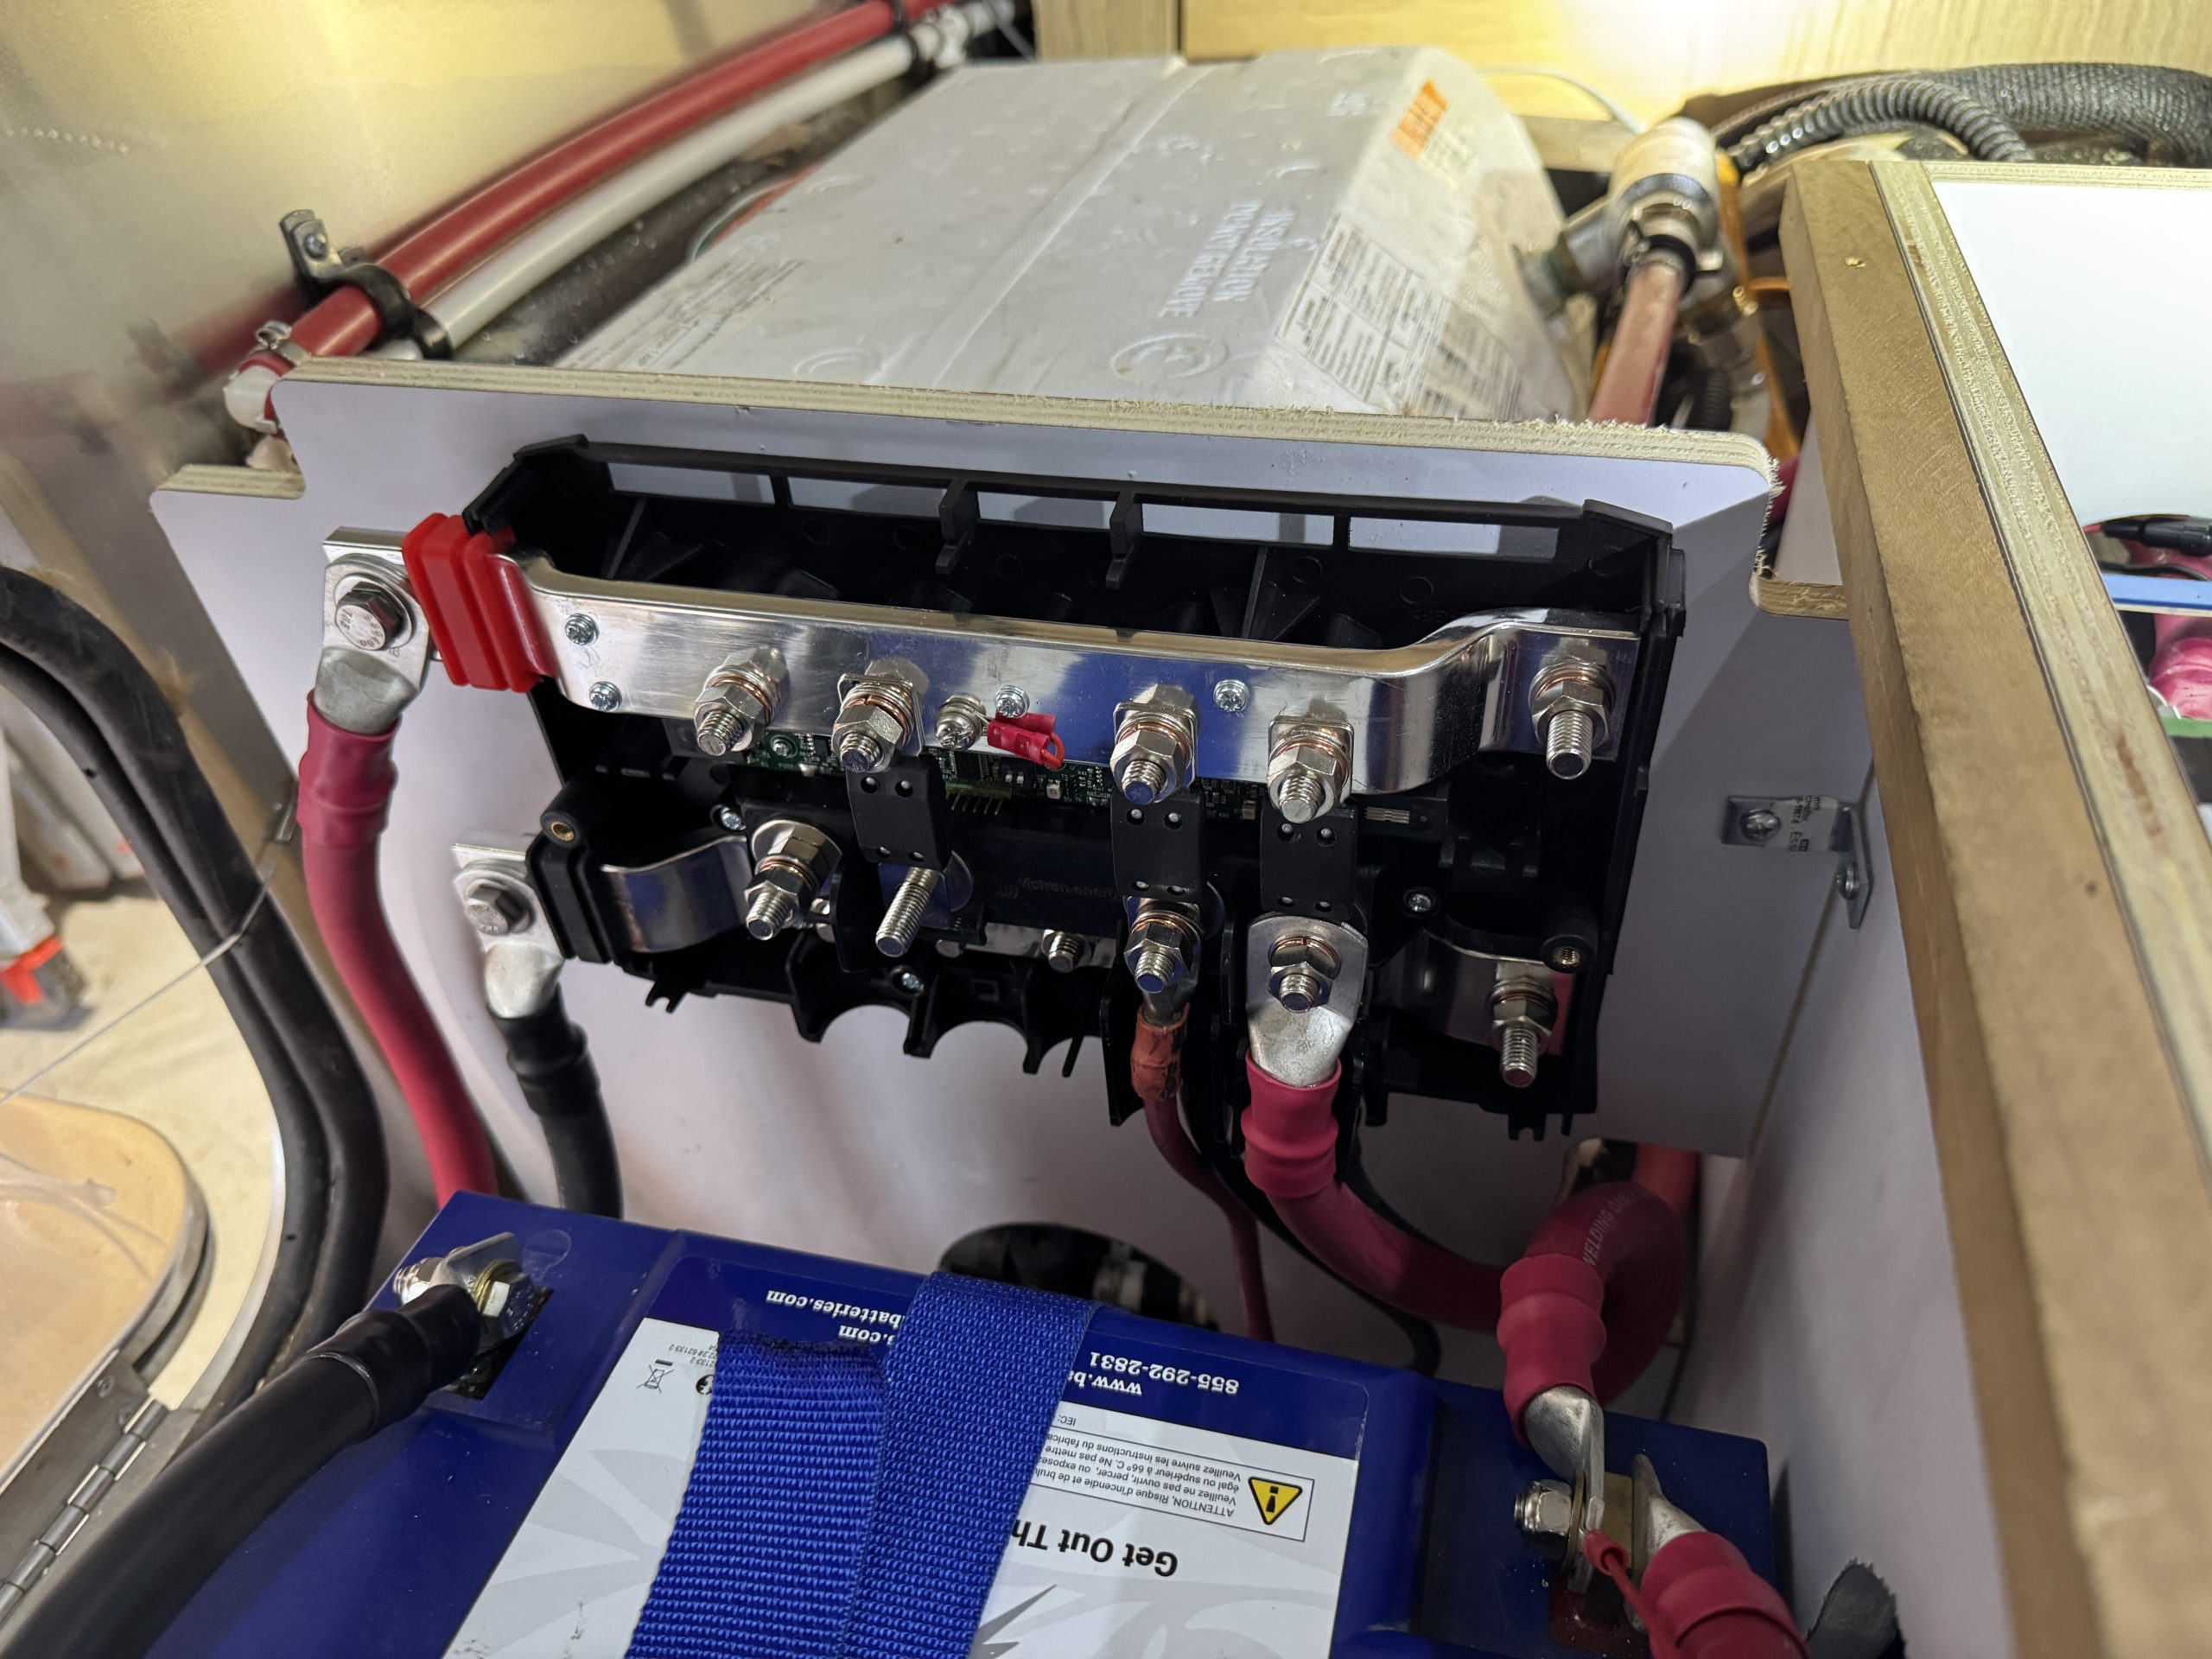
- Victron Lynx Distributor
- Various Victron Mega Fuses for Lynx Distributor
- 7 Feet 4 AWG Welding Cable - Red
- 7 Feet 4 AWG Welding Cable - Black
- 10 Feet 4/0 Welding Cable - Red
- 9.75 Feet 4/0 Welding Cable - Black
- 5 Feet 6 AWG Bare Copper Cable
- 4 Feet 10/2 Romex Cable
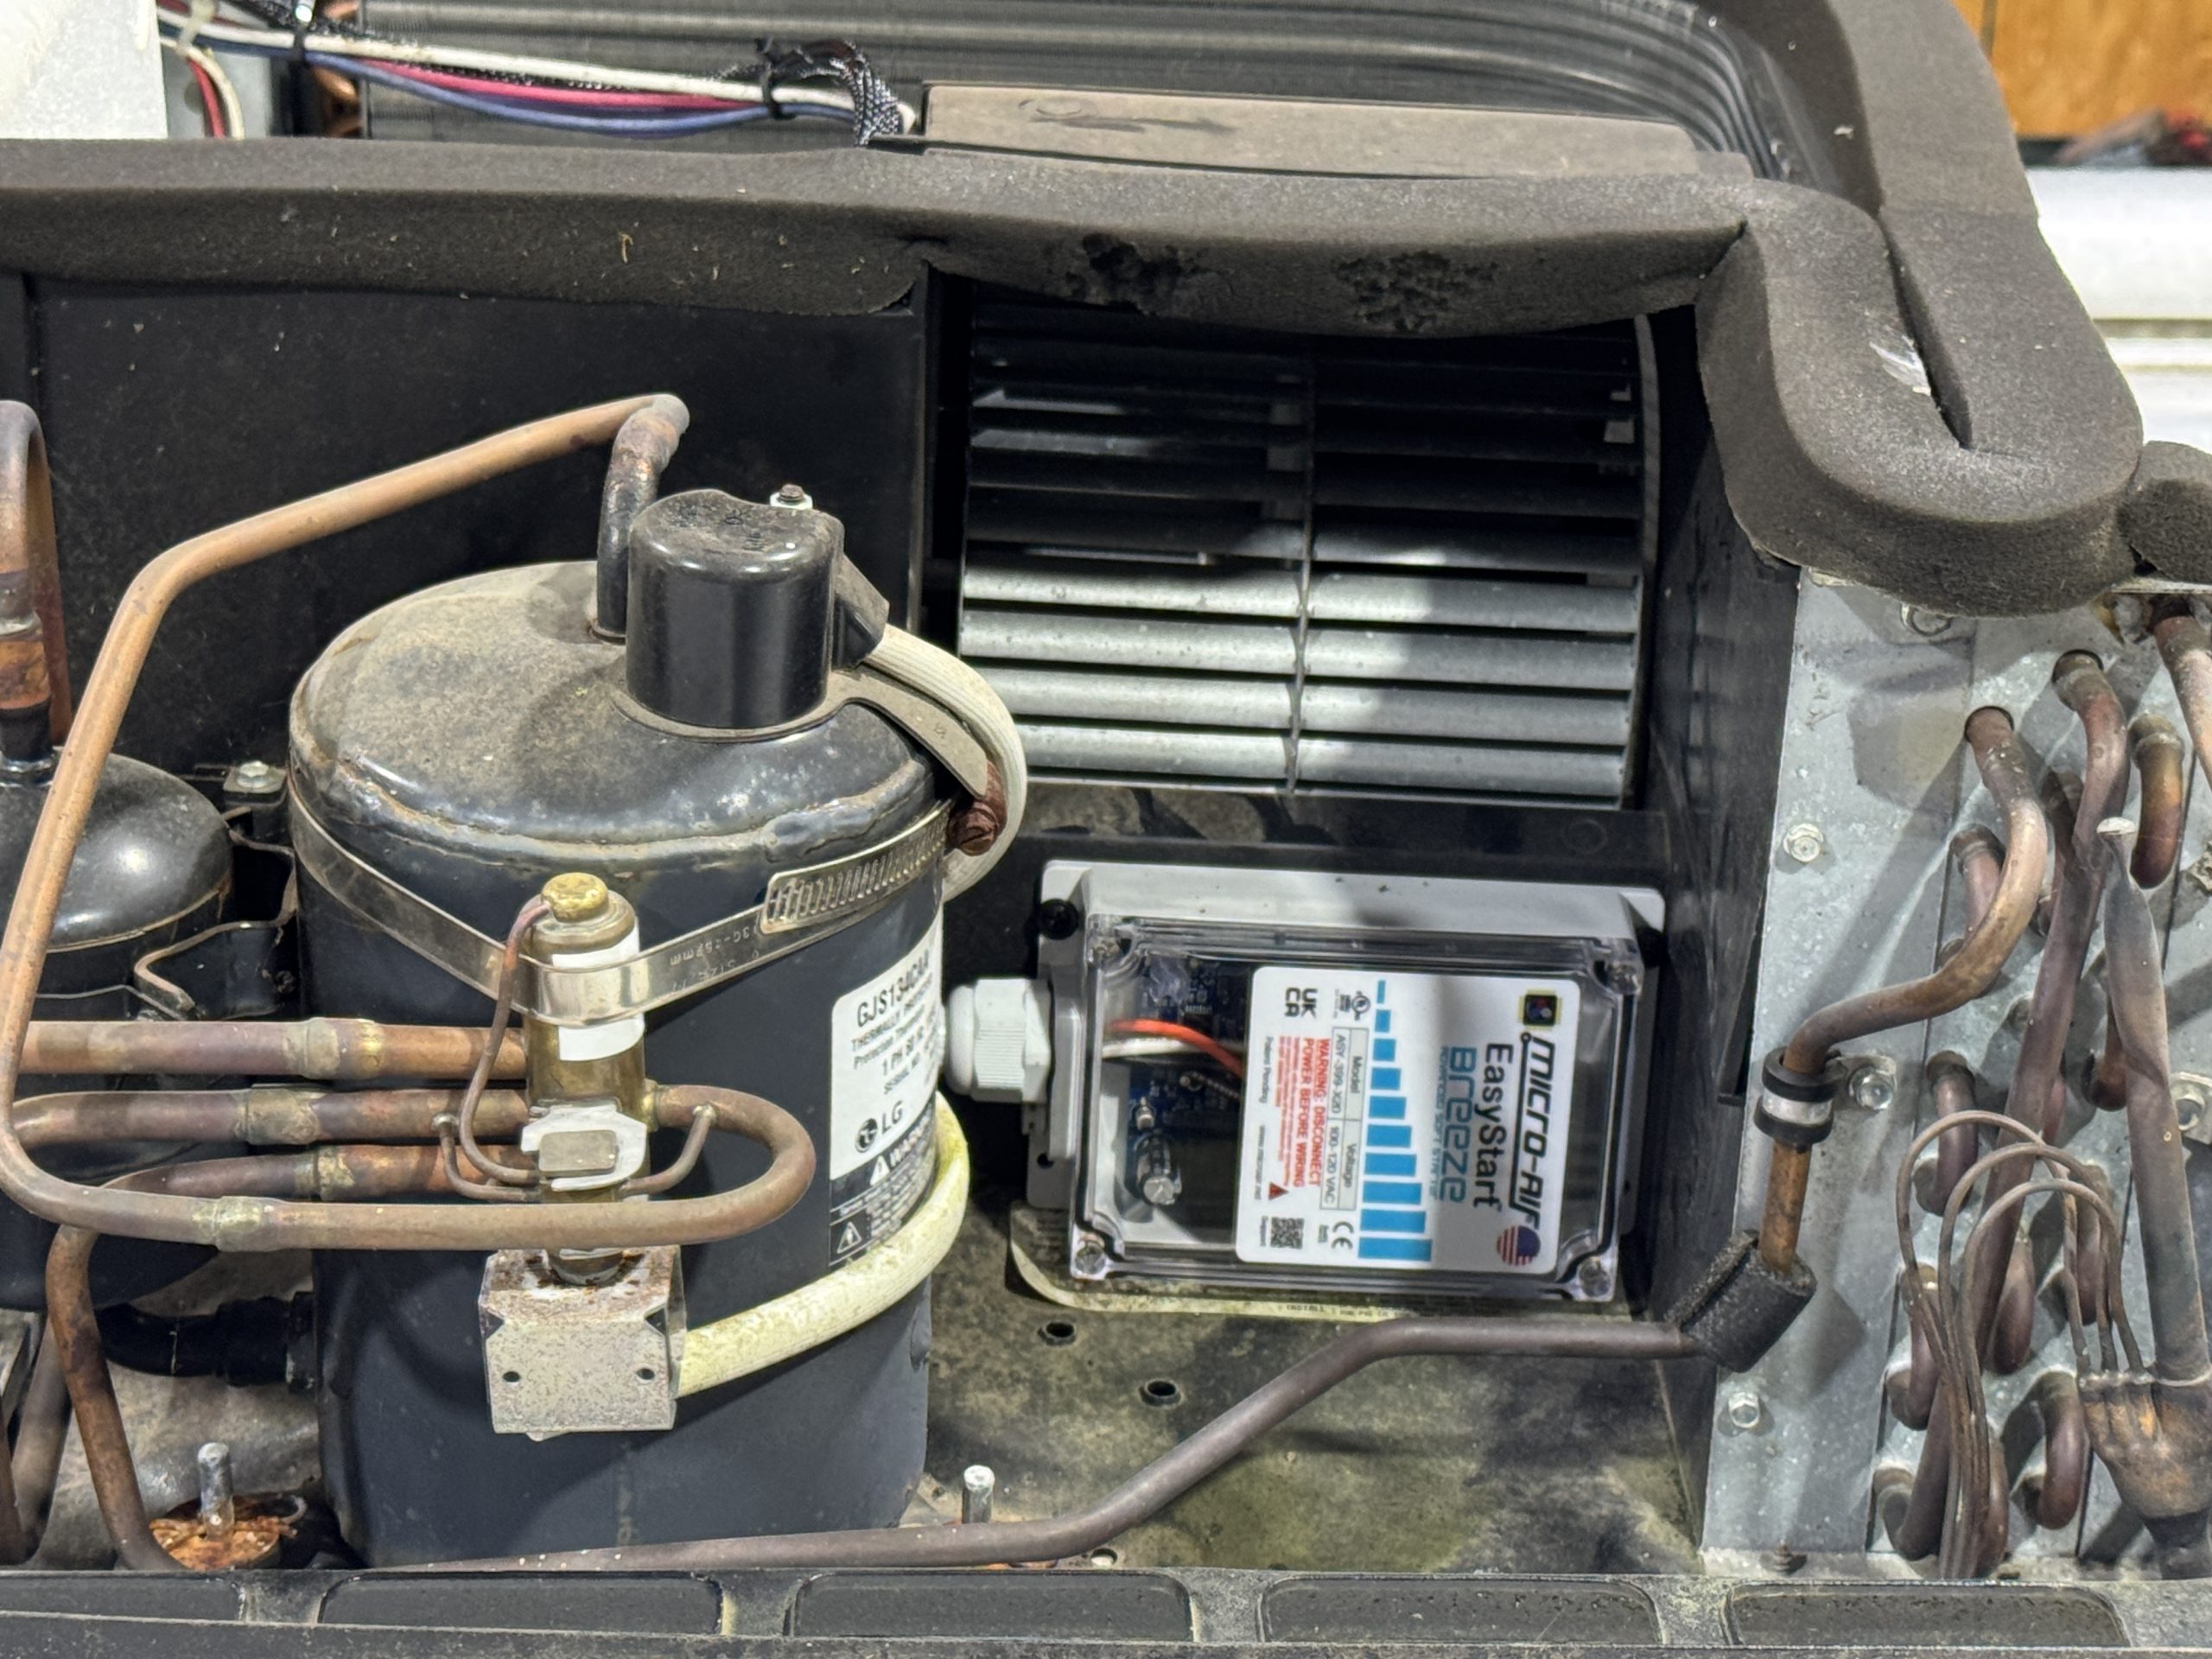
- 1 - Micro Air Easy Start
- 40 Feet 10 AWG PV Wire
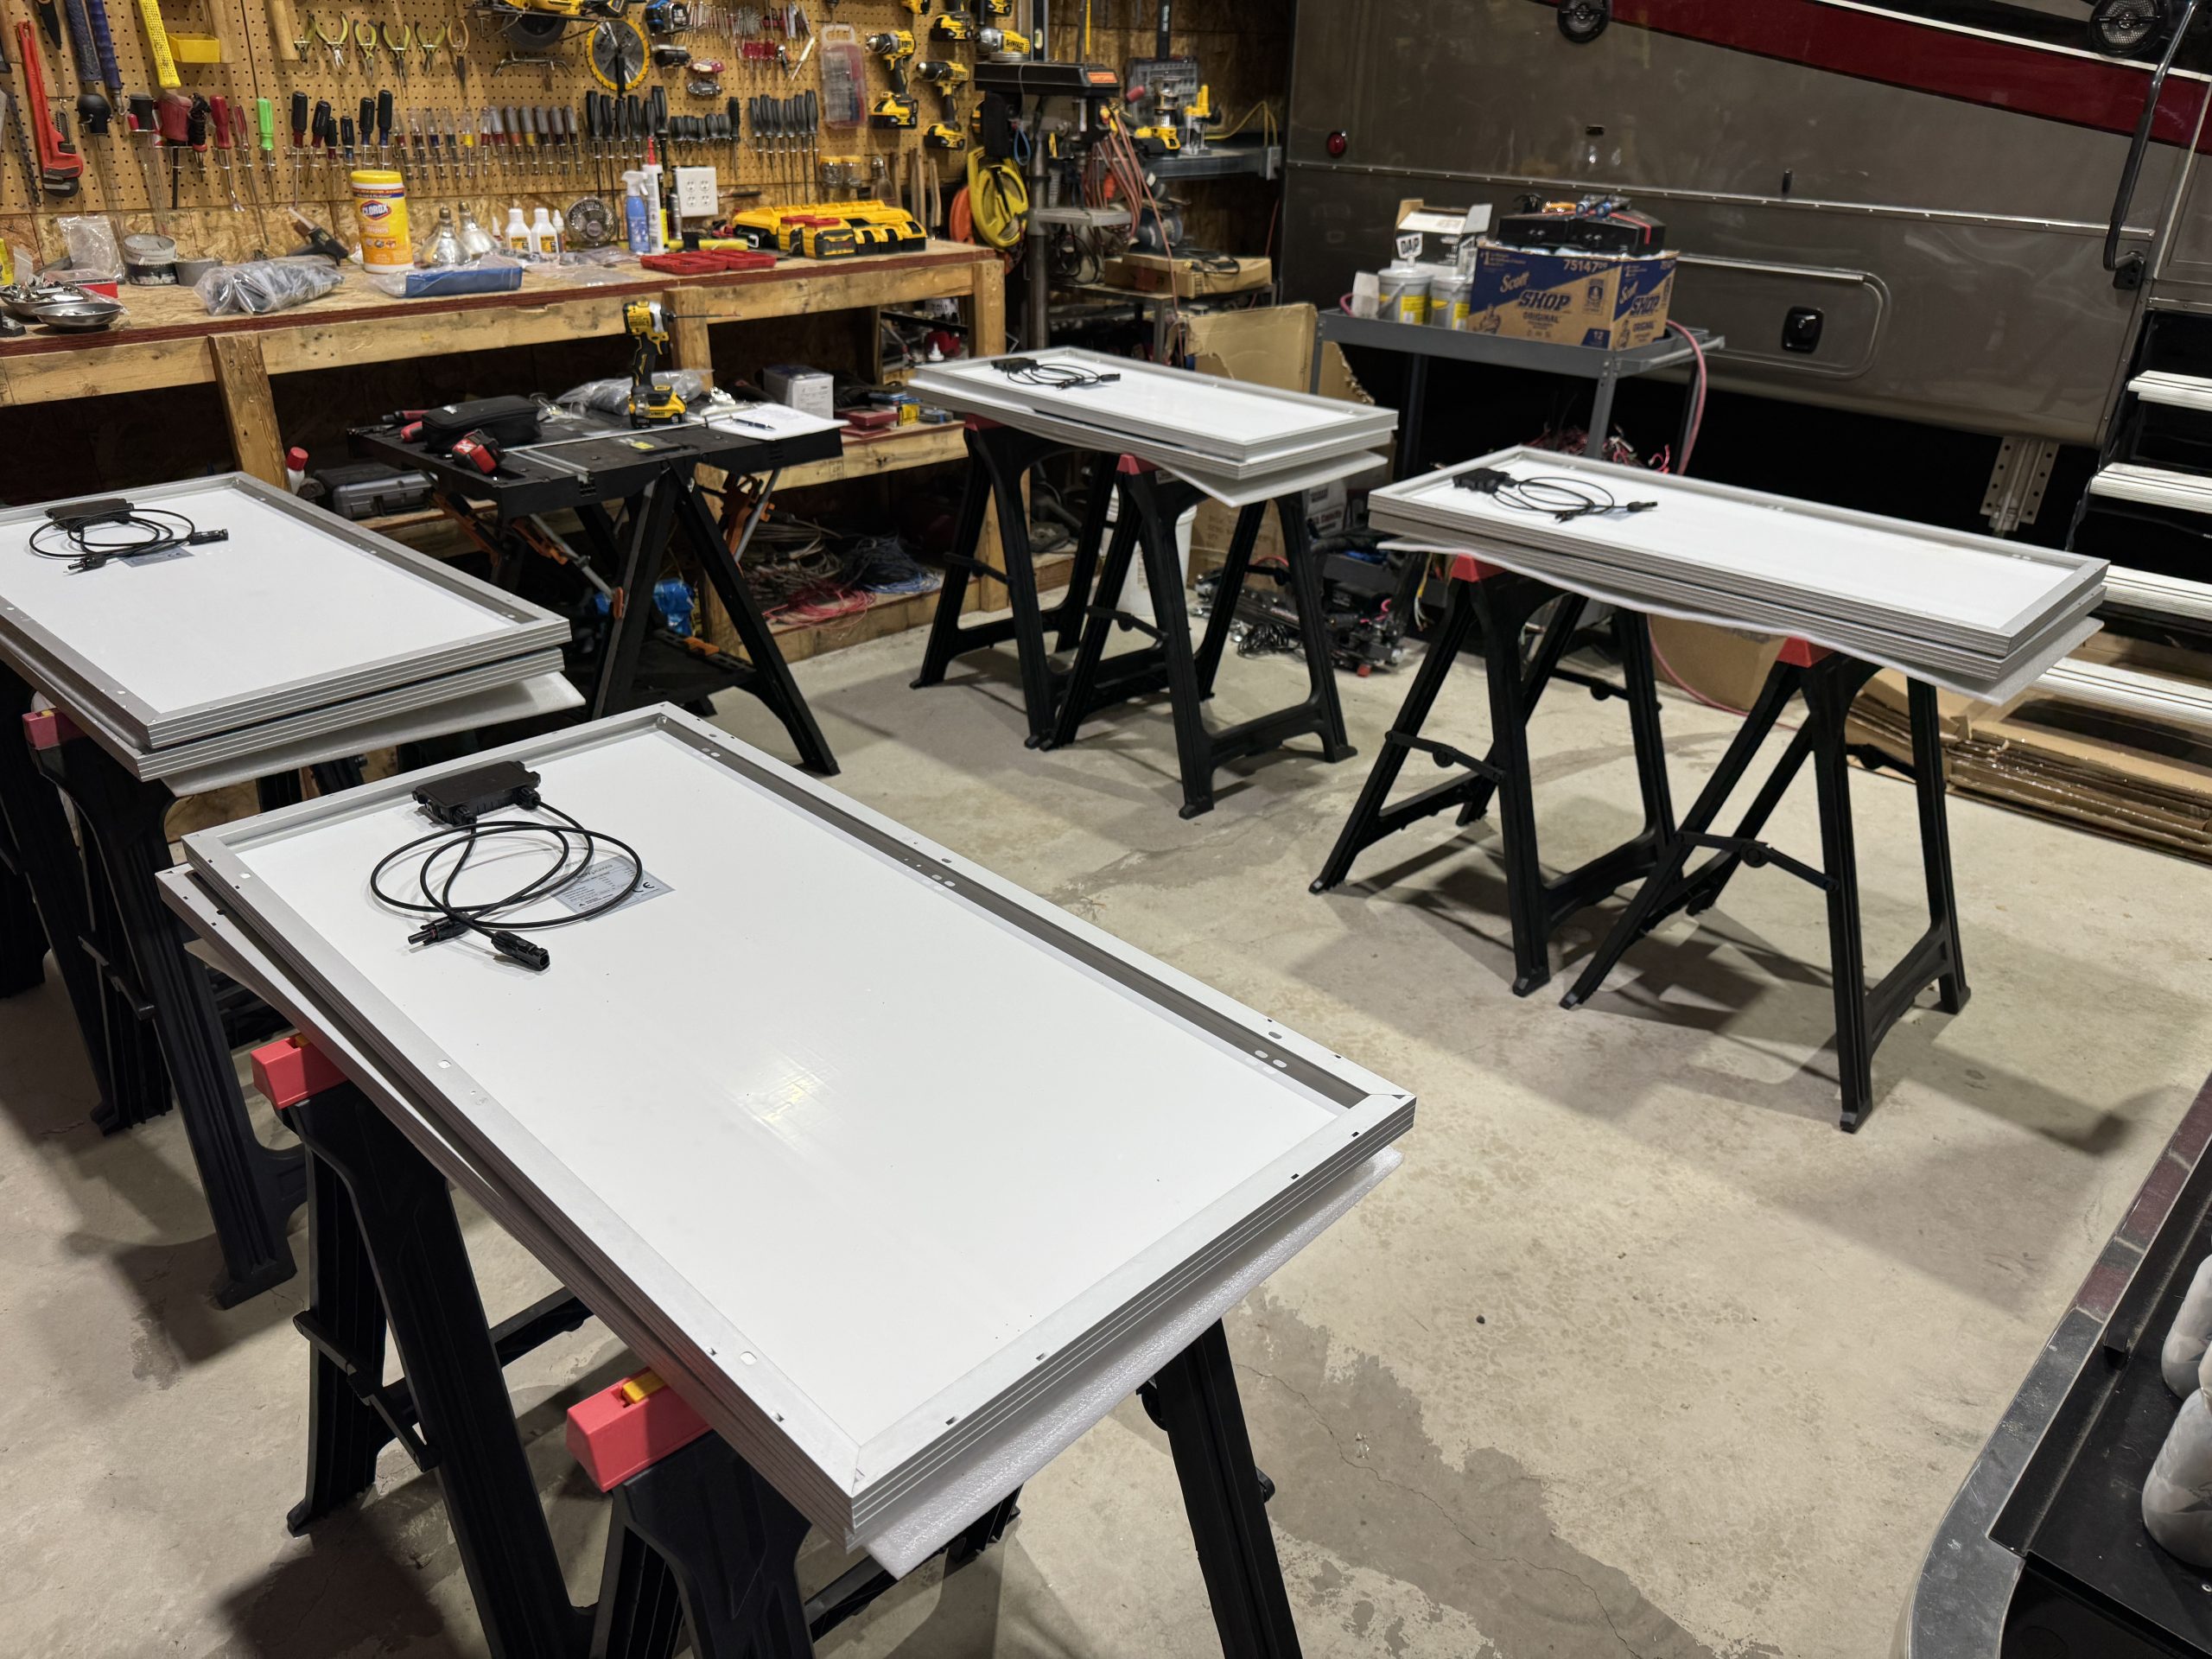
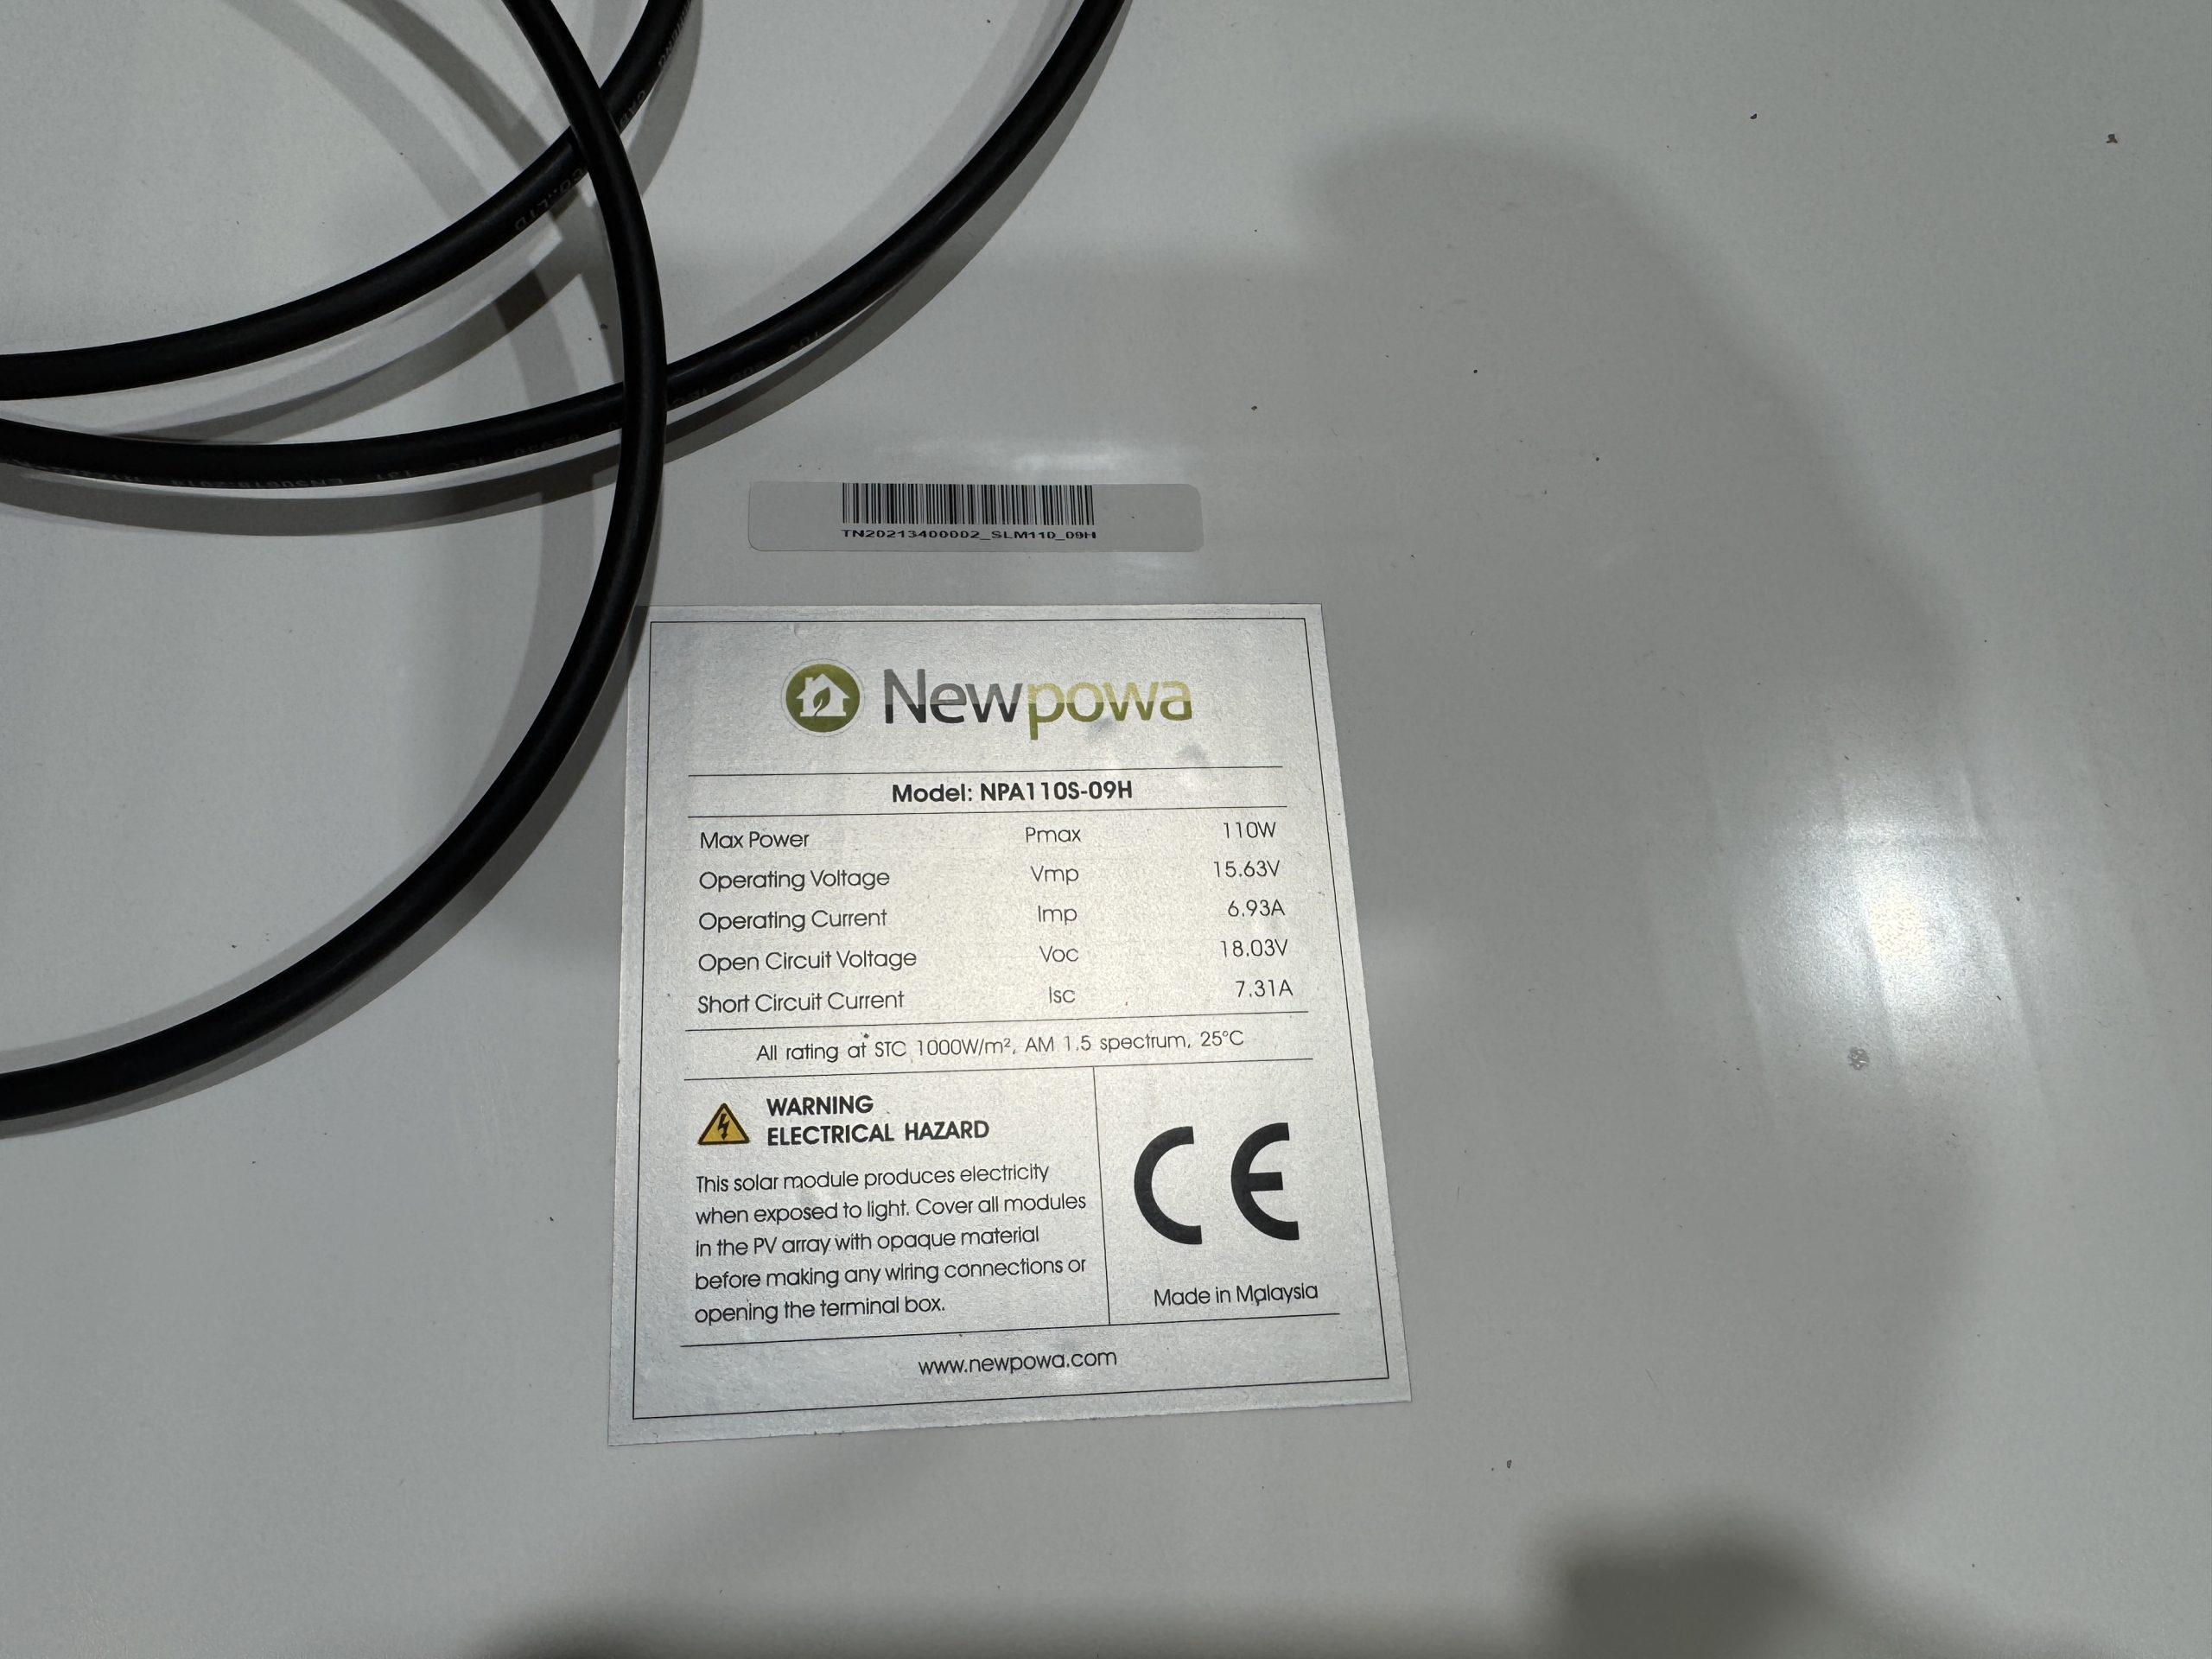
- 8 - Newpowa 110 Watt Solar Panels
- 32 - Aluminum Solar Panel Mounting Z Brackets with Stainless Steele Hardware
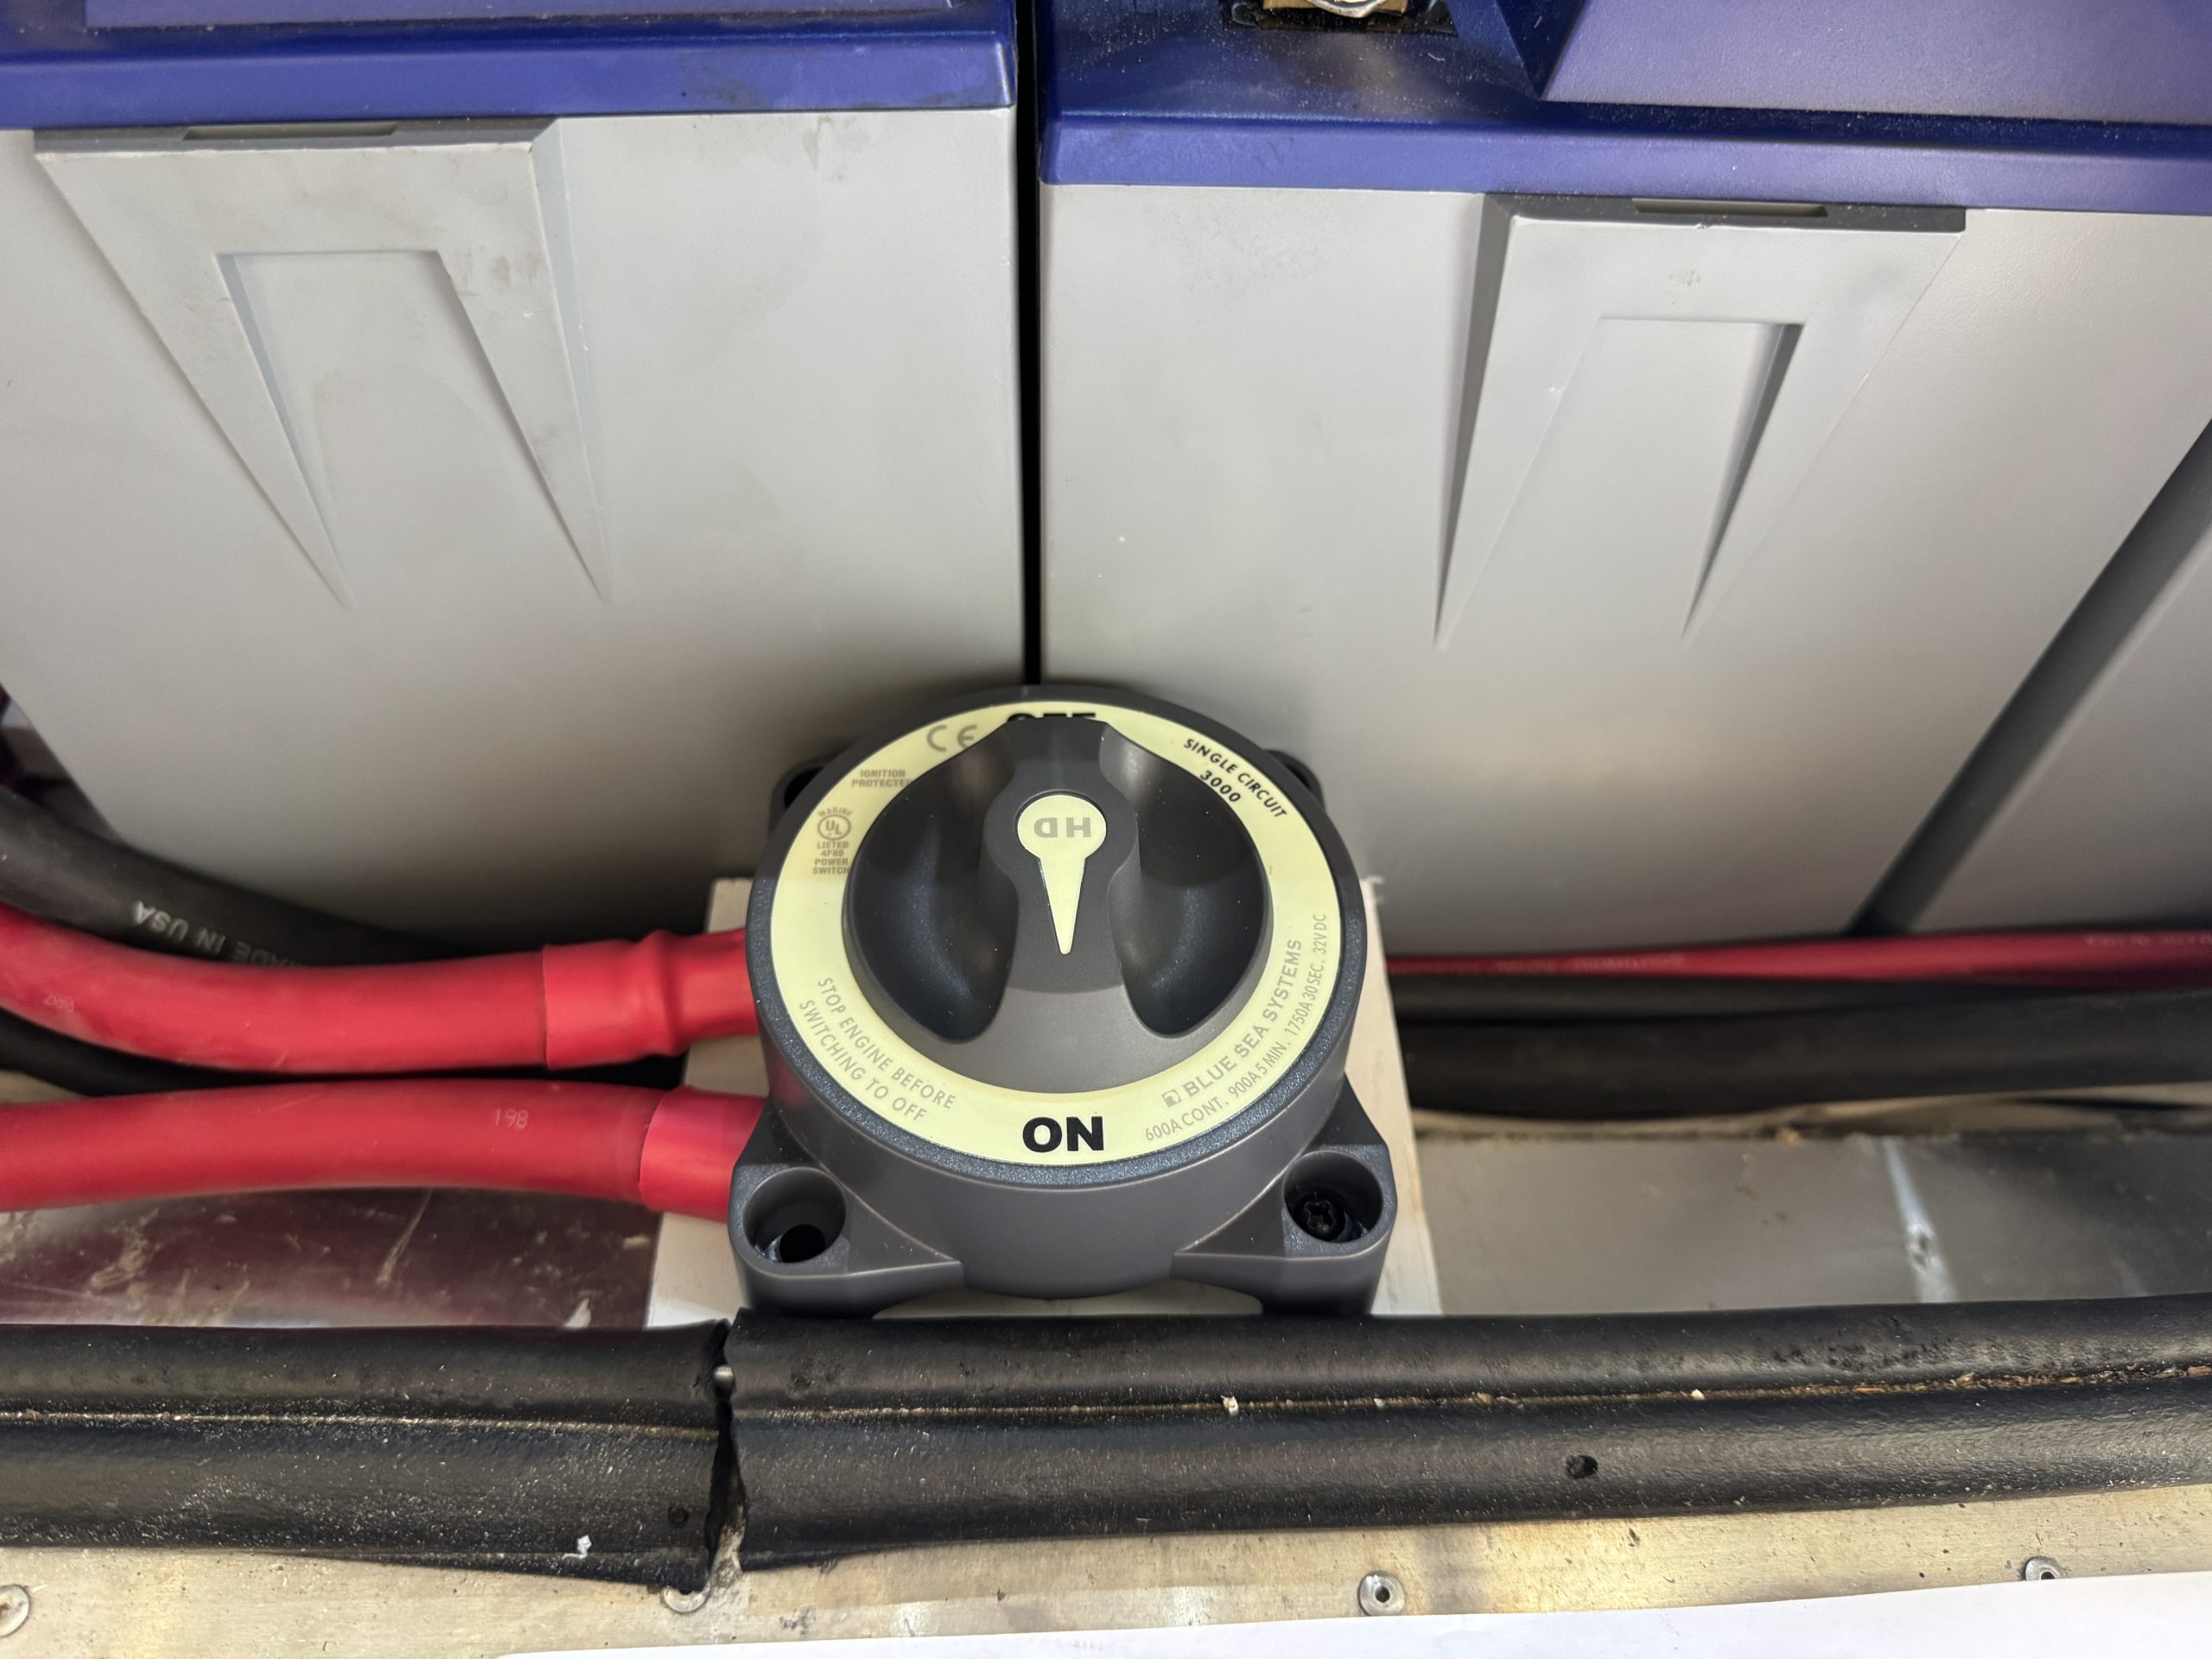
- Blue Sea 3000 Battery Switch HD On/Off
- Midnite Solar Baby Box
- 20A 150 V MNEPV DC DIN Mounted Breakers for Midnite Solar Baby Box
- Red Dual Wall Shrink Tubing
- Black Dual Wall Shrink Tubing
- Various 4/0 Tinned Copper Lugs
- Various 4 AWG Tinned Copper Lugs
- Various 6 AWG Tinned Copper Lugs
- MC4 Male/Female Solar Panel Cable Connectors& MC4 Y Connector
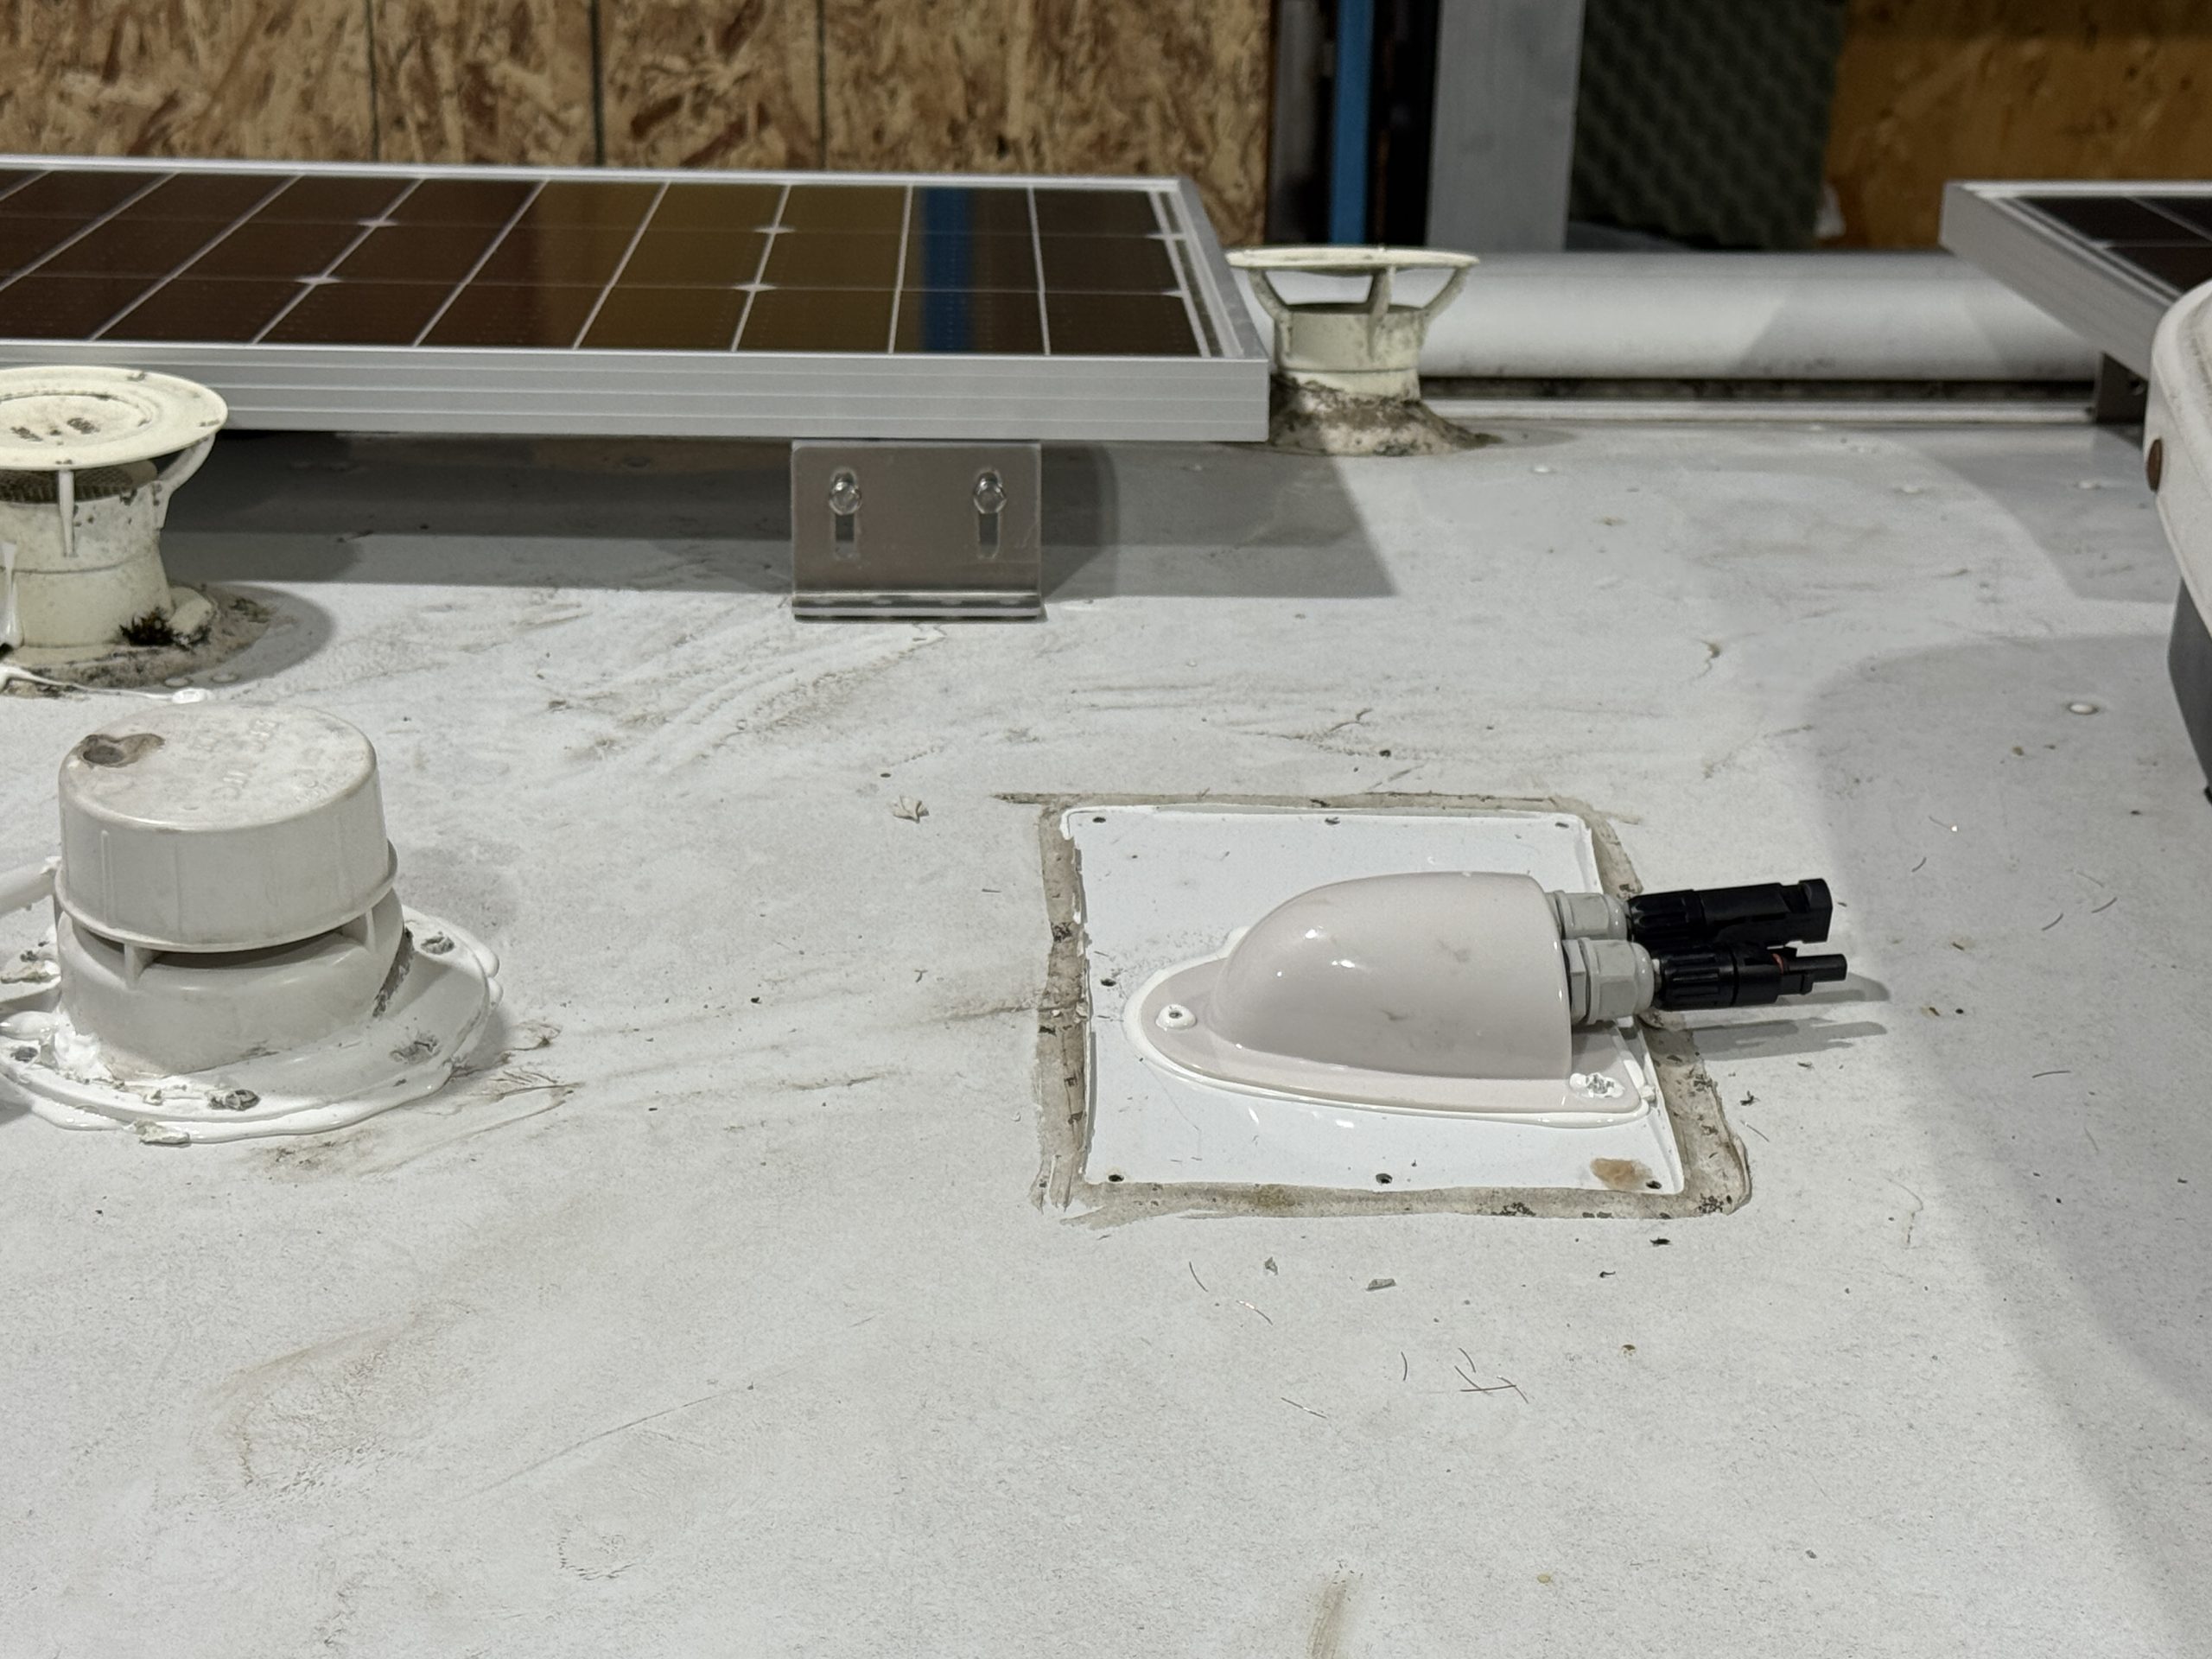
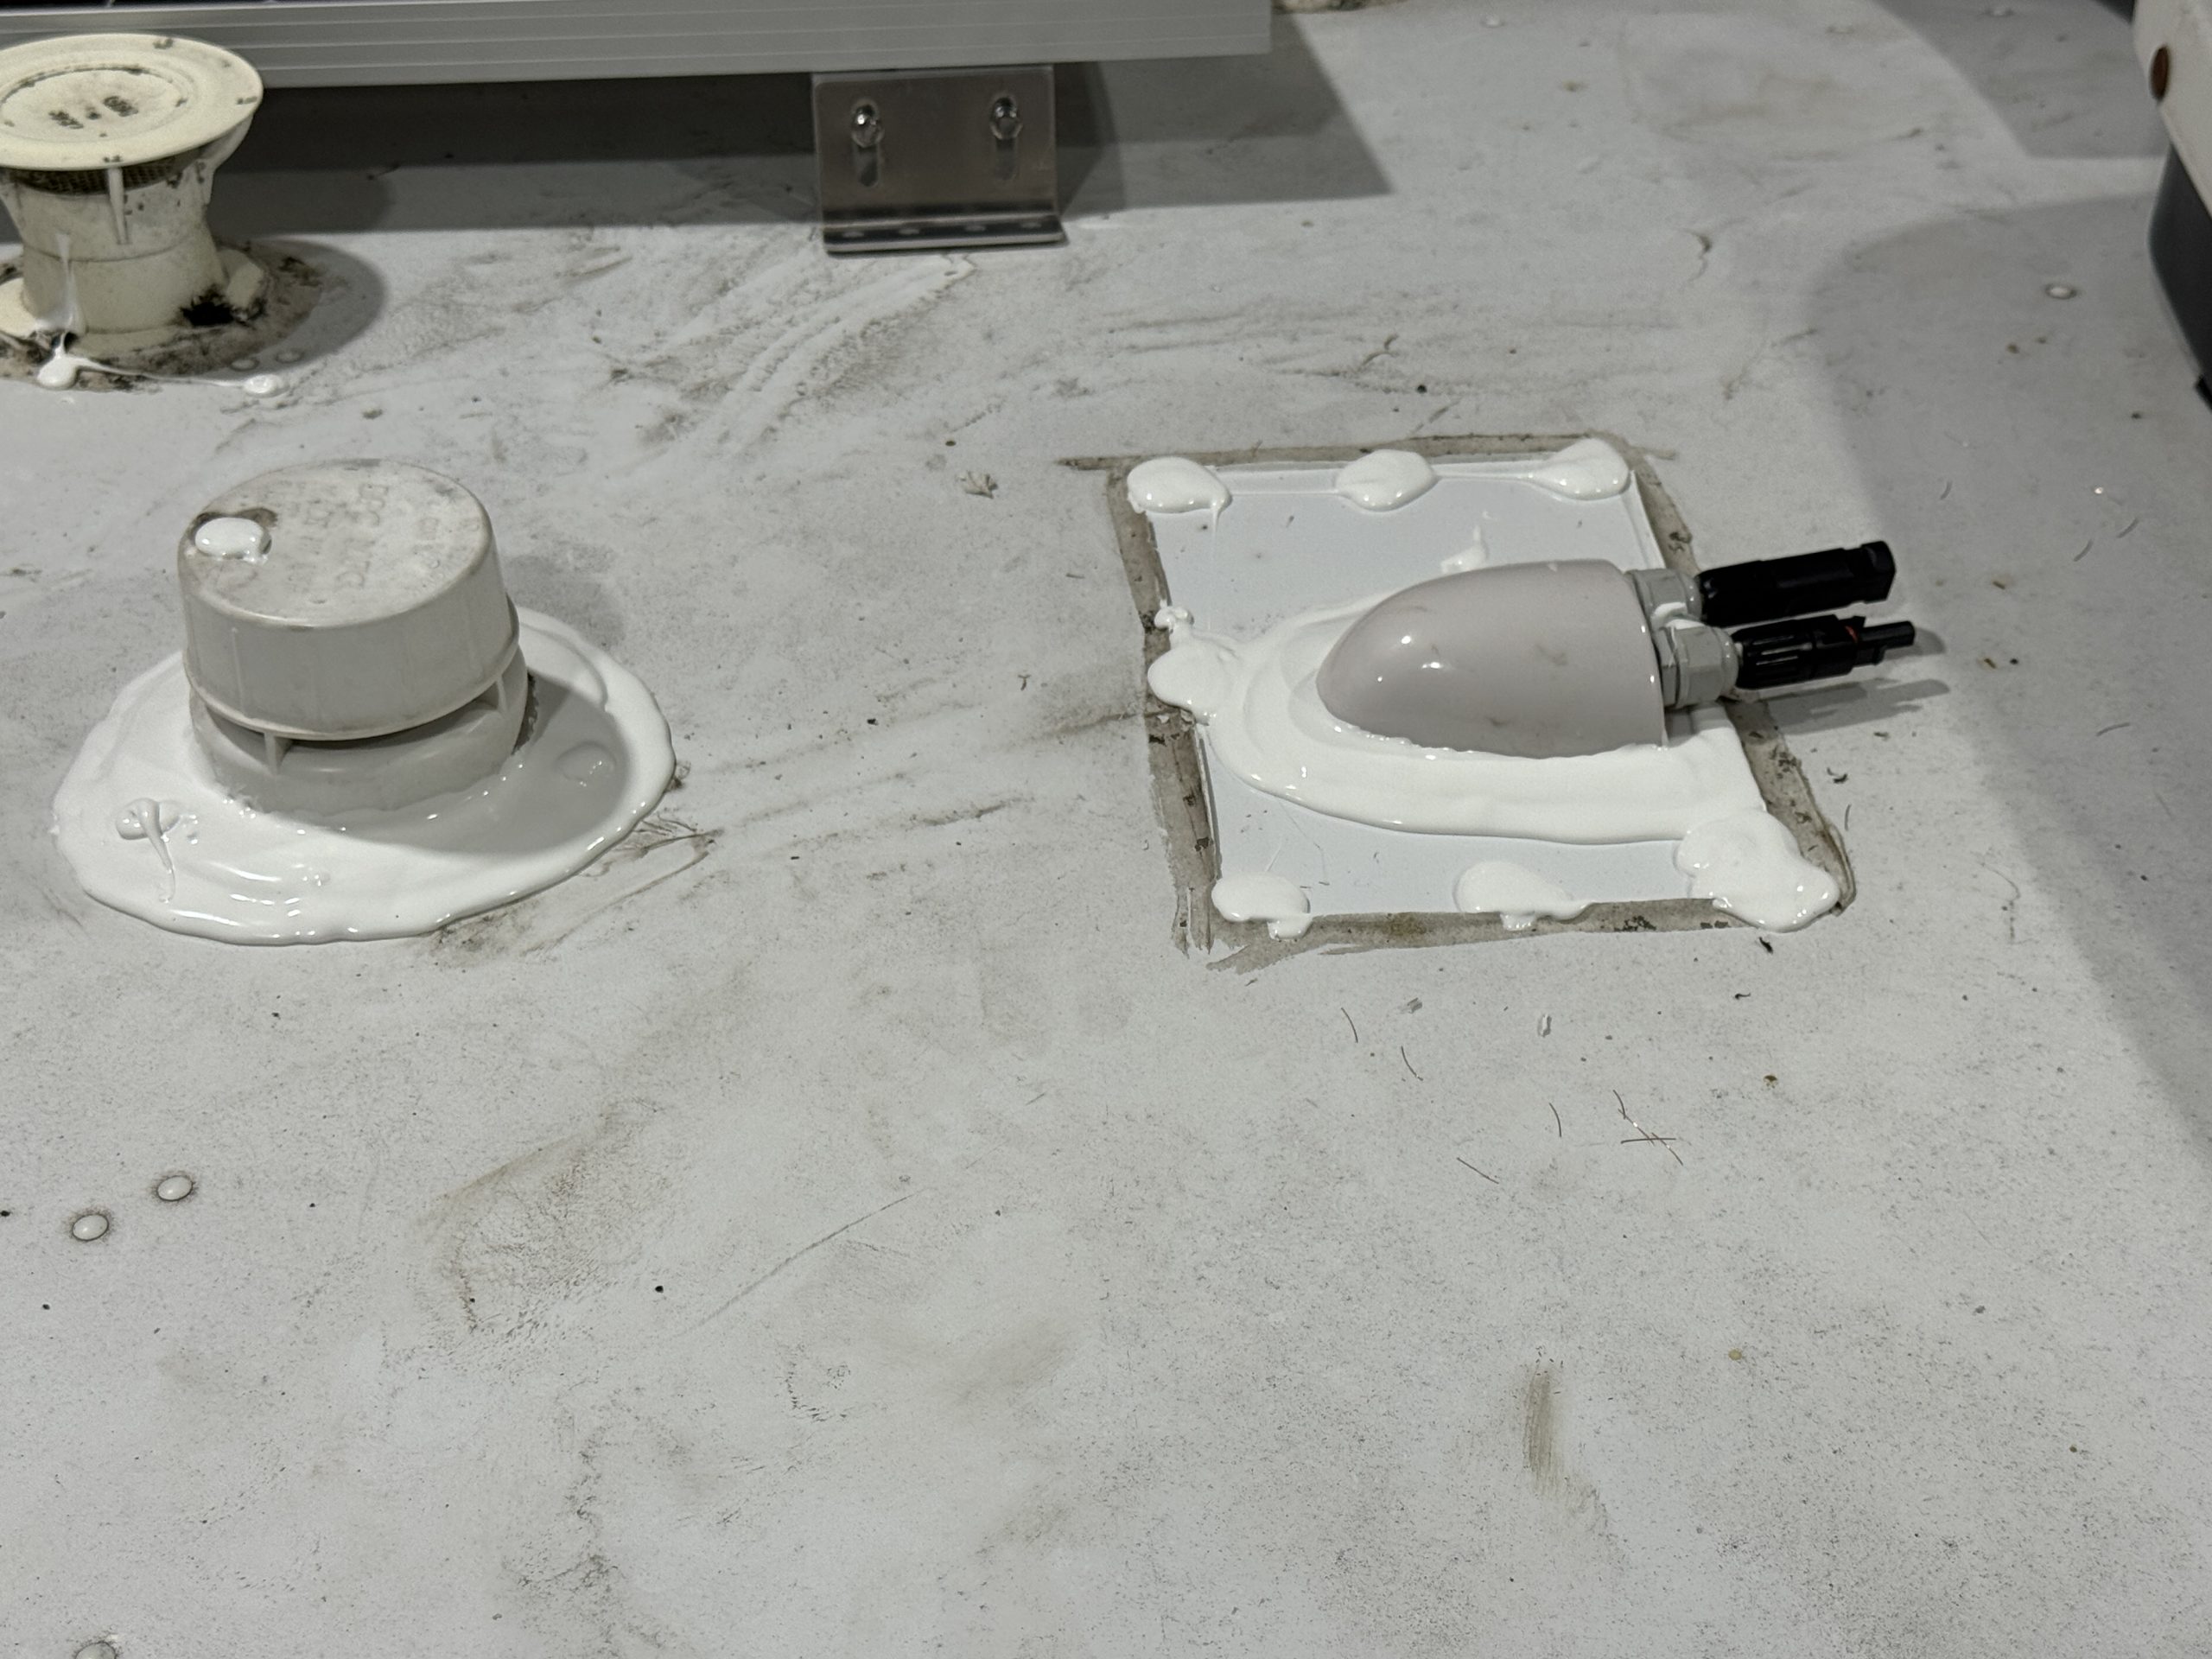
- Clamshell Roof Penetration
- Miscellaneous parts, sealants, breakers, and connectors
Installation Notes
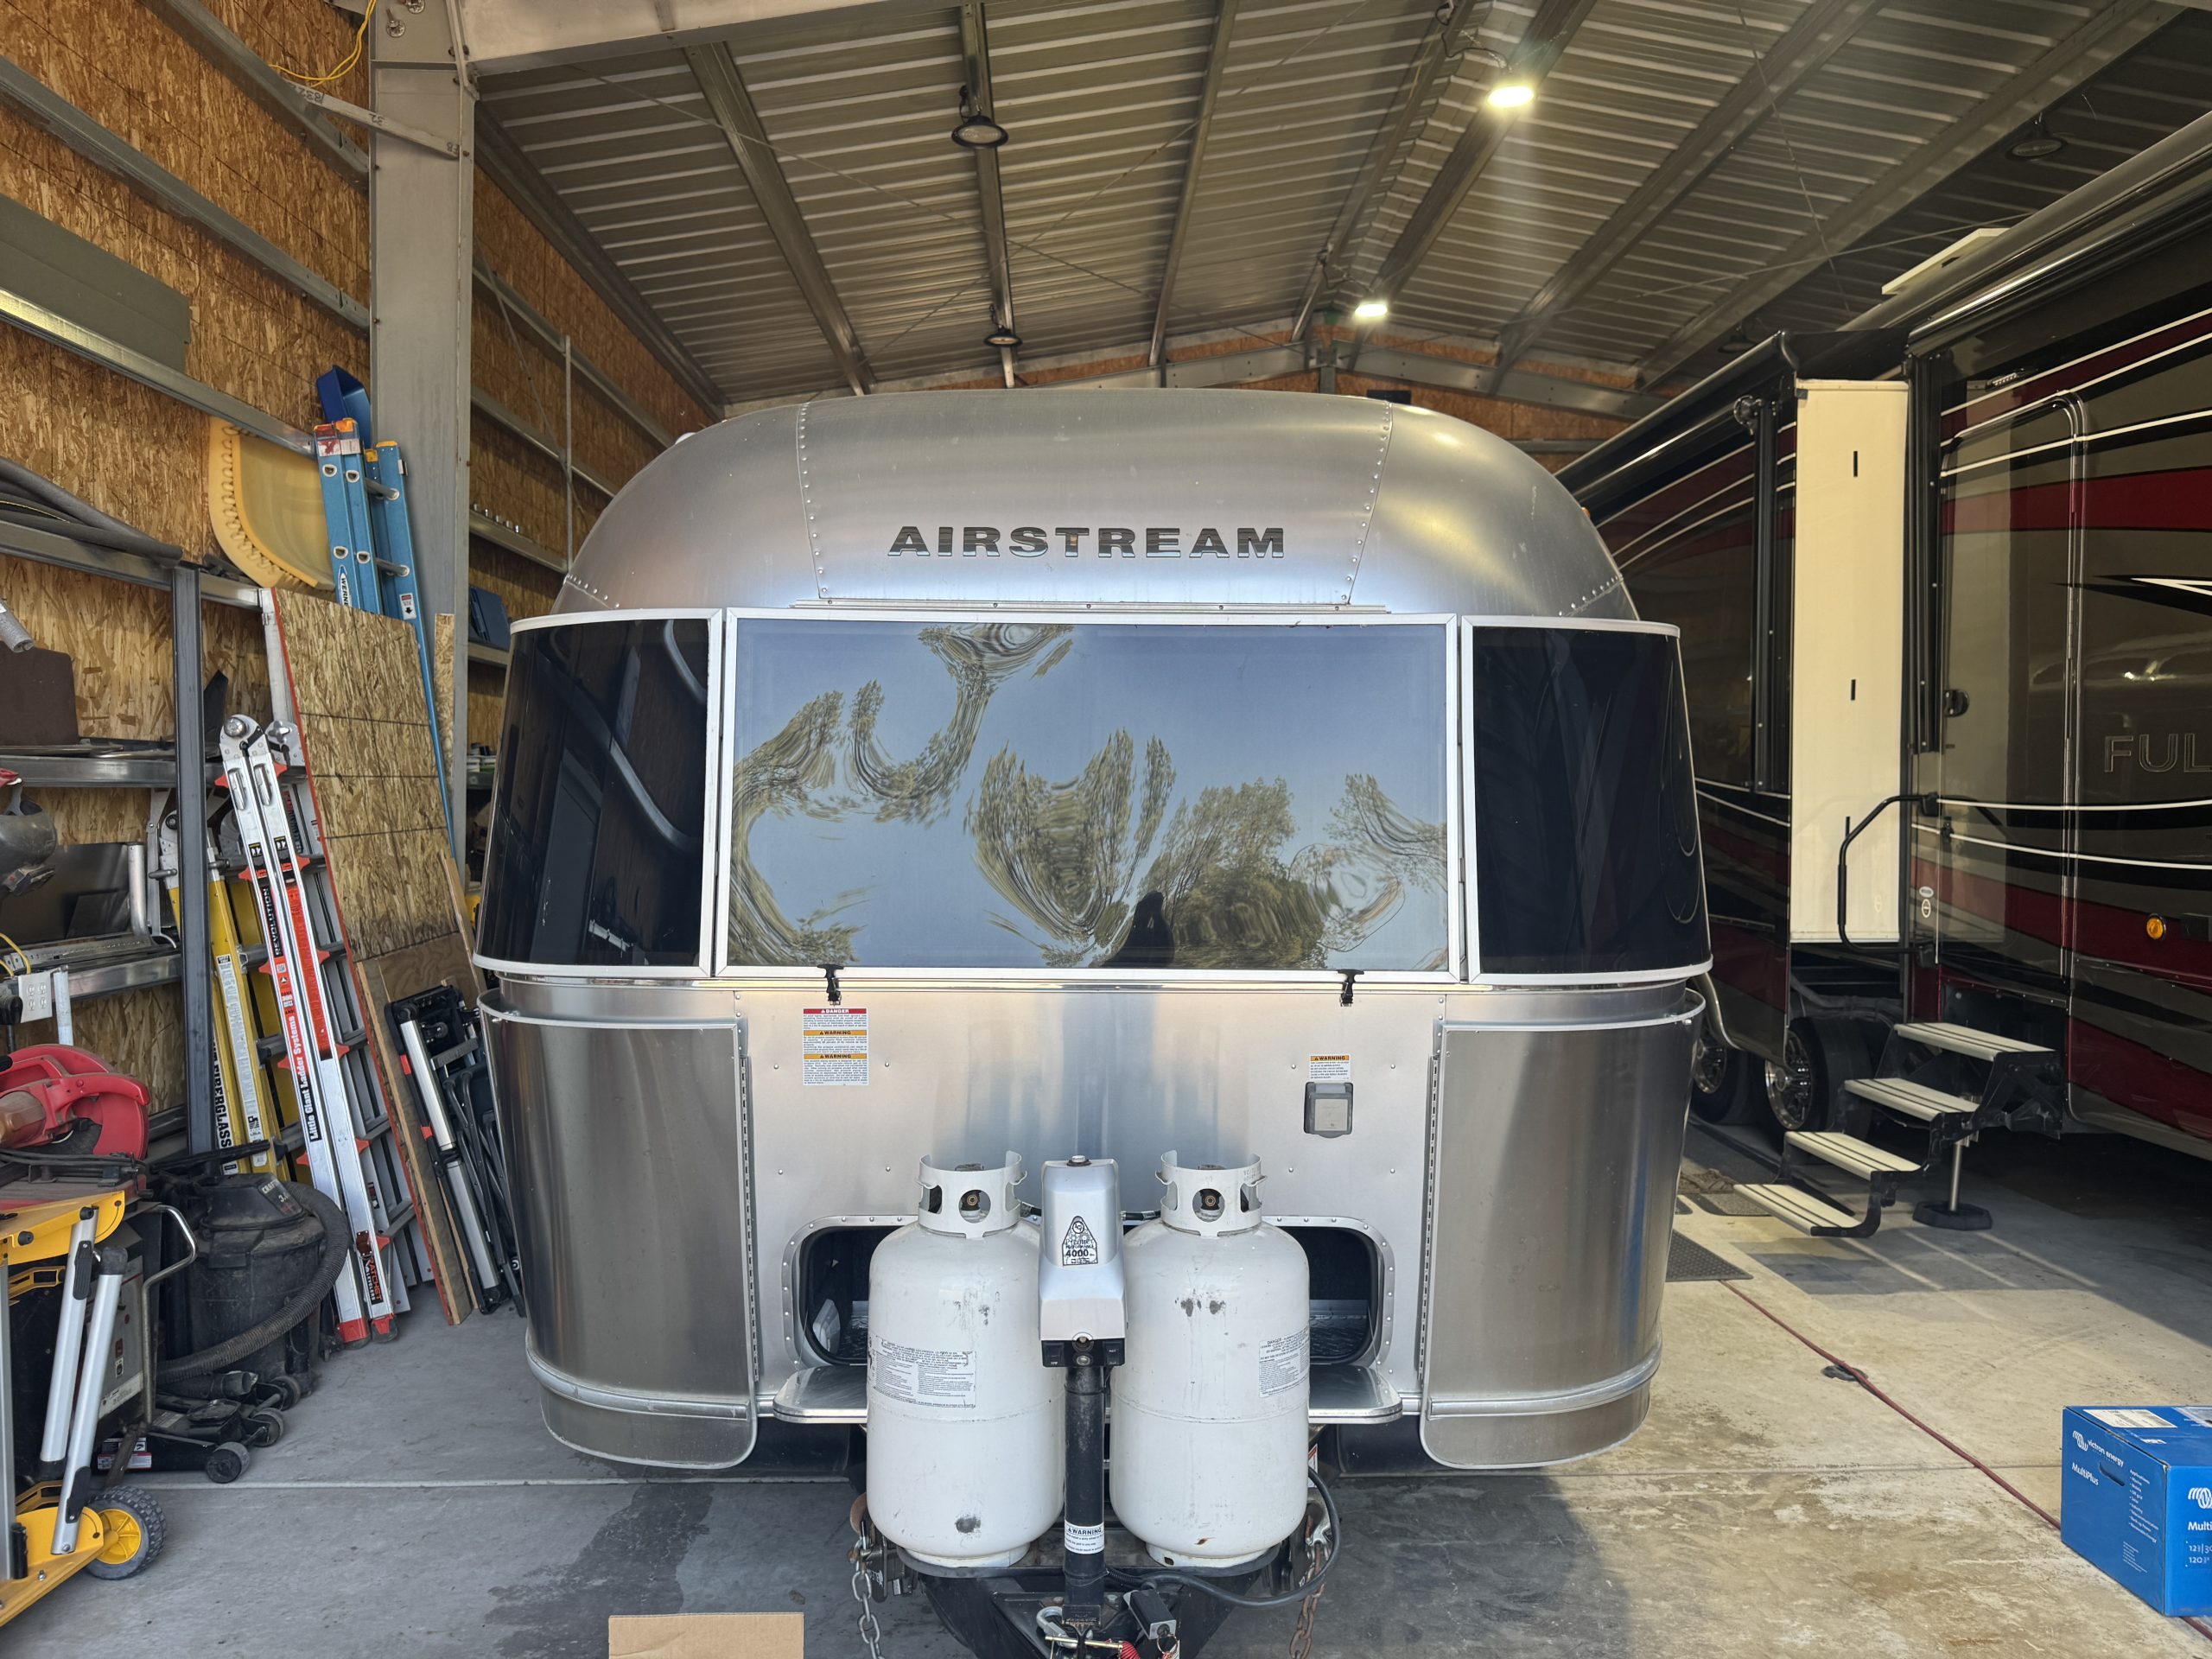
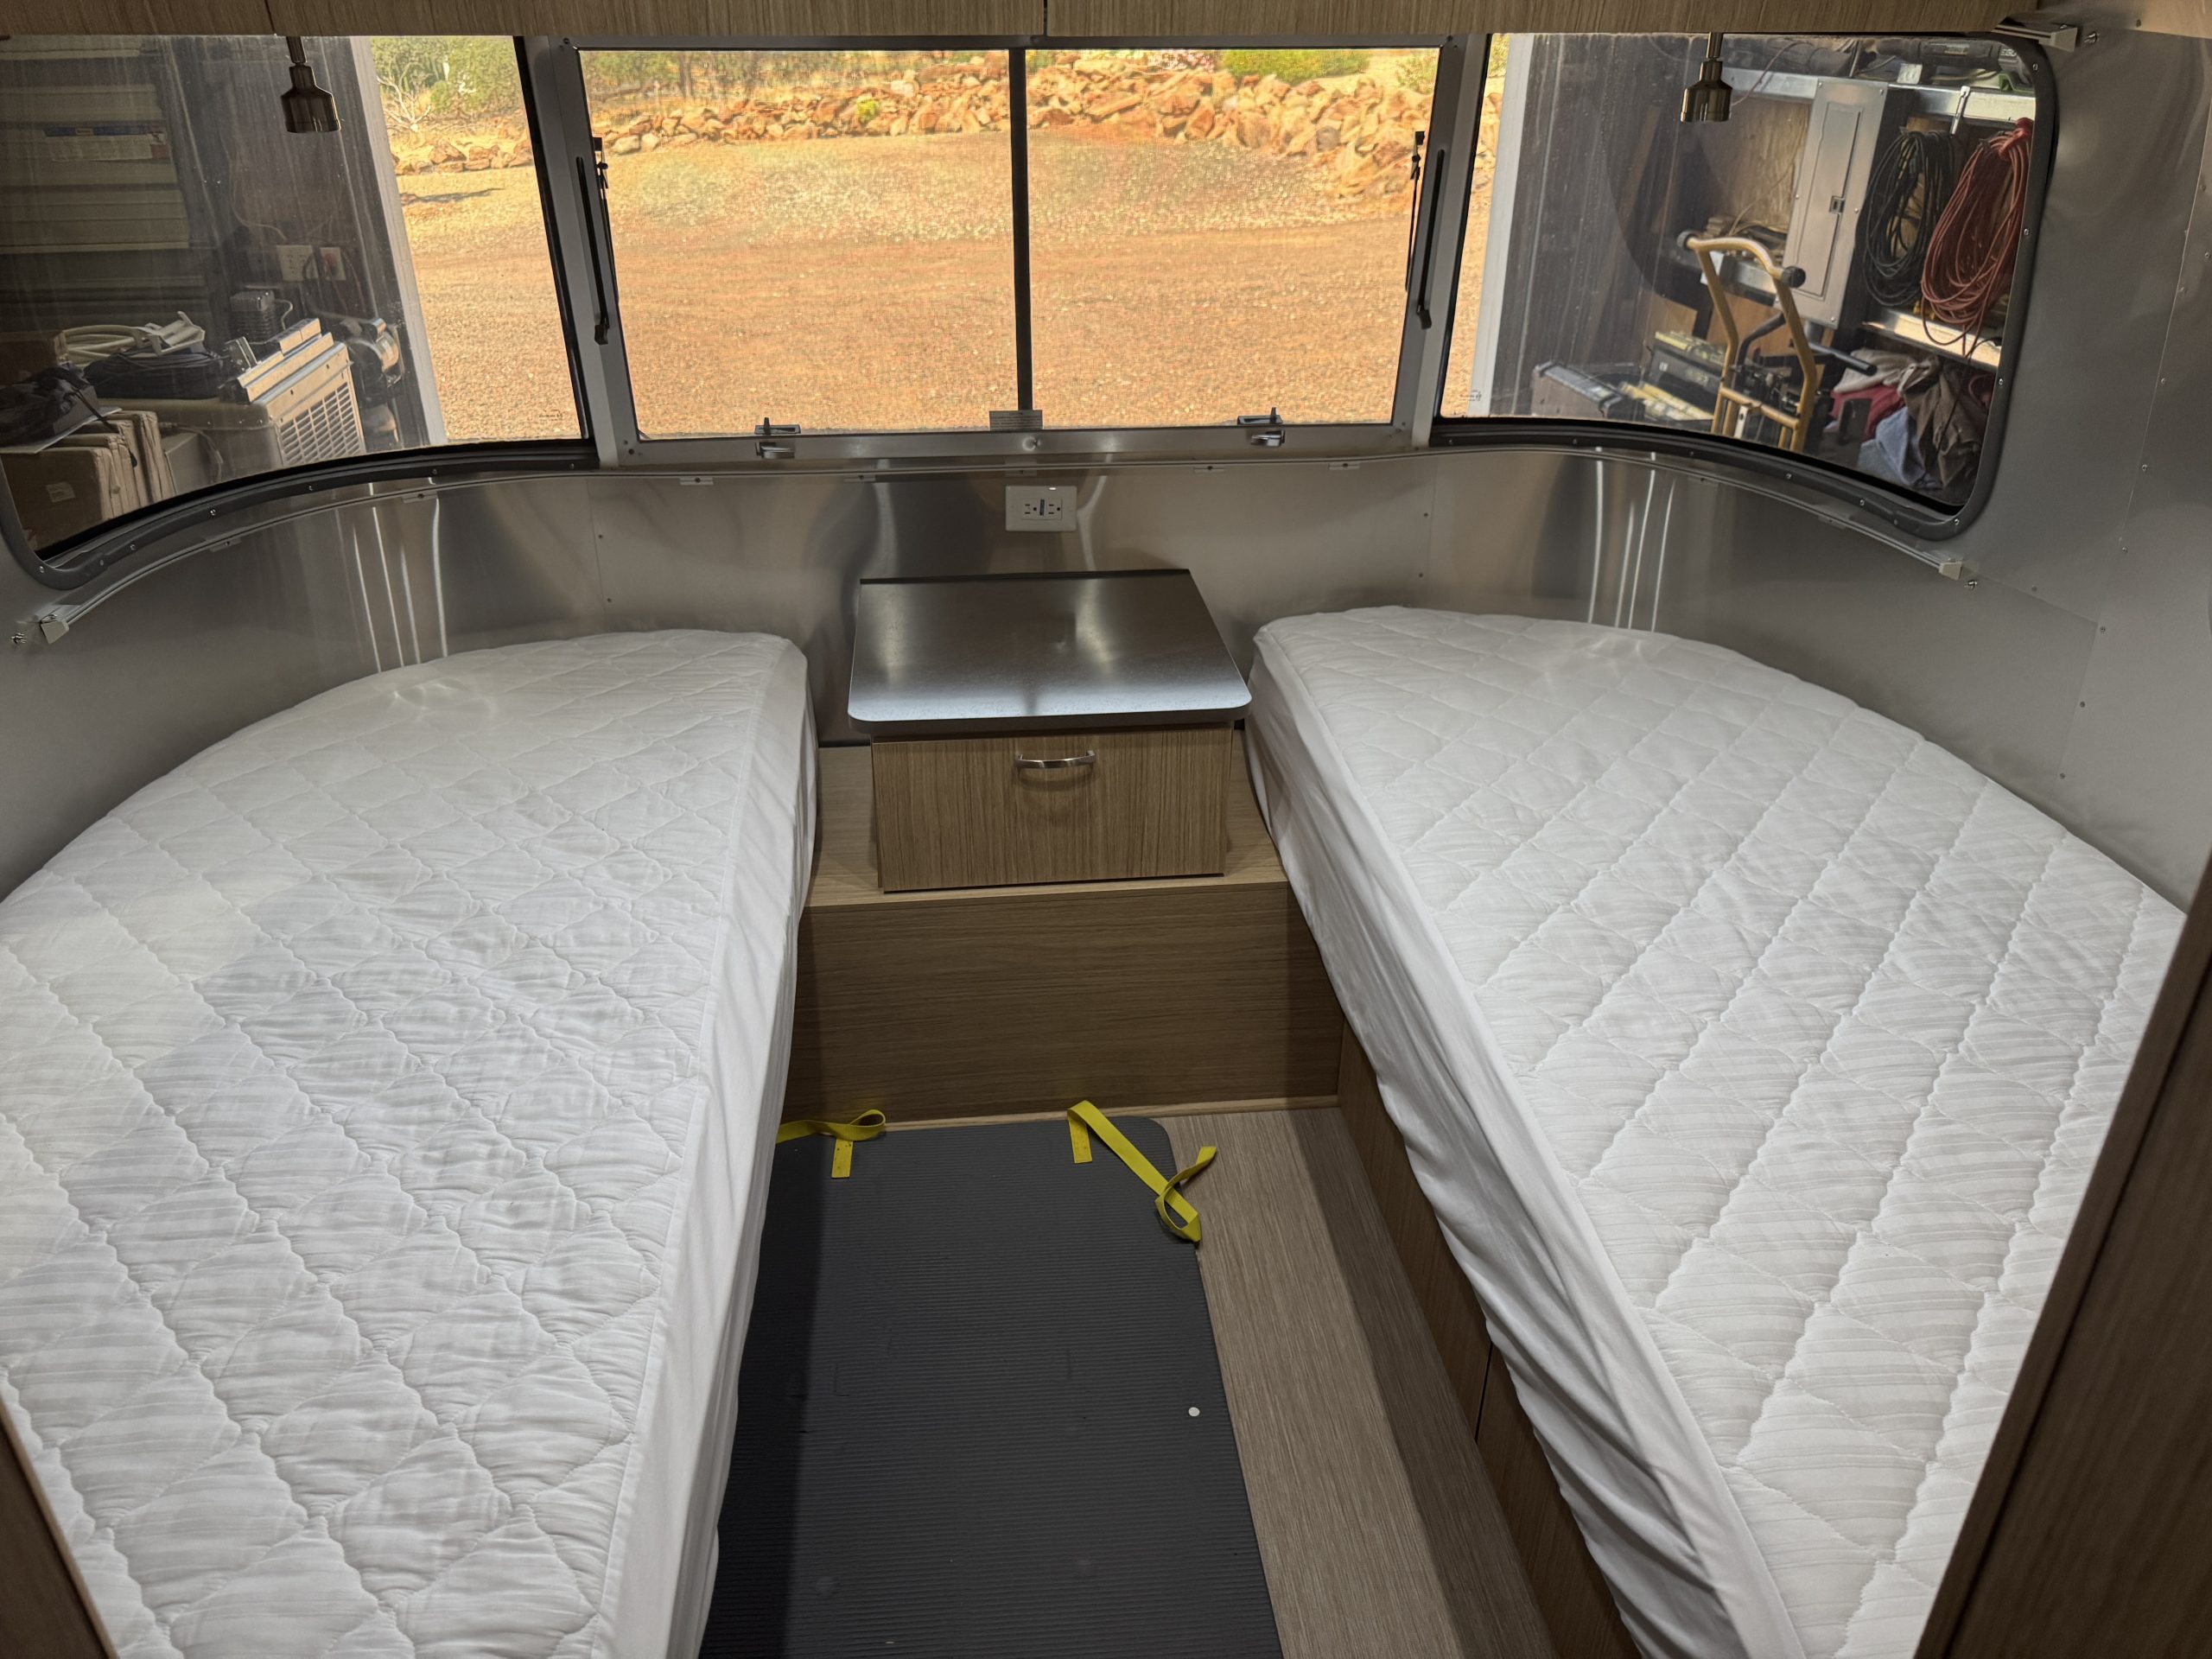
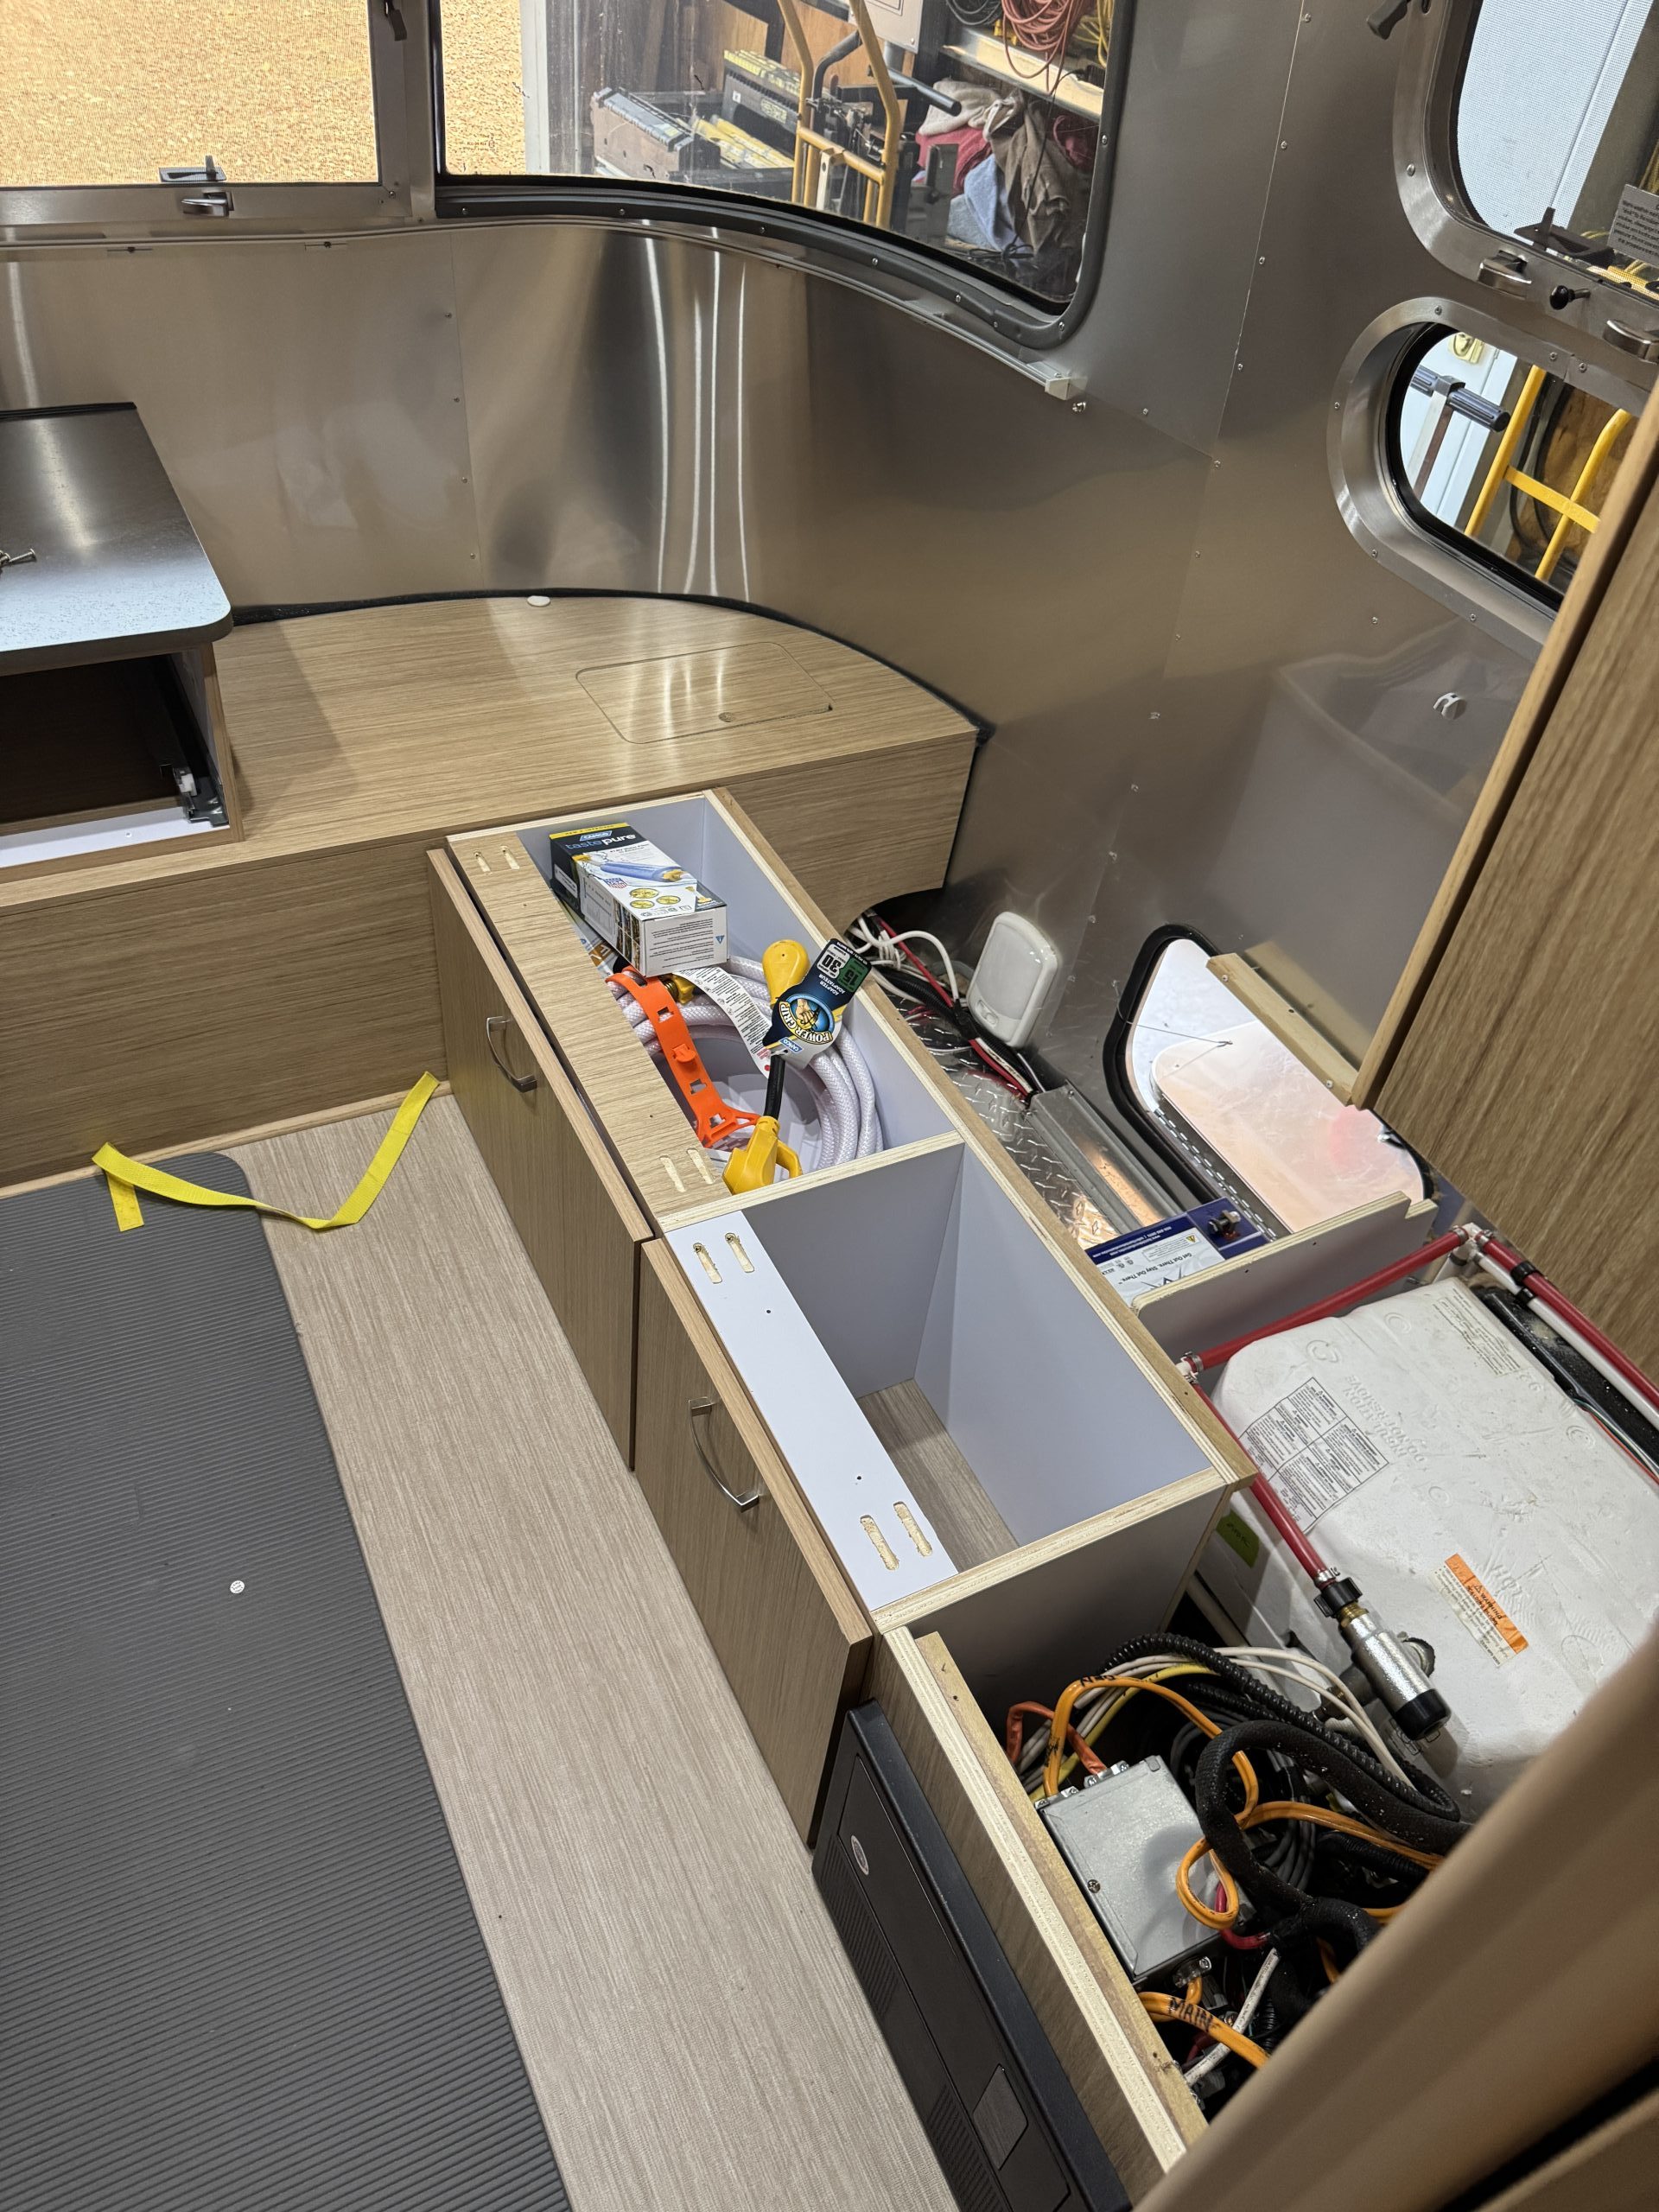
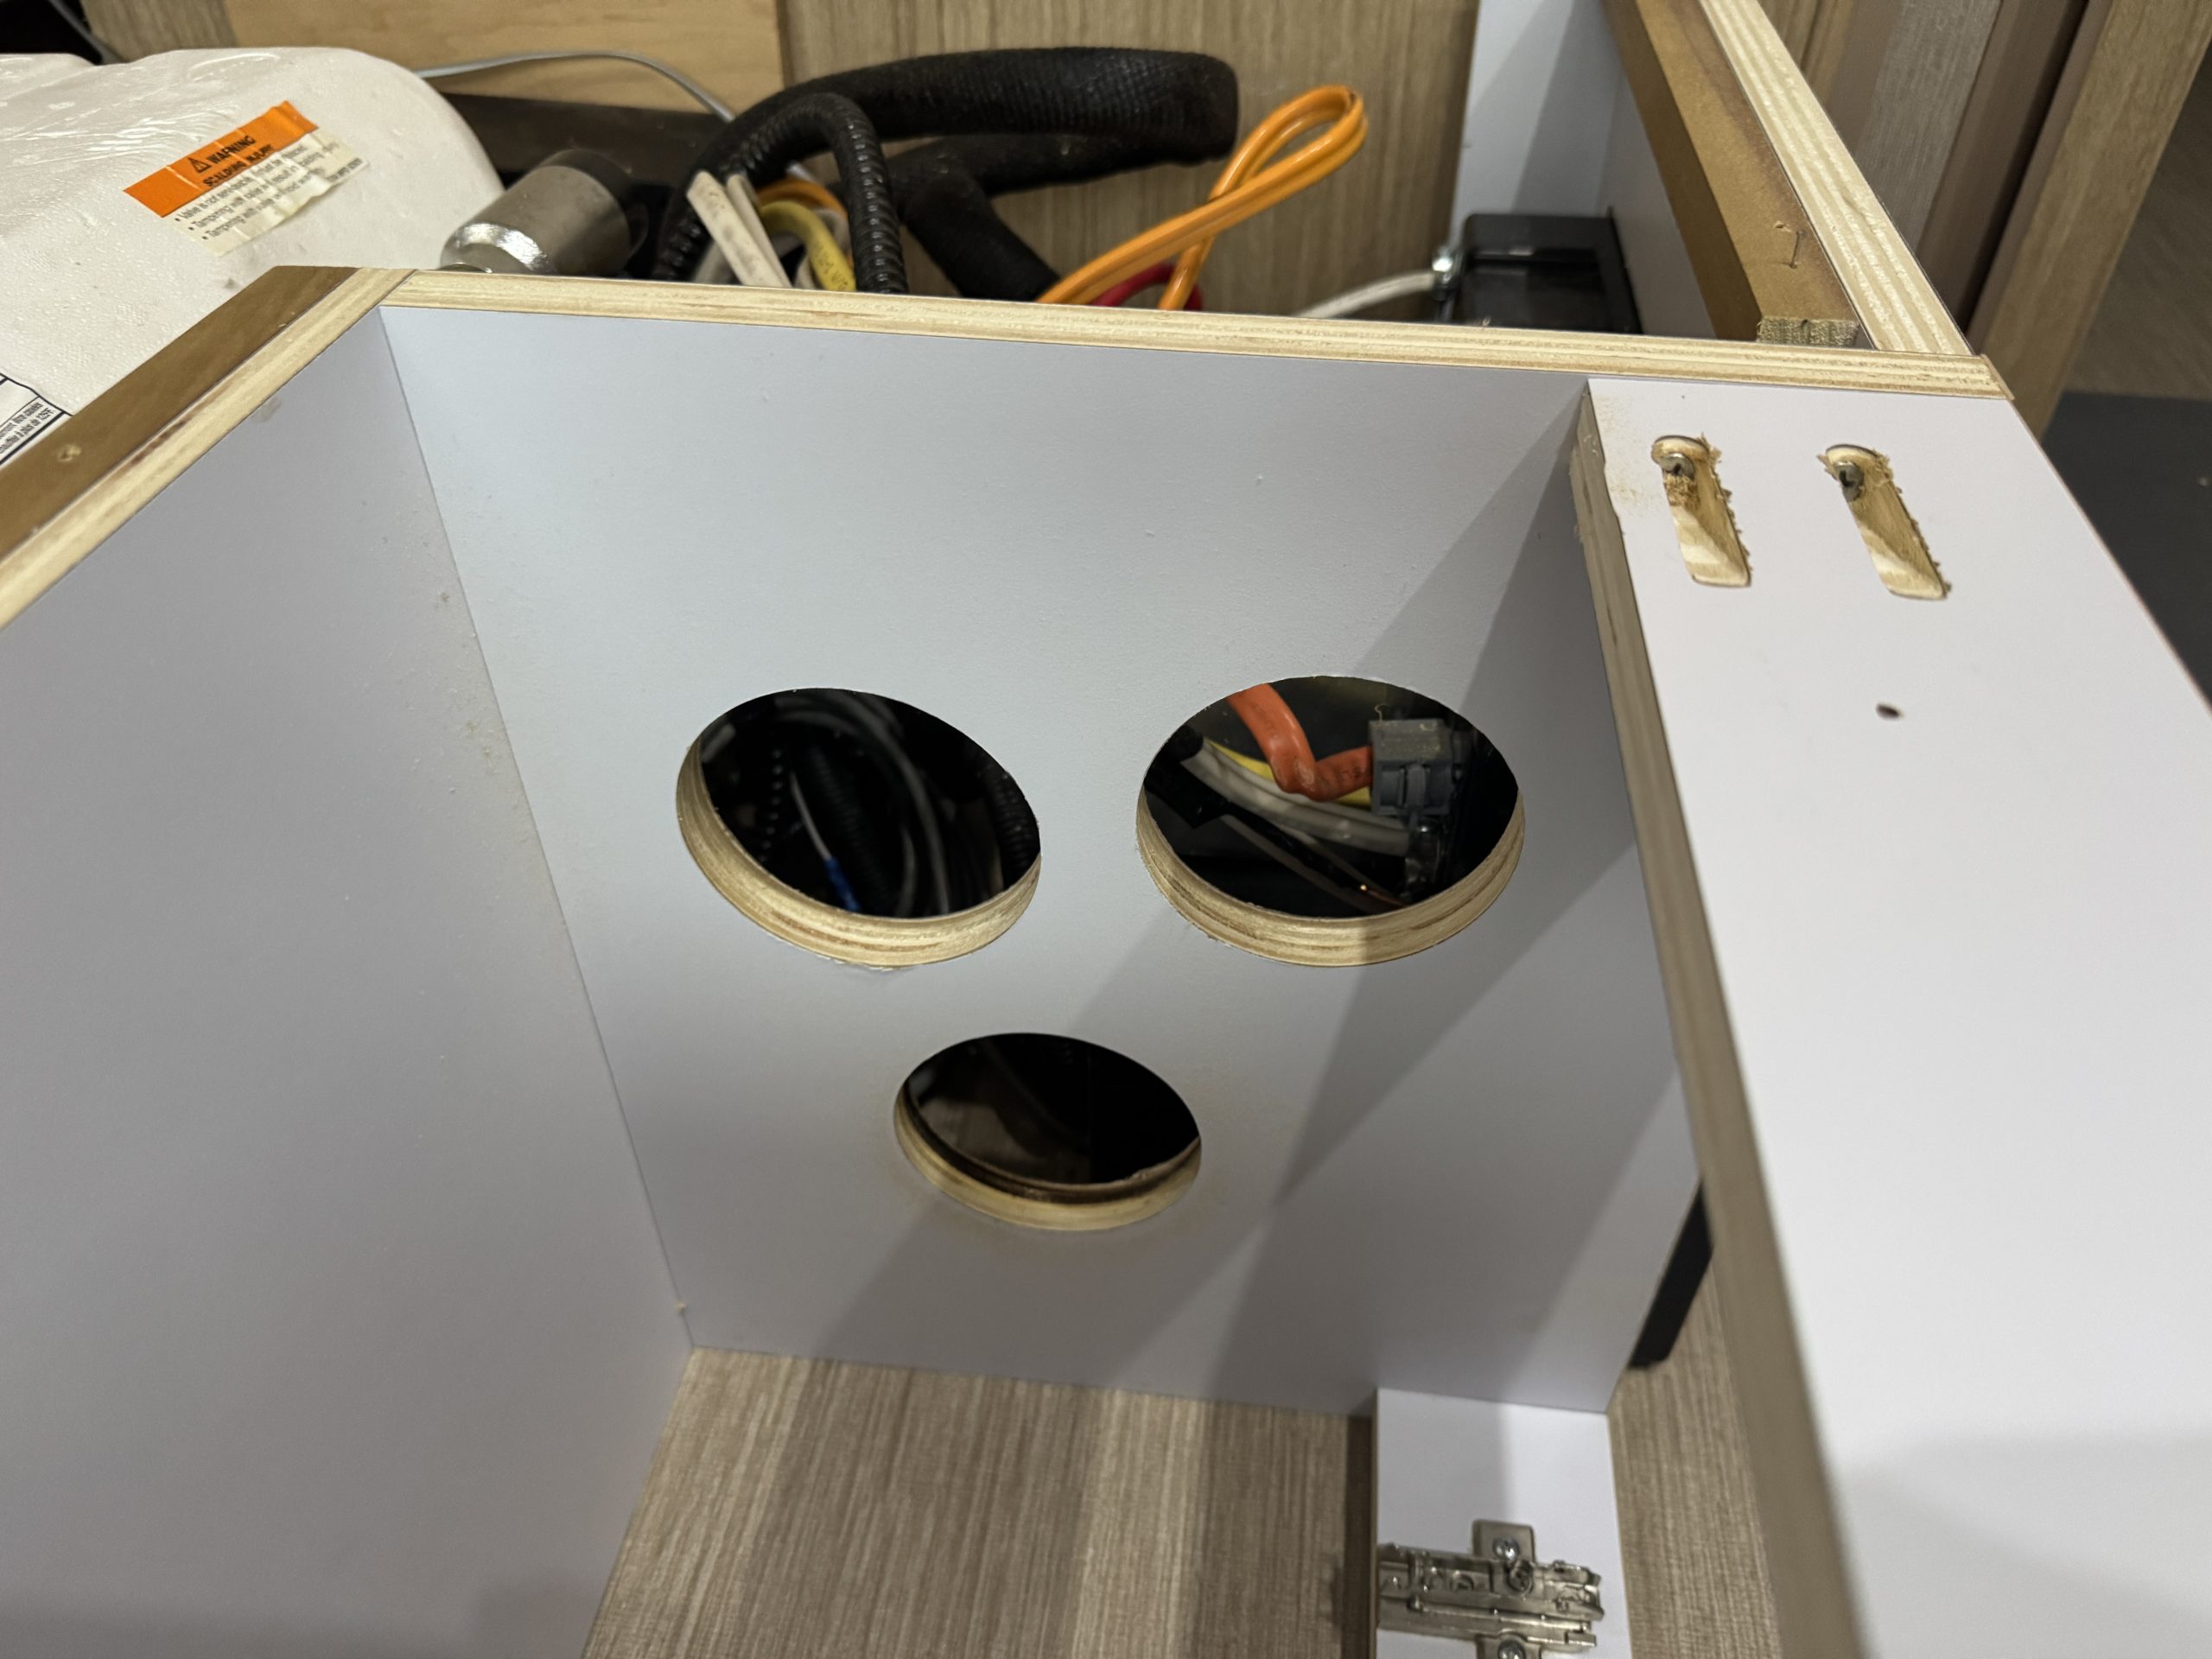
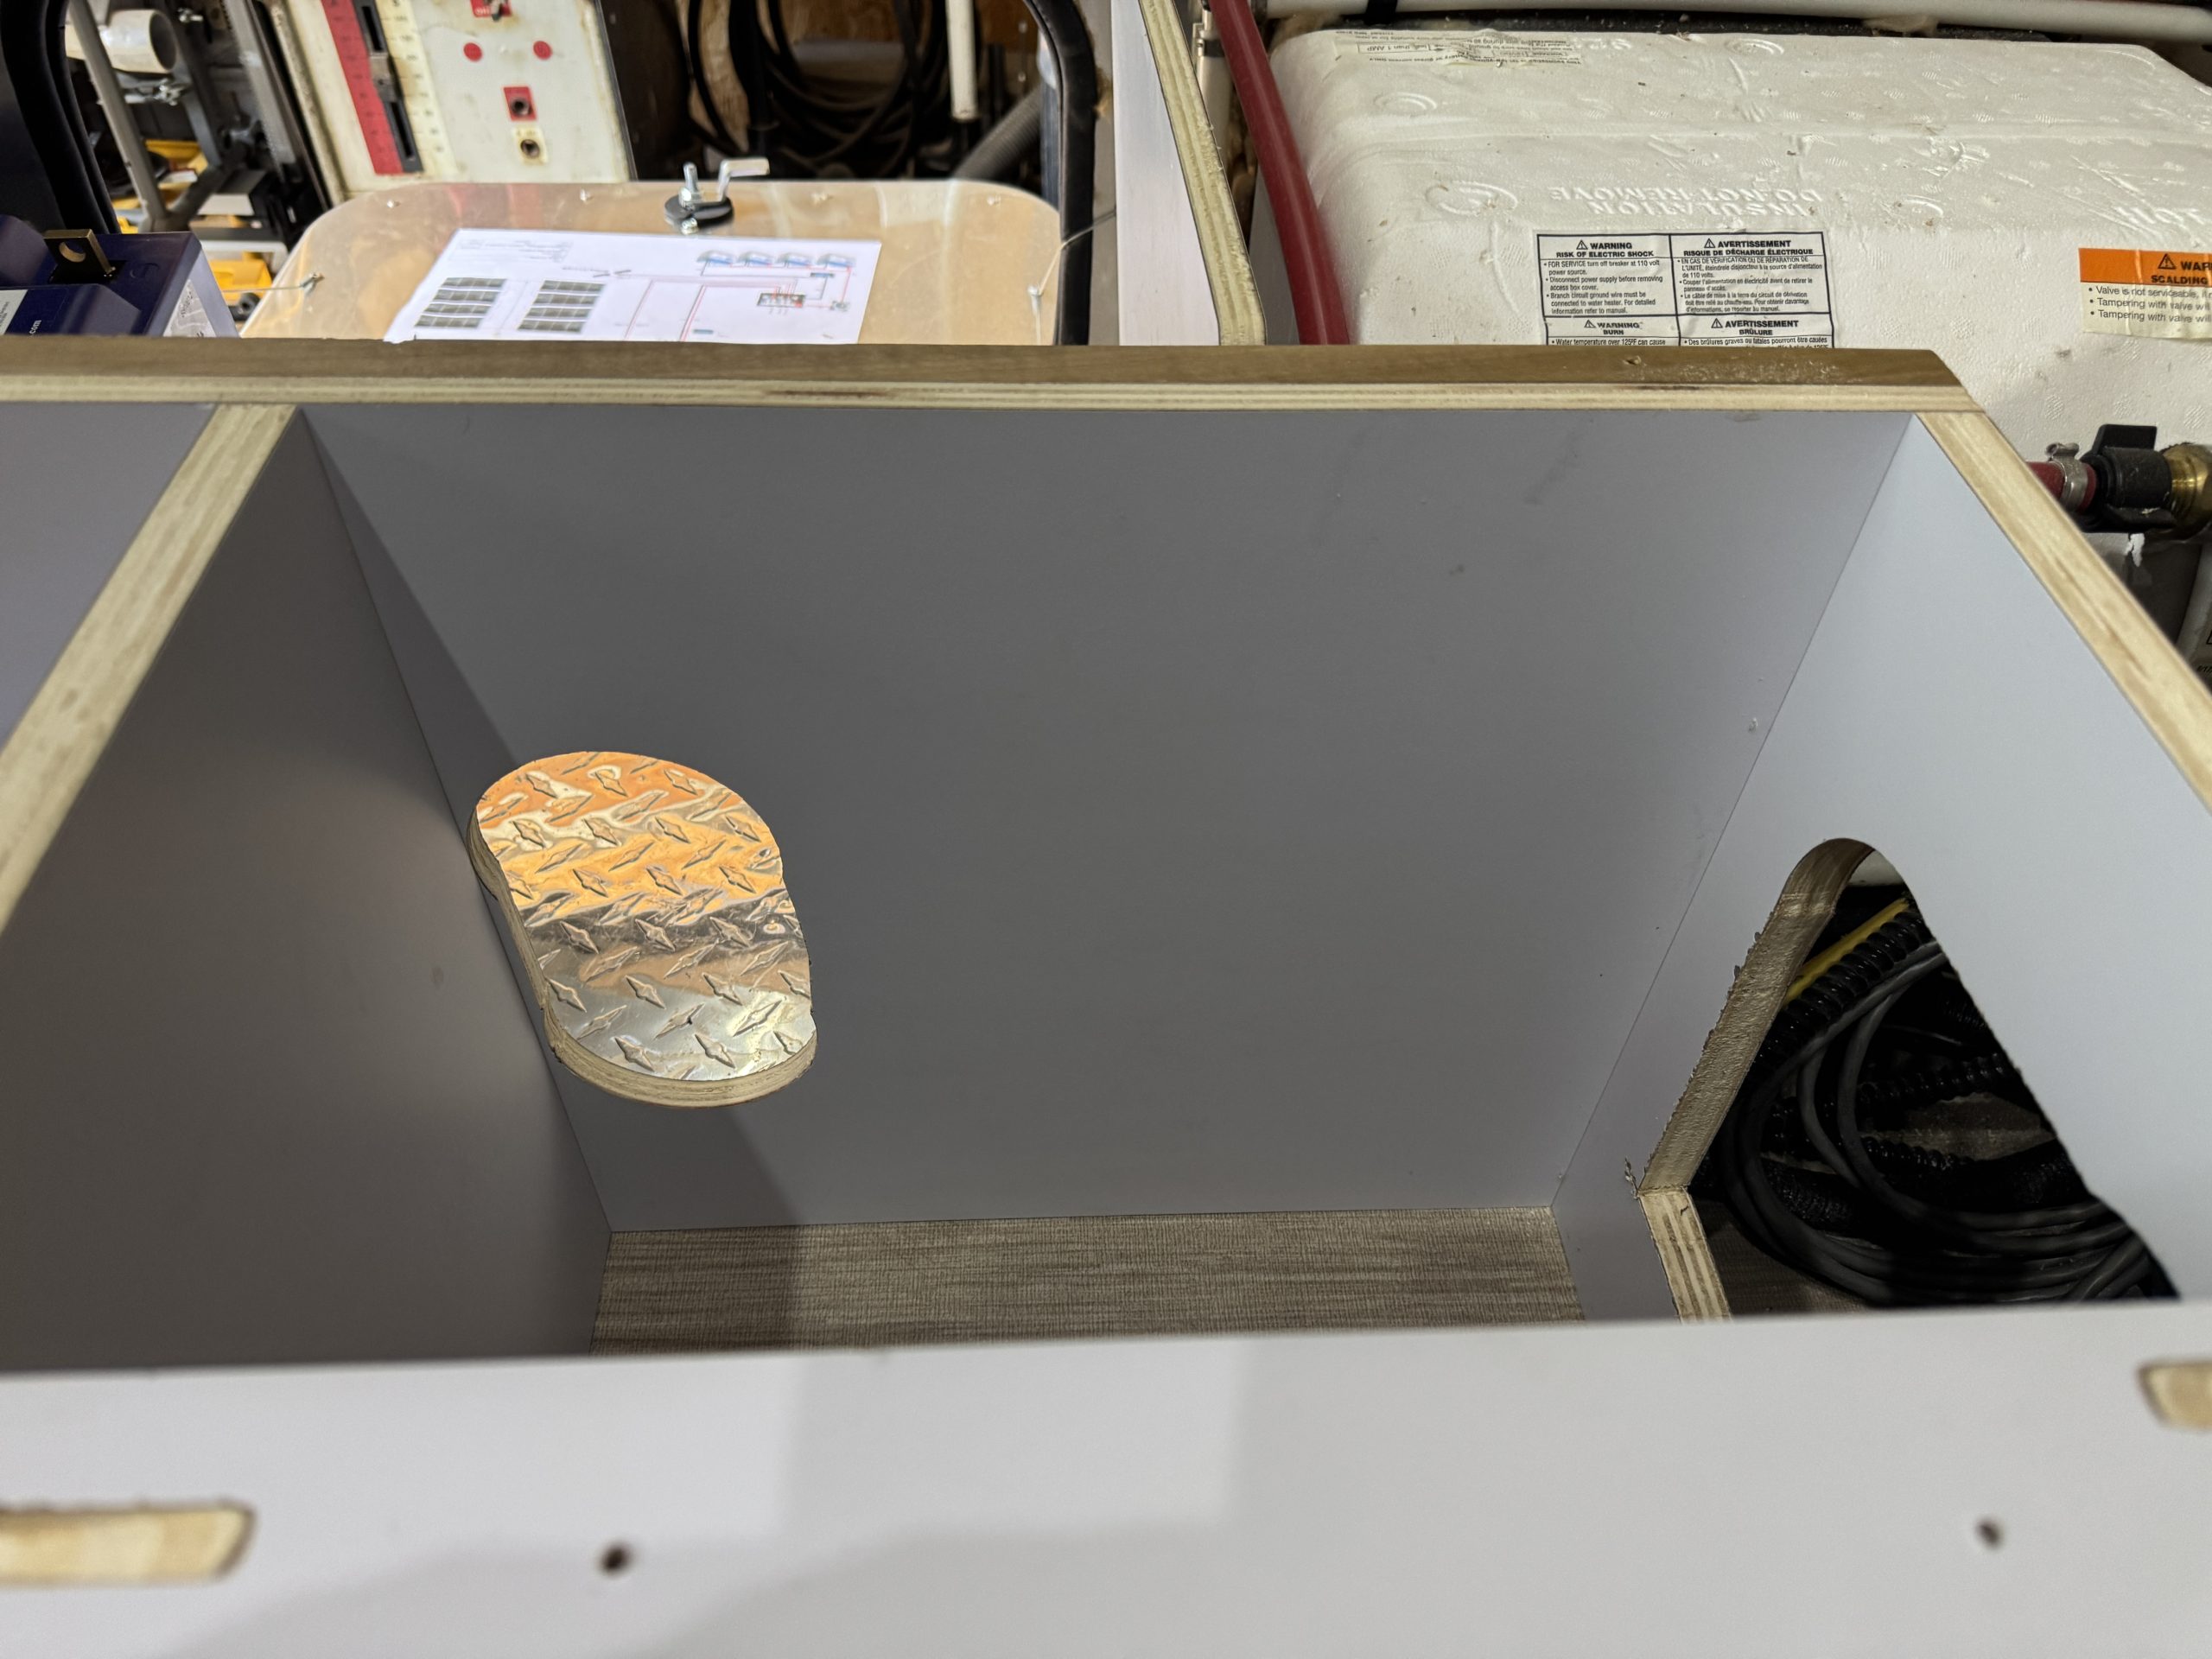
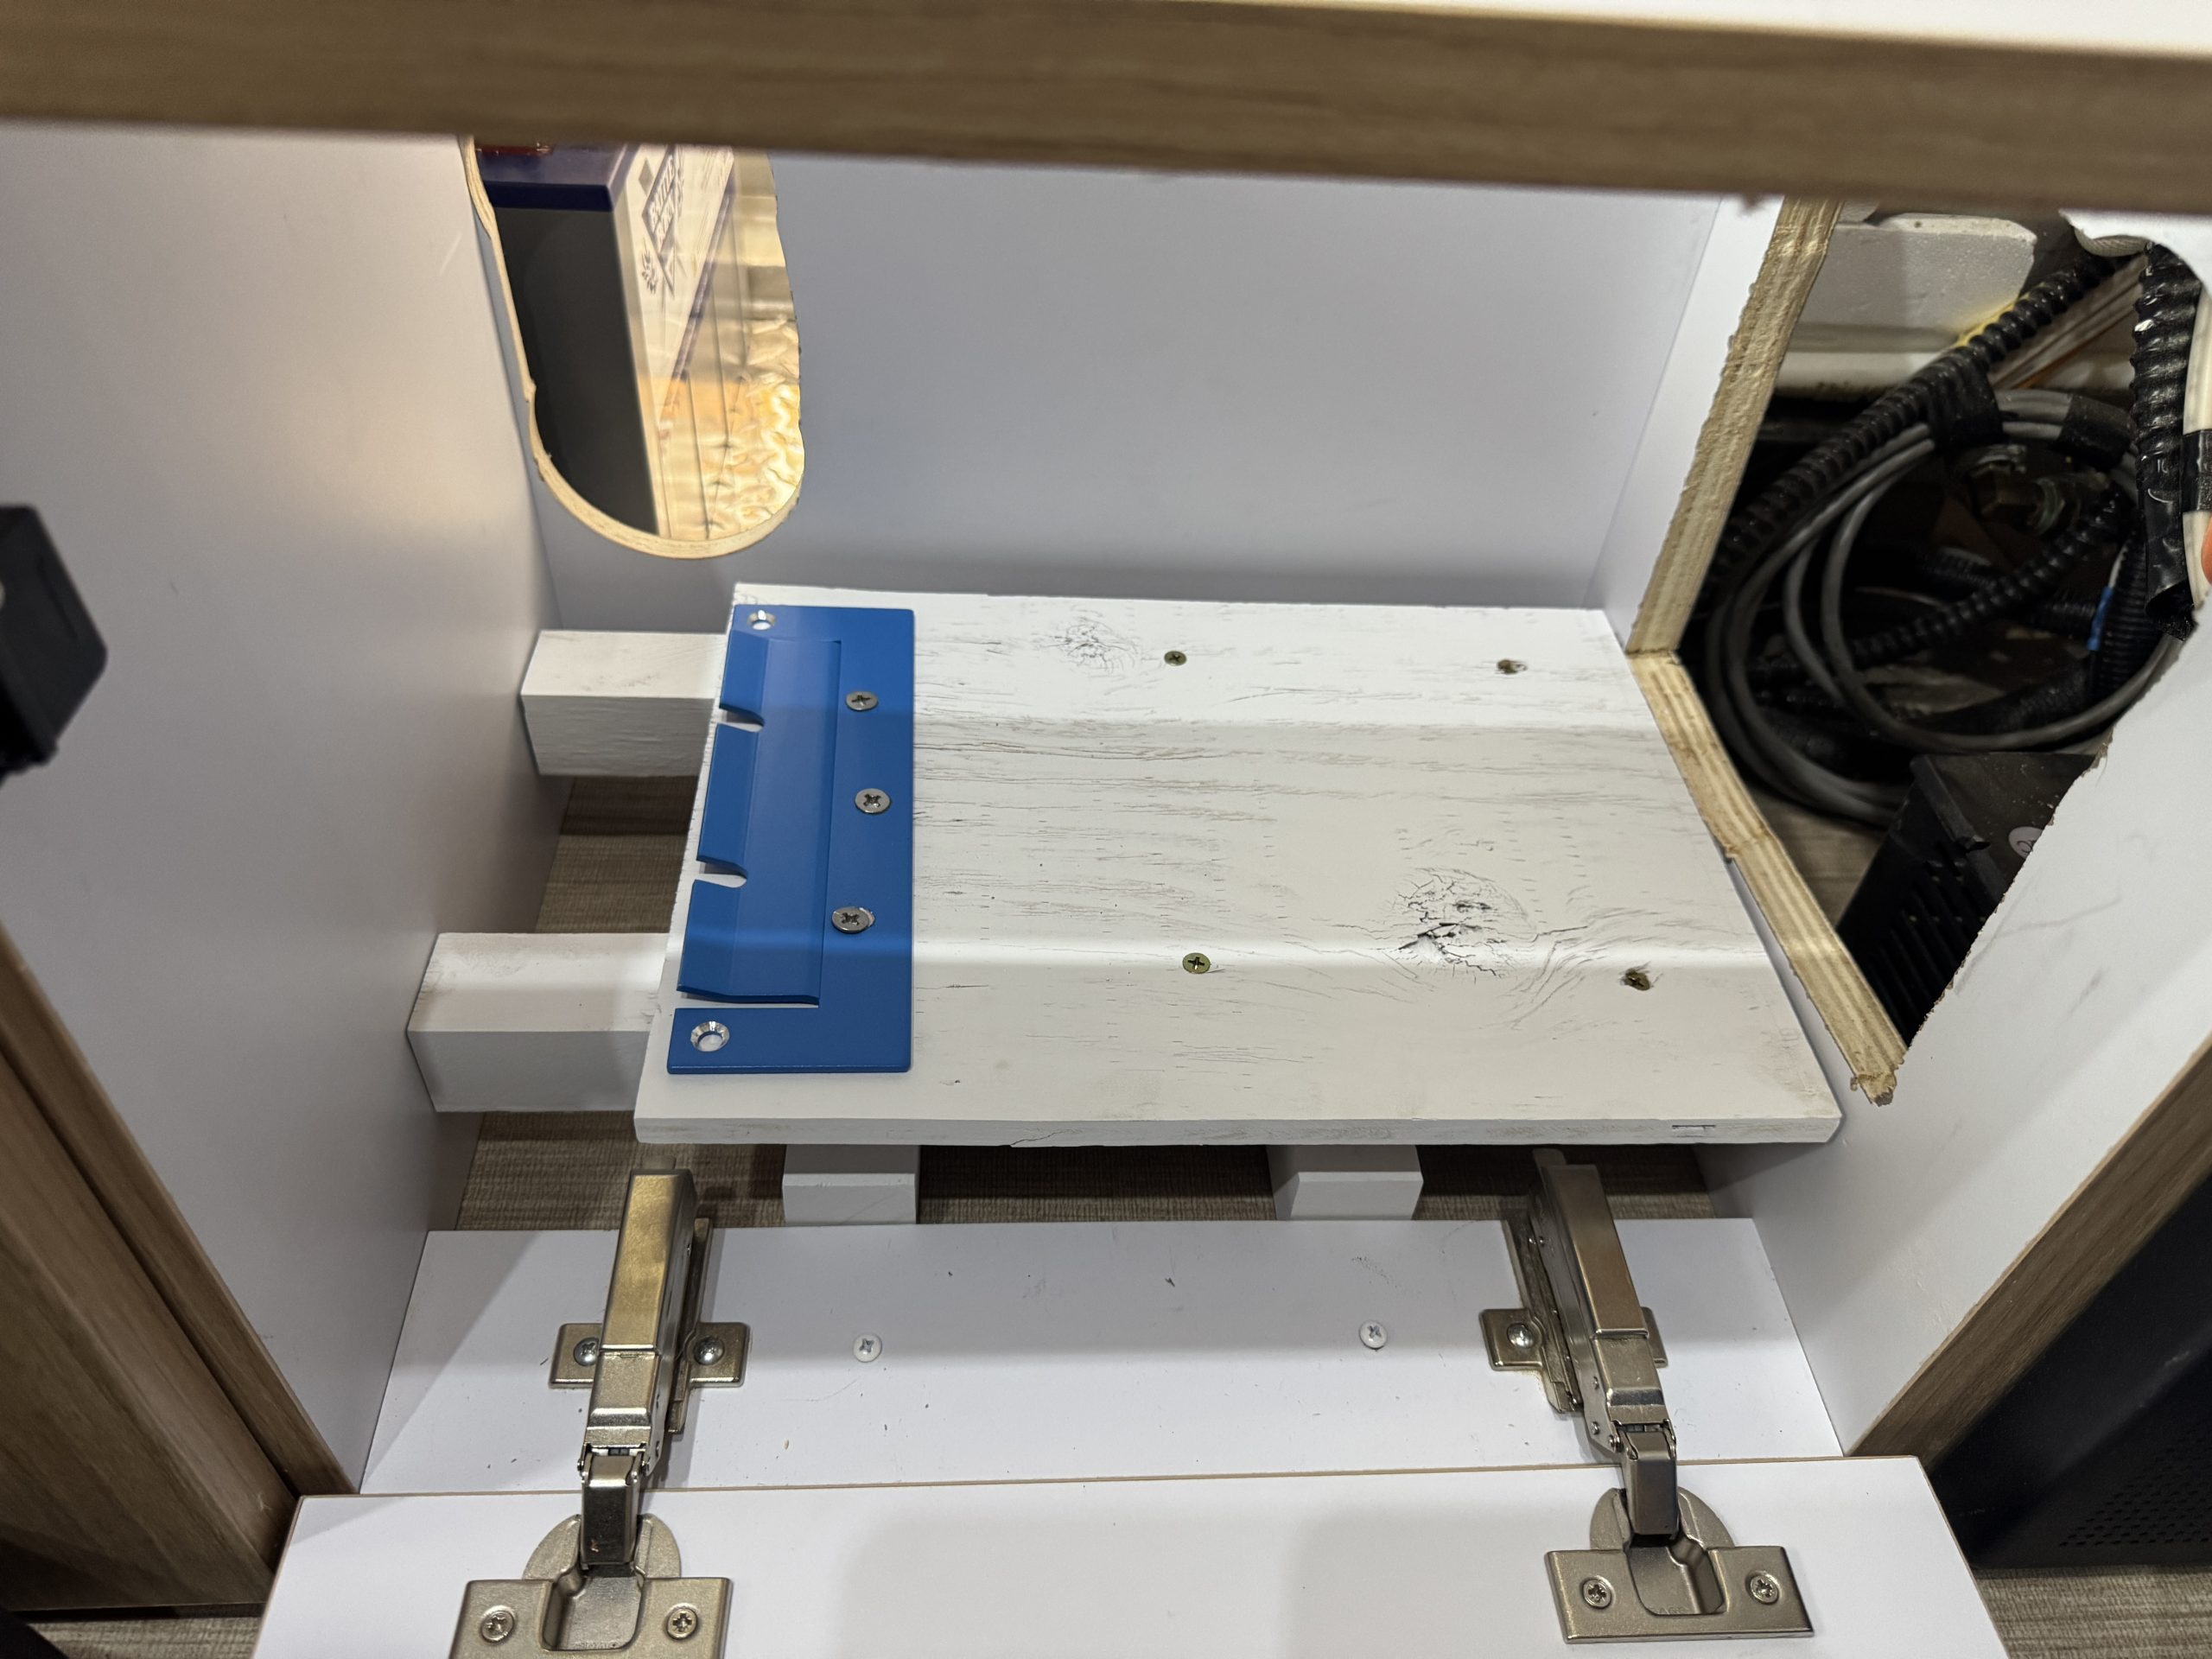
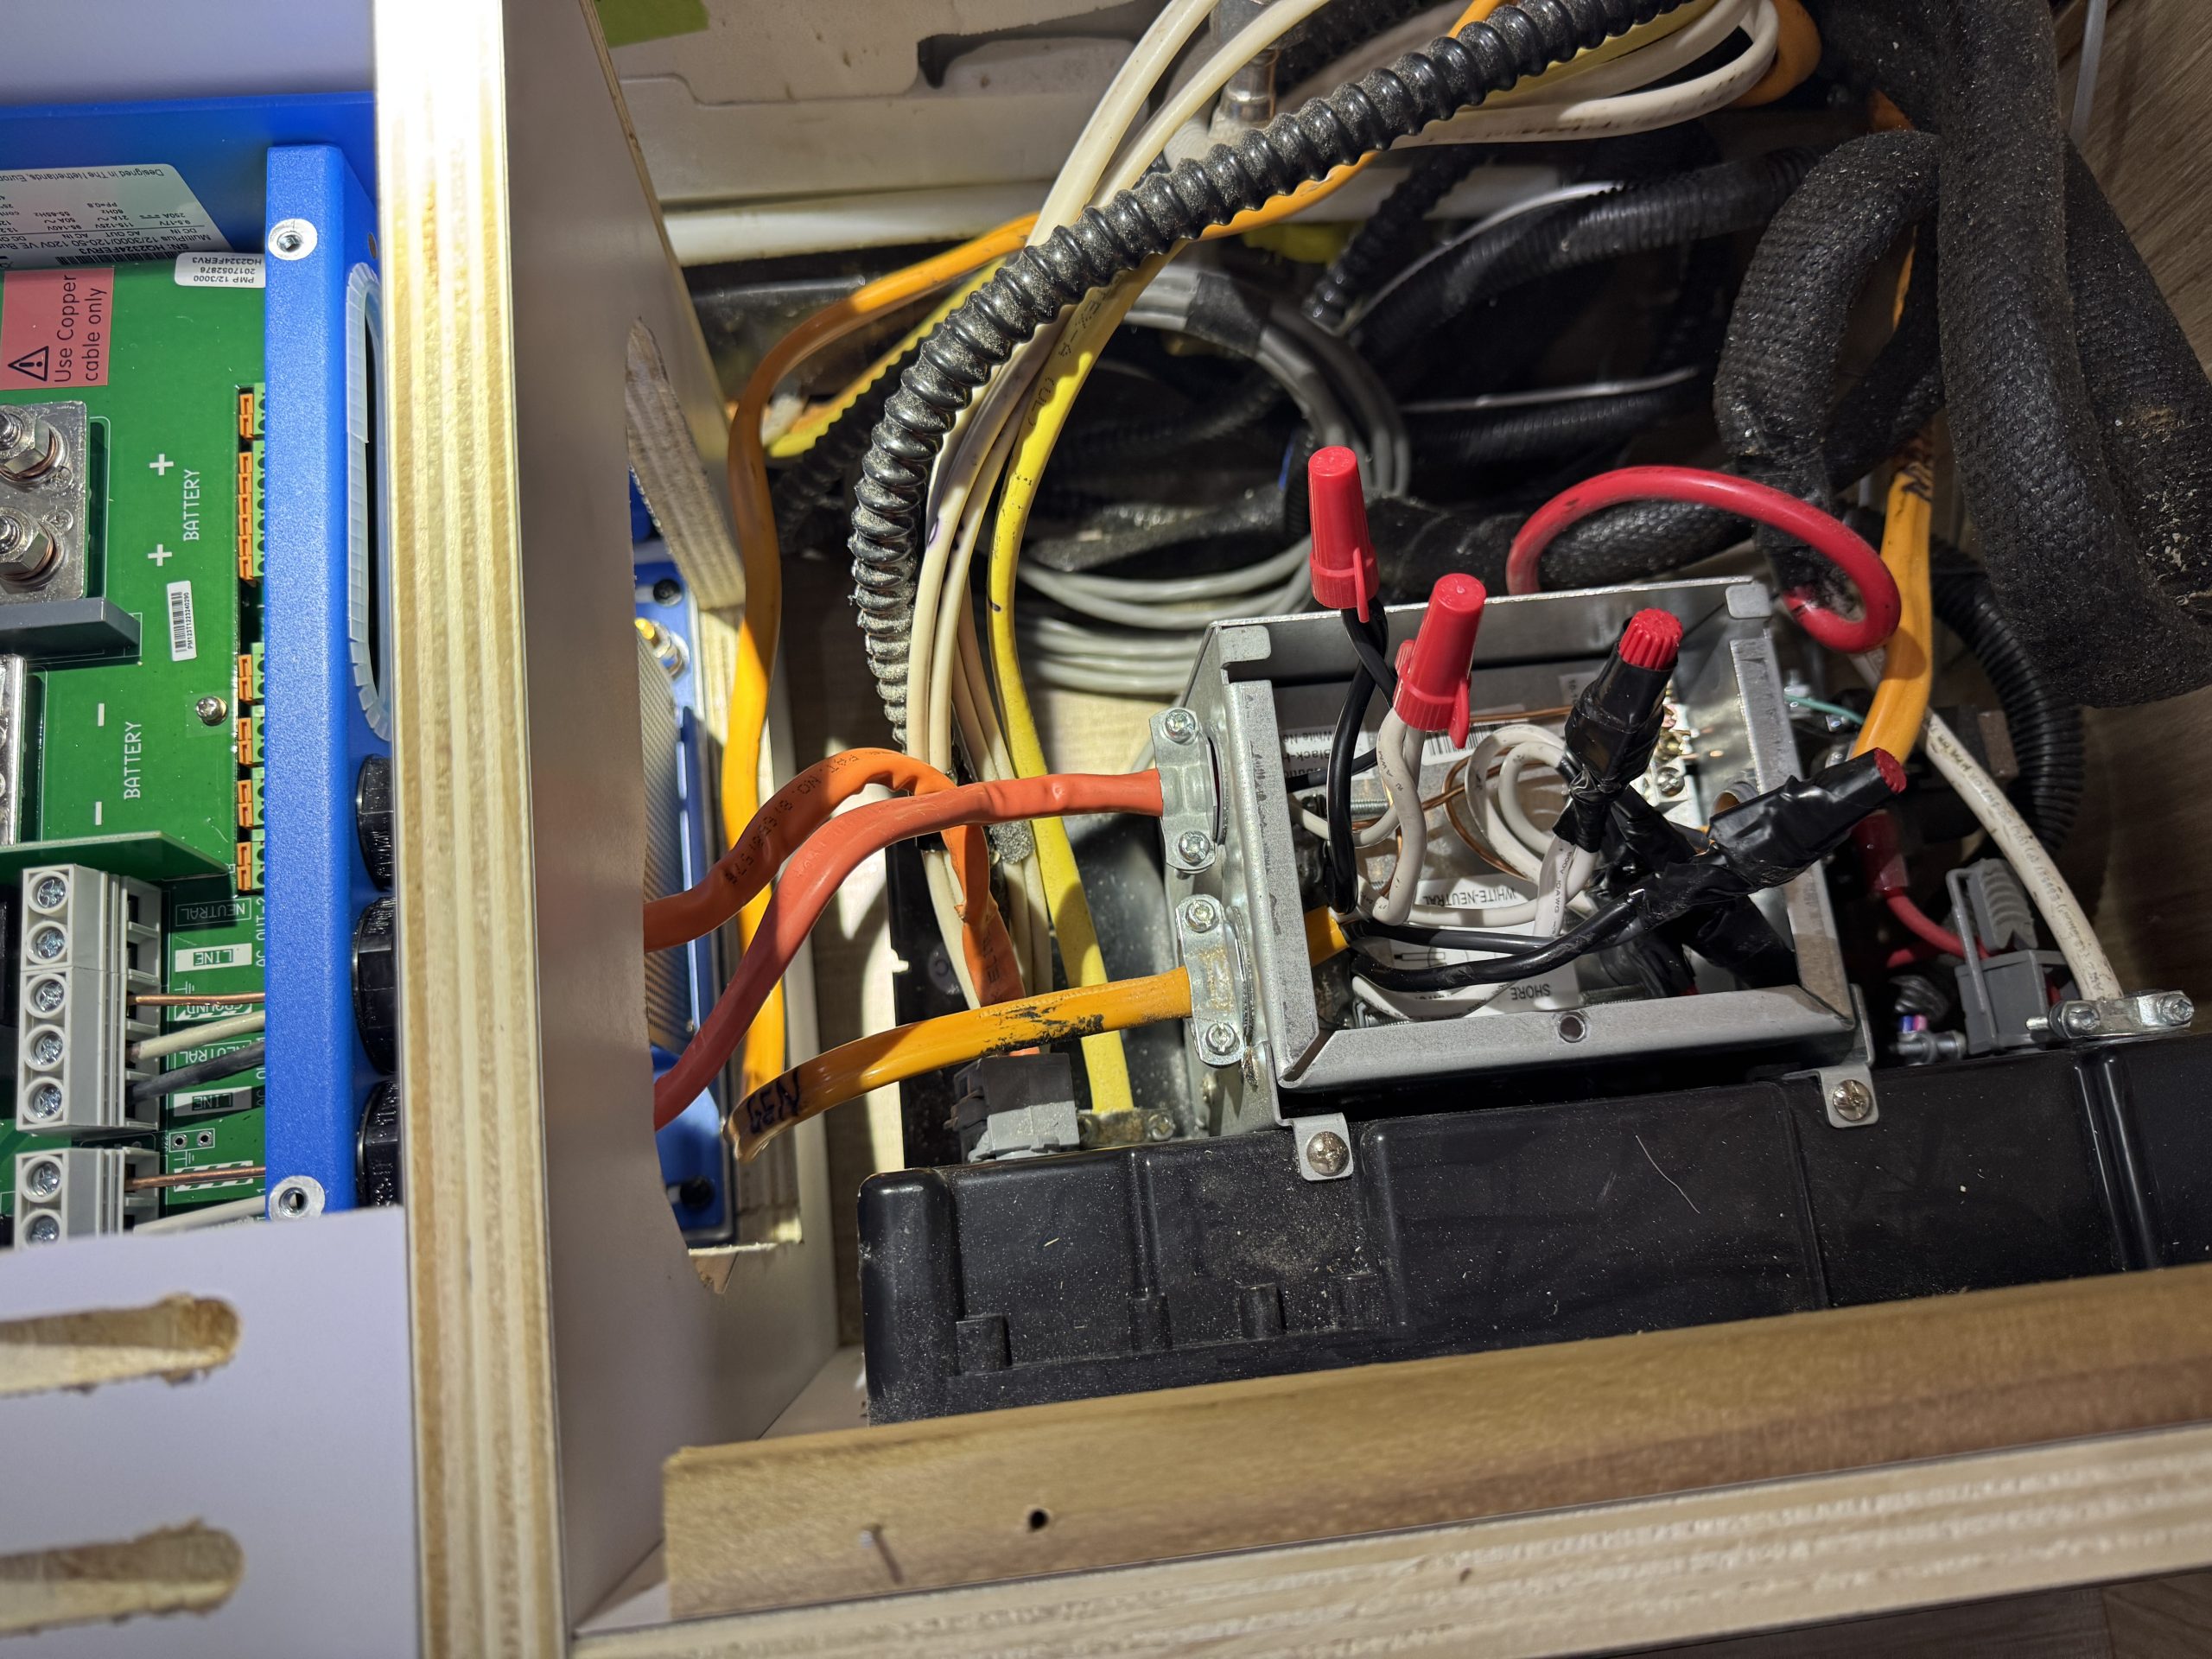
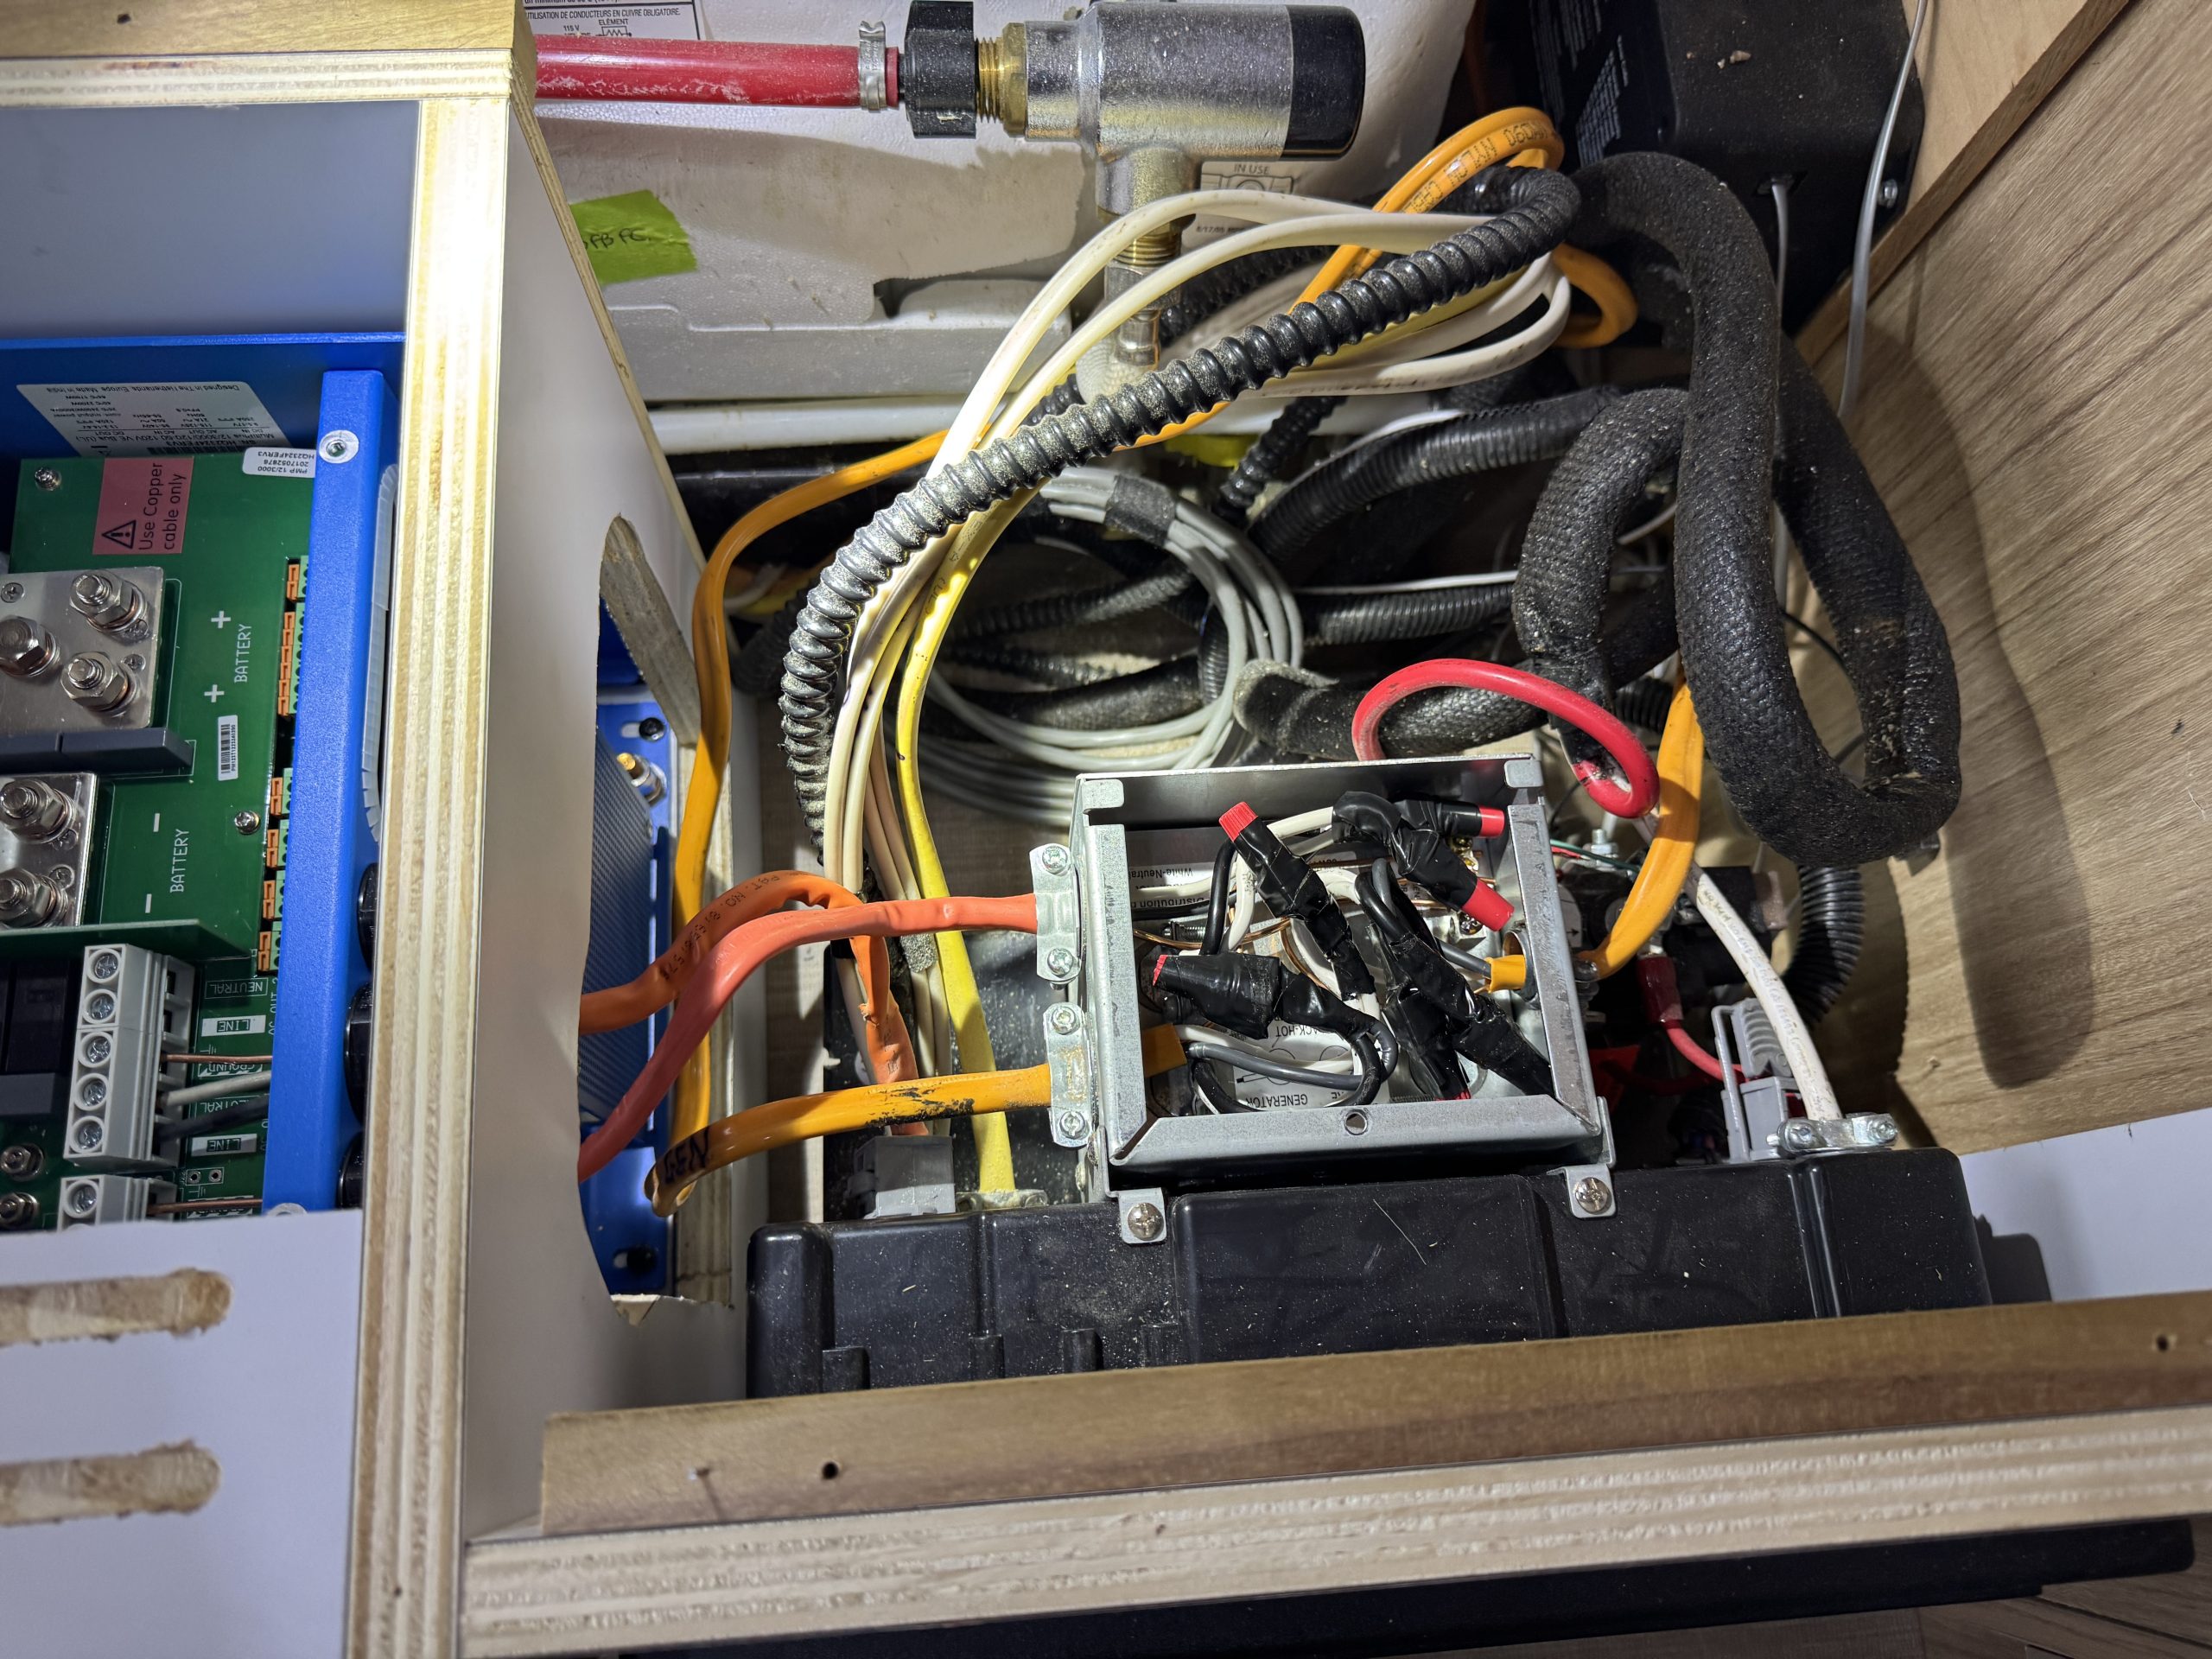
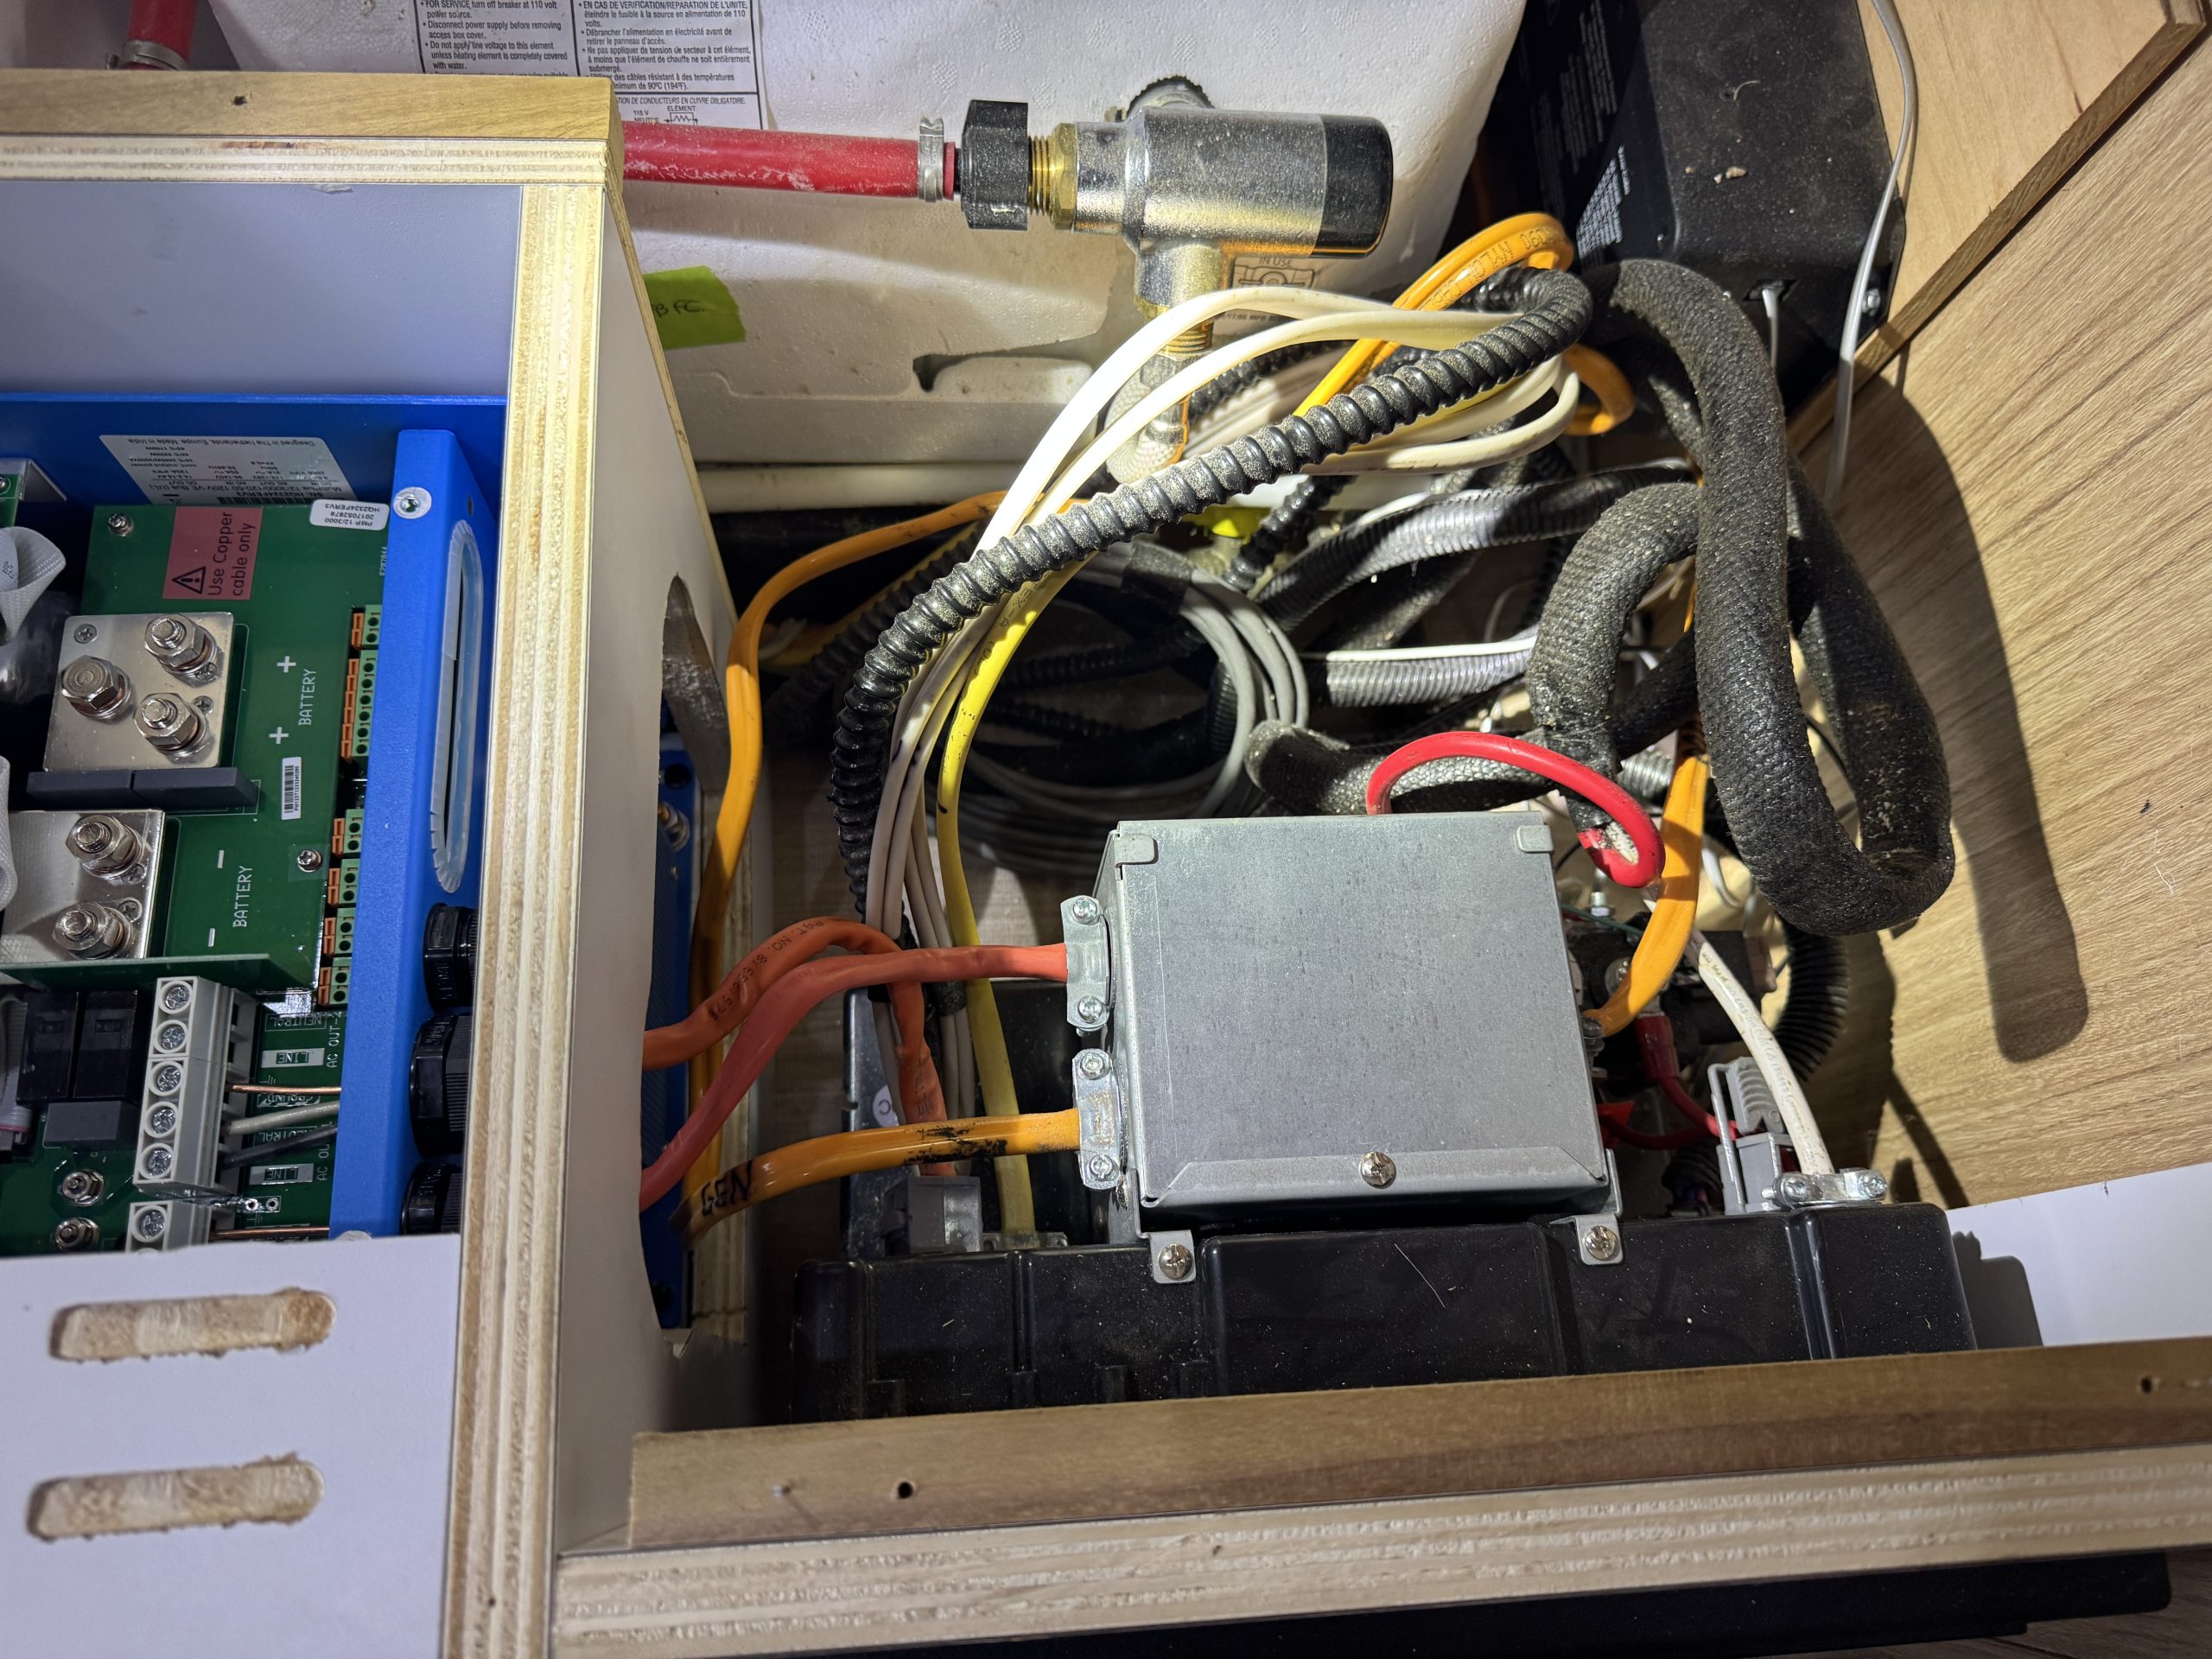
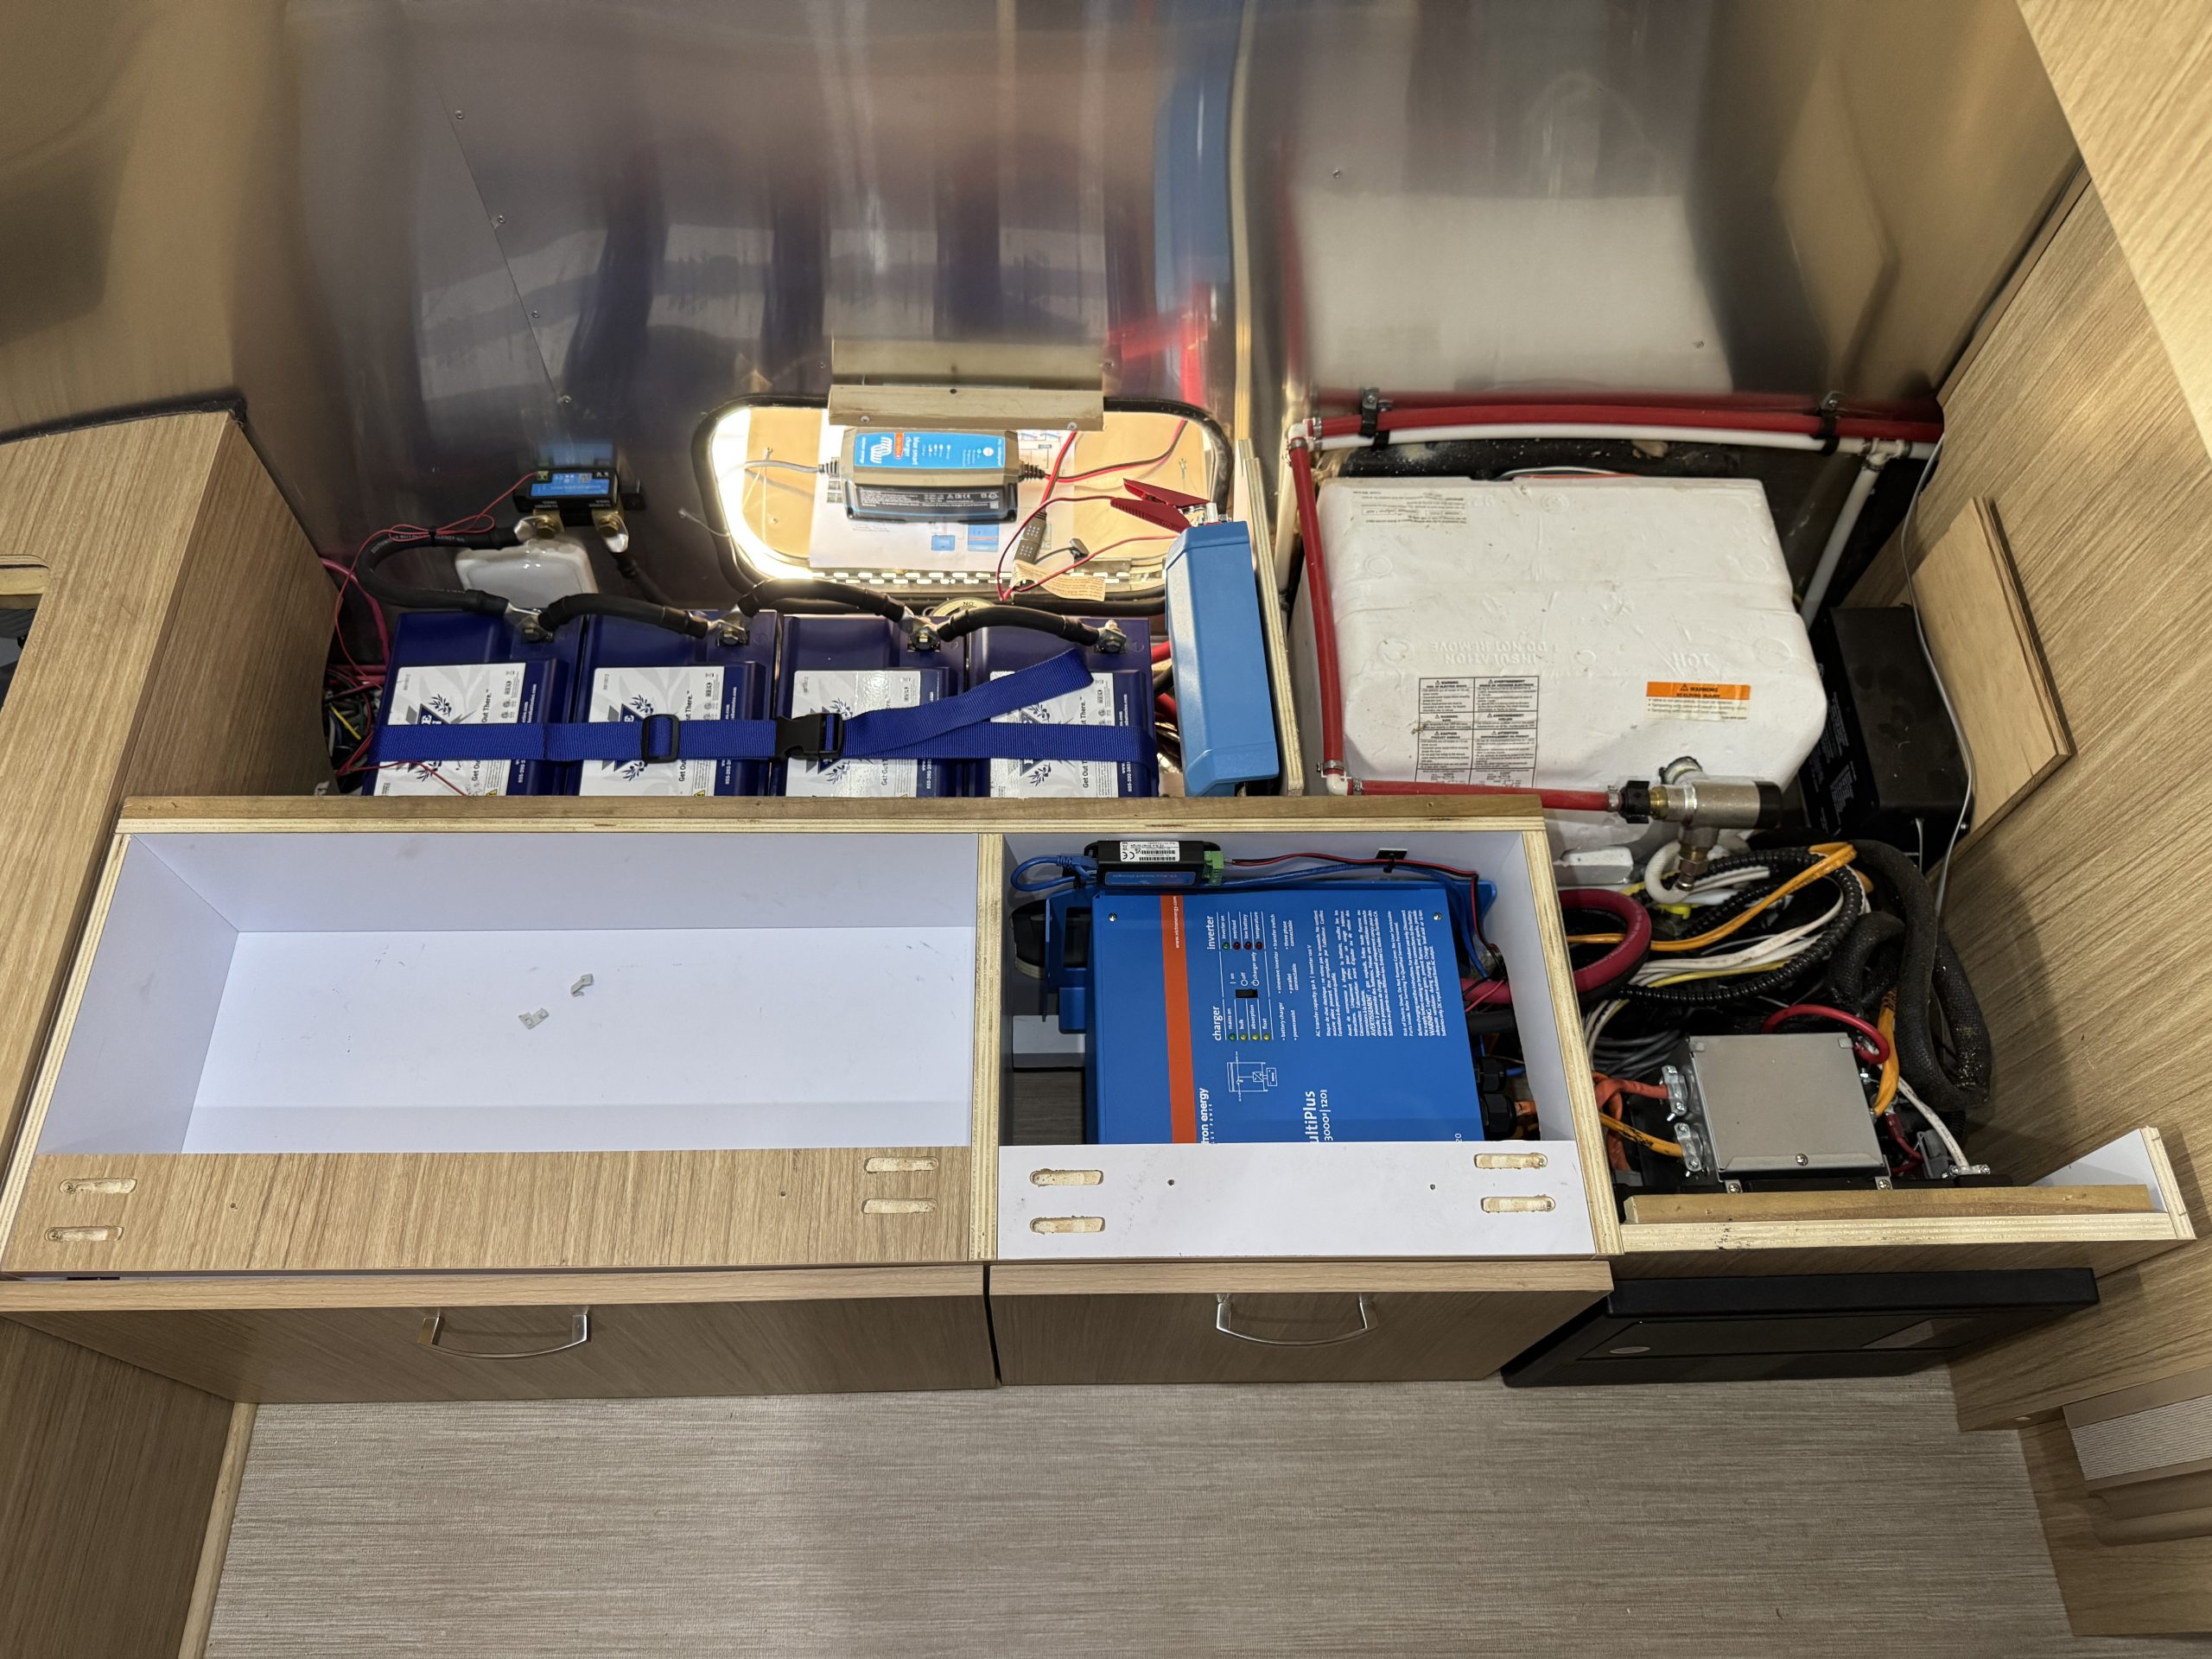
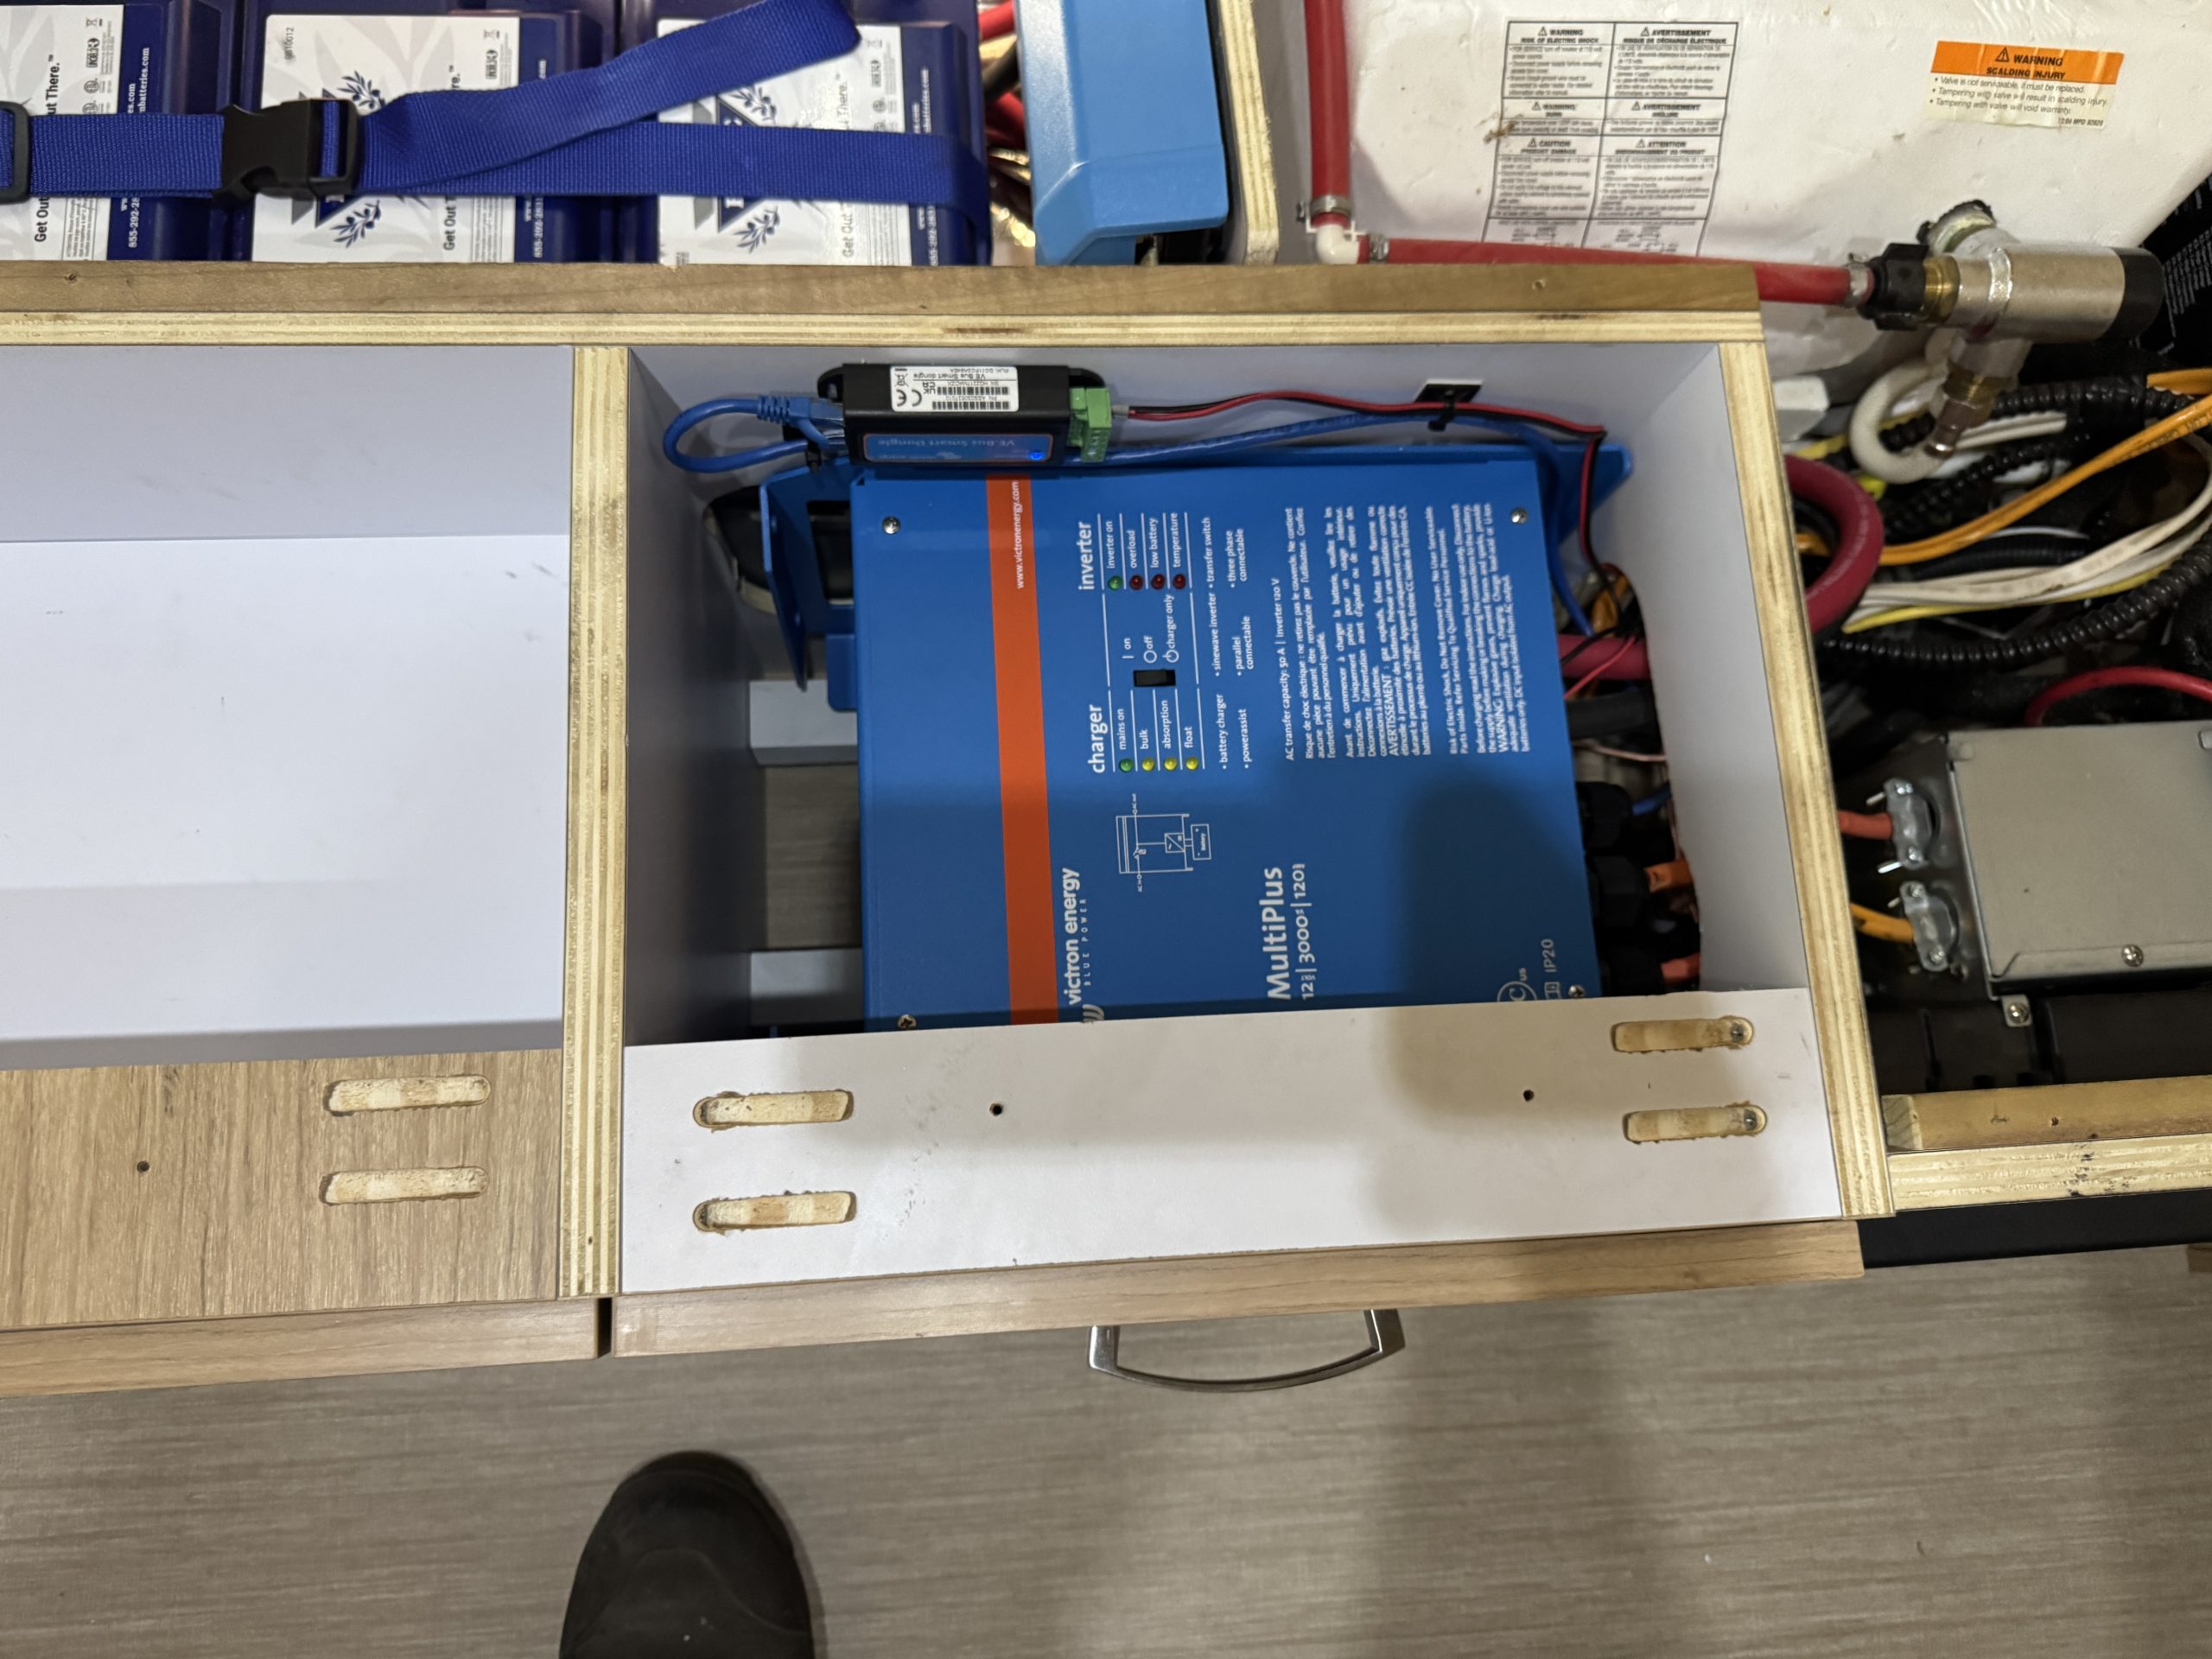
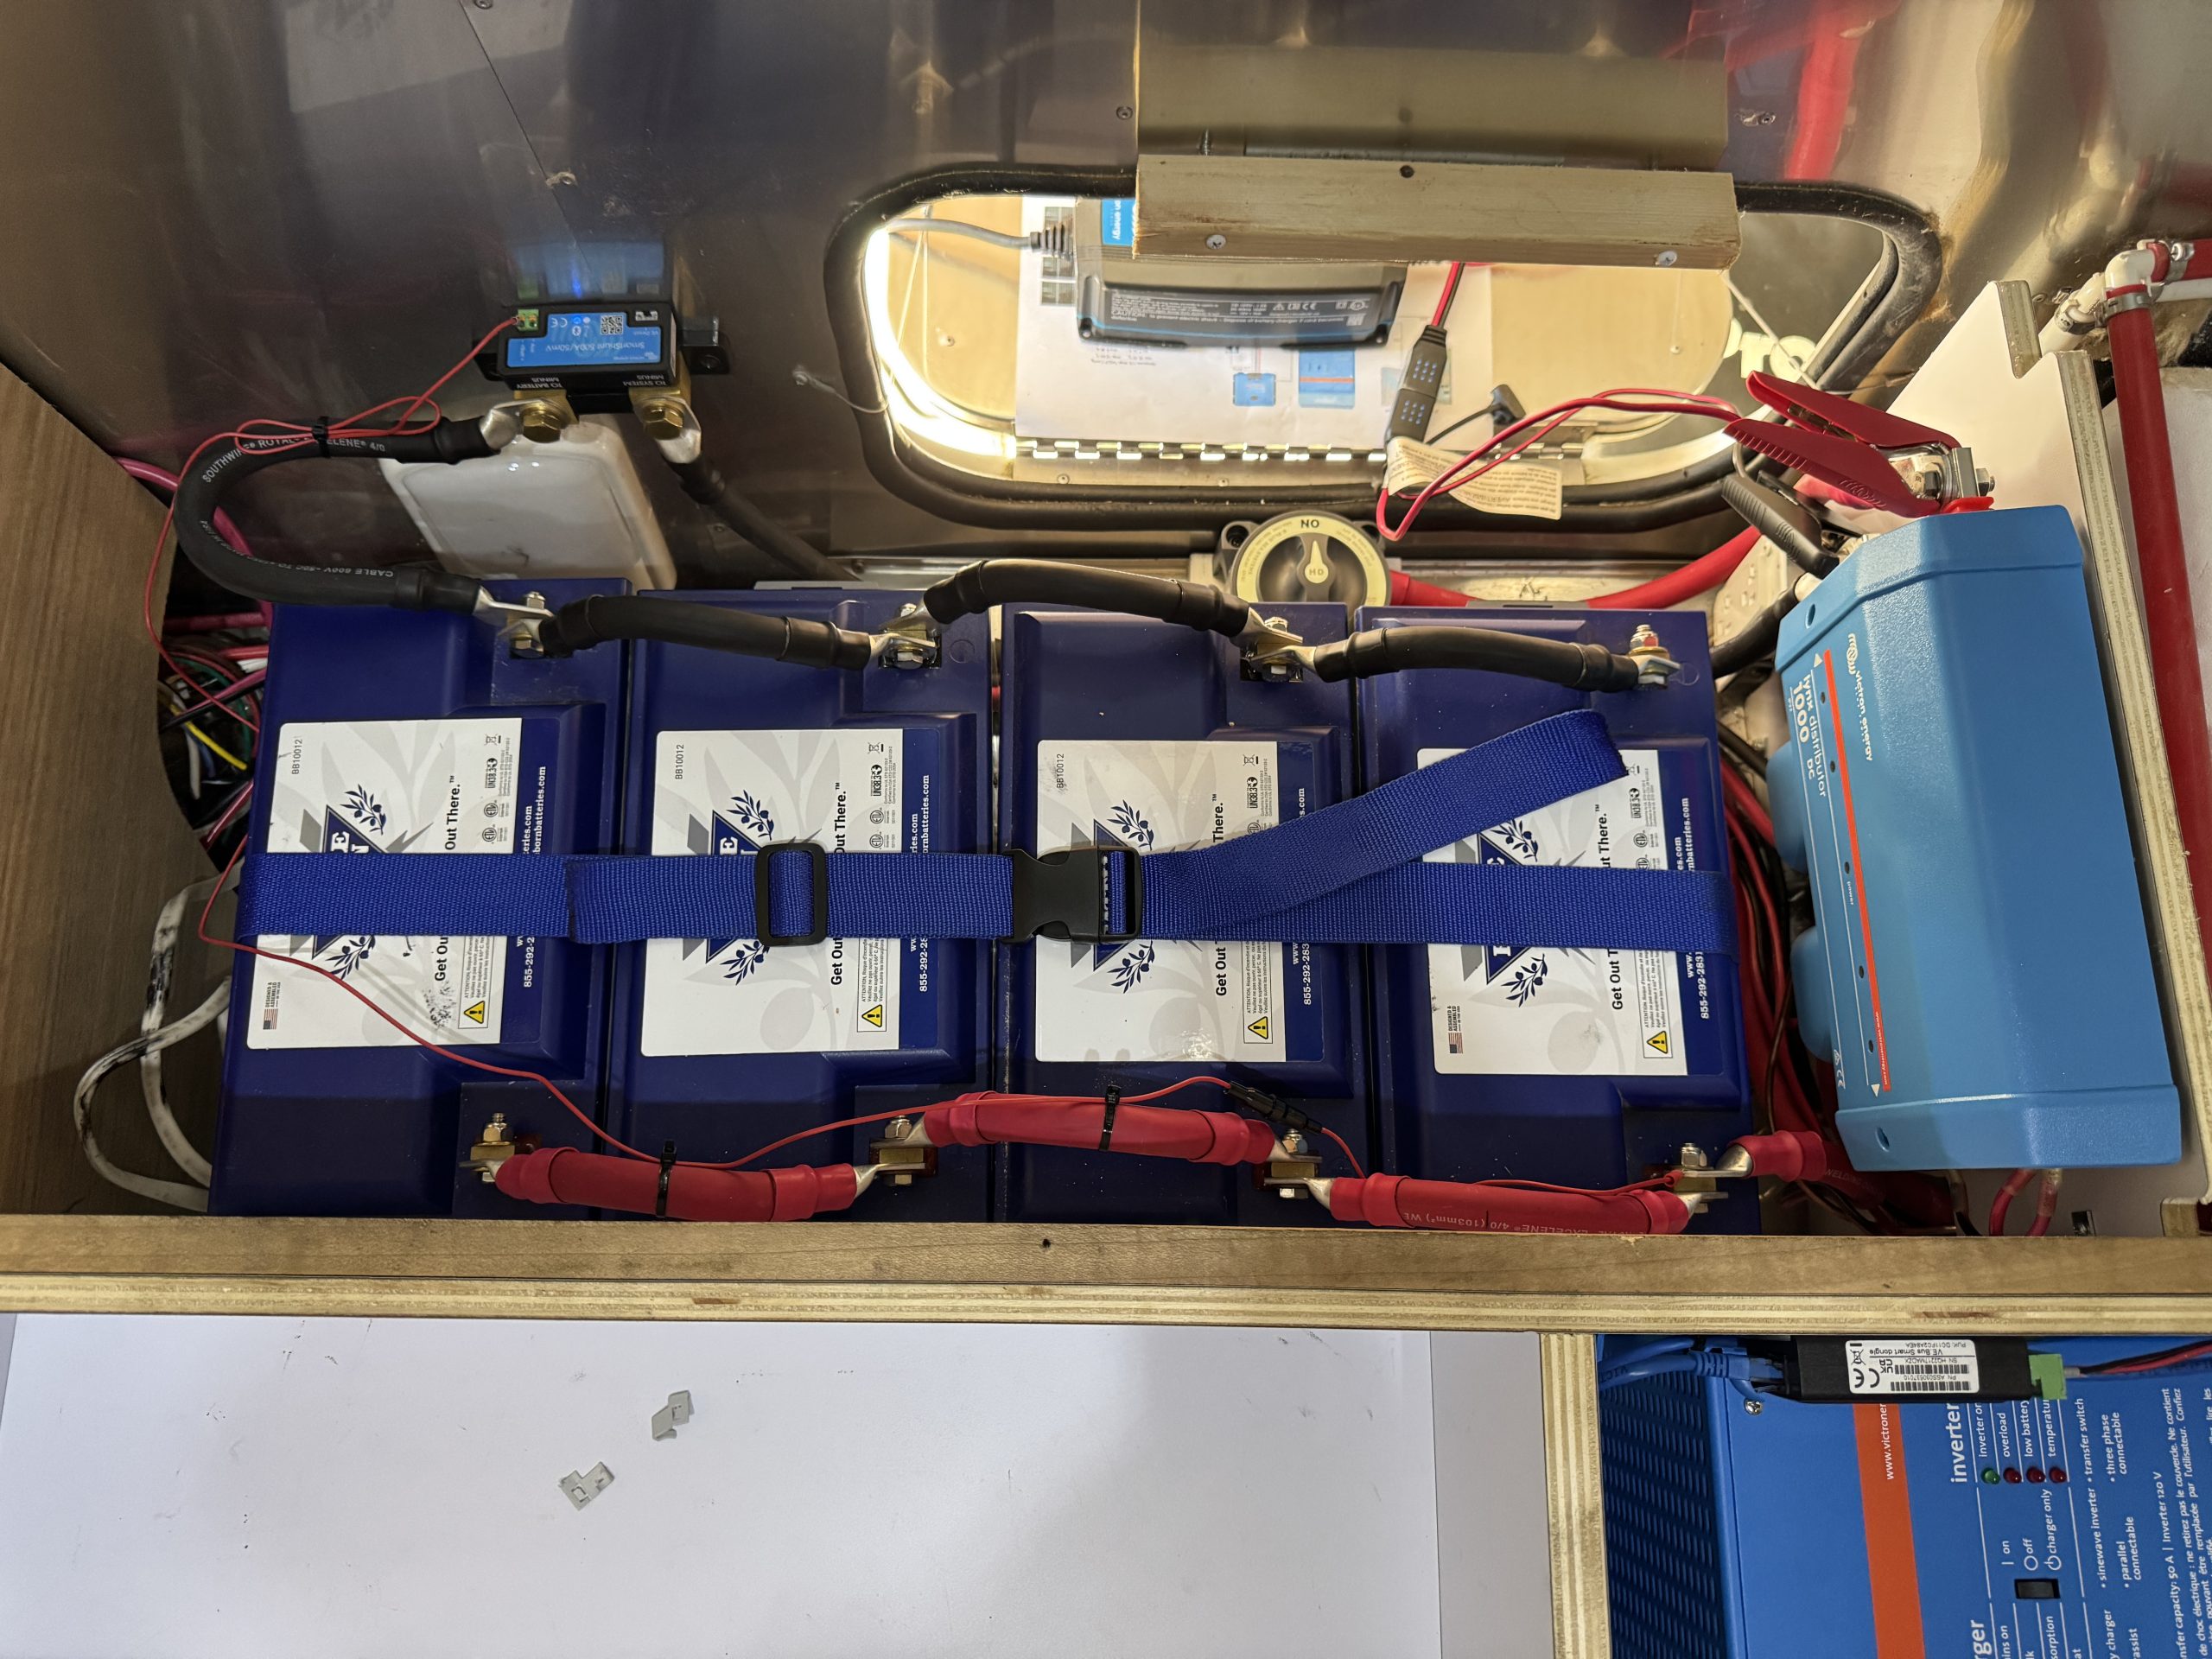
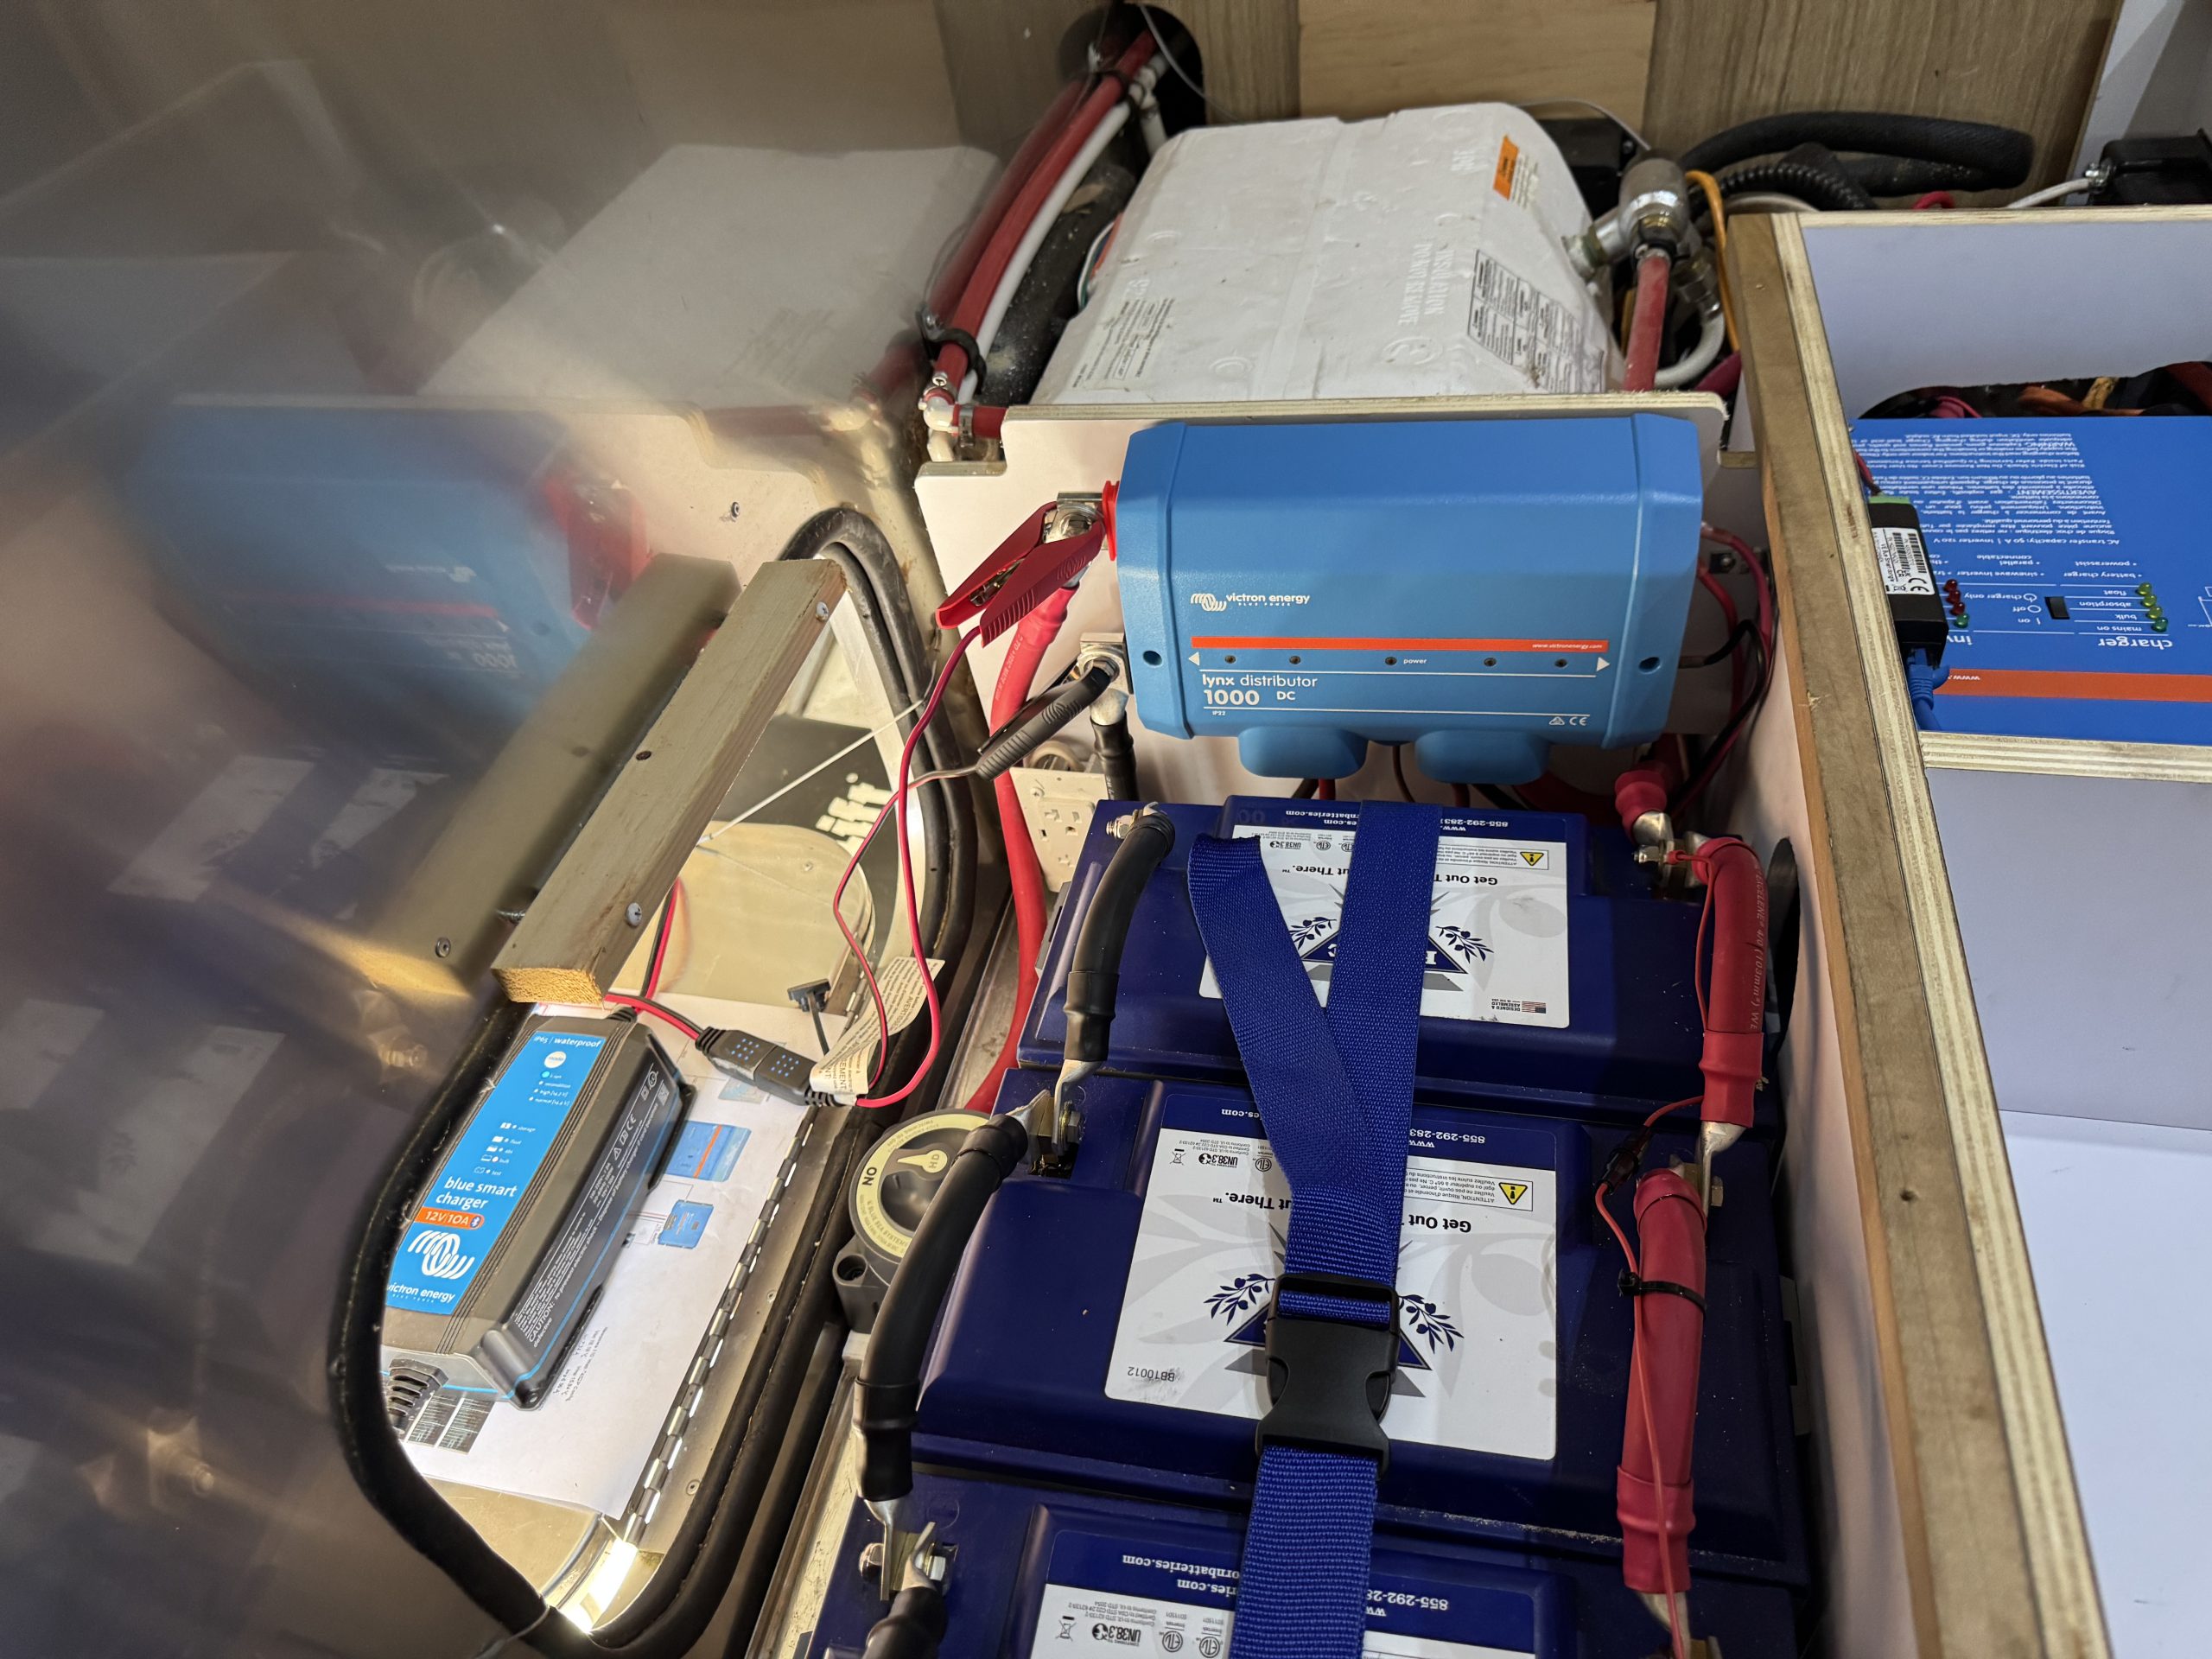
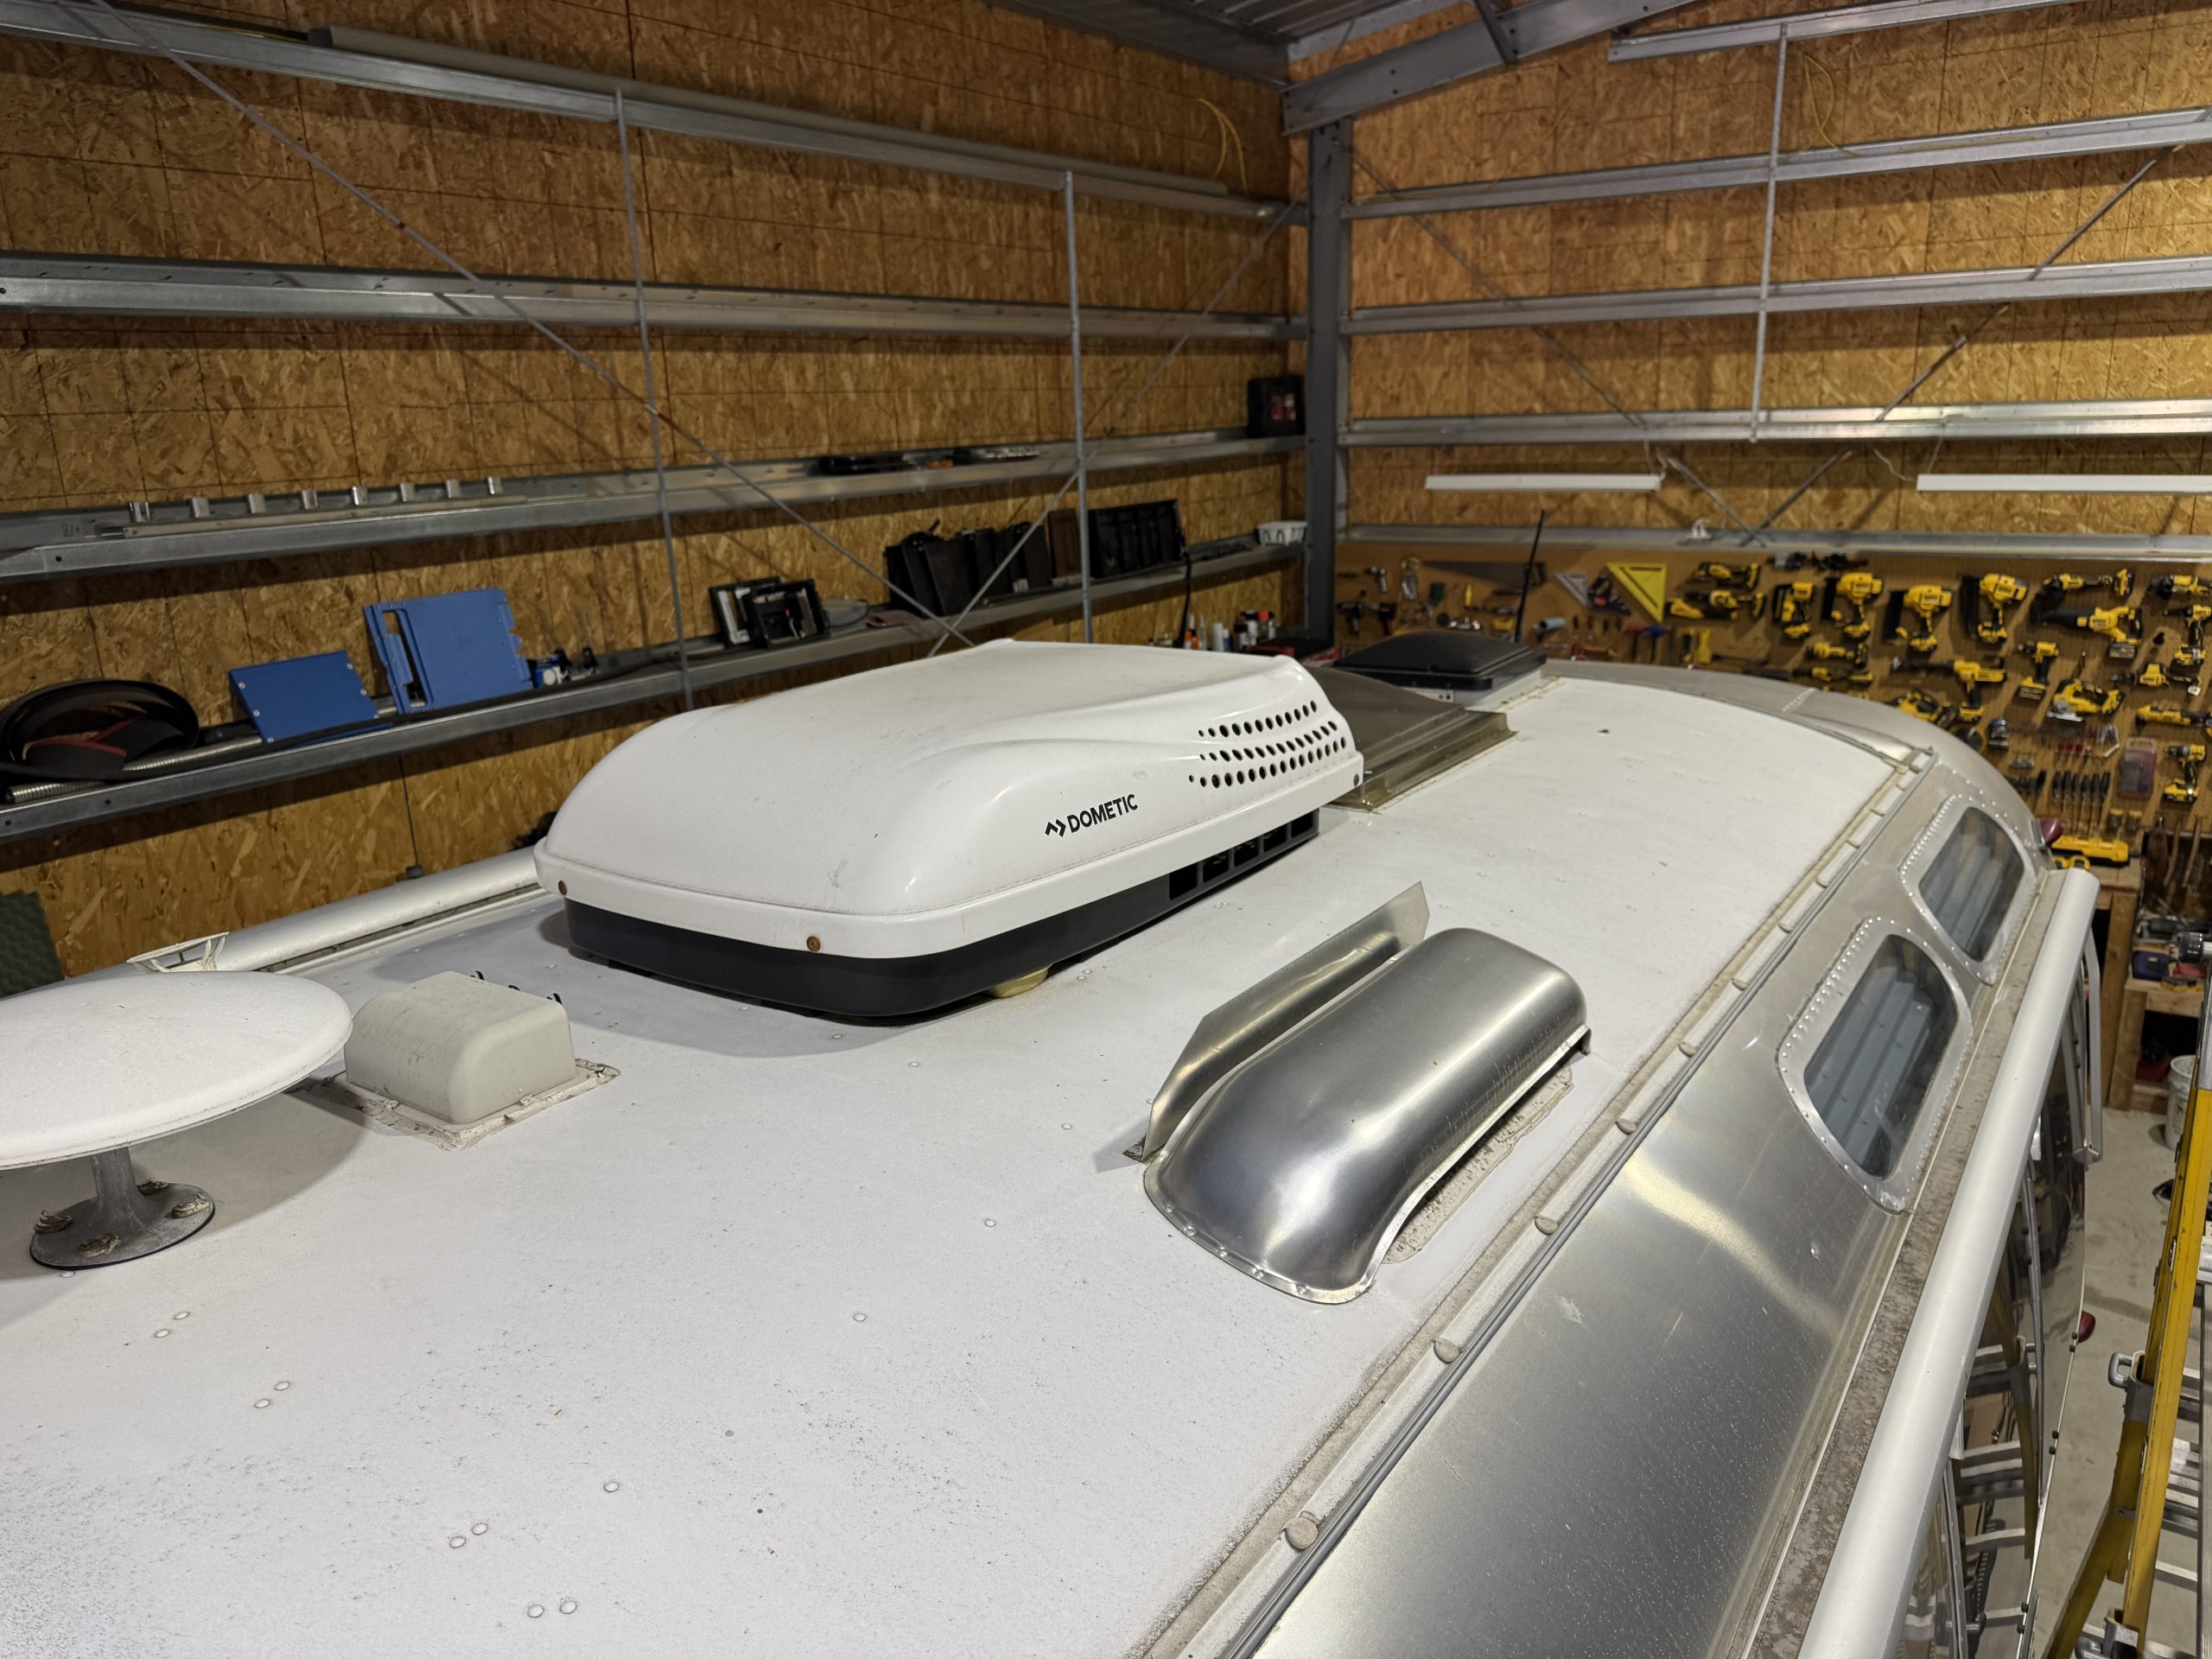
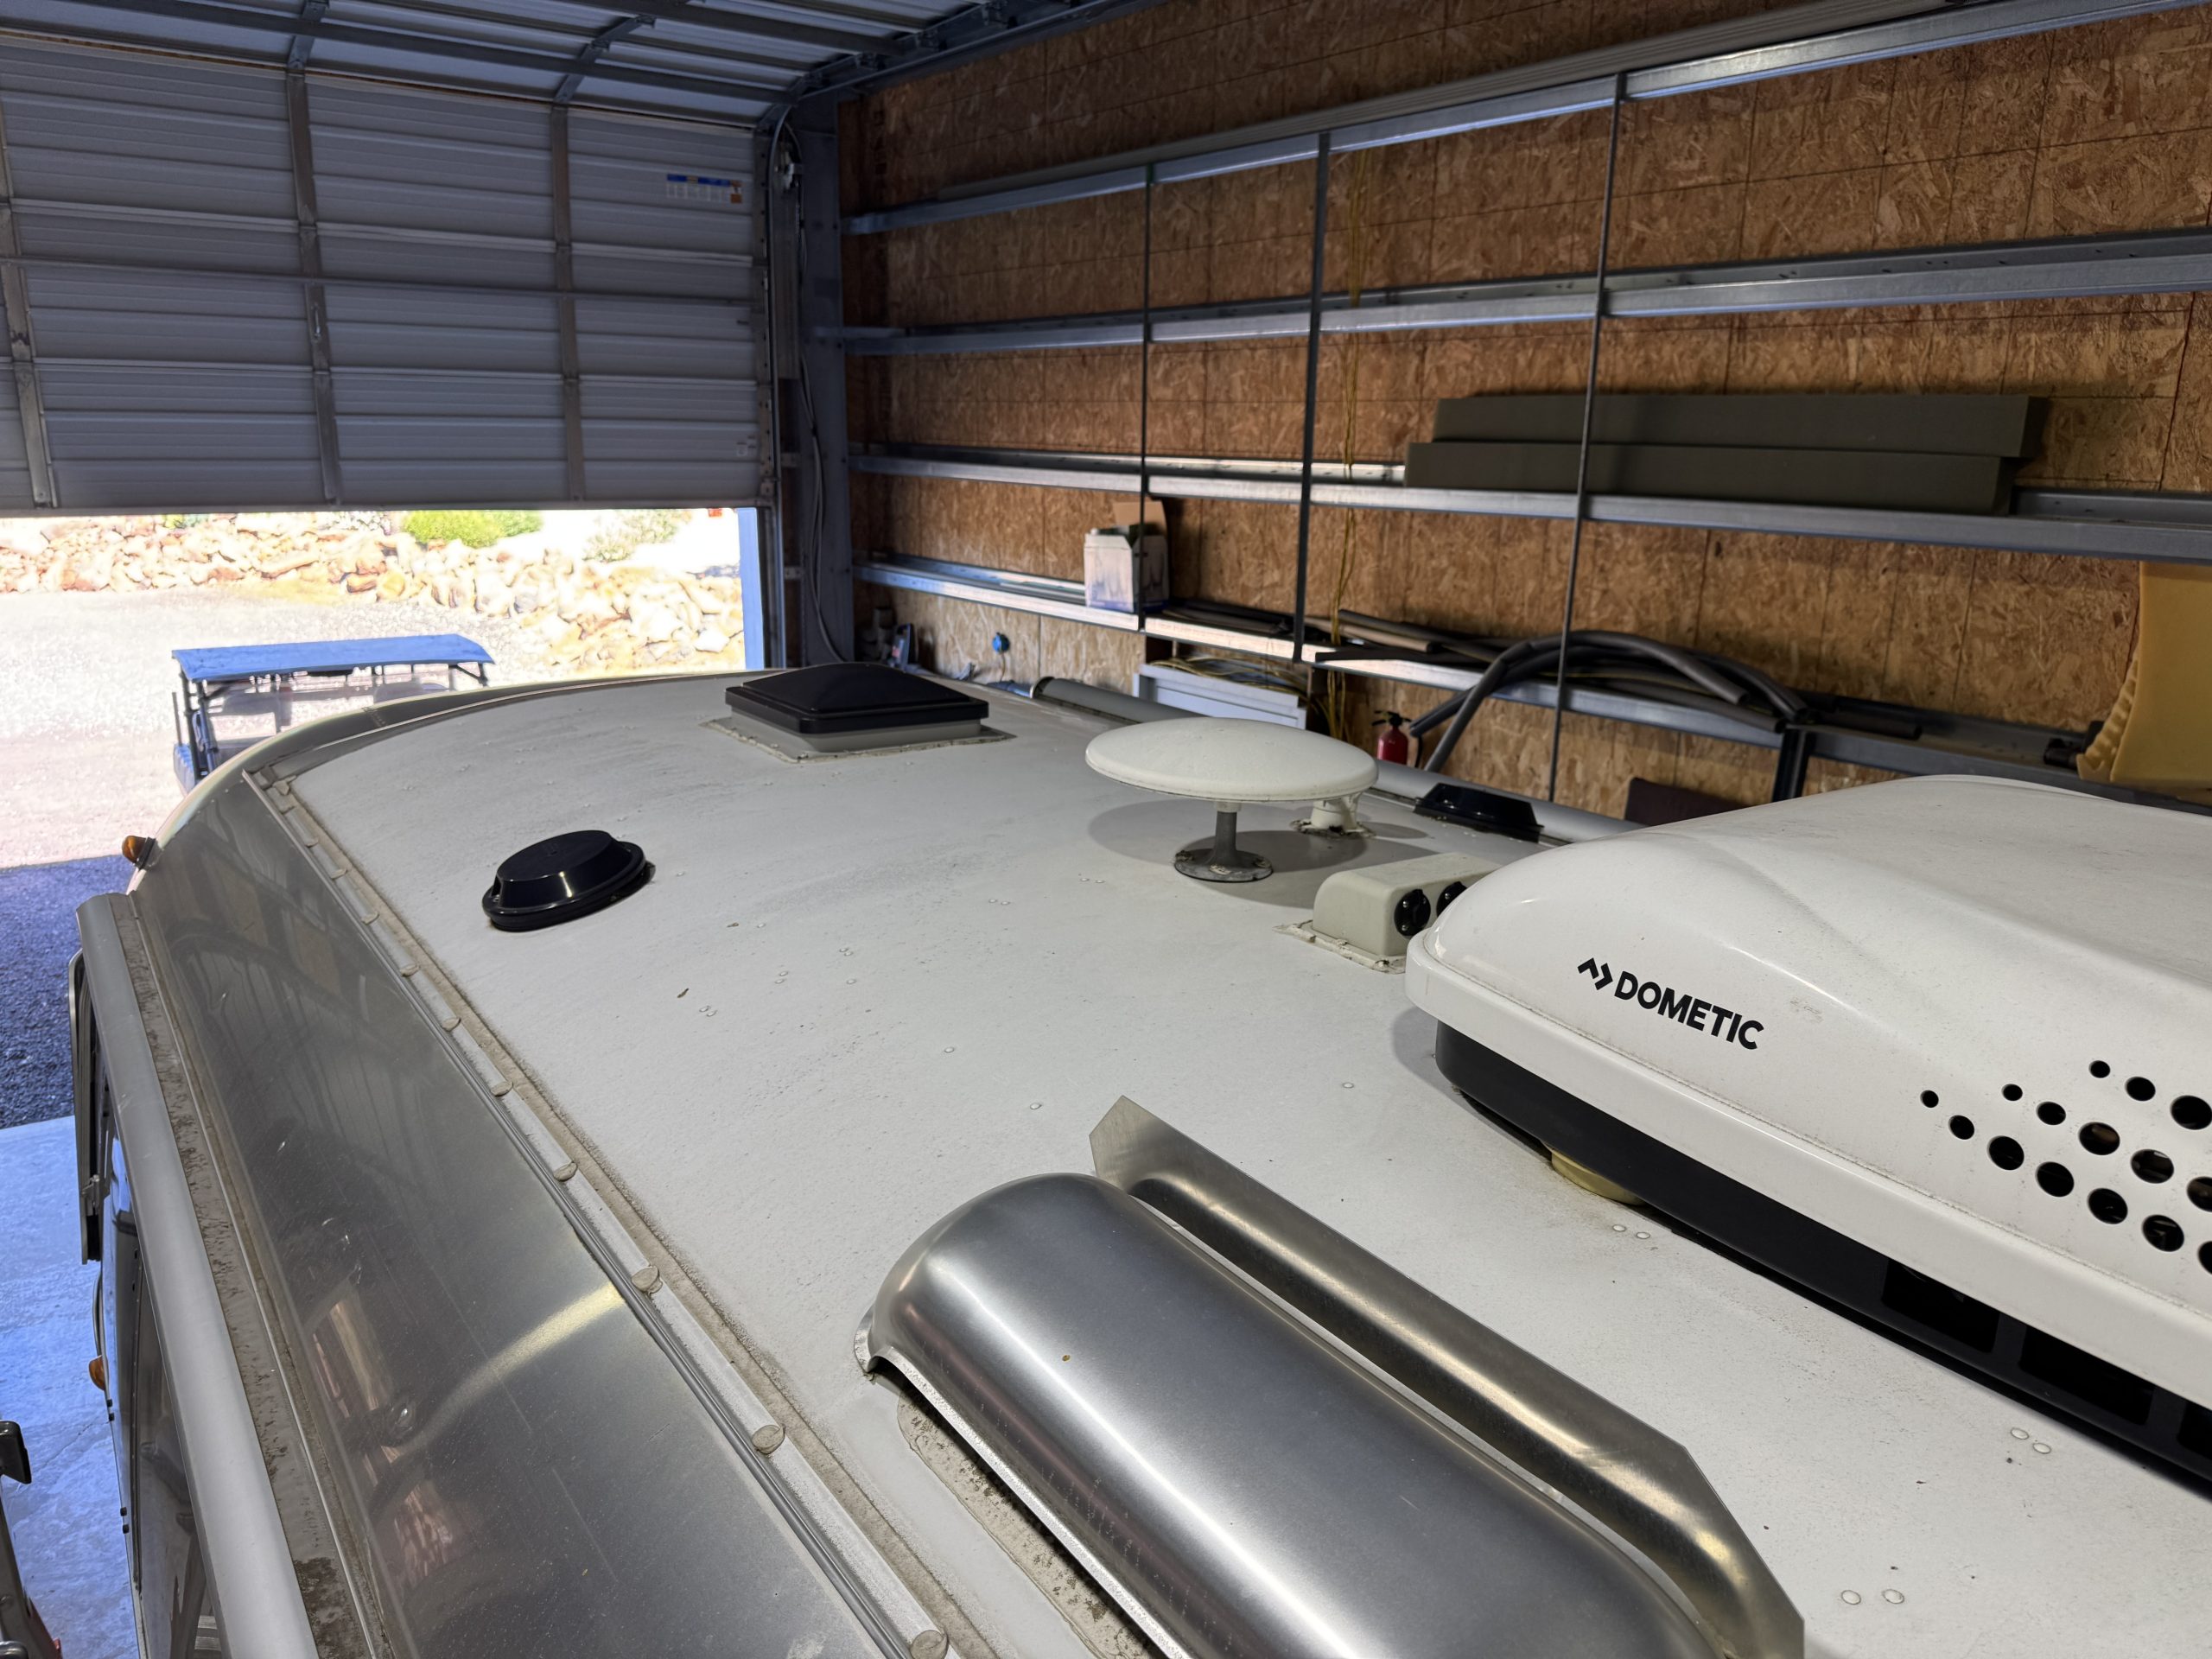
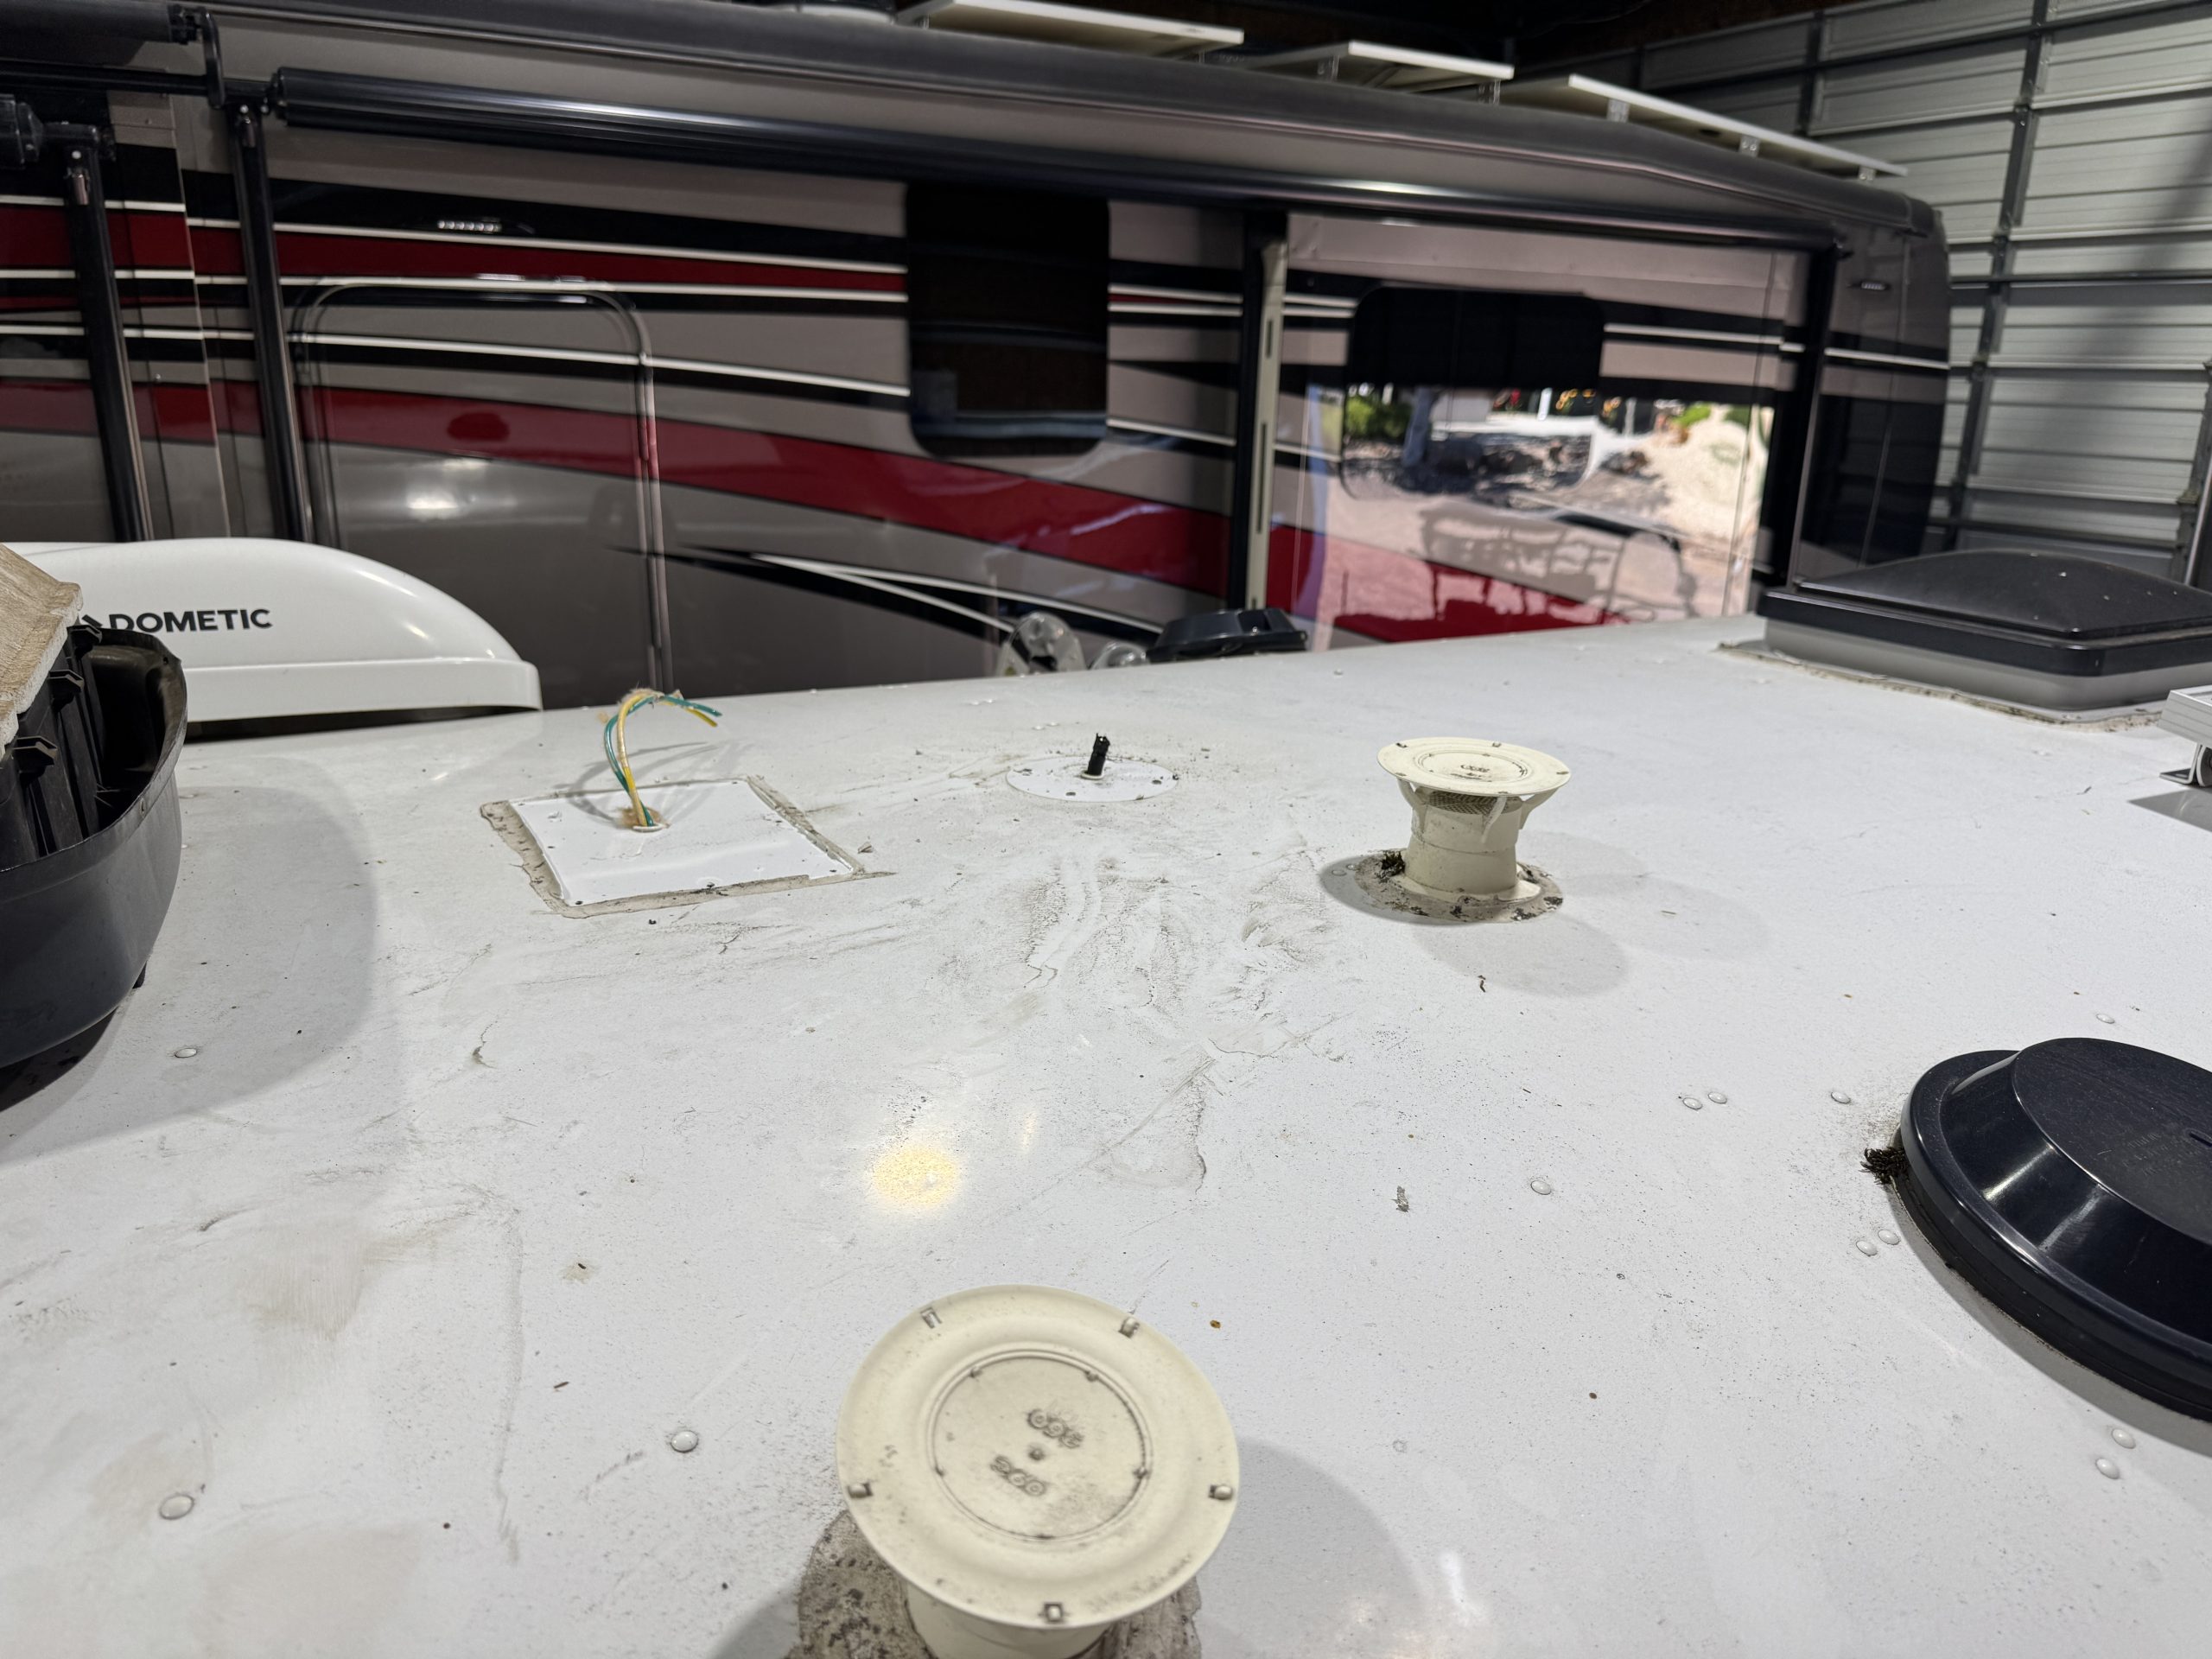
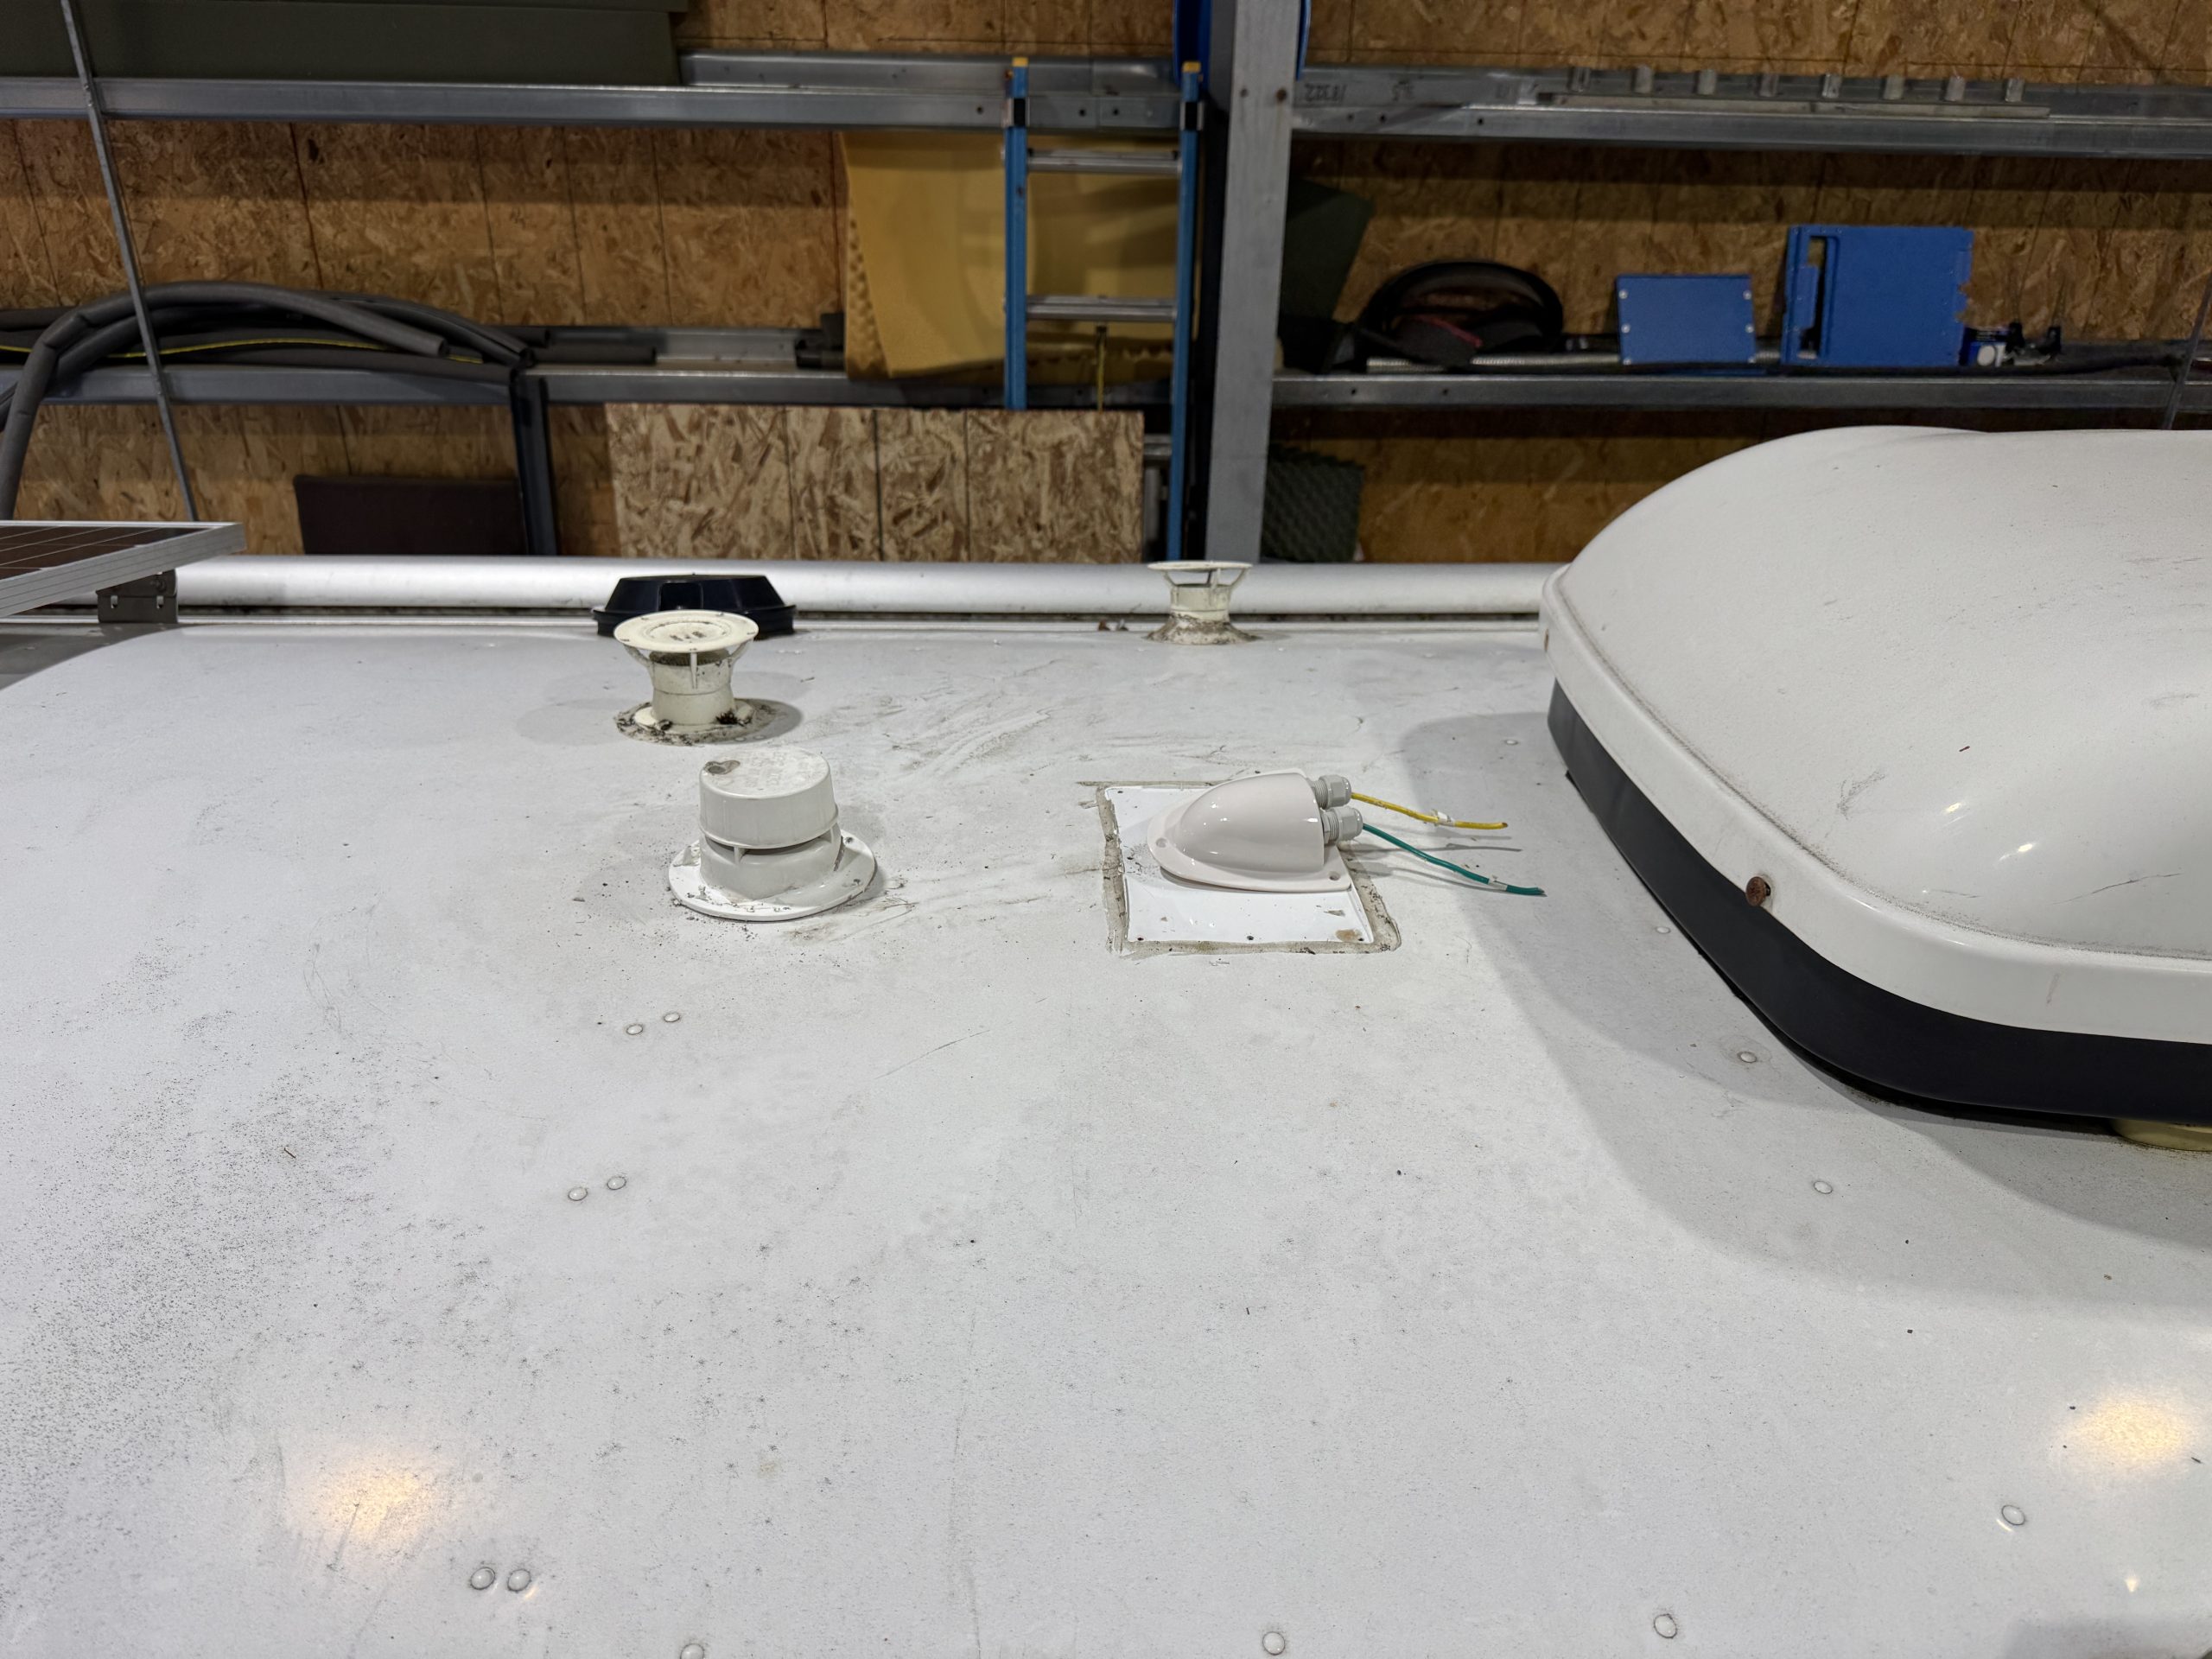
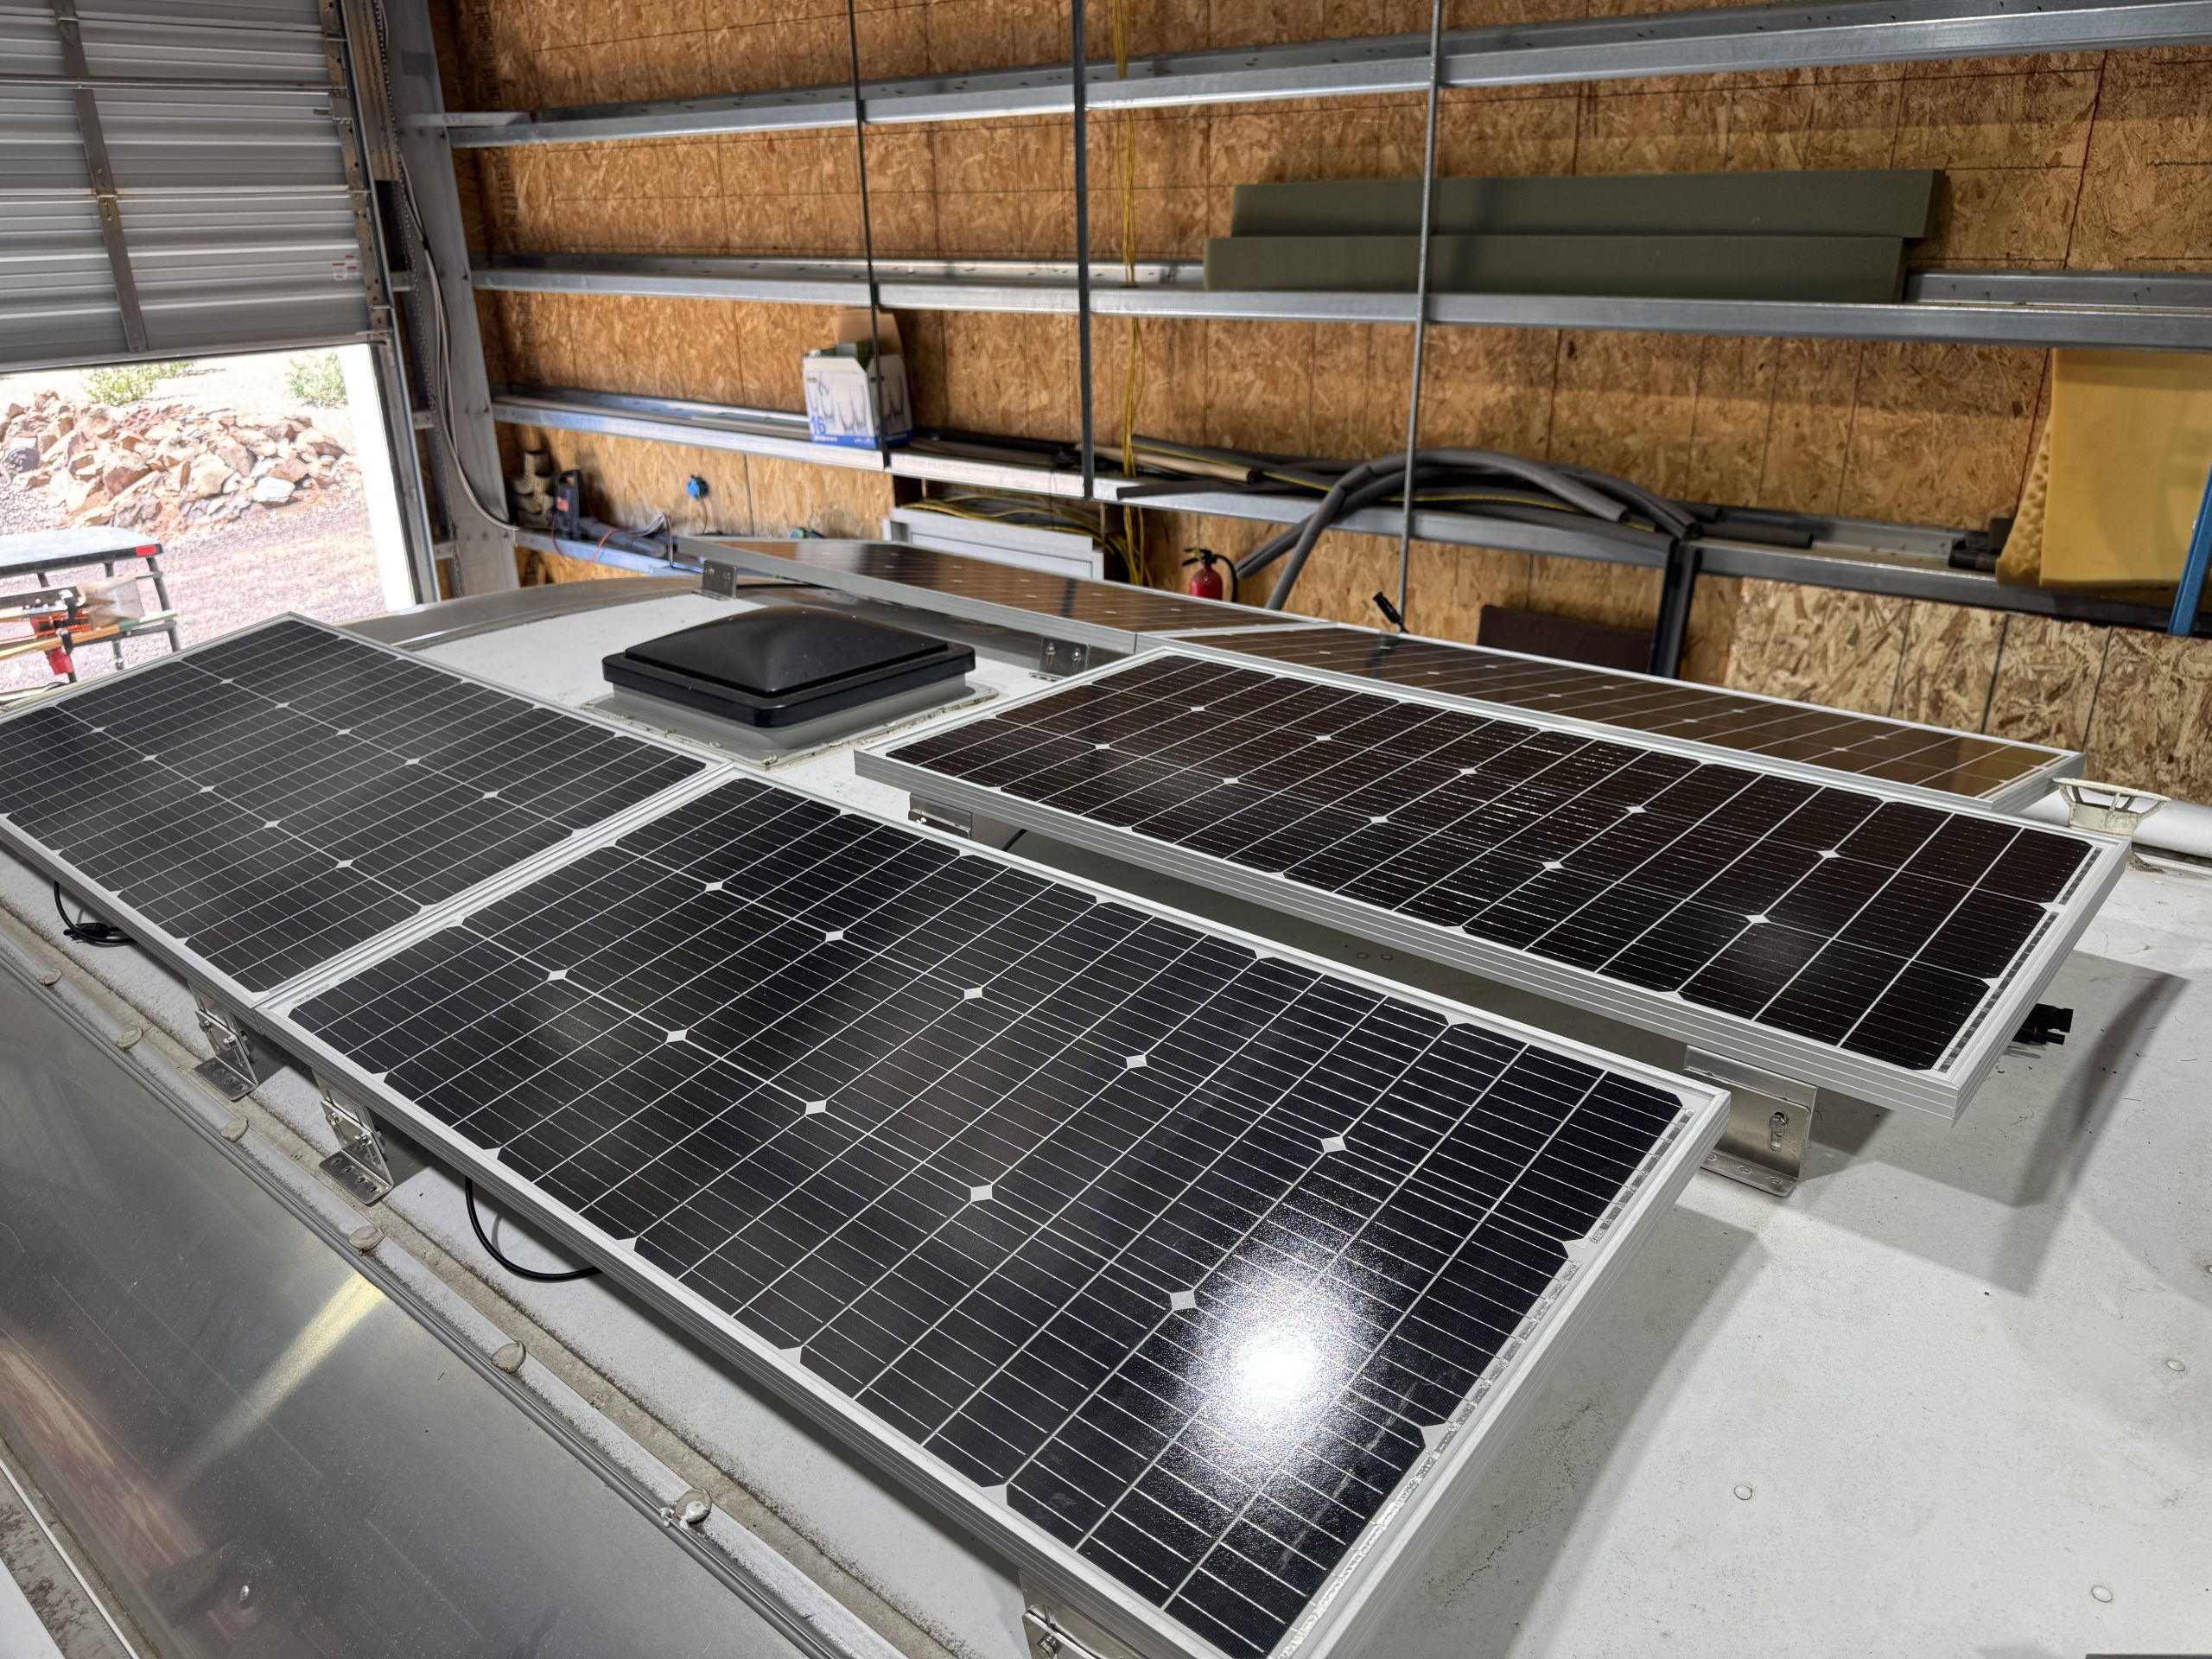
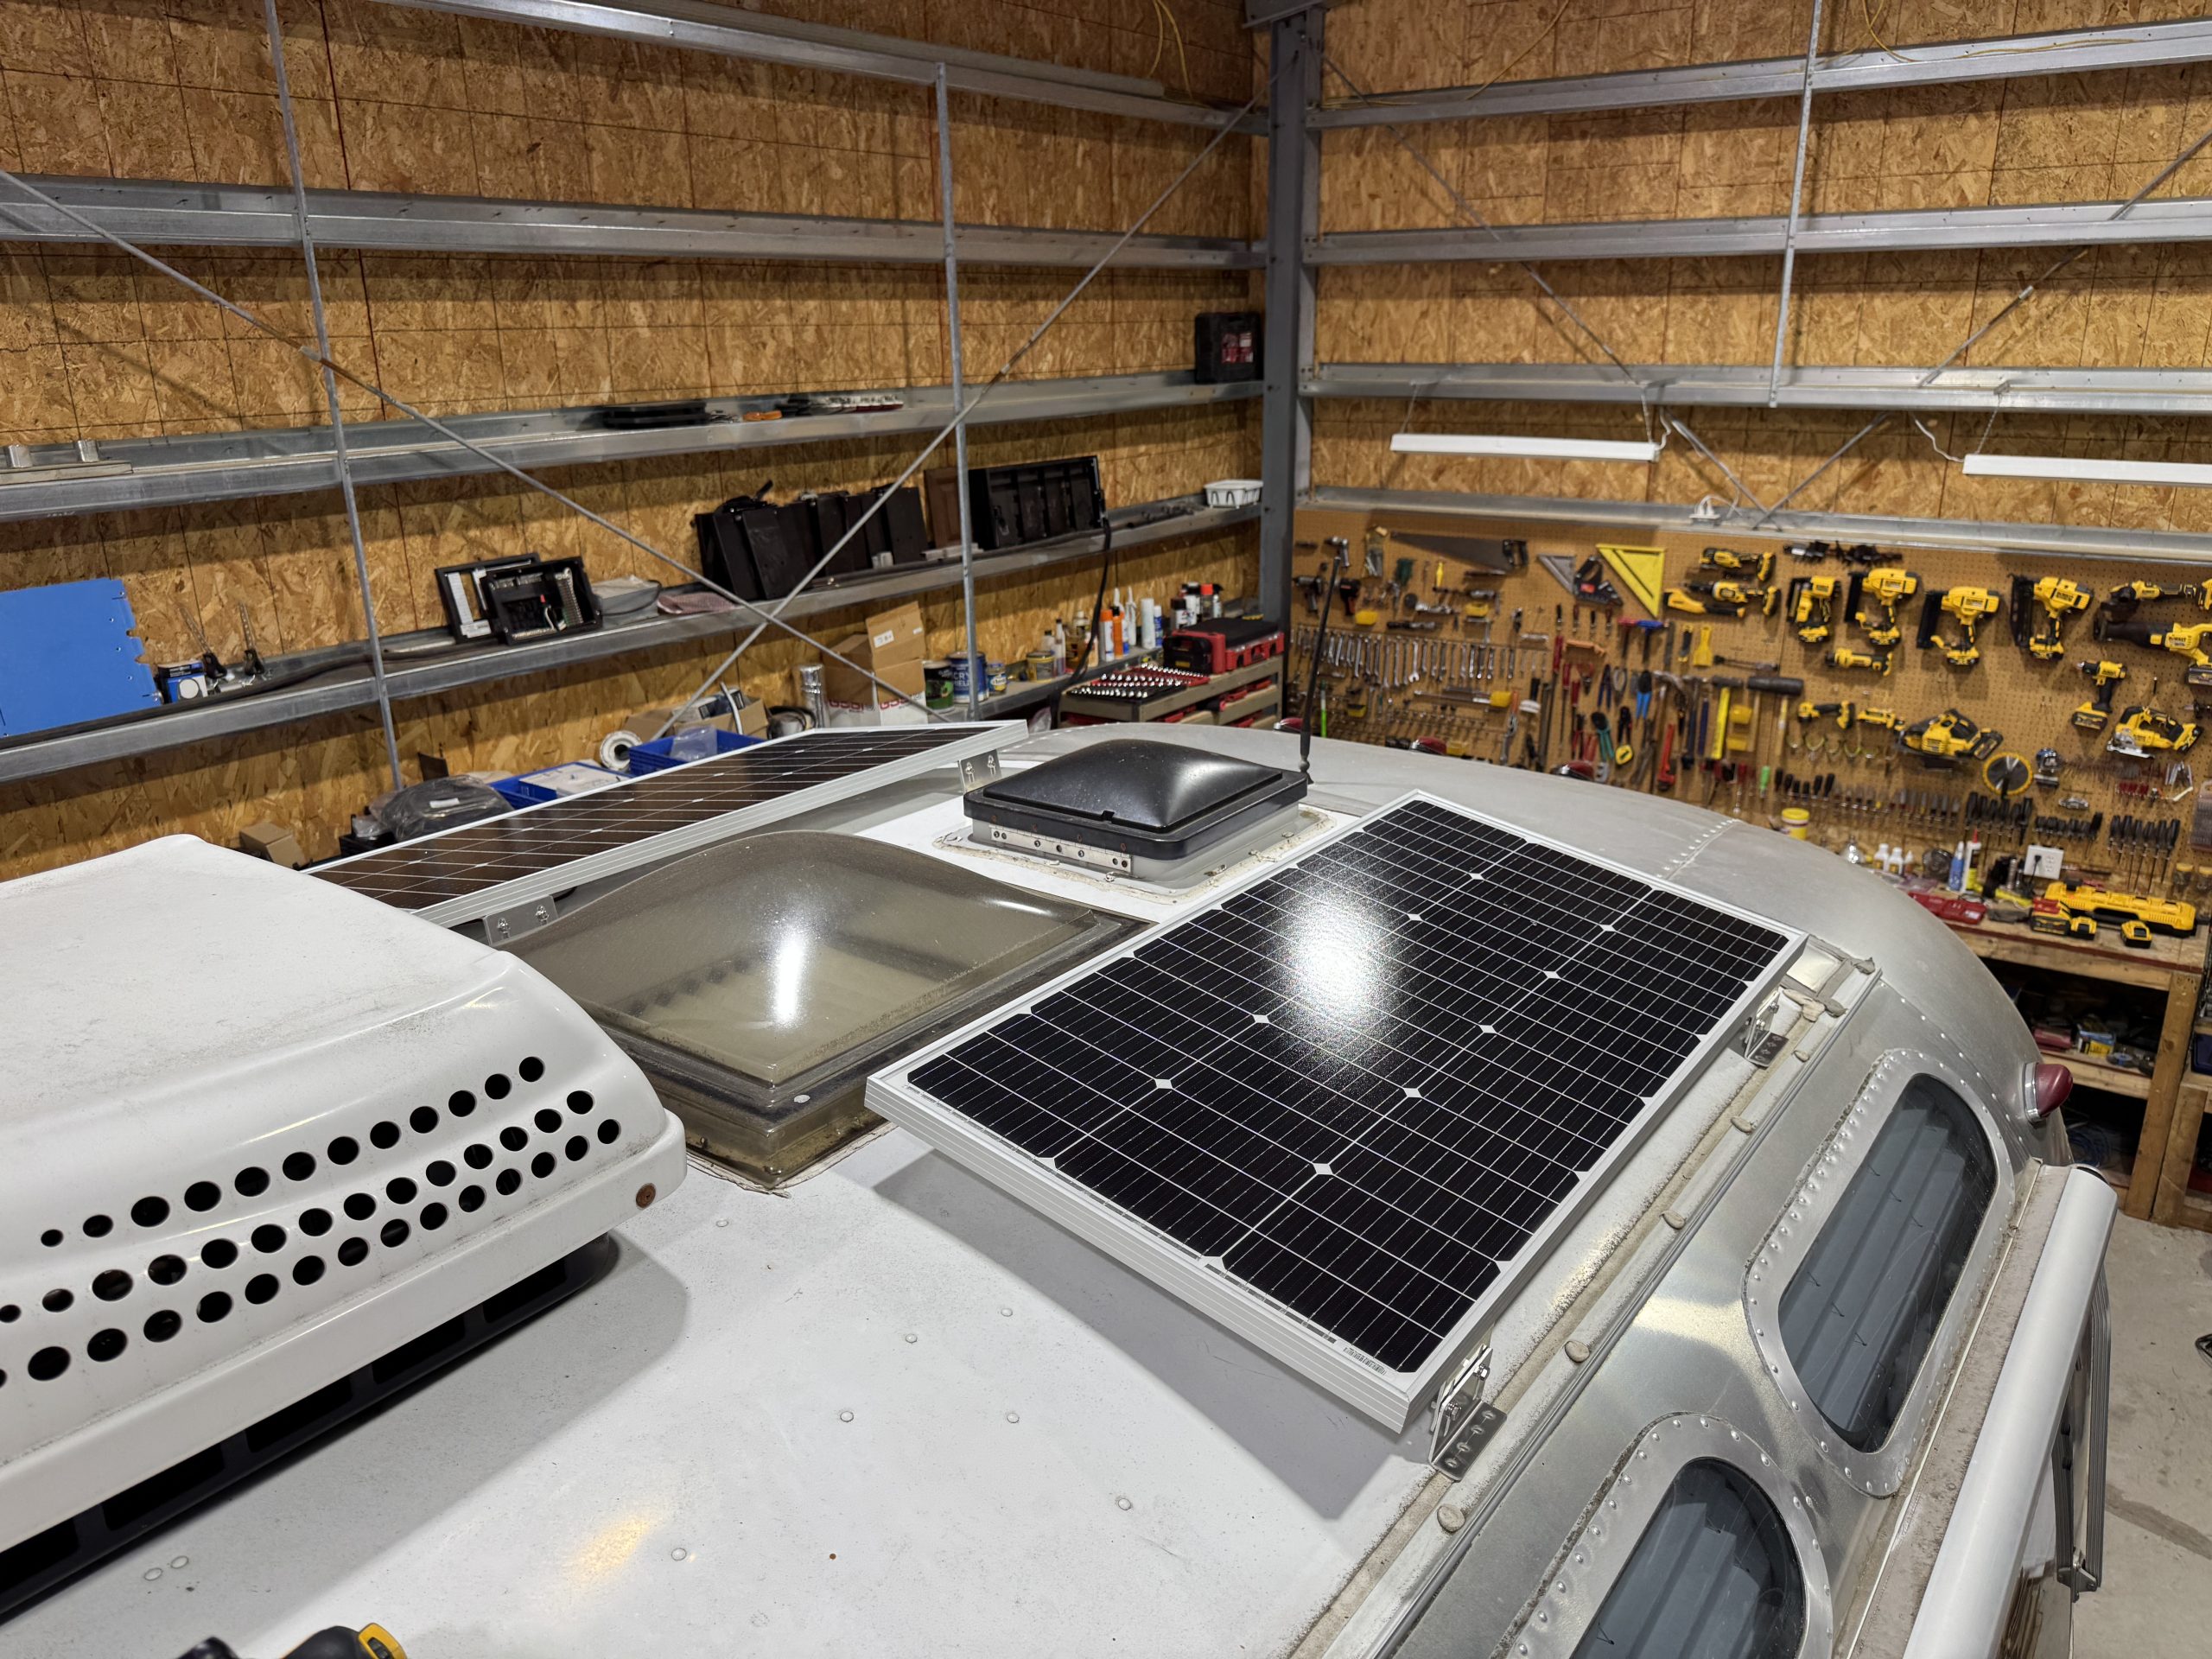
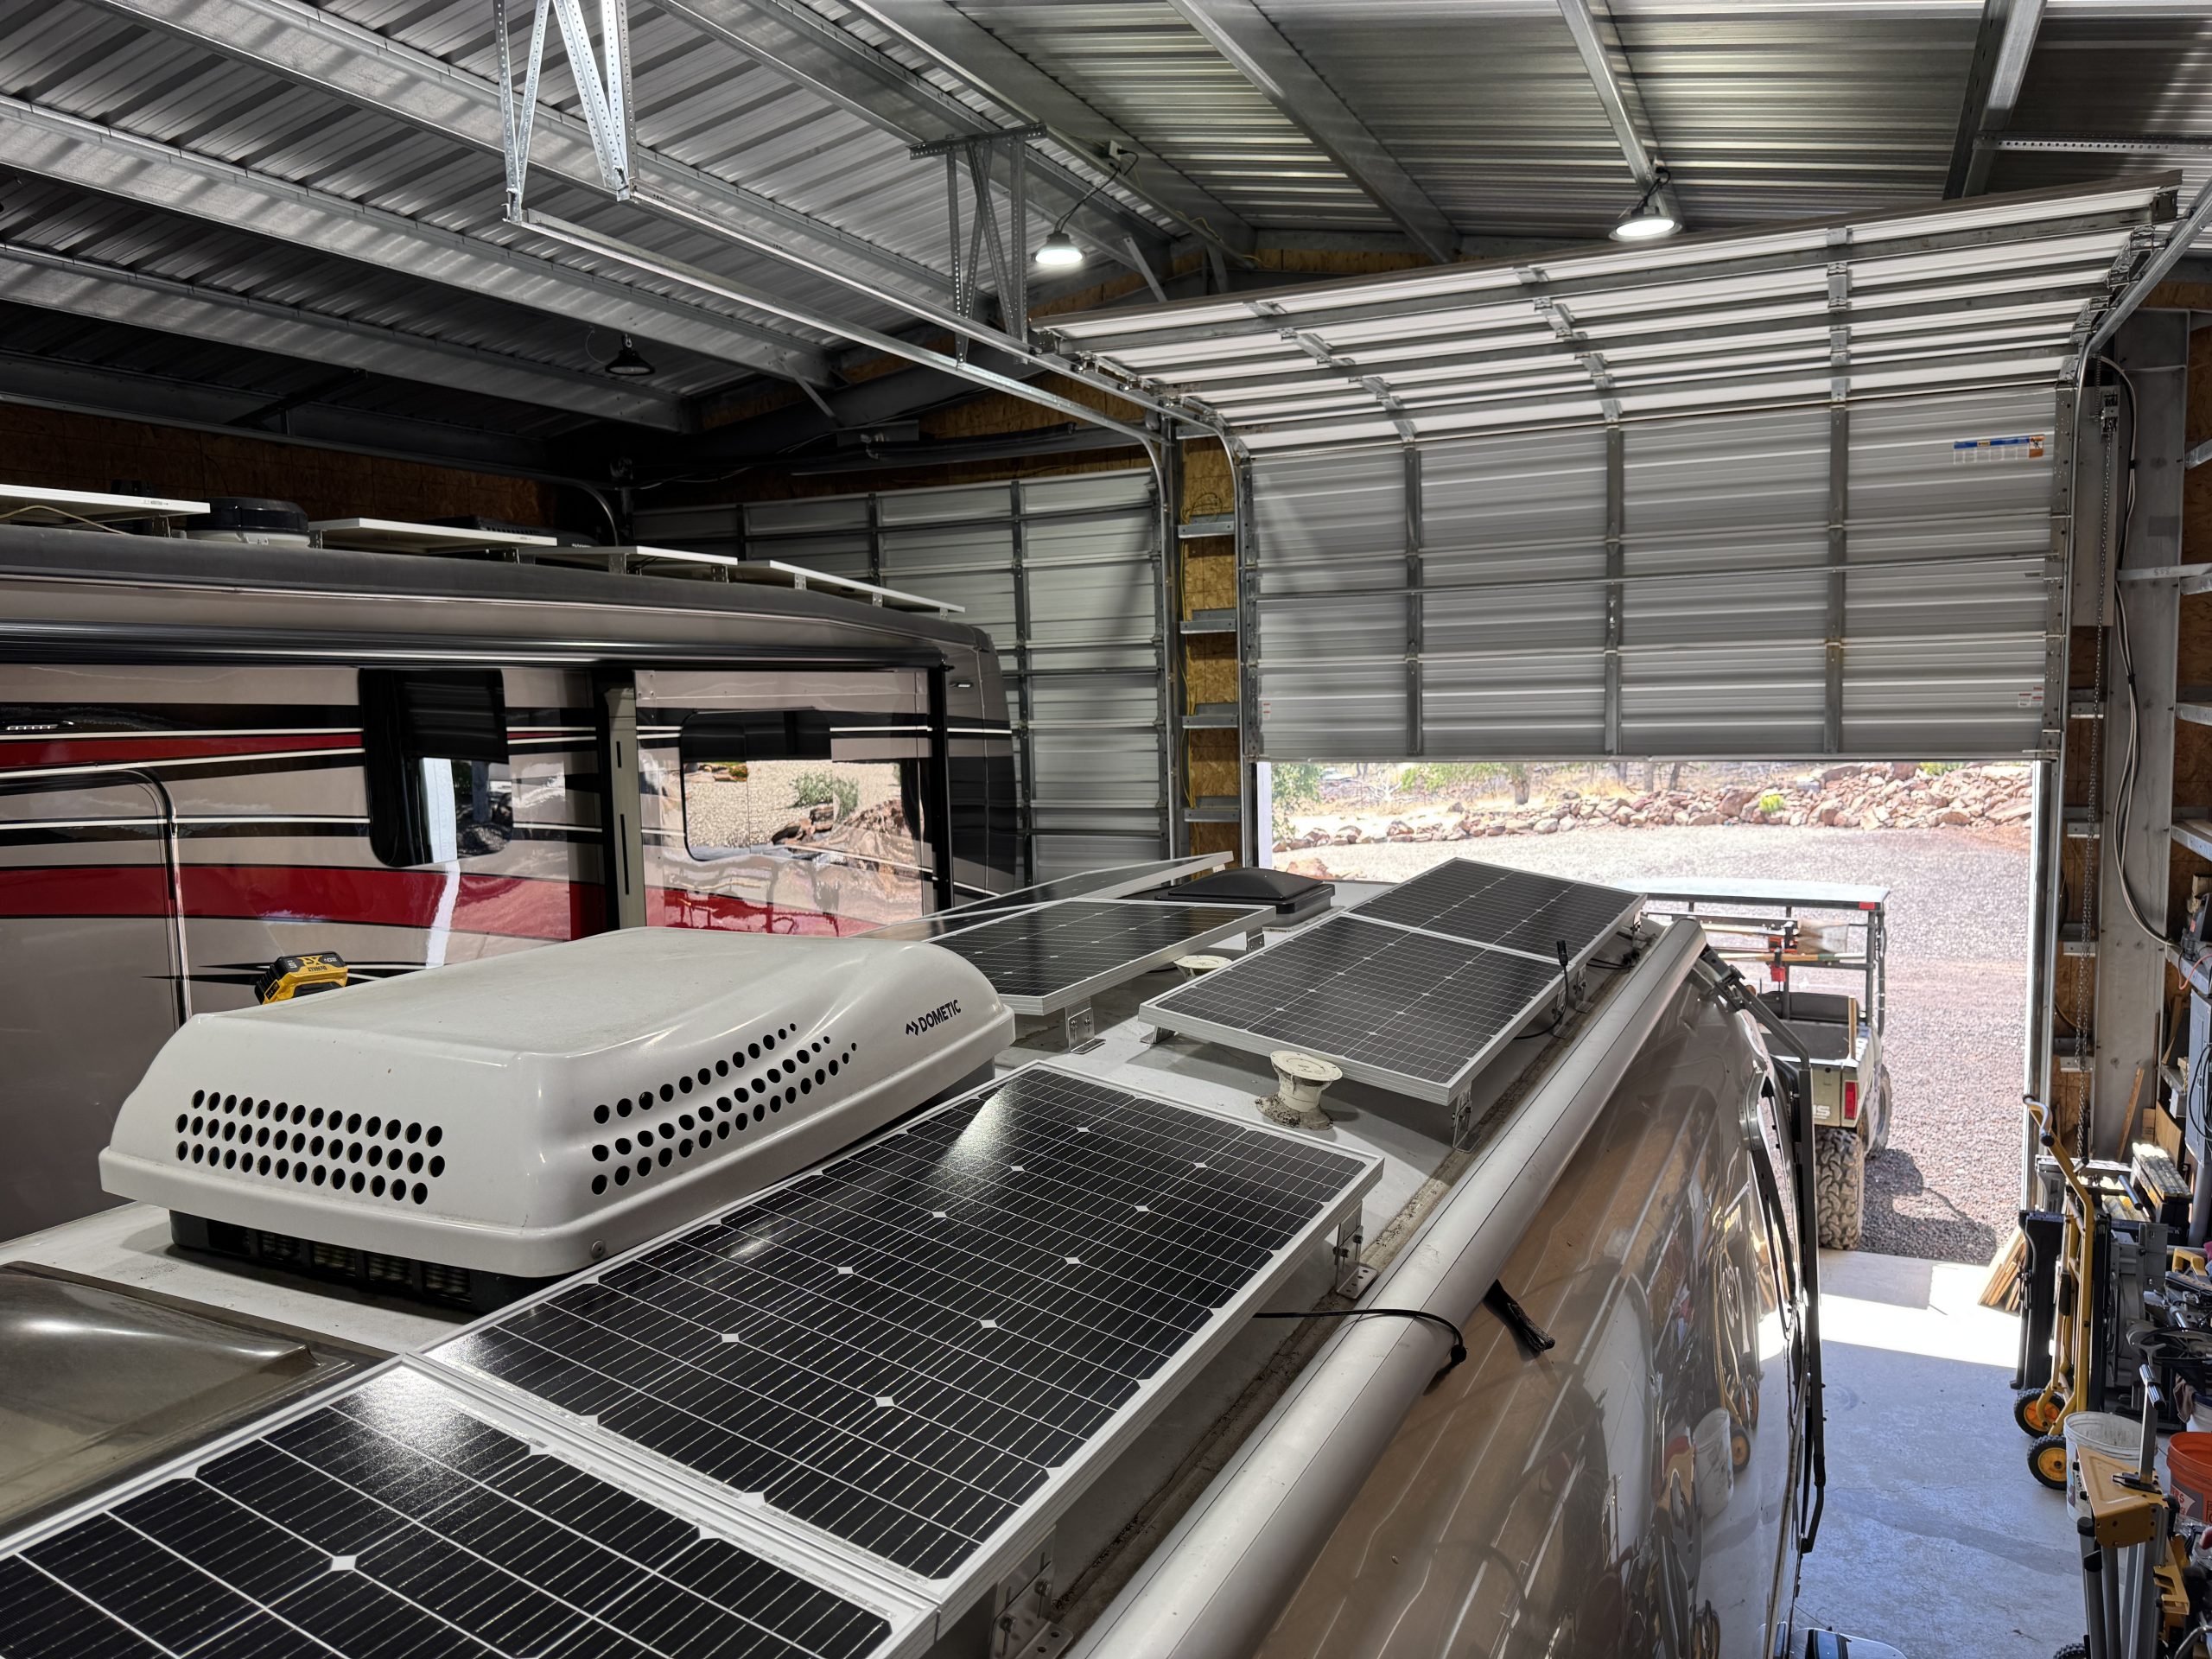
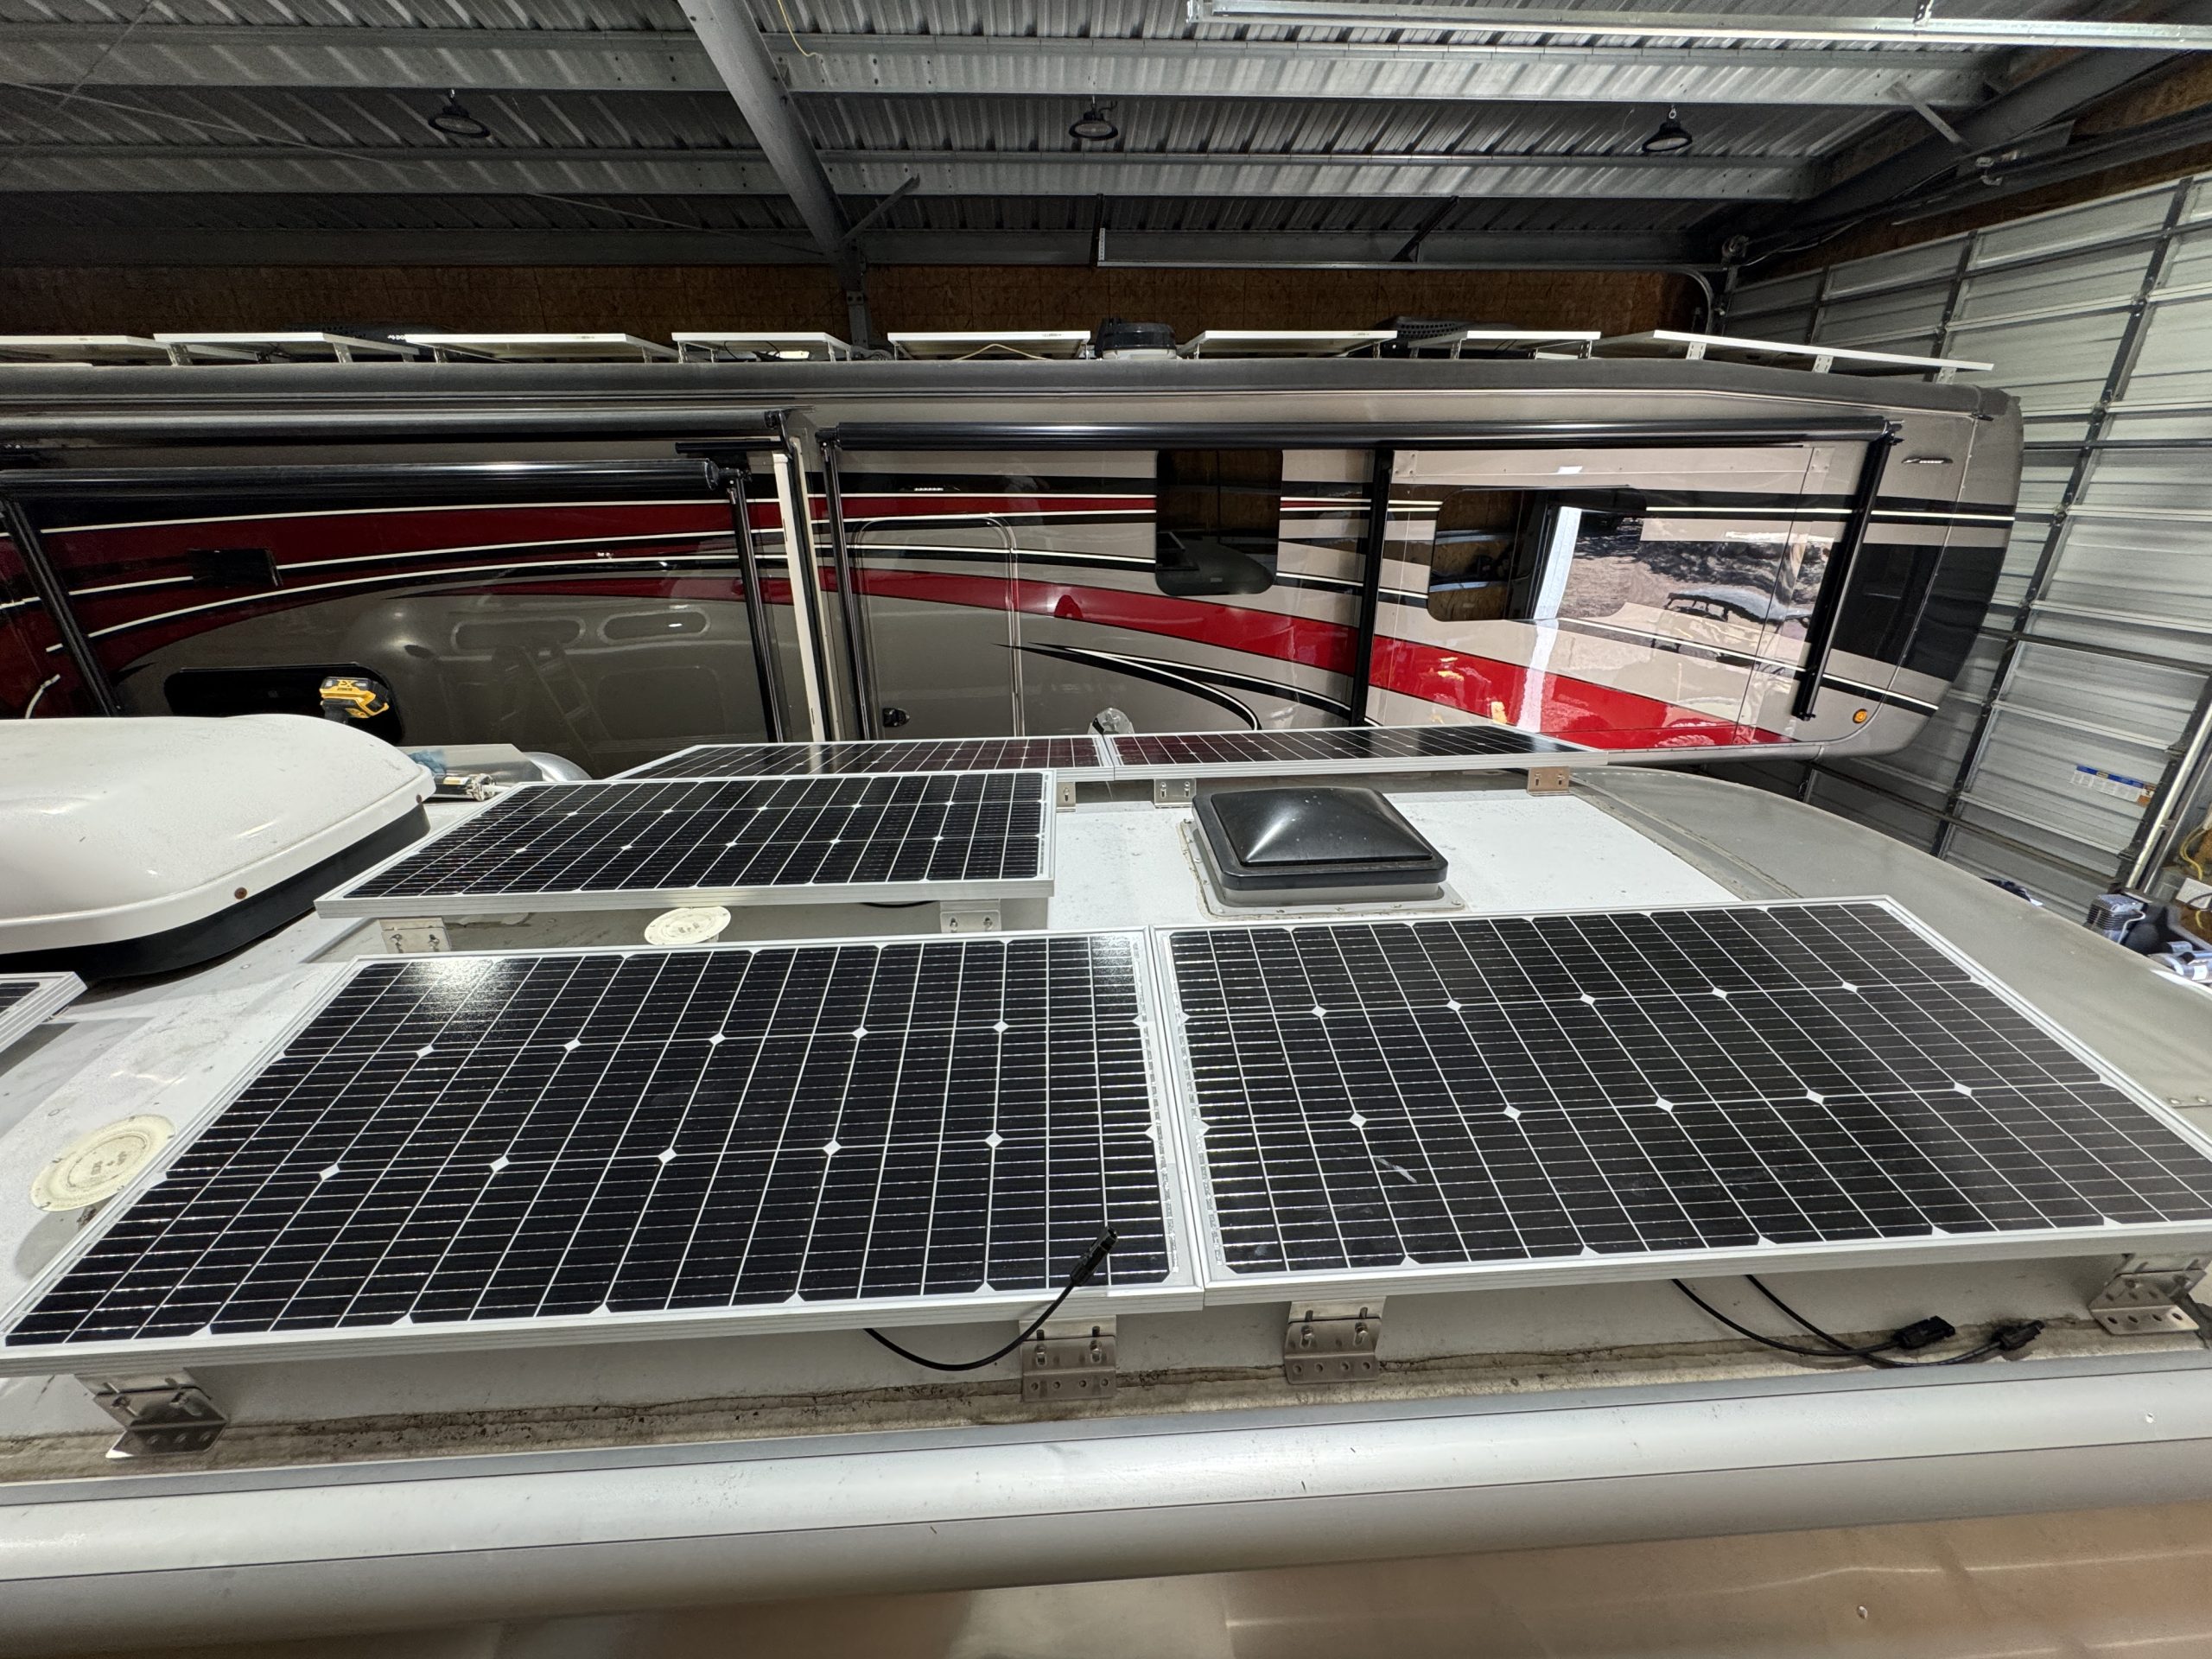
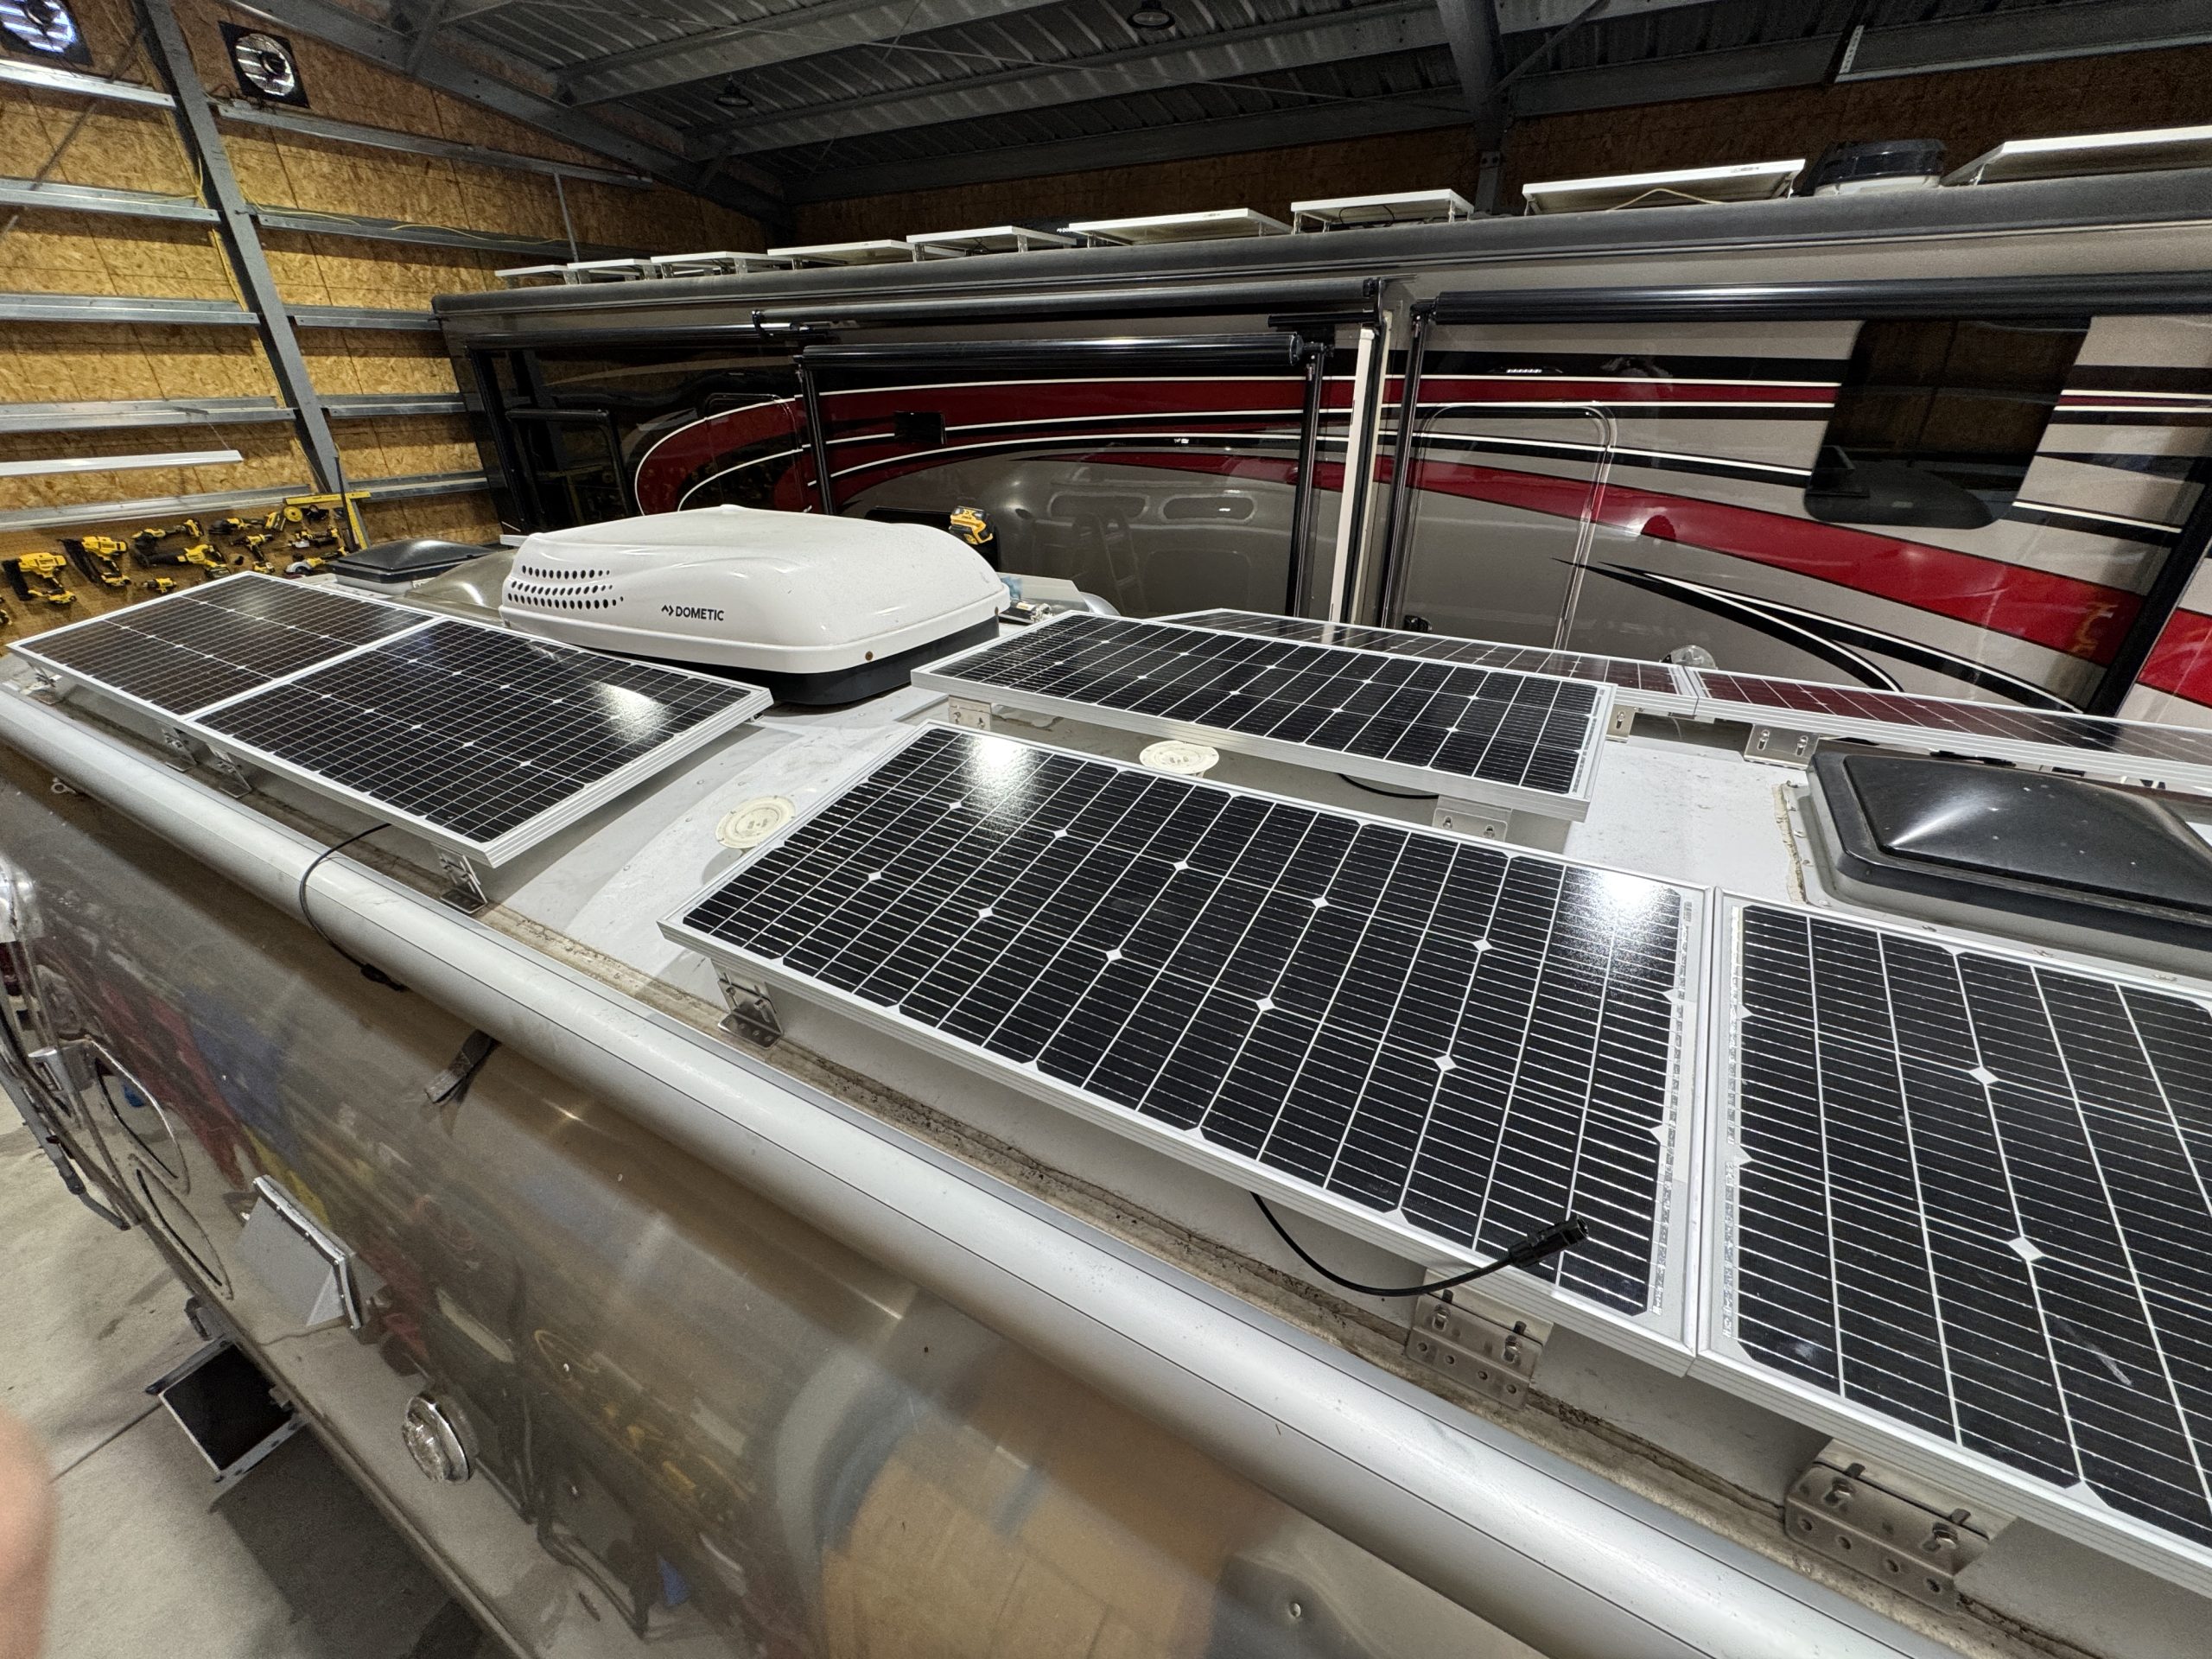
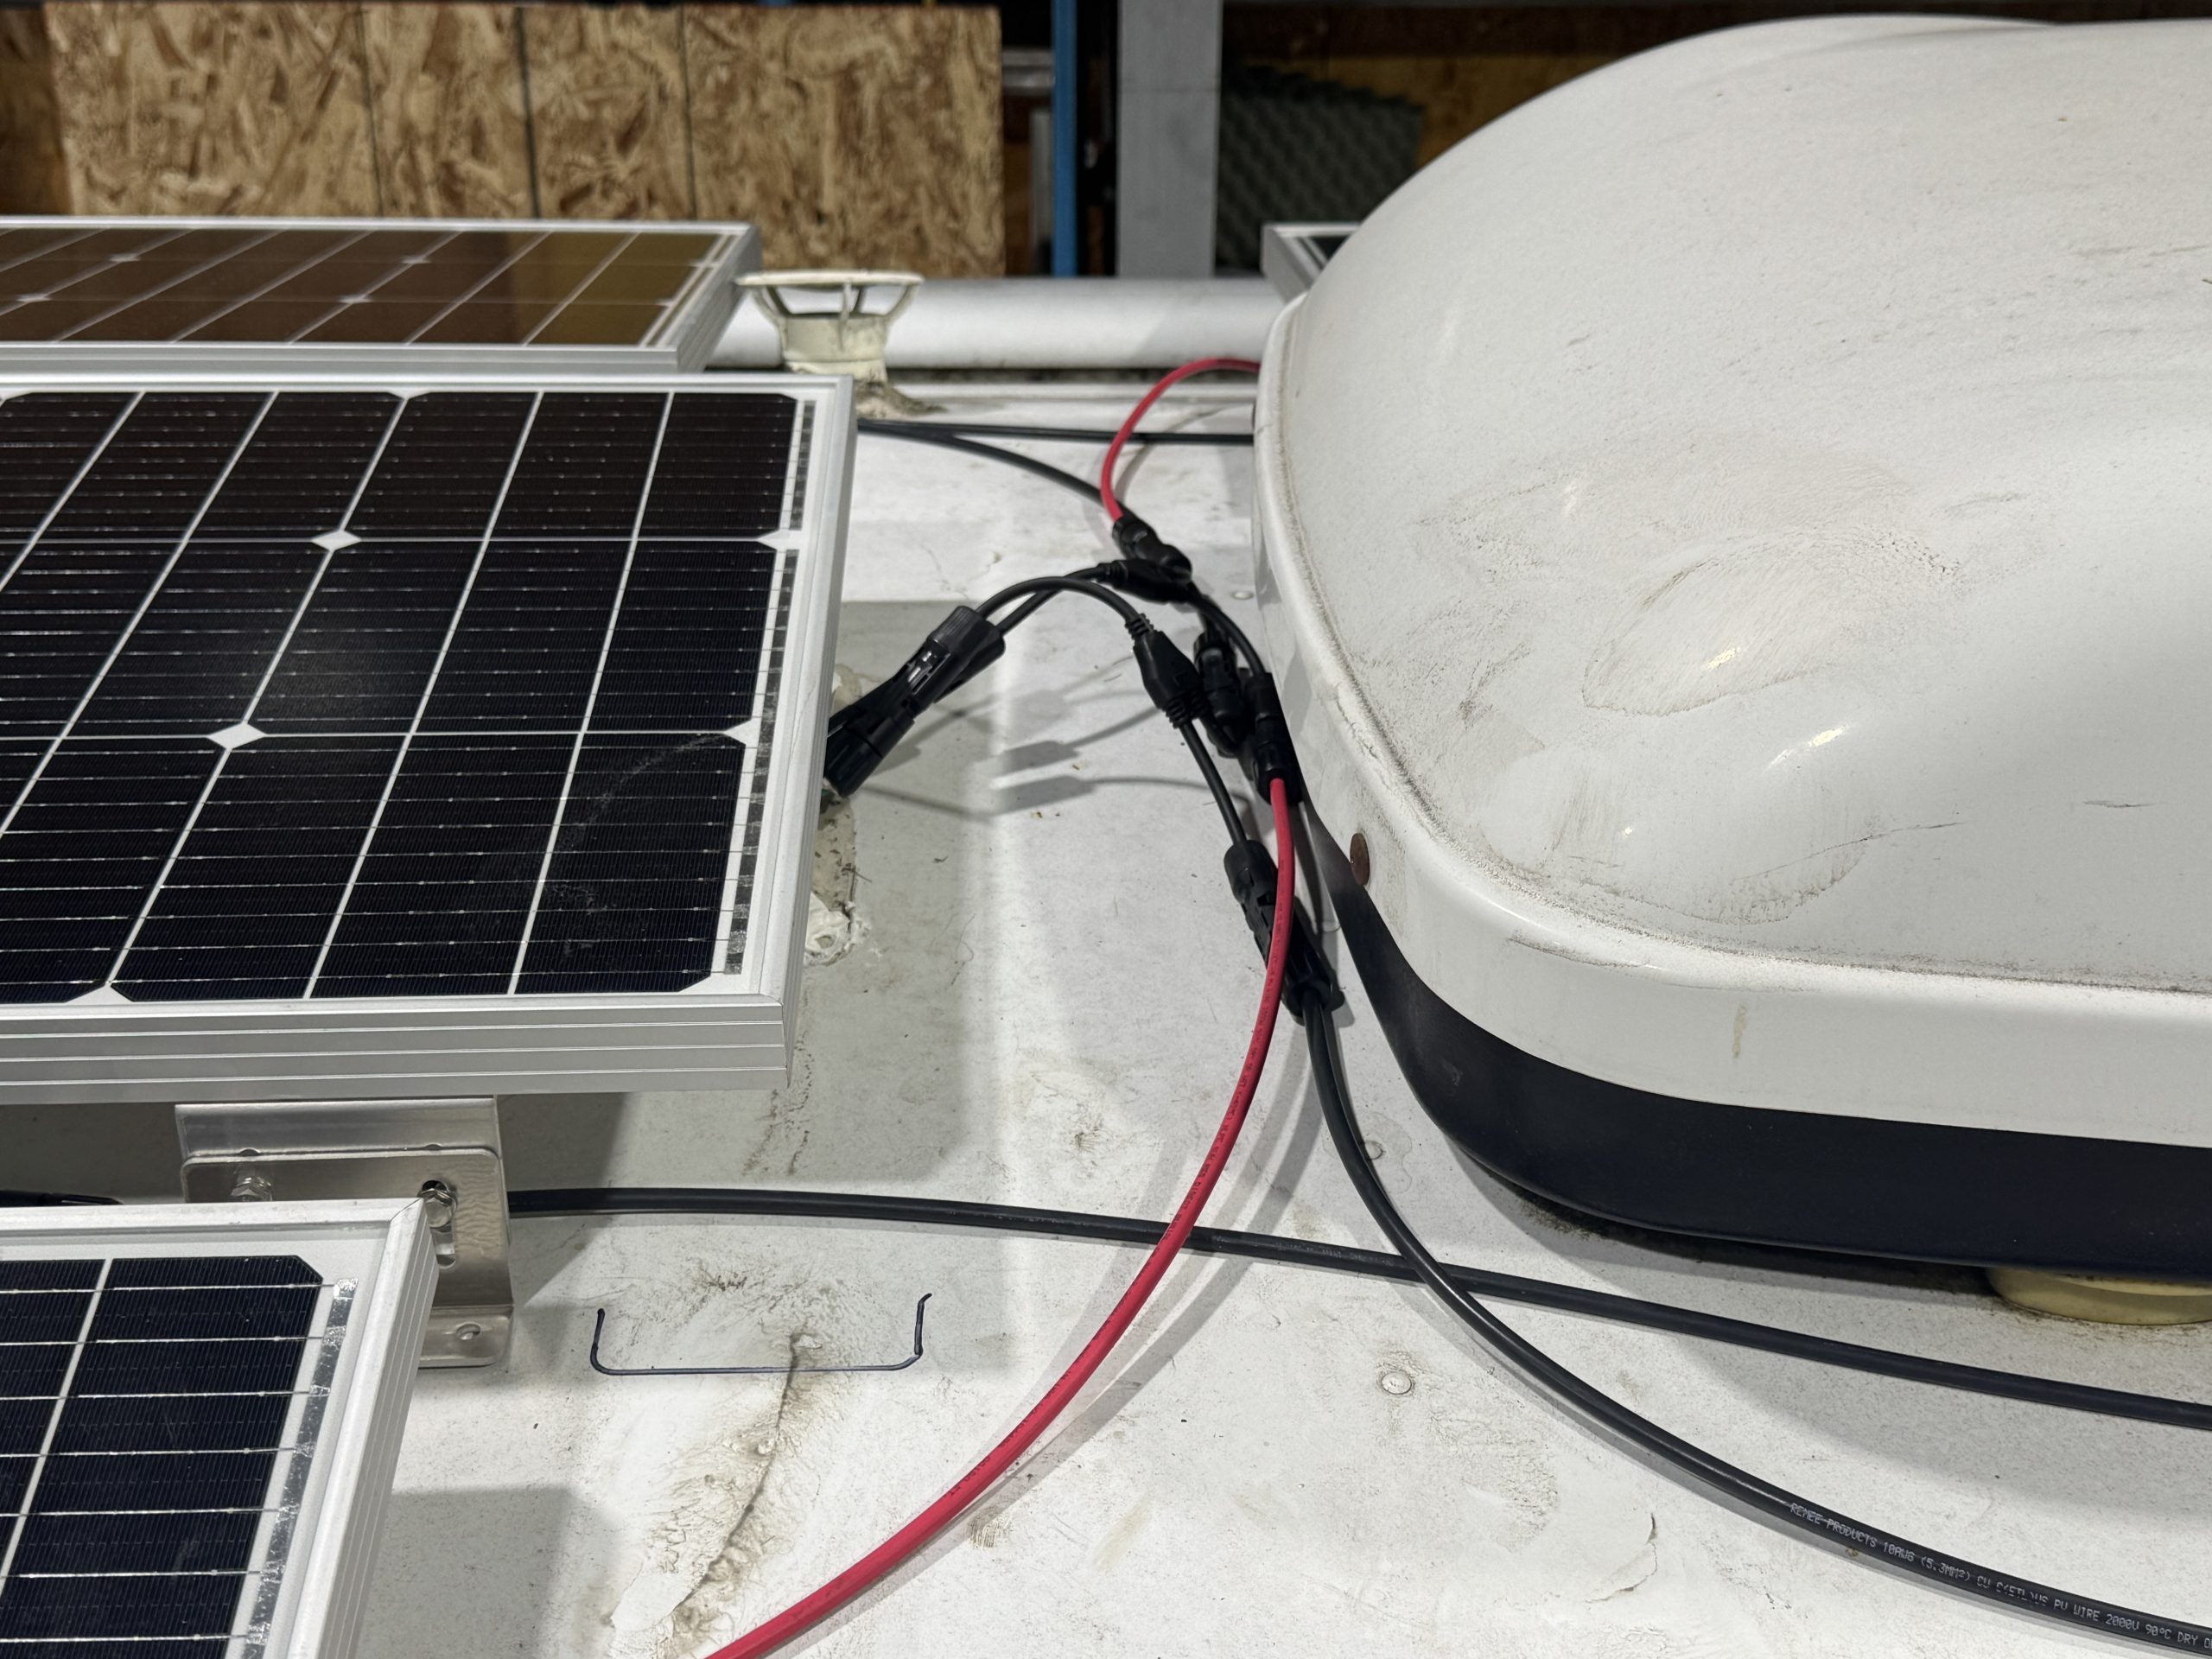
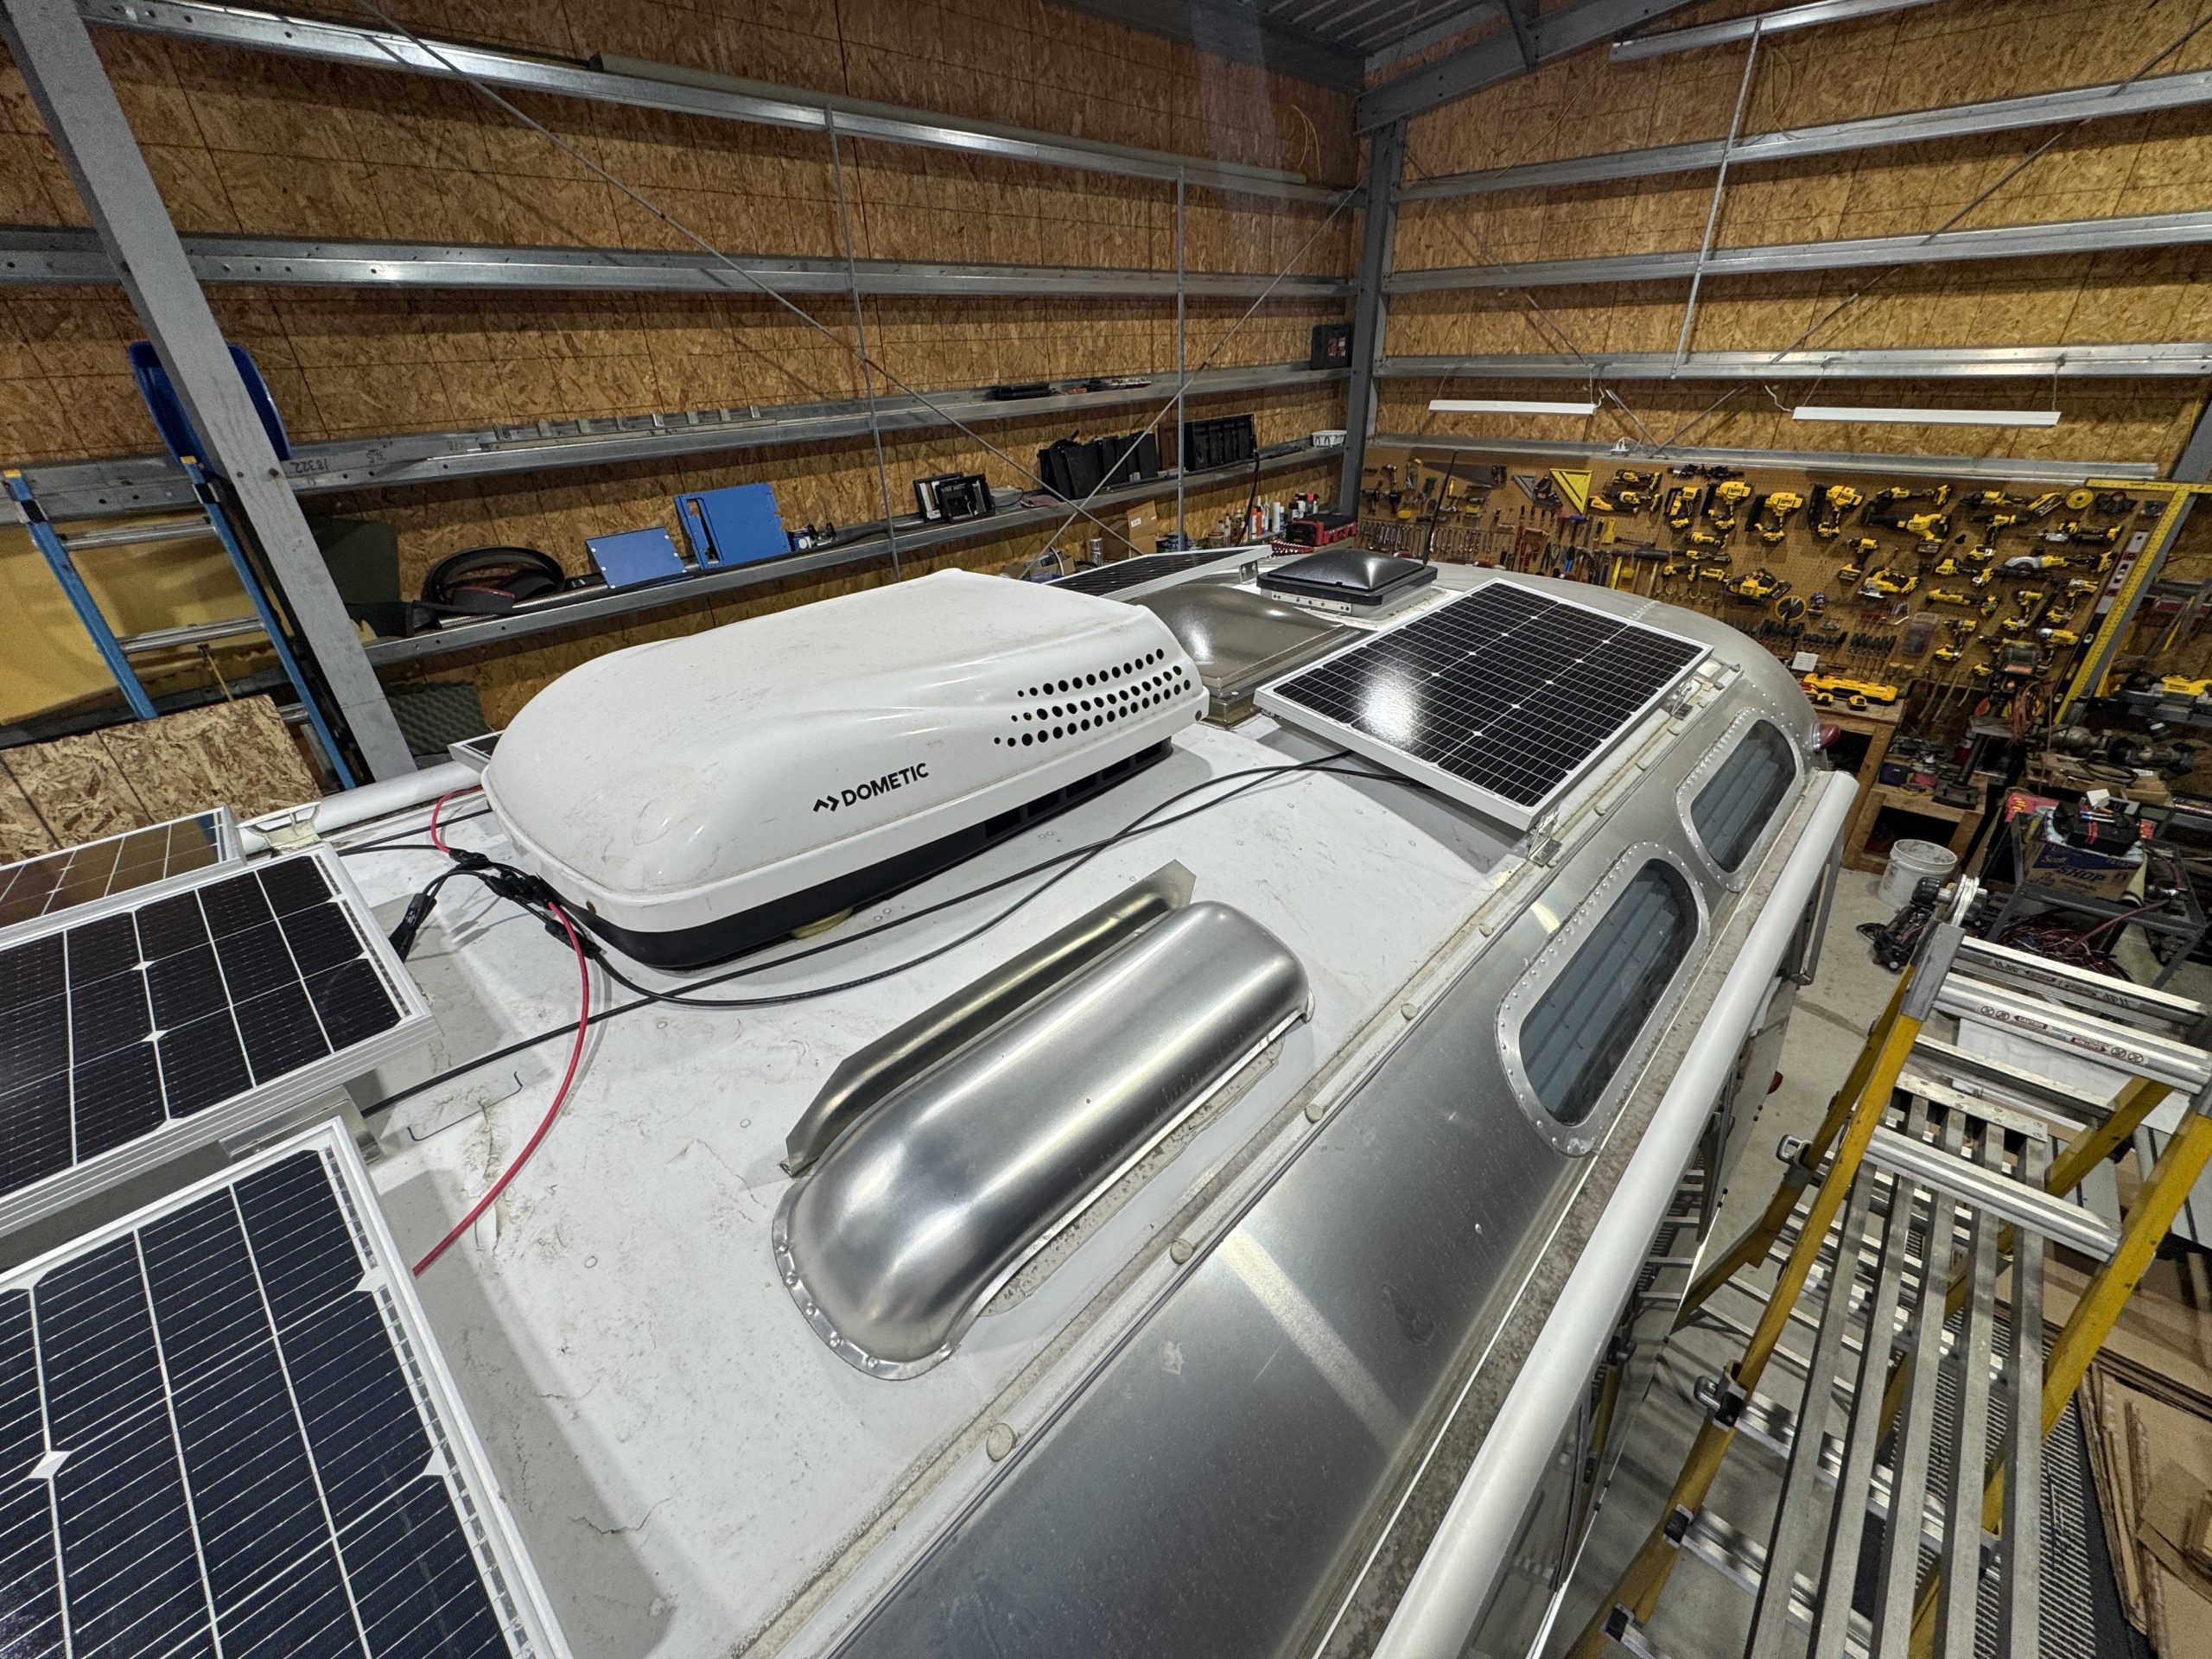
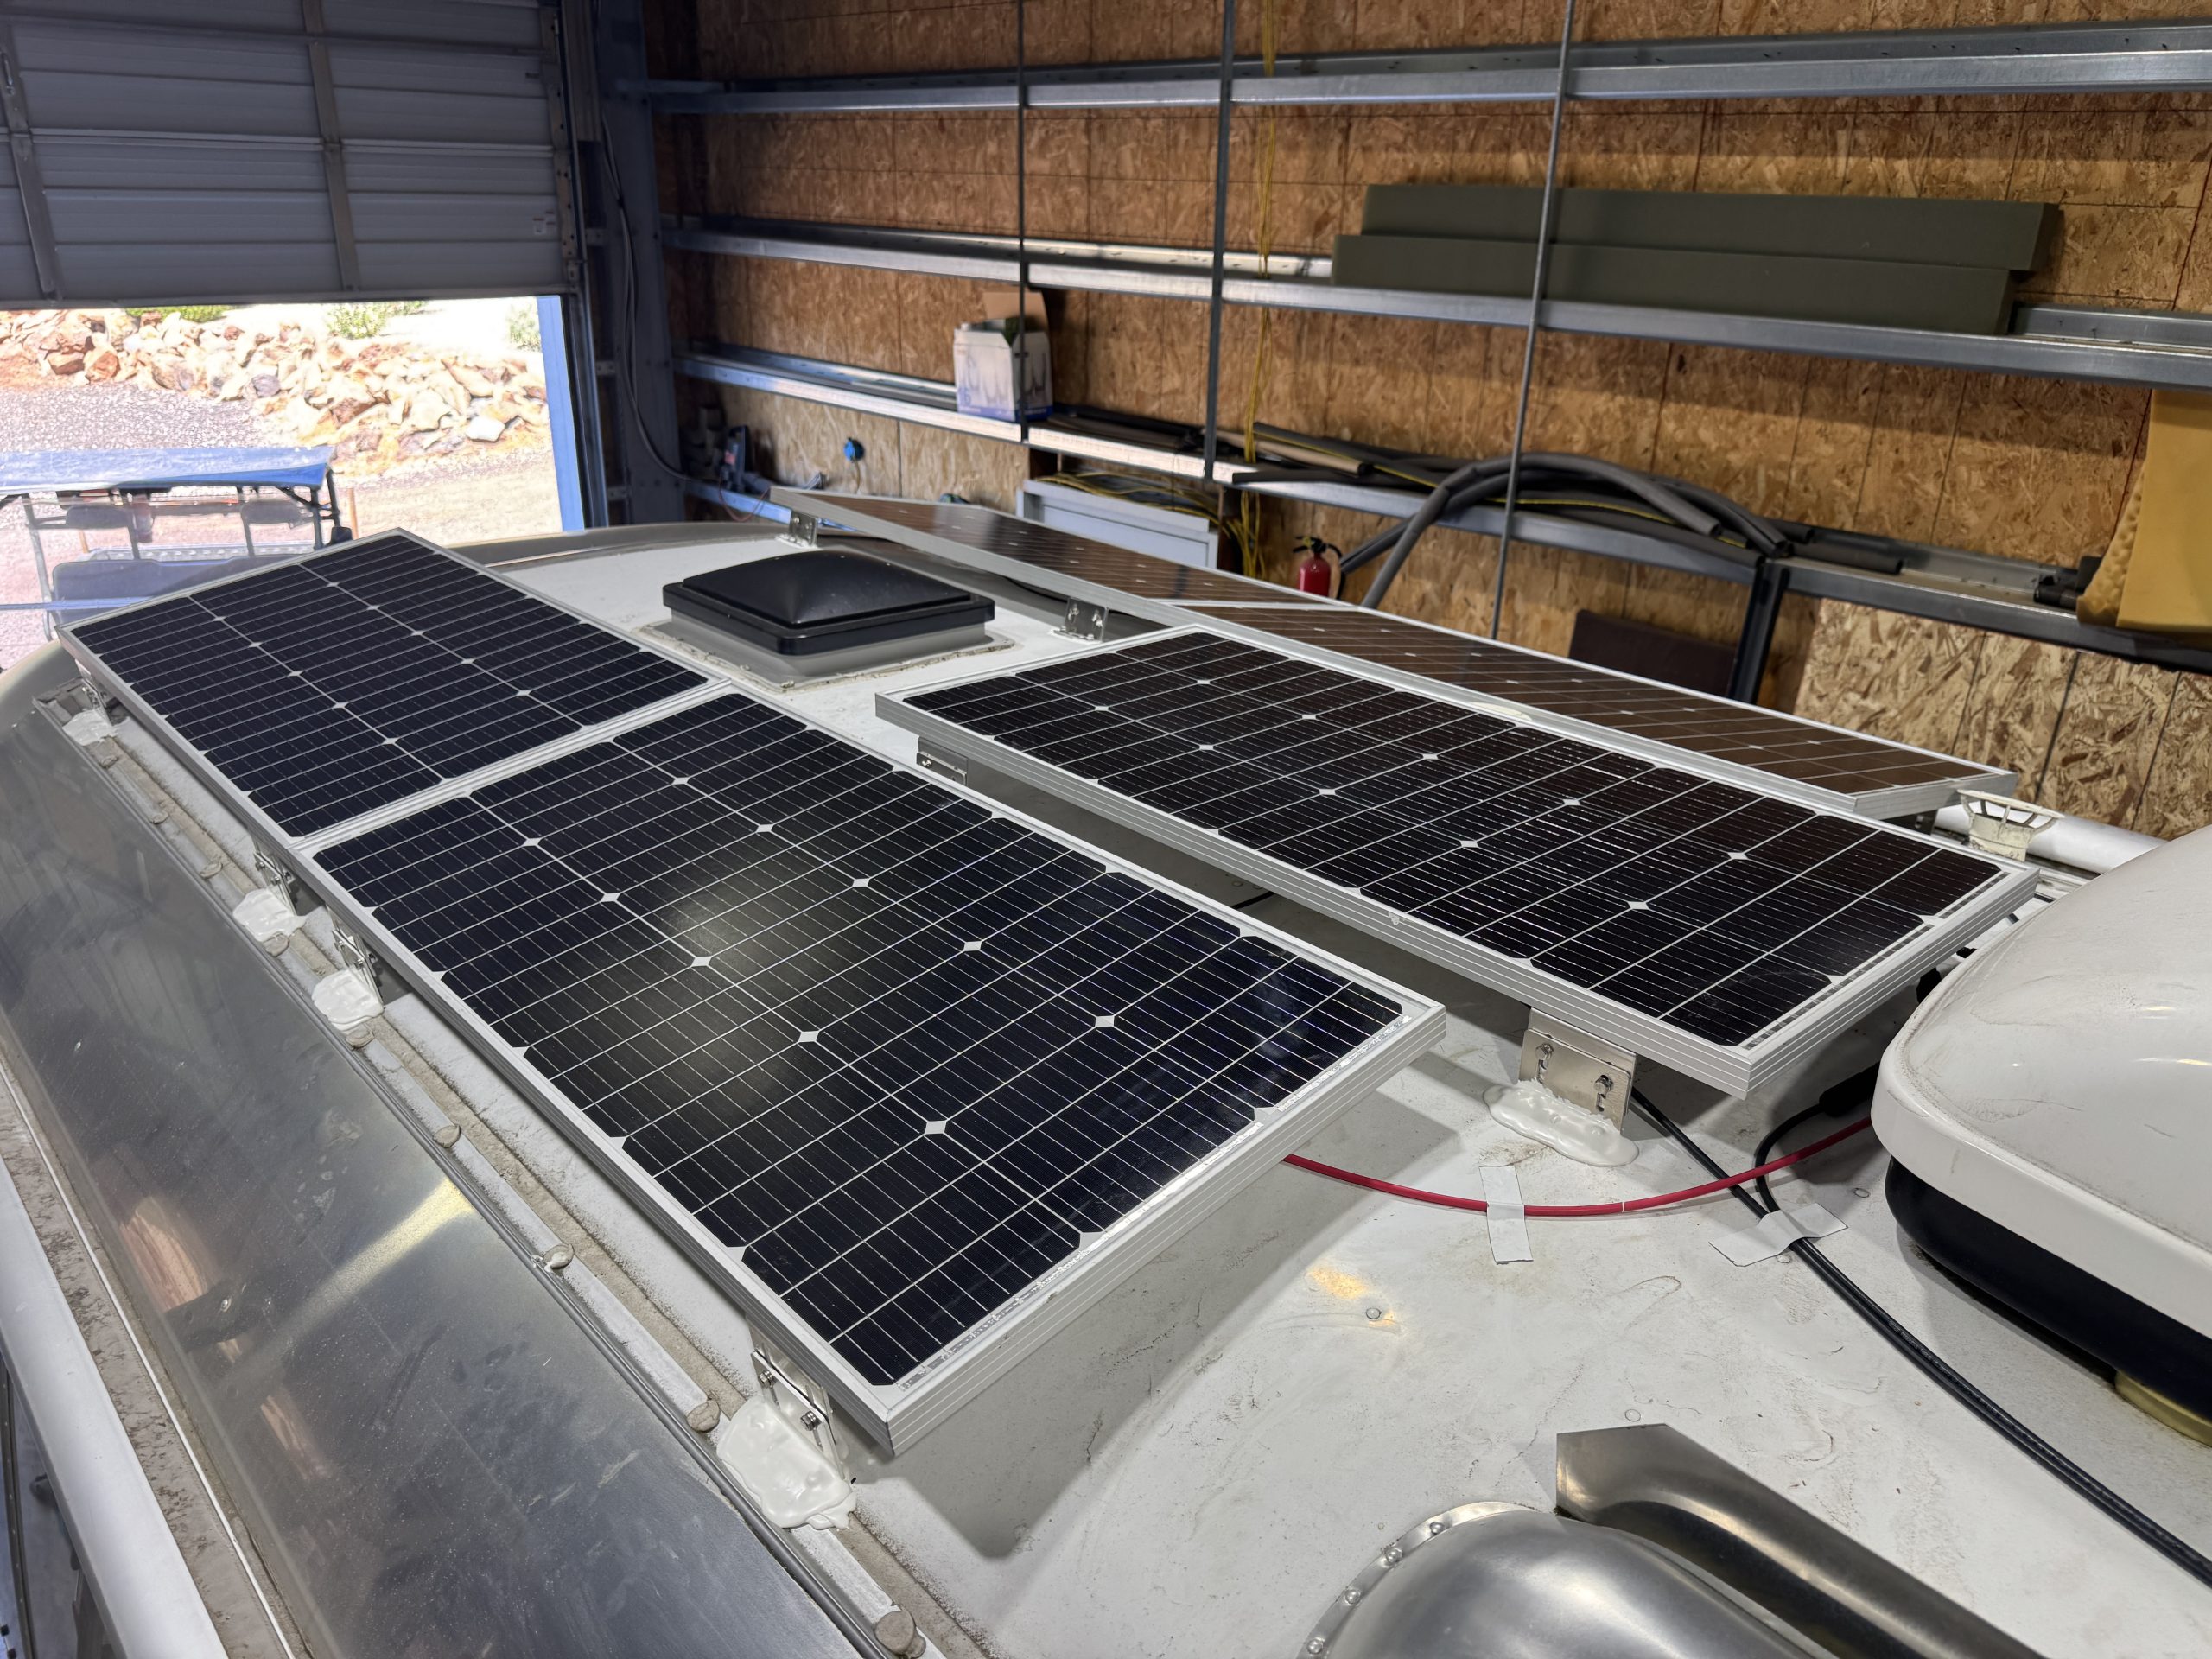
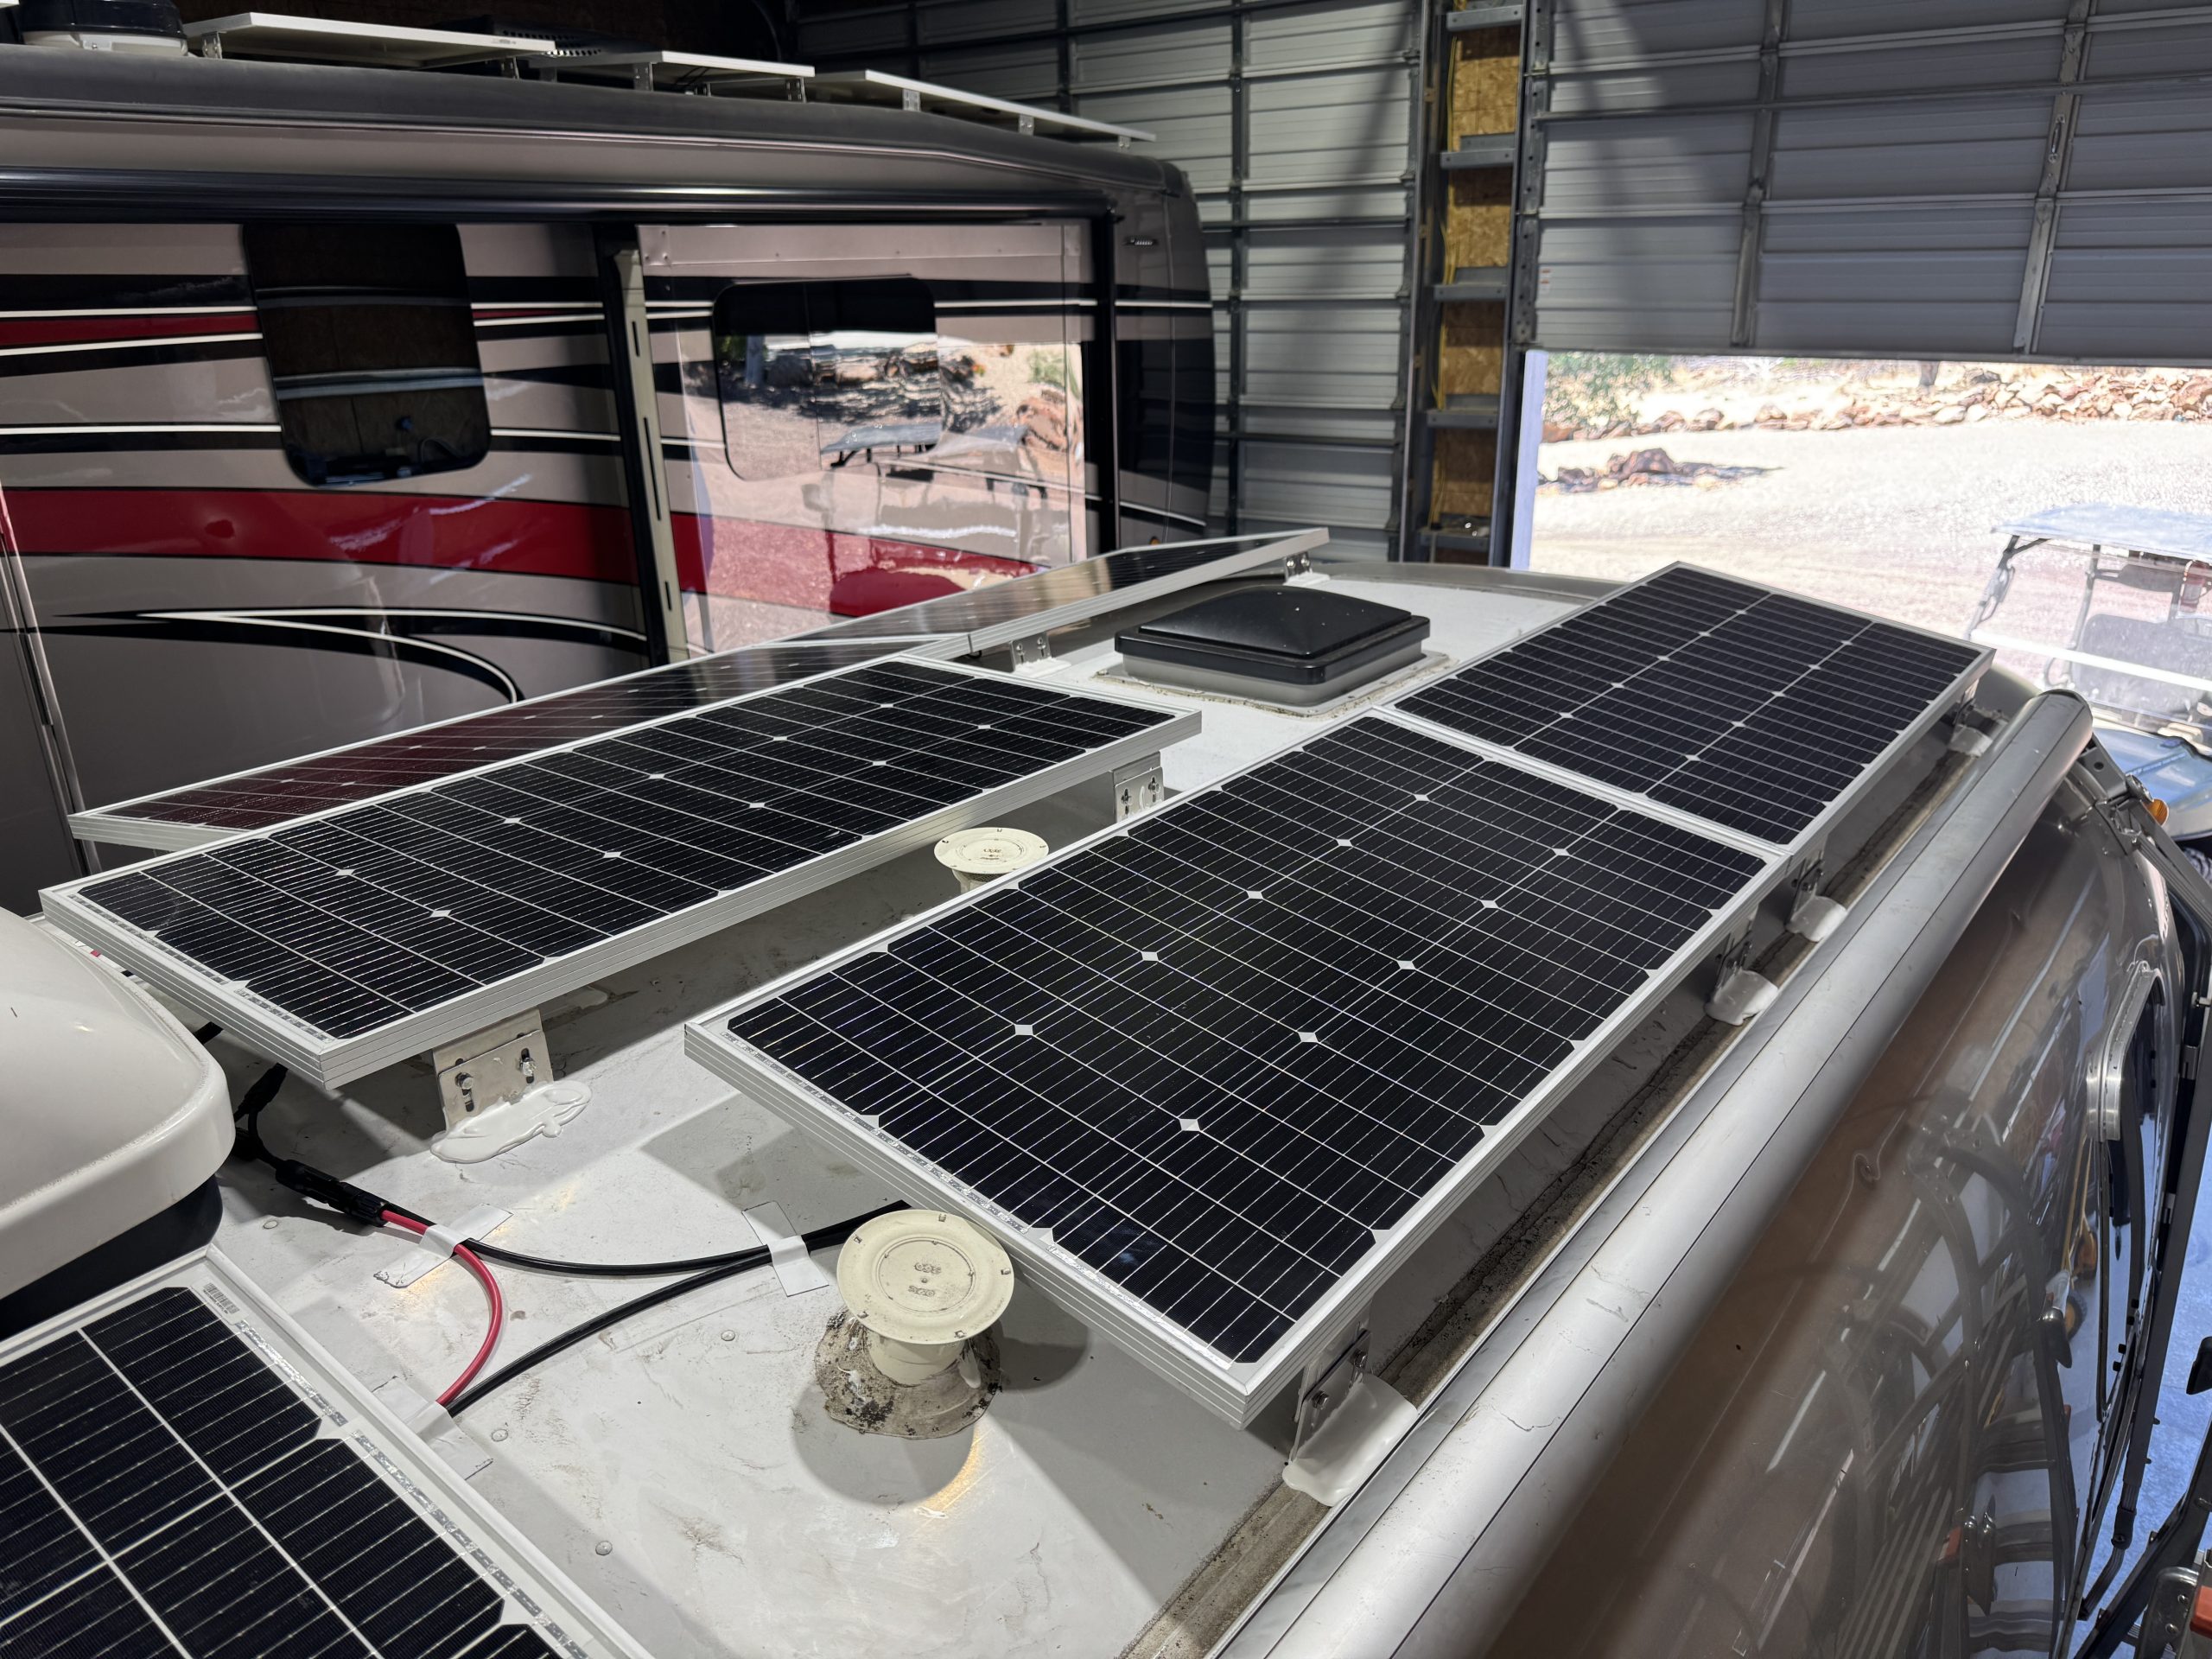
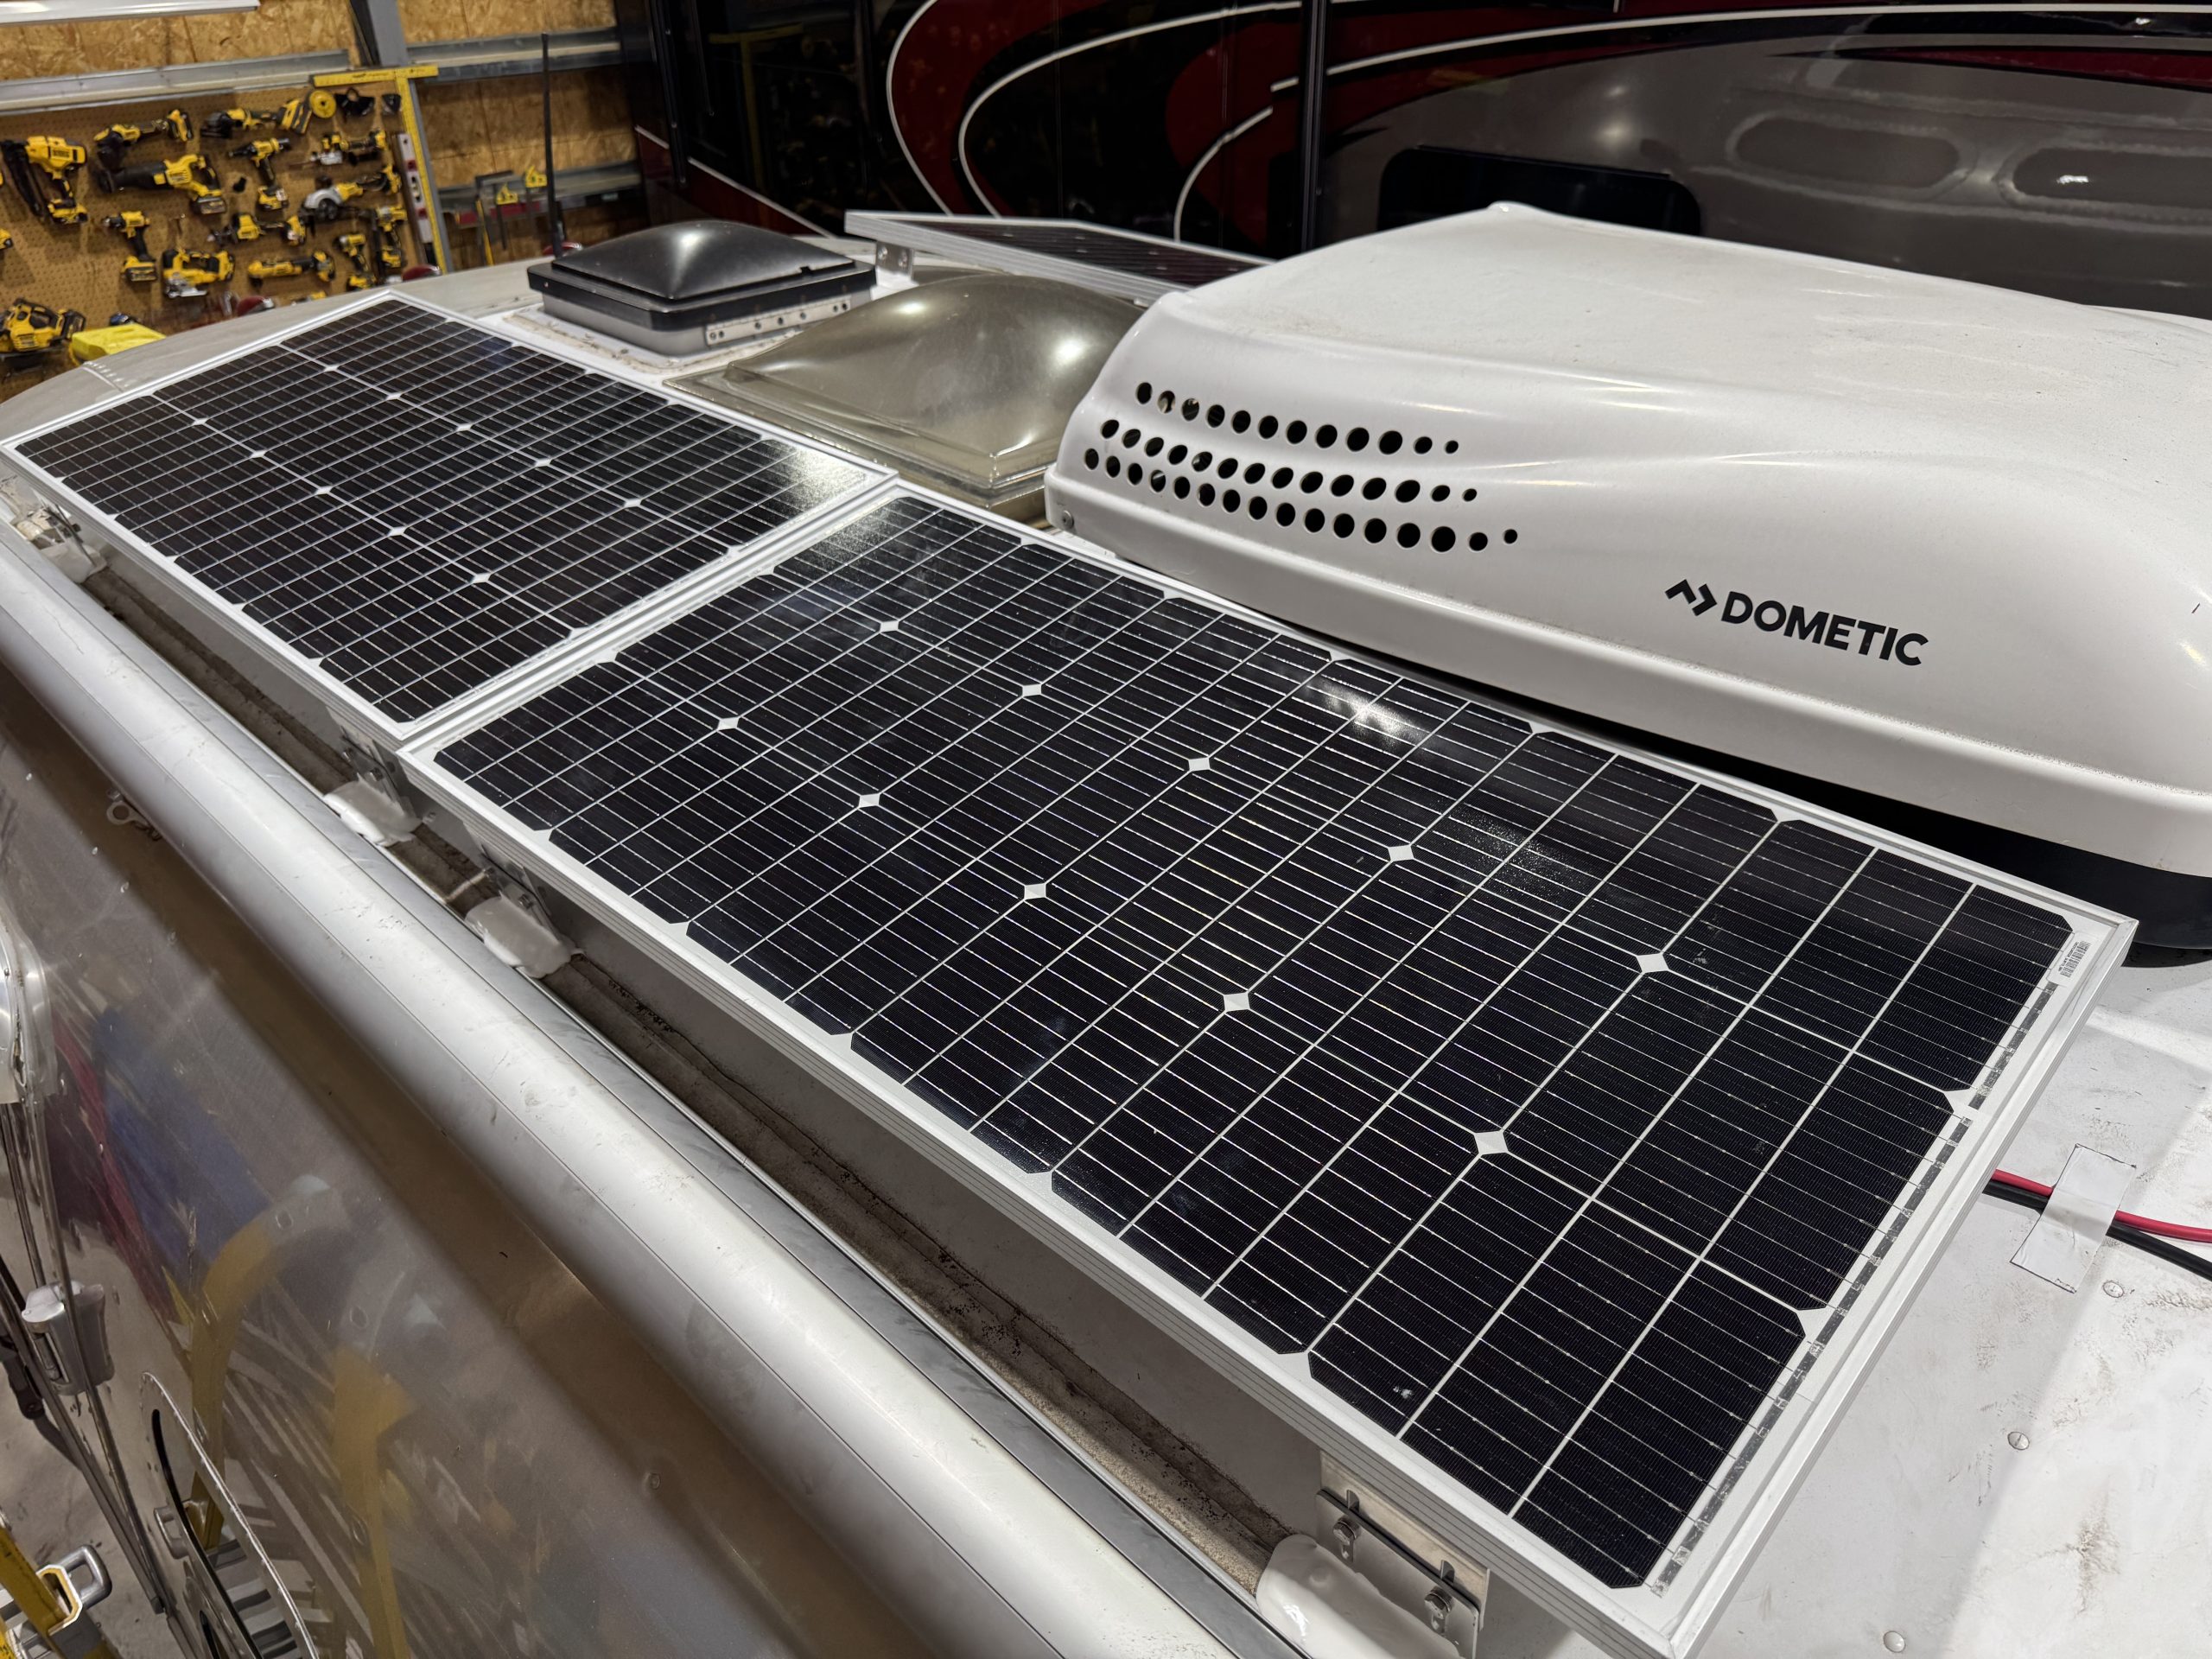
This installation was completed in May of 2025. The owner of this Airstream contacted me regarding a possible installation and we had discussions about various options. I presented the customer with estimates and system schematics for those options. The customer selected the option he preferred and we set an installation date. The installation took three days to complete. Initially, we discussed installing the system in the front exterior storage compartment, but after receiving the trailer for installation I found the passenger side exterior storage compartment and one small interior storage compartment would work better for the installation. These two compartments combined were slightly smaller in size than the front compartment, so less overall storage space was lost with the installation. The customer did gain the OEM battery box as a new exterior storage space as well. The new installation location put the inverter closer to the AC distribution panel and made wire runs easier to manage. The batteries fit perfectly in the side storage compartment and the inverter fit perfectly in the small interior storage compartment. I cut some holes in the side and back of the small interior storage compartment to allow for air flow around the inverter. I also built a platform under the inverter to leave an air gap underneath it to help with air circulation. In extreme use conditions, the door to this compartment has quick release hinges and can easily be removed for additional air flow around the inverter. Airstream trailers are always tight on space when it comes to adding a solar system and I try to minimize the amount of storage space lost when I complete an installation. This trailer had pre-run 10 AWG wire from the roof down to a dead space next to the side storage compartment where I mounted the batteries. This dead space was also where the OEM 12 volt distribution box was located. There was enough room in this dead space for me to mount the MPPT as well. This kept all the equipment within a few feet of each other and kept all the wire runs short. I changed out the OEM solar combiner box on the roof because it used proprietary connections rather than the standard MC4 connectors I needed for the solar panels. In order to make room for all the solar panels on the roof, I also removed the OEM over the air TV antenna (which the customer said he never used). With the antenna removed, there was just enough room to install eight 110 watt Newpowa solar panels. It was a tight fit on the roof though. The panels were installed with screws and Dicor sealant. I had discussions with the customer about using VHB tape to mount the panels initially. Once I test fit the panels though, all of the outside Z-brackets overlapped existing lap sealant seams and made using the VHB tape mounting method impossible. The customer was not opposed to using mechanical fasteners on the roof, so that was what I did instead. All of the equipment (other than the solar panels) was completely hidden from view with the installation, but was easily accessible for any future service needs.