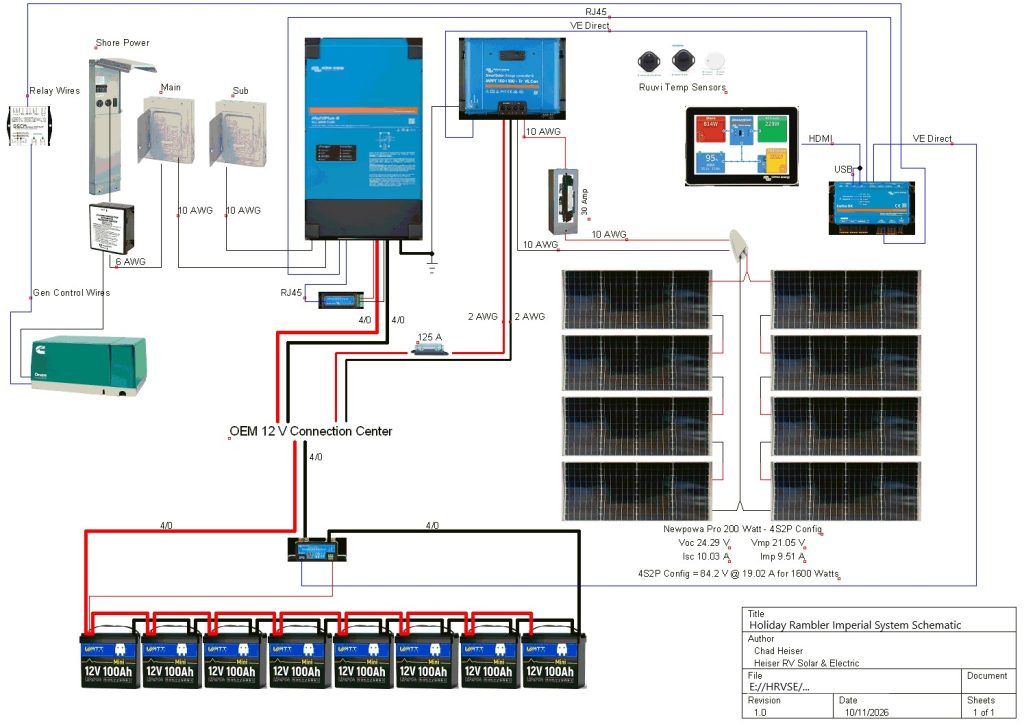
Holiday Rambler Imperial System Schematic
Basic Parts List
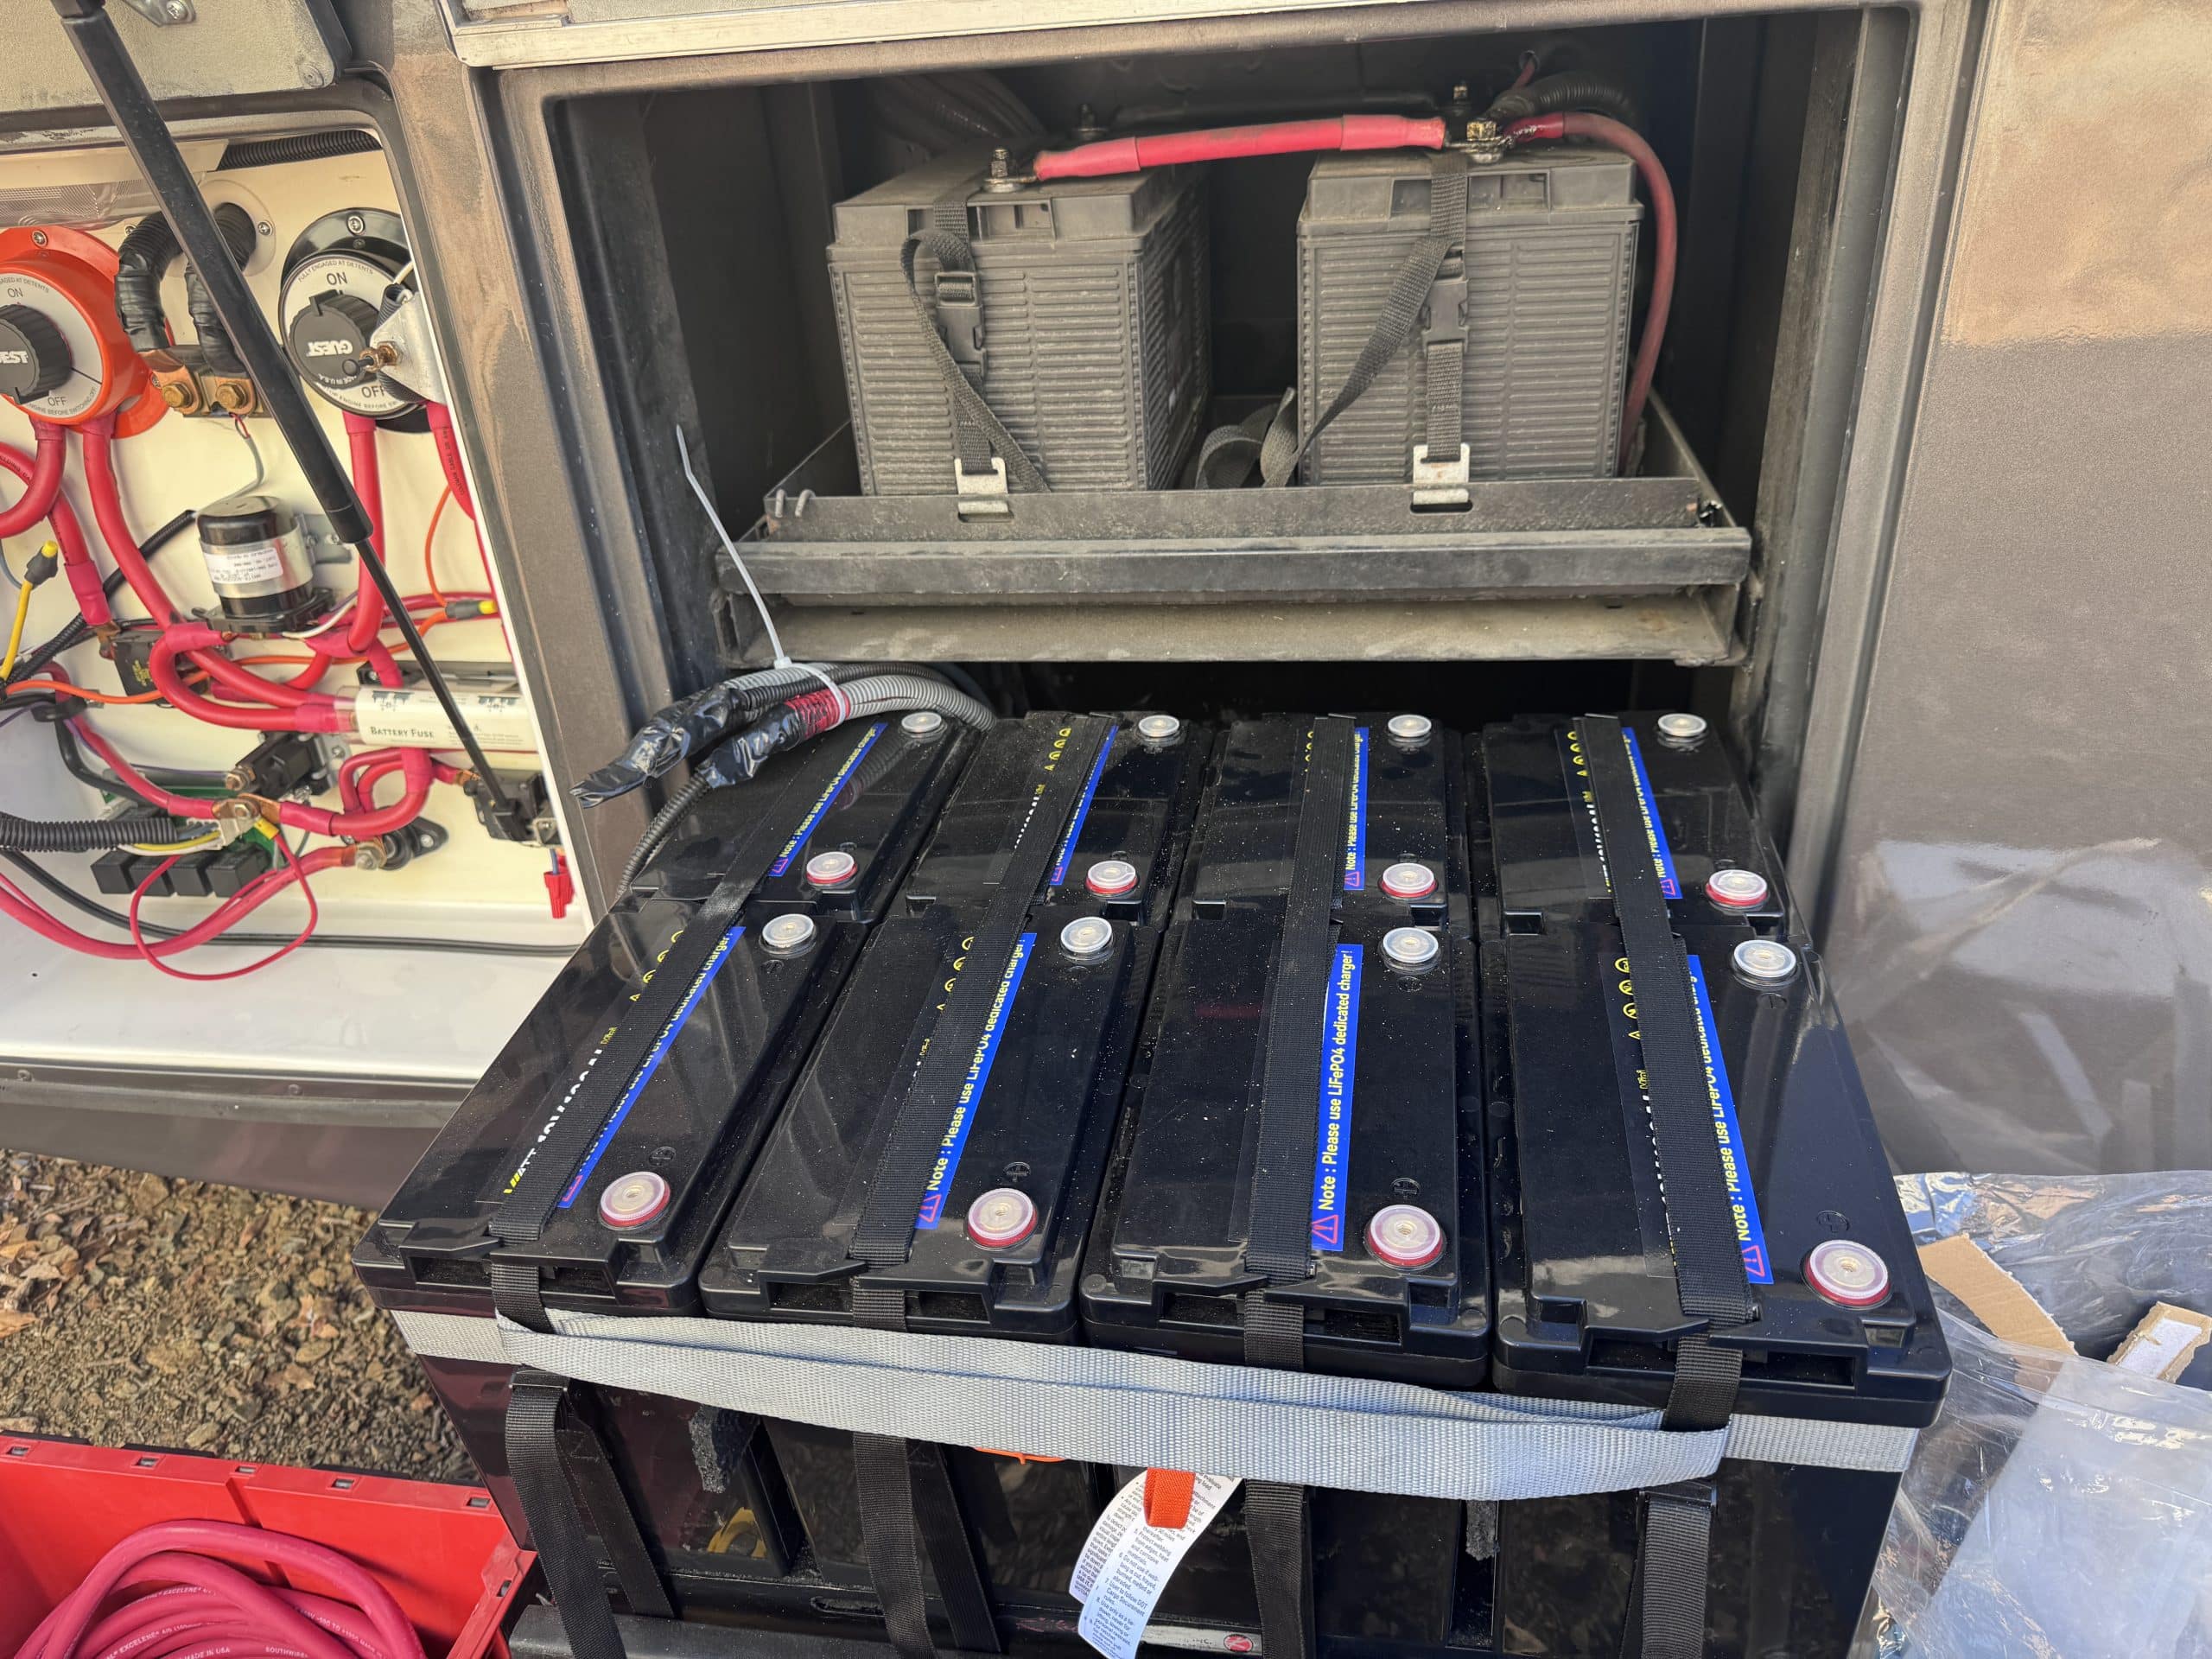
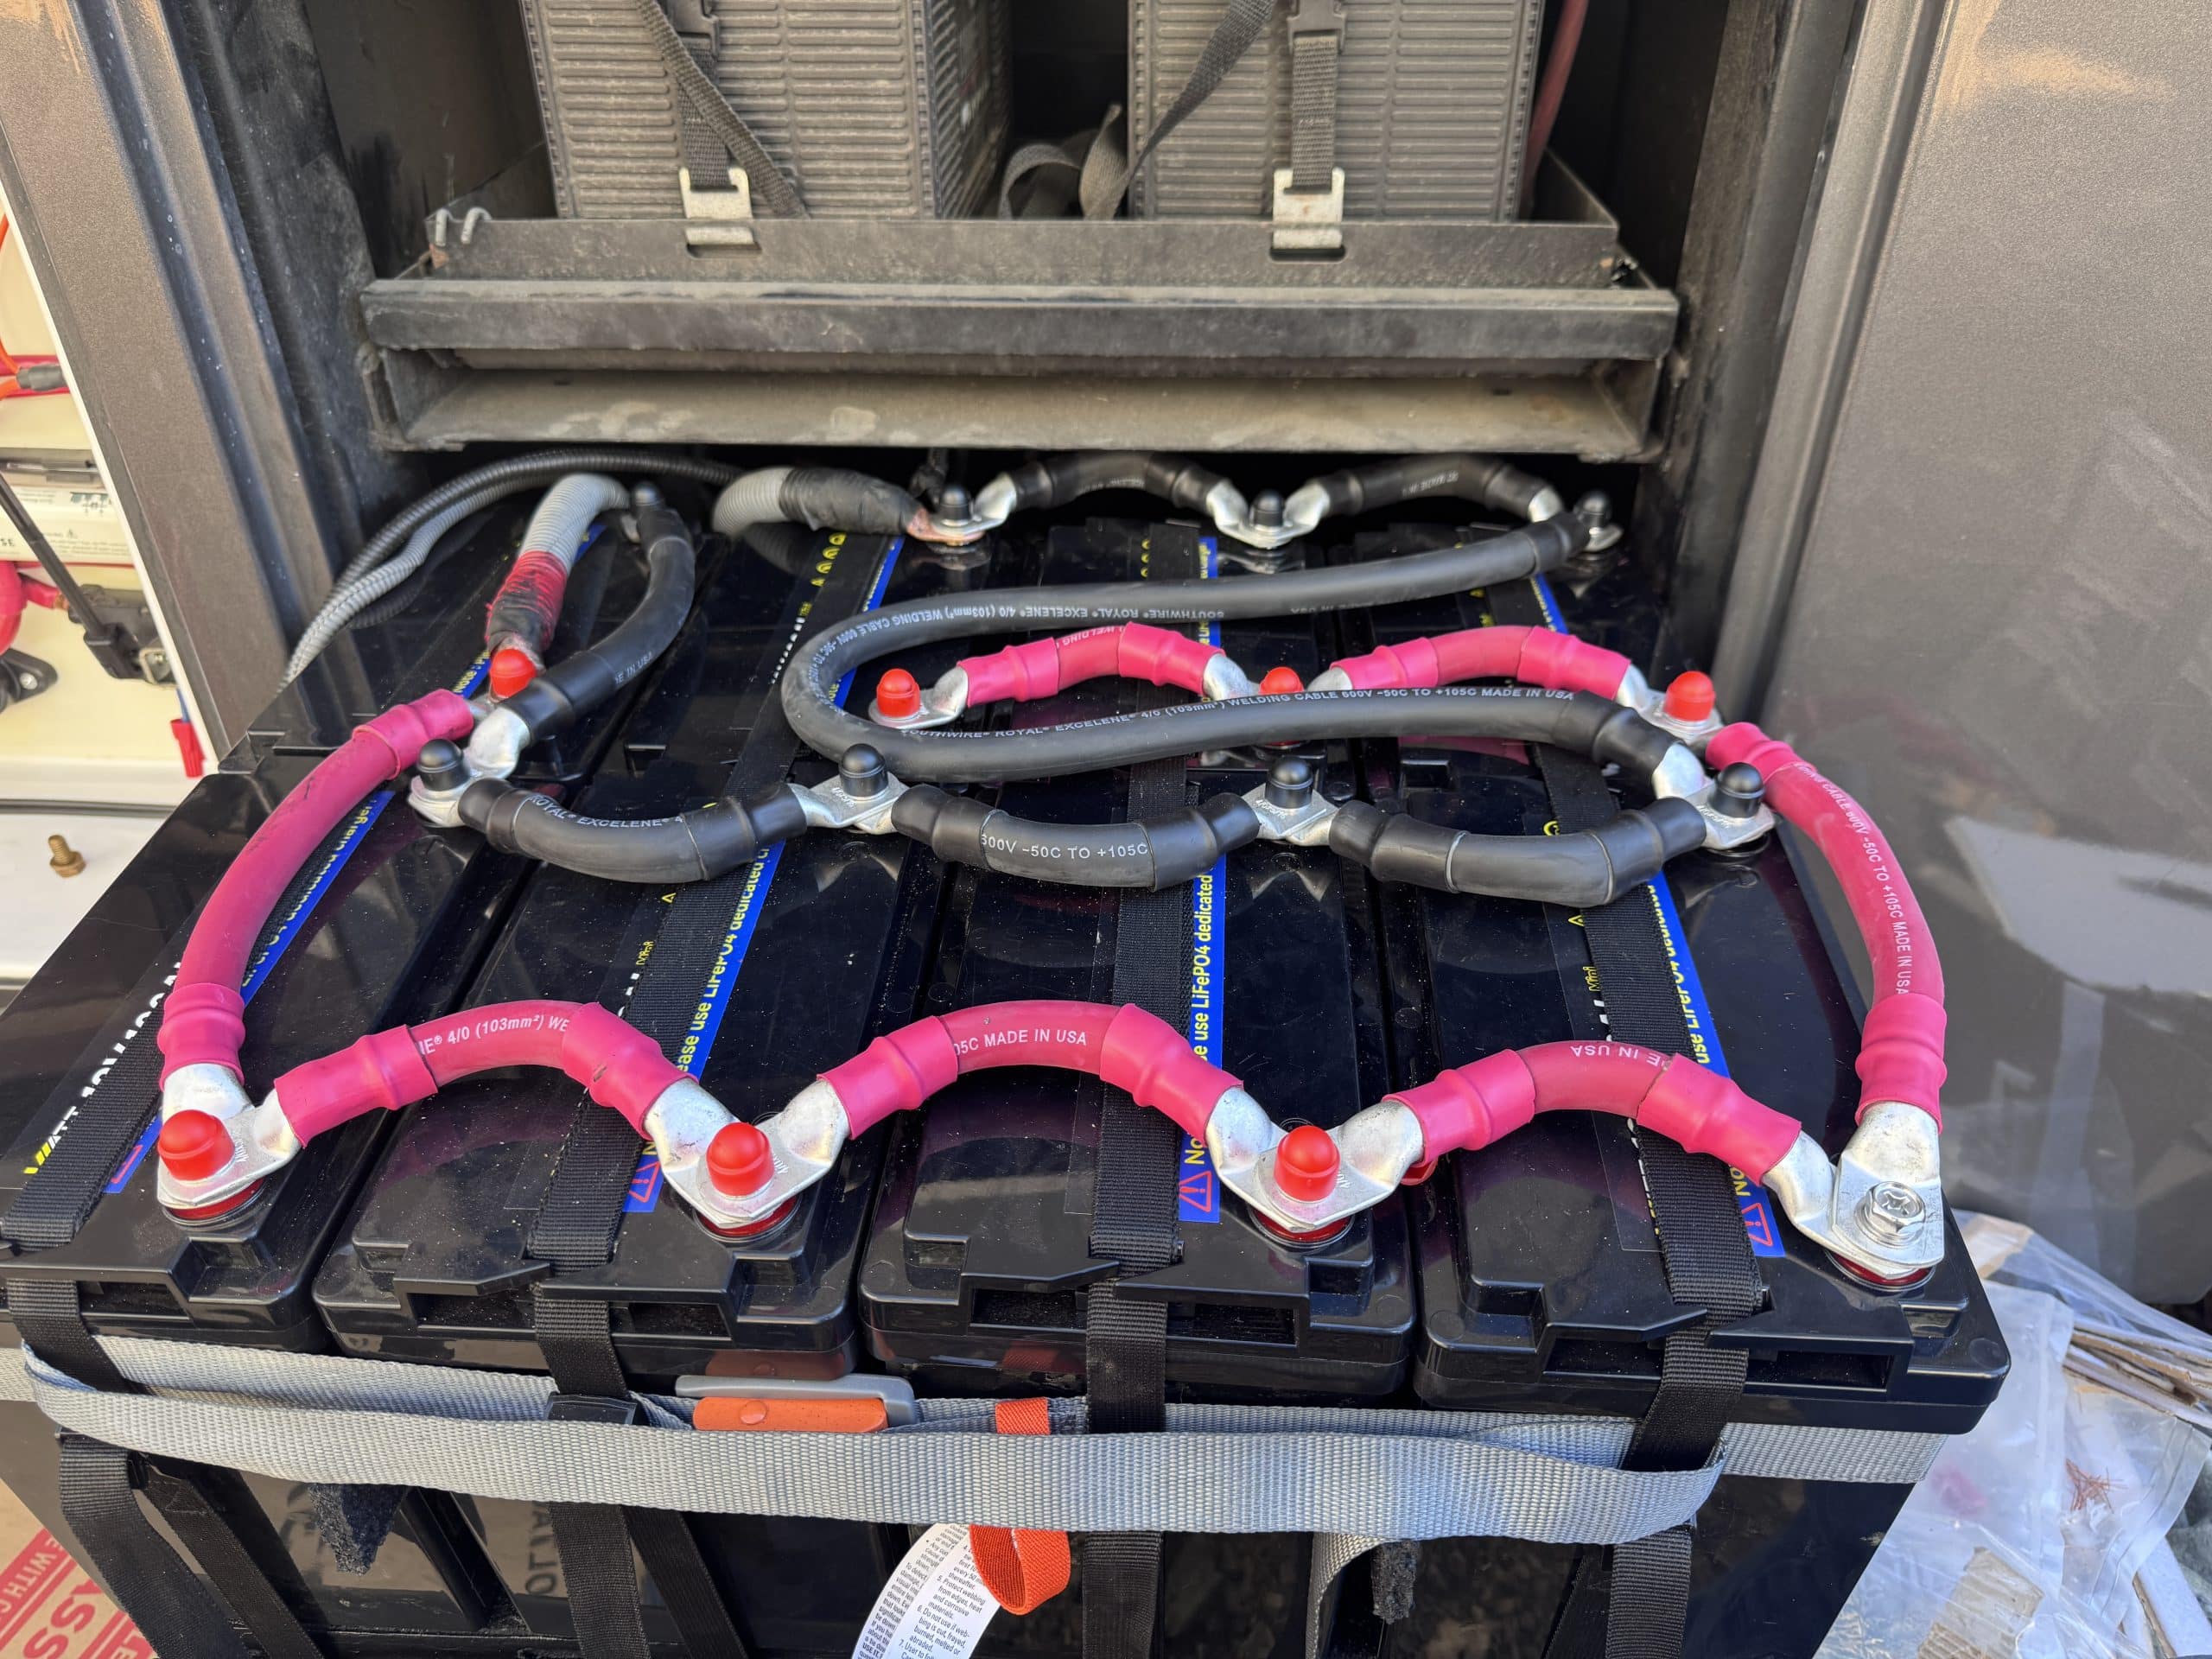
- 8 - Watt Cycle Mini 12 volt 100 Amp Hour Lithium Batteries - Customer installed
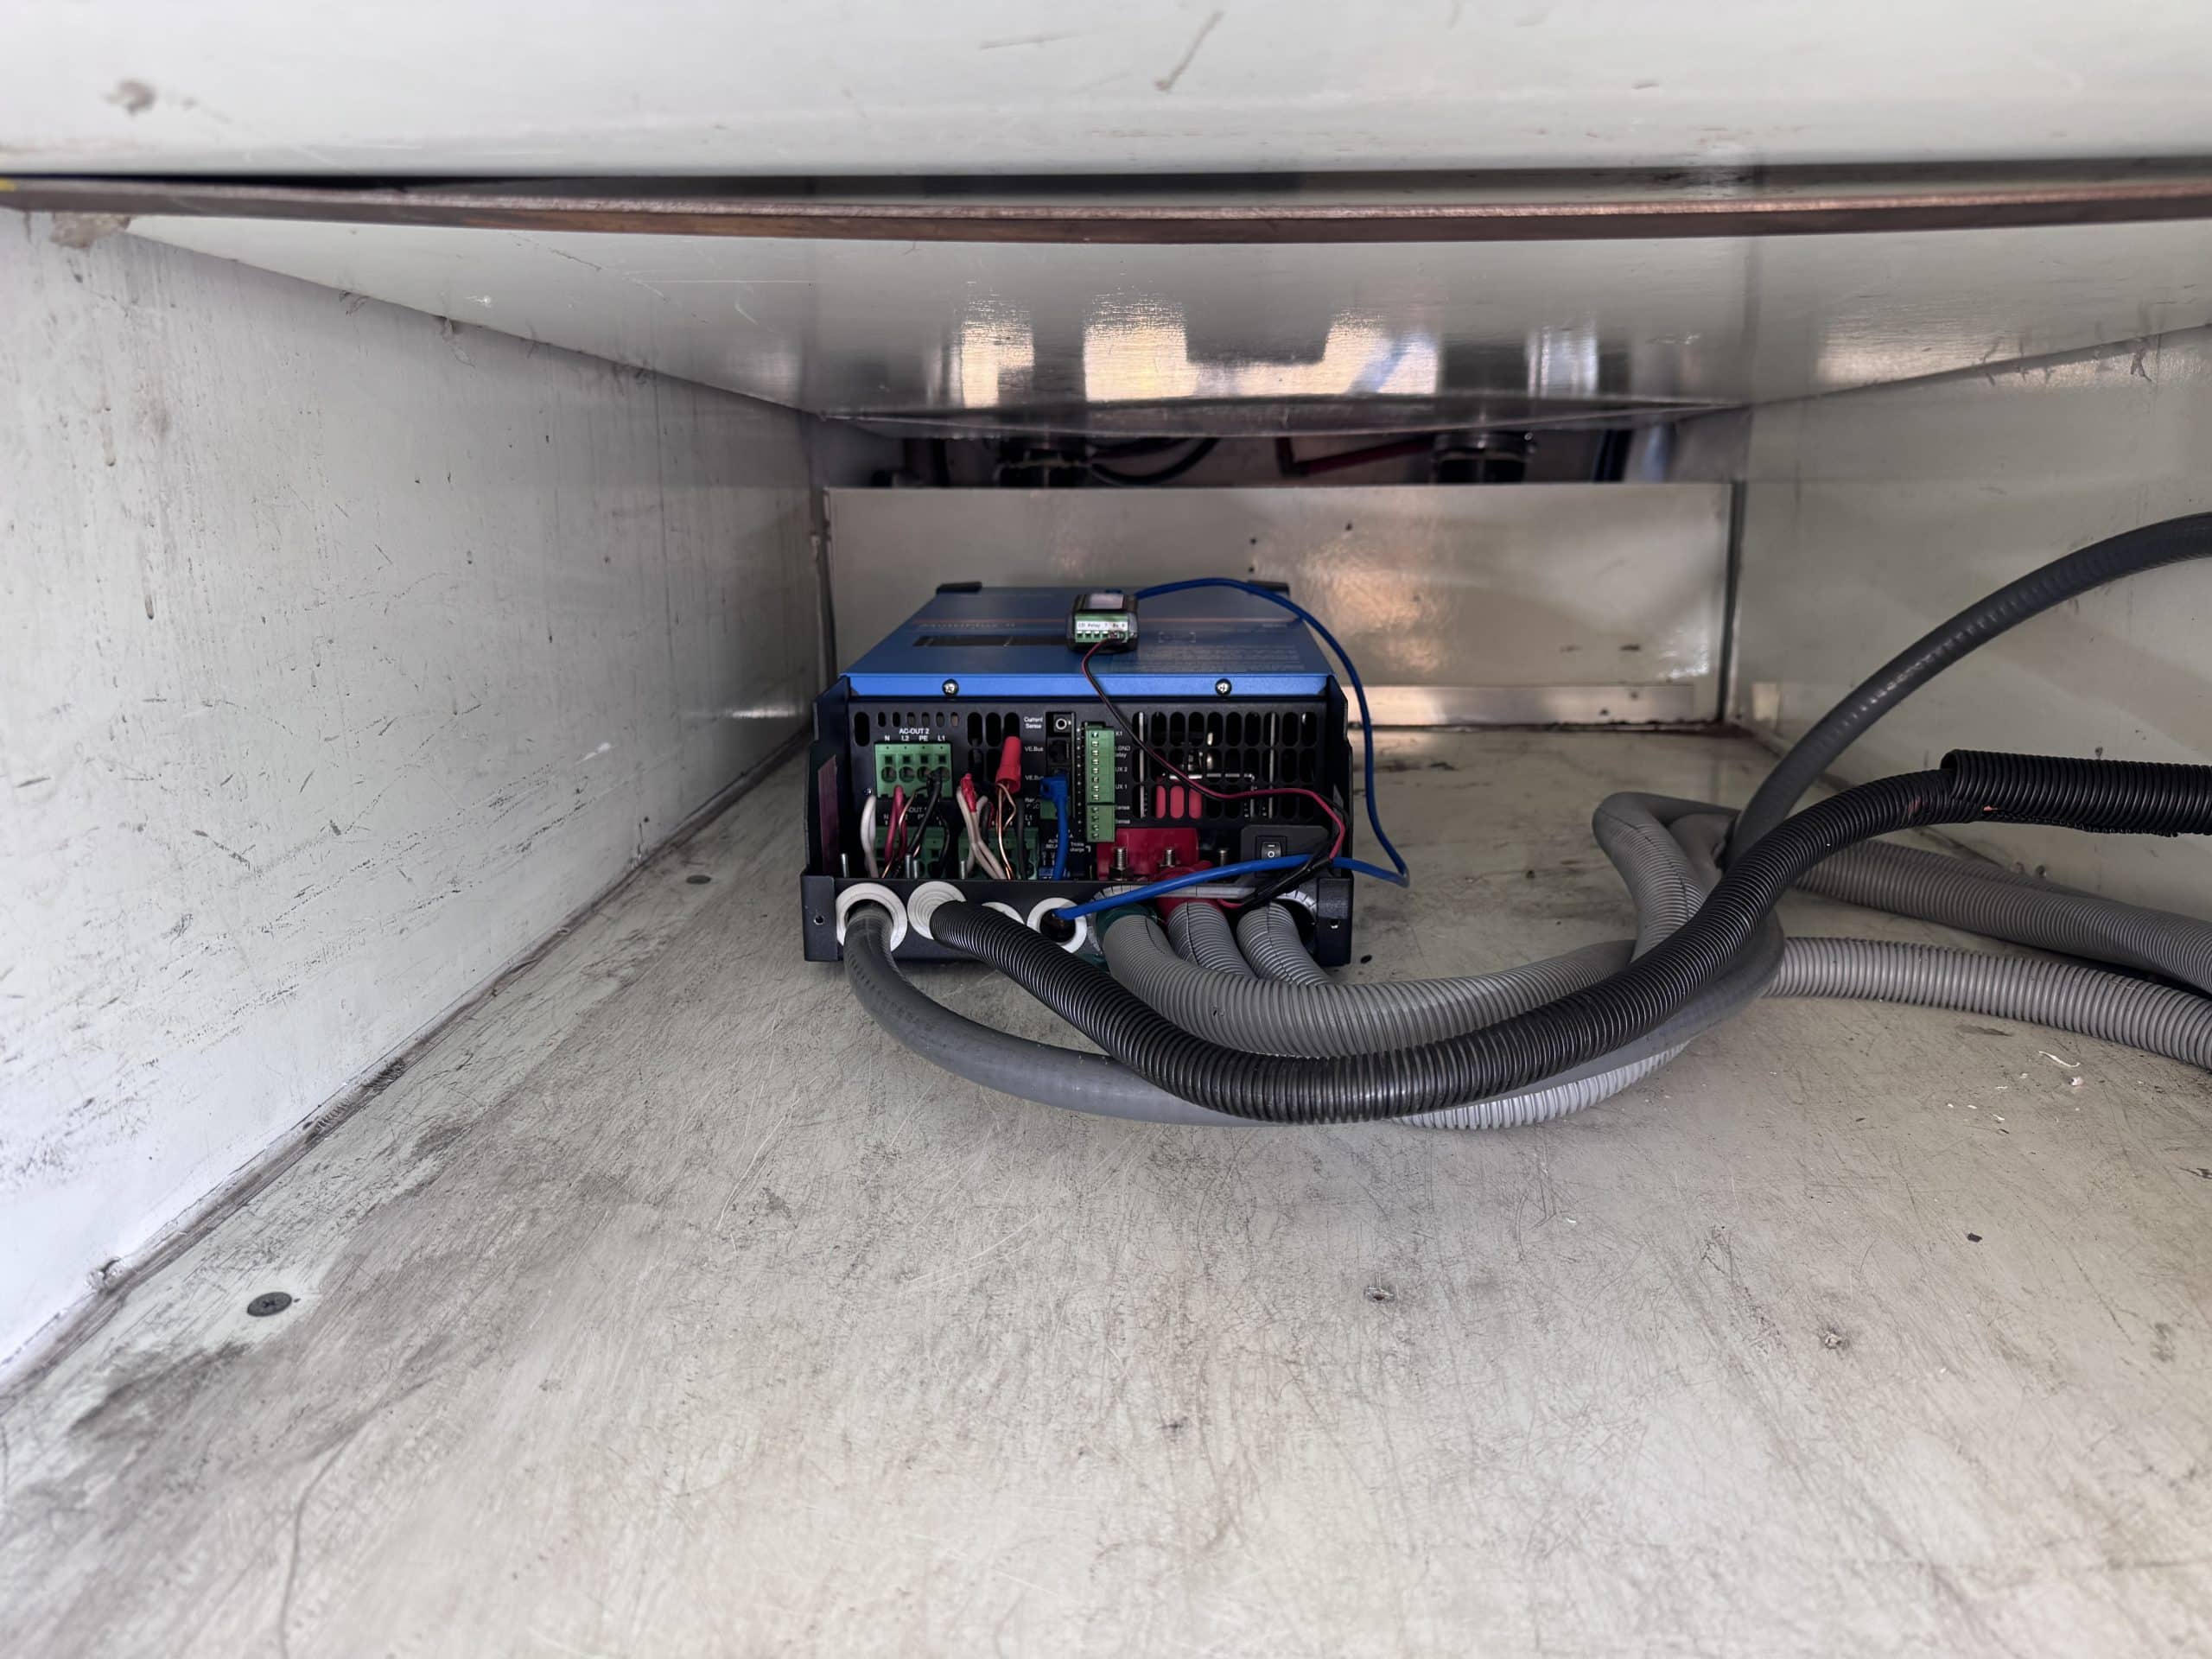
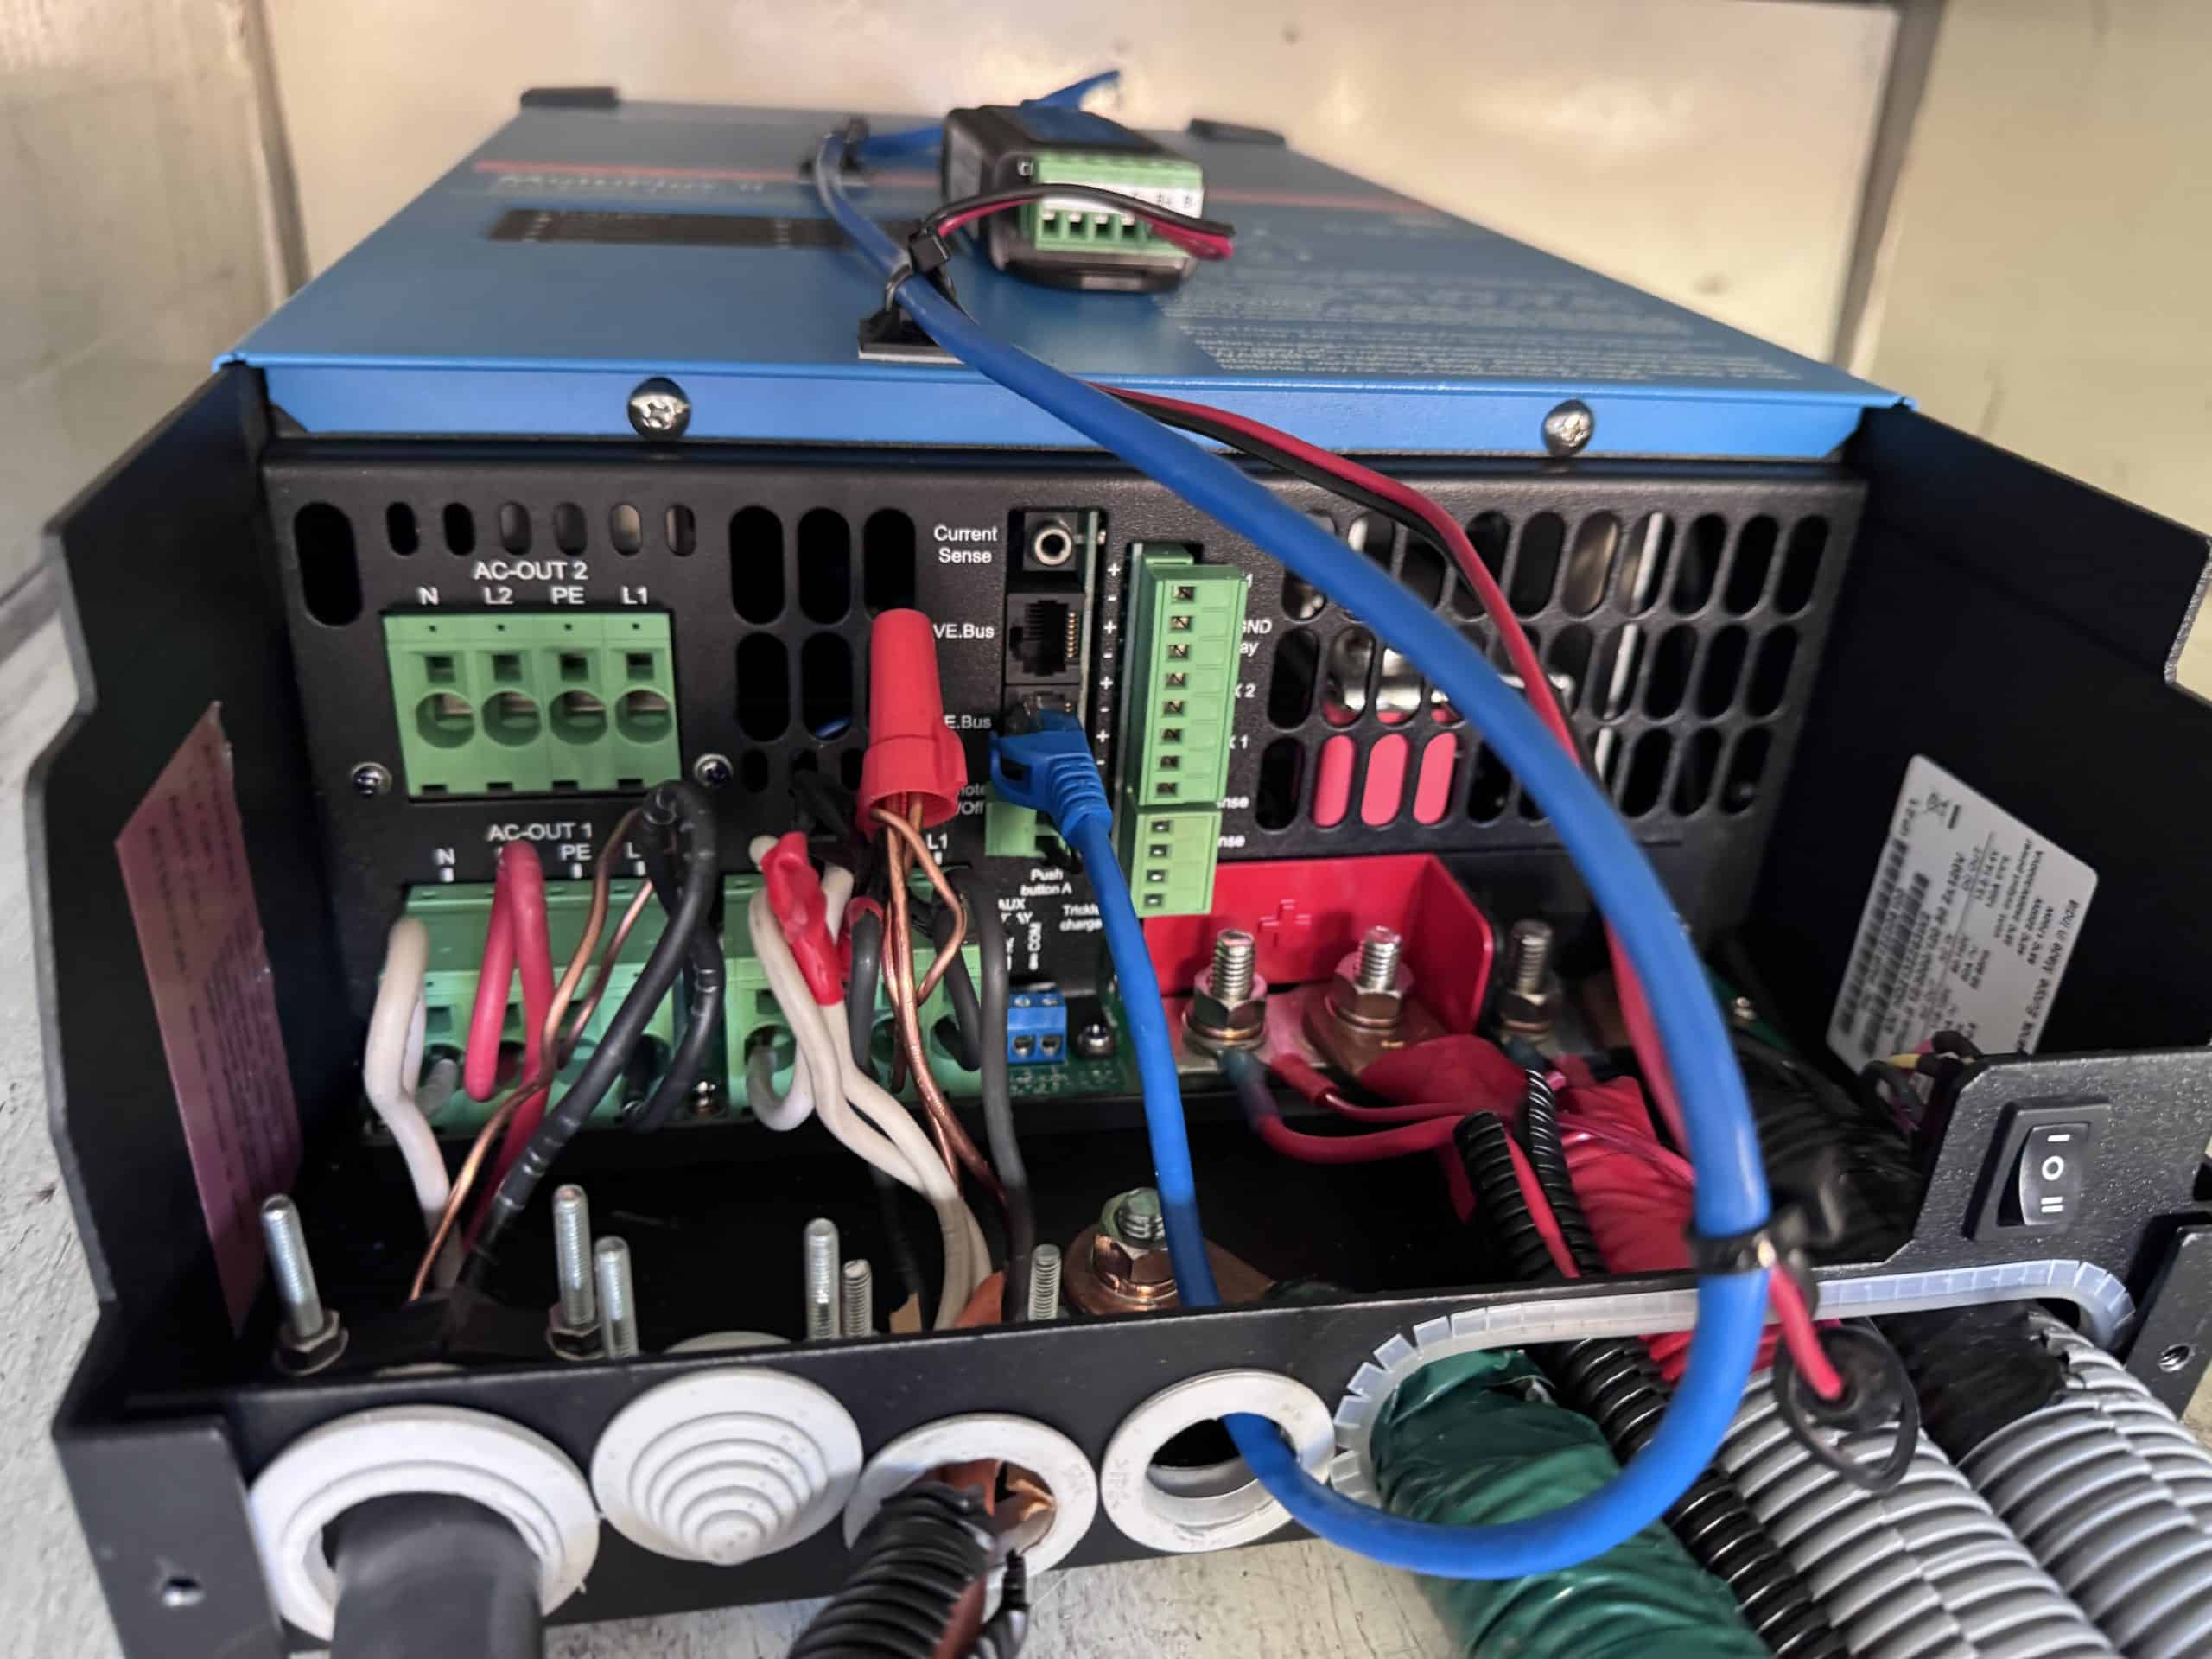
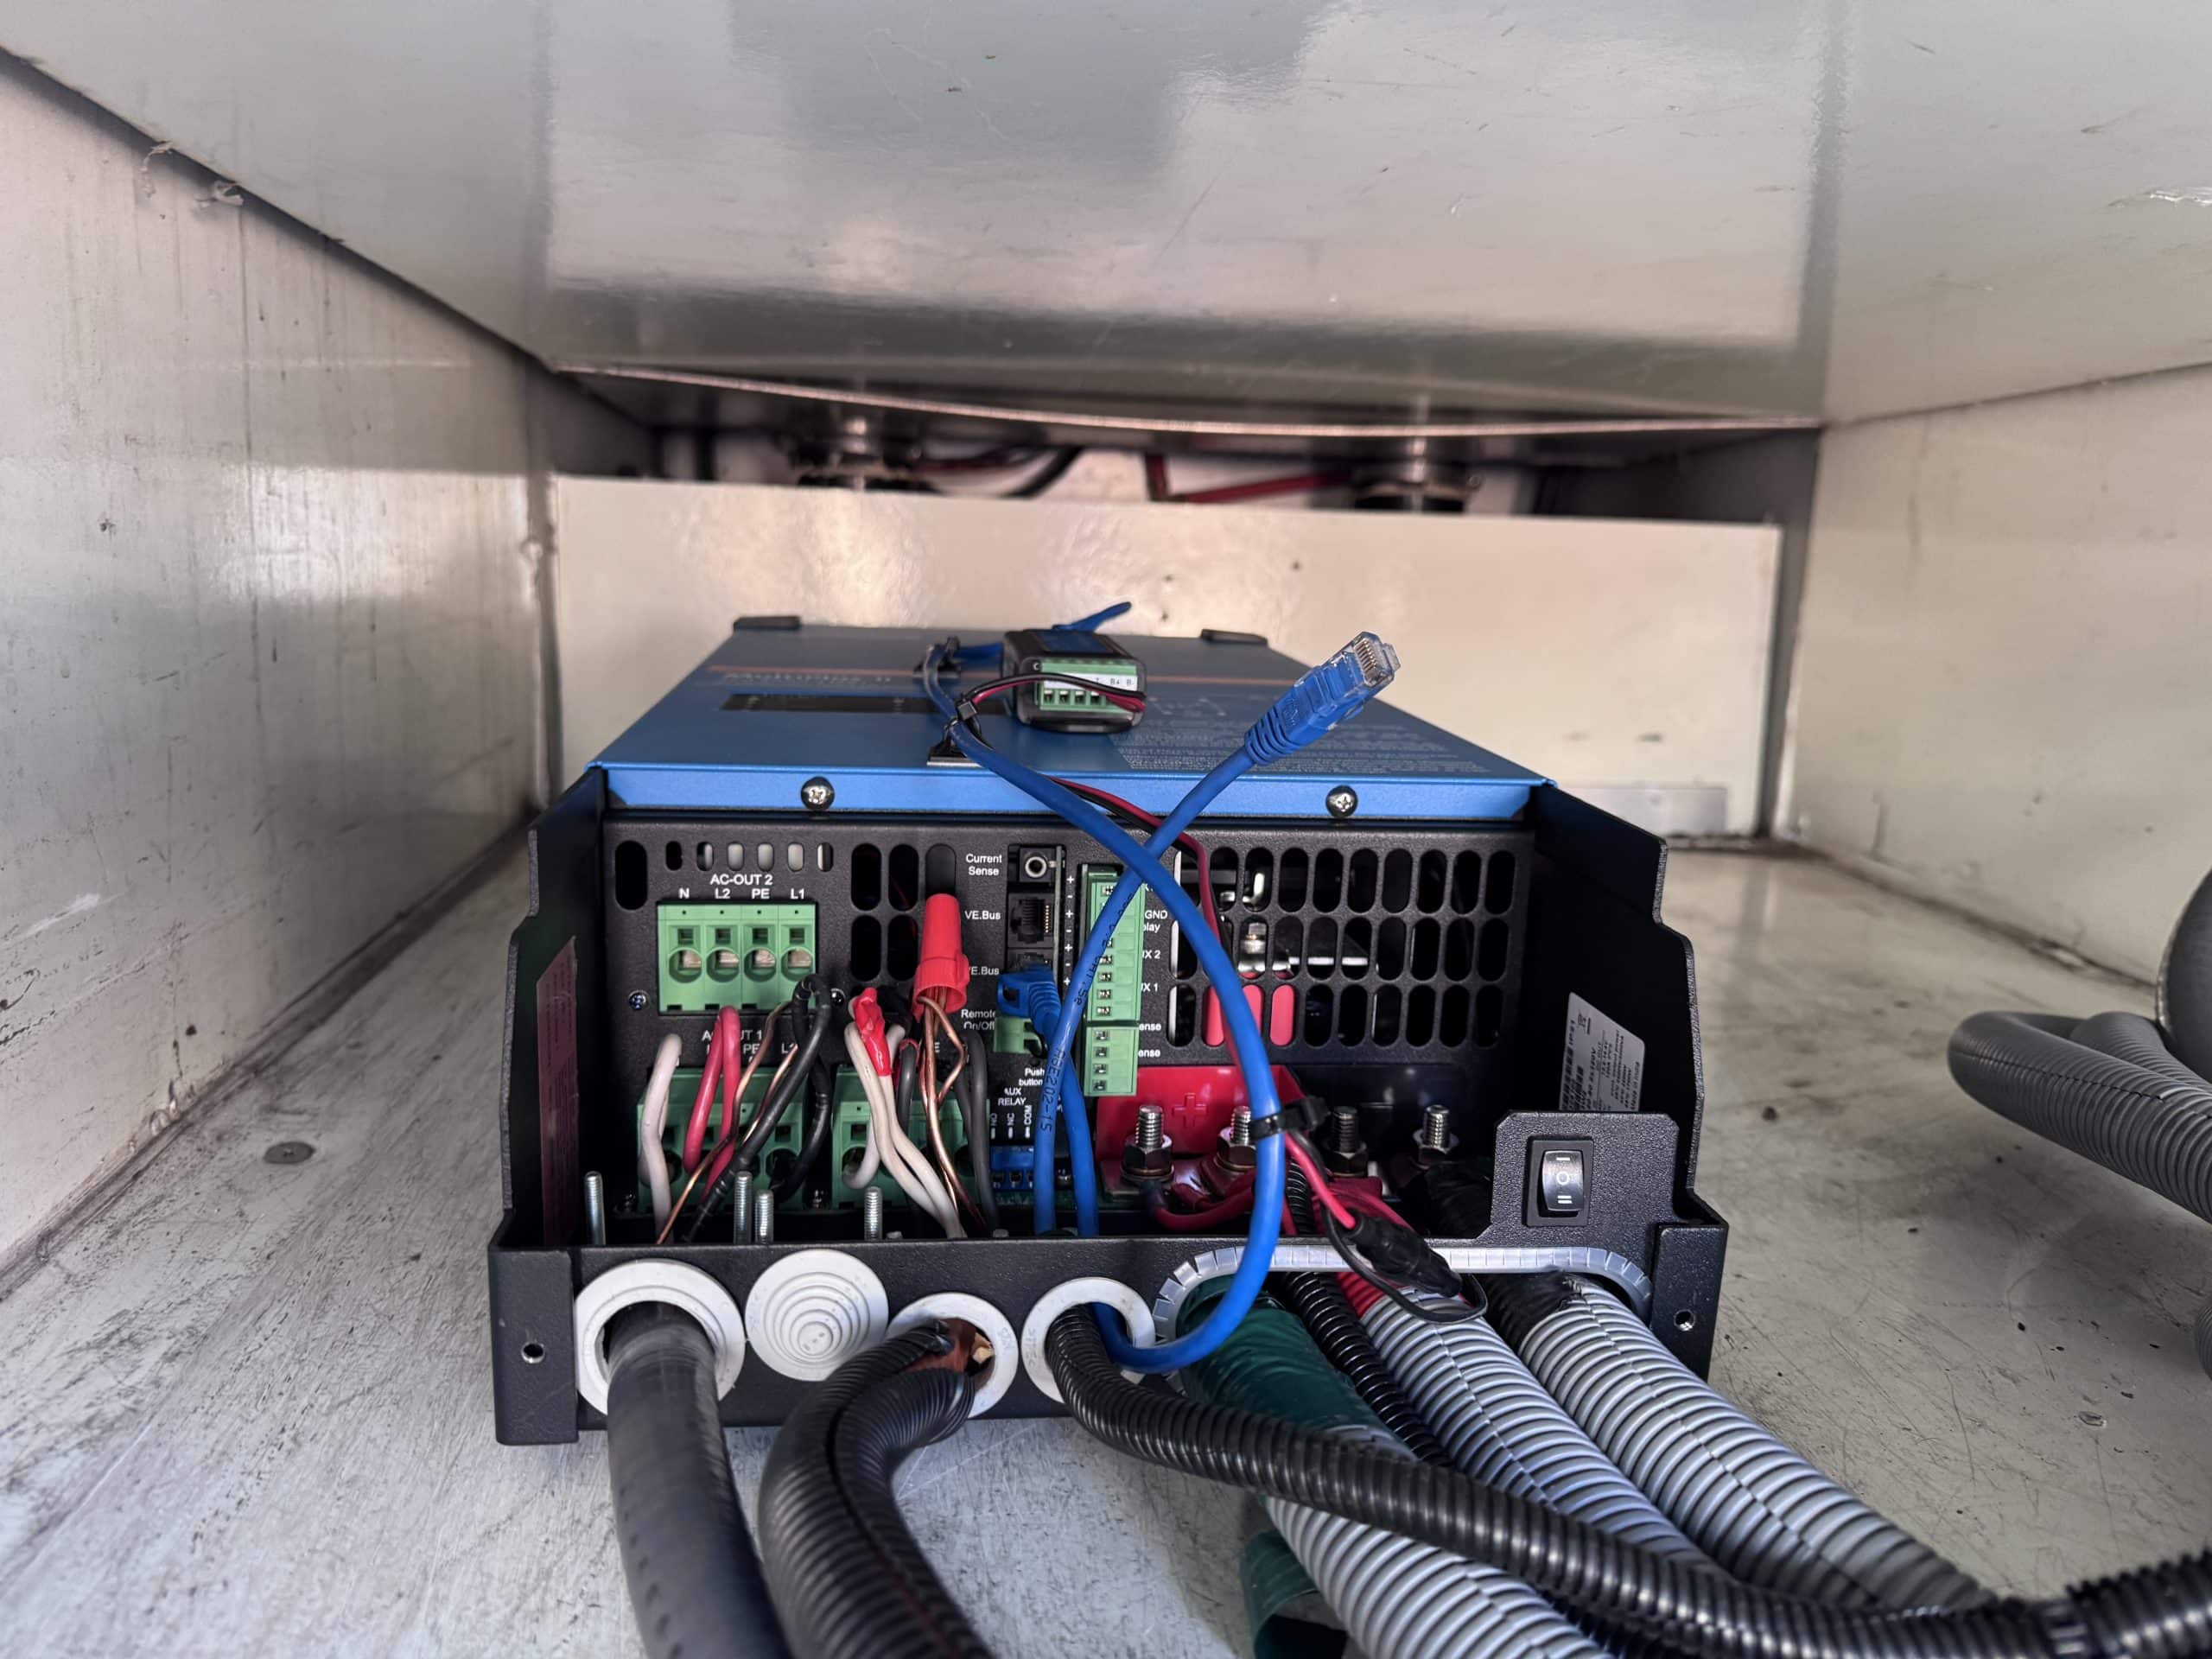
- Victron Multiplus II 12/3000/120-50 2X120
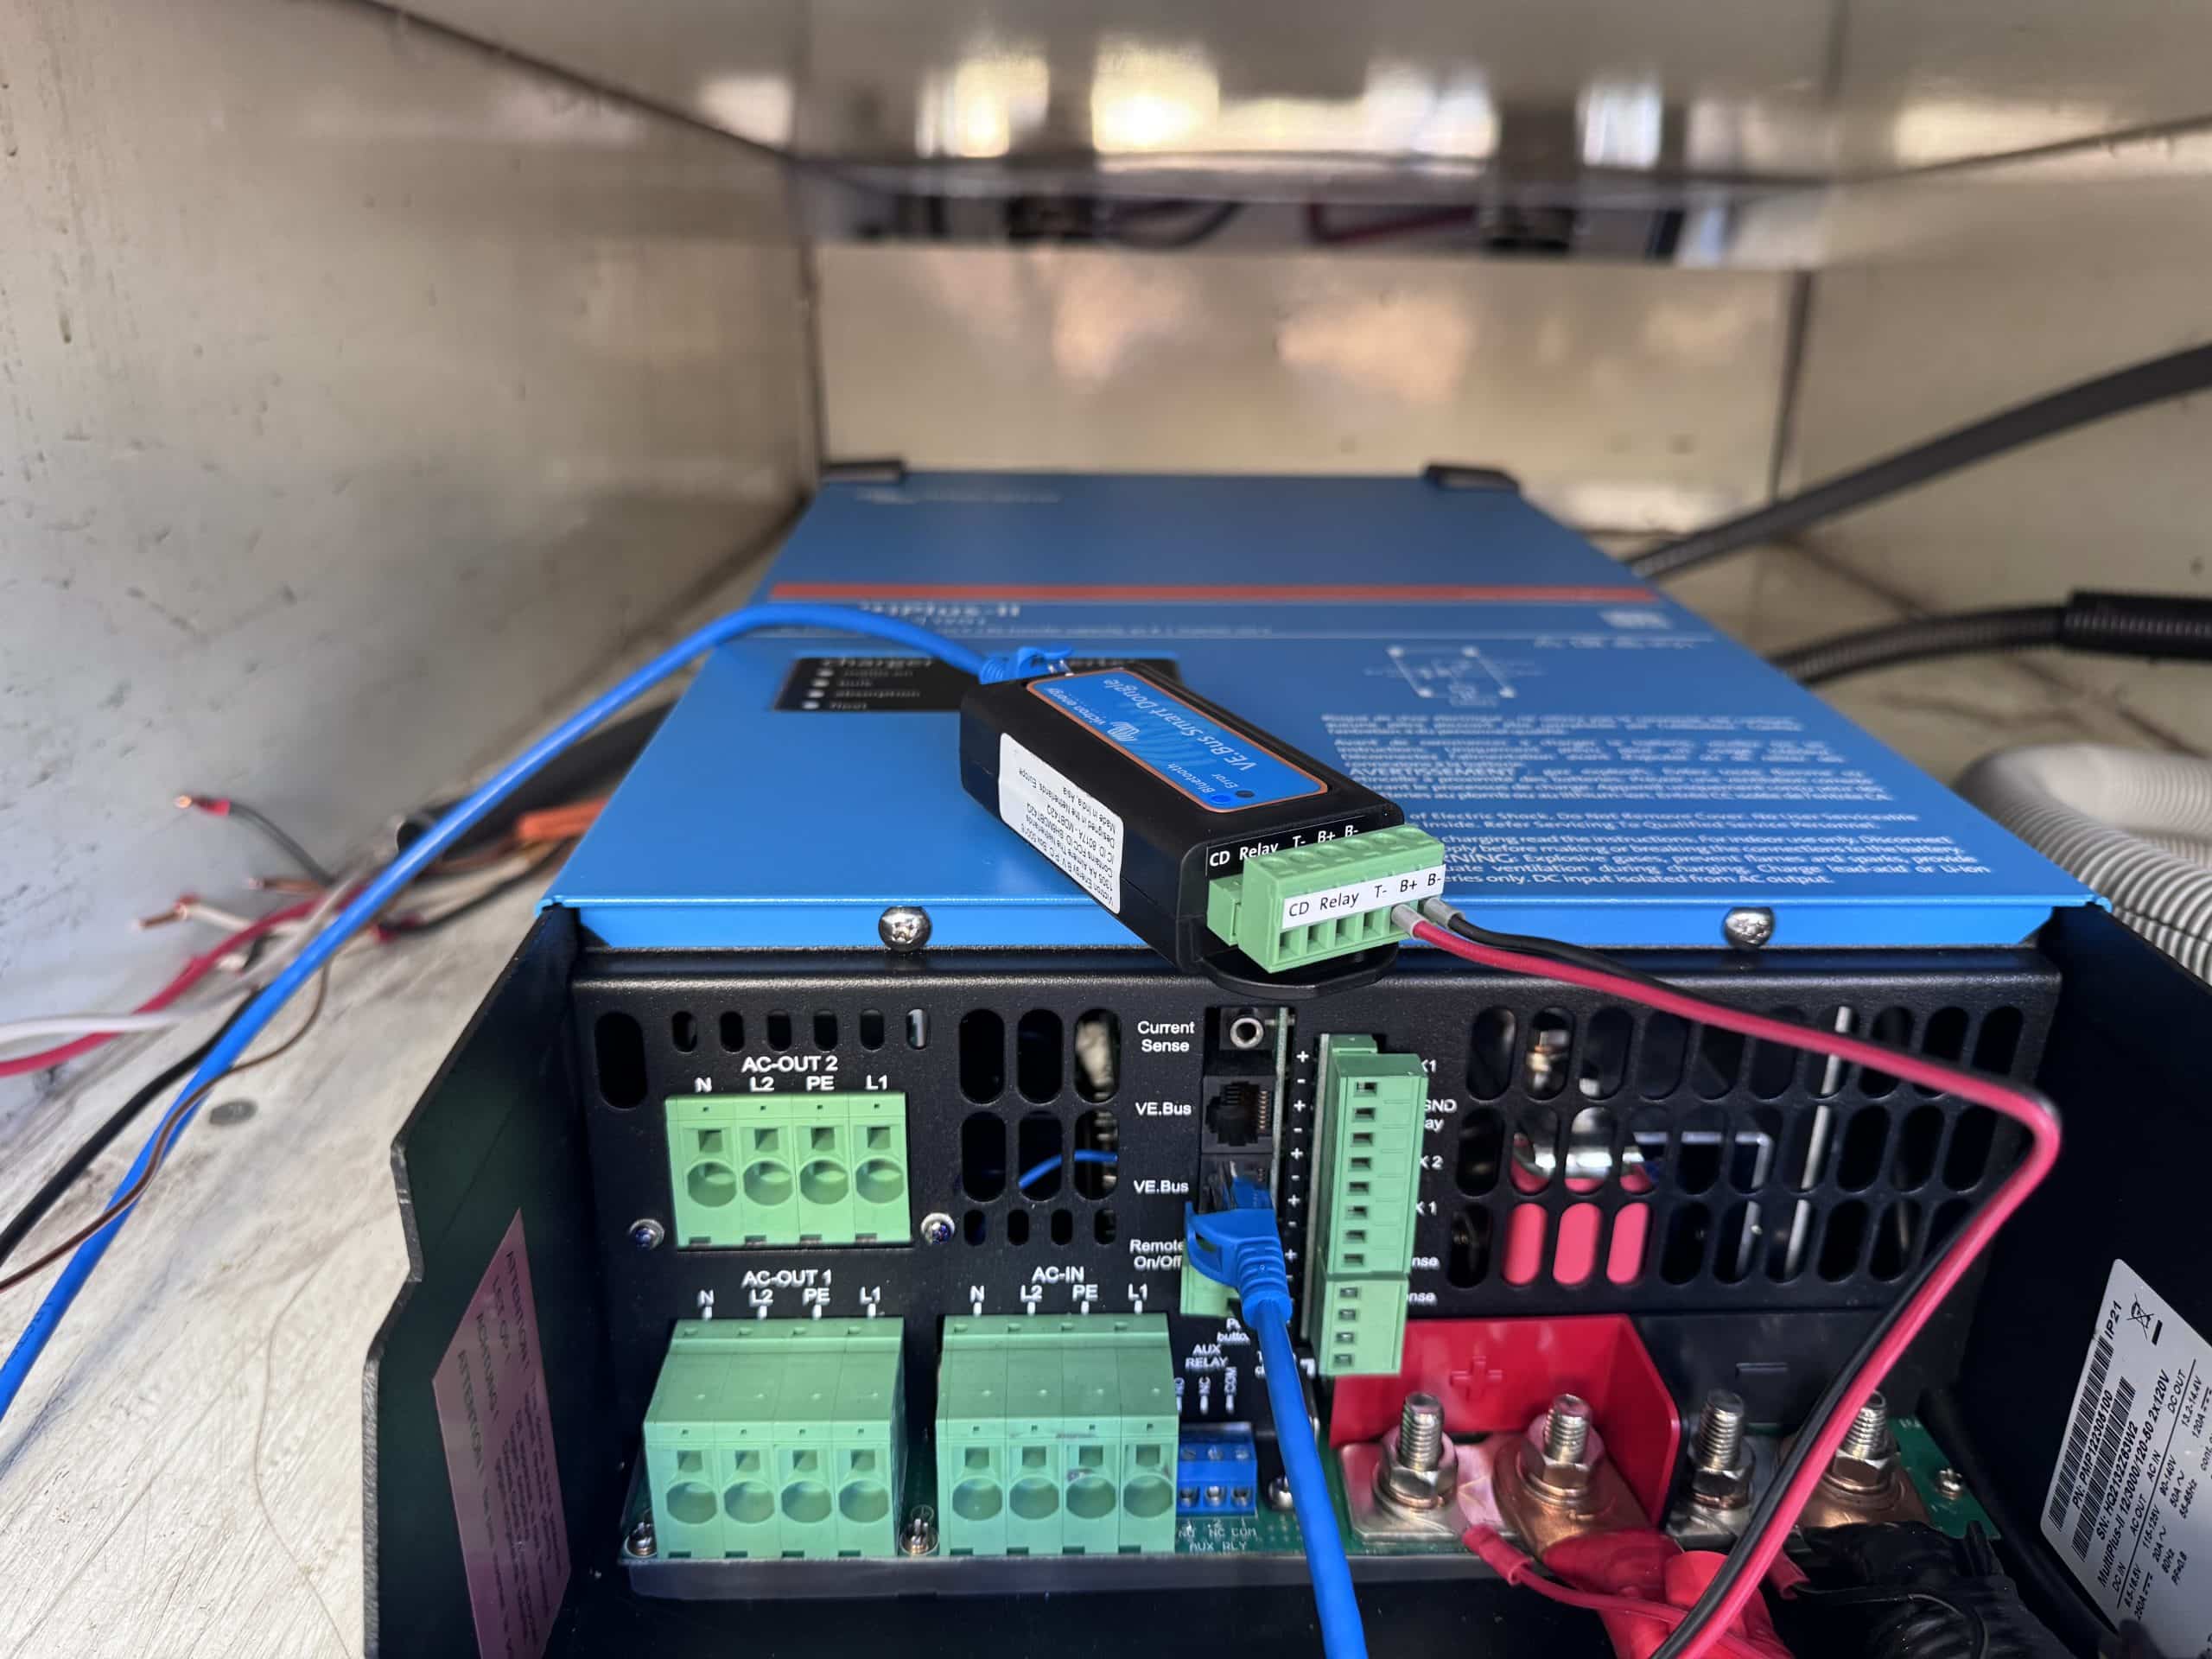
- Victron VE.Bus Smart Dongle
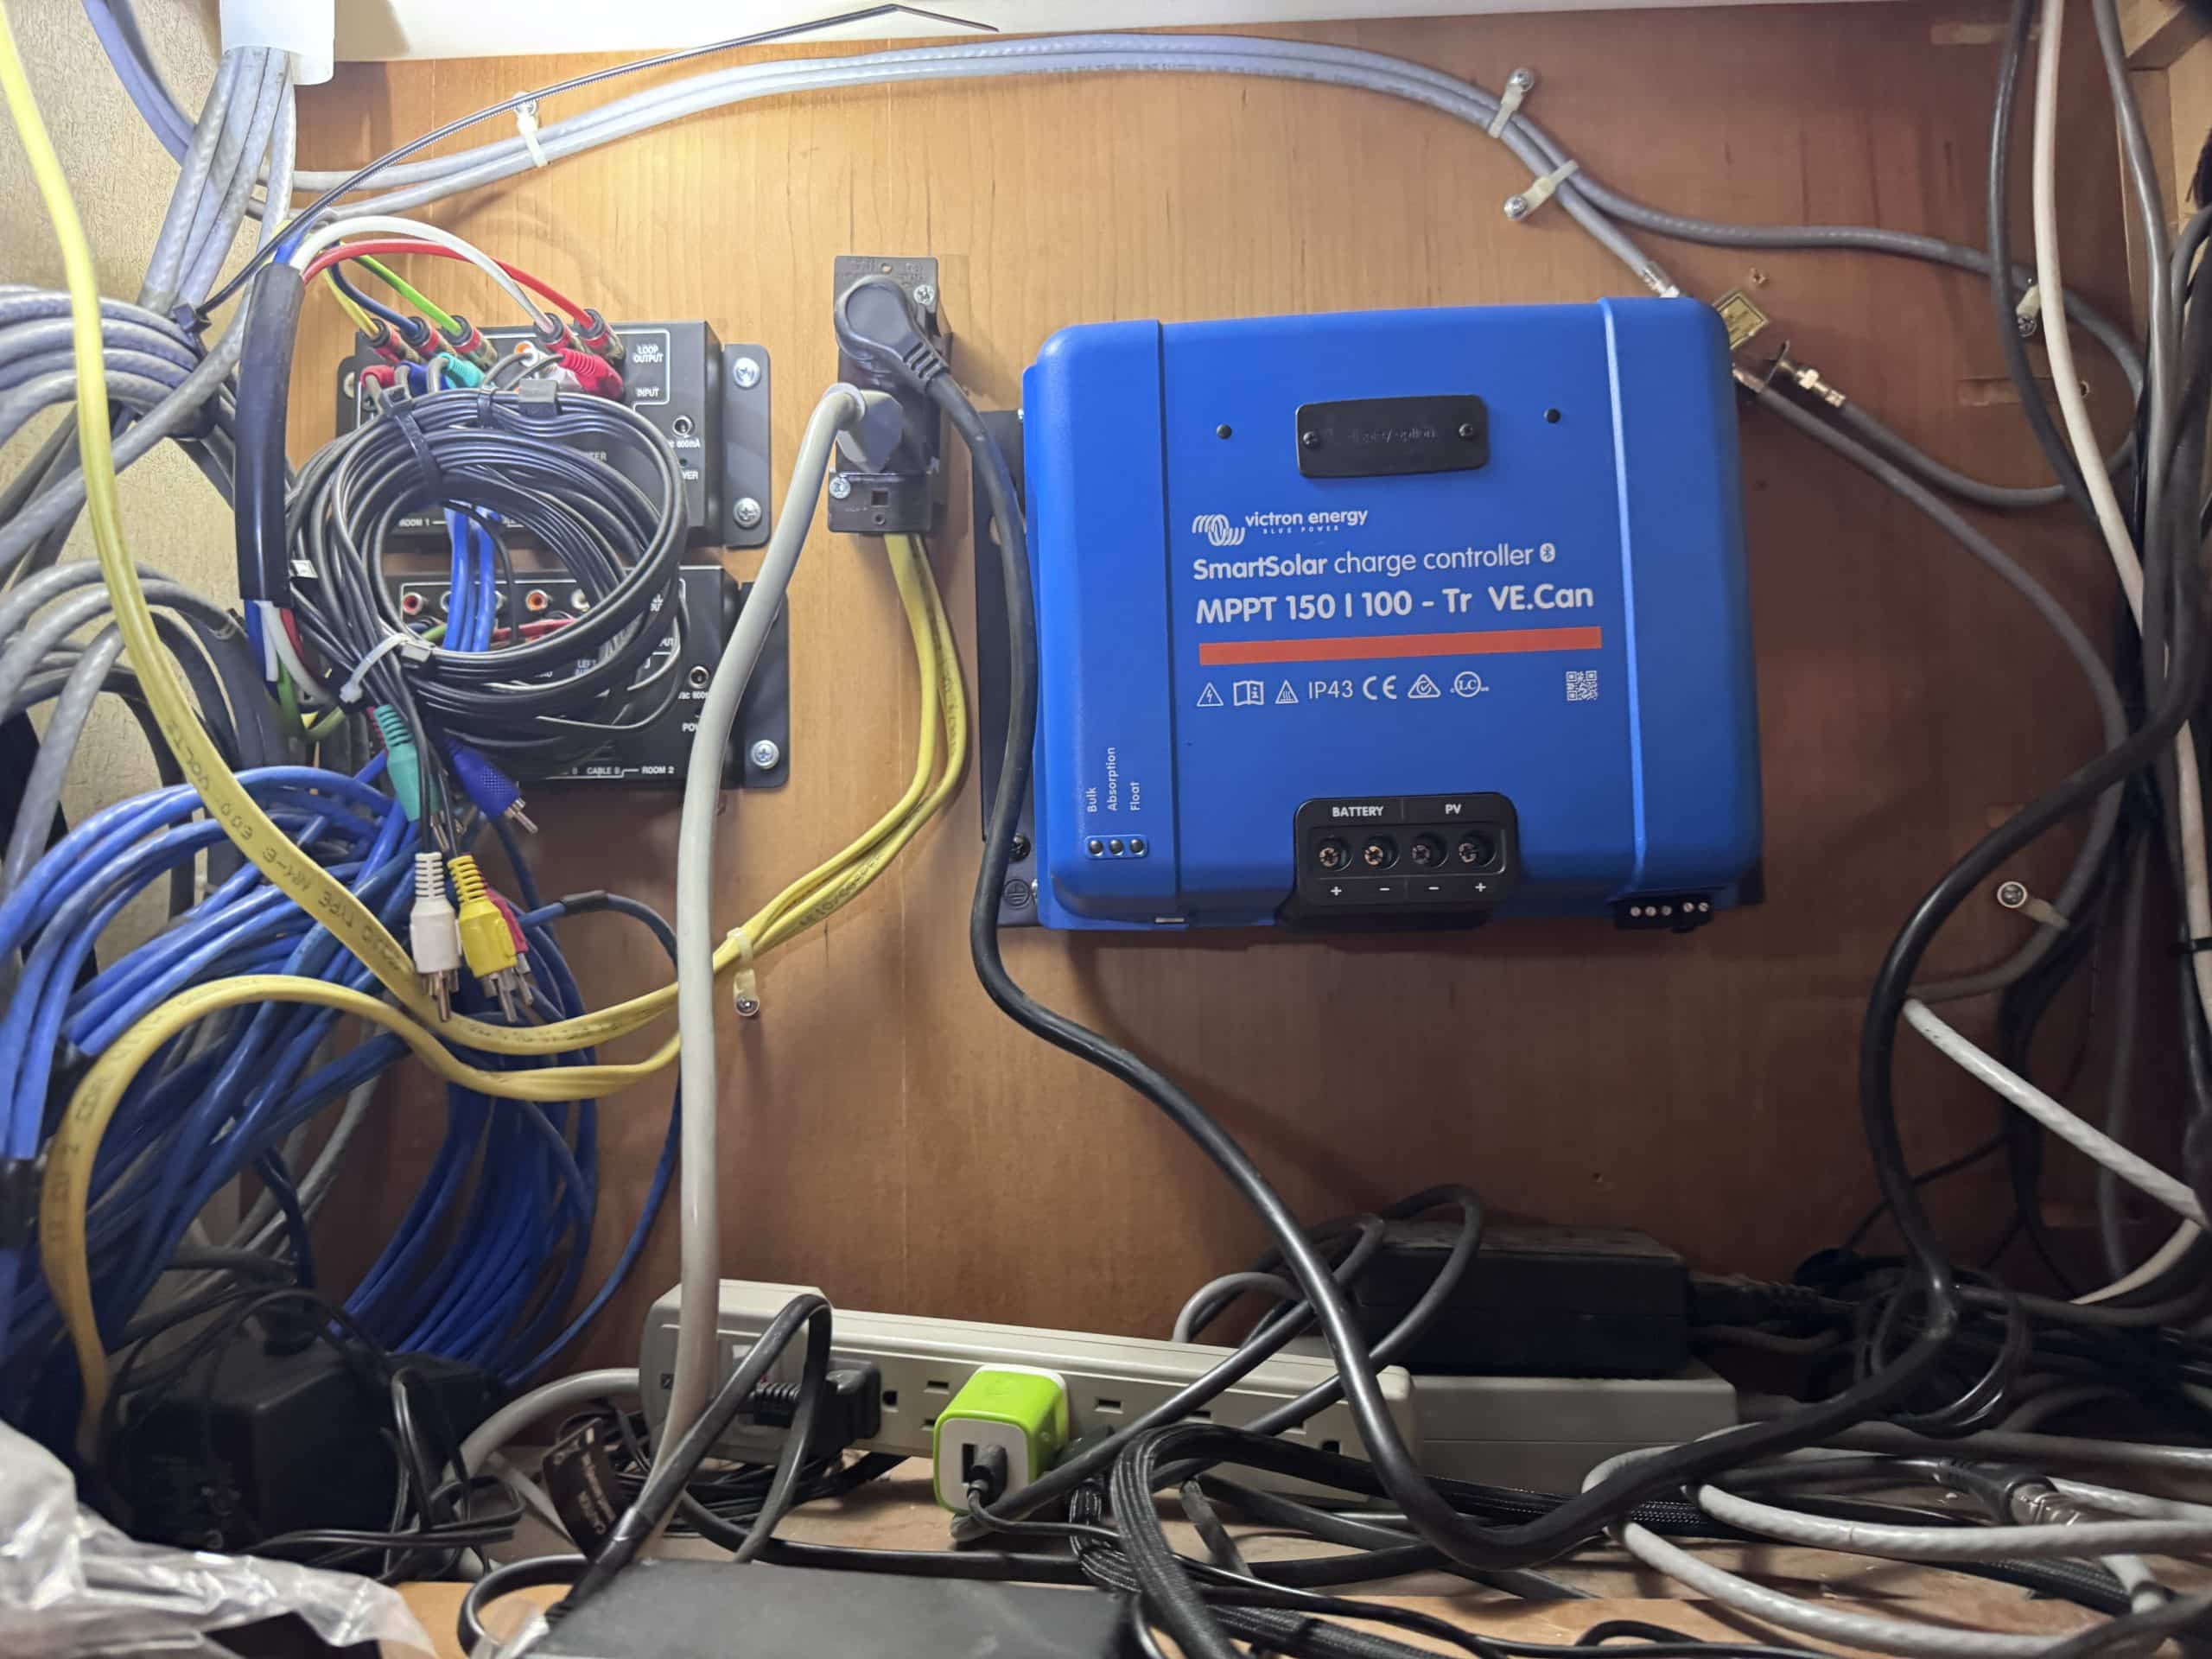
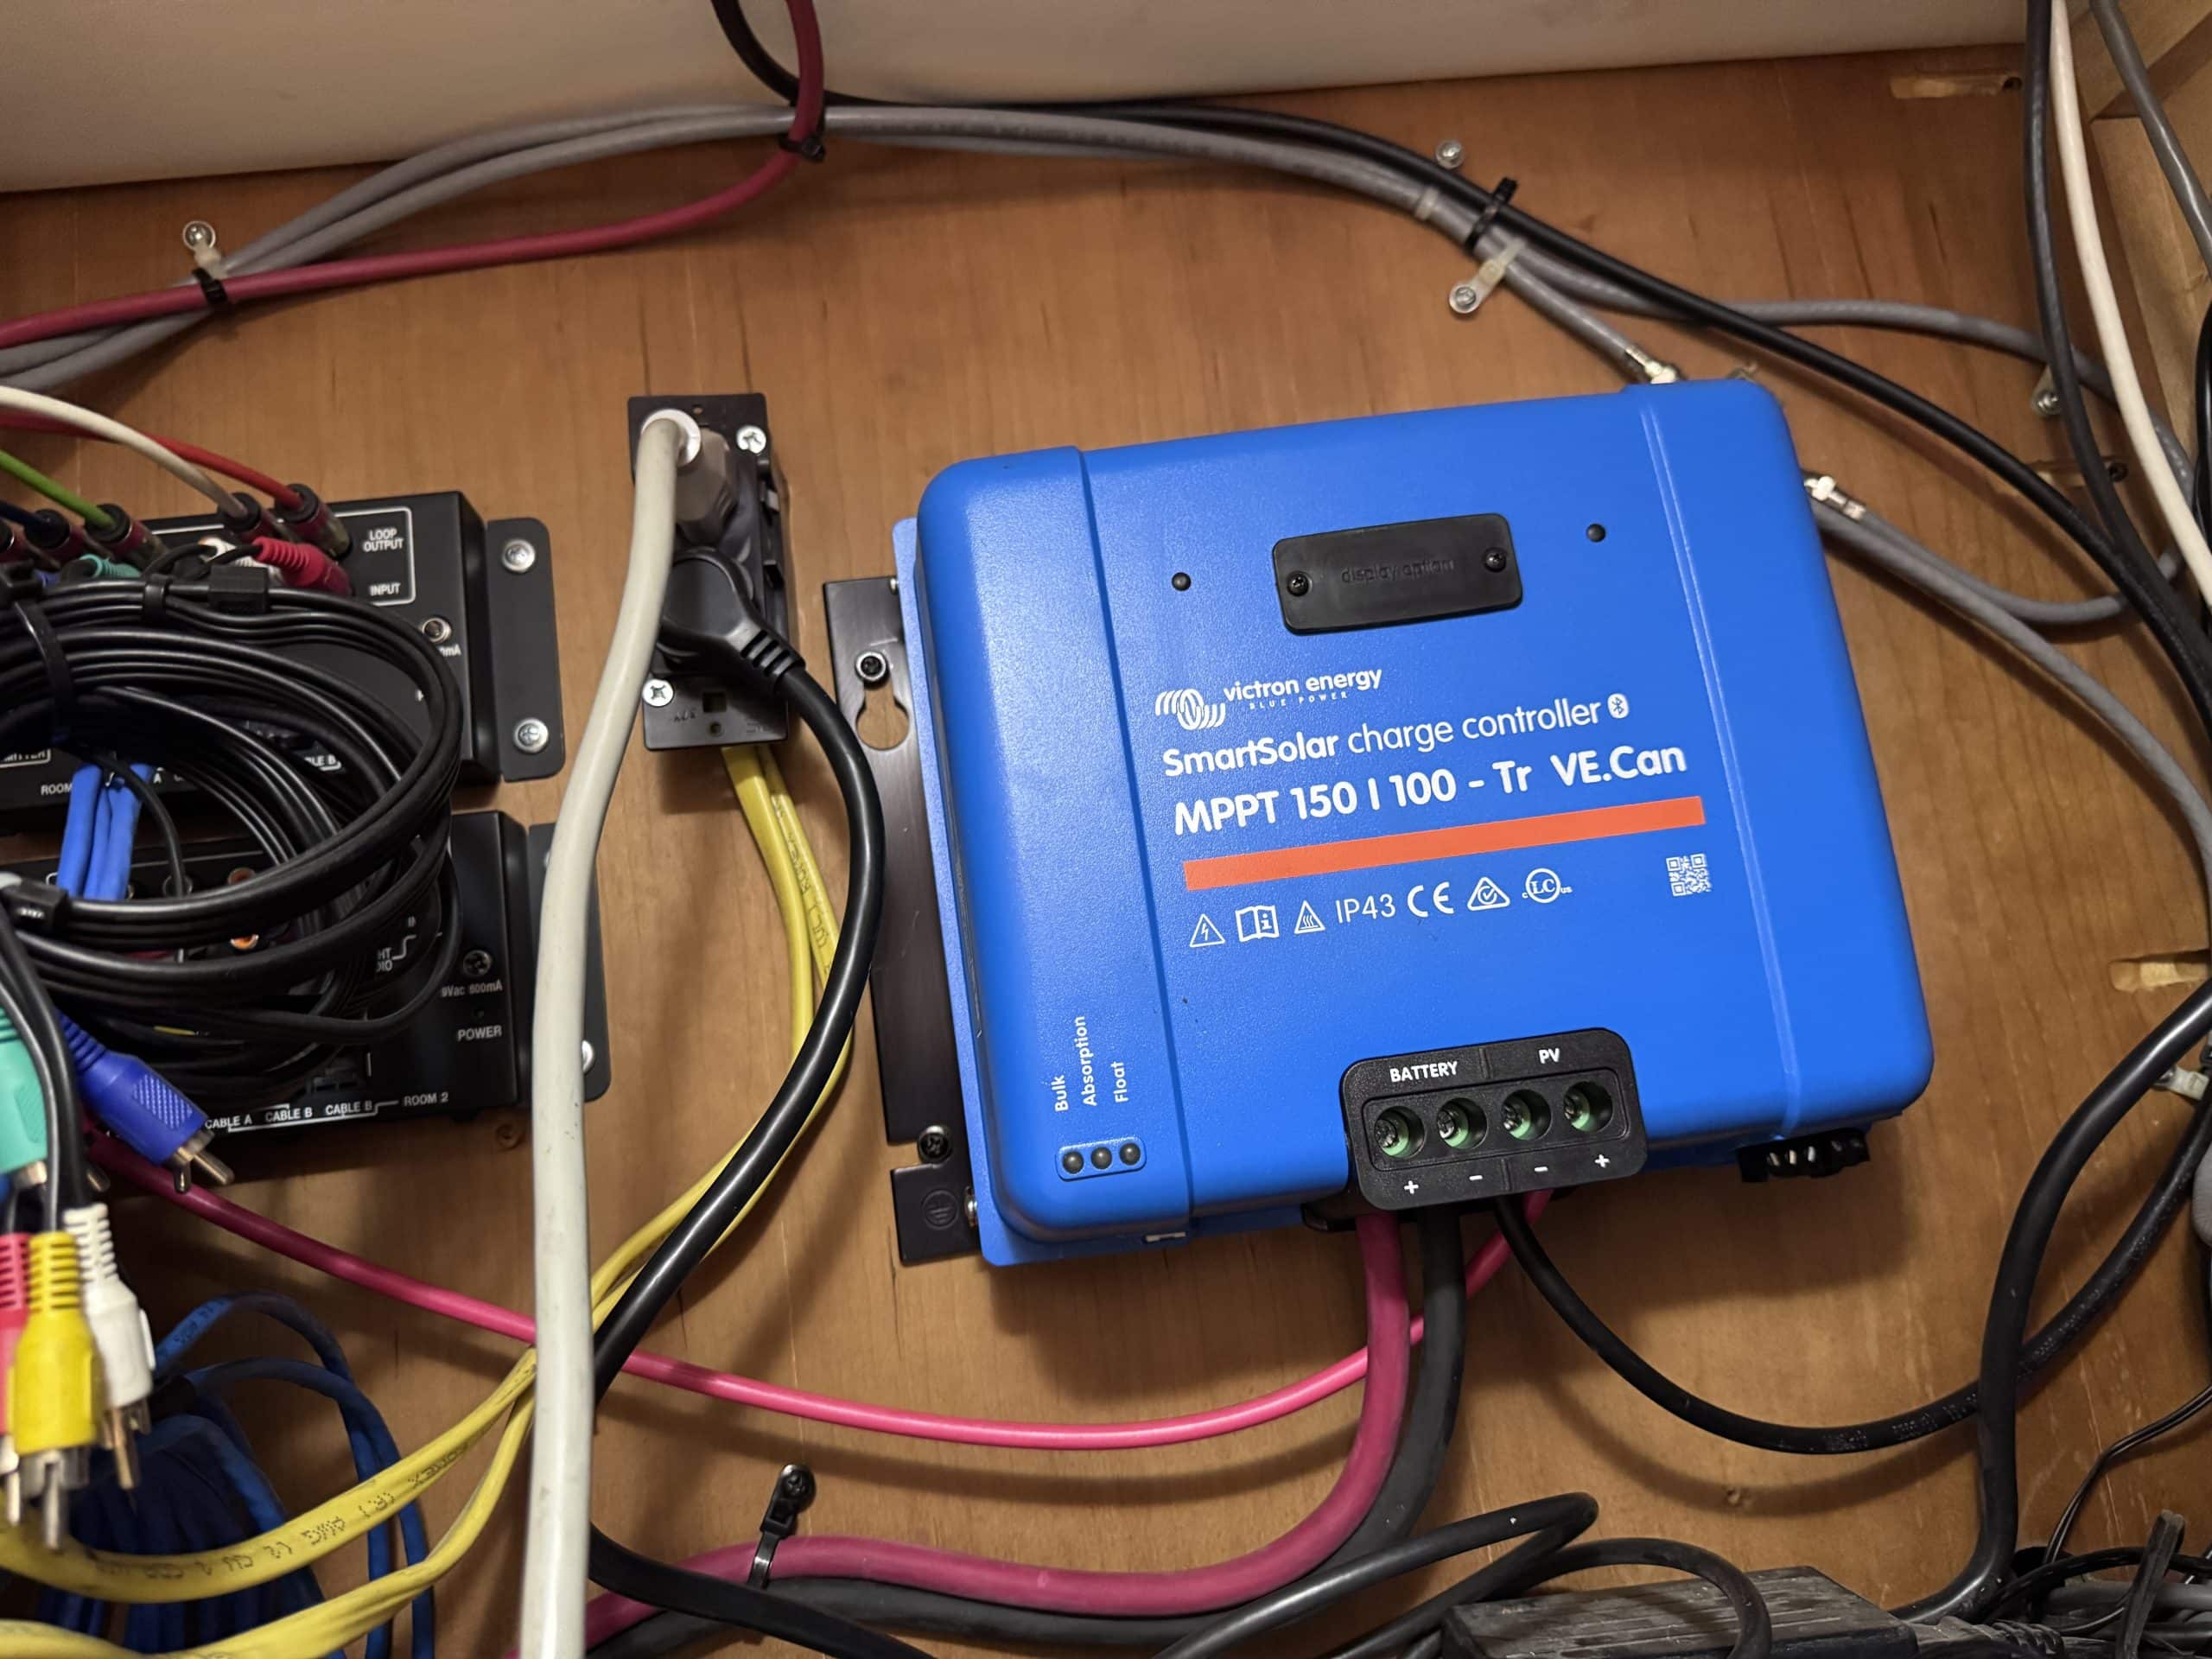
- Victron MPPT 150/100 Smart Solar charge controller with built in Bluetooth
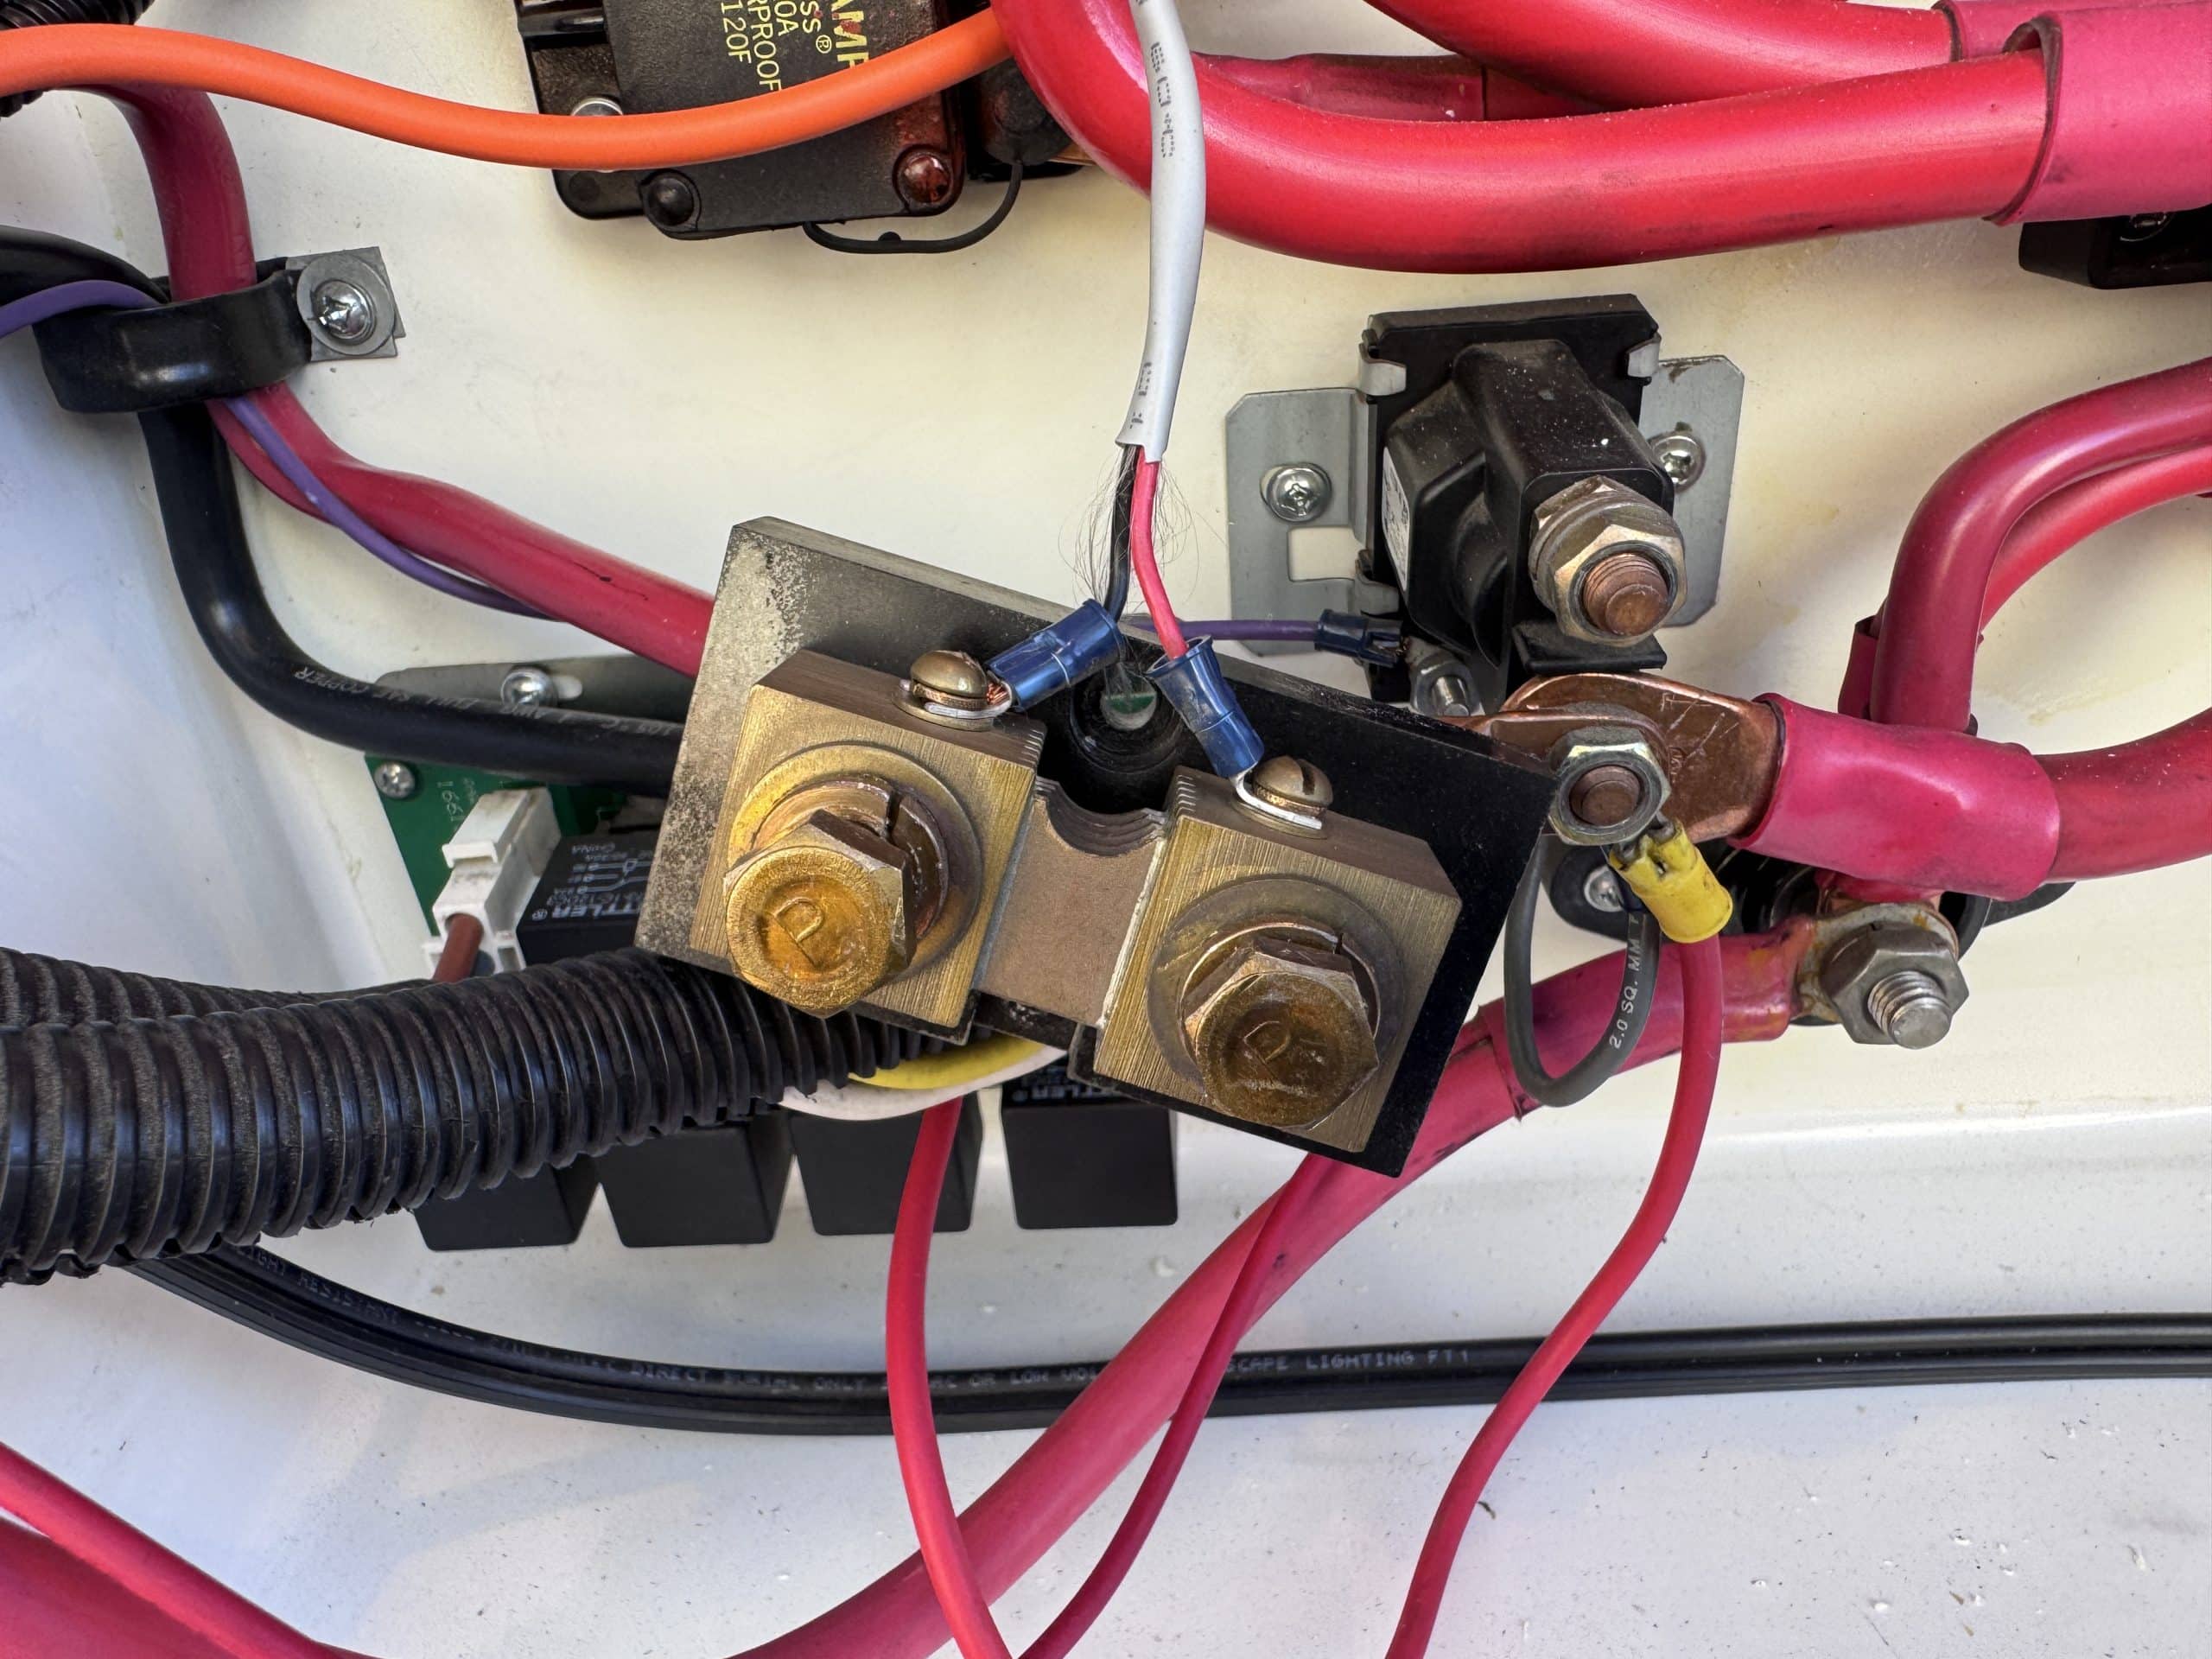
- Victron SmartShunt battery monitor with built in Bluetooth
- Victron GX Touch 70 Display
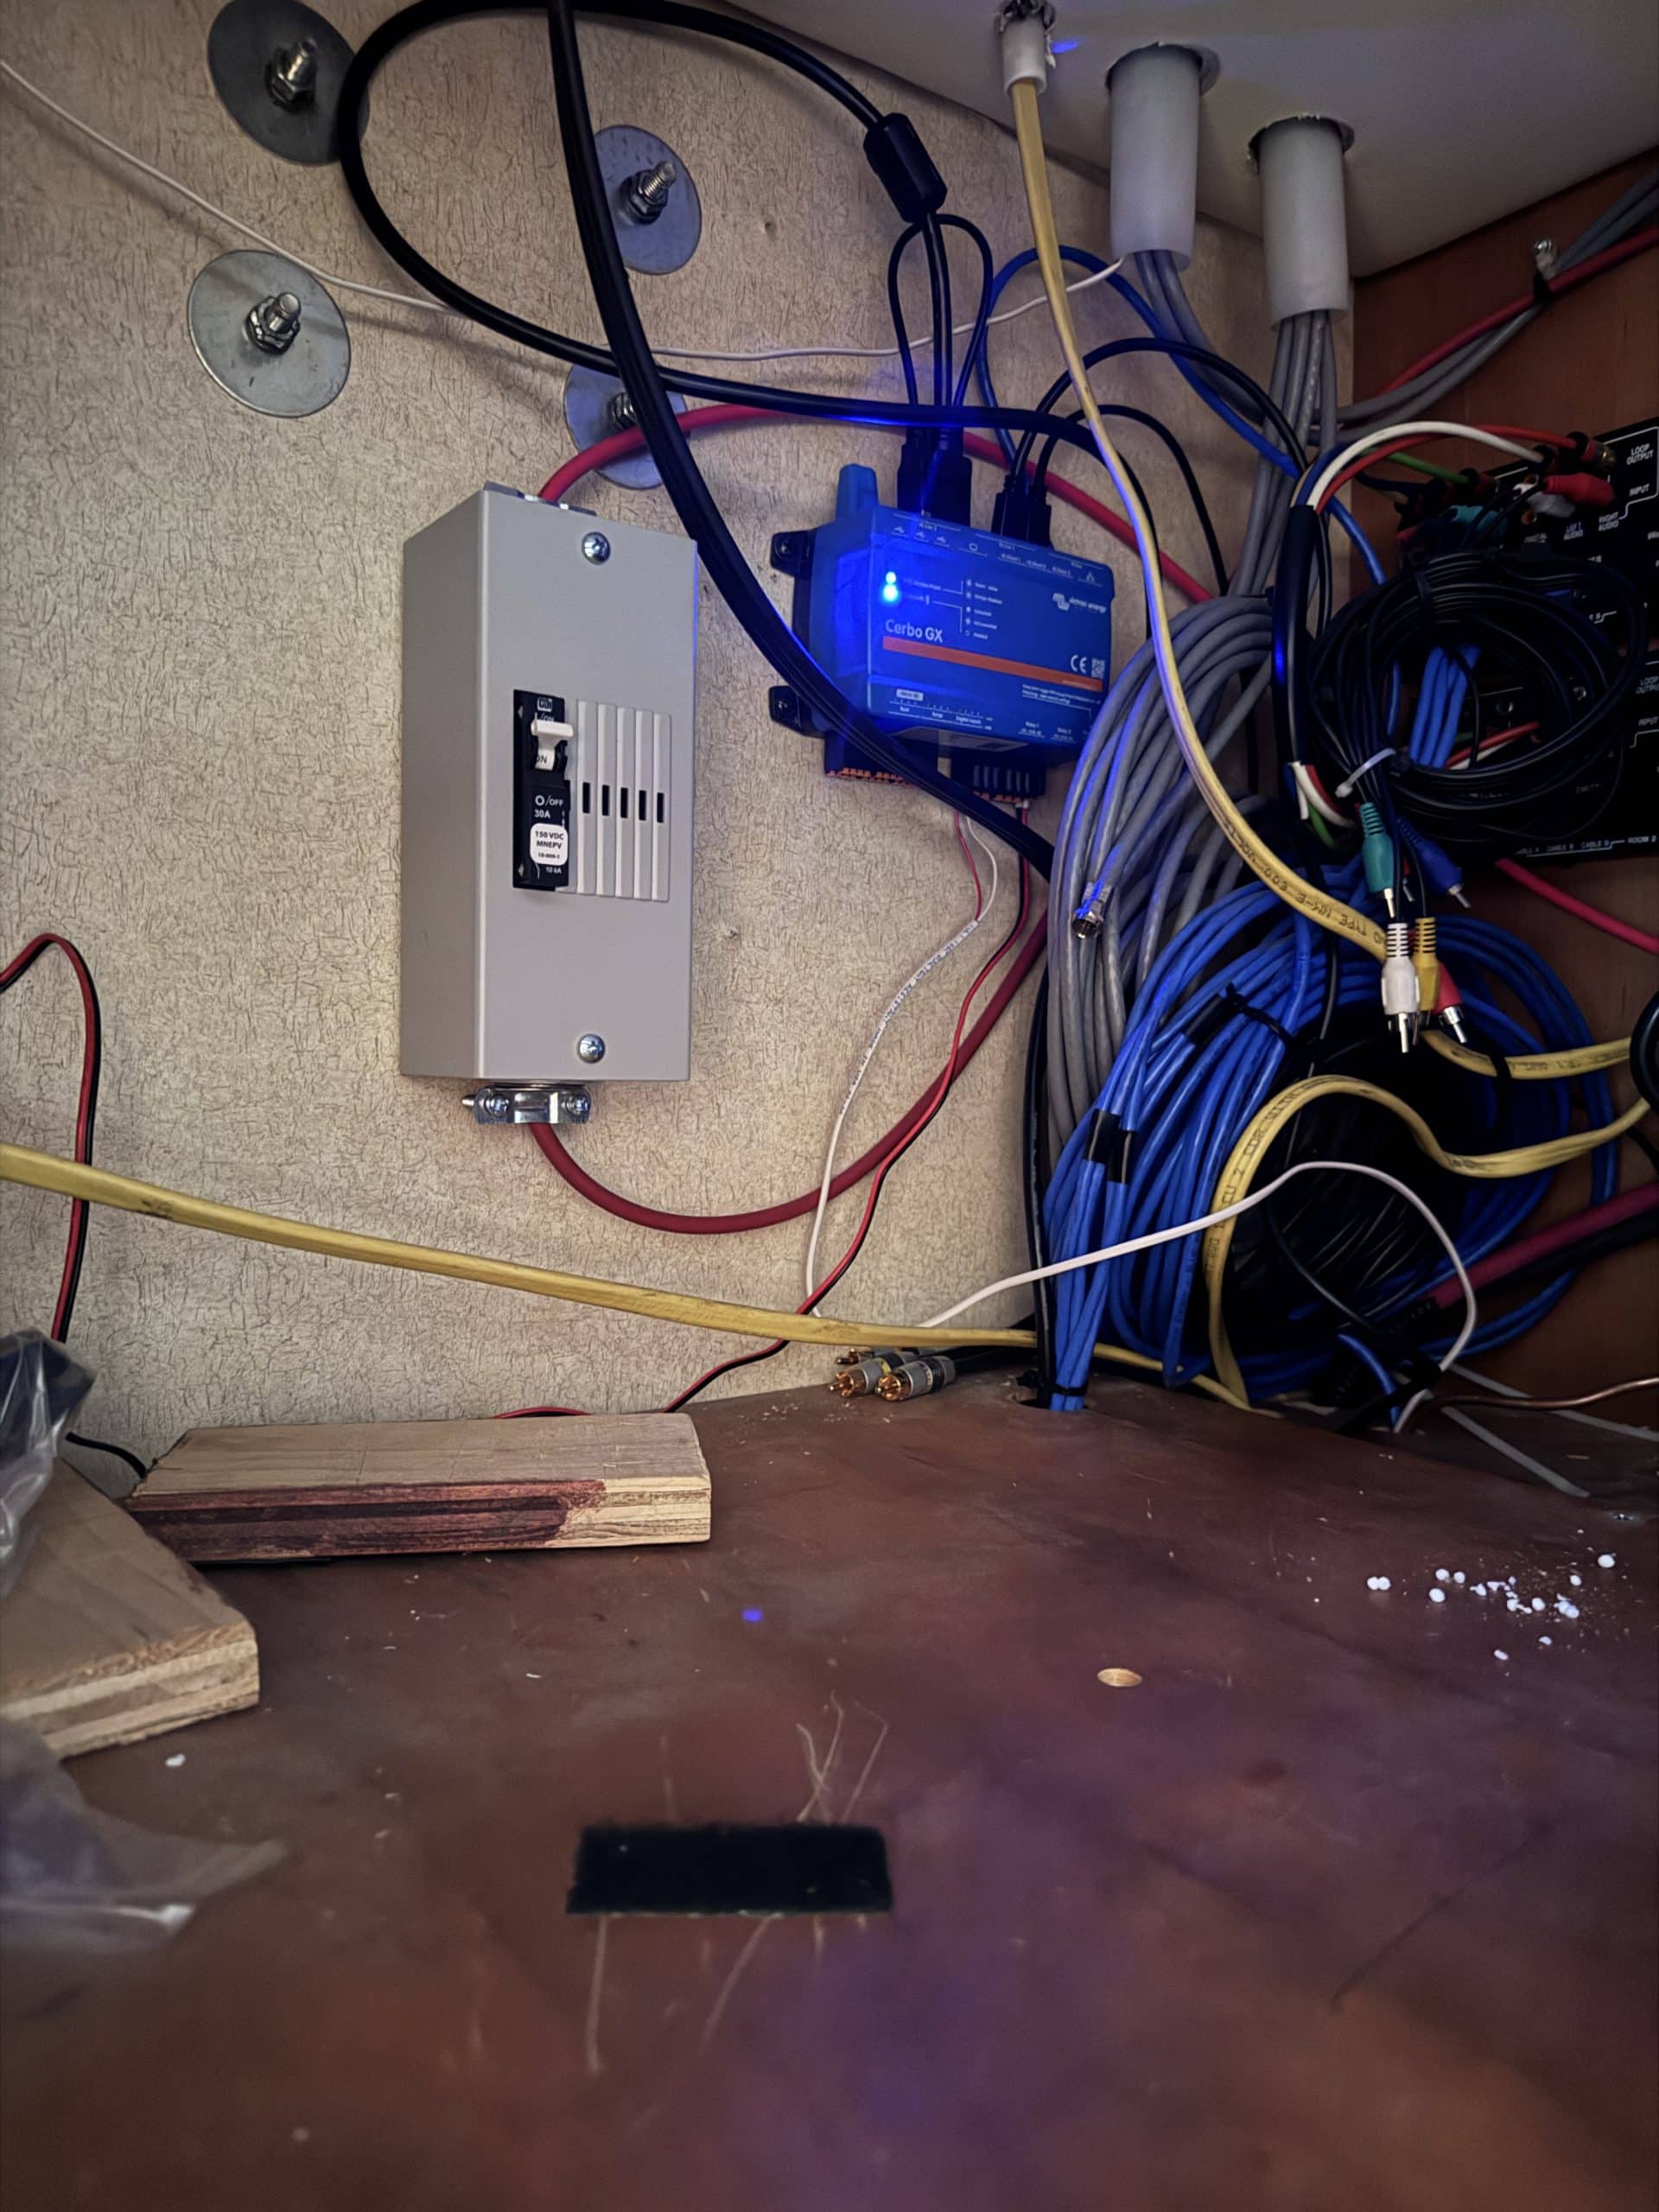
- Victron Cerbo GX MKII
- Victron Mega Fuse Holder with 125 A Mega Fuse
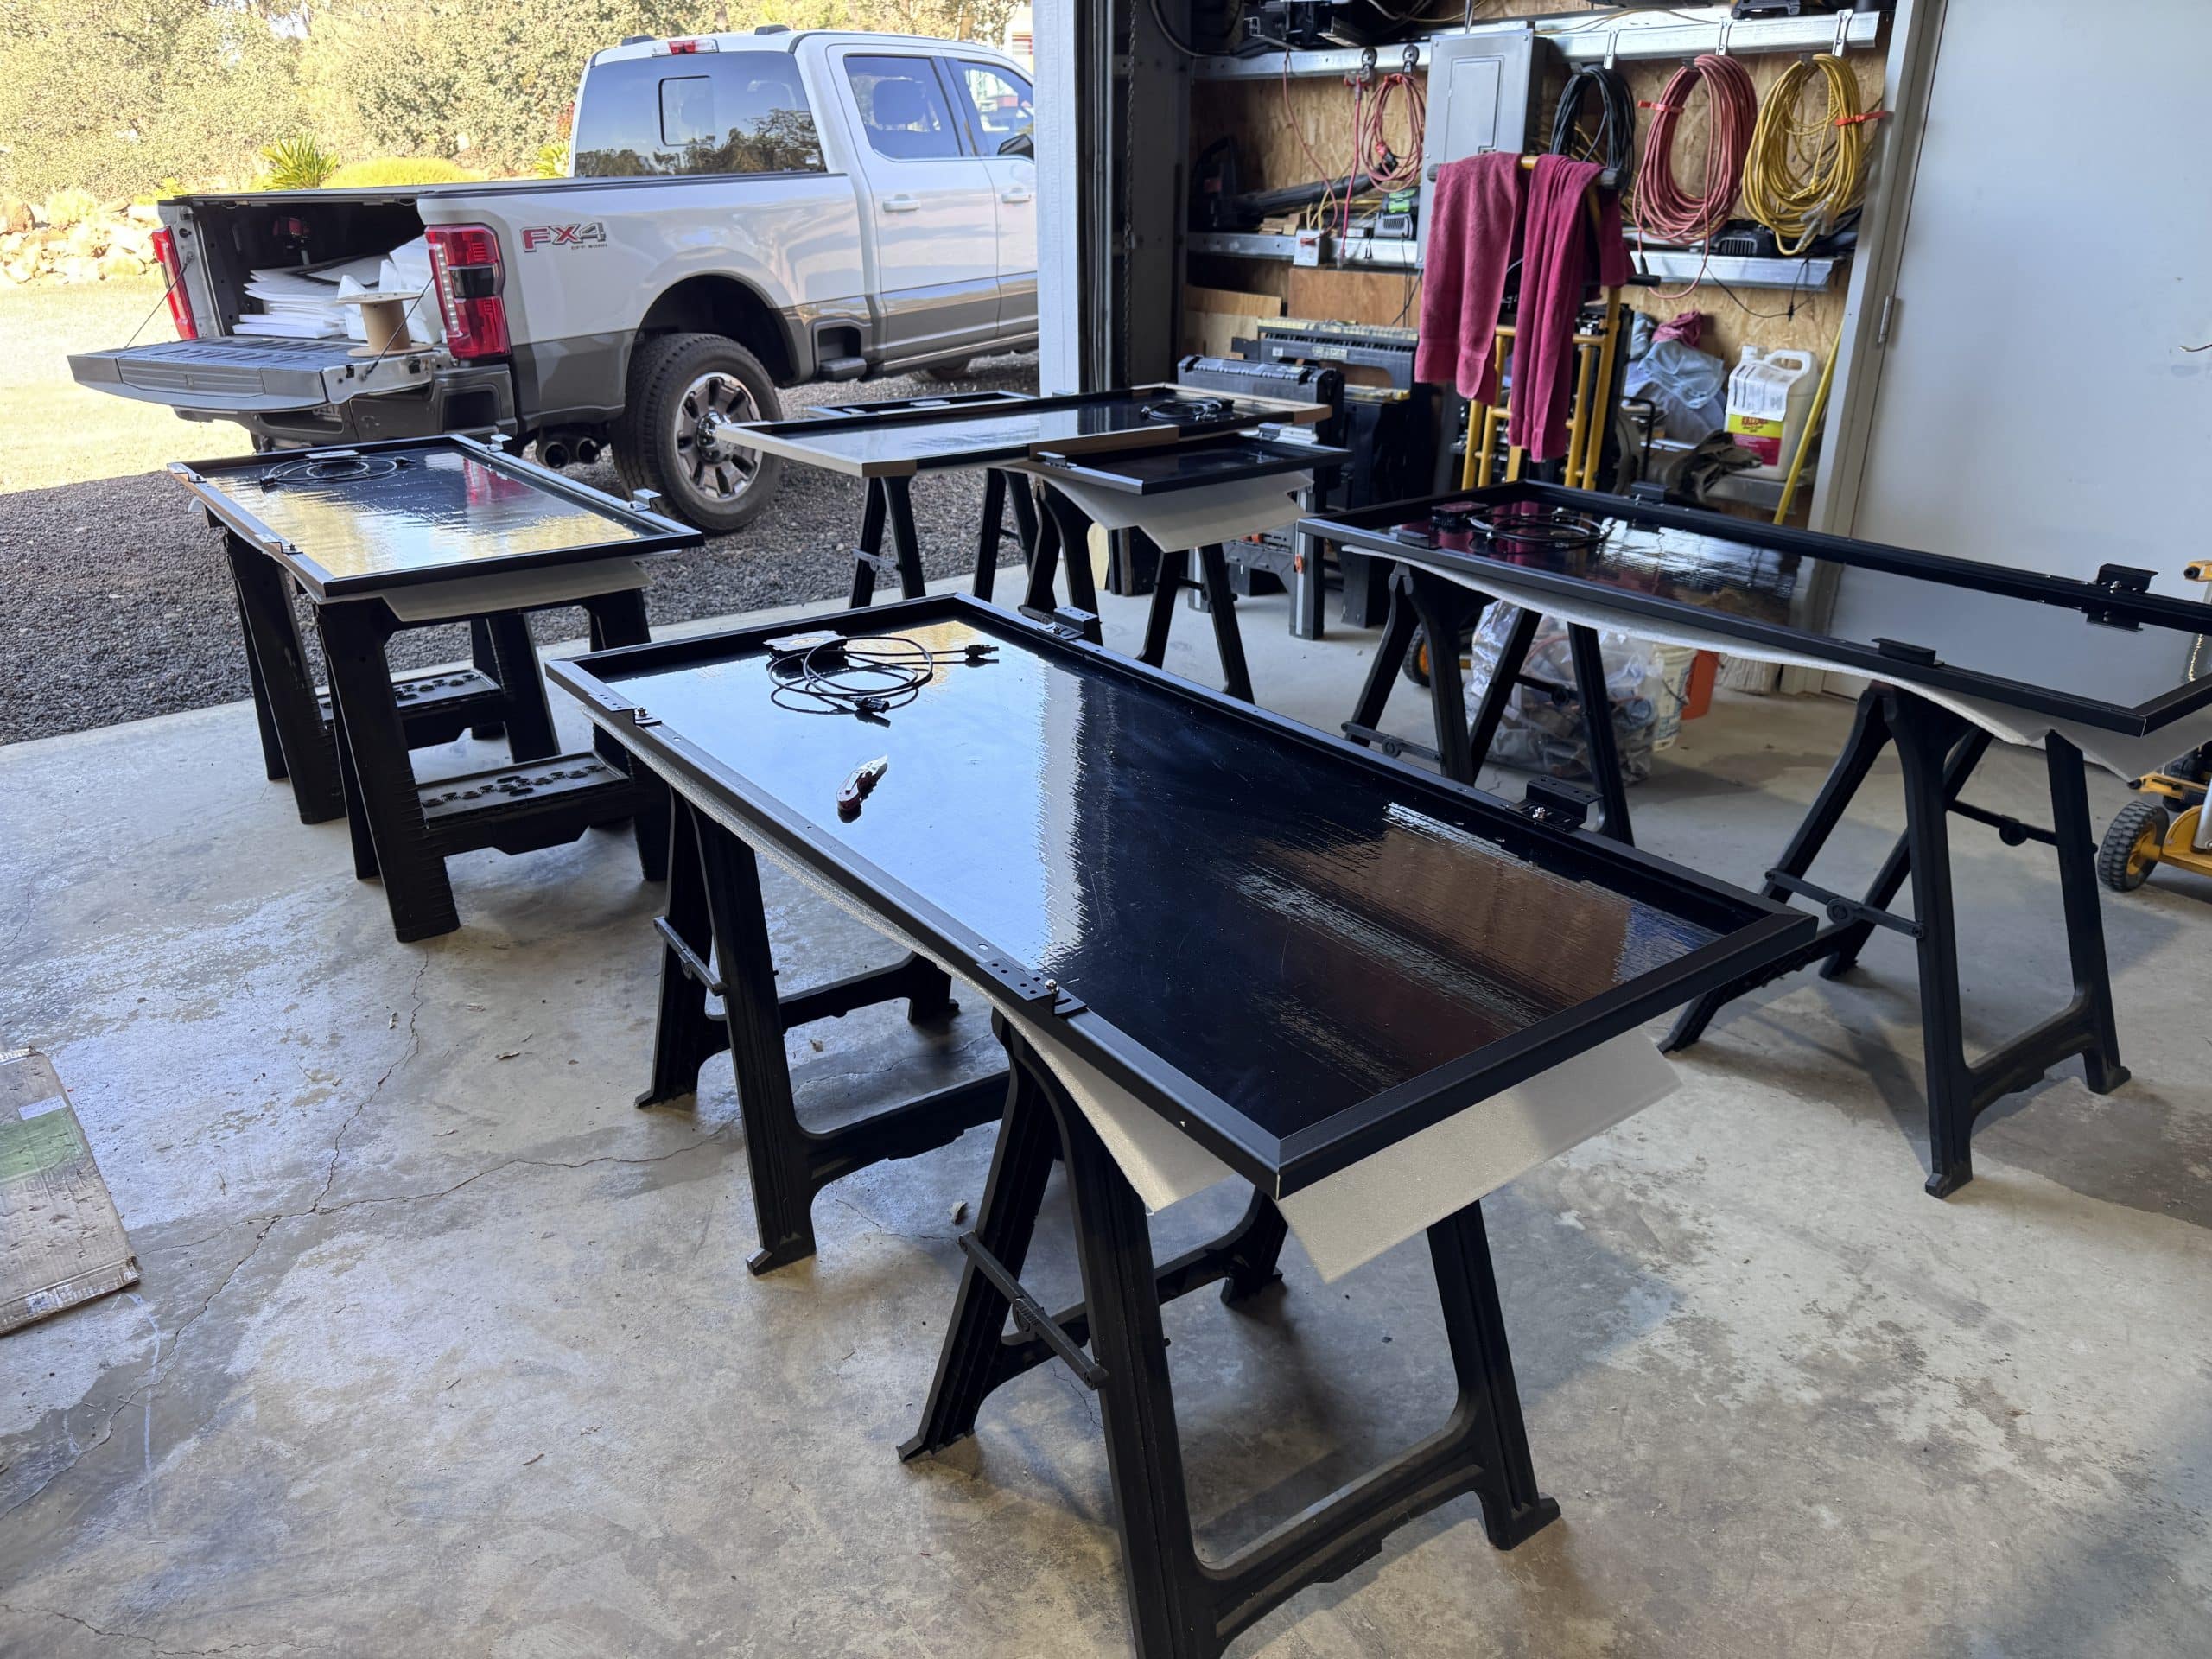
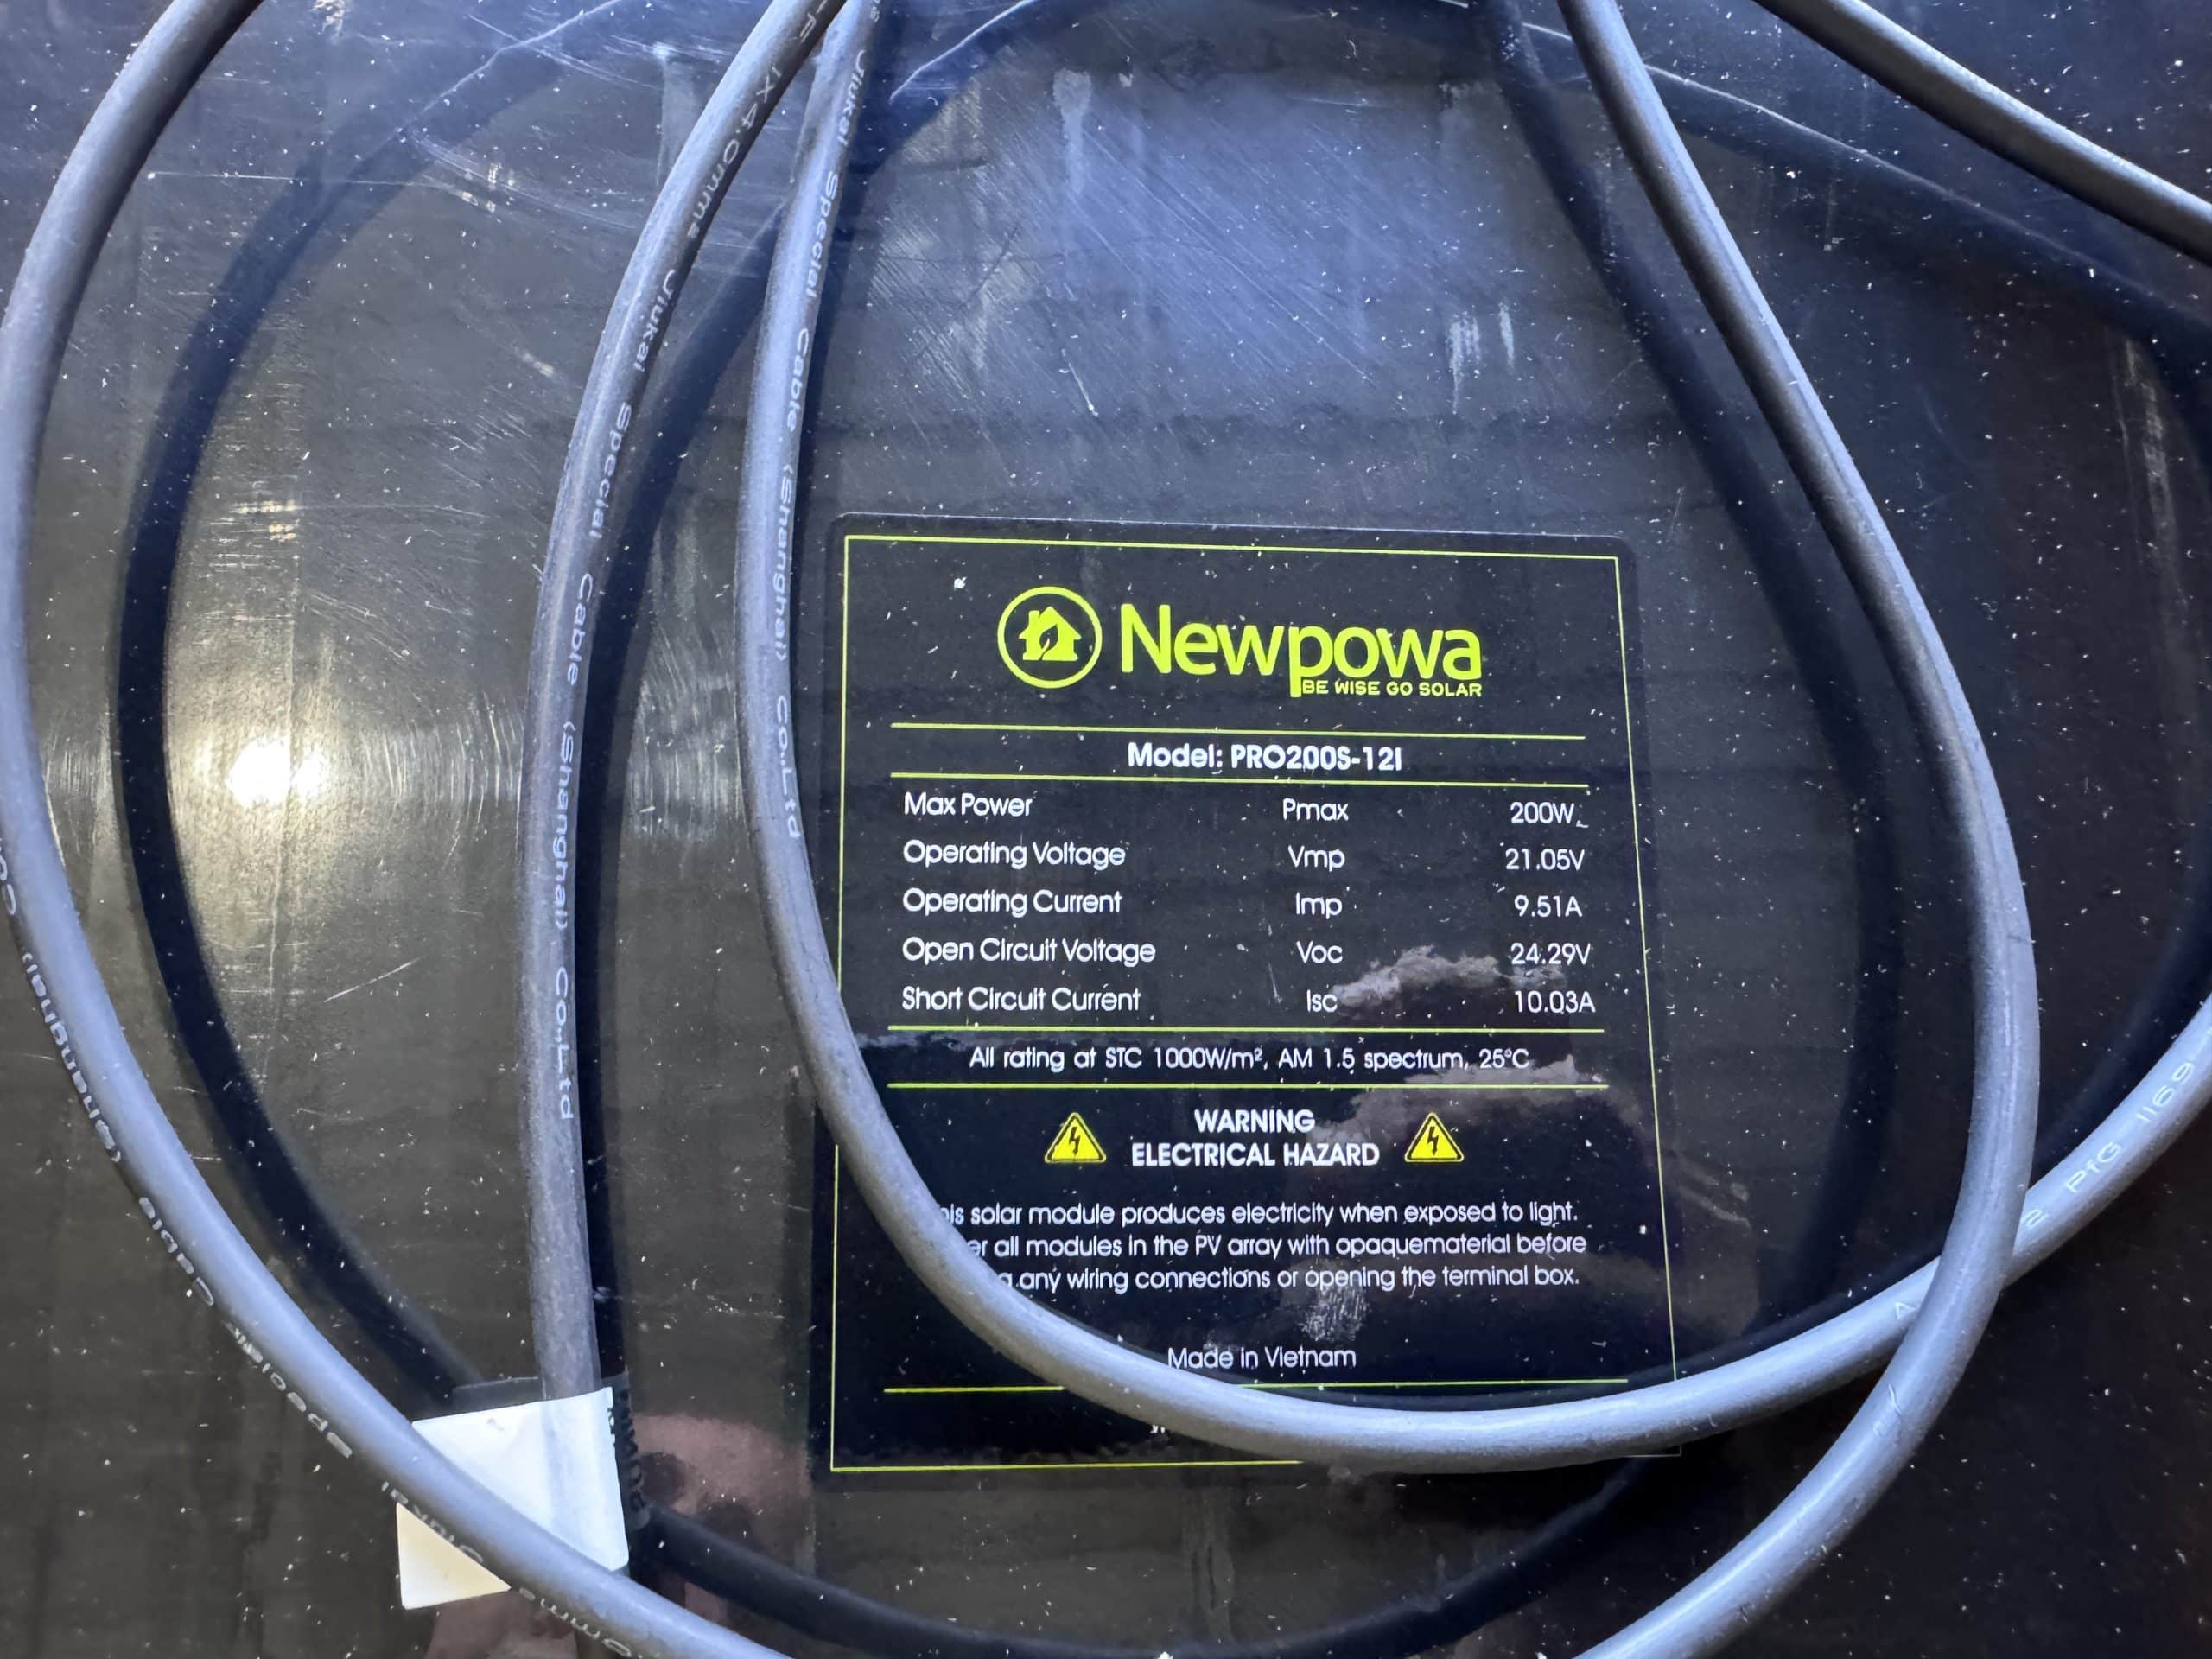
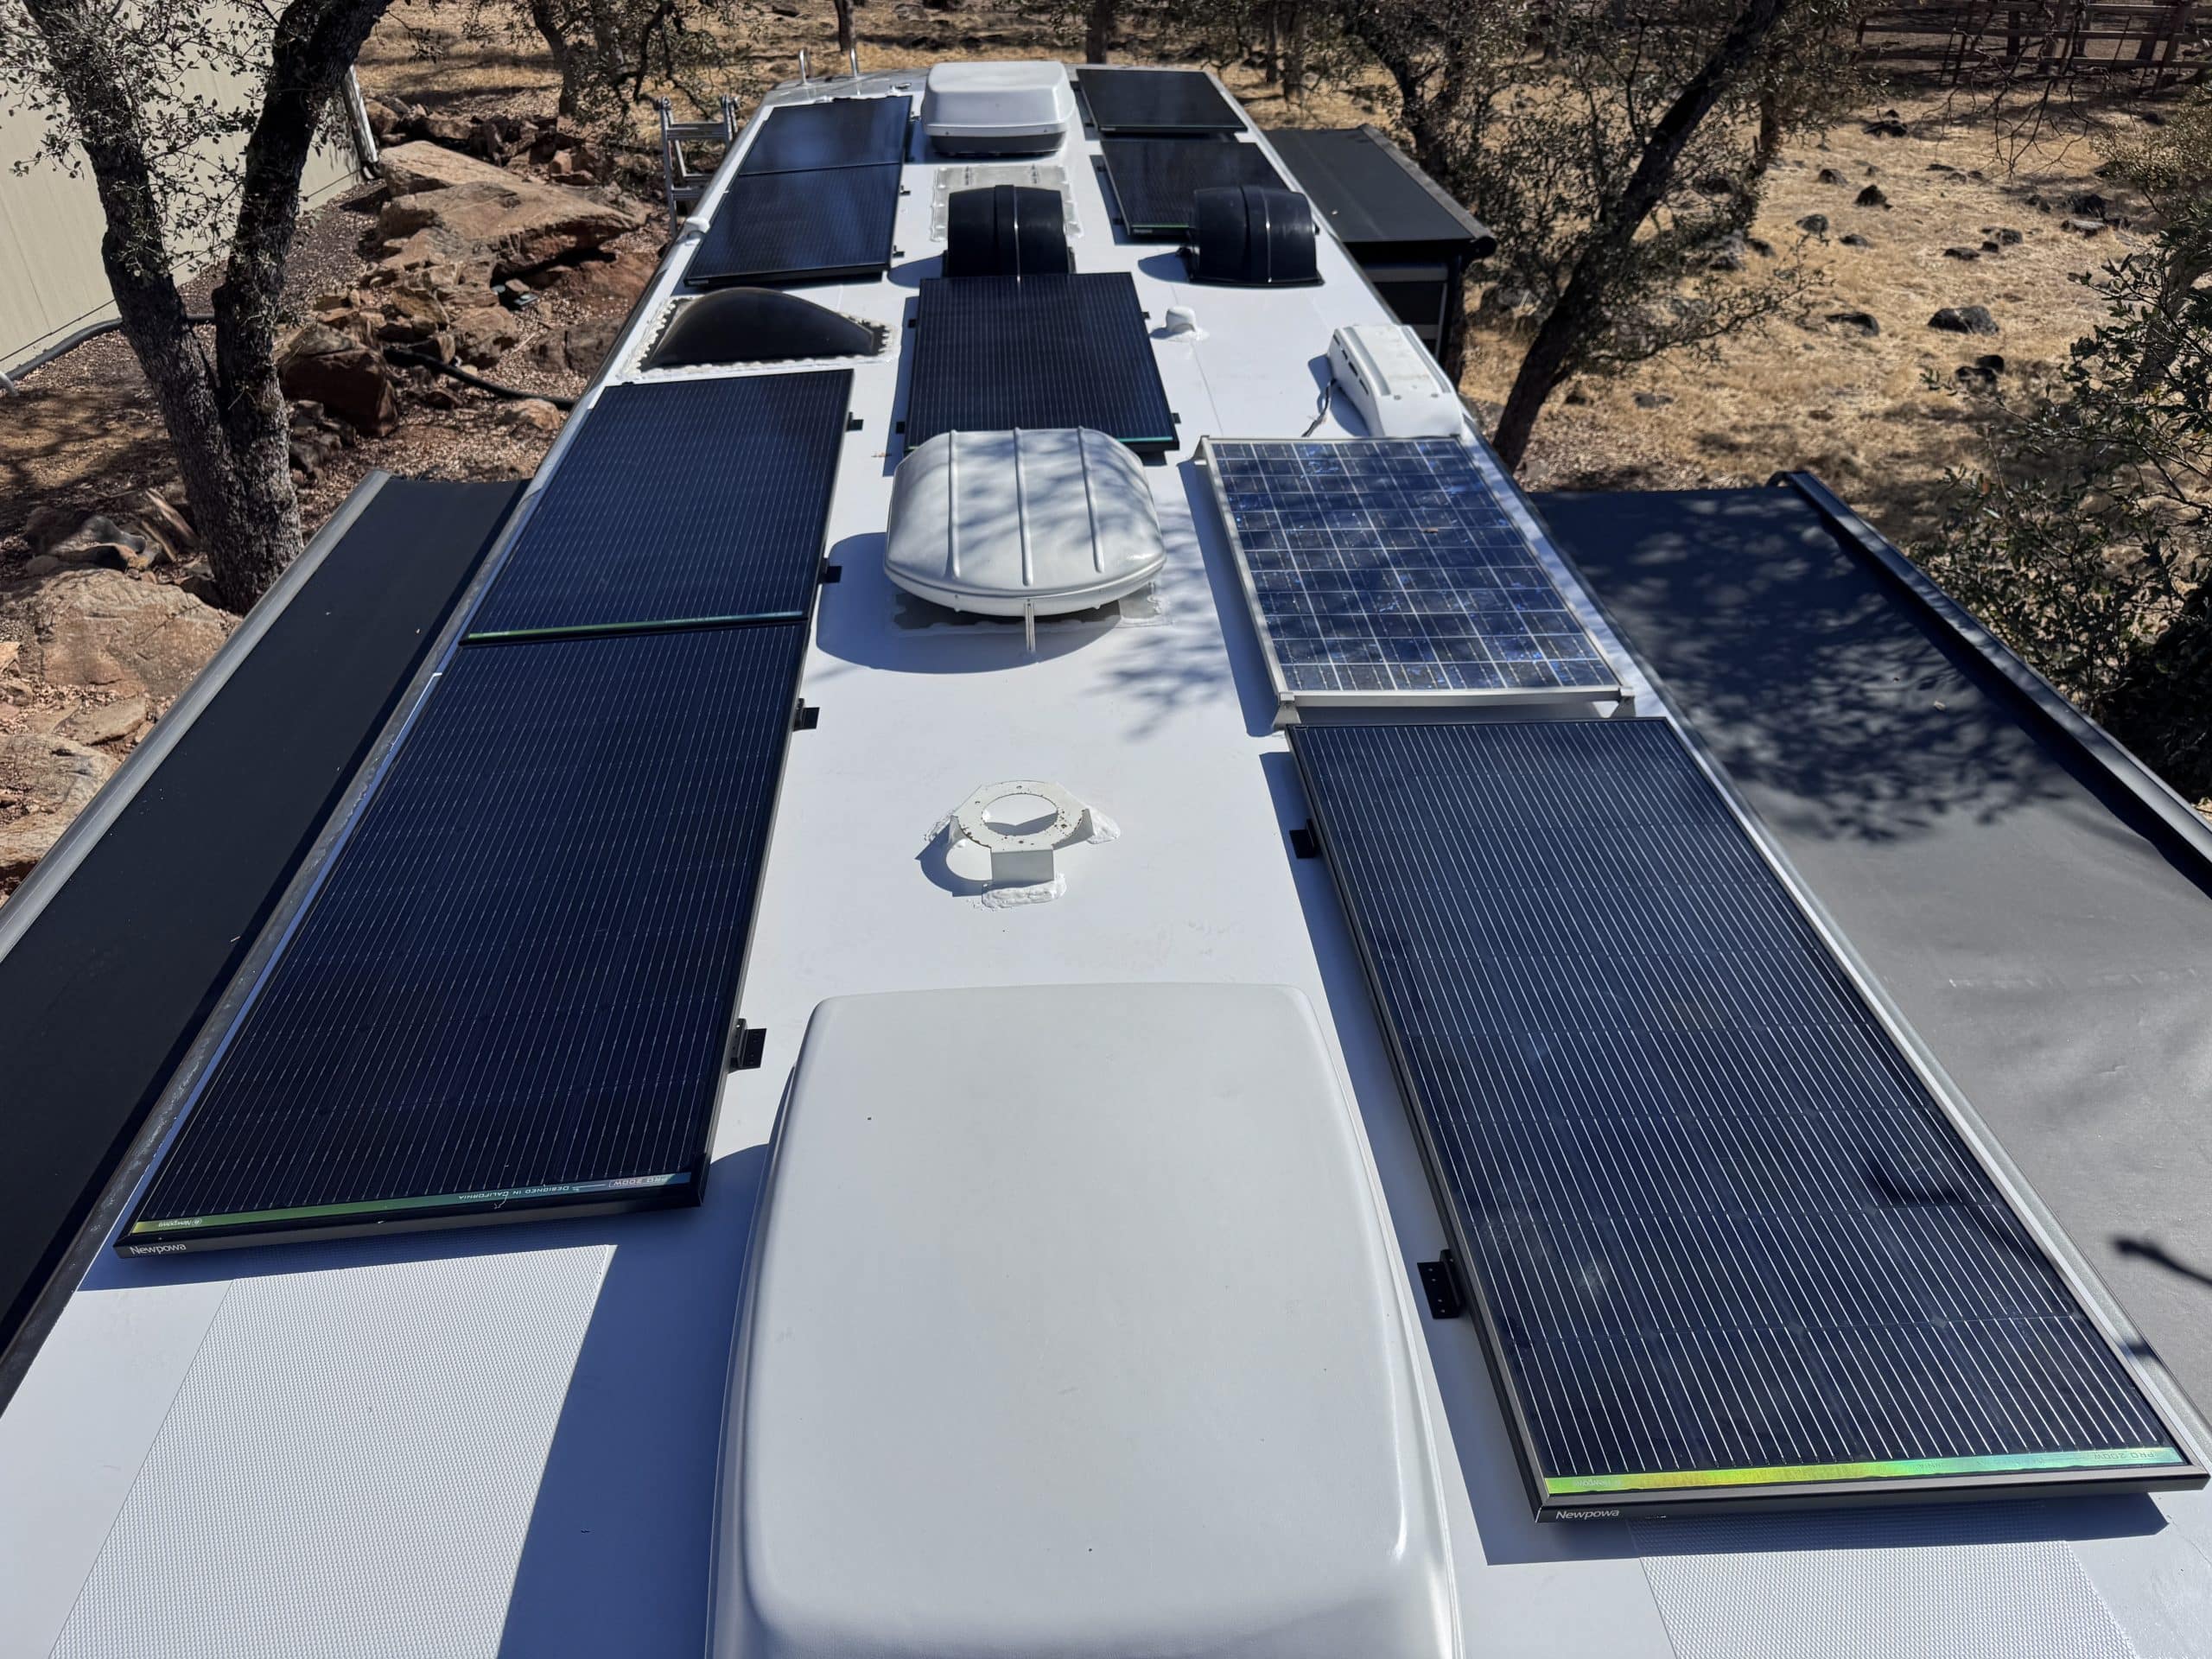
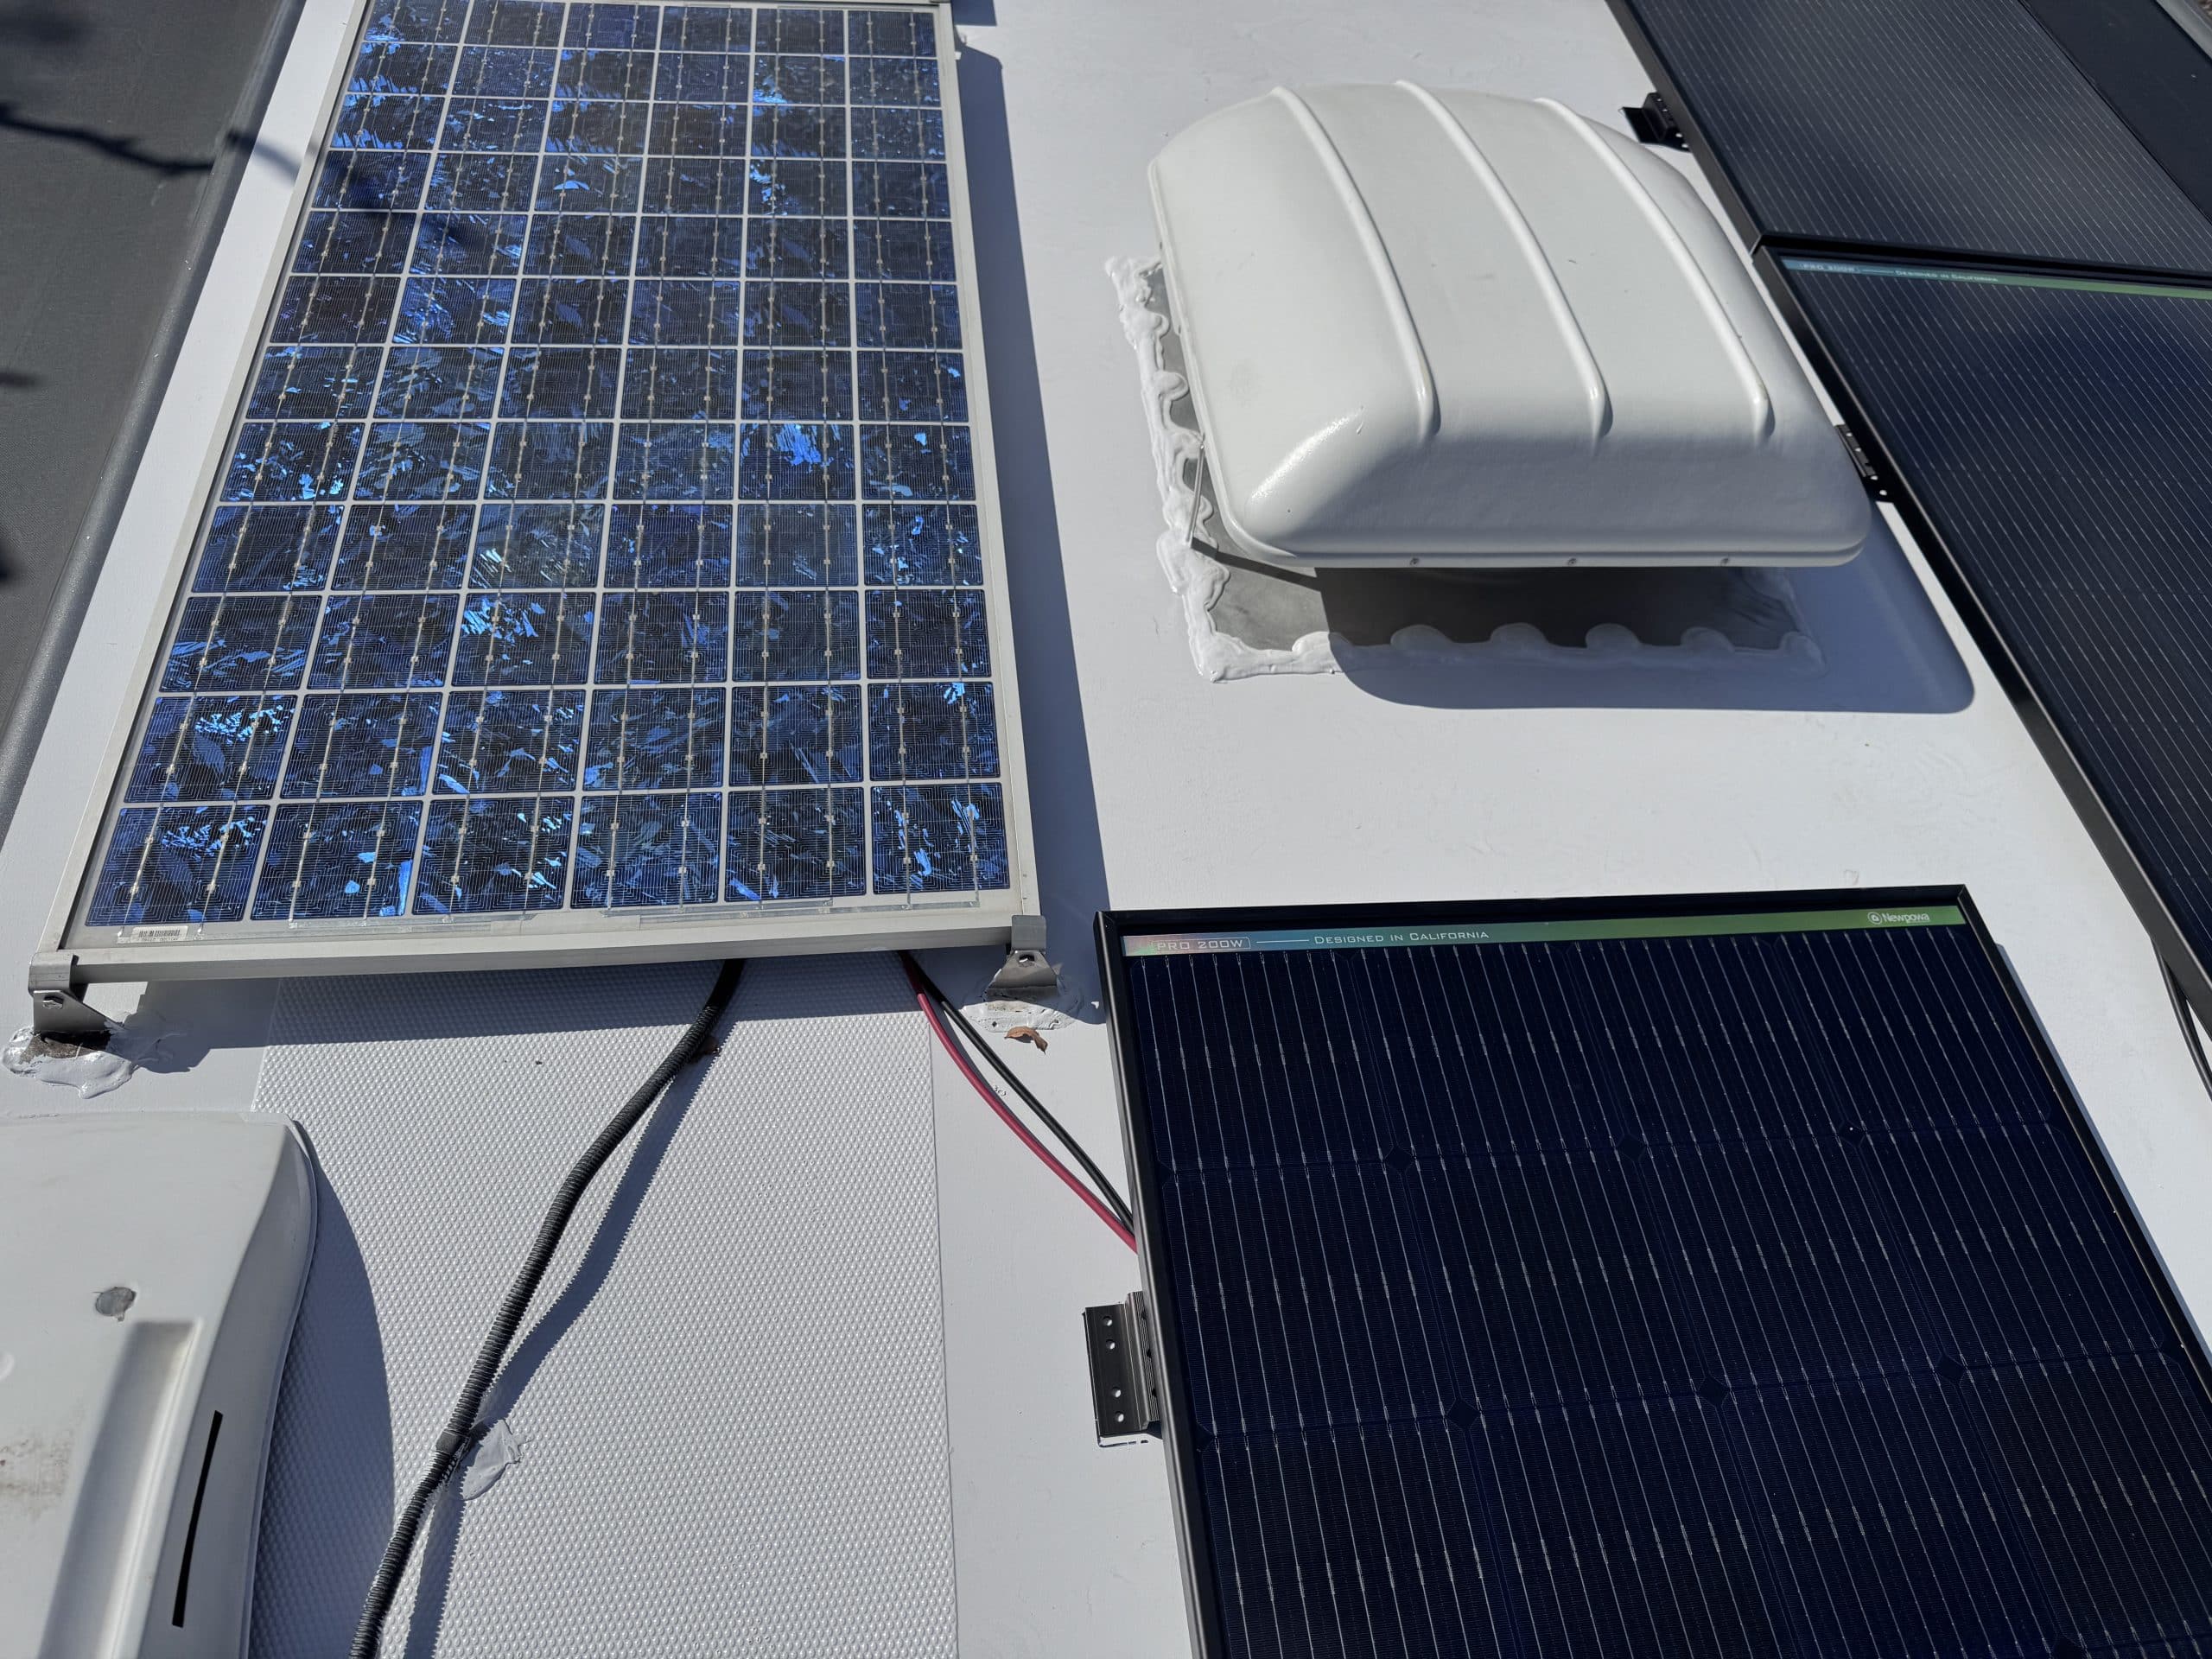
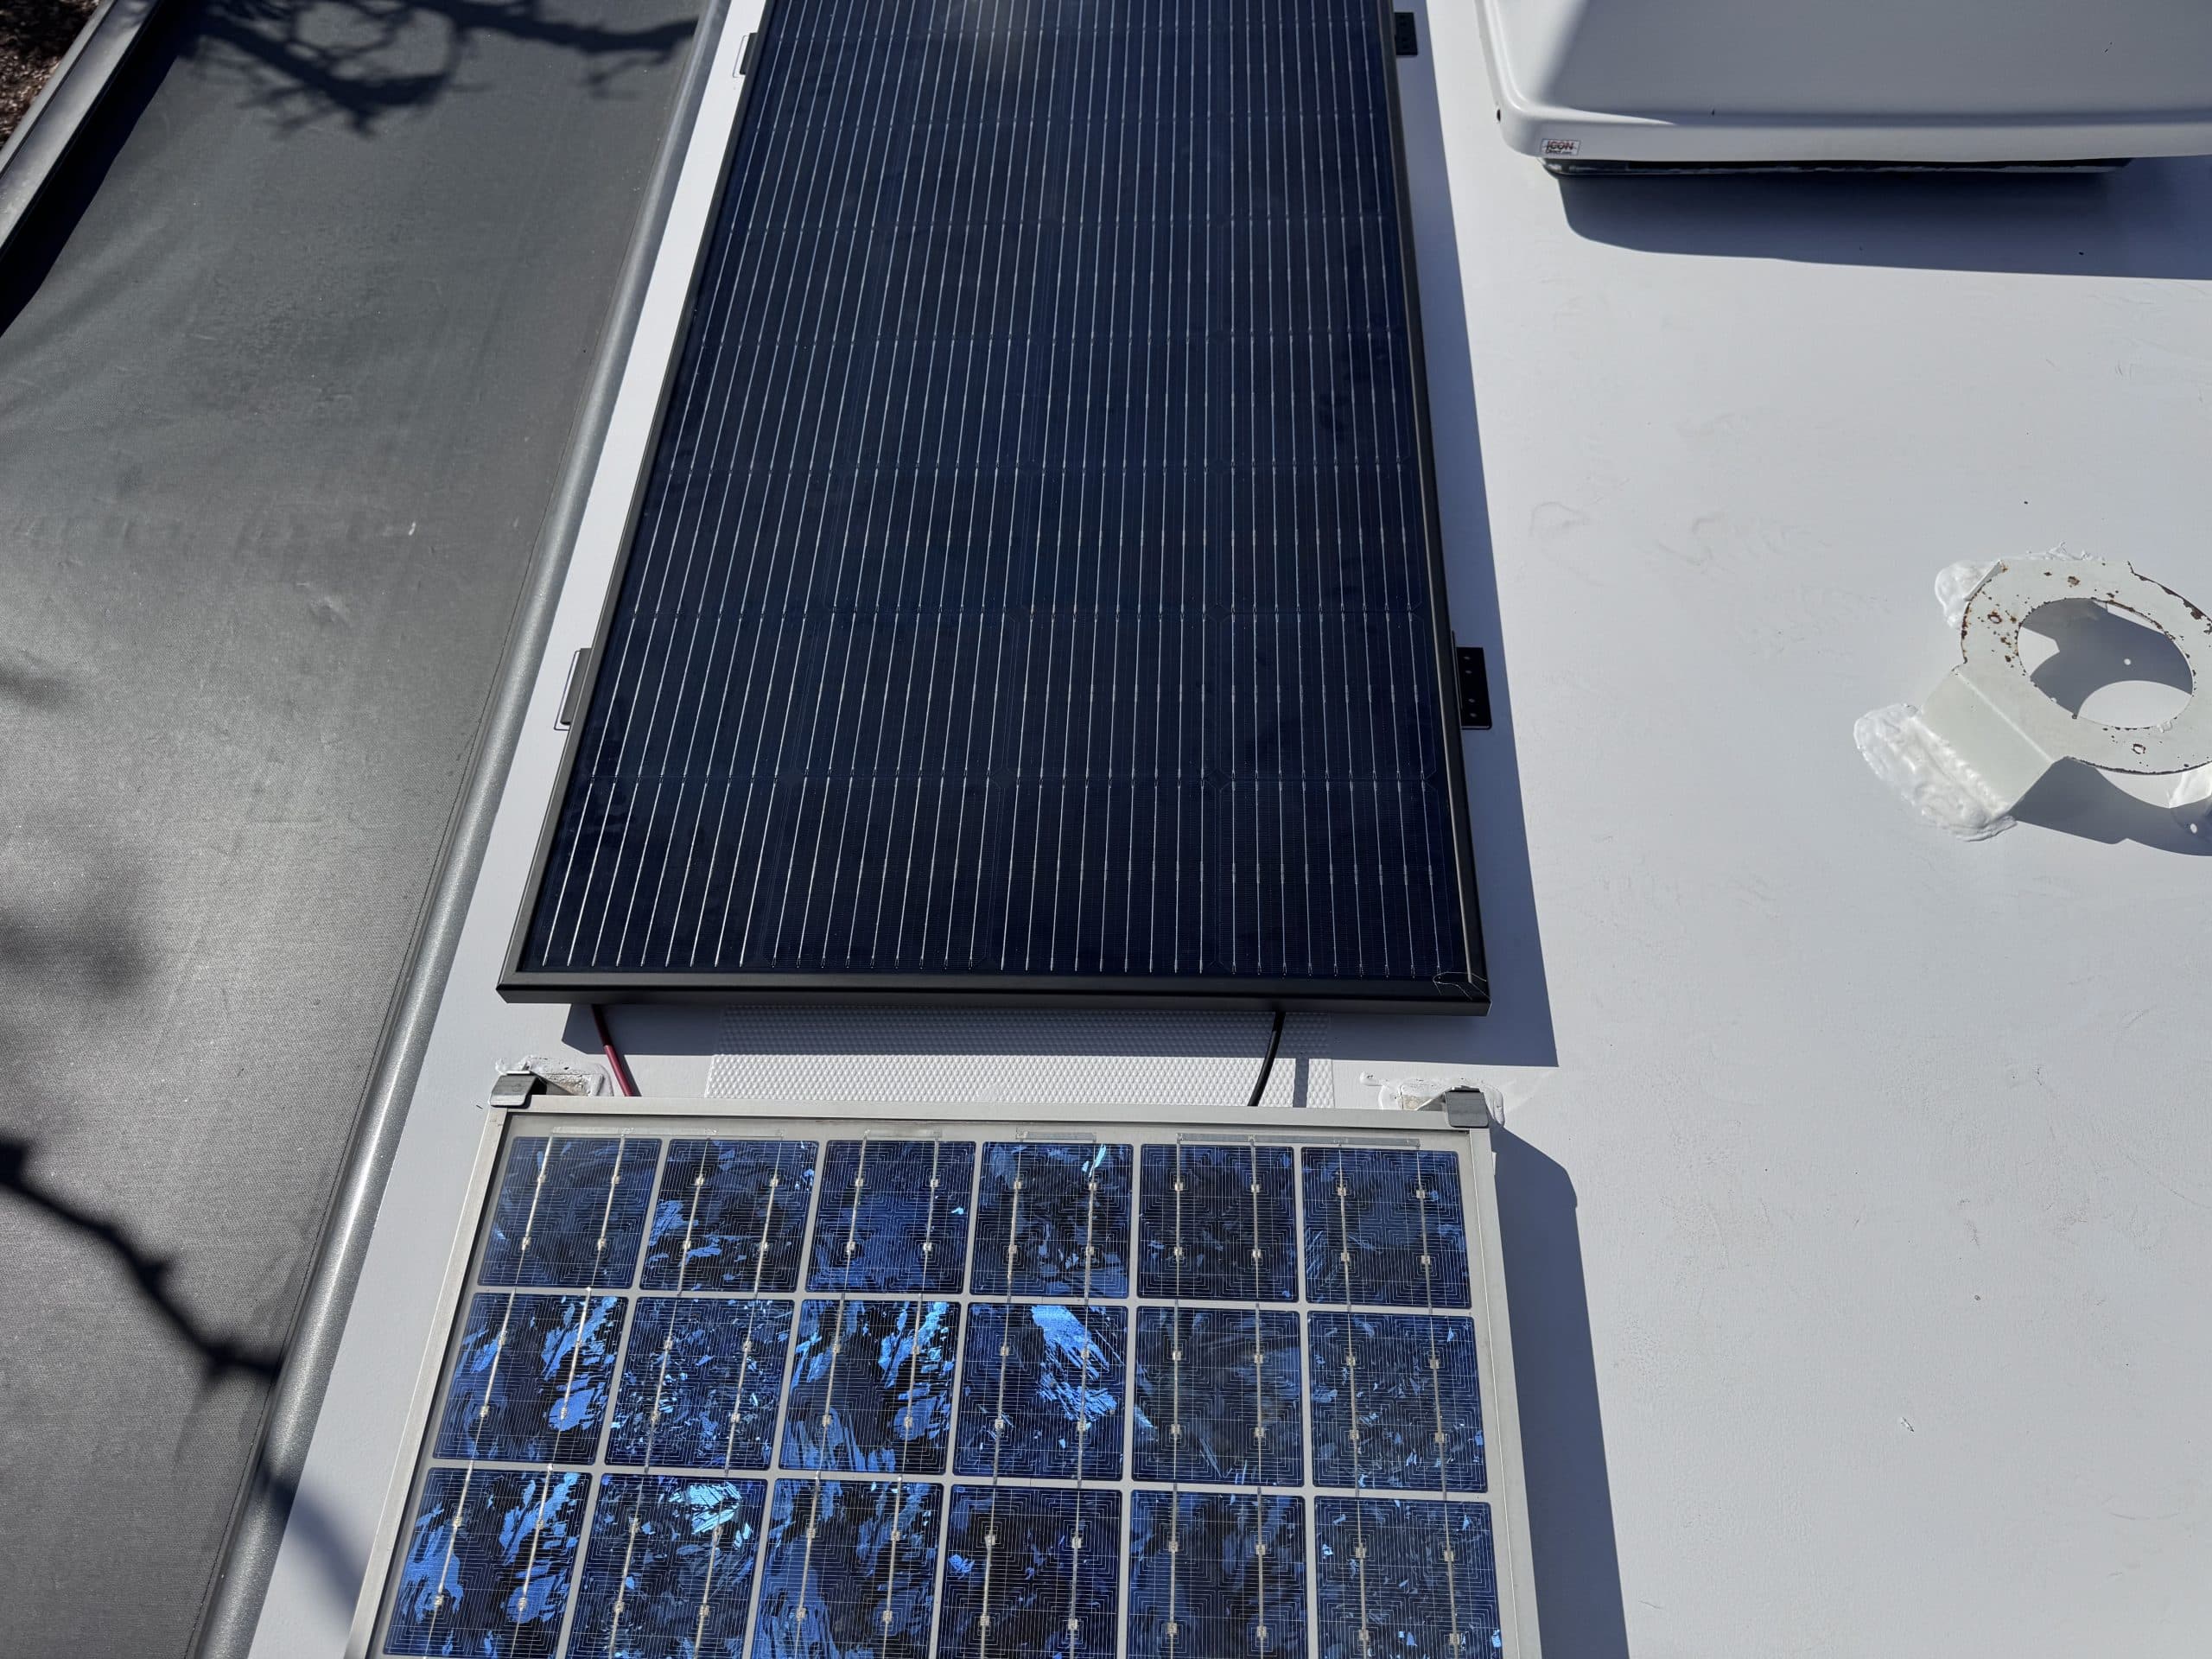
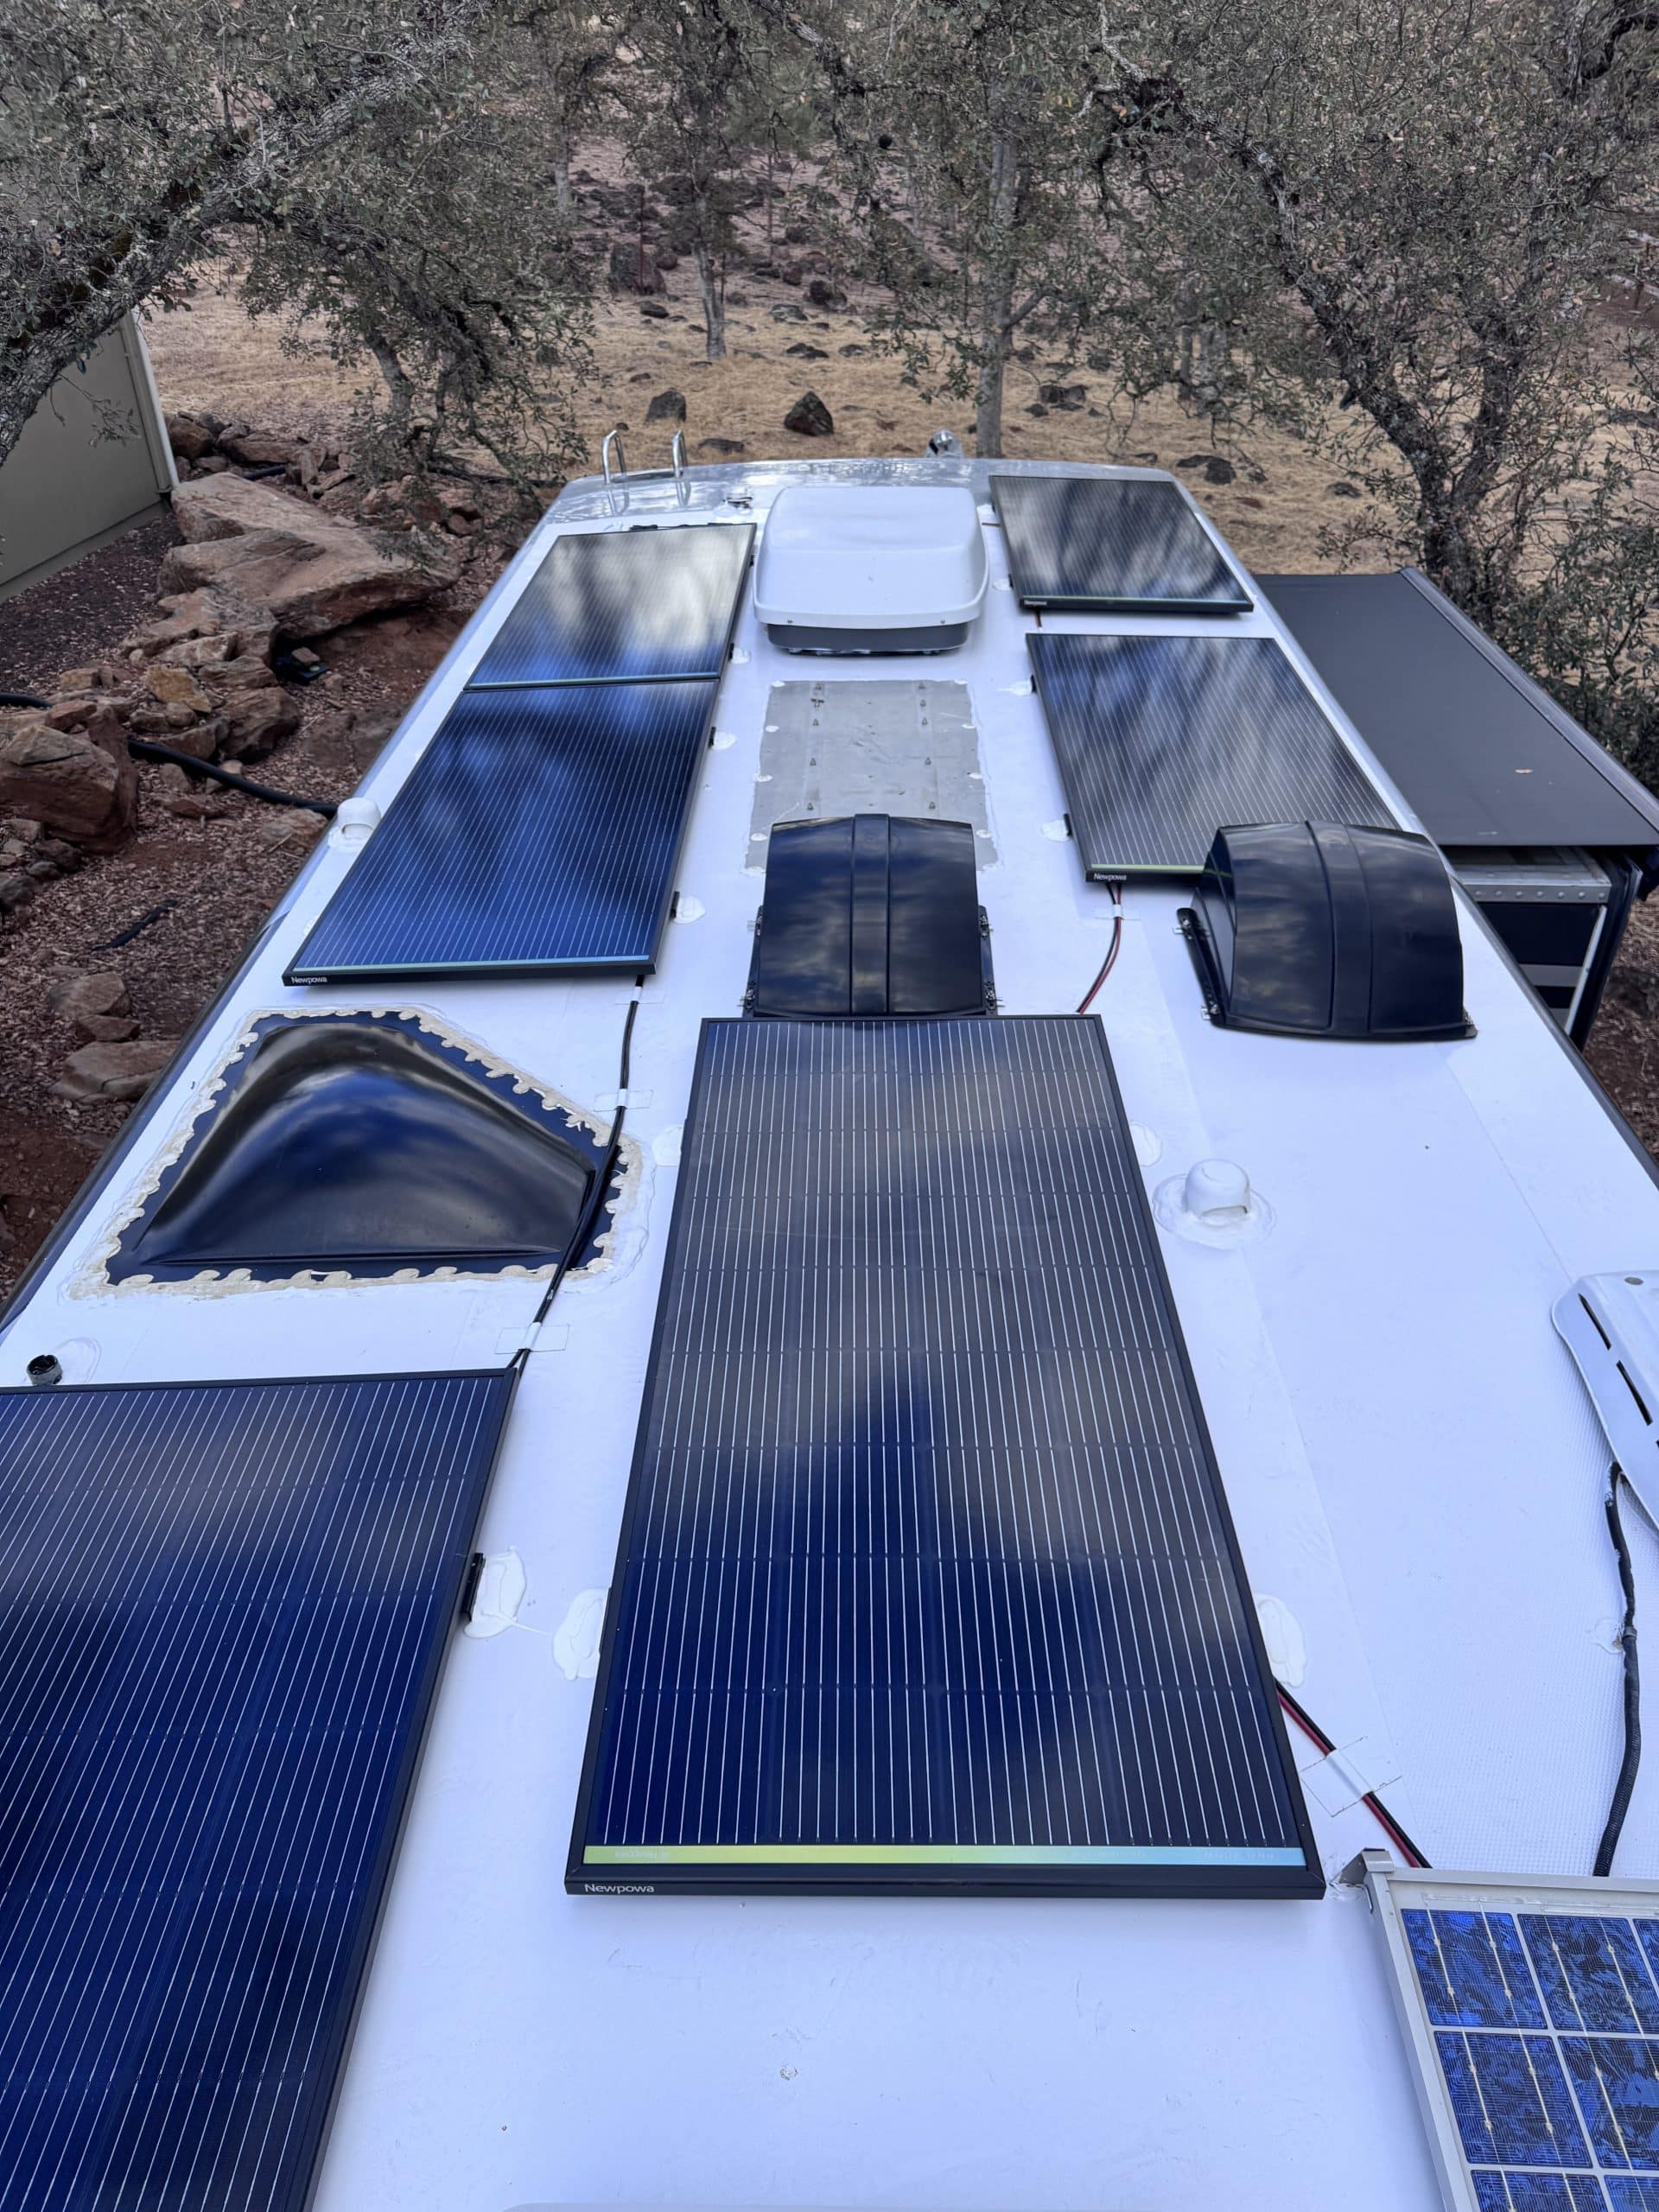
- 8 - Newpowa Pro 200 Watt Solar Panels
- 32 - Newpowa Pro Z Brackets with Stainless Steele Hardware
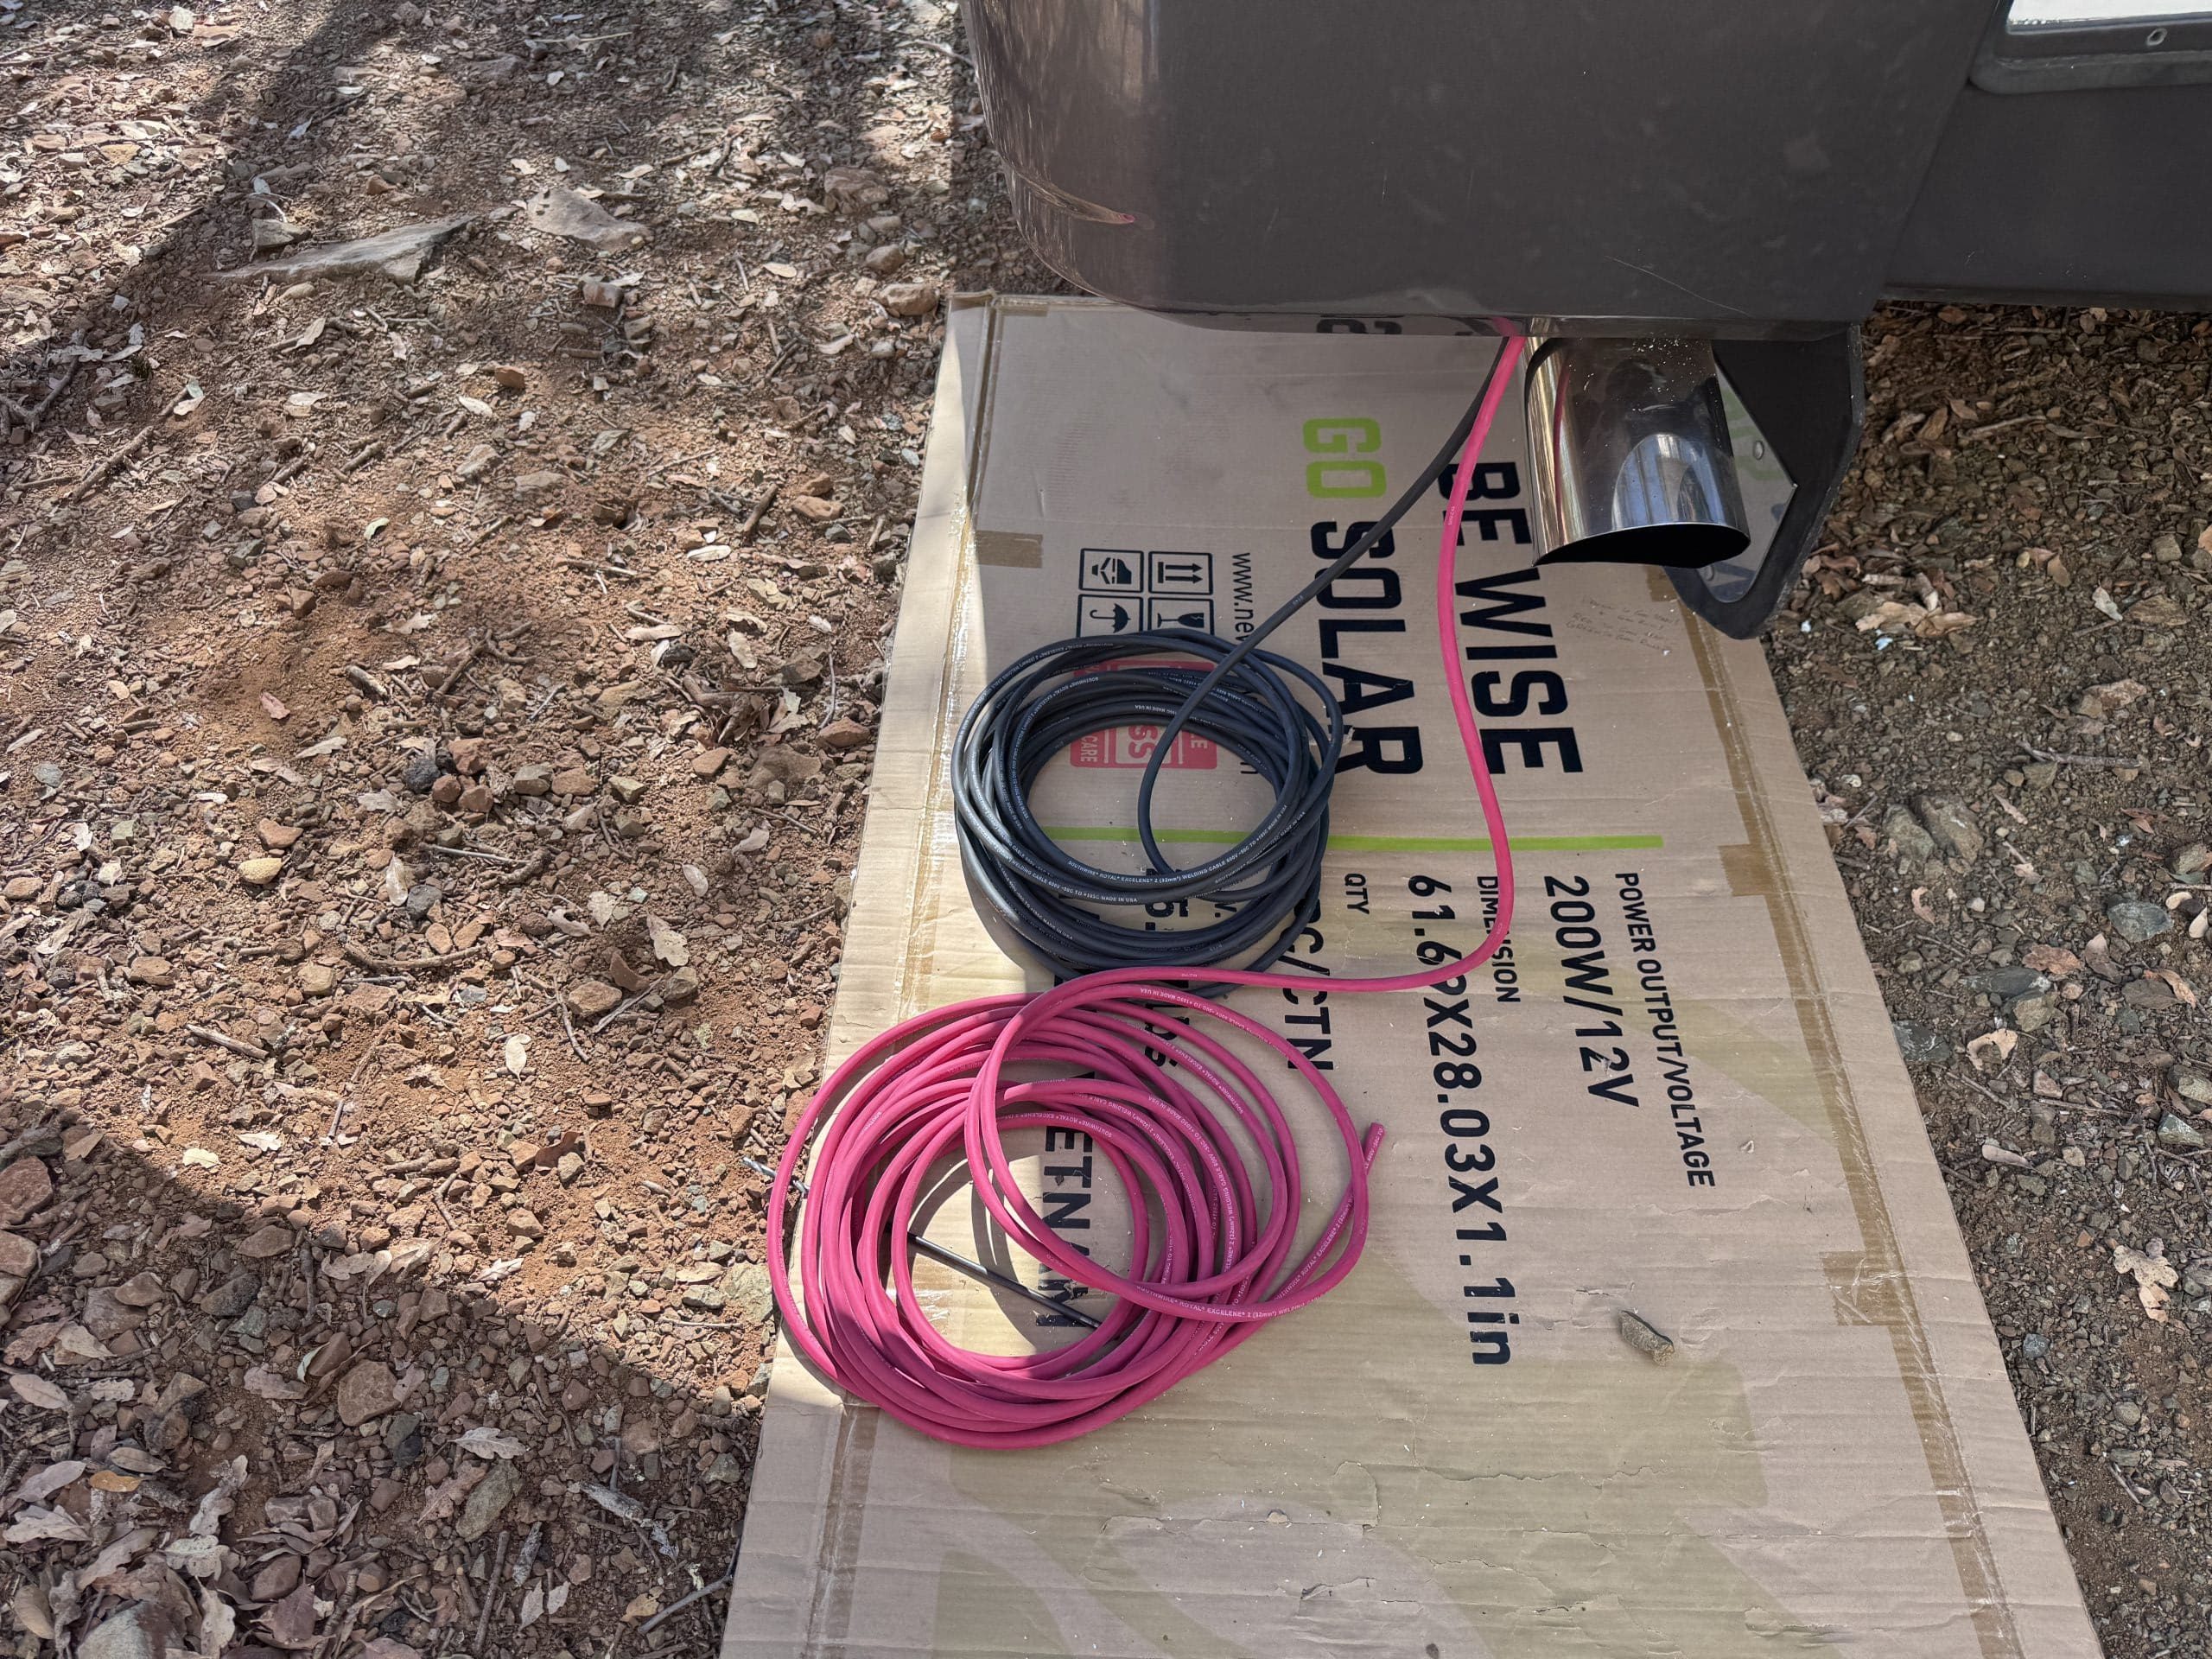
- 20' - 2 AWG Welding Cable - Red
- 18' - 2 AWG Welding Cable - Black
- Miscellaneous 2 AWG Tinned Copper Lugs
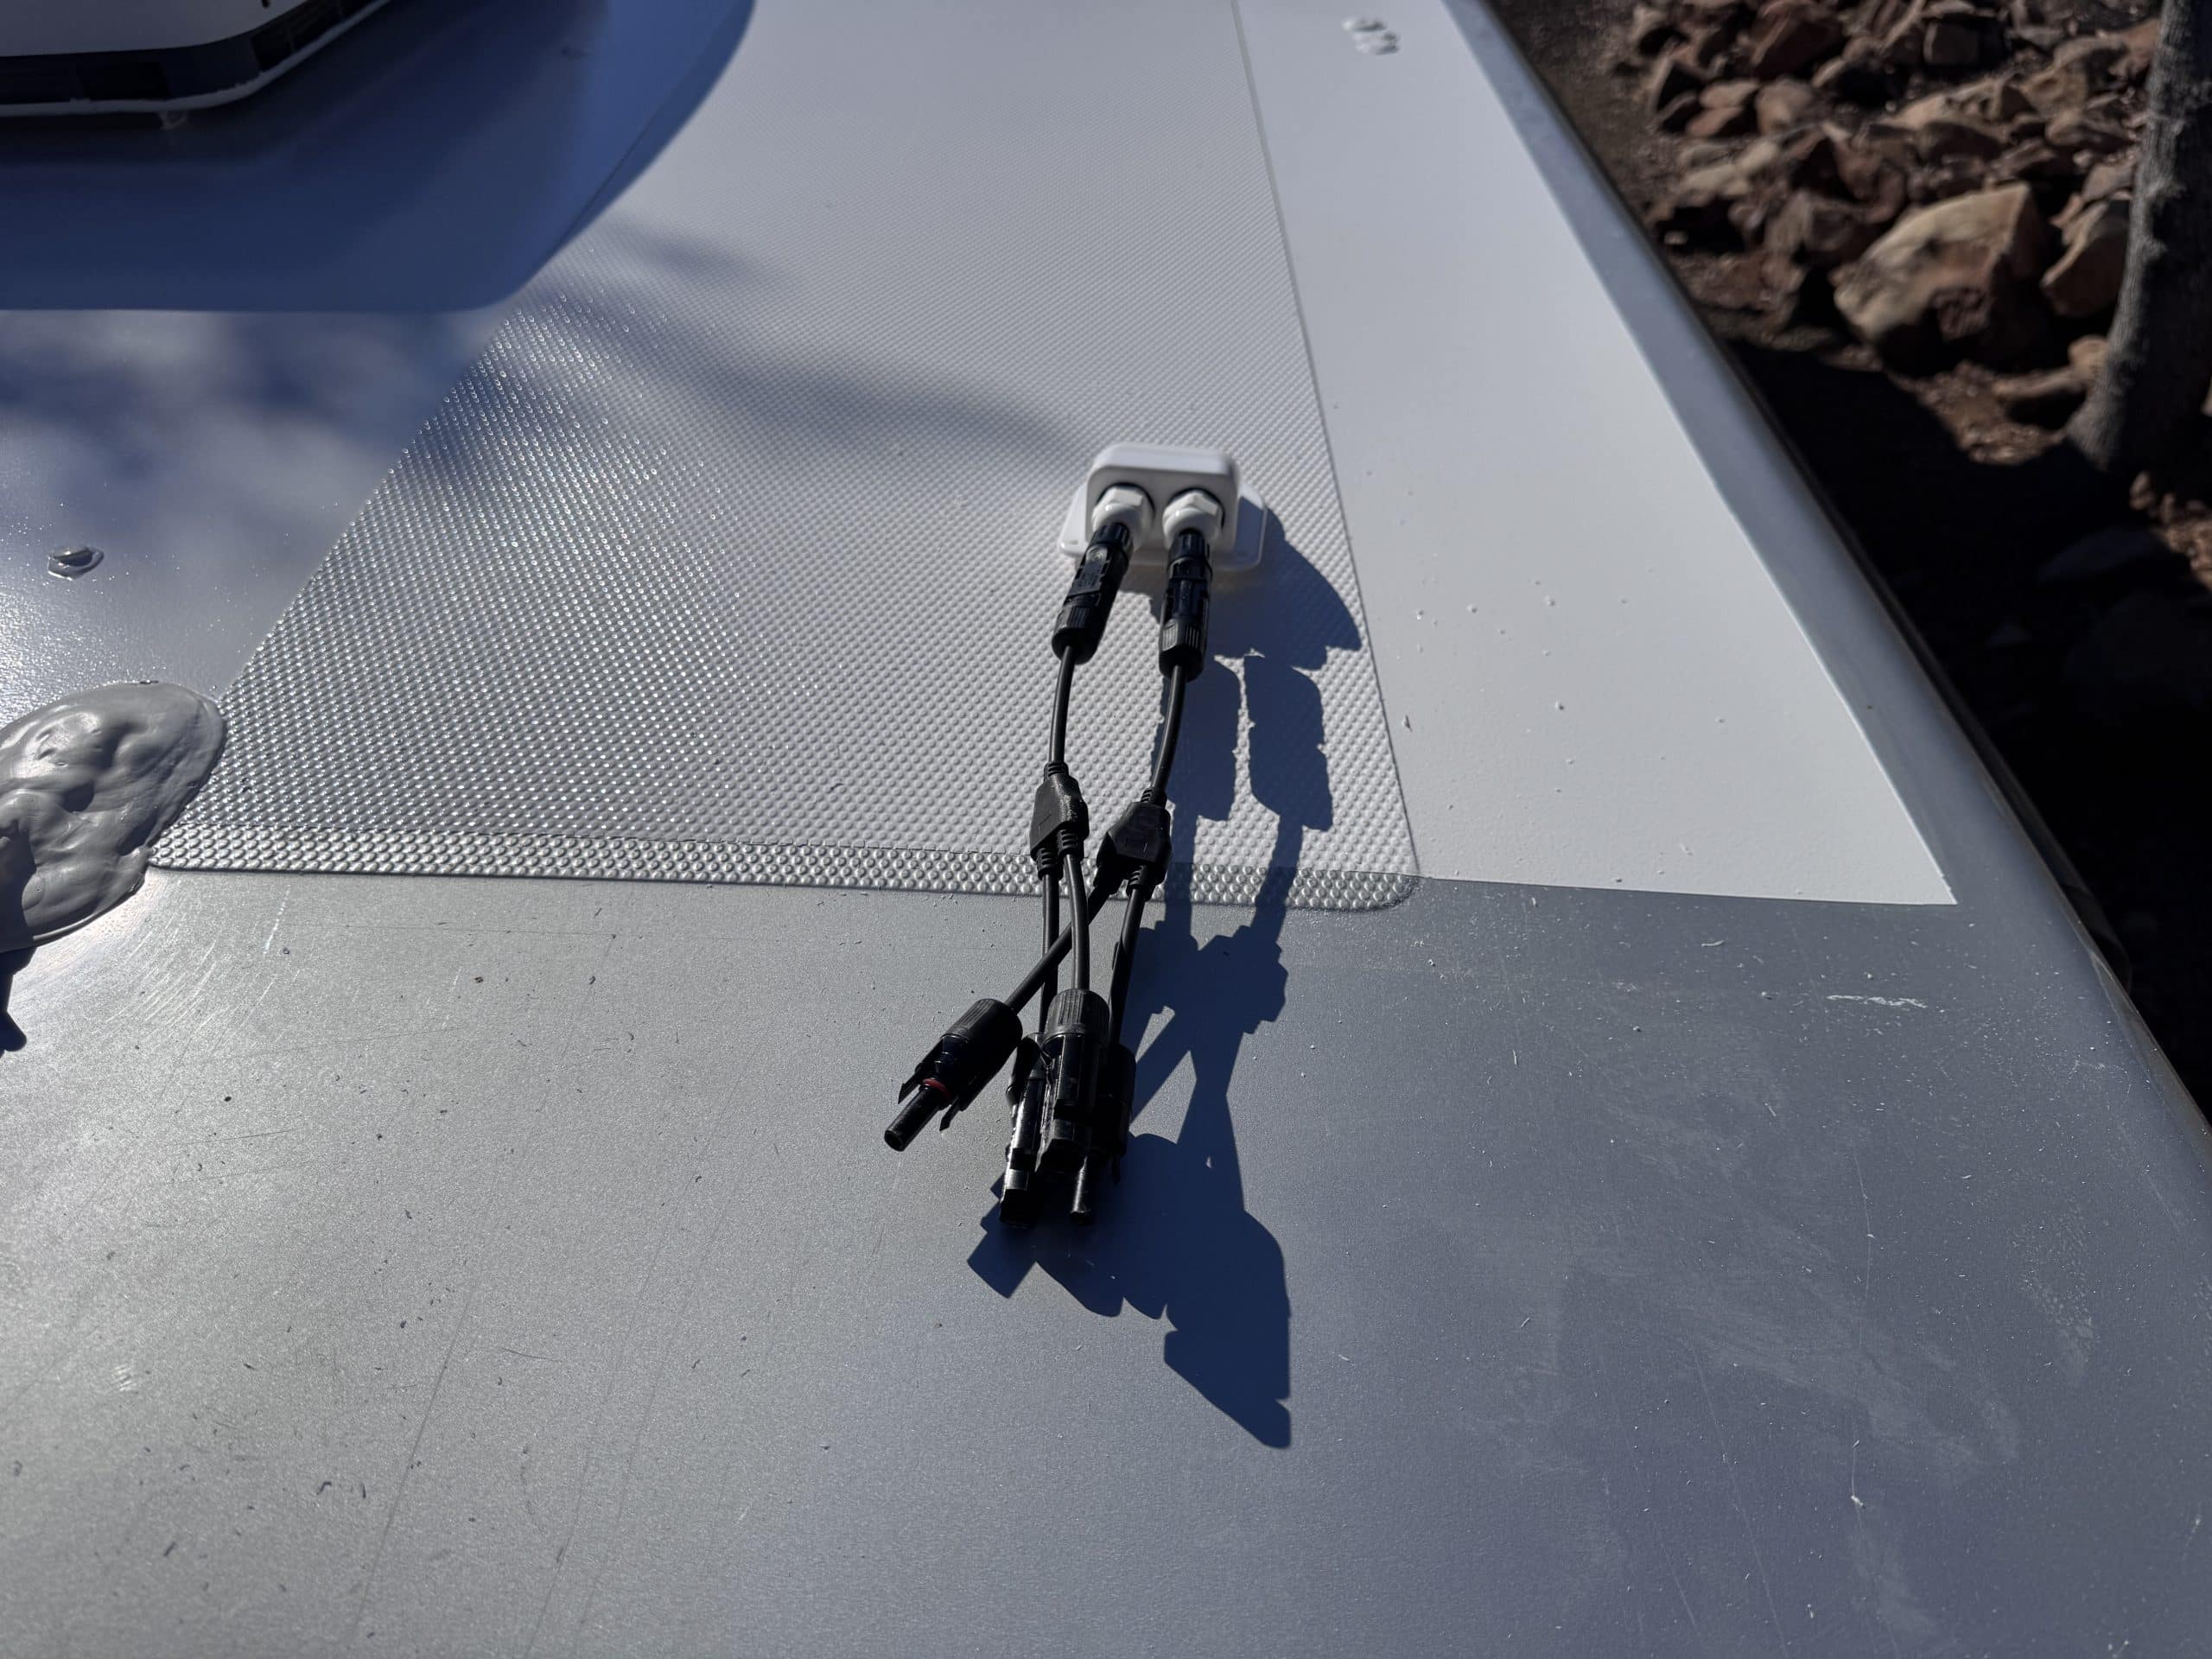
- Clam Shell solar wire roof penetration
- 5' - 4/0 Welding Cable - Red
- 7' - 4/0 Welding Cable - Black
- Miscellaneous 4/0 Tinned Copper Lugs
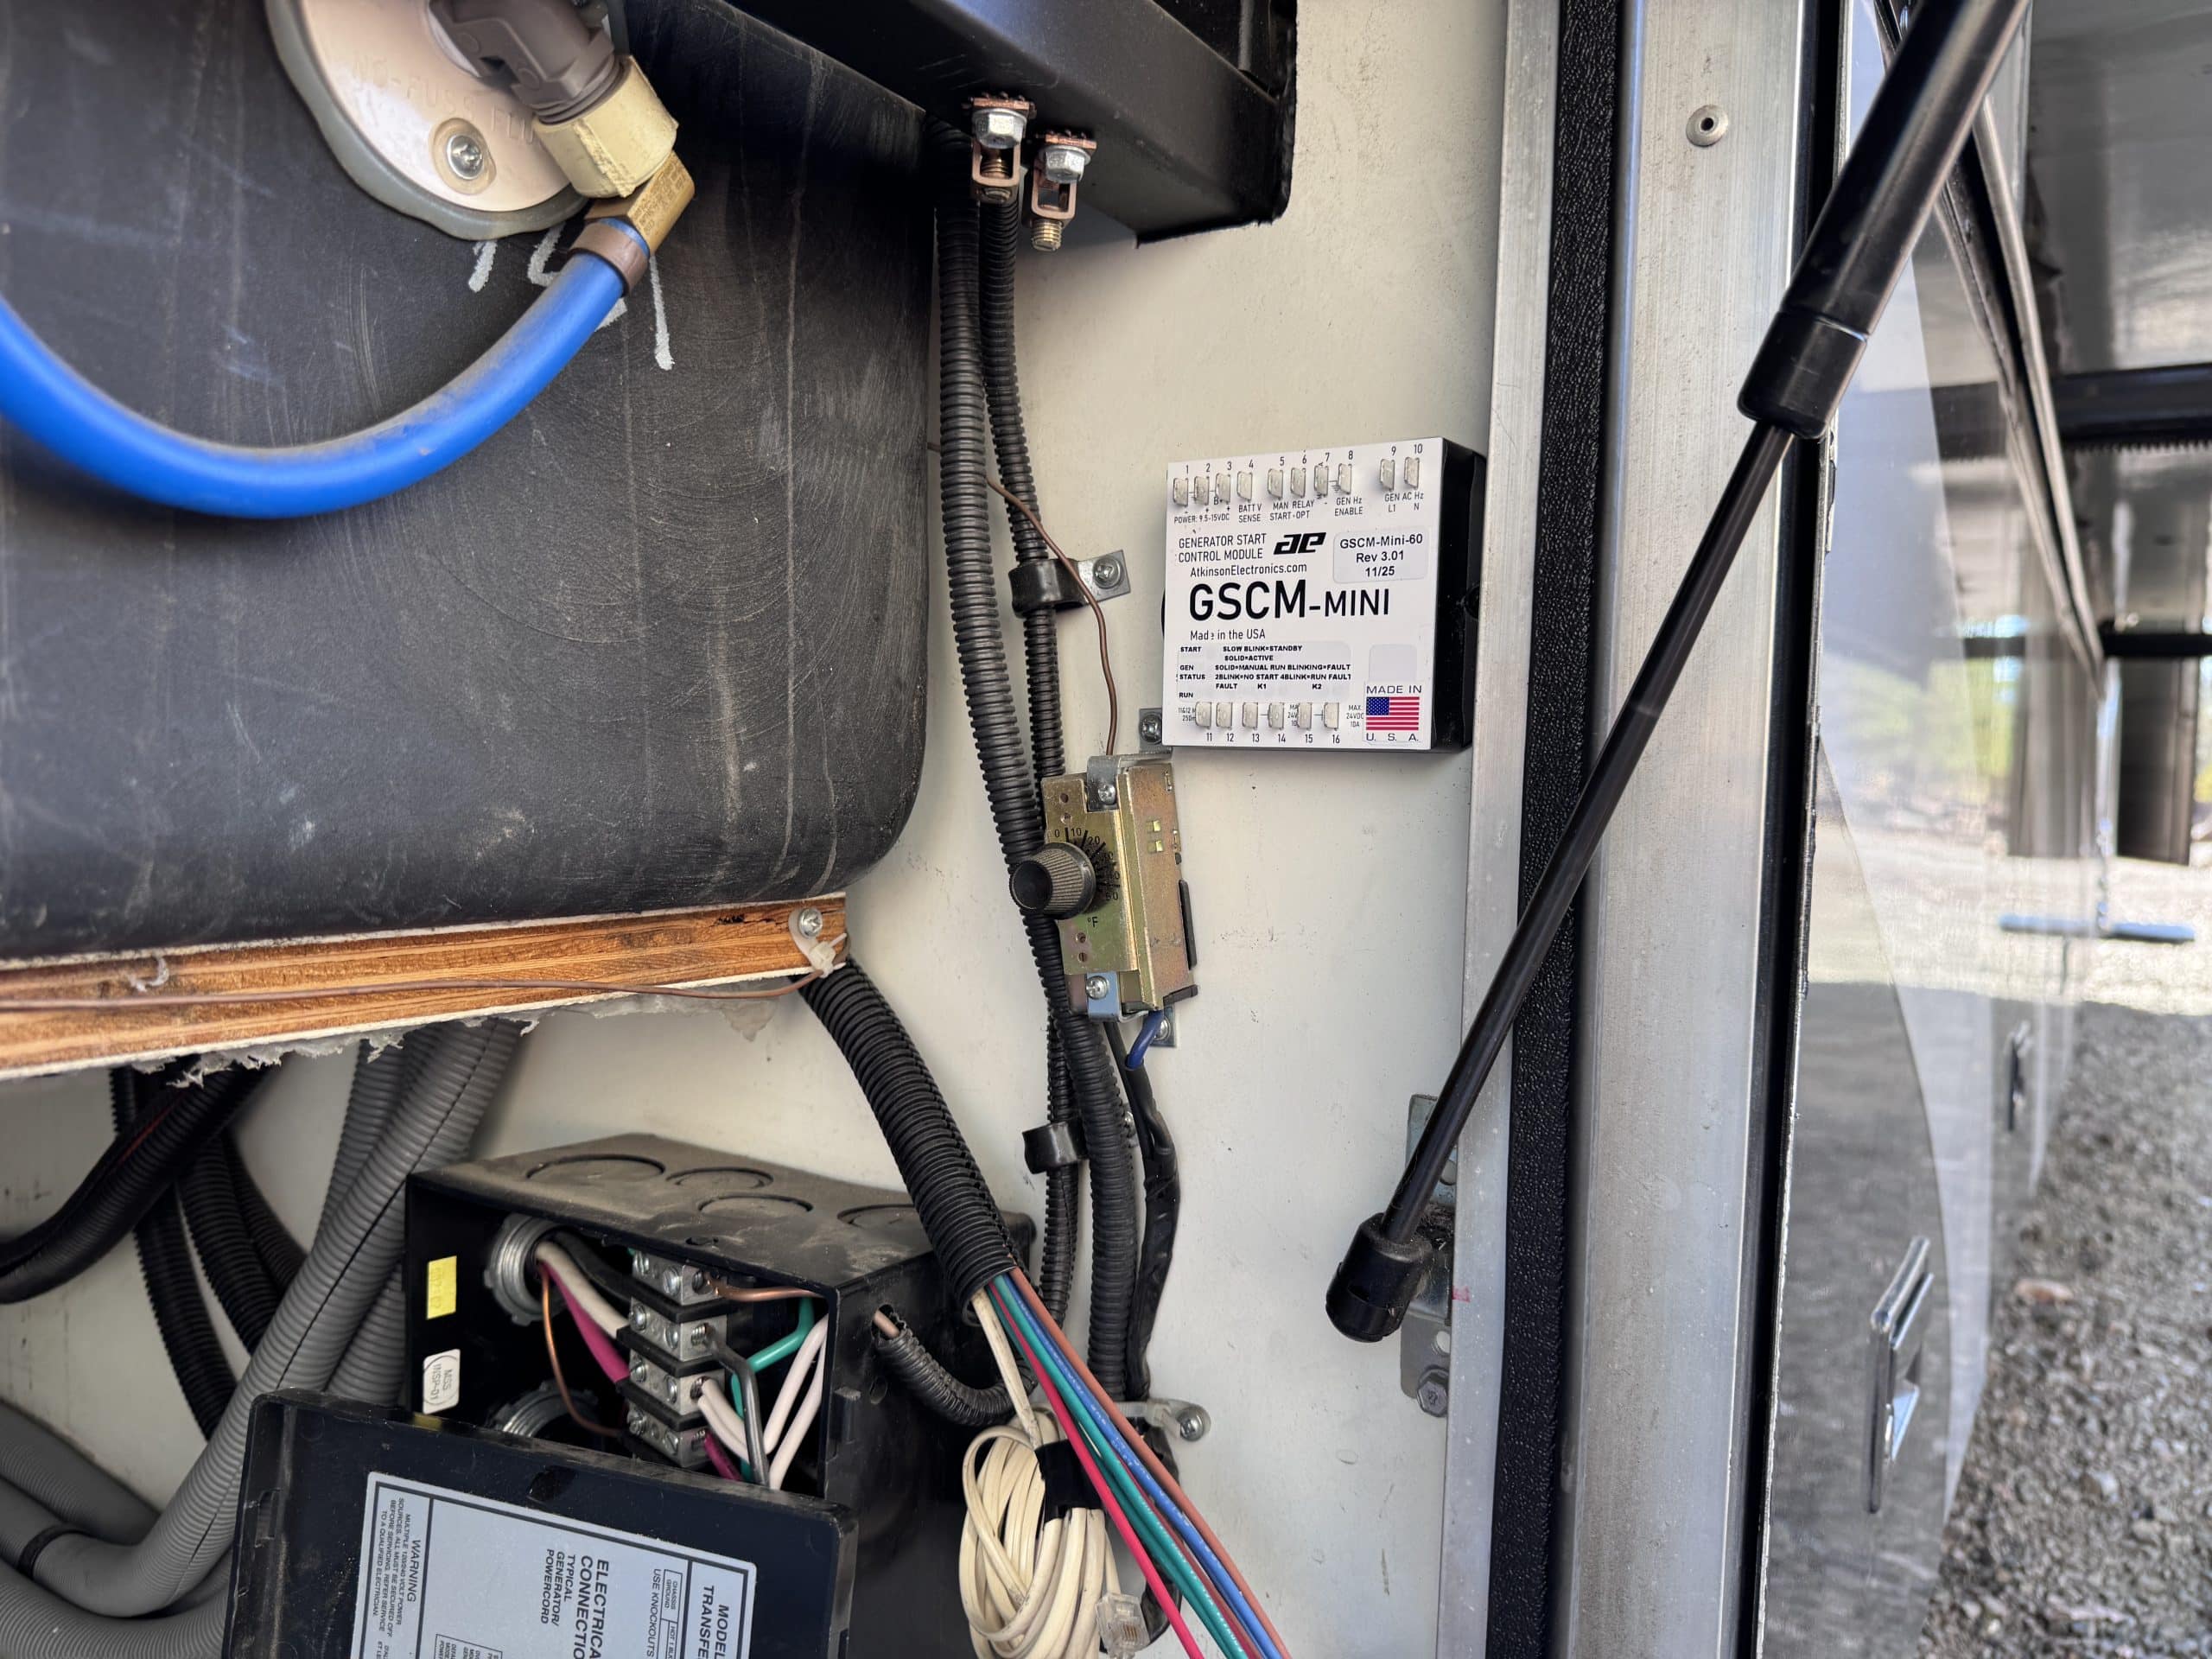
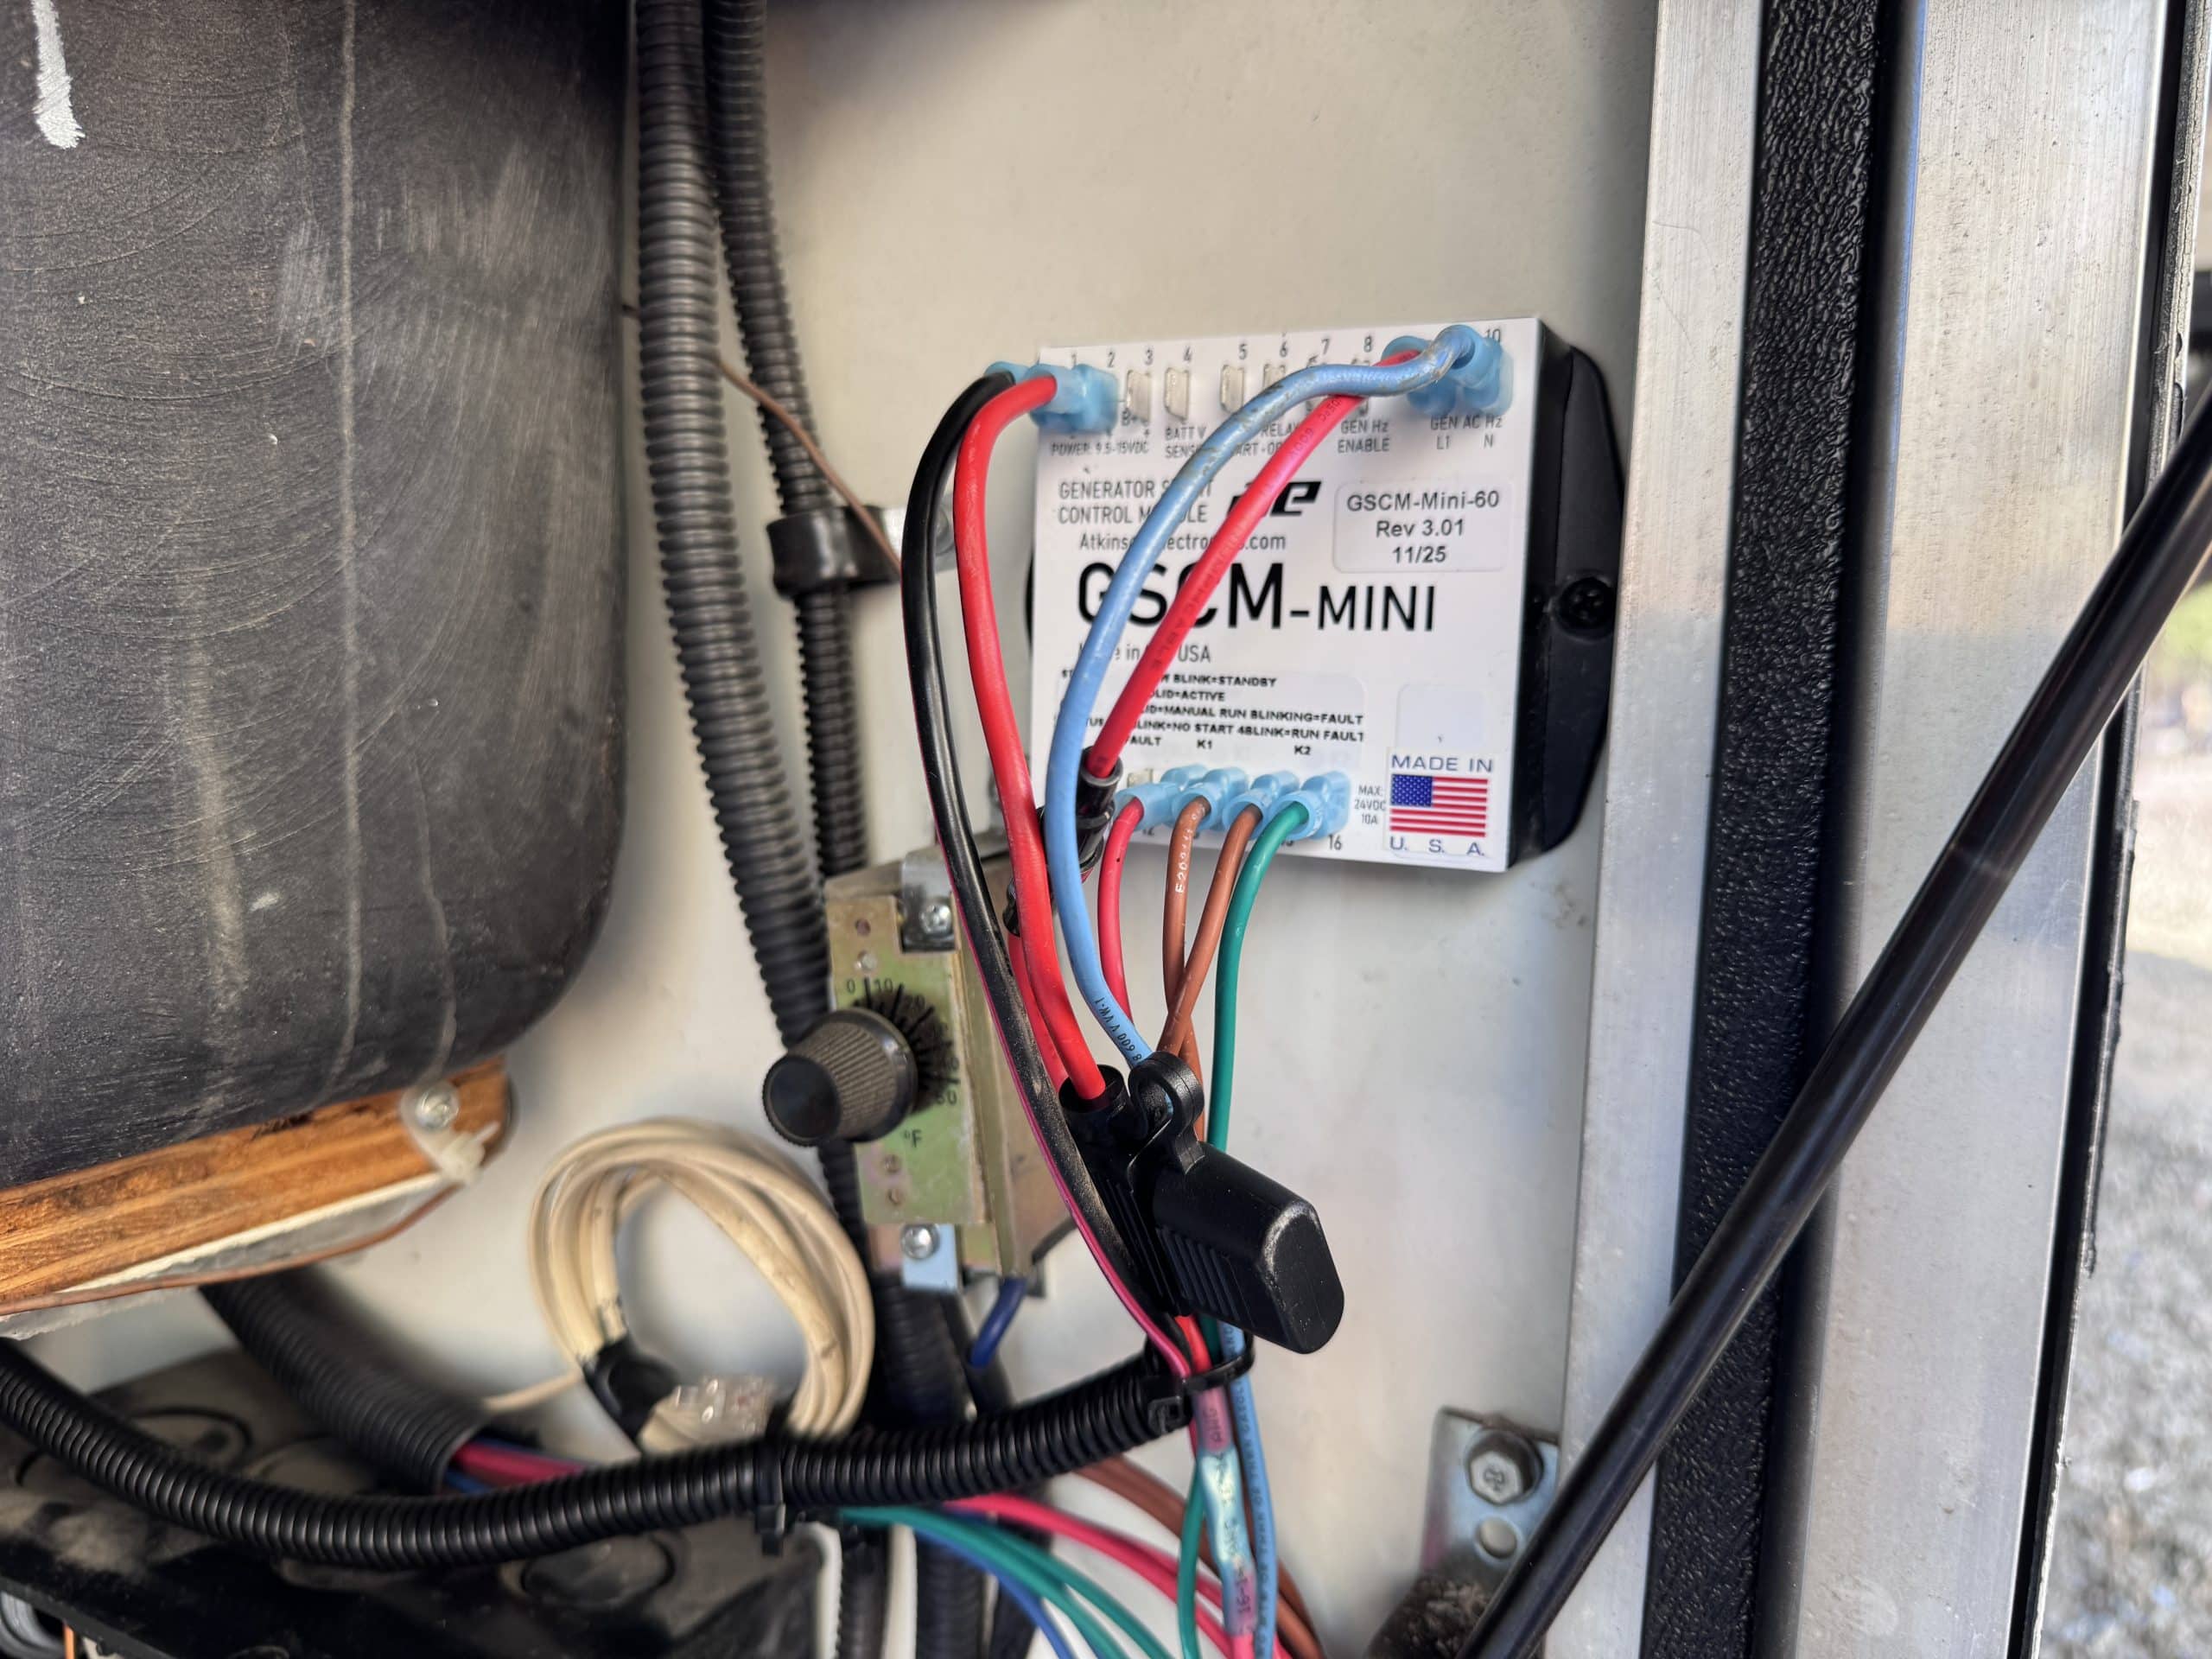
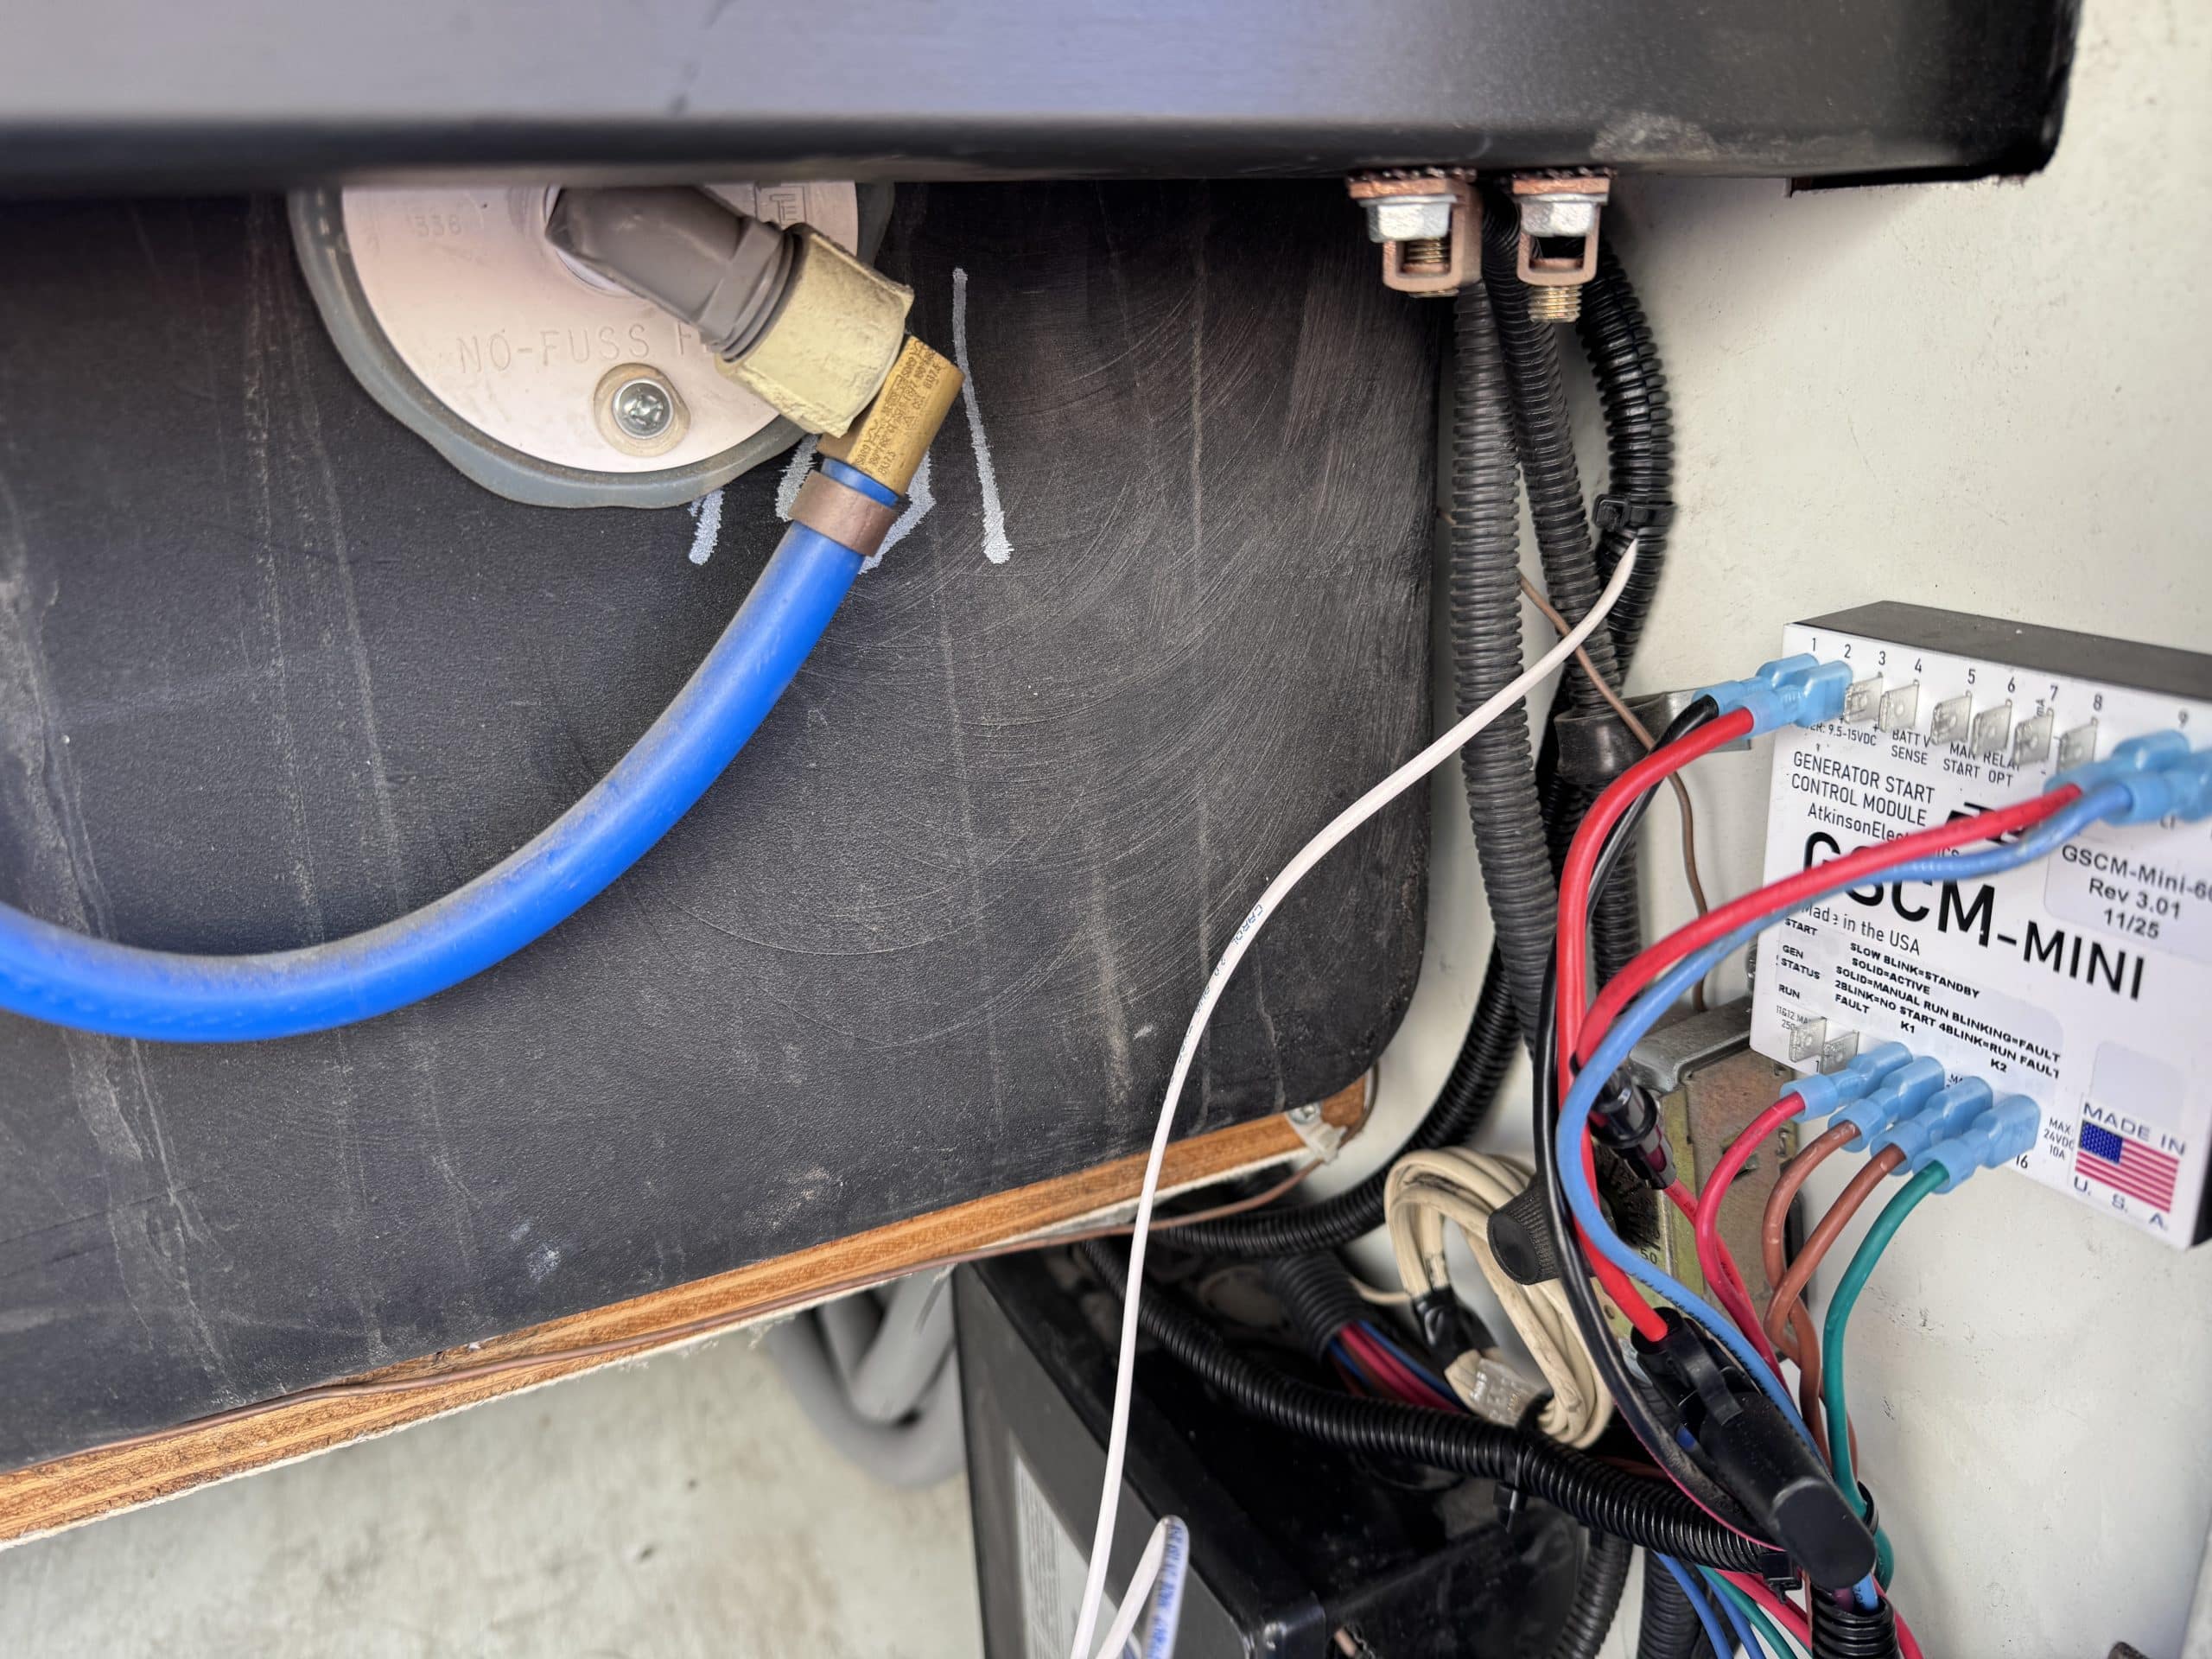
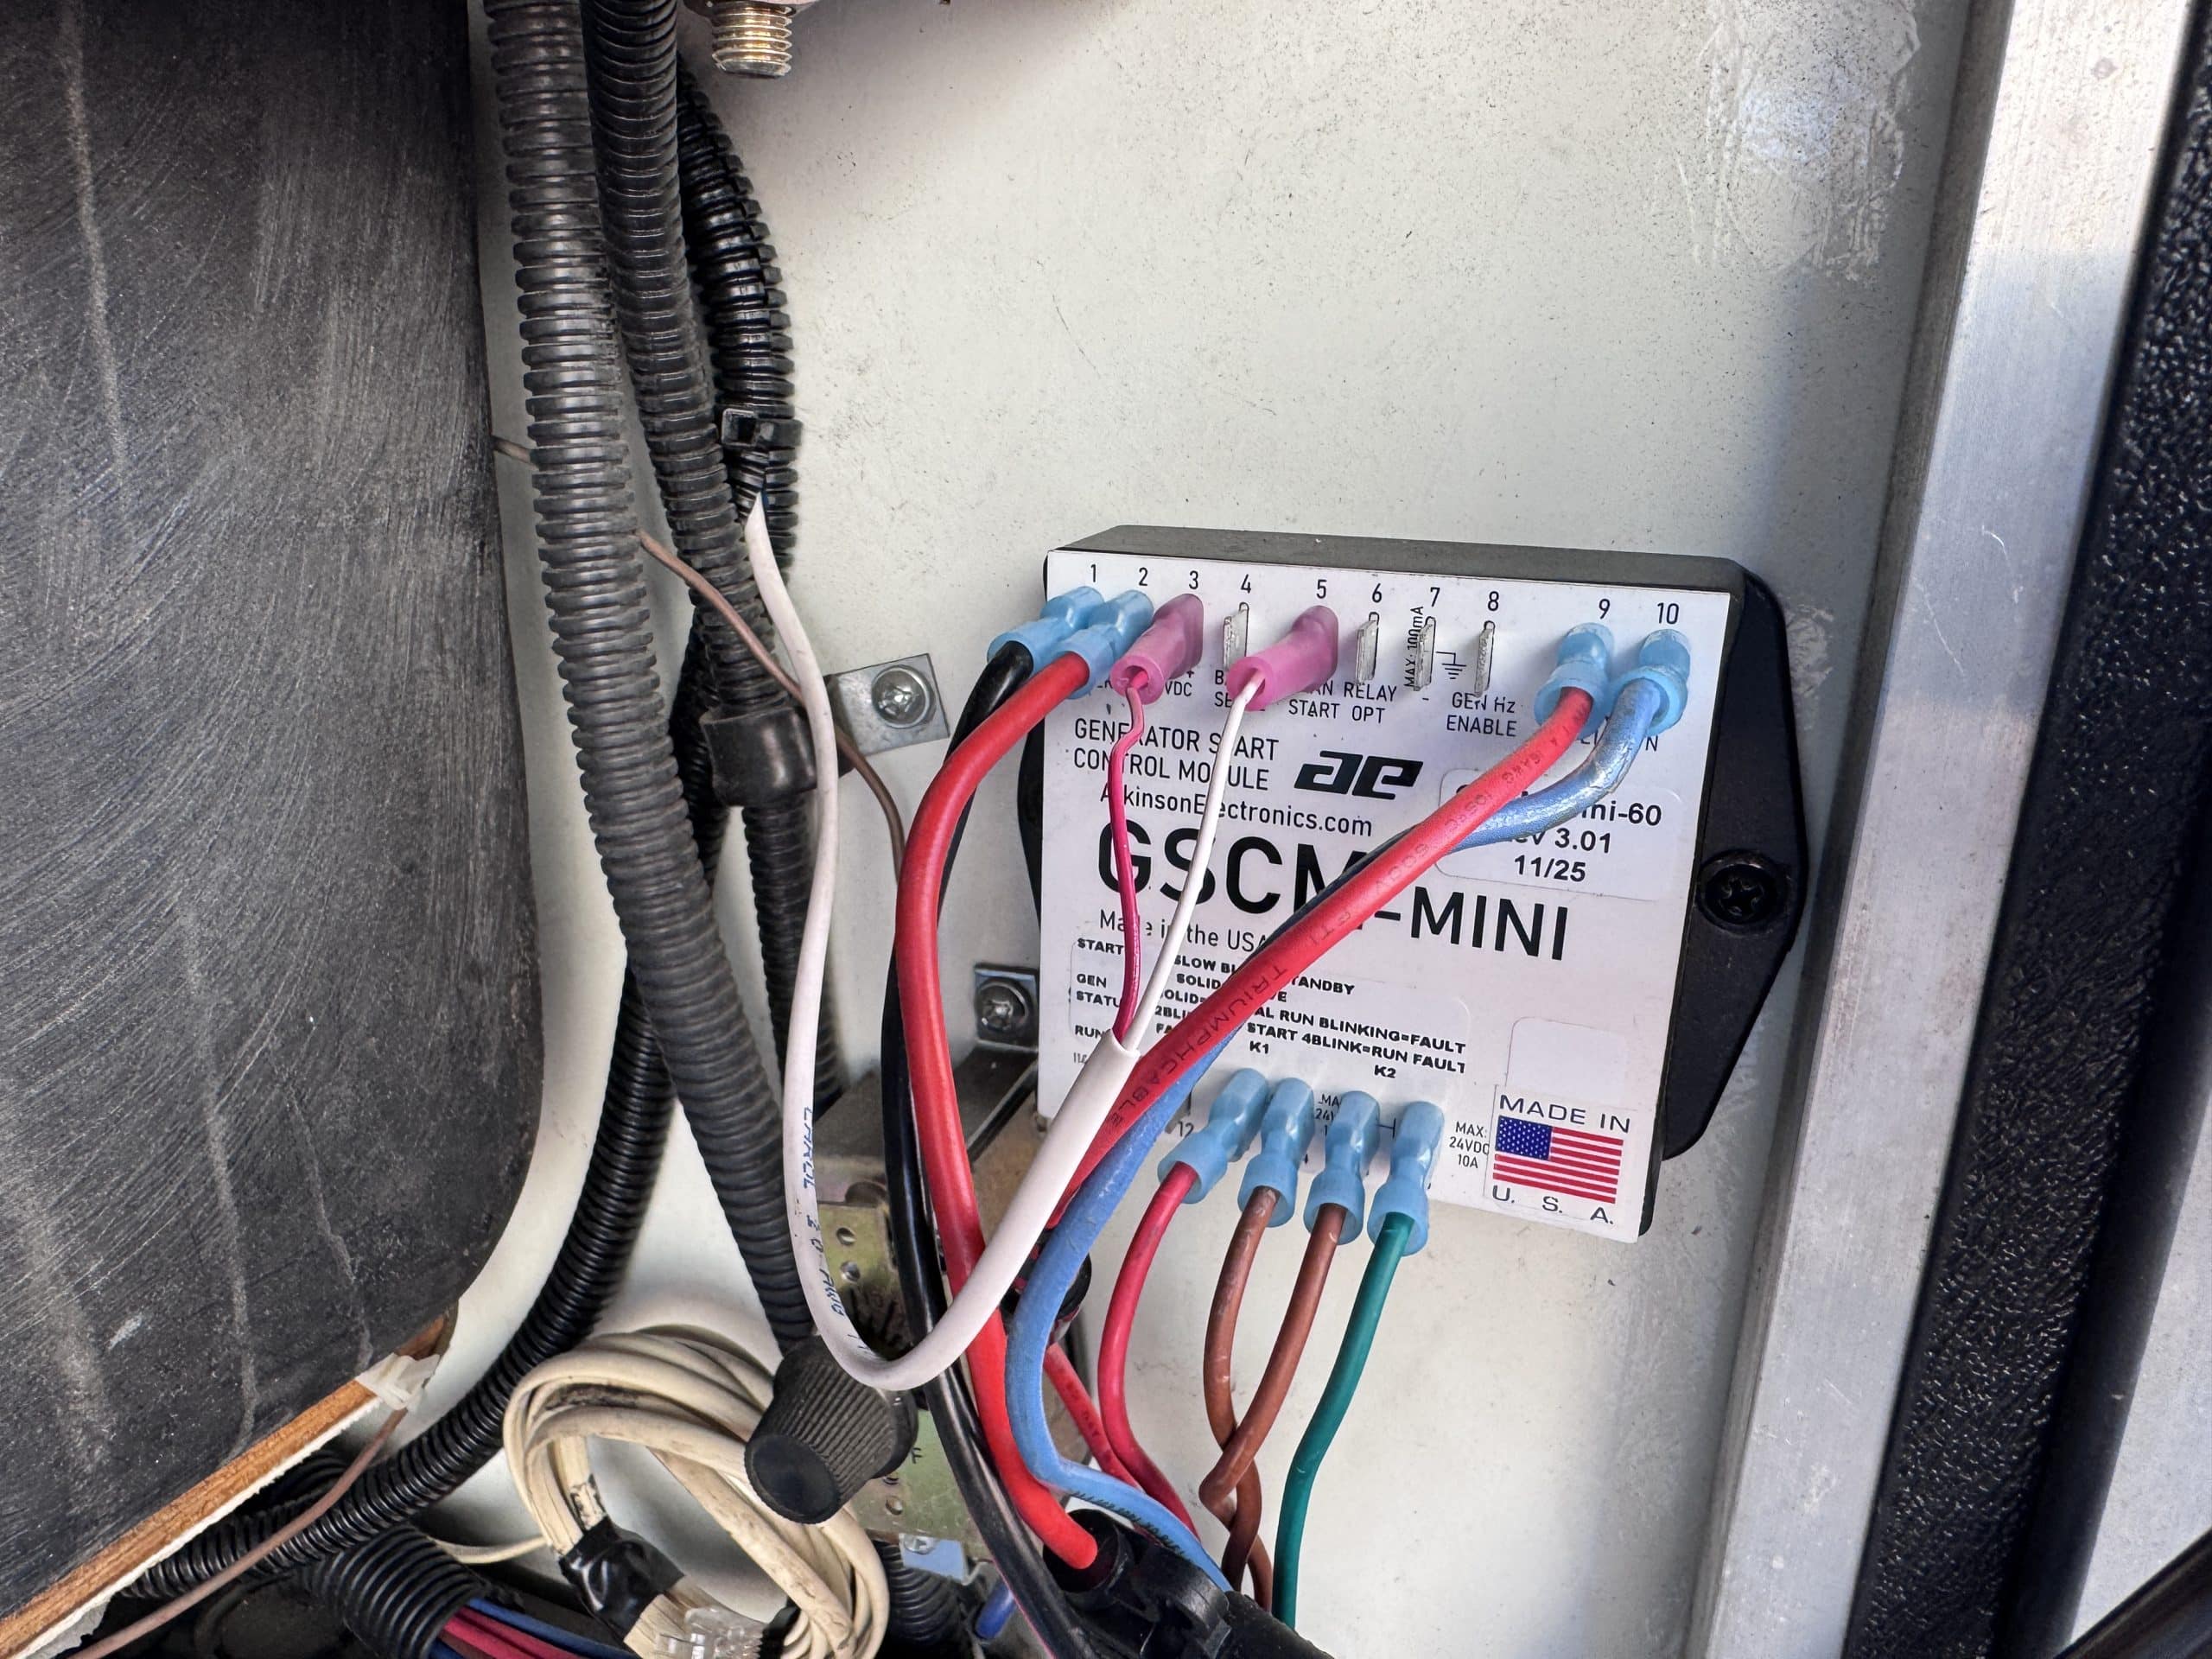
- Atkinson Electronics GSCM-Mini
- Ruuvi Bluetooth Temperature Sensors
- Red and Black 1/2 " Heat Shrink Tuning
- Red and Black 1" Heat Shrink Tubing
- Midnite Solar Baby Box Enclosure
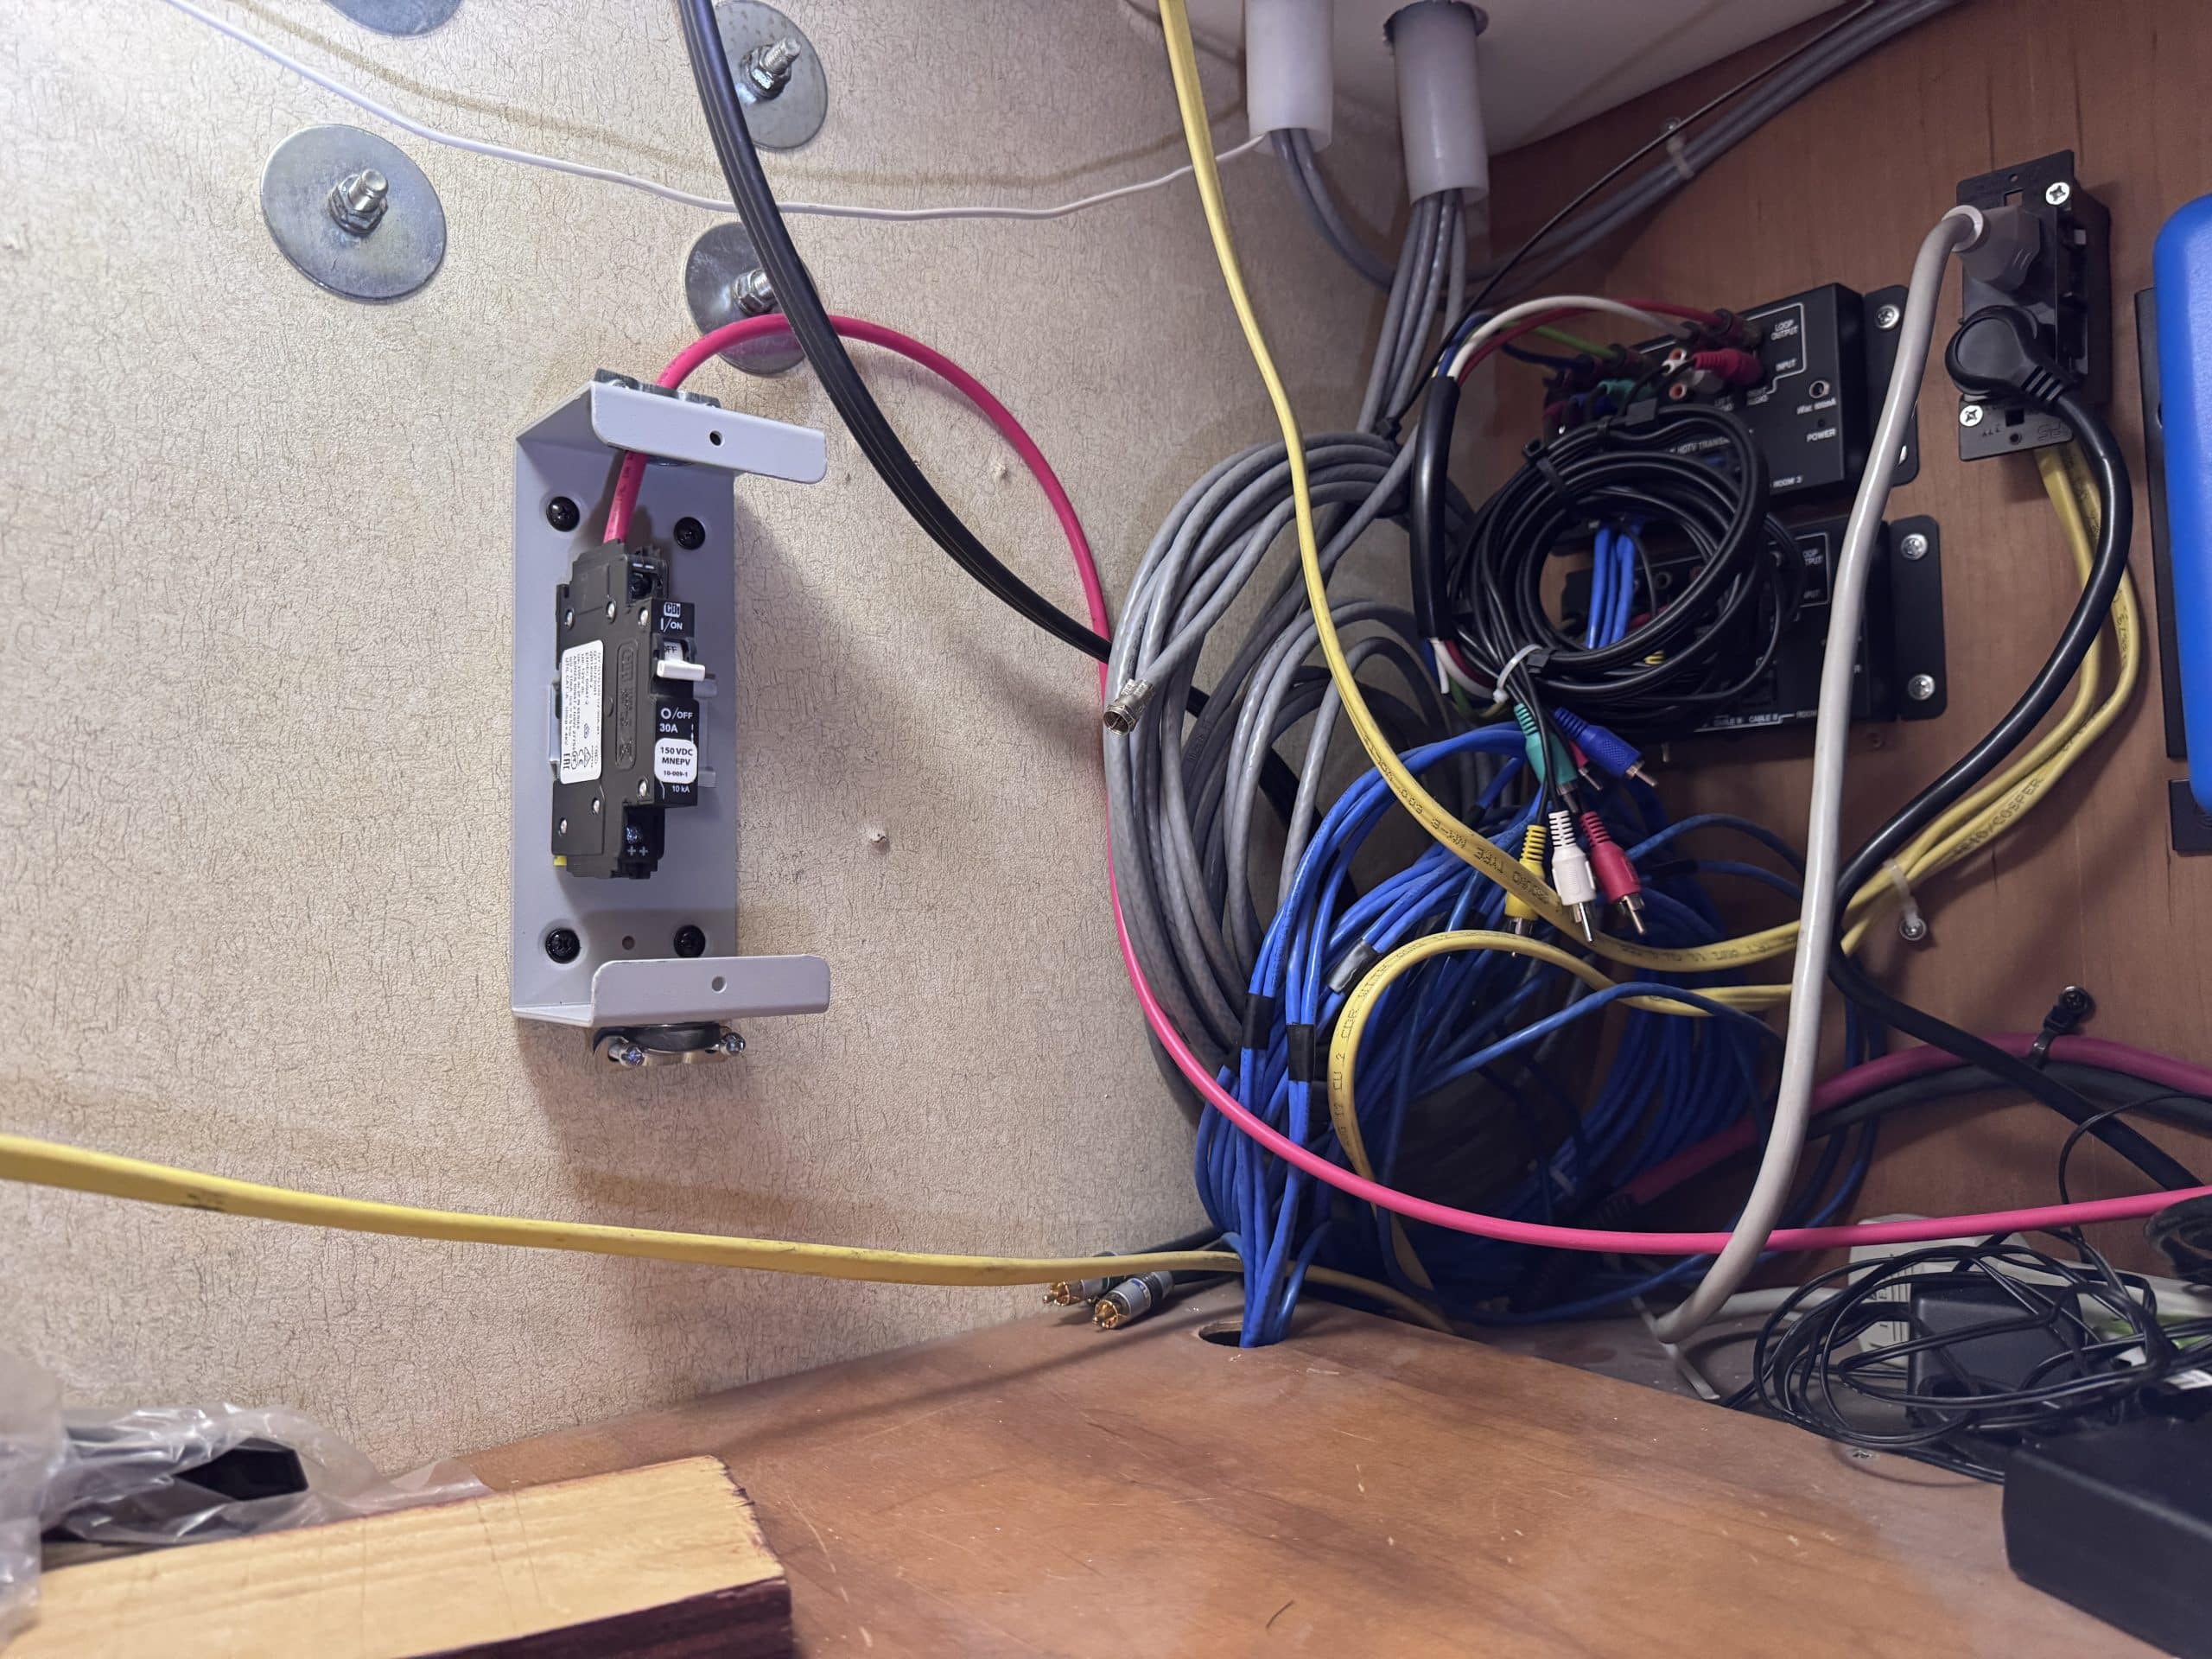
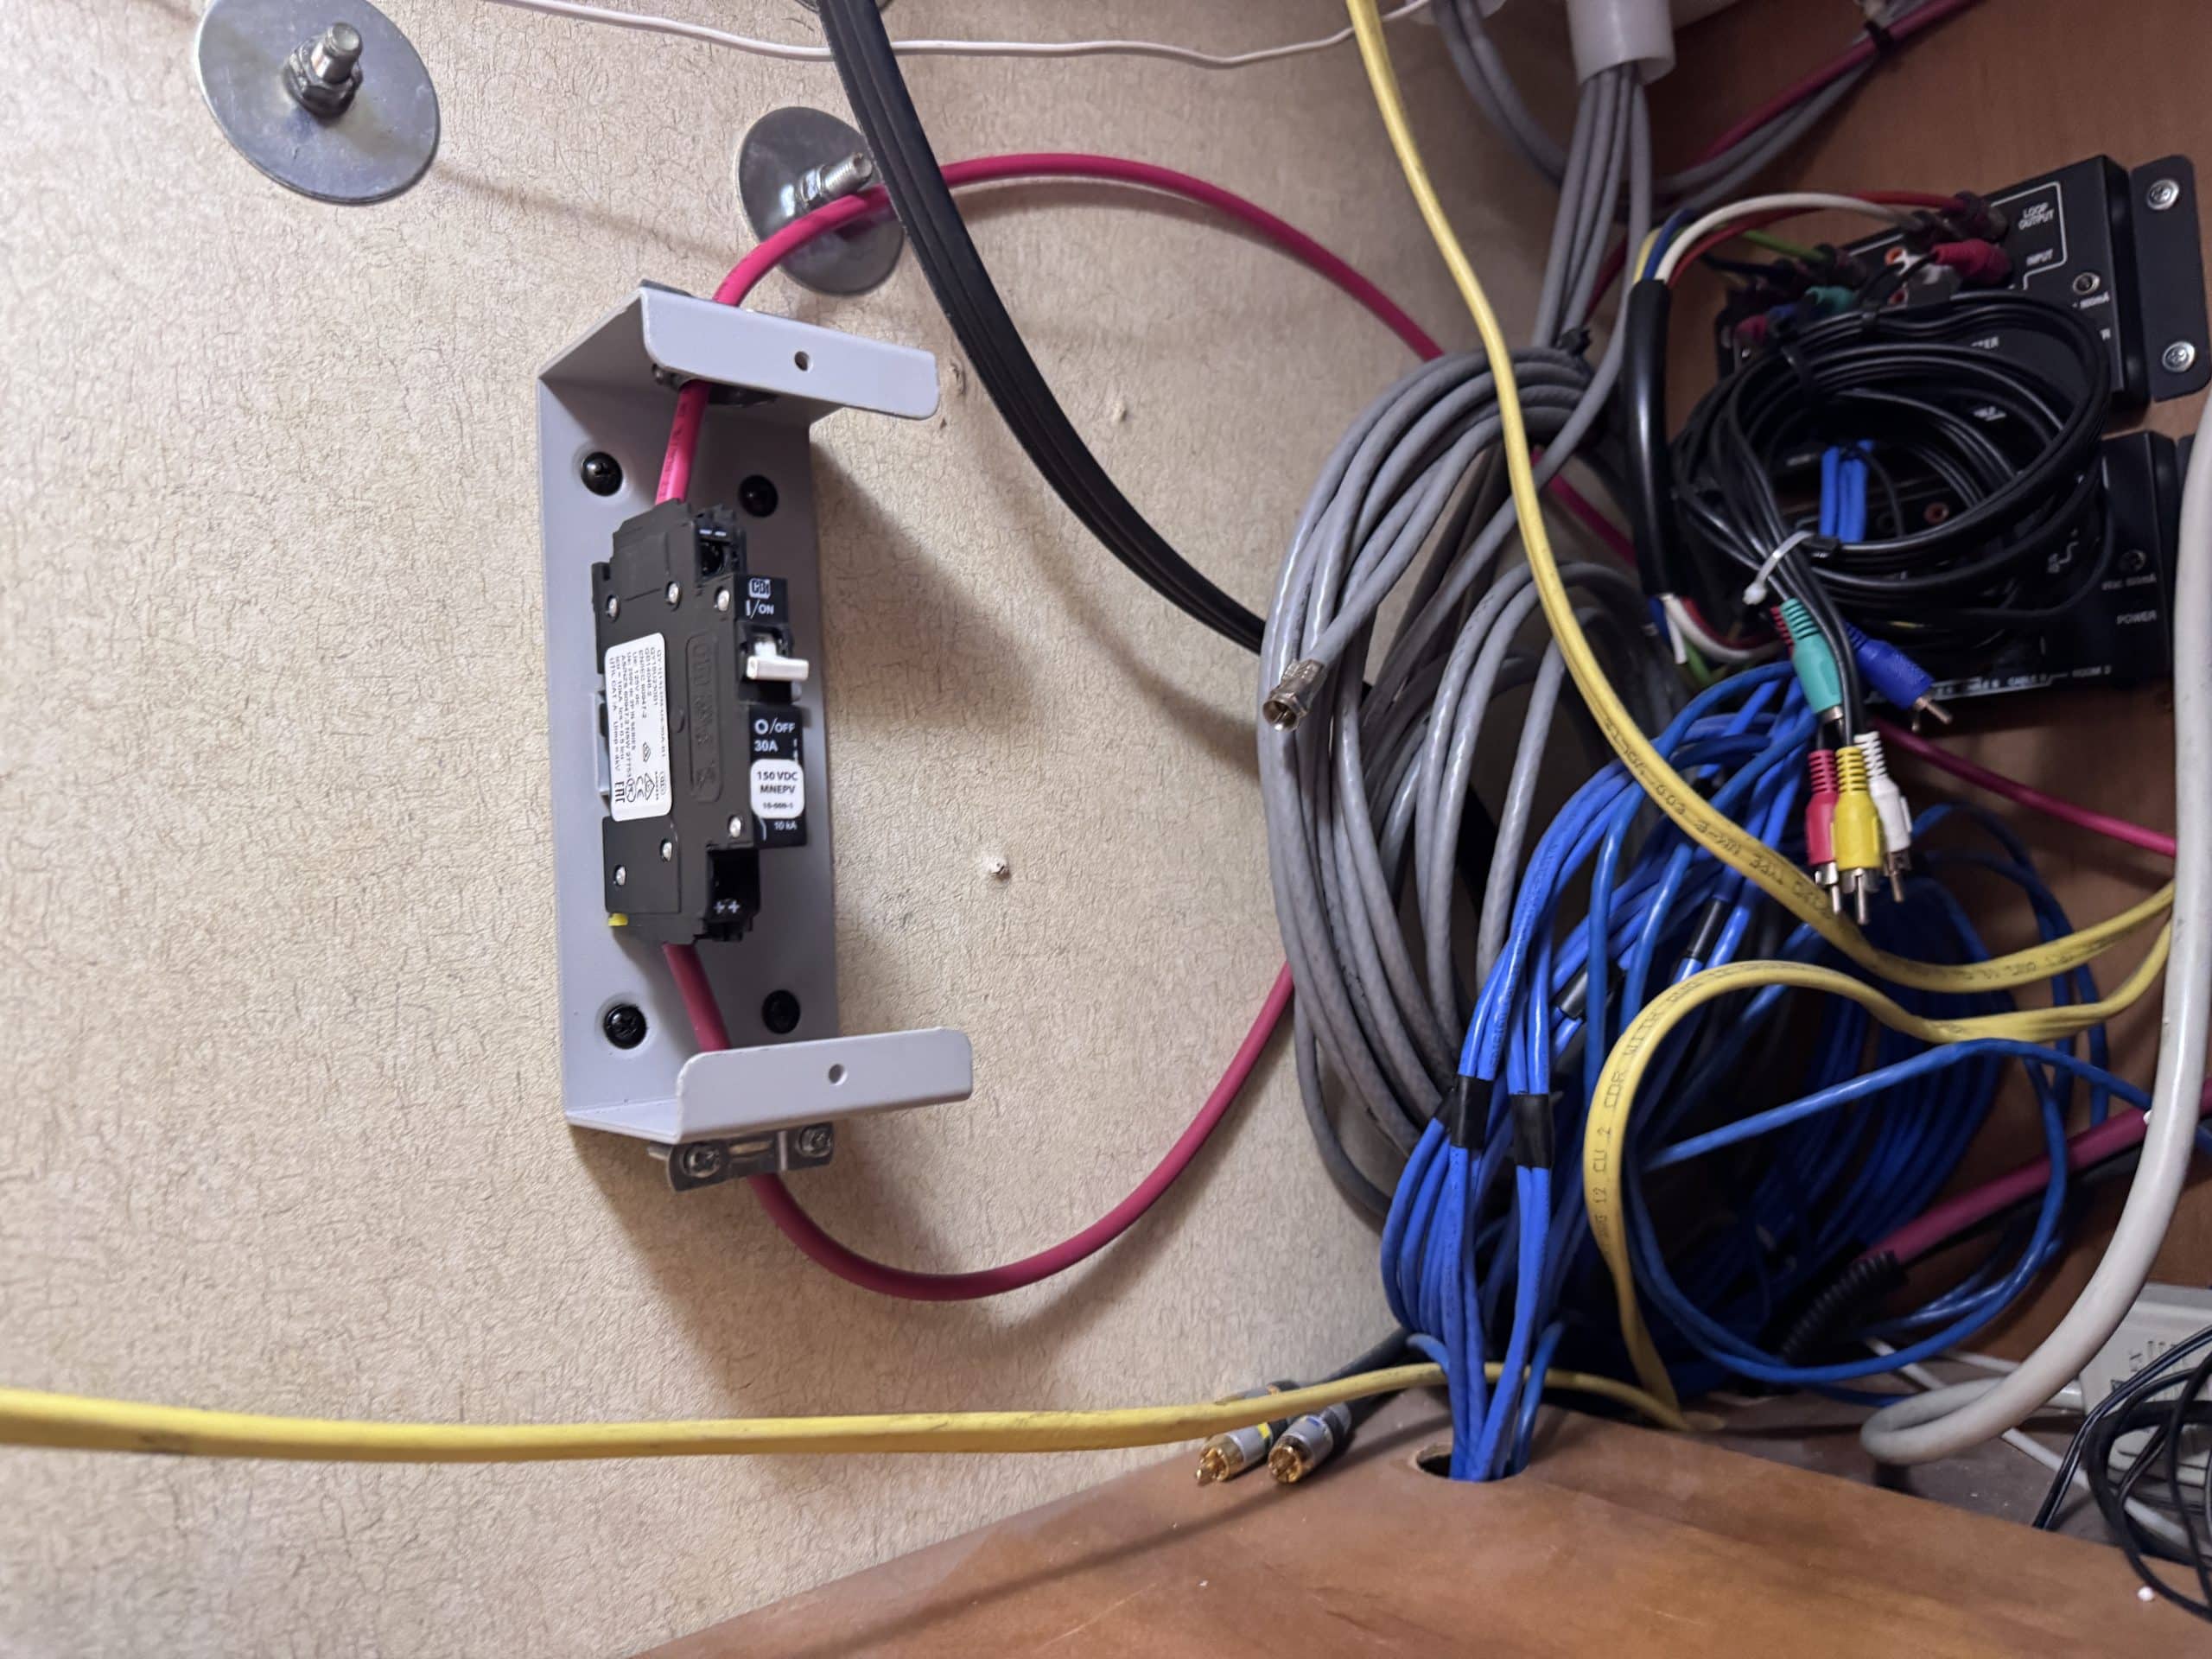
- Midnite Solar 30A MNEPV Breaker
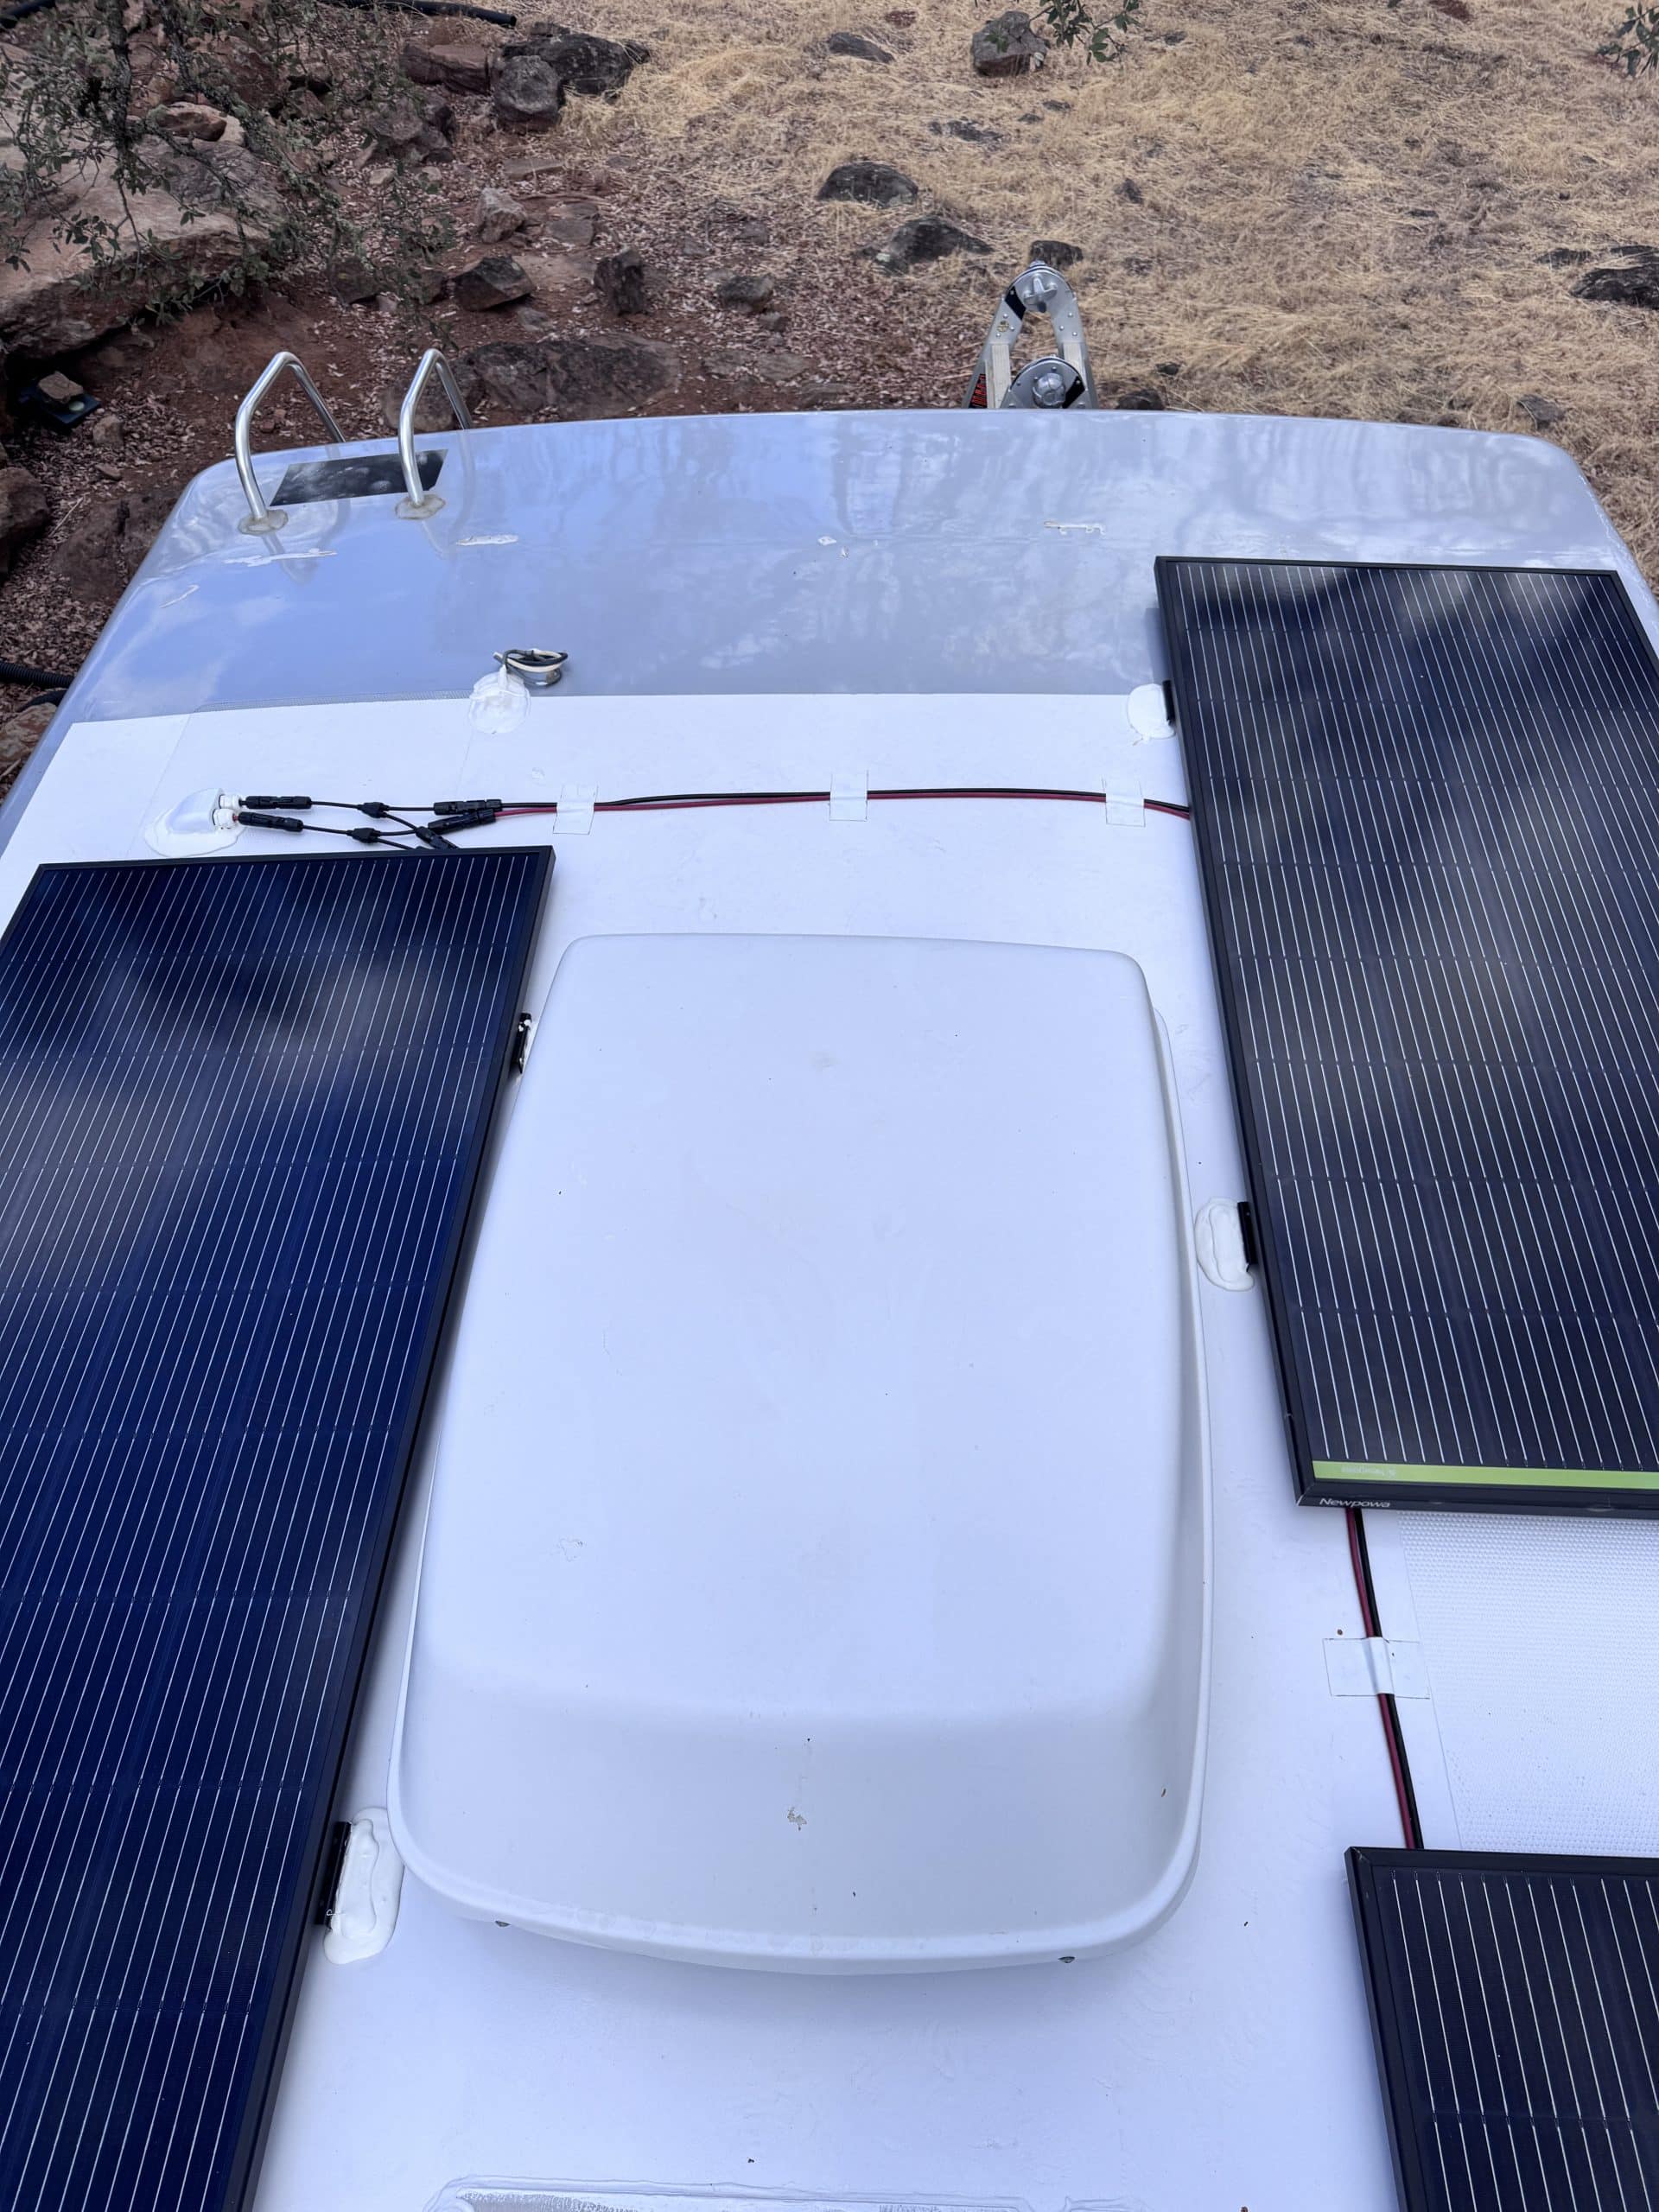
- MC4 Male/Female Solar Panel Cable Connectors
- MC4 Y Connectors
- 45" - 10 AWG PV Cable - Red
- 65' - 10 AWG PV Cable - Black
- Miscellaneous parts, sealants, and connectors
Installation Notes
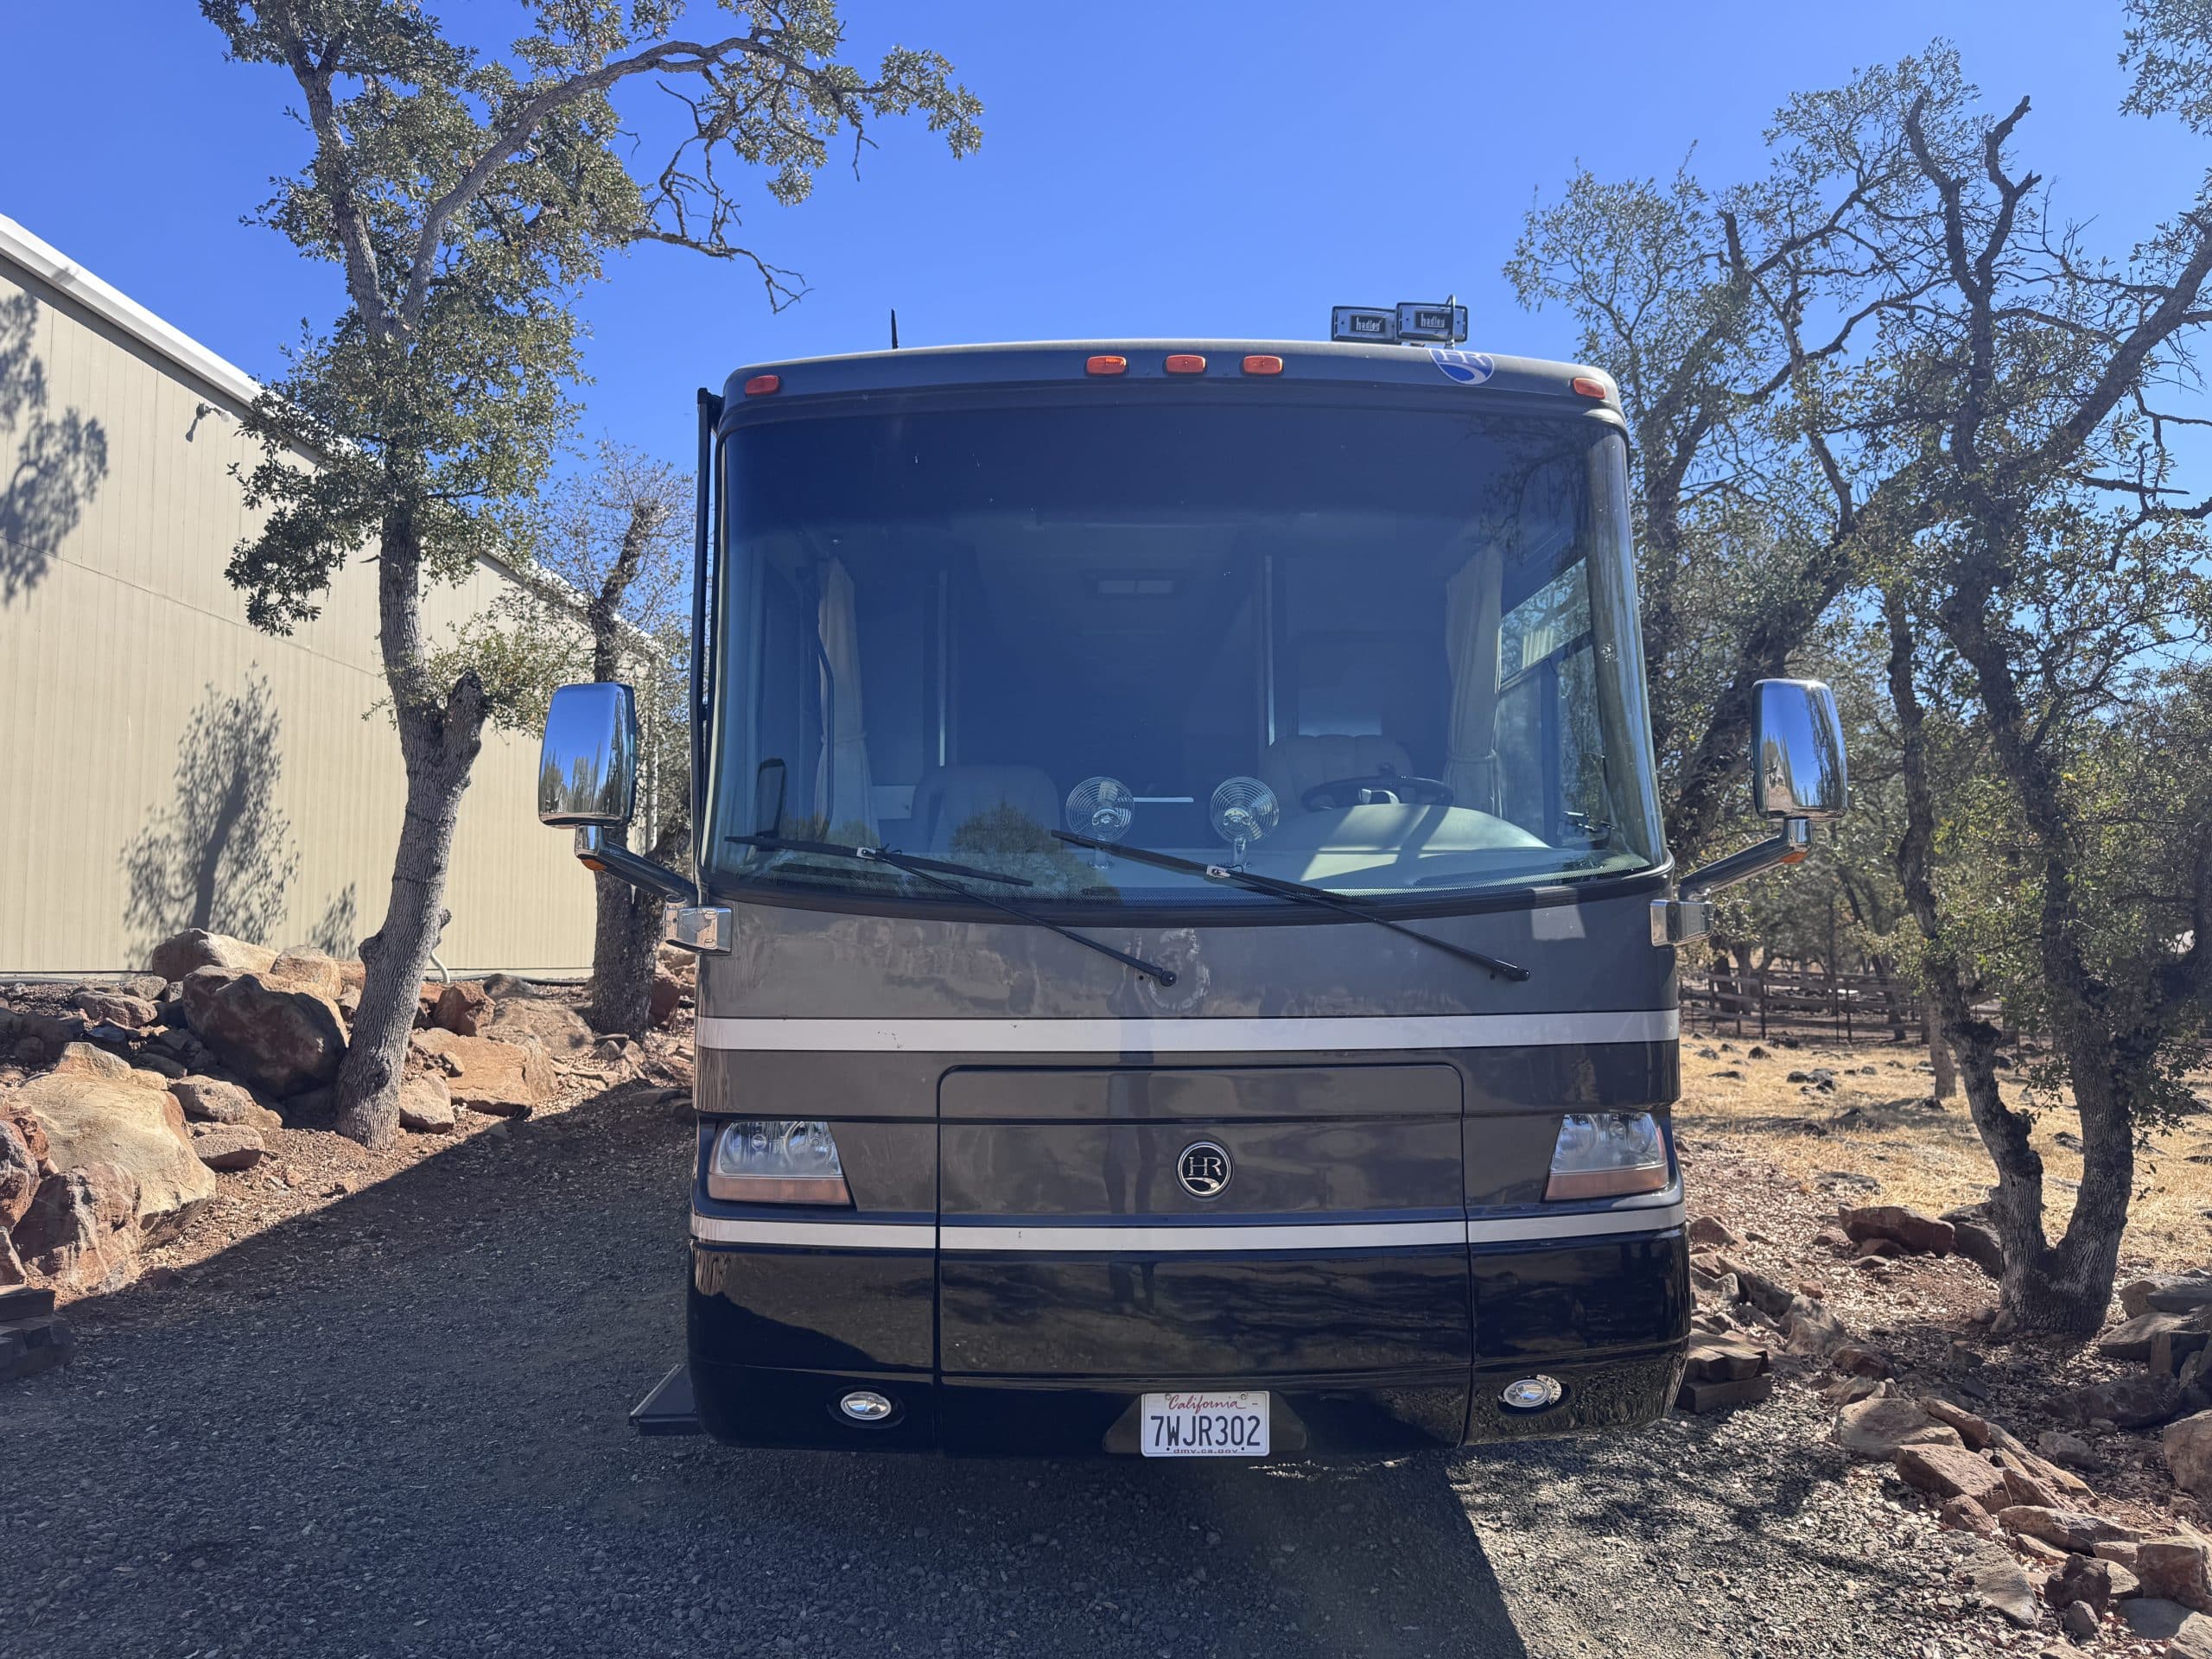
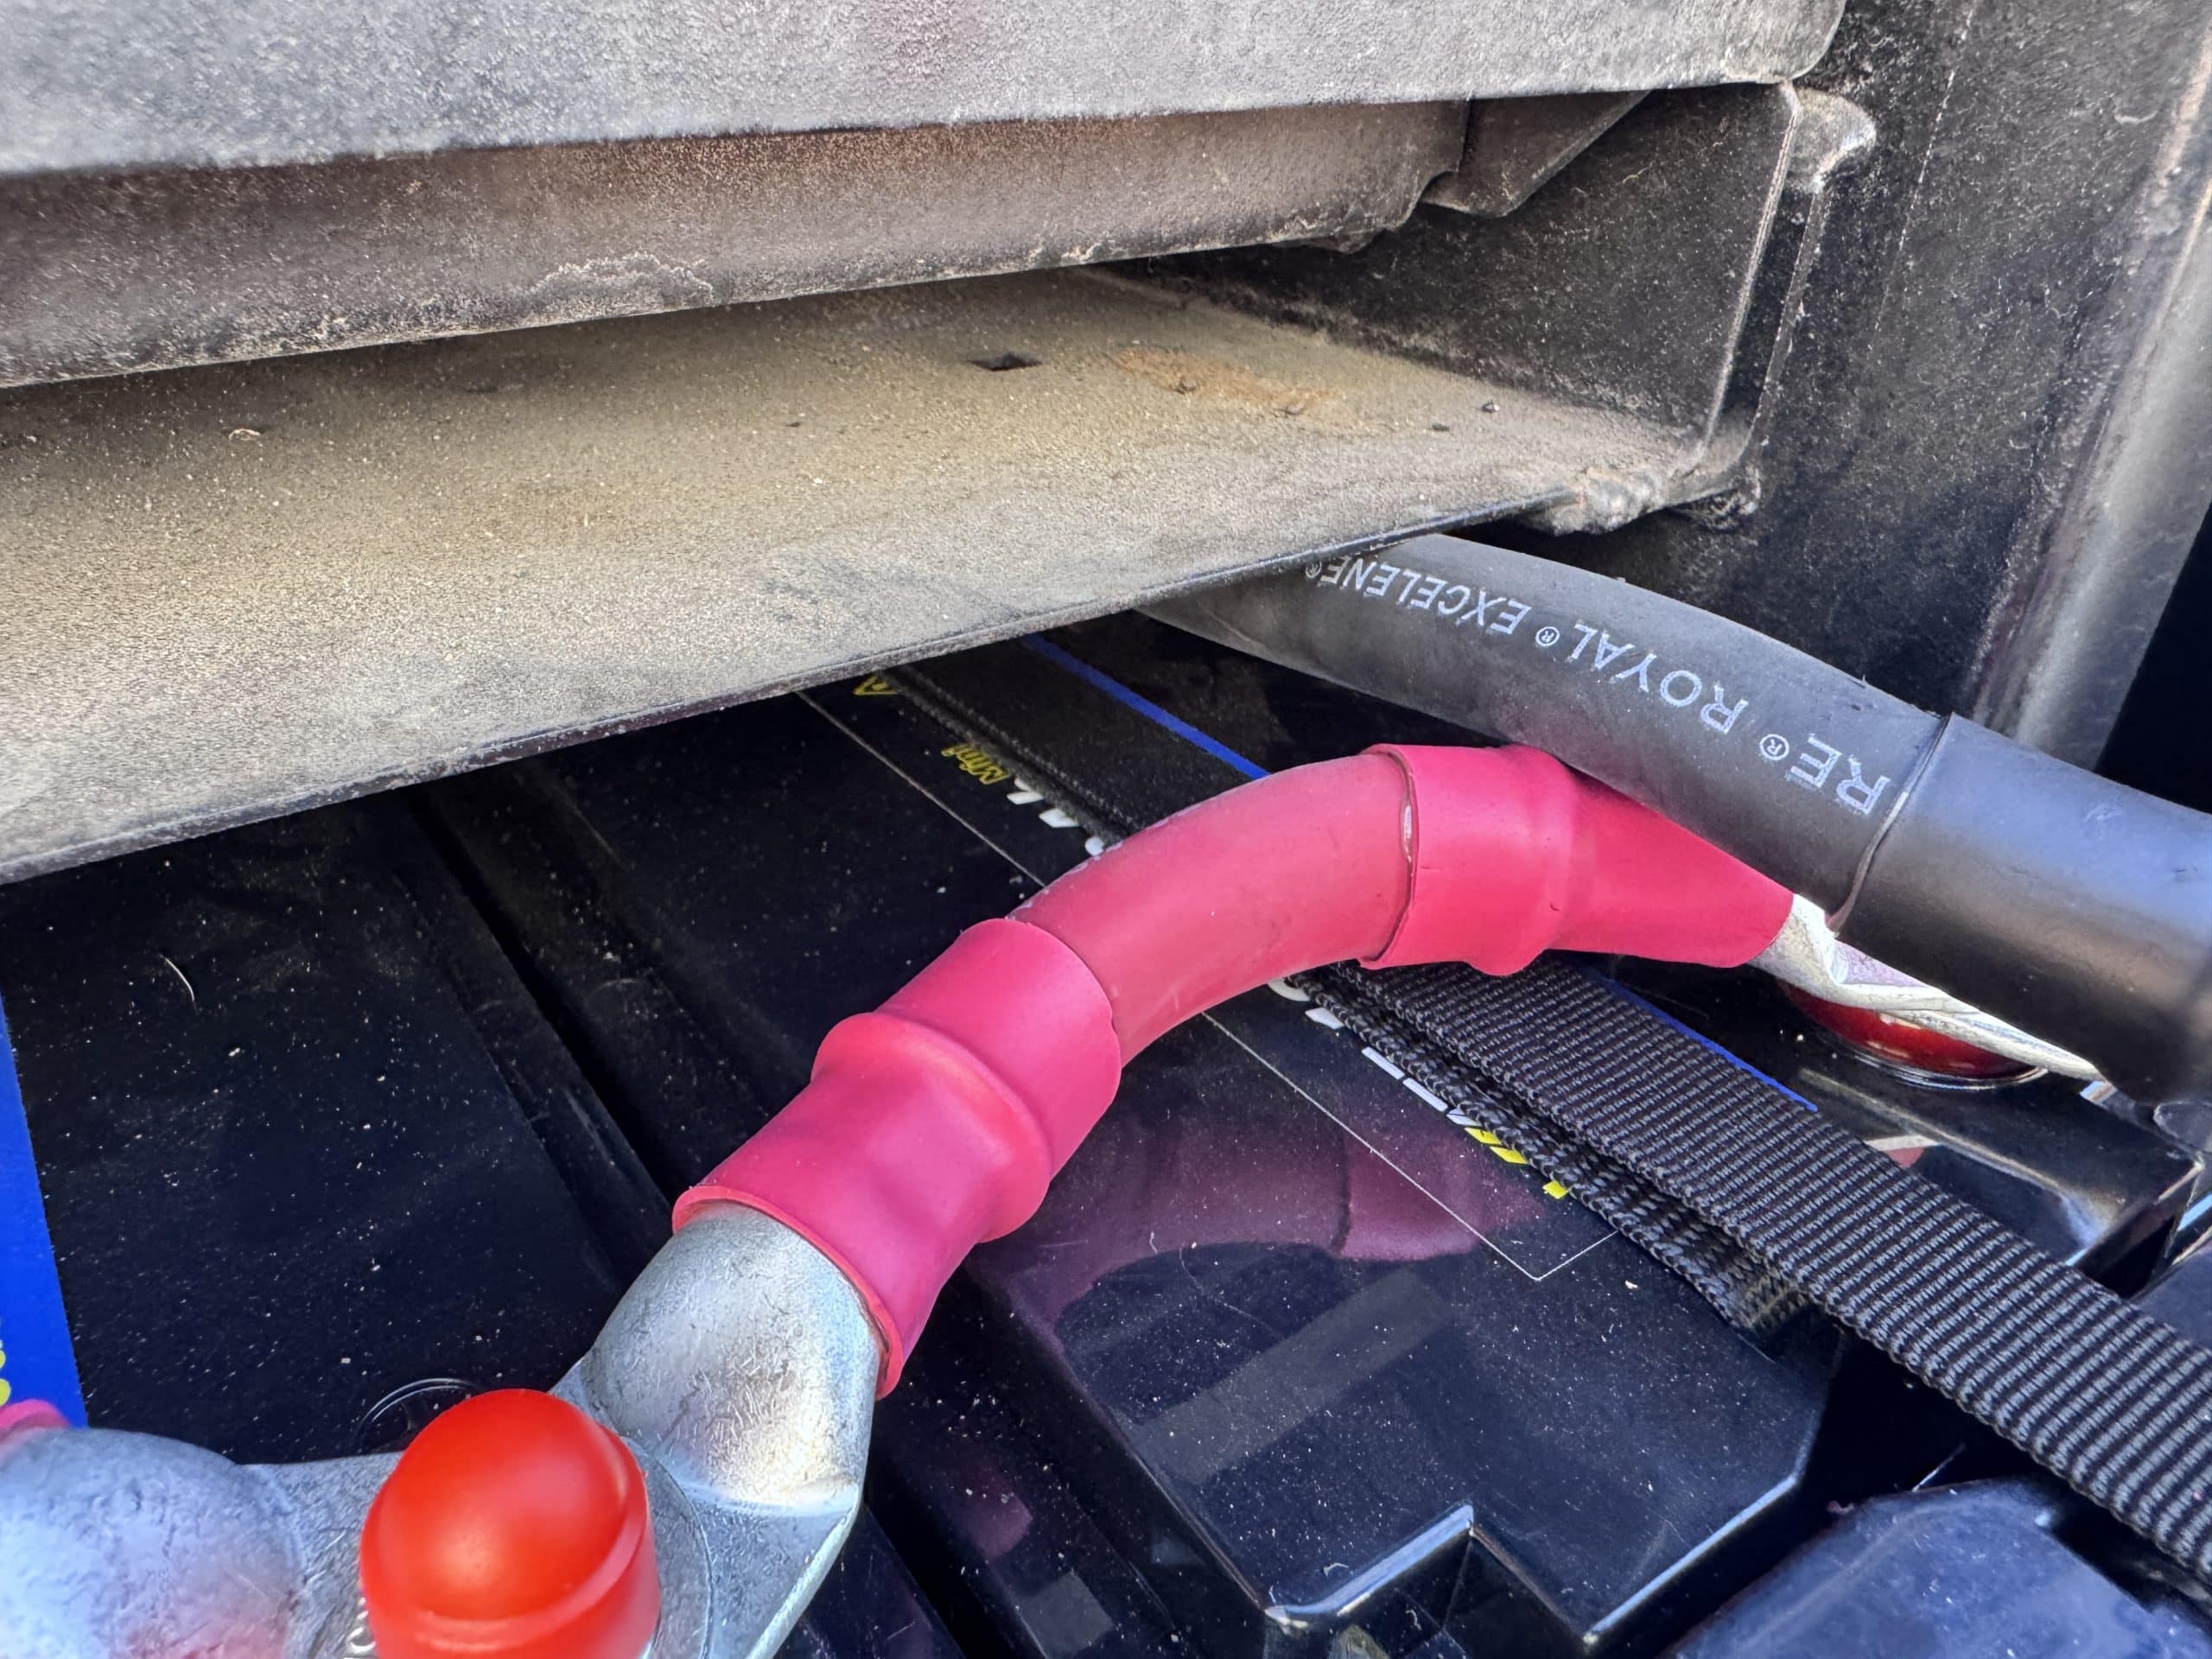
This installation was completed in October of 2026. The owner of this motorhome was a friend of a previous customer of mine. He contacted me because he wanted to upgrade the existing system in his motorhome. We discussed several options and ultimately settled on a plan for the upgrade. The owner decided to purchase and install his own lithium batteries. He went with Watt Cycle Mini 12 volt lithium batteries because they fit the OEM battery trays. He was able to fit 8 of these batteries on the OEM slide out battery tray. I wired the batteries together for the customer.
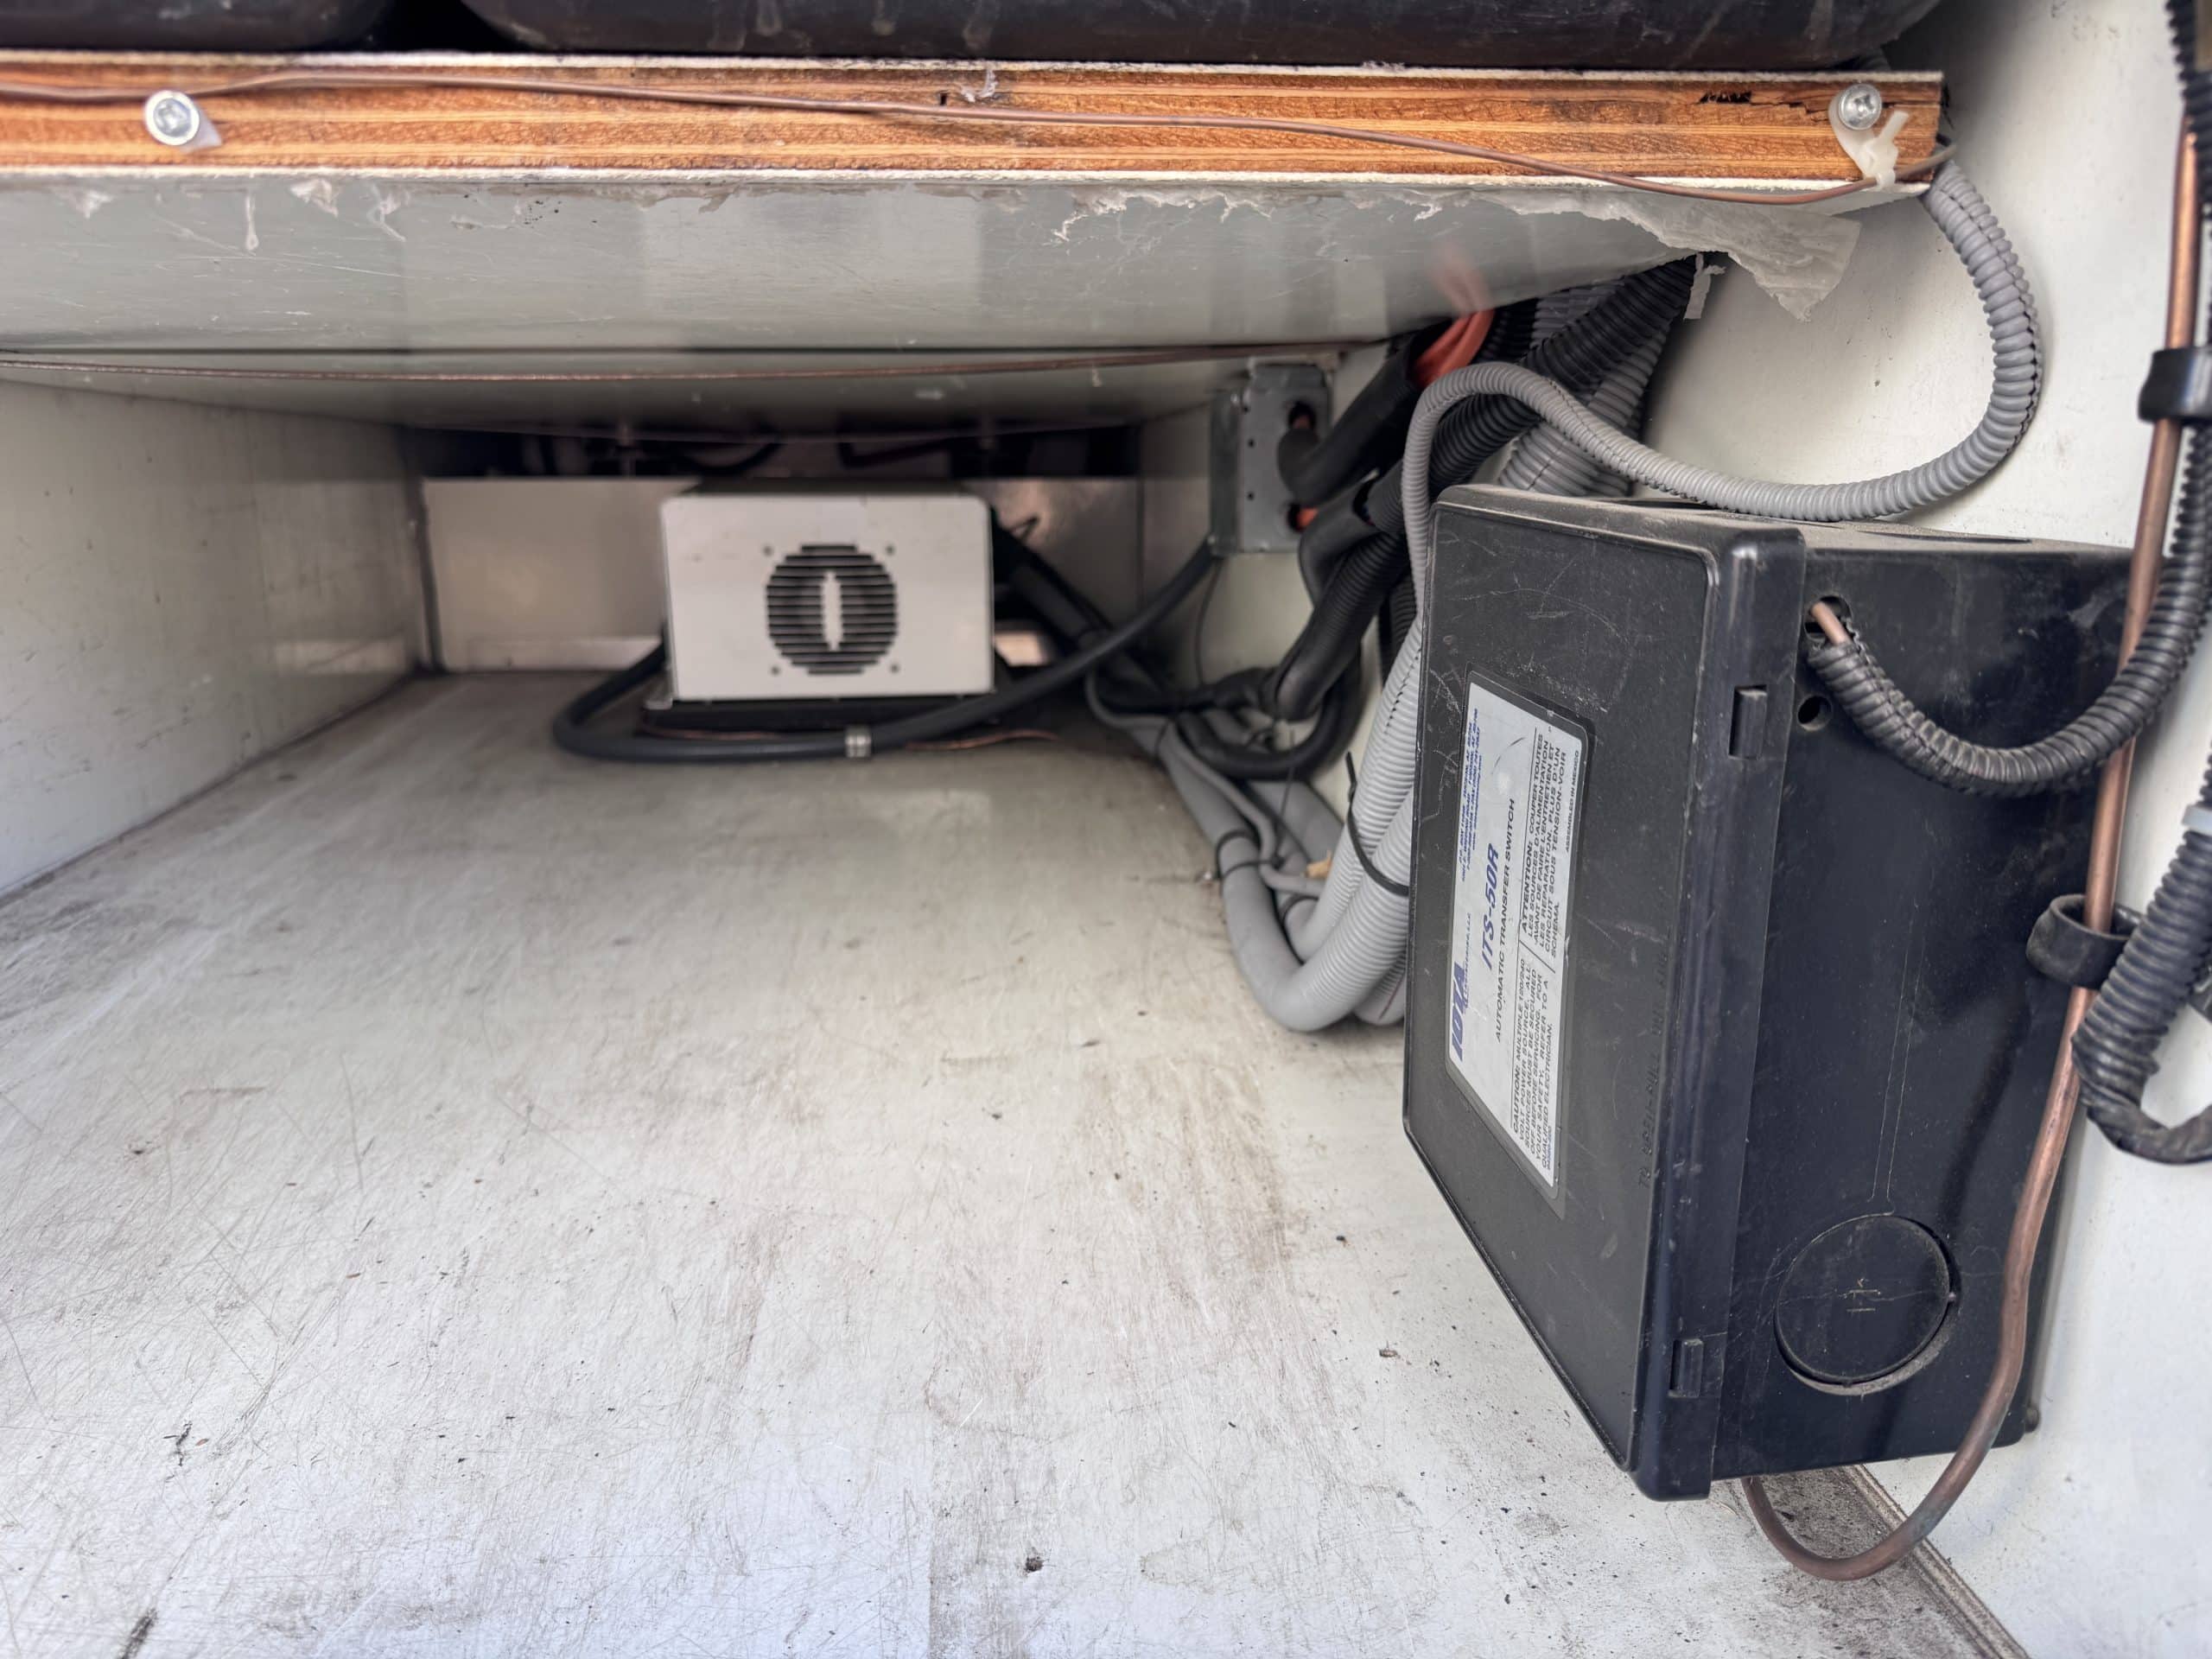
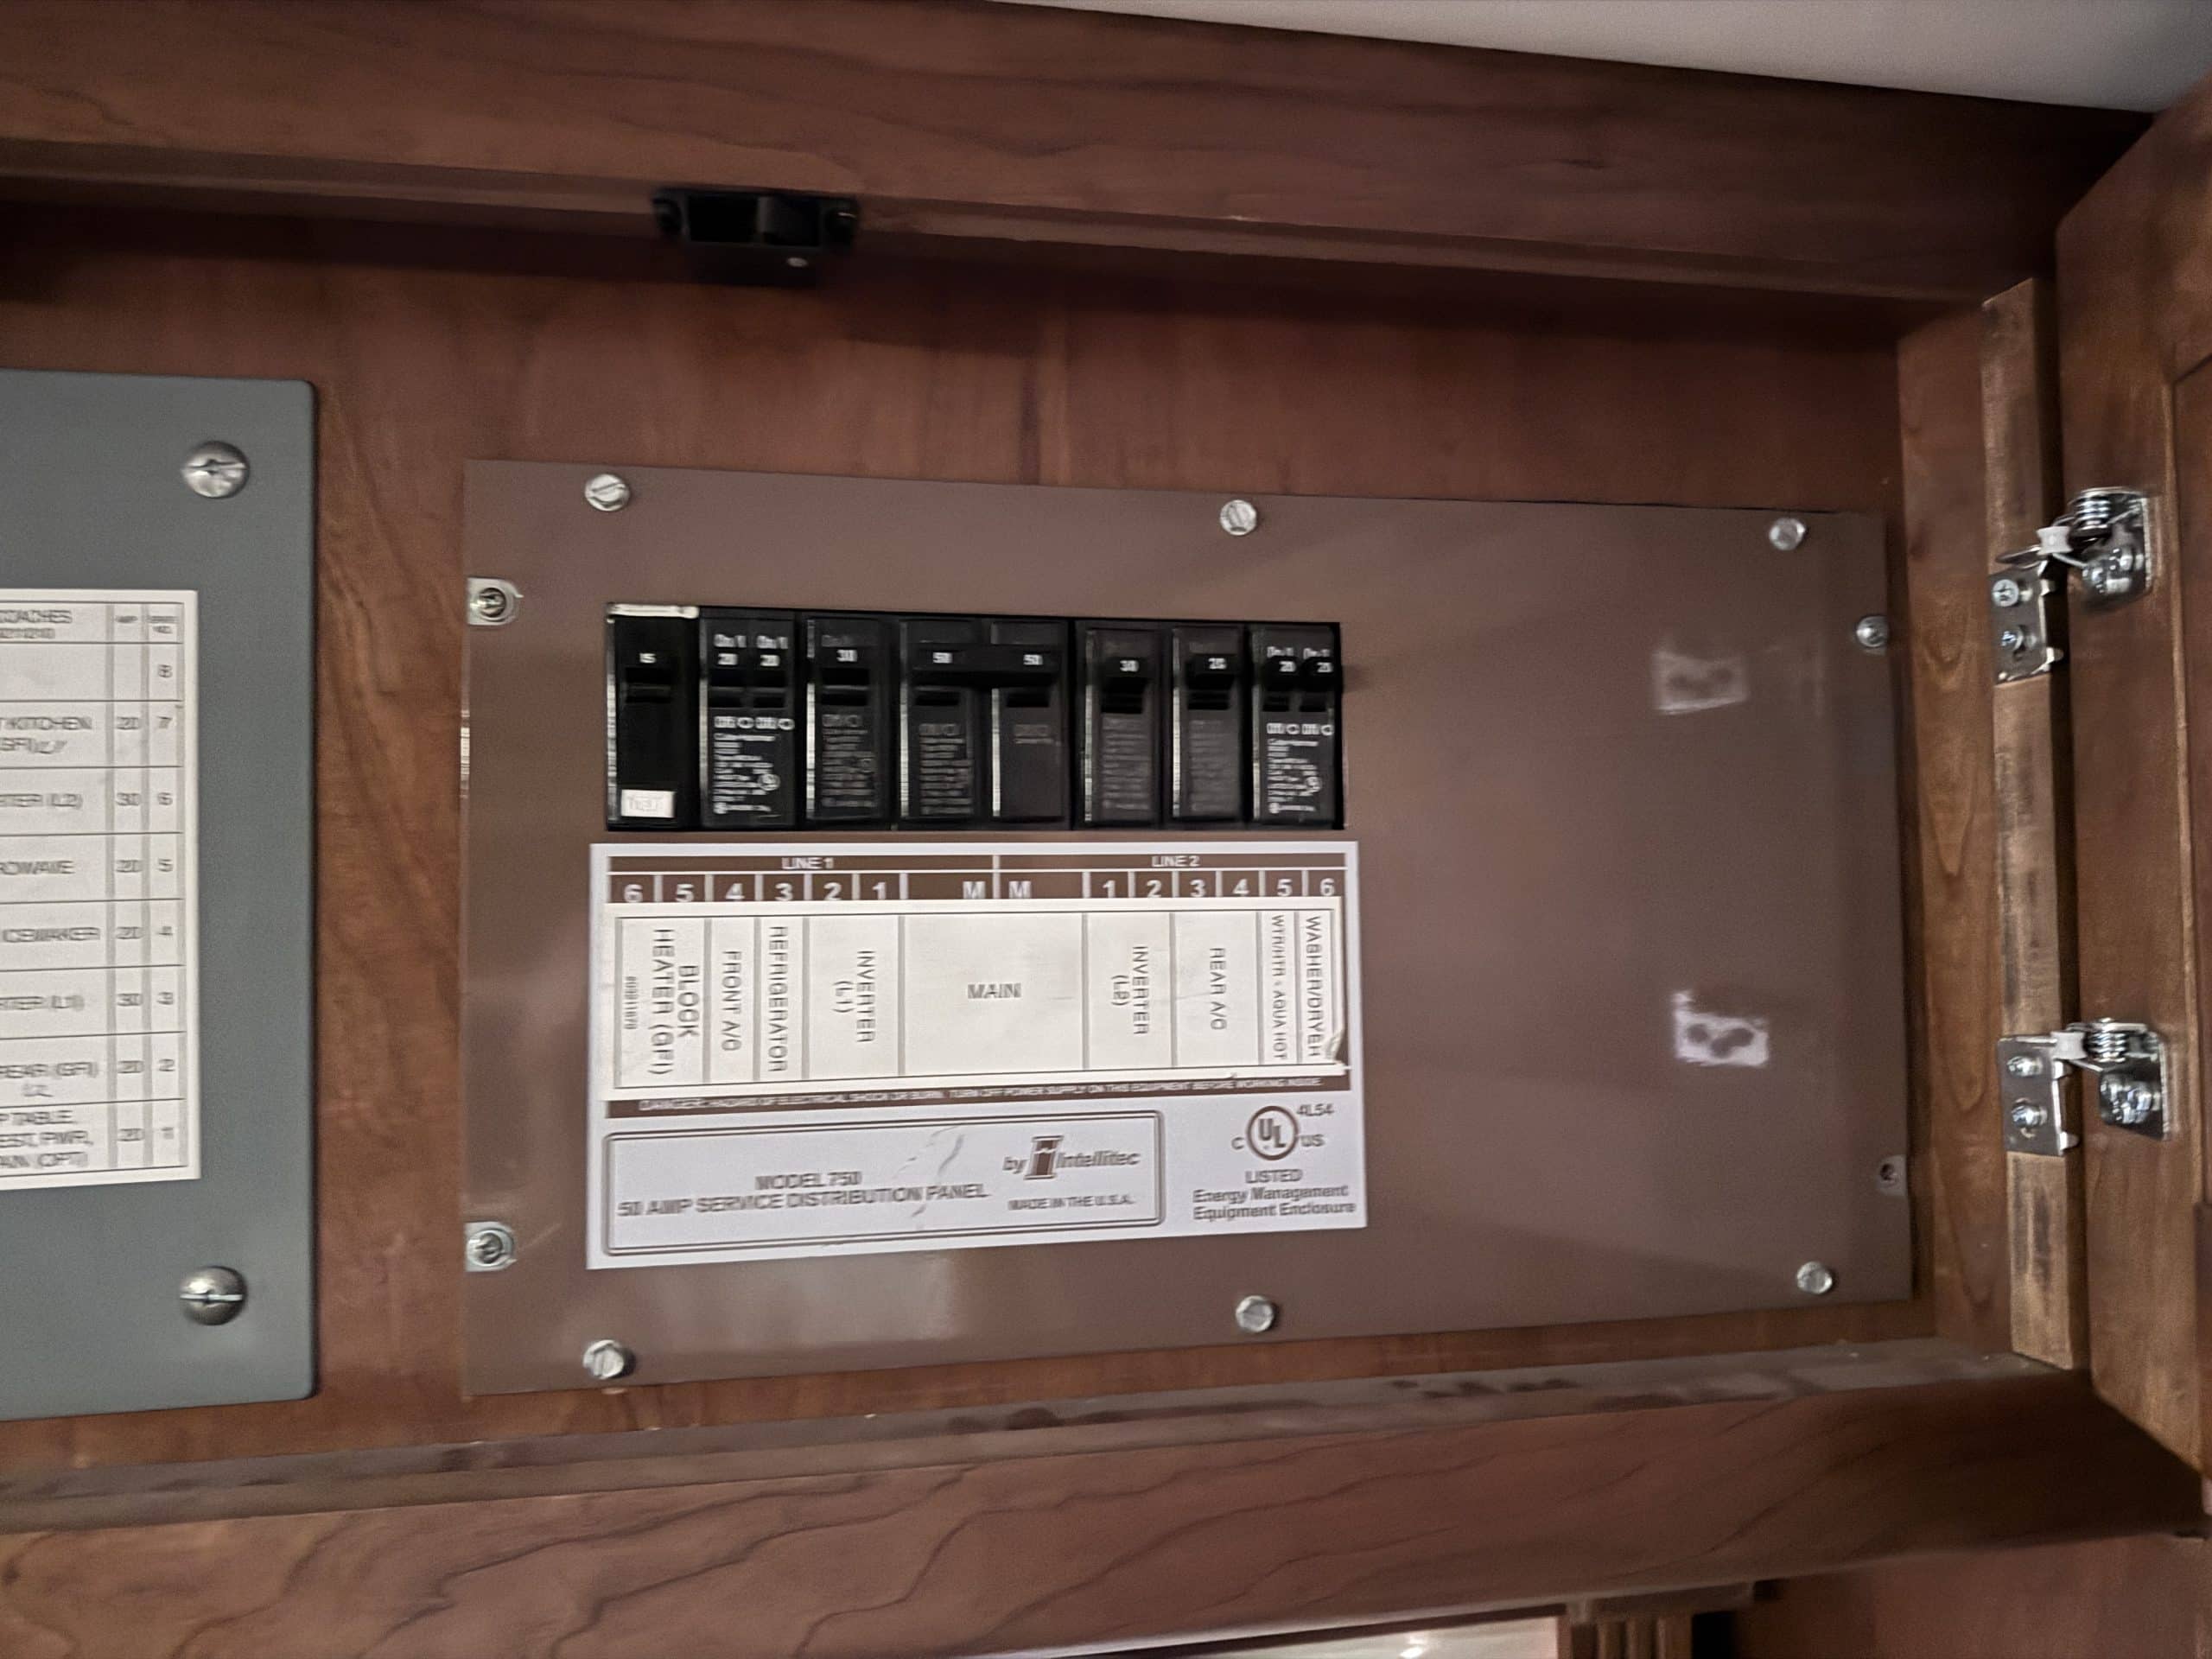
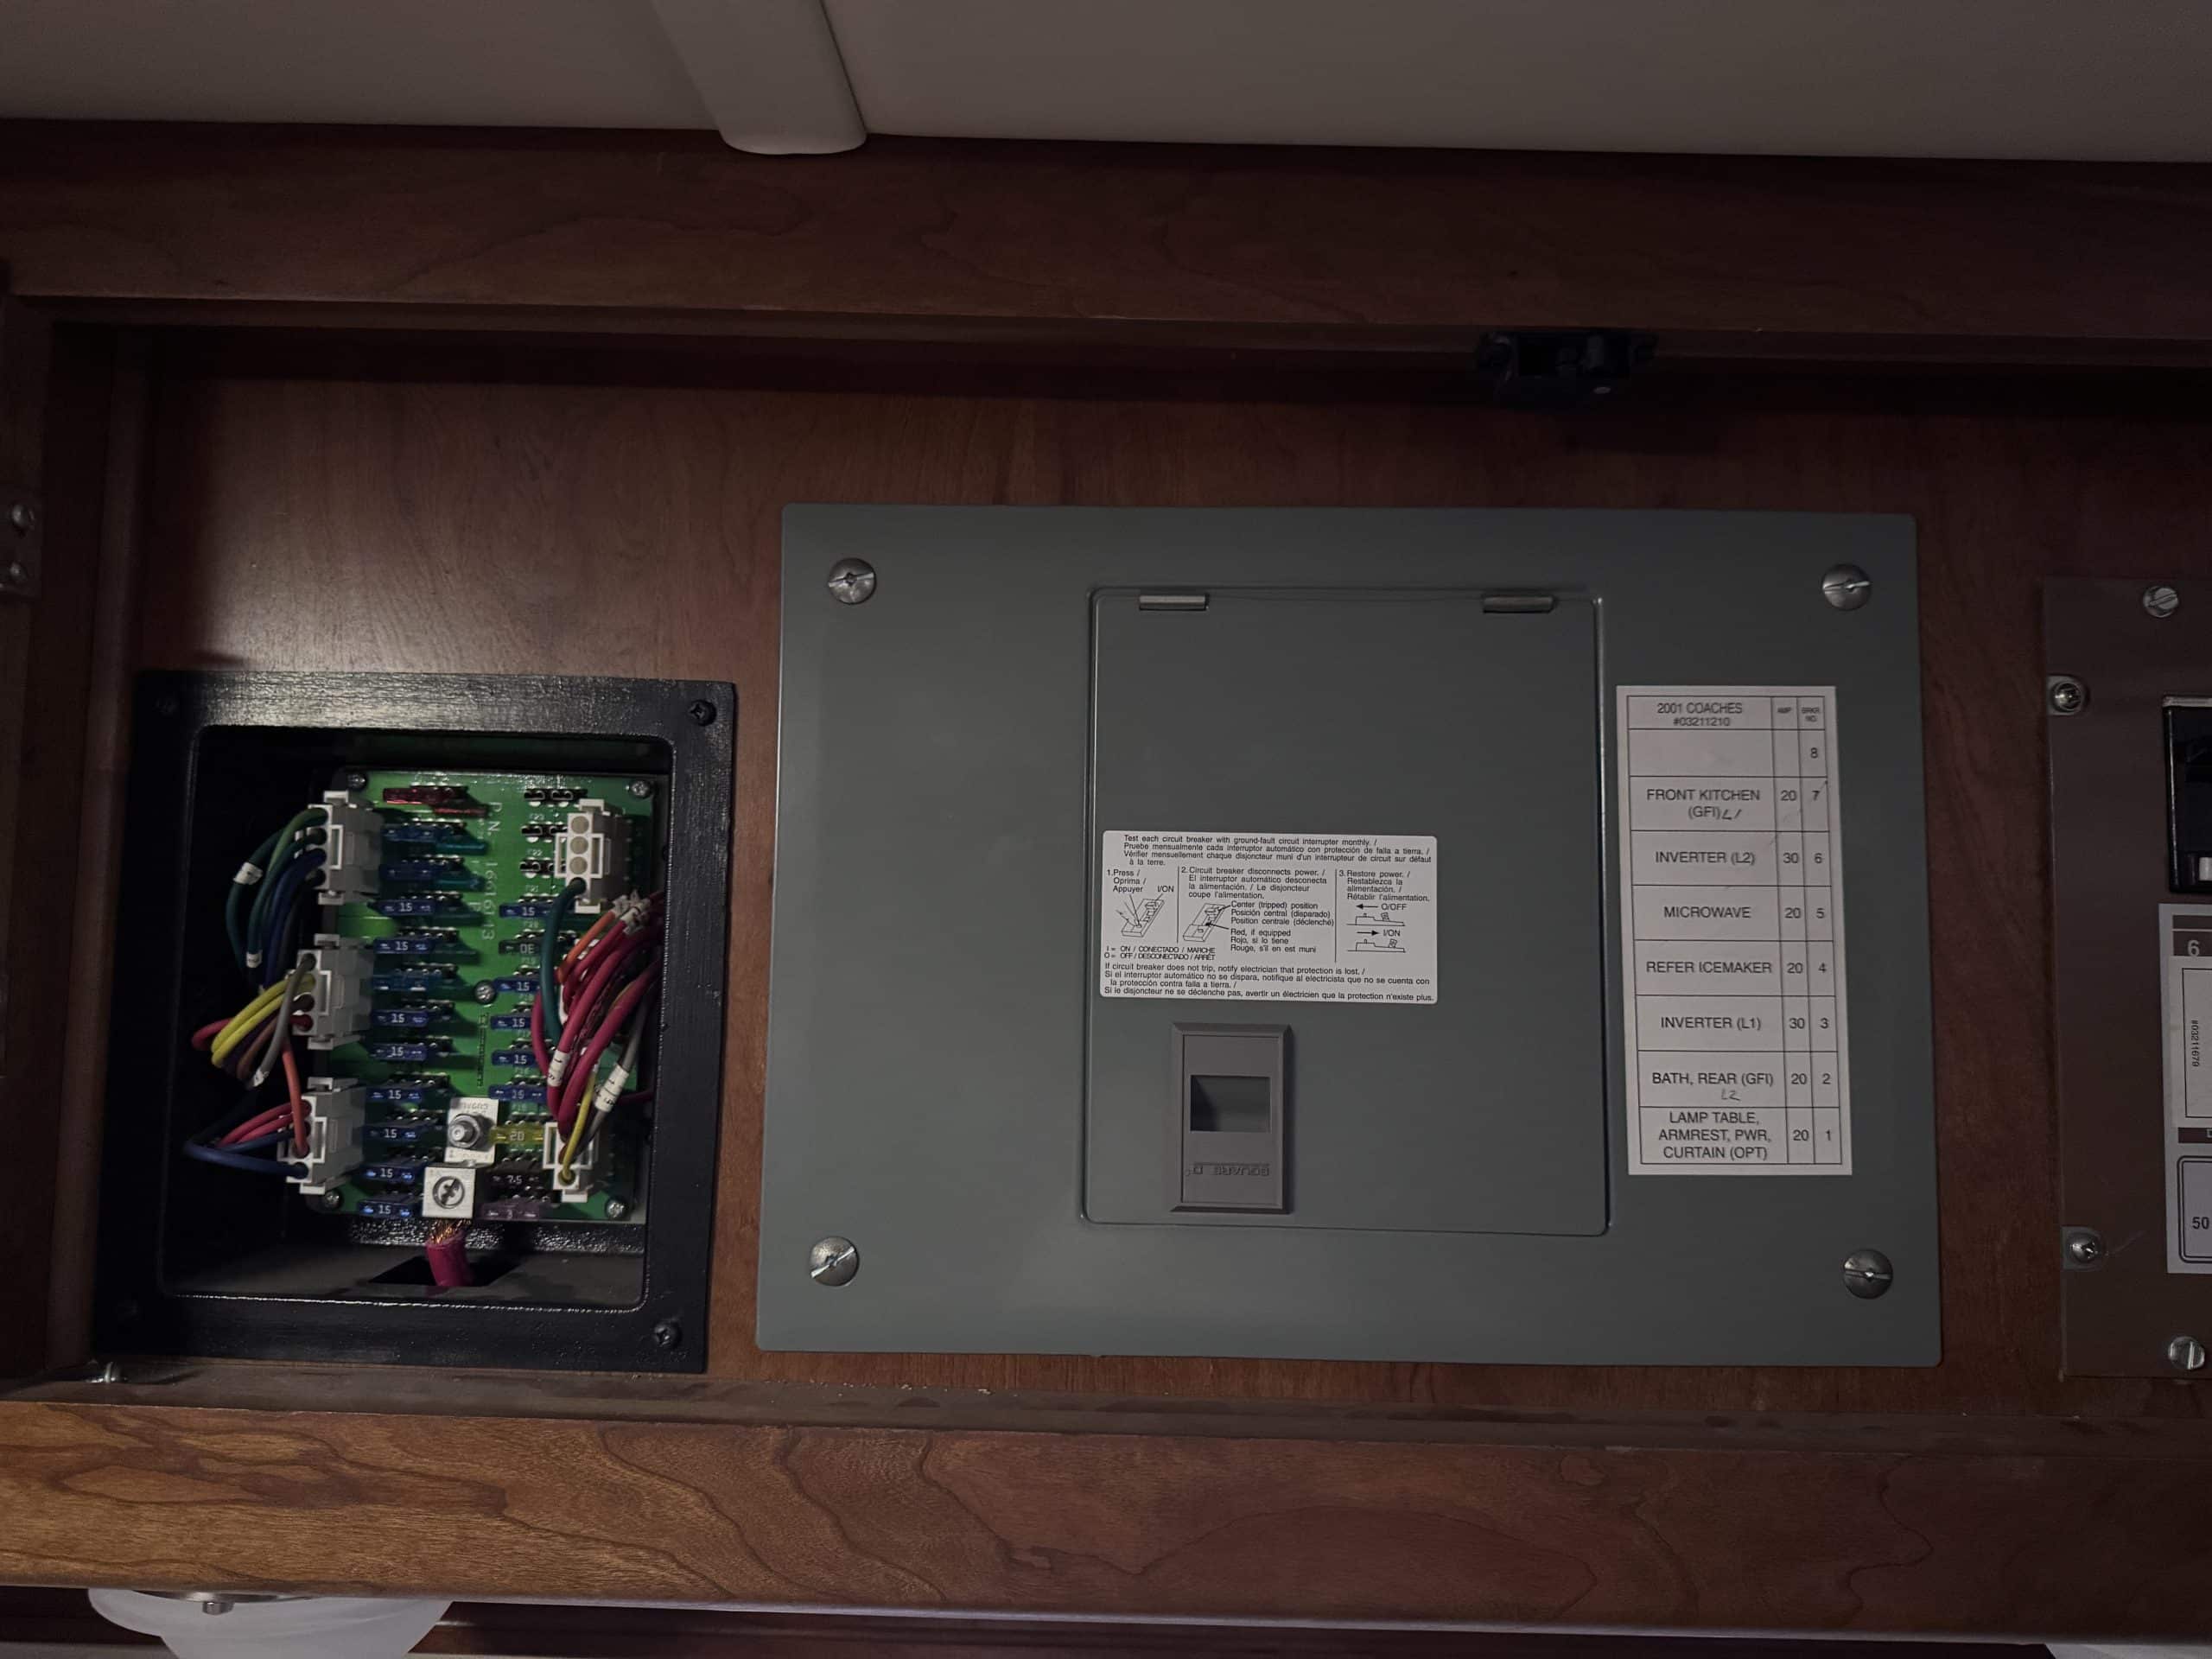
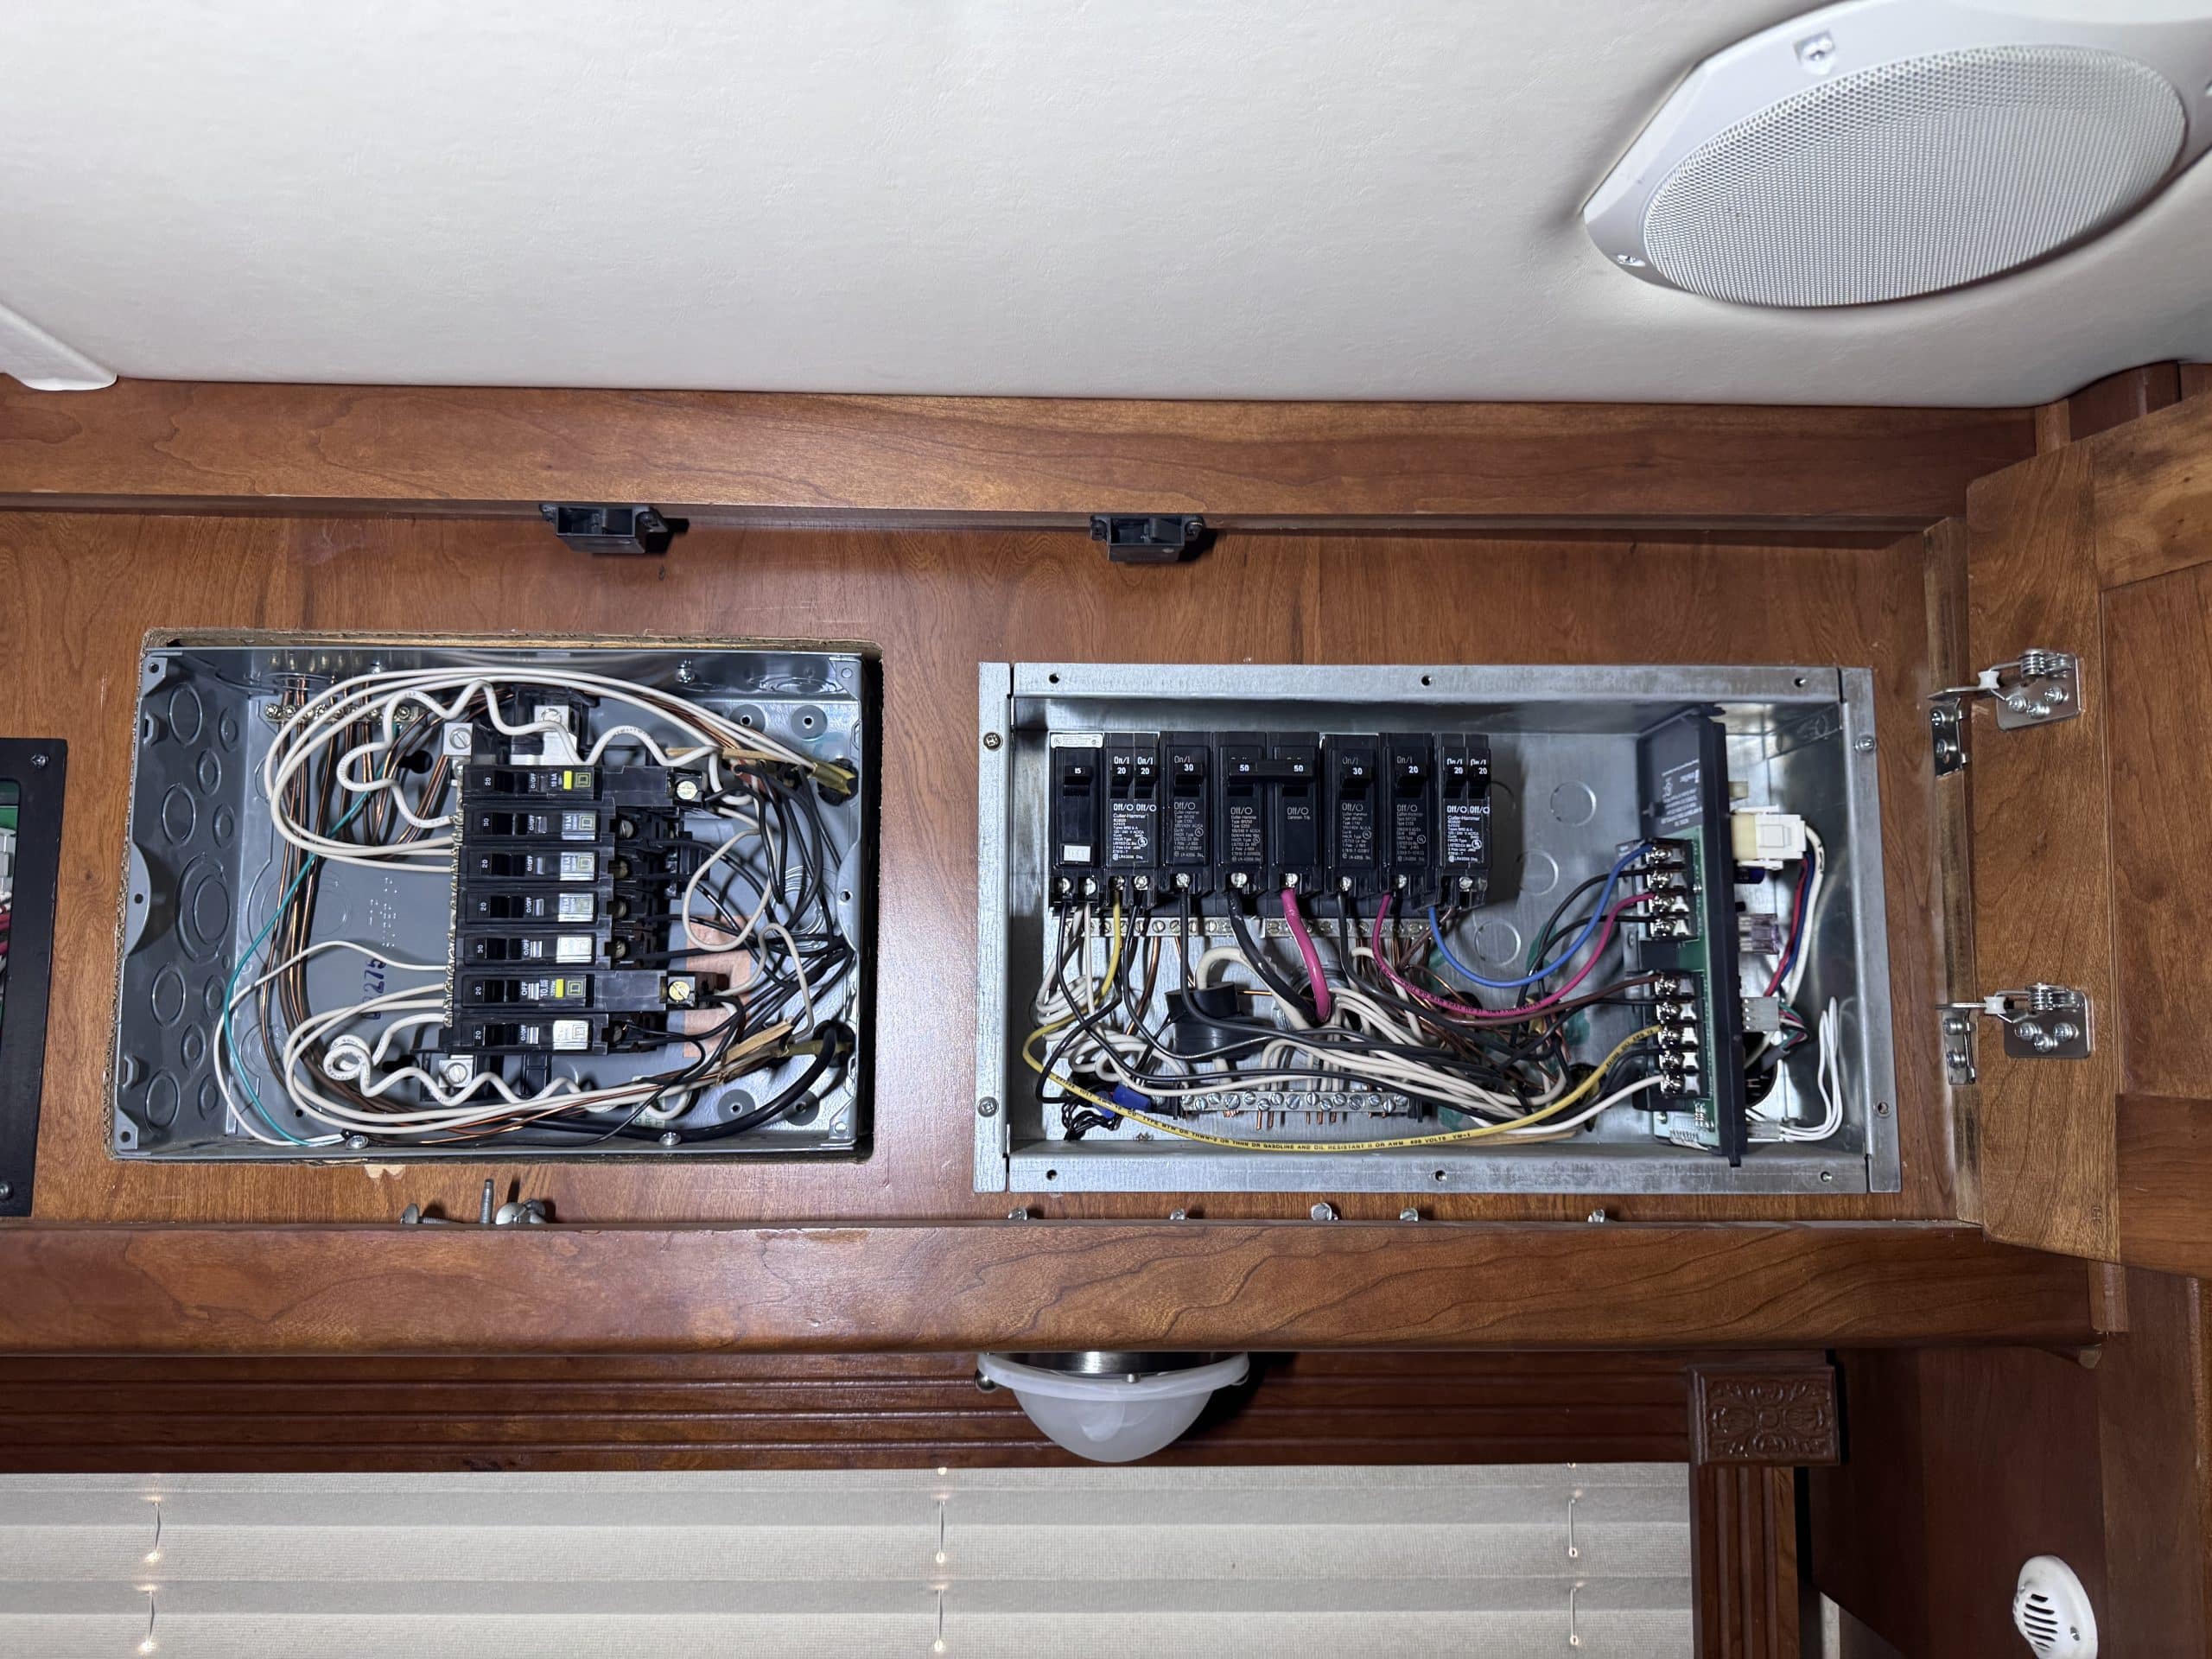
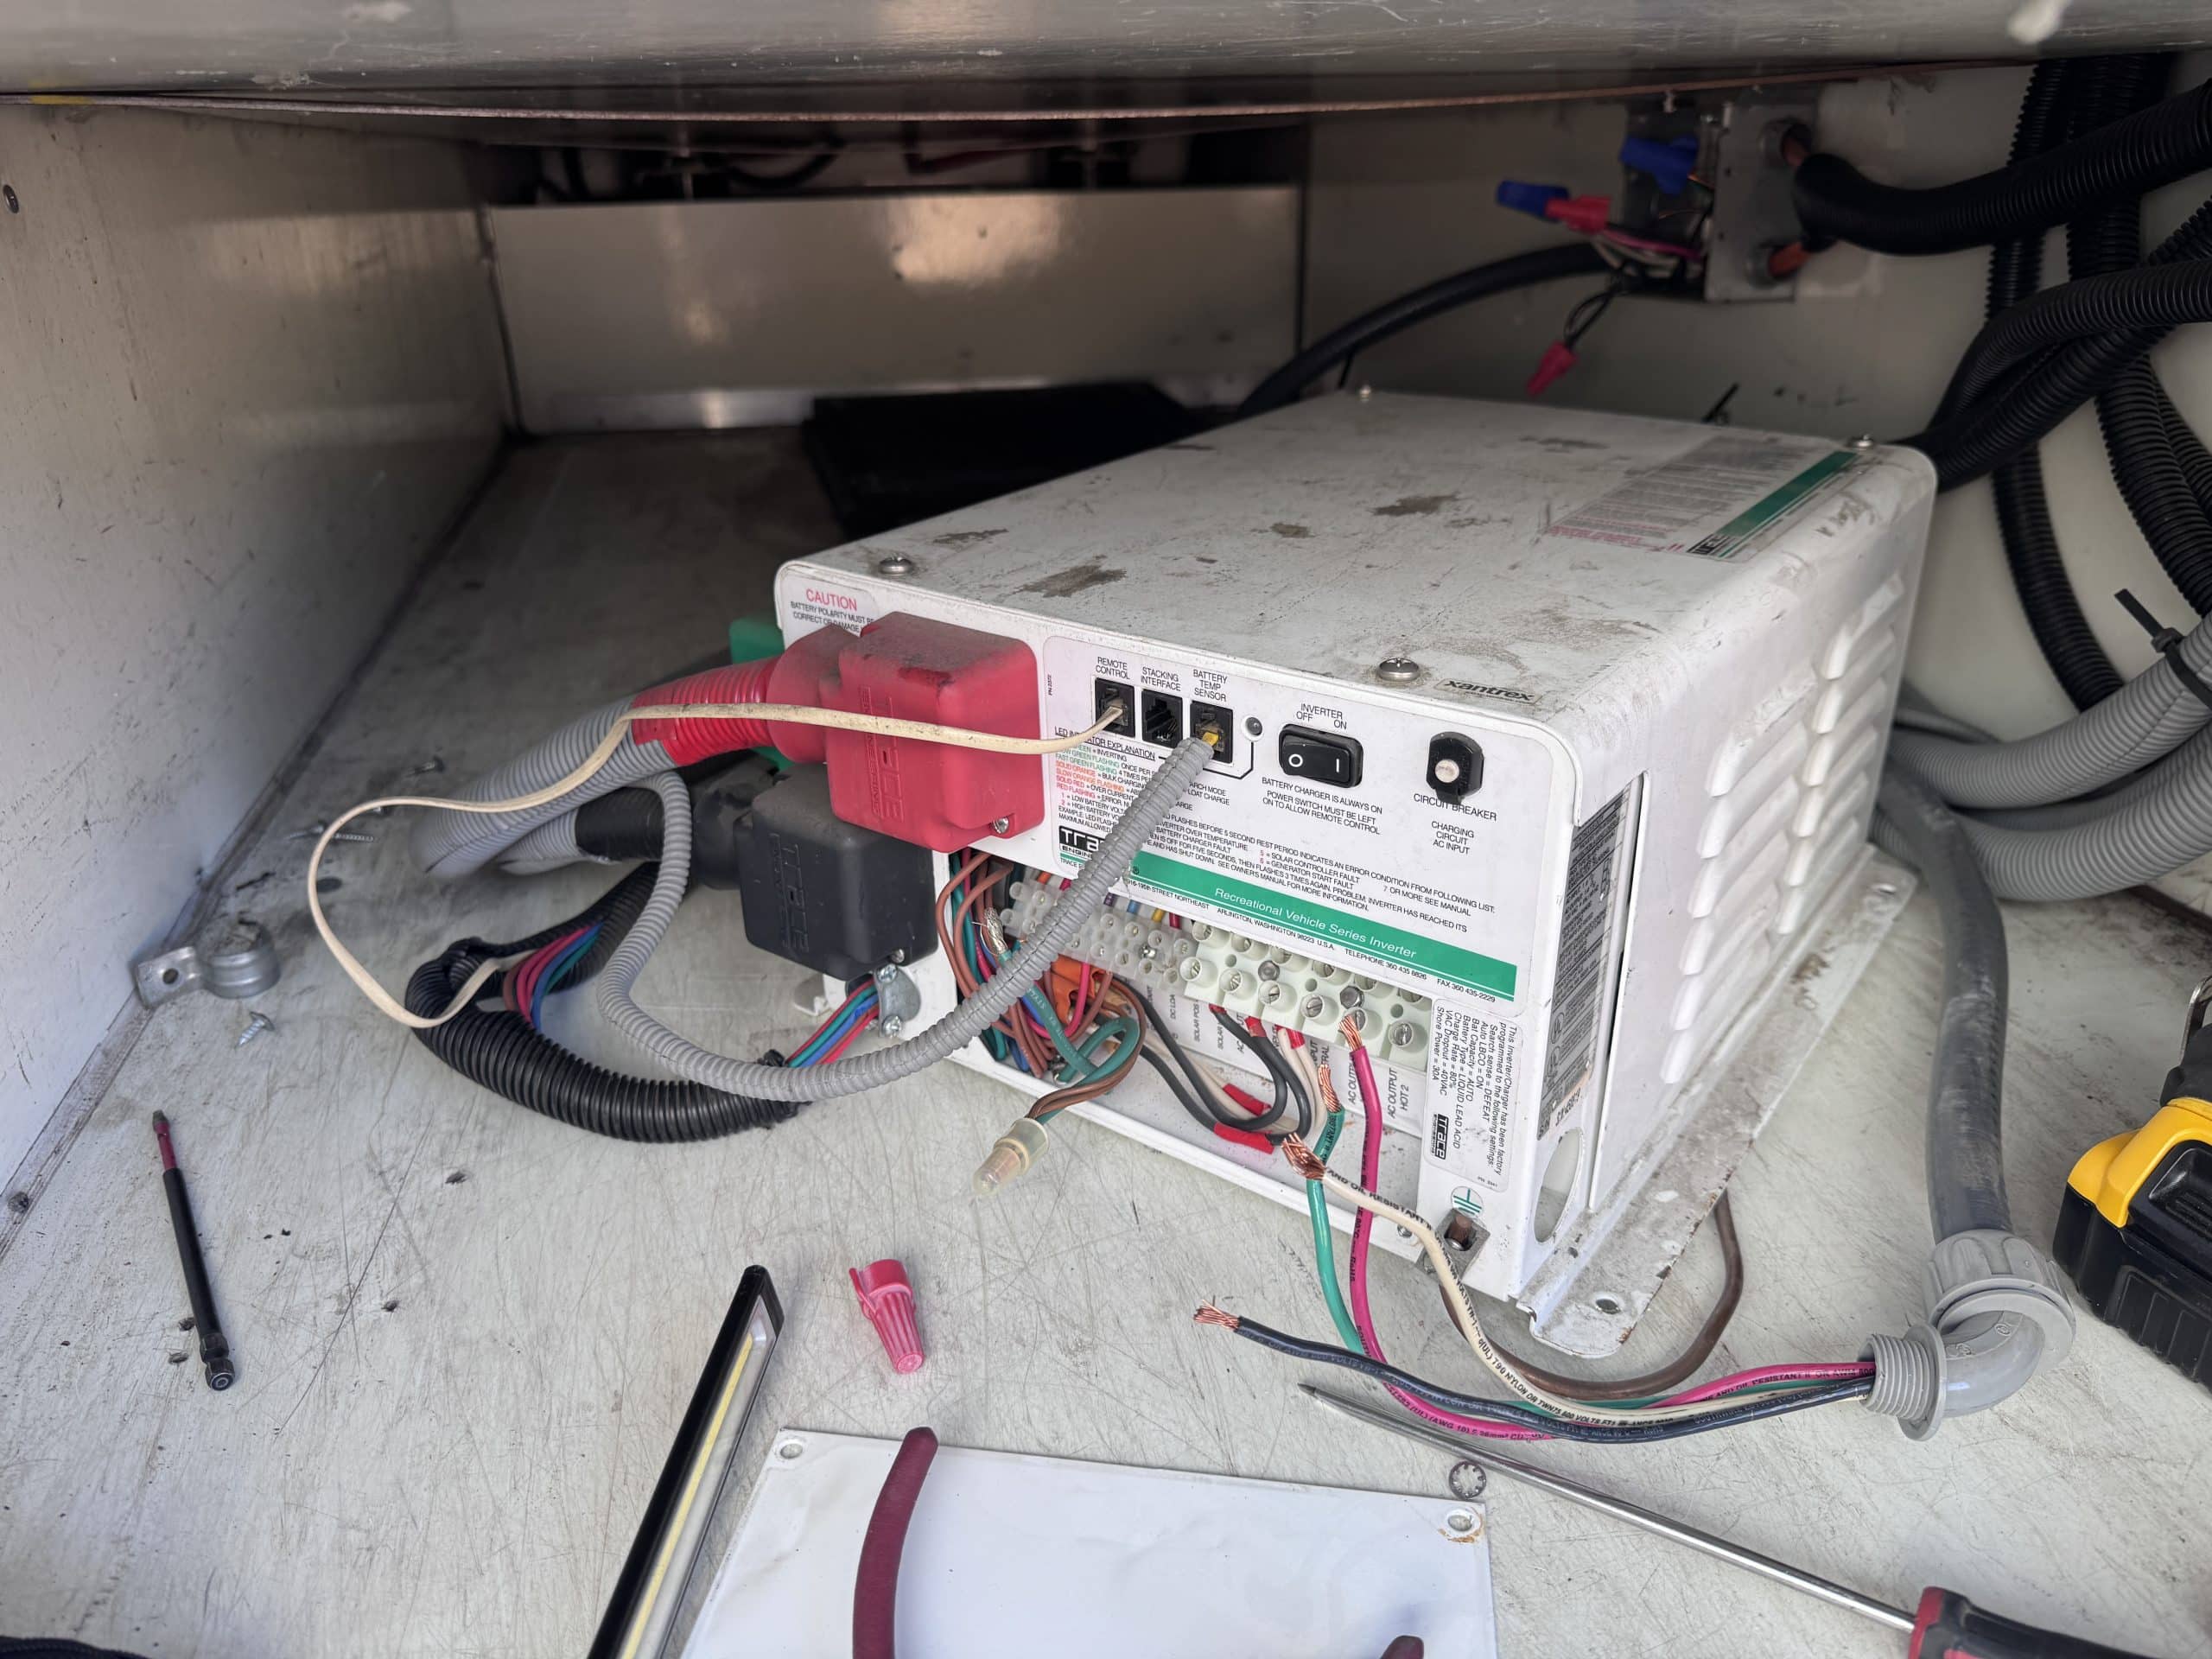
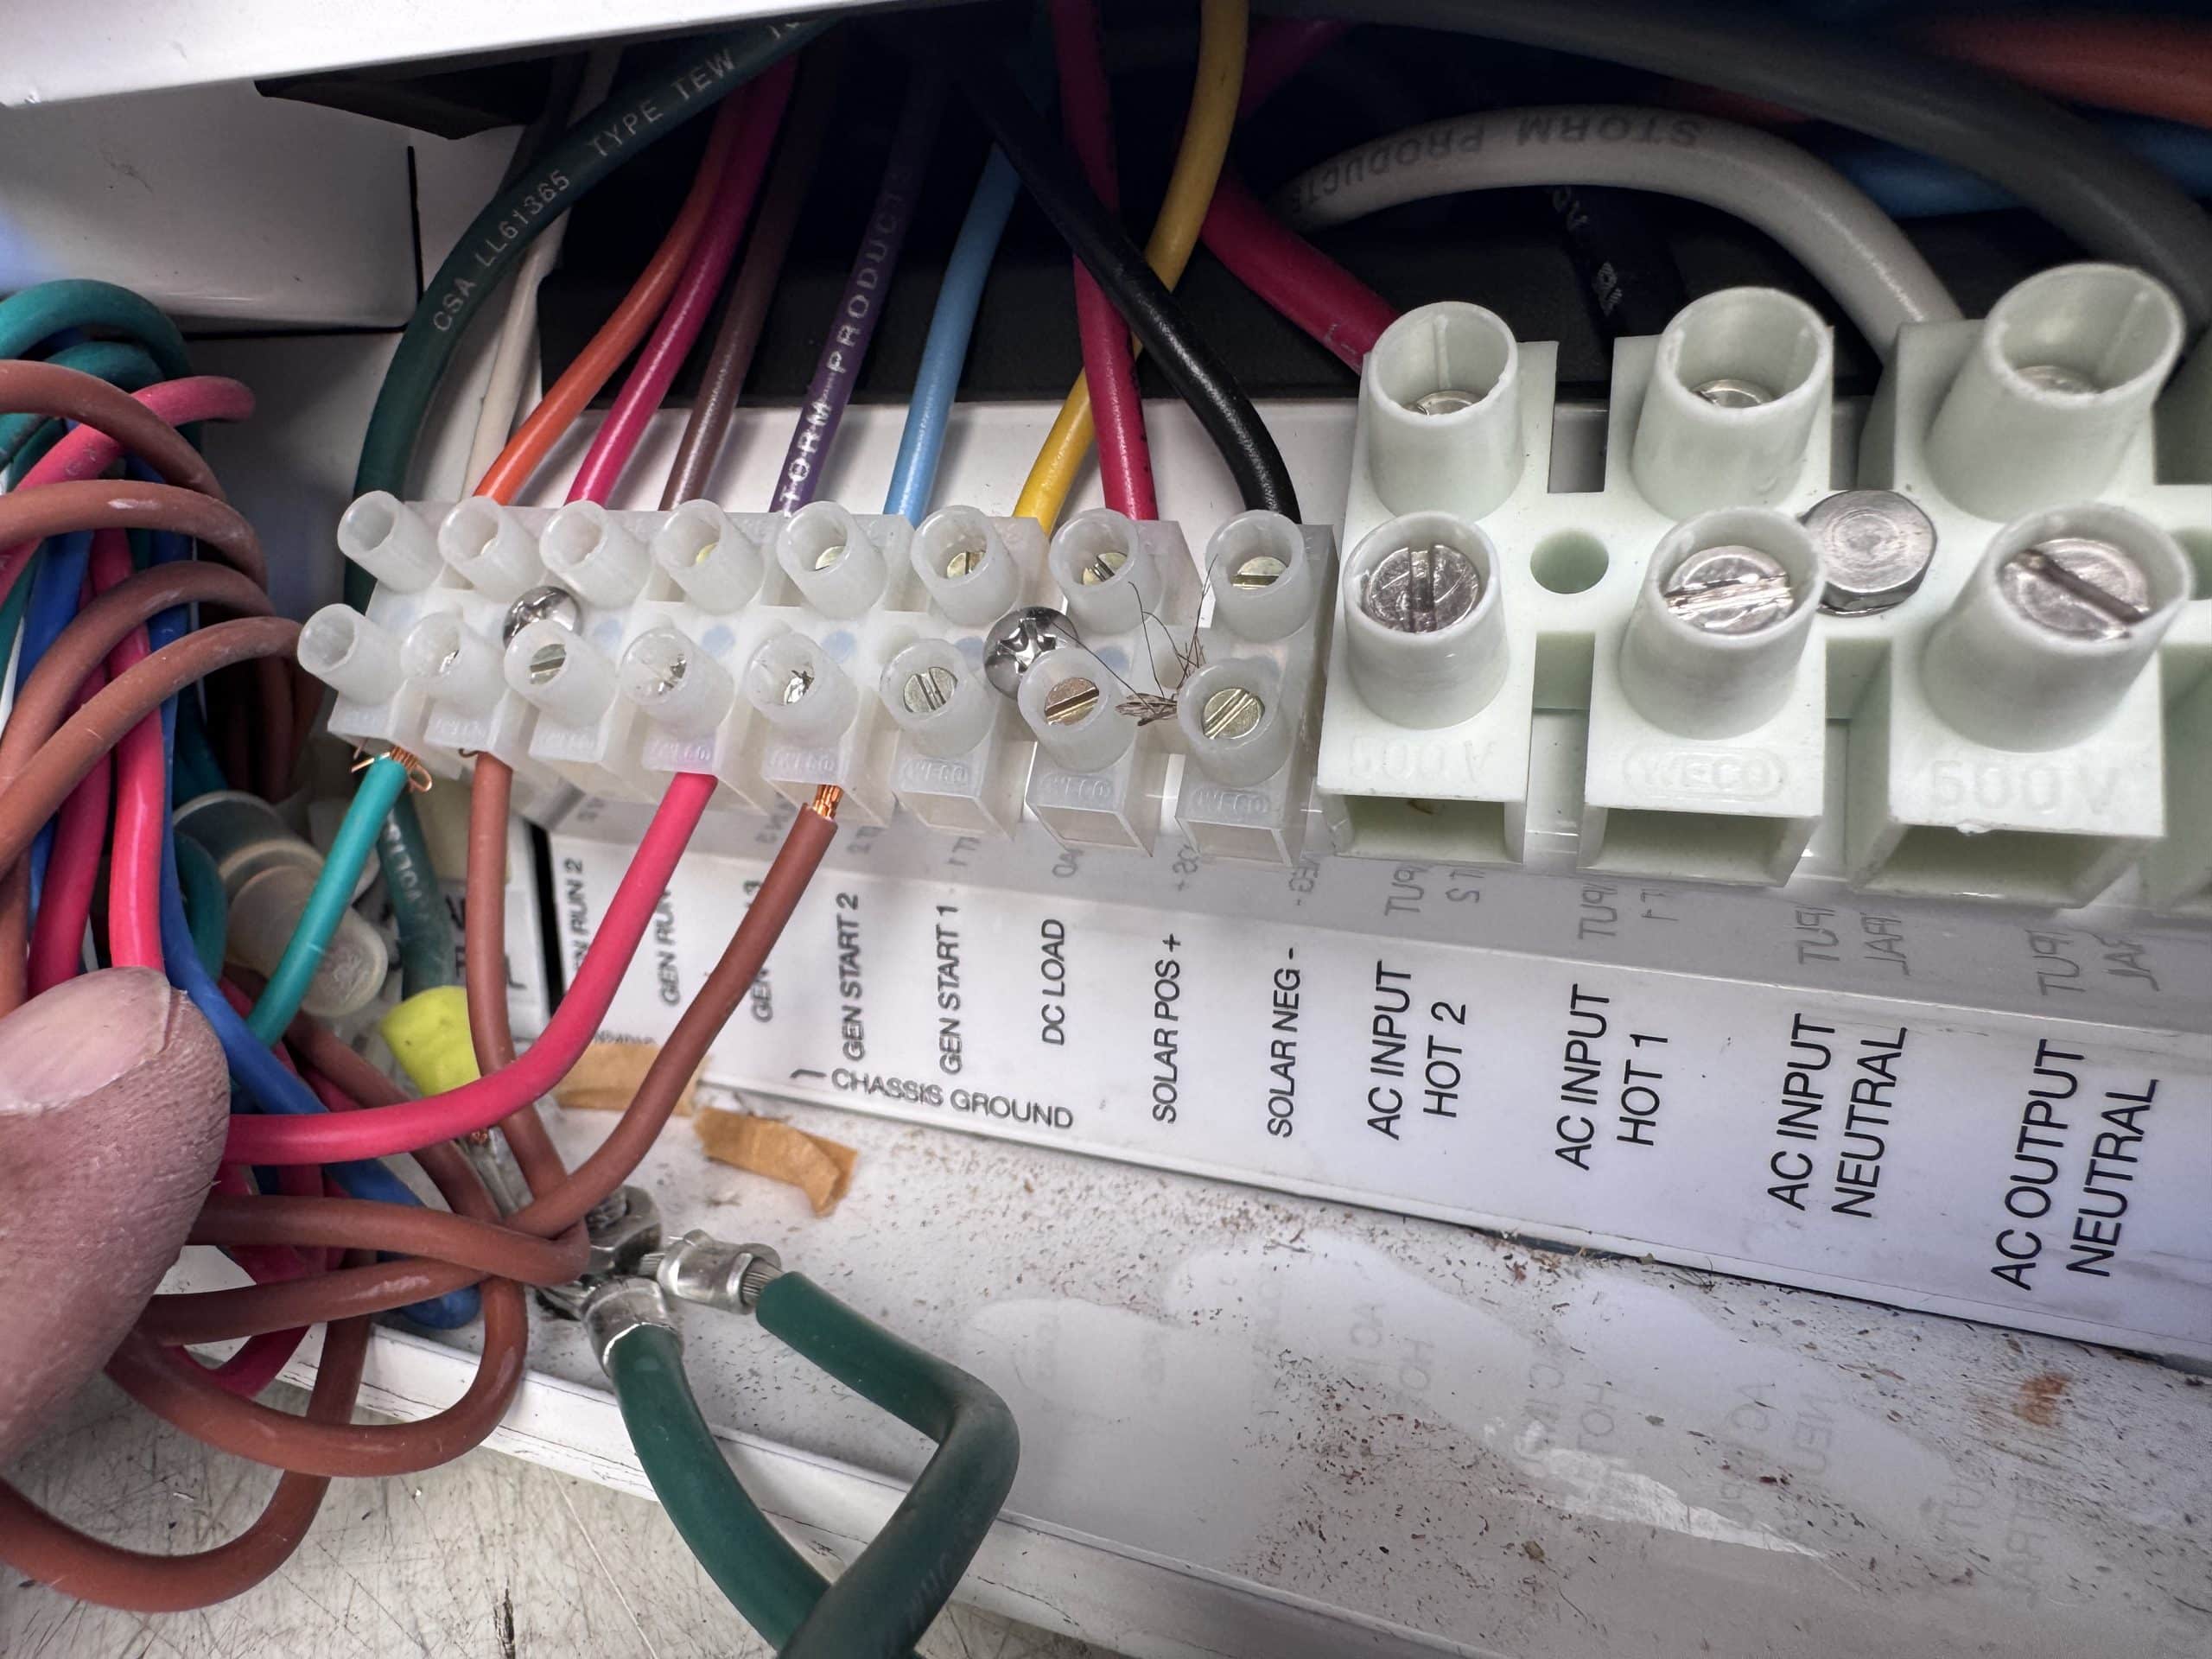
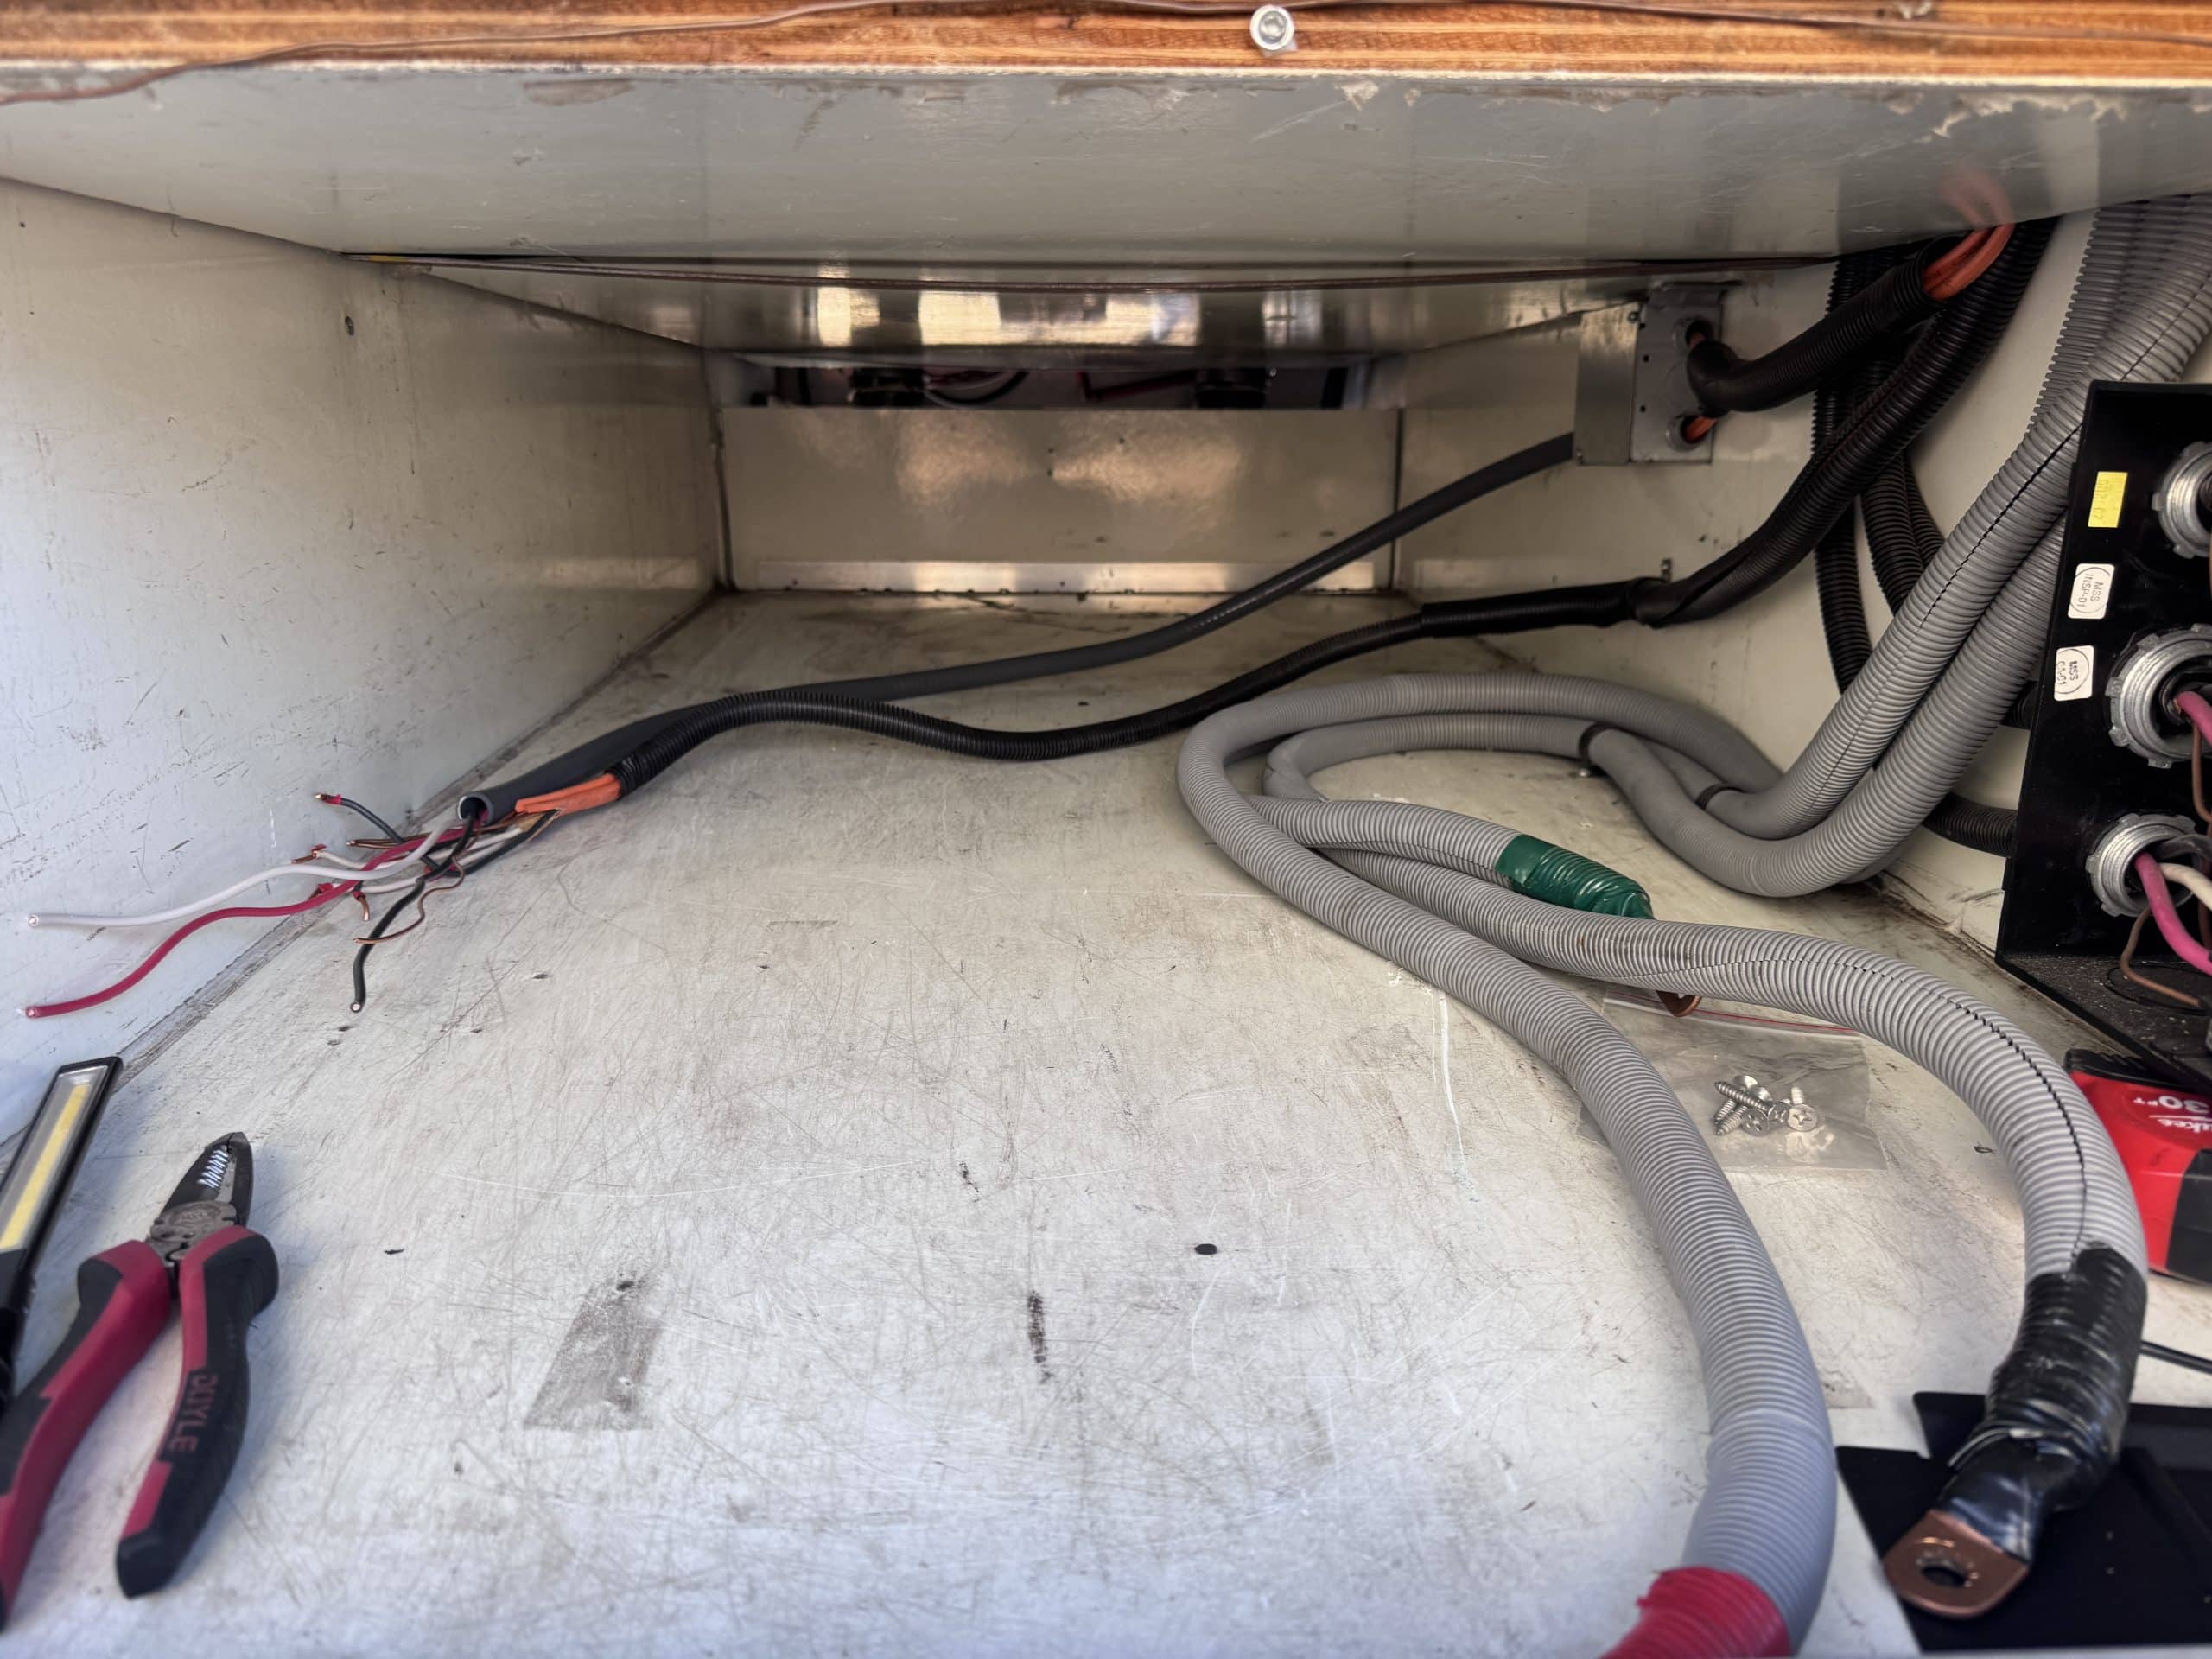
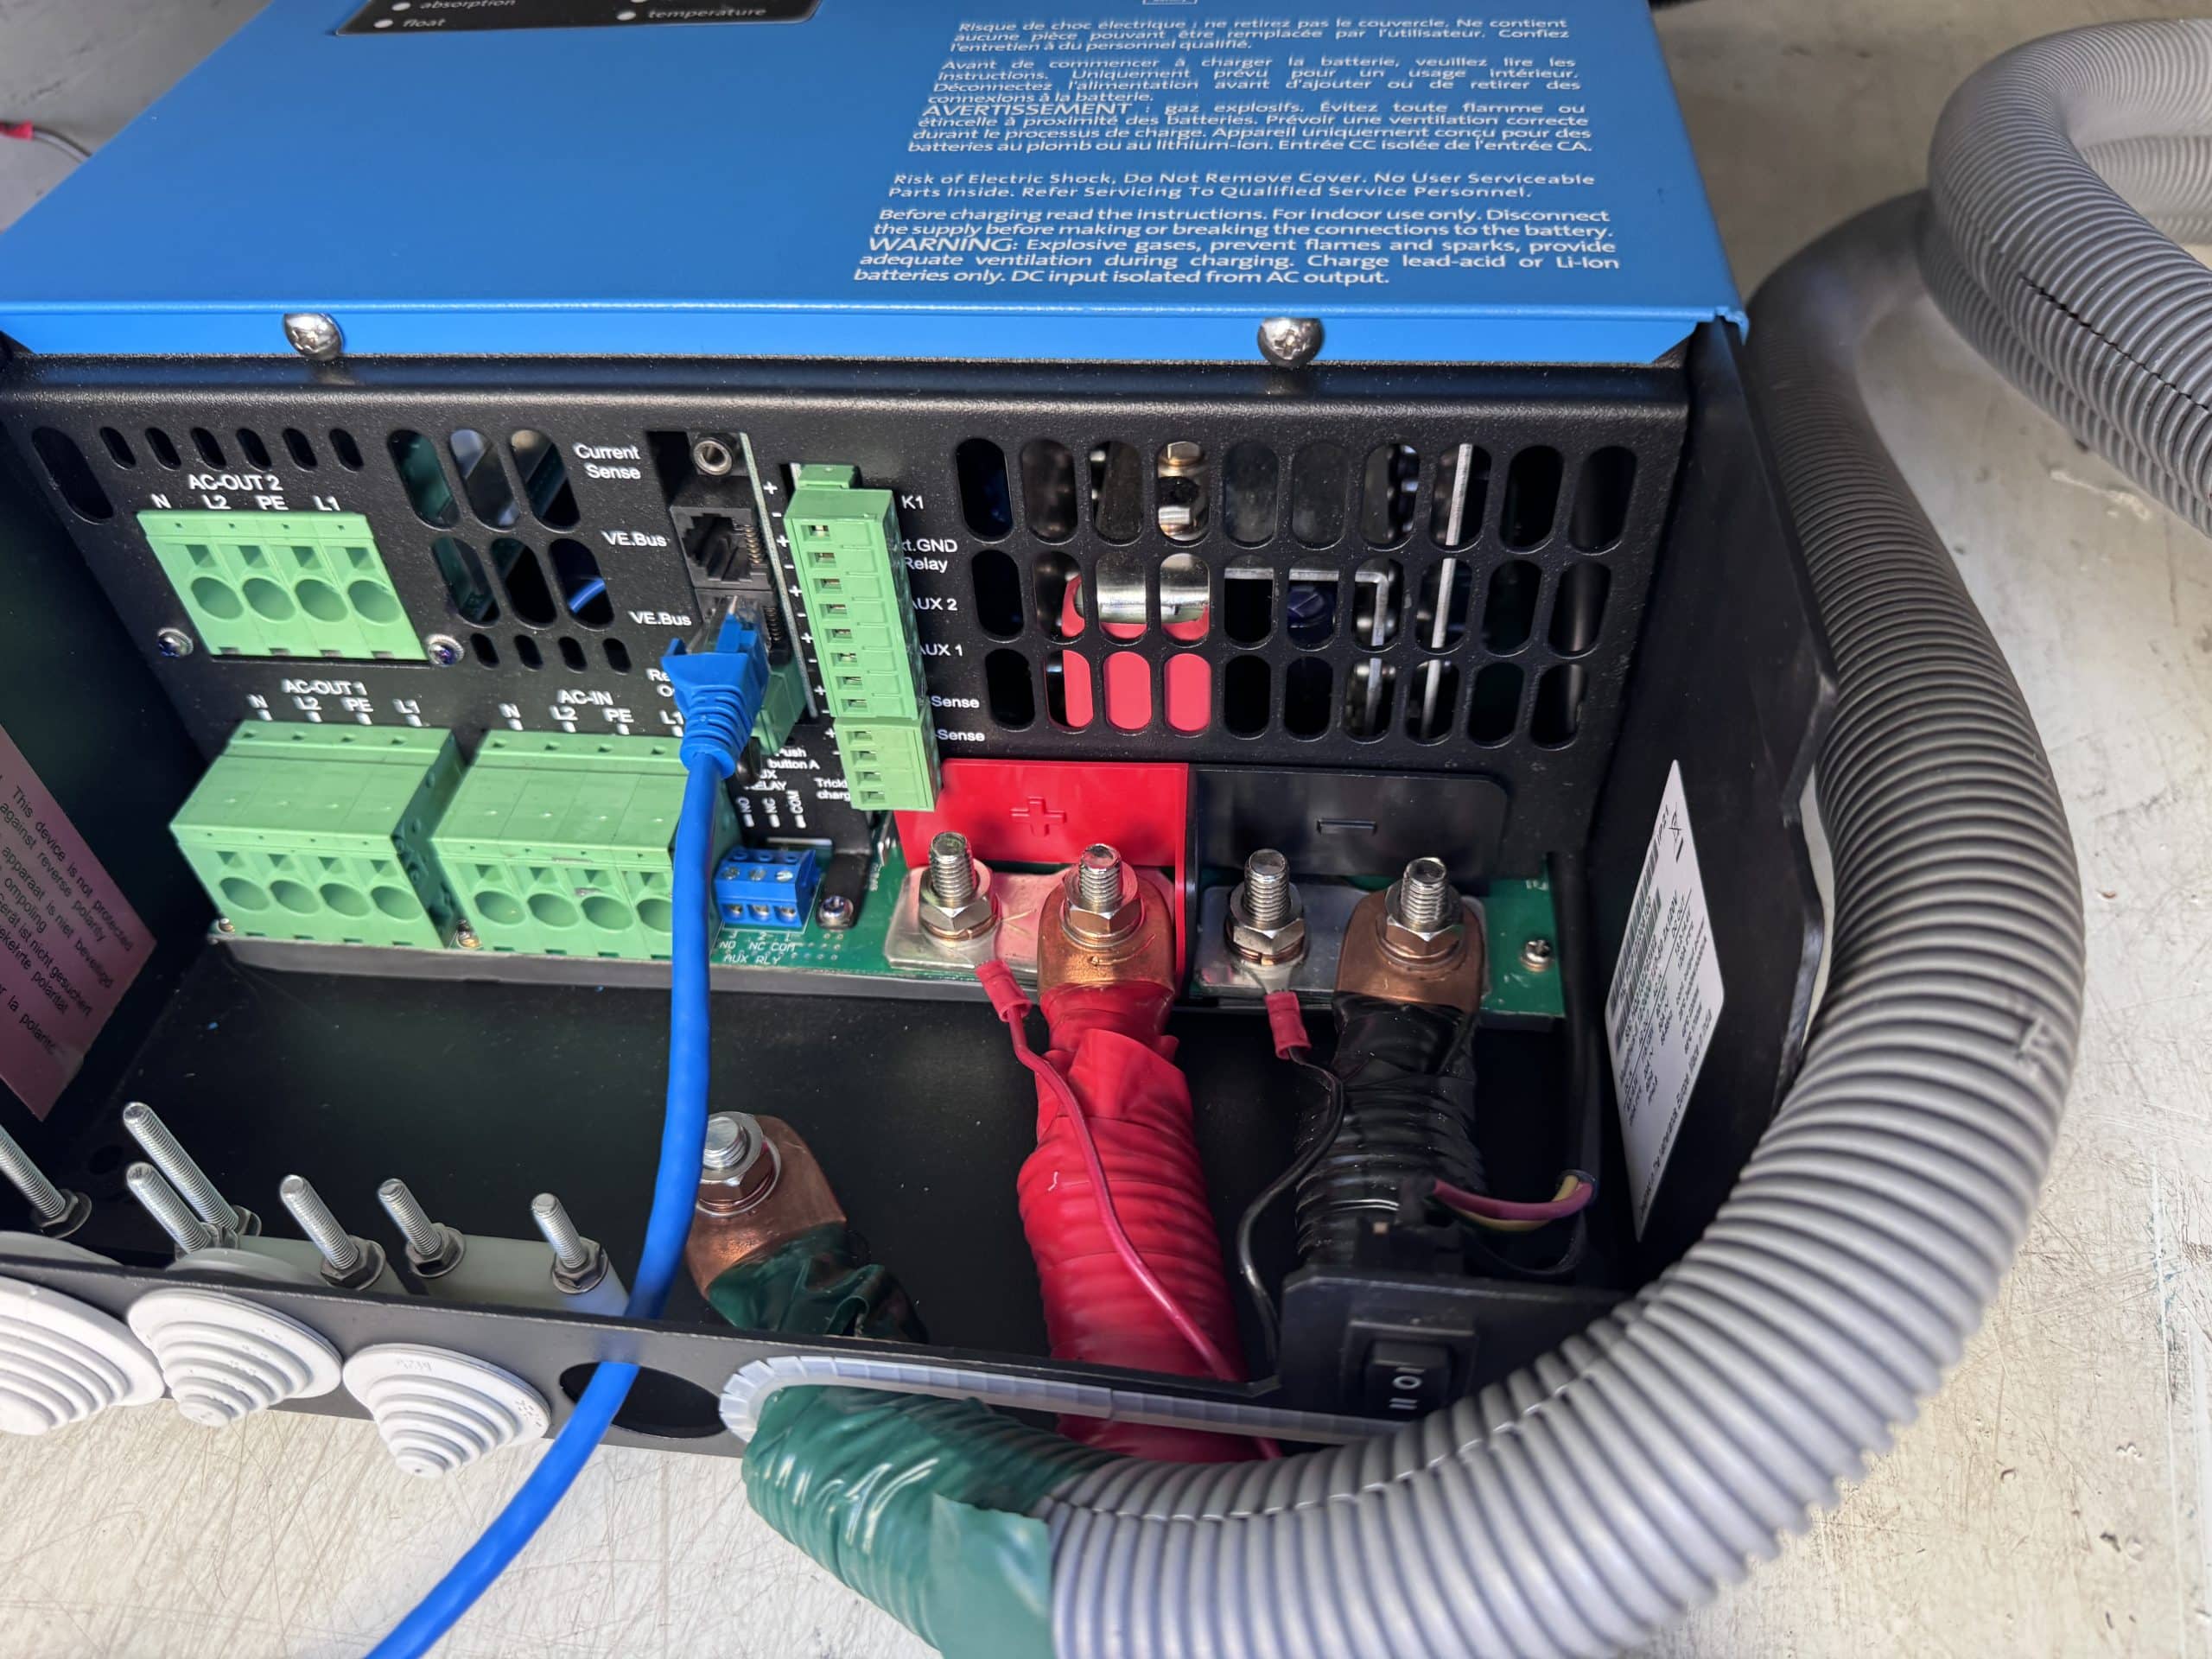
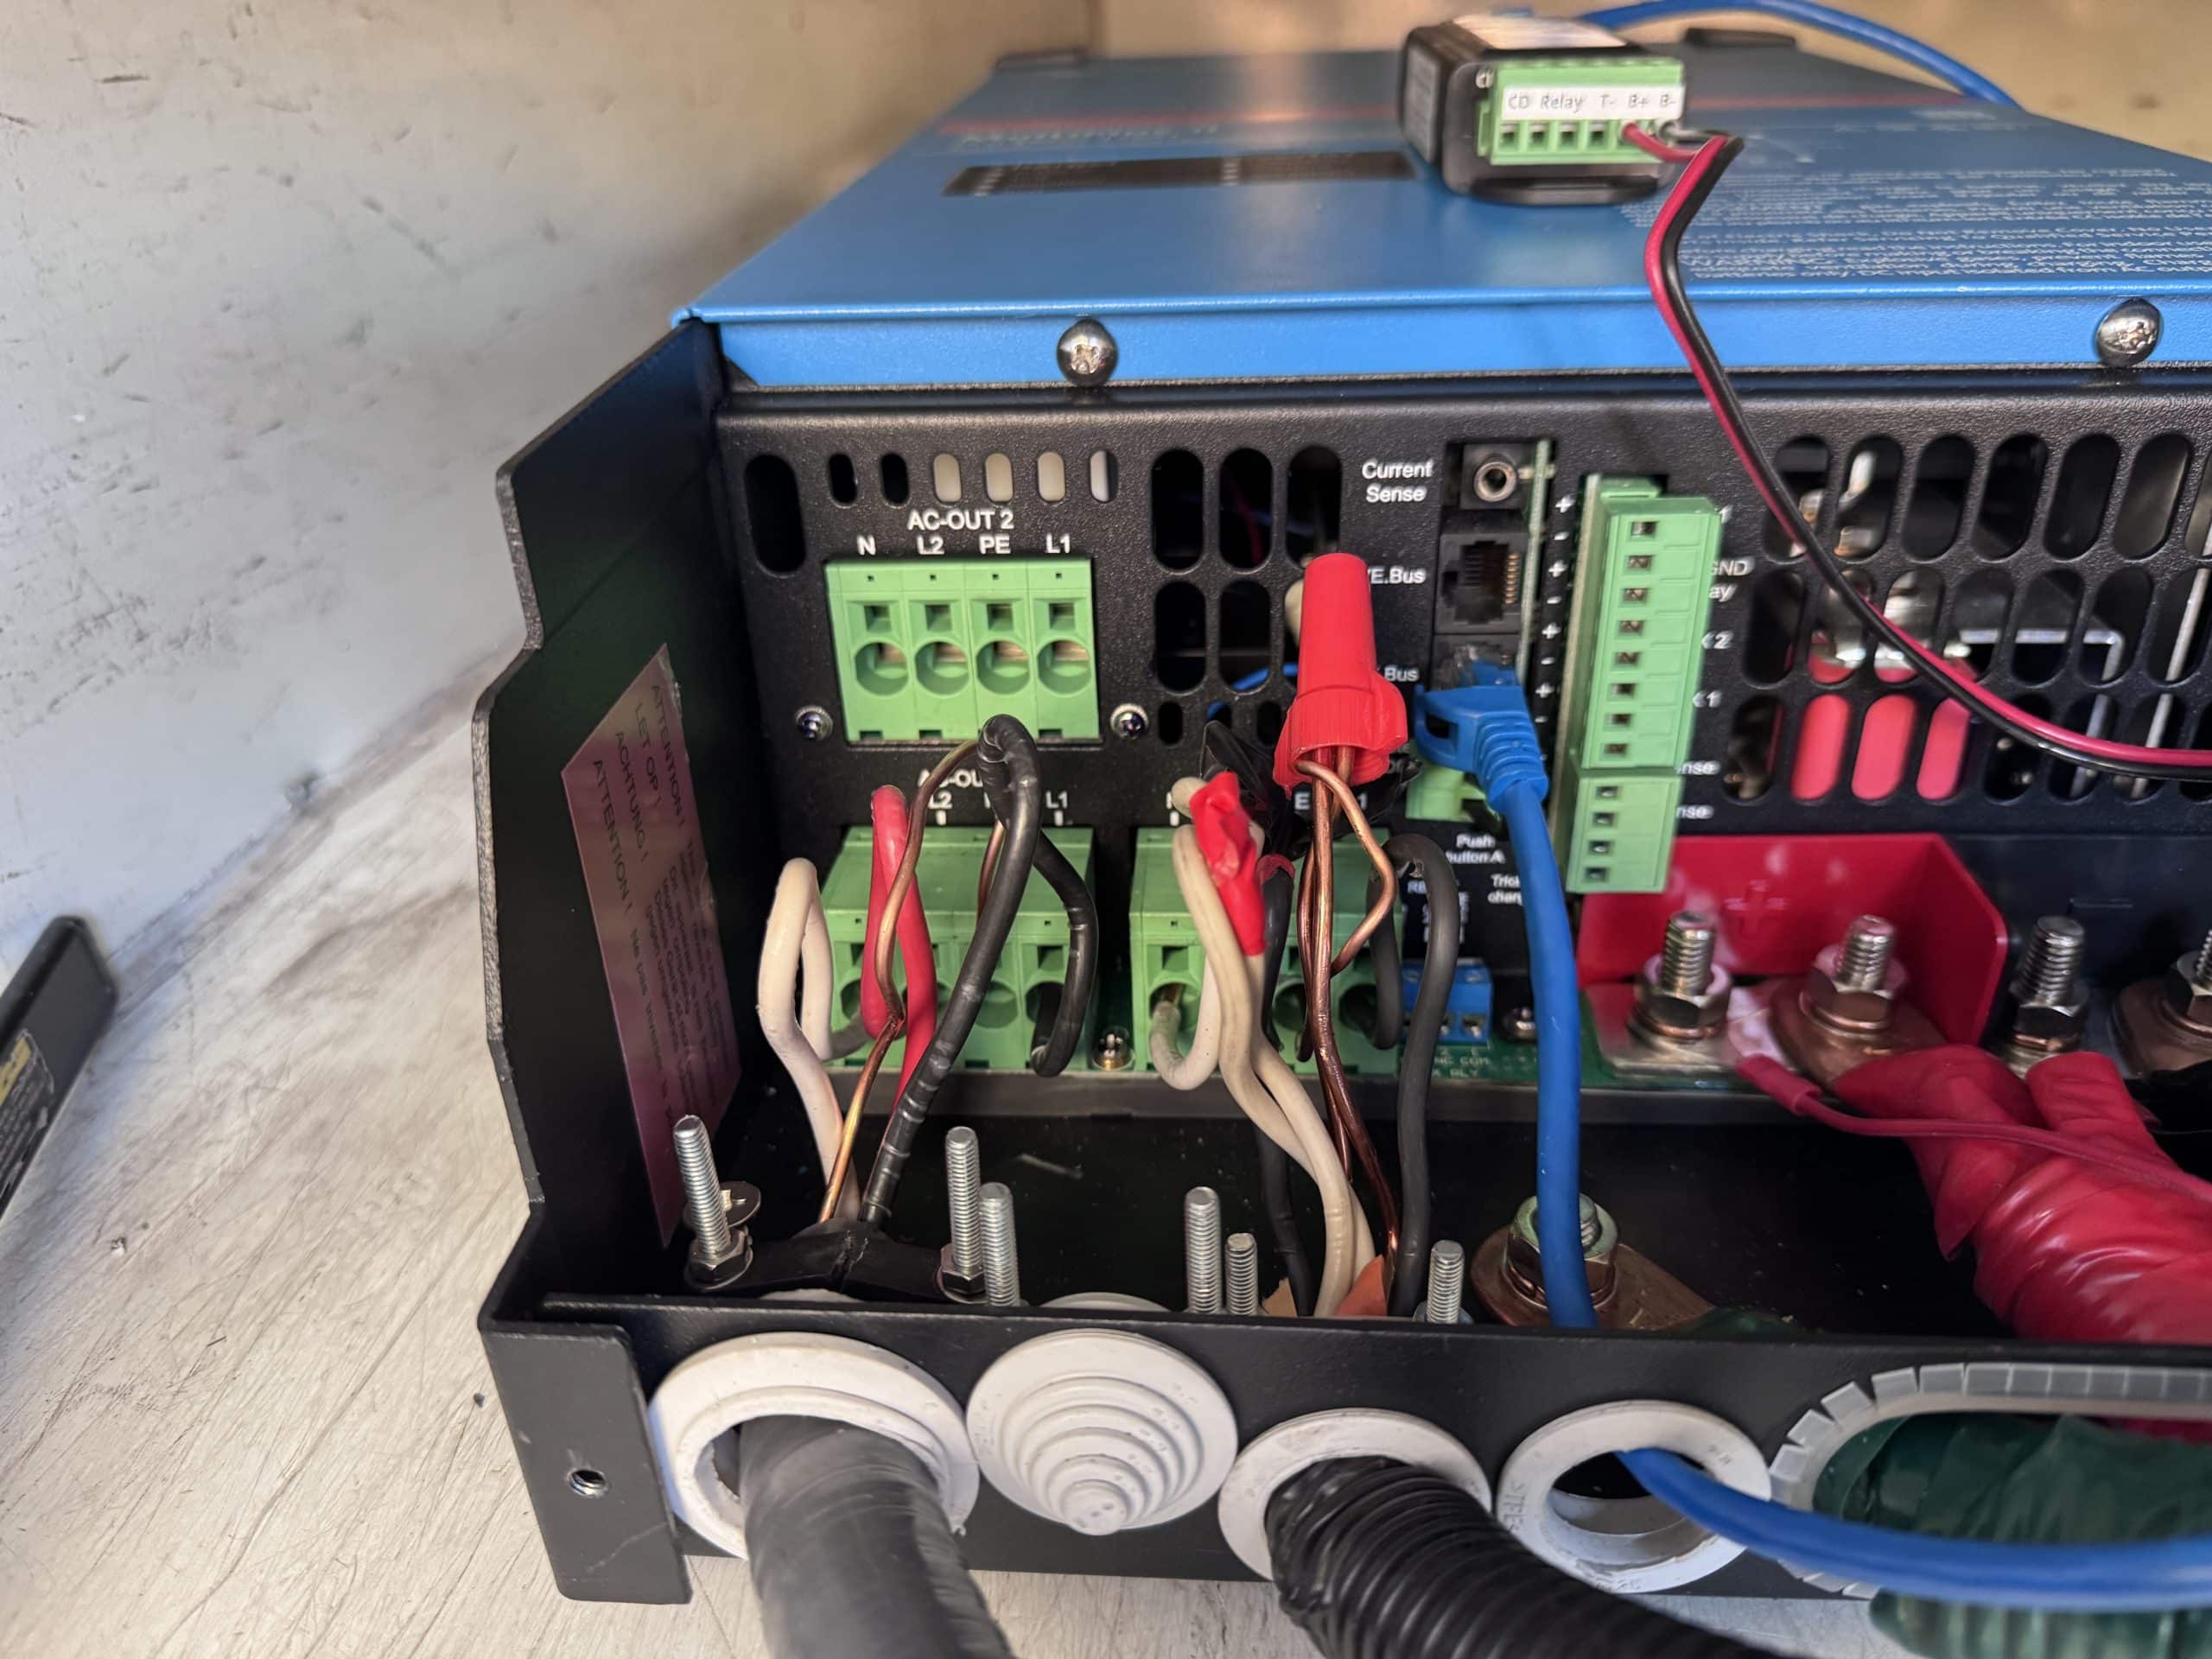
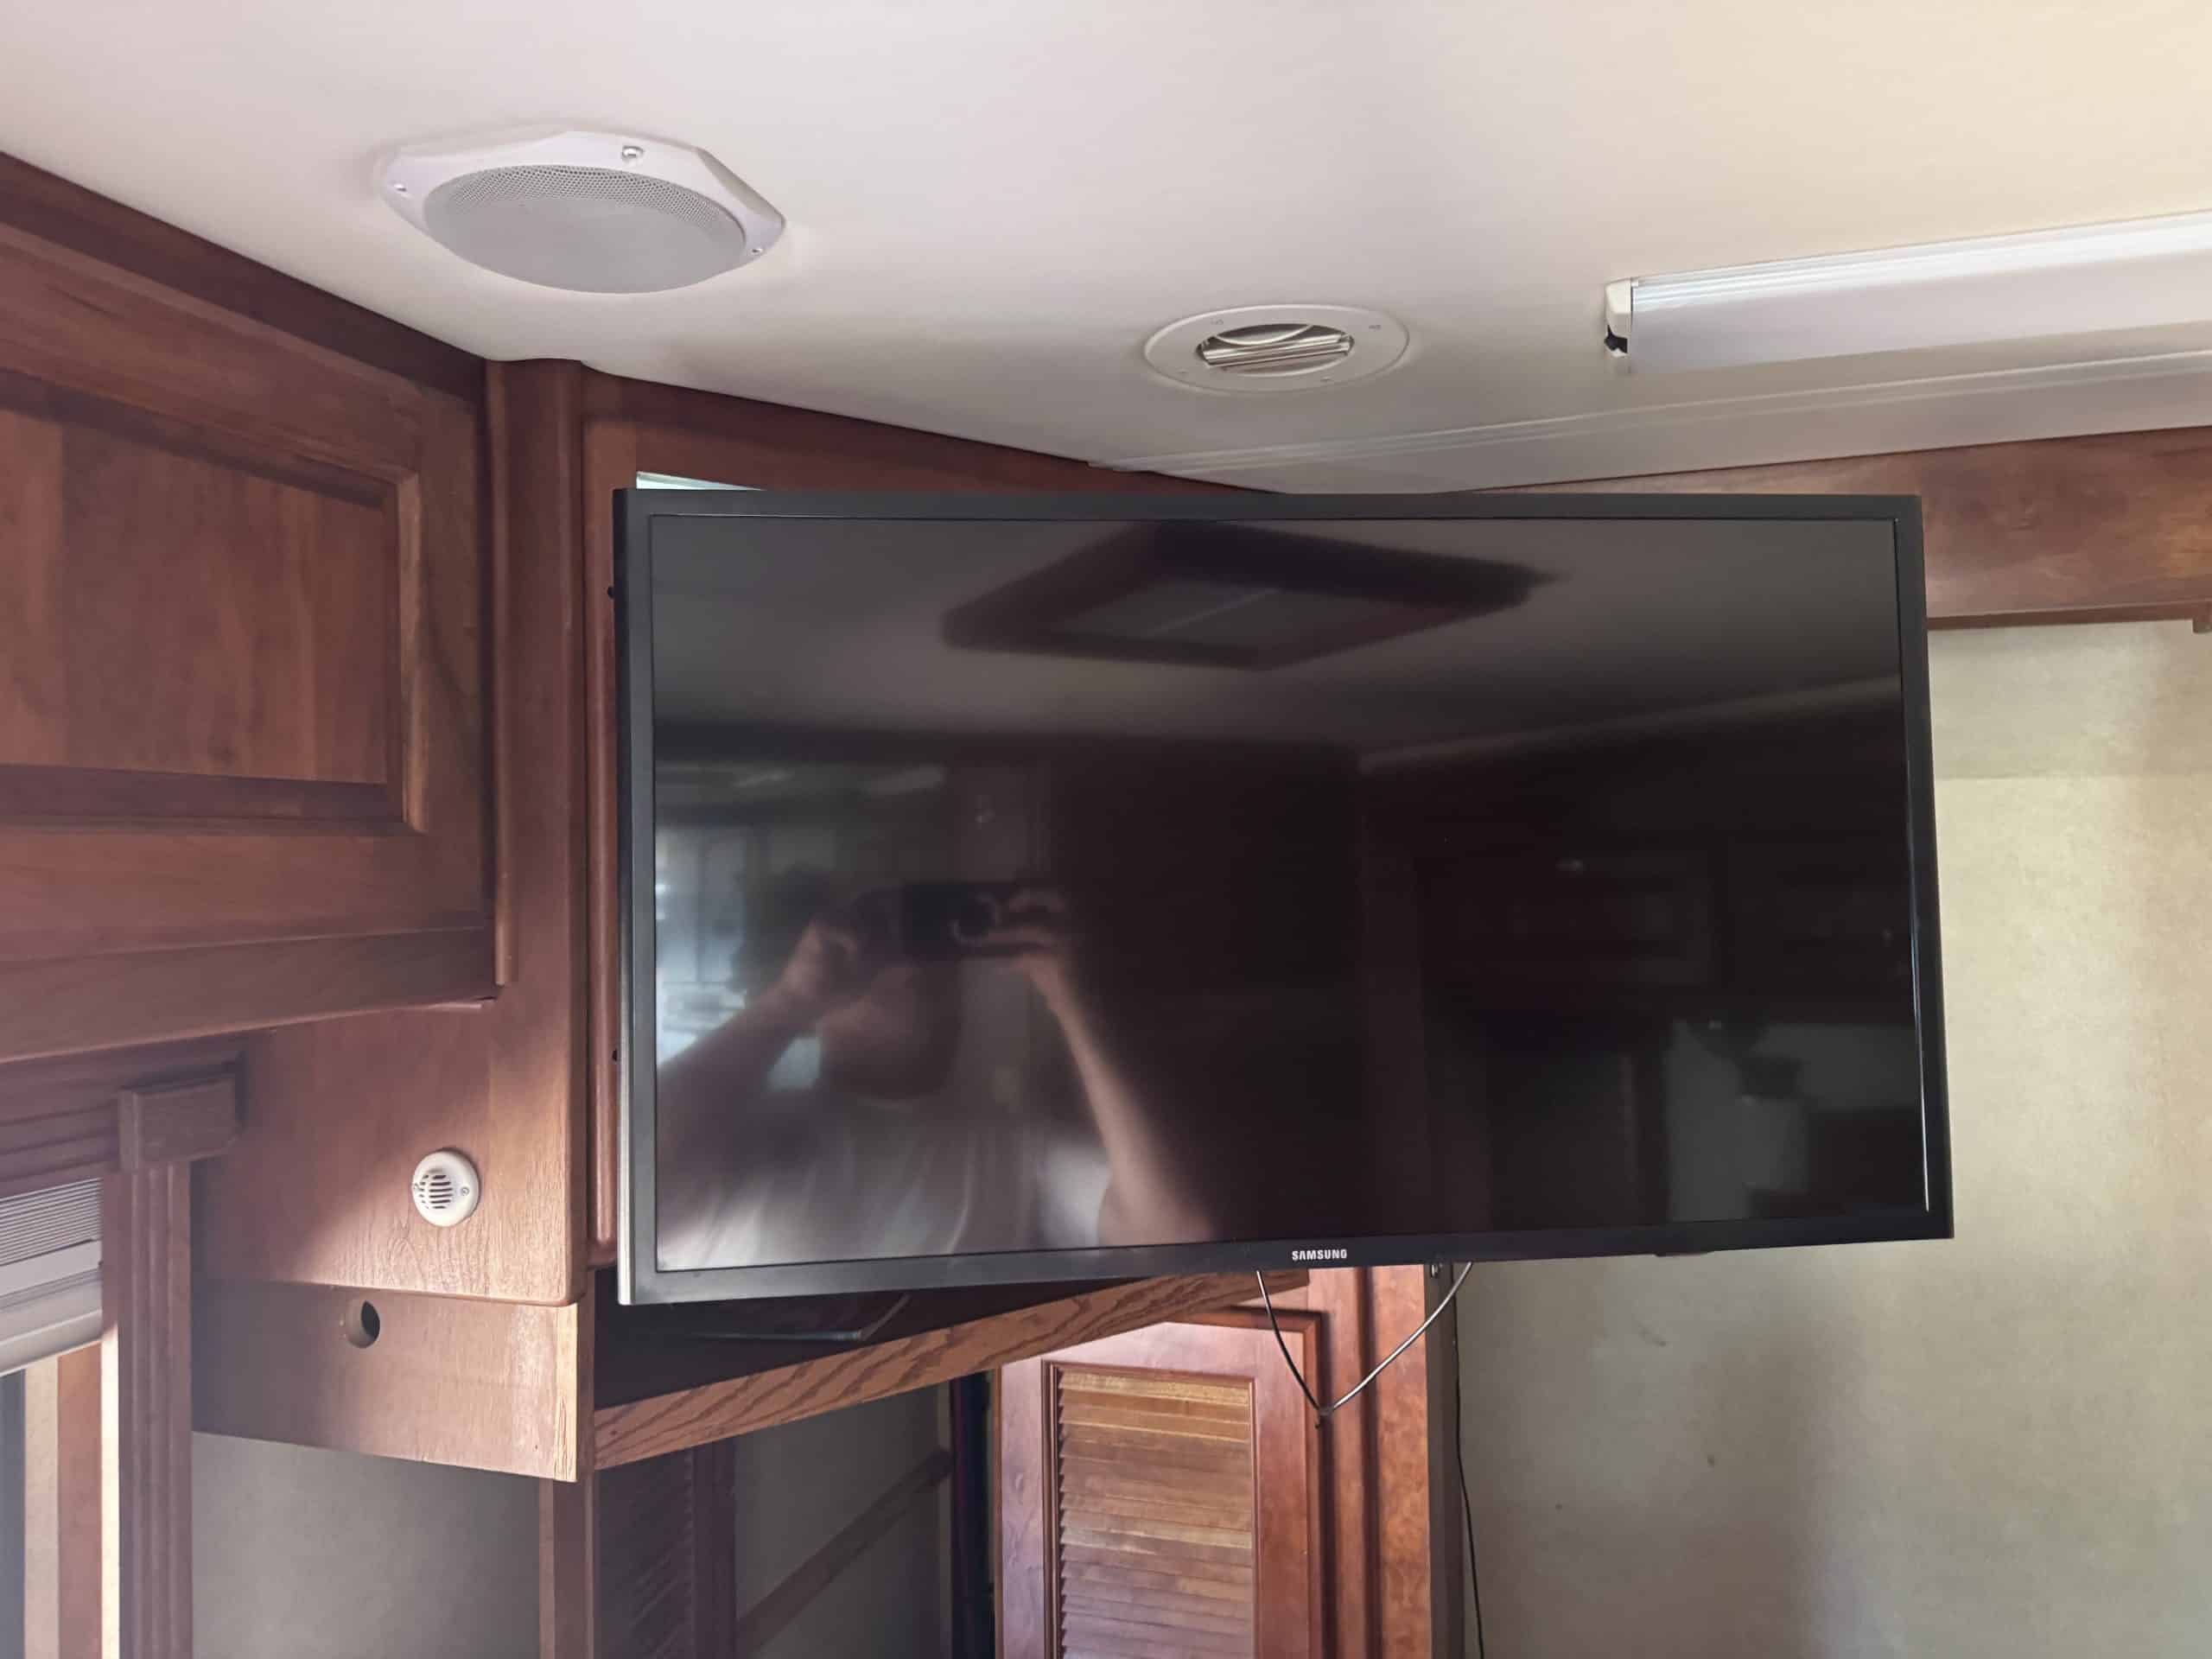
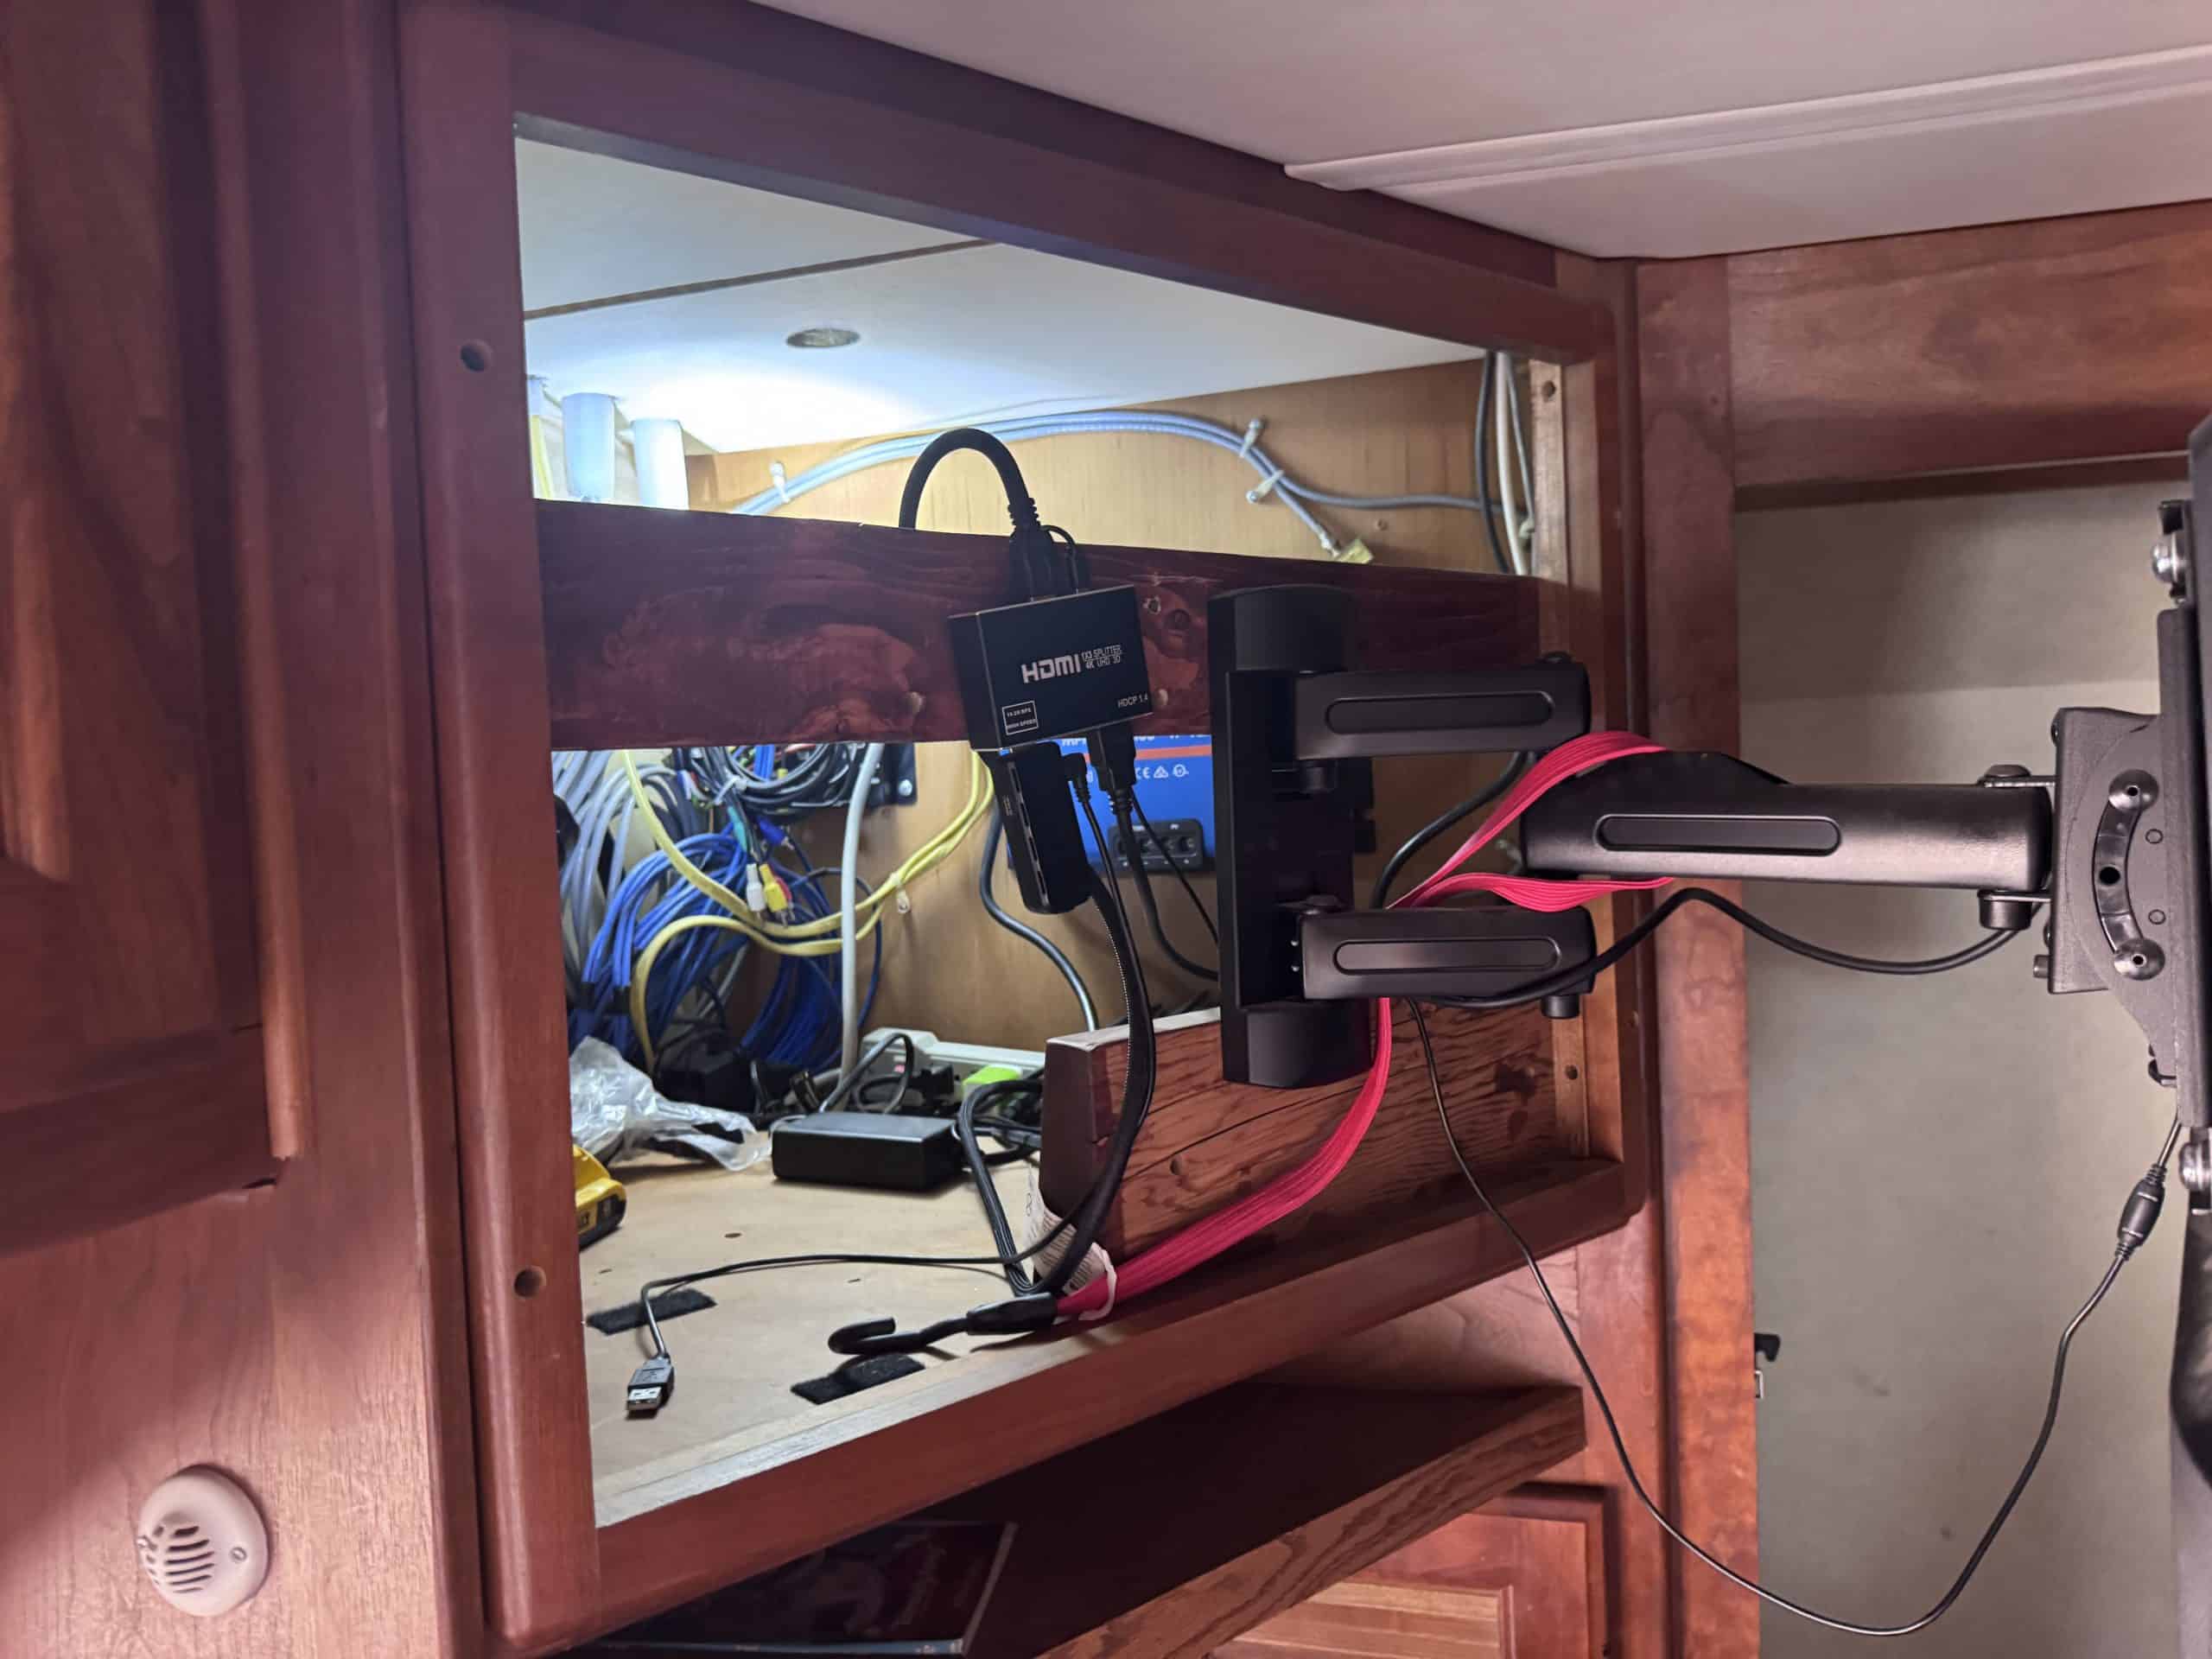
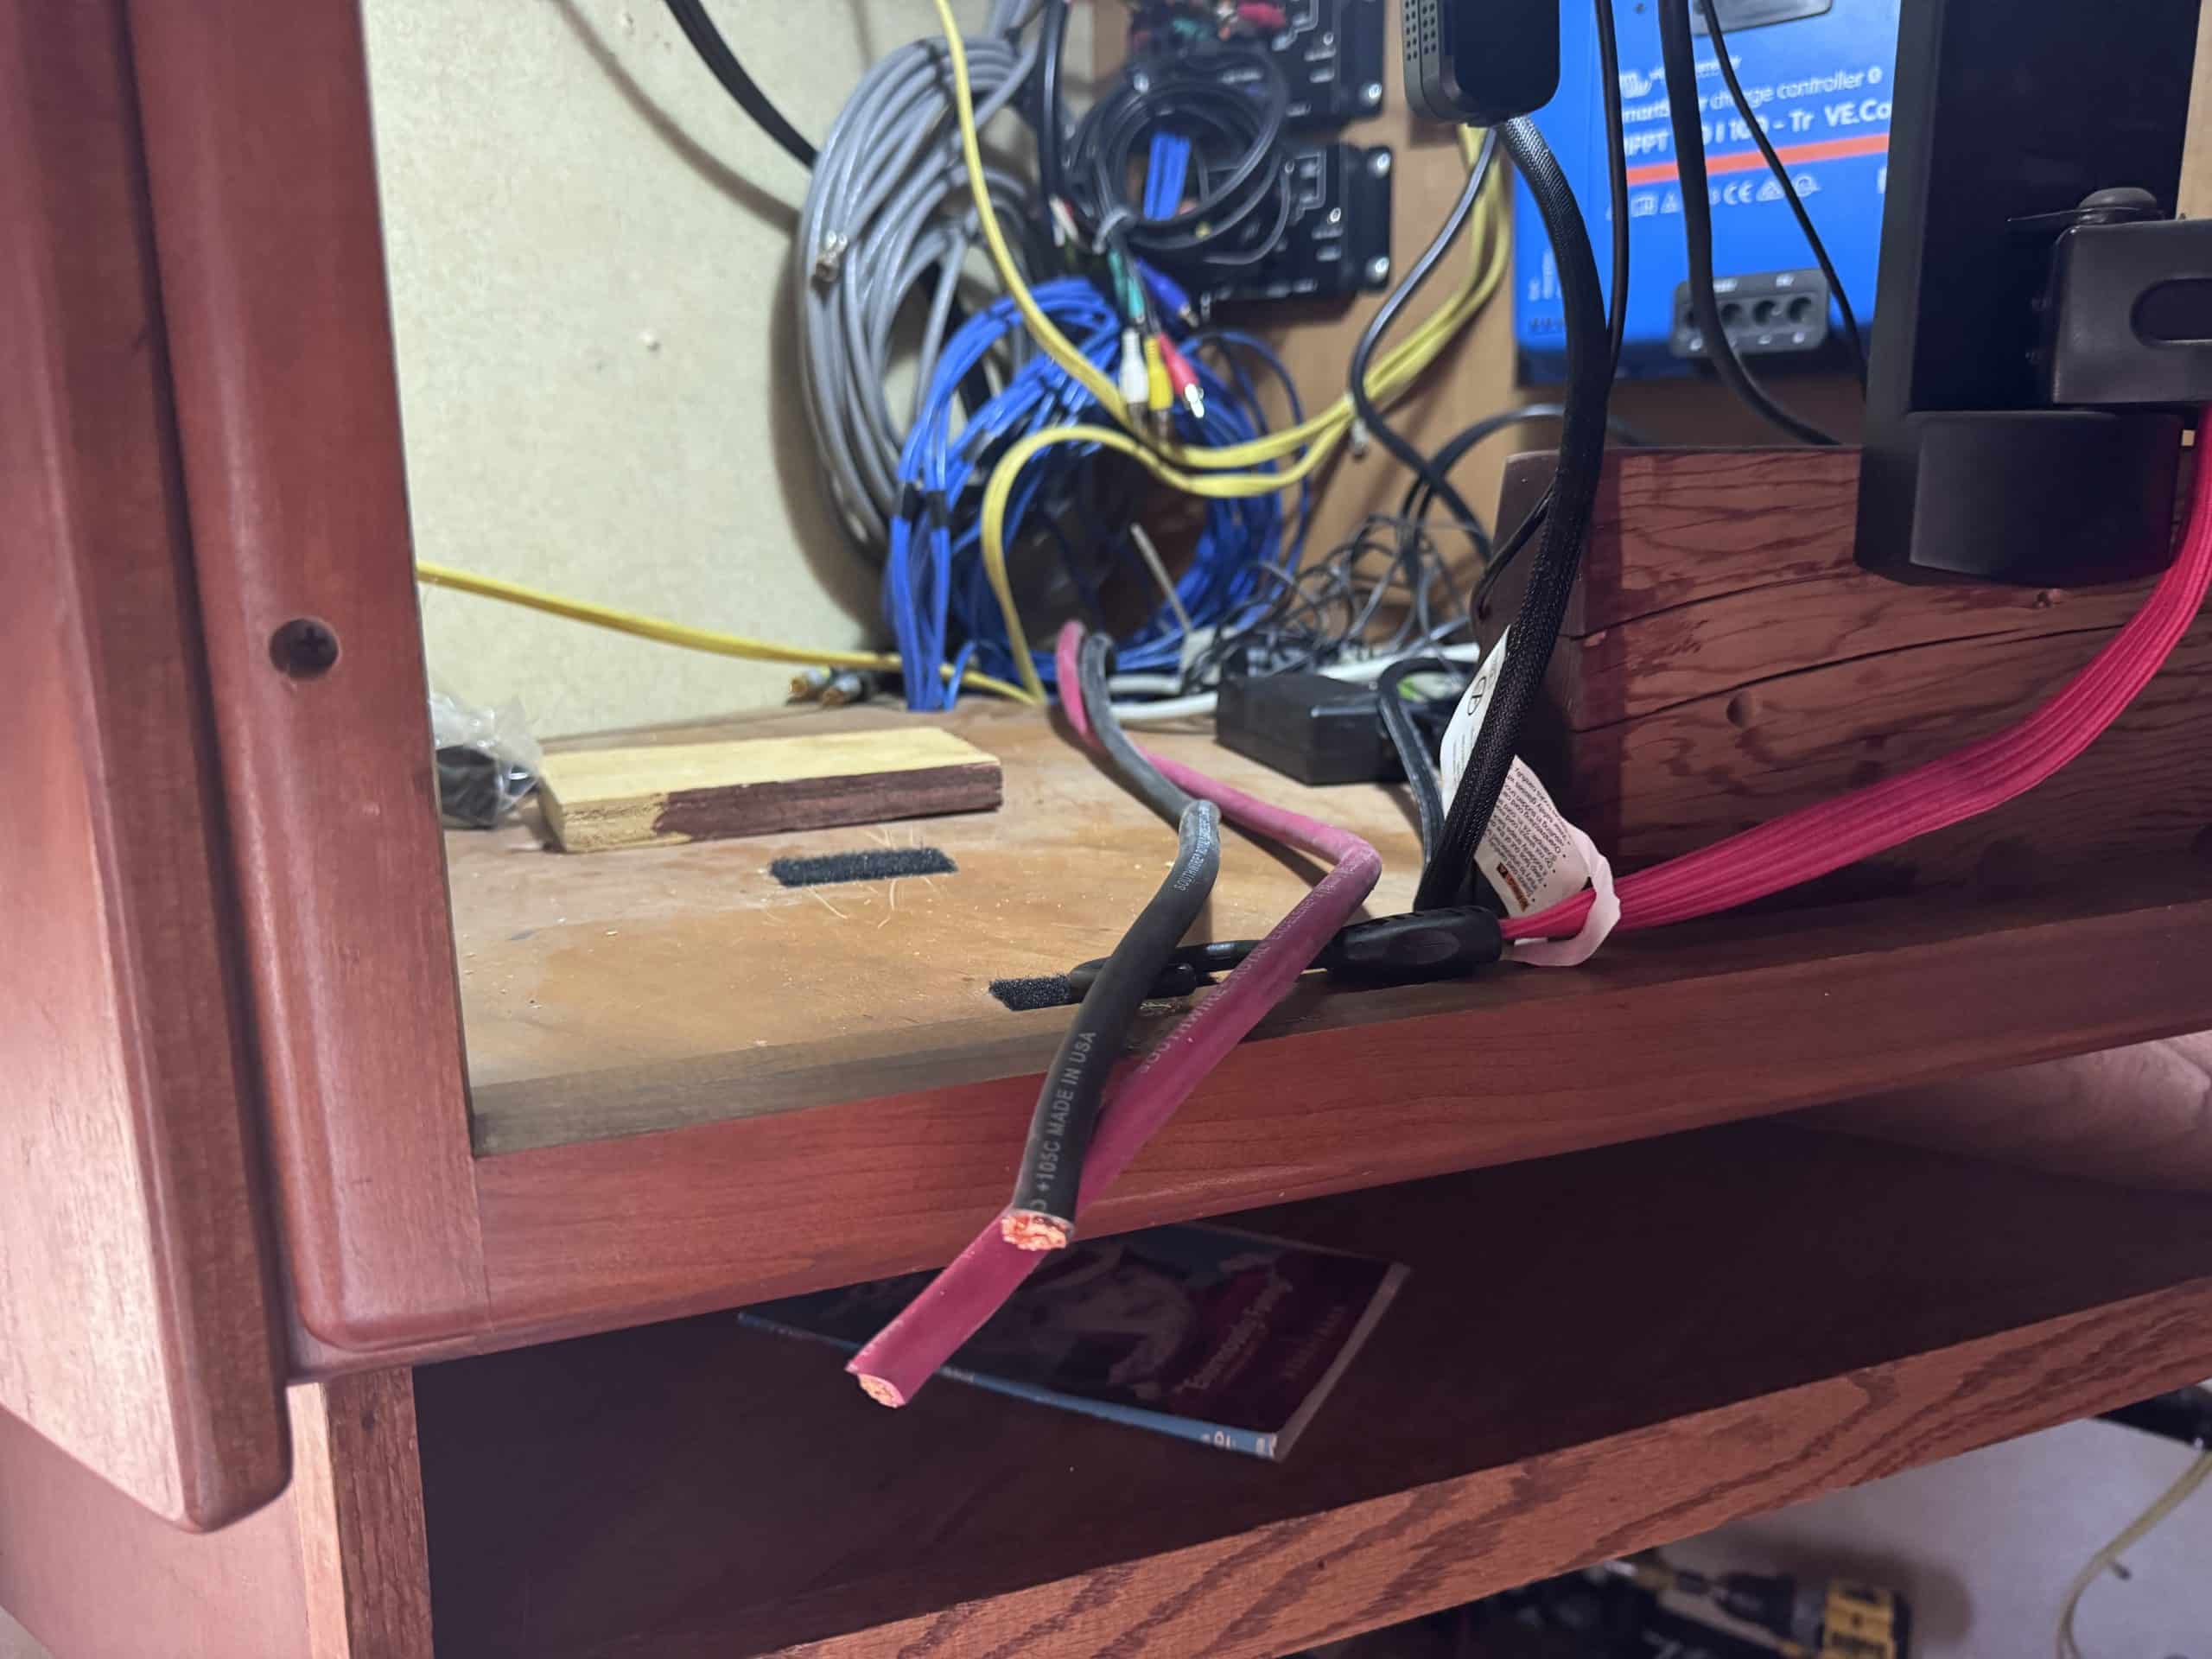
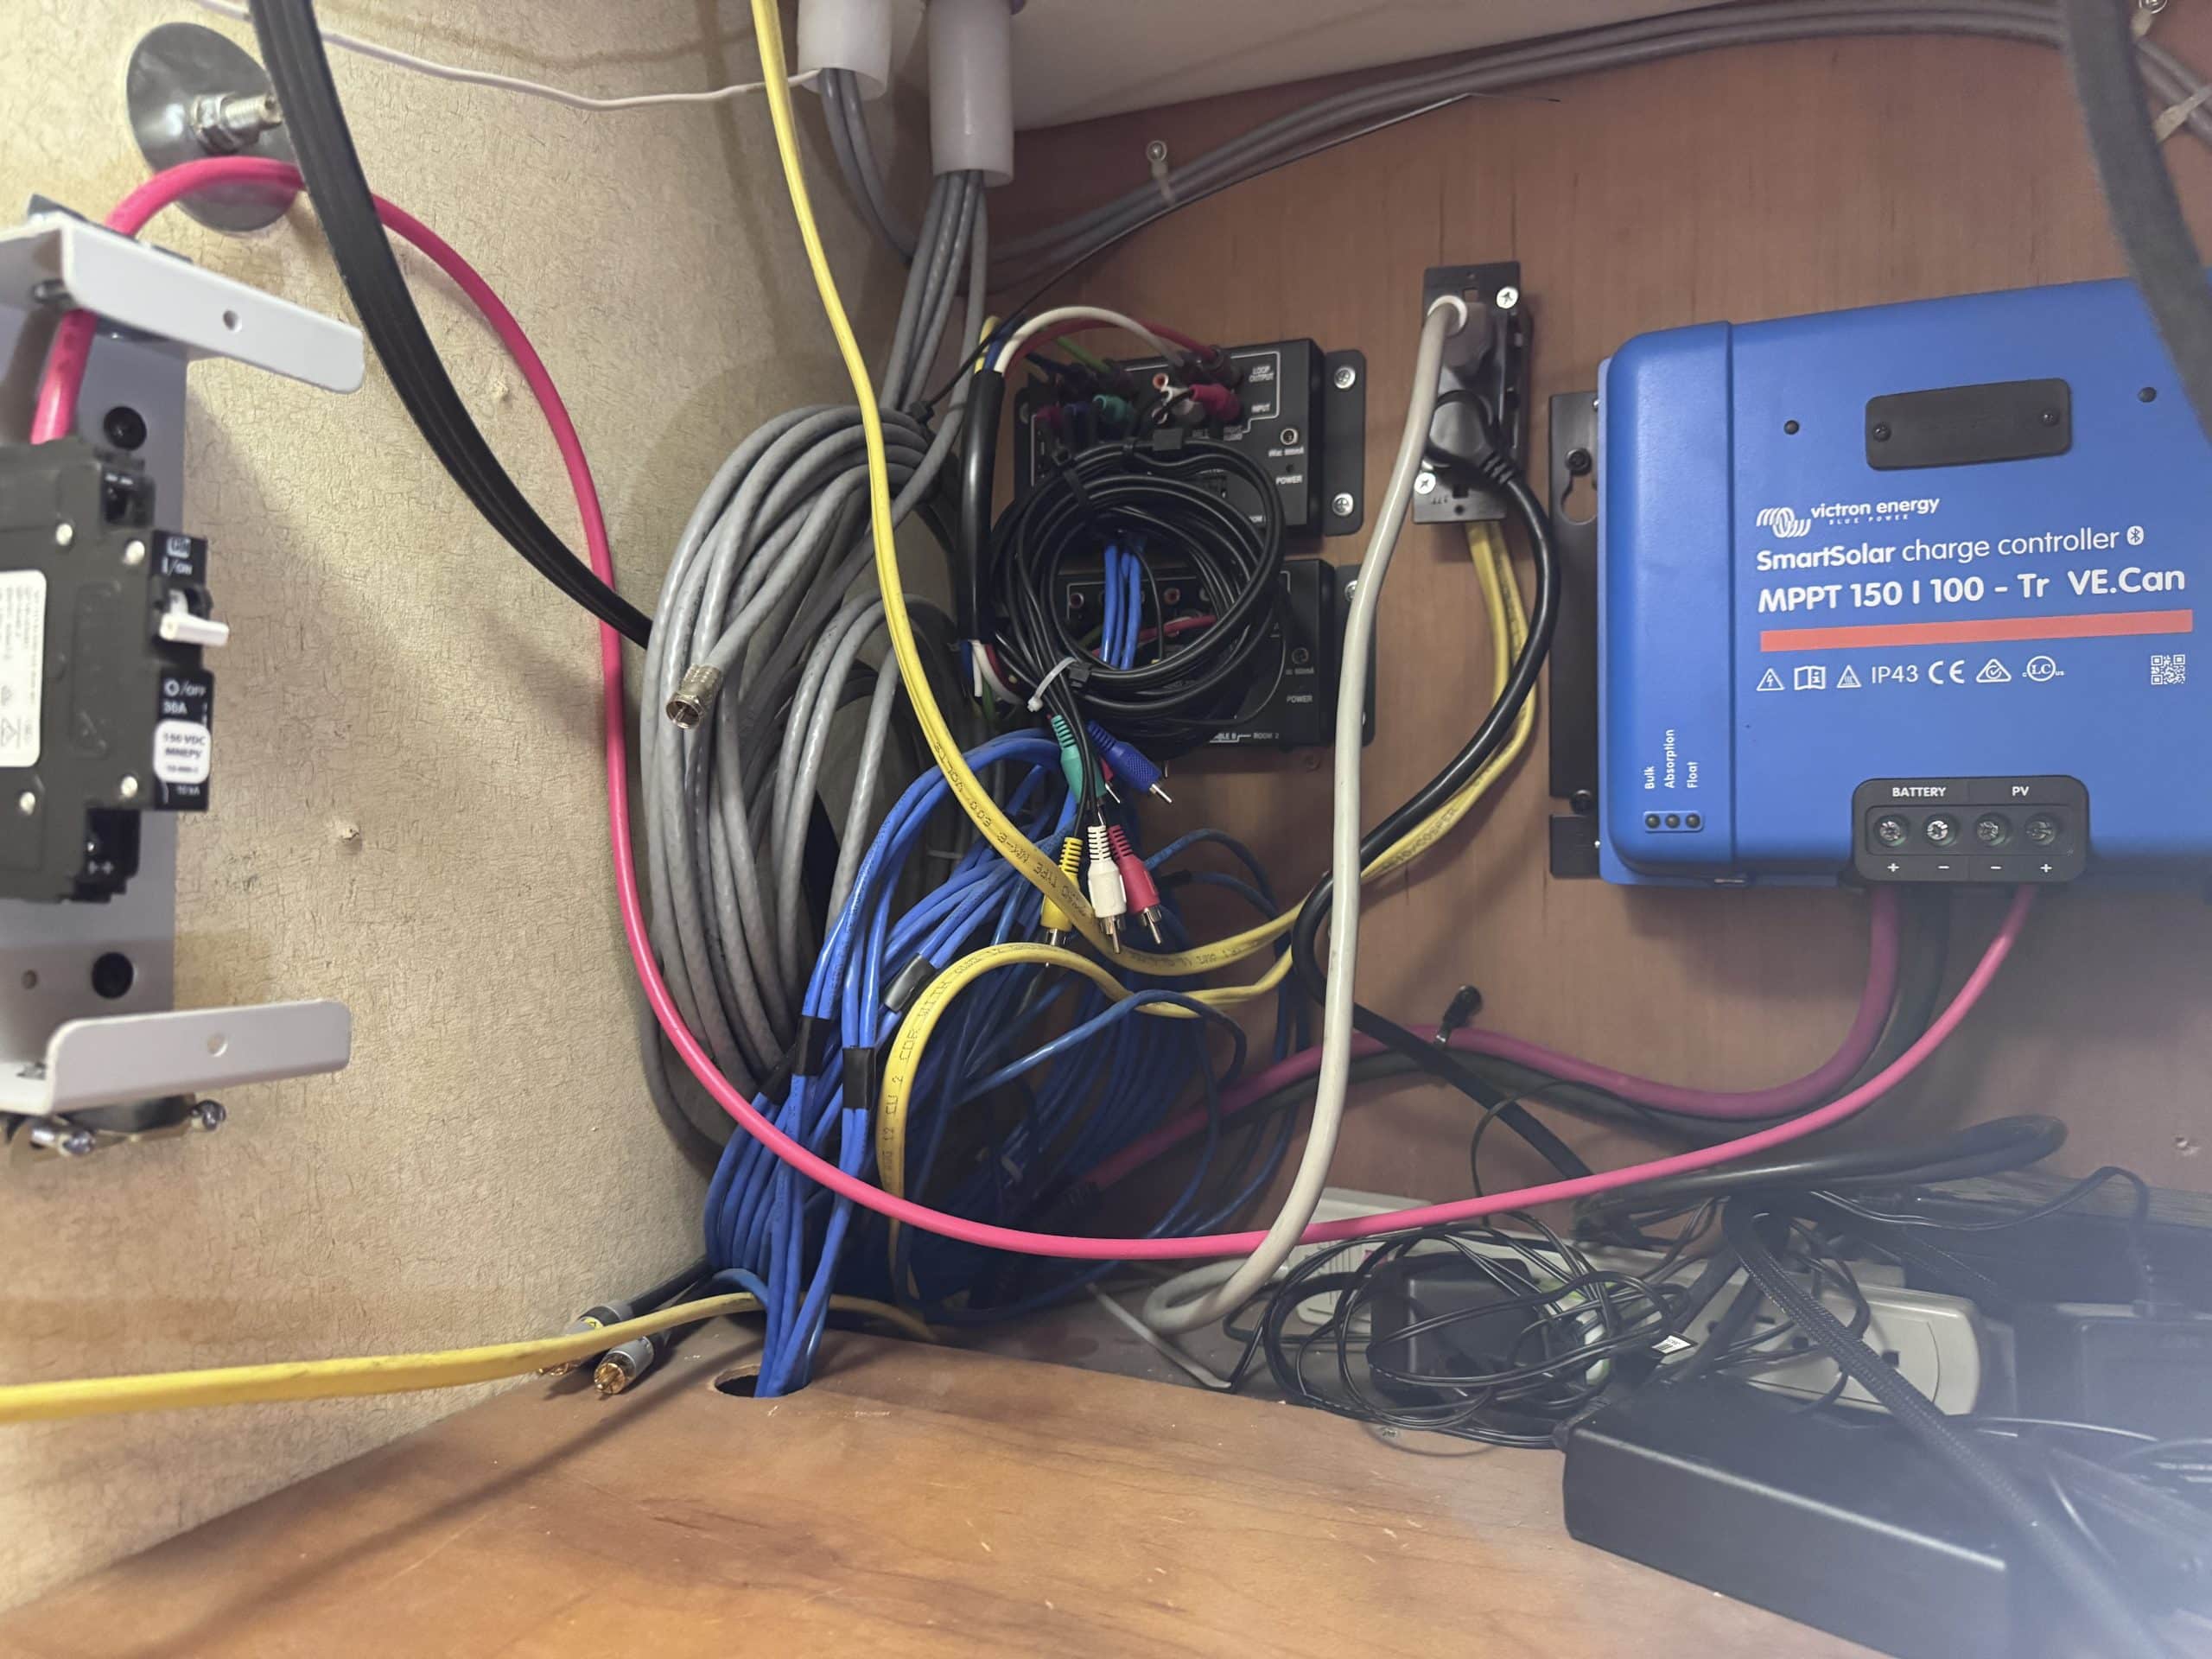
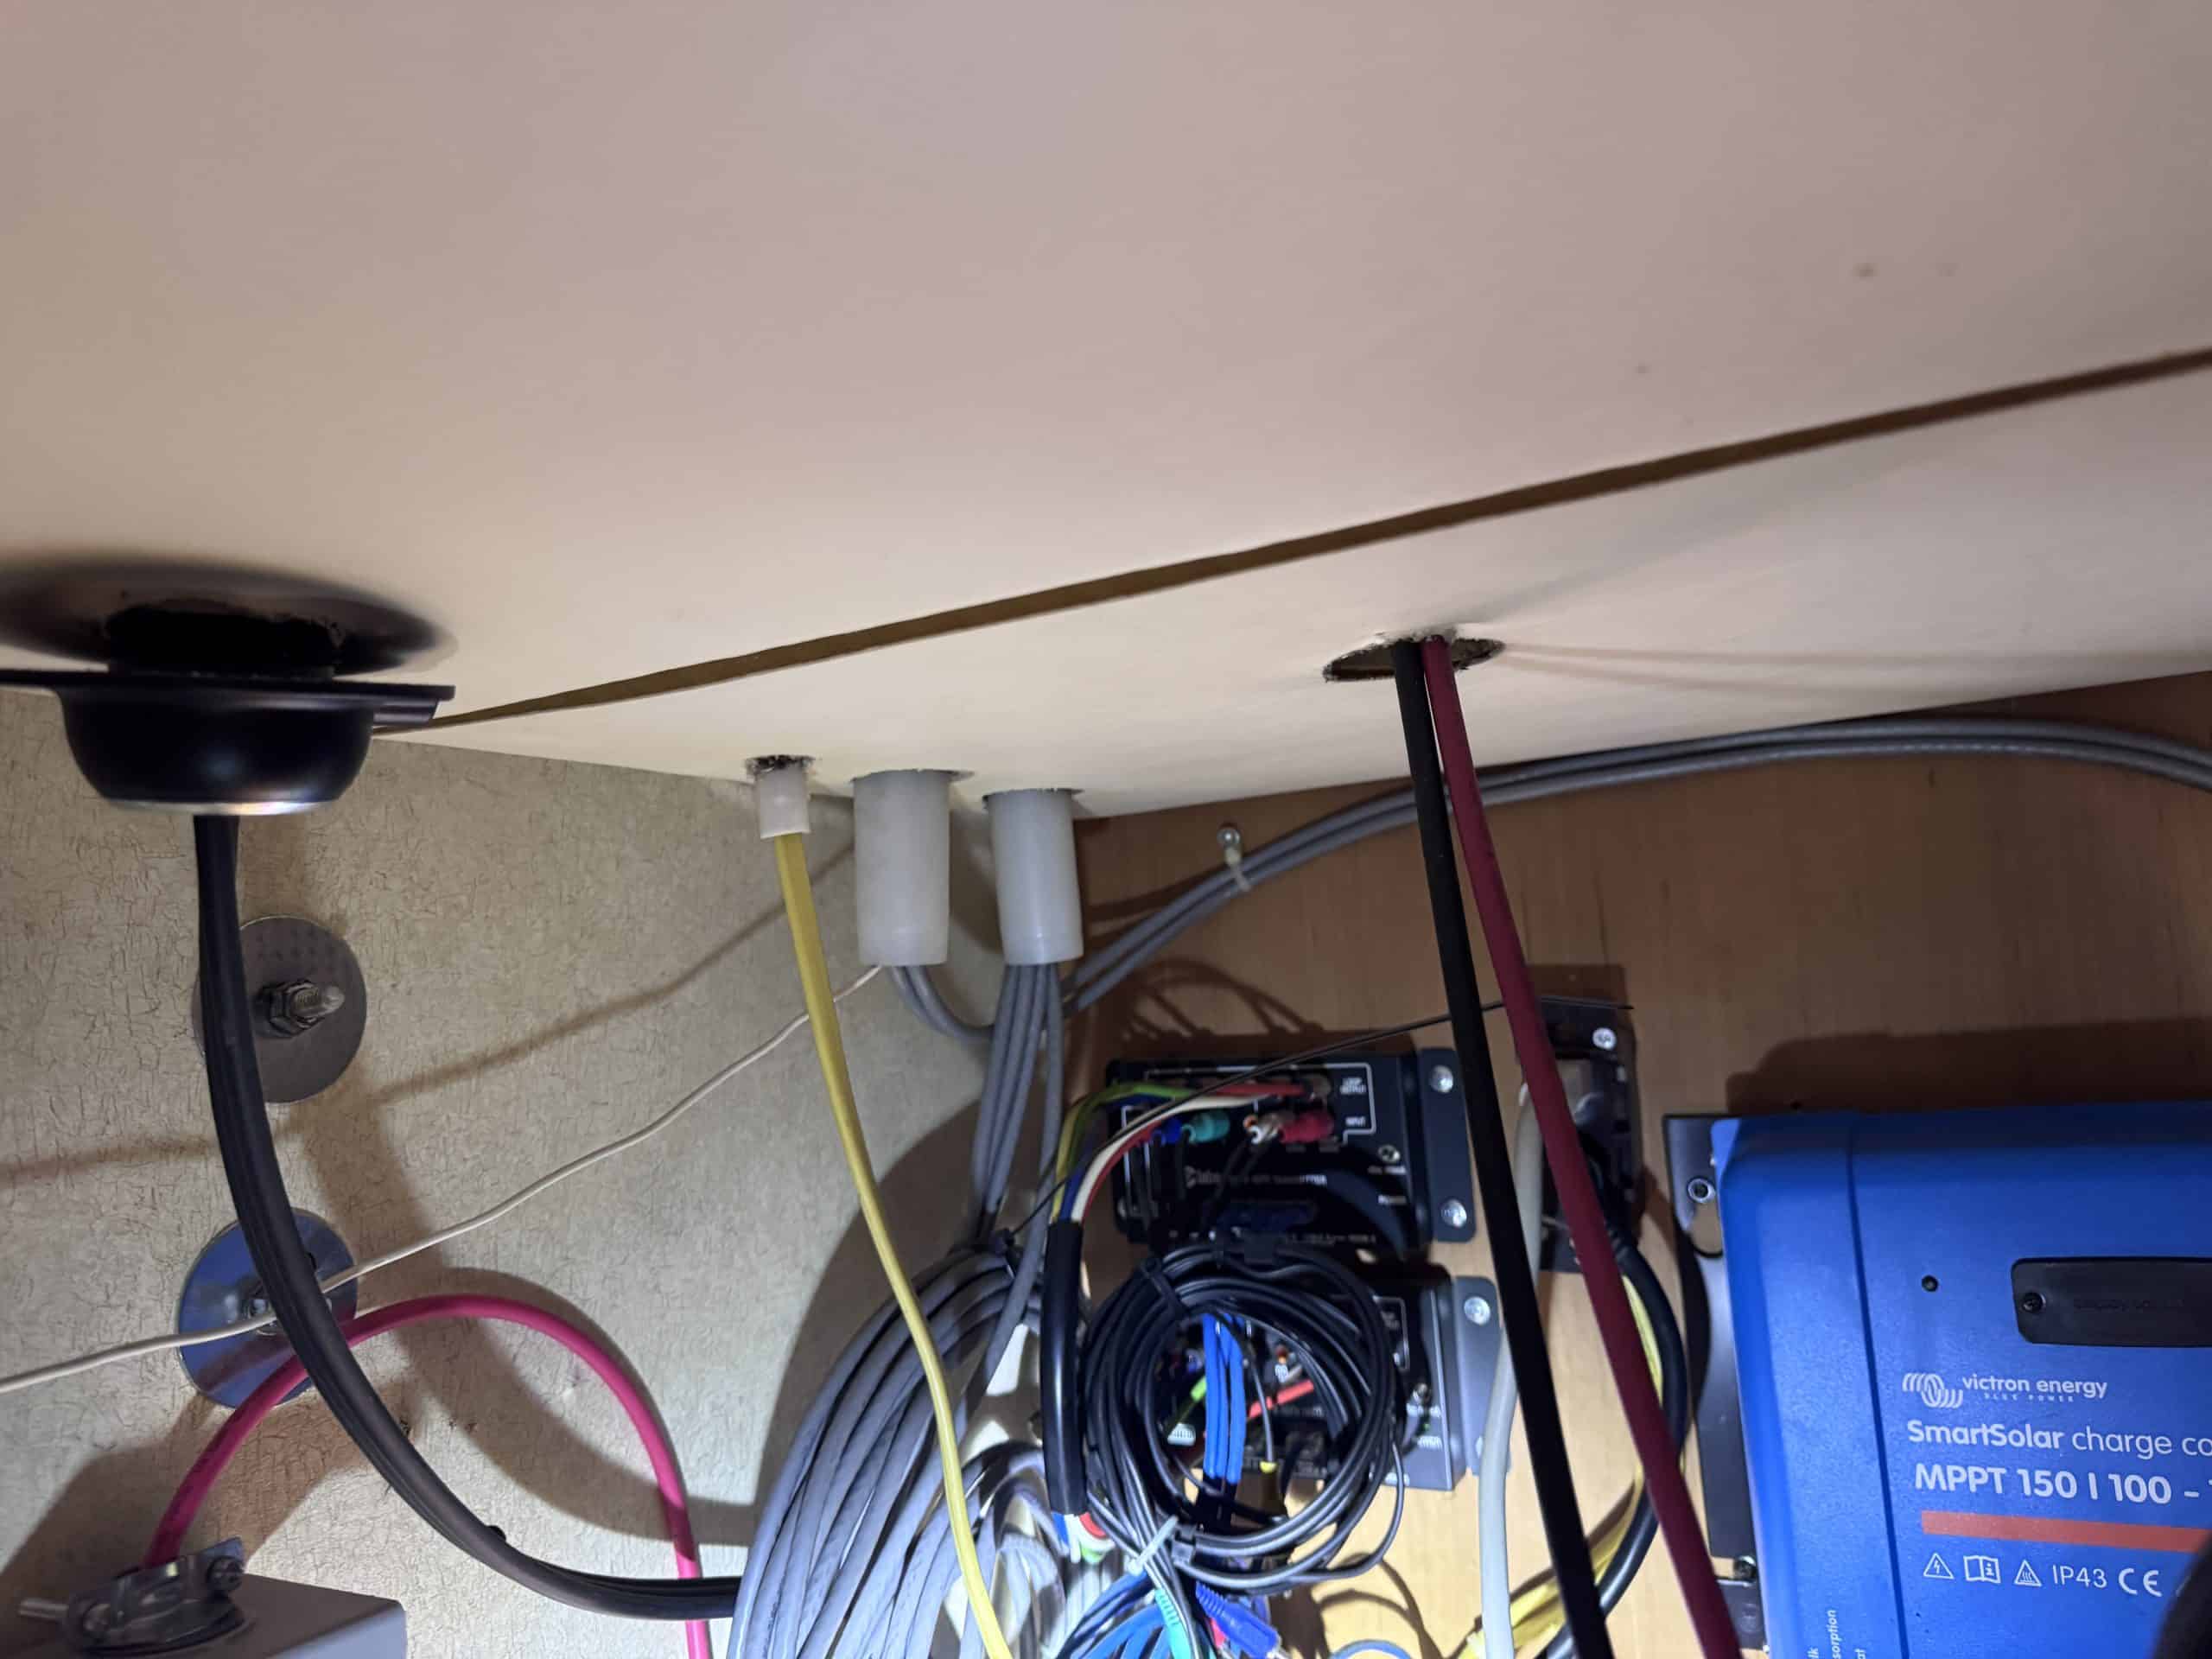
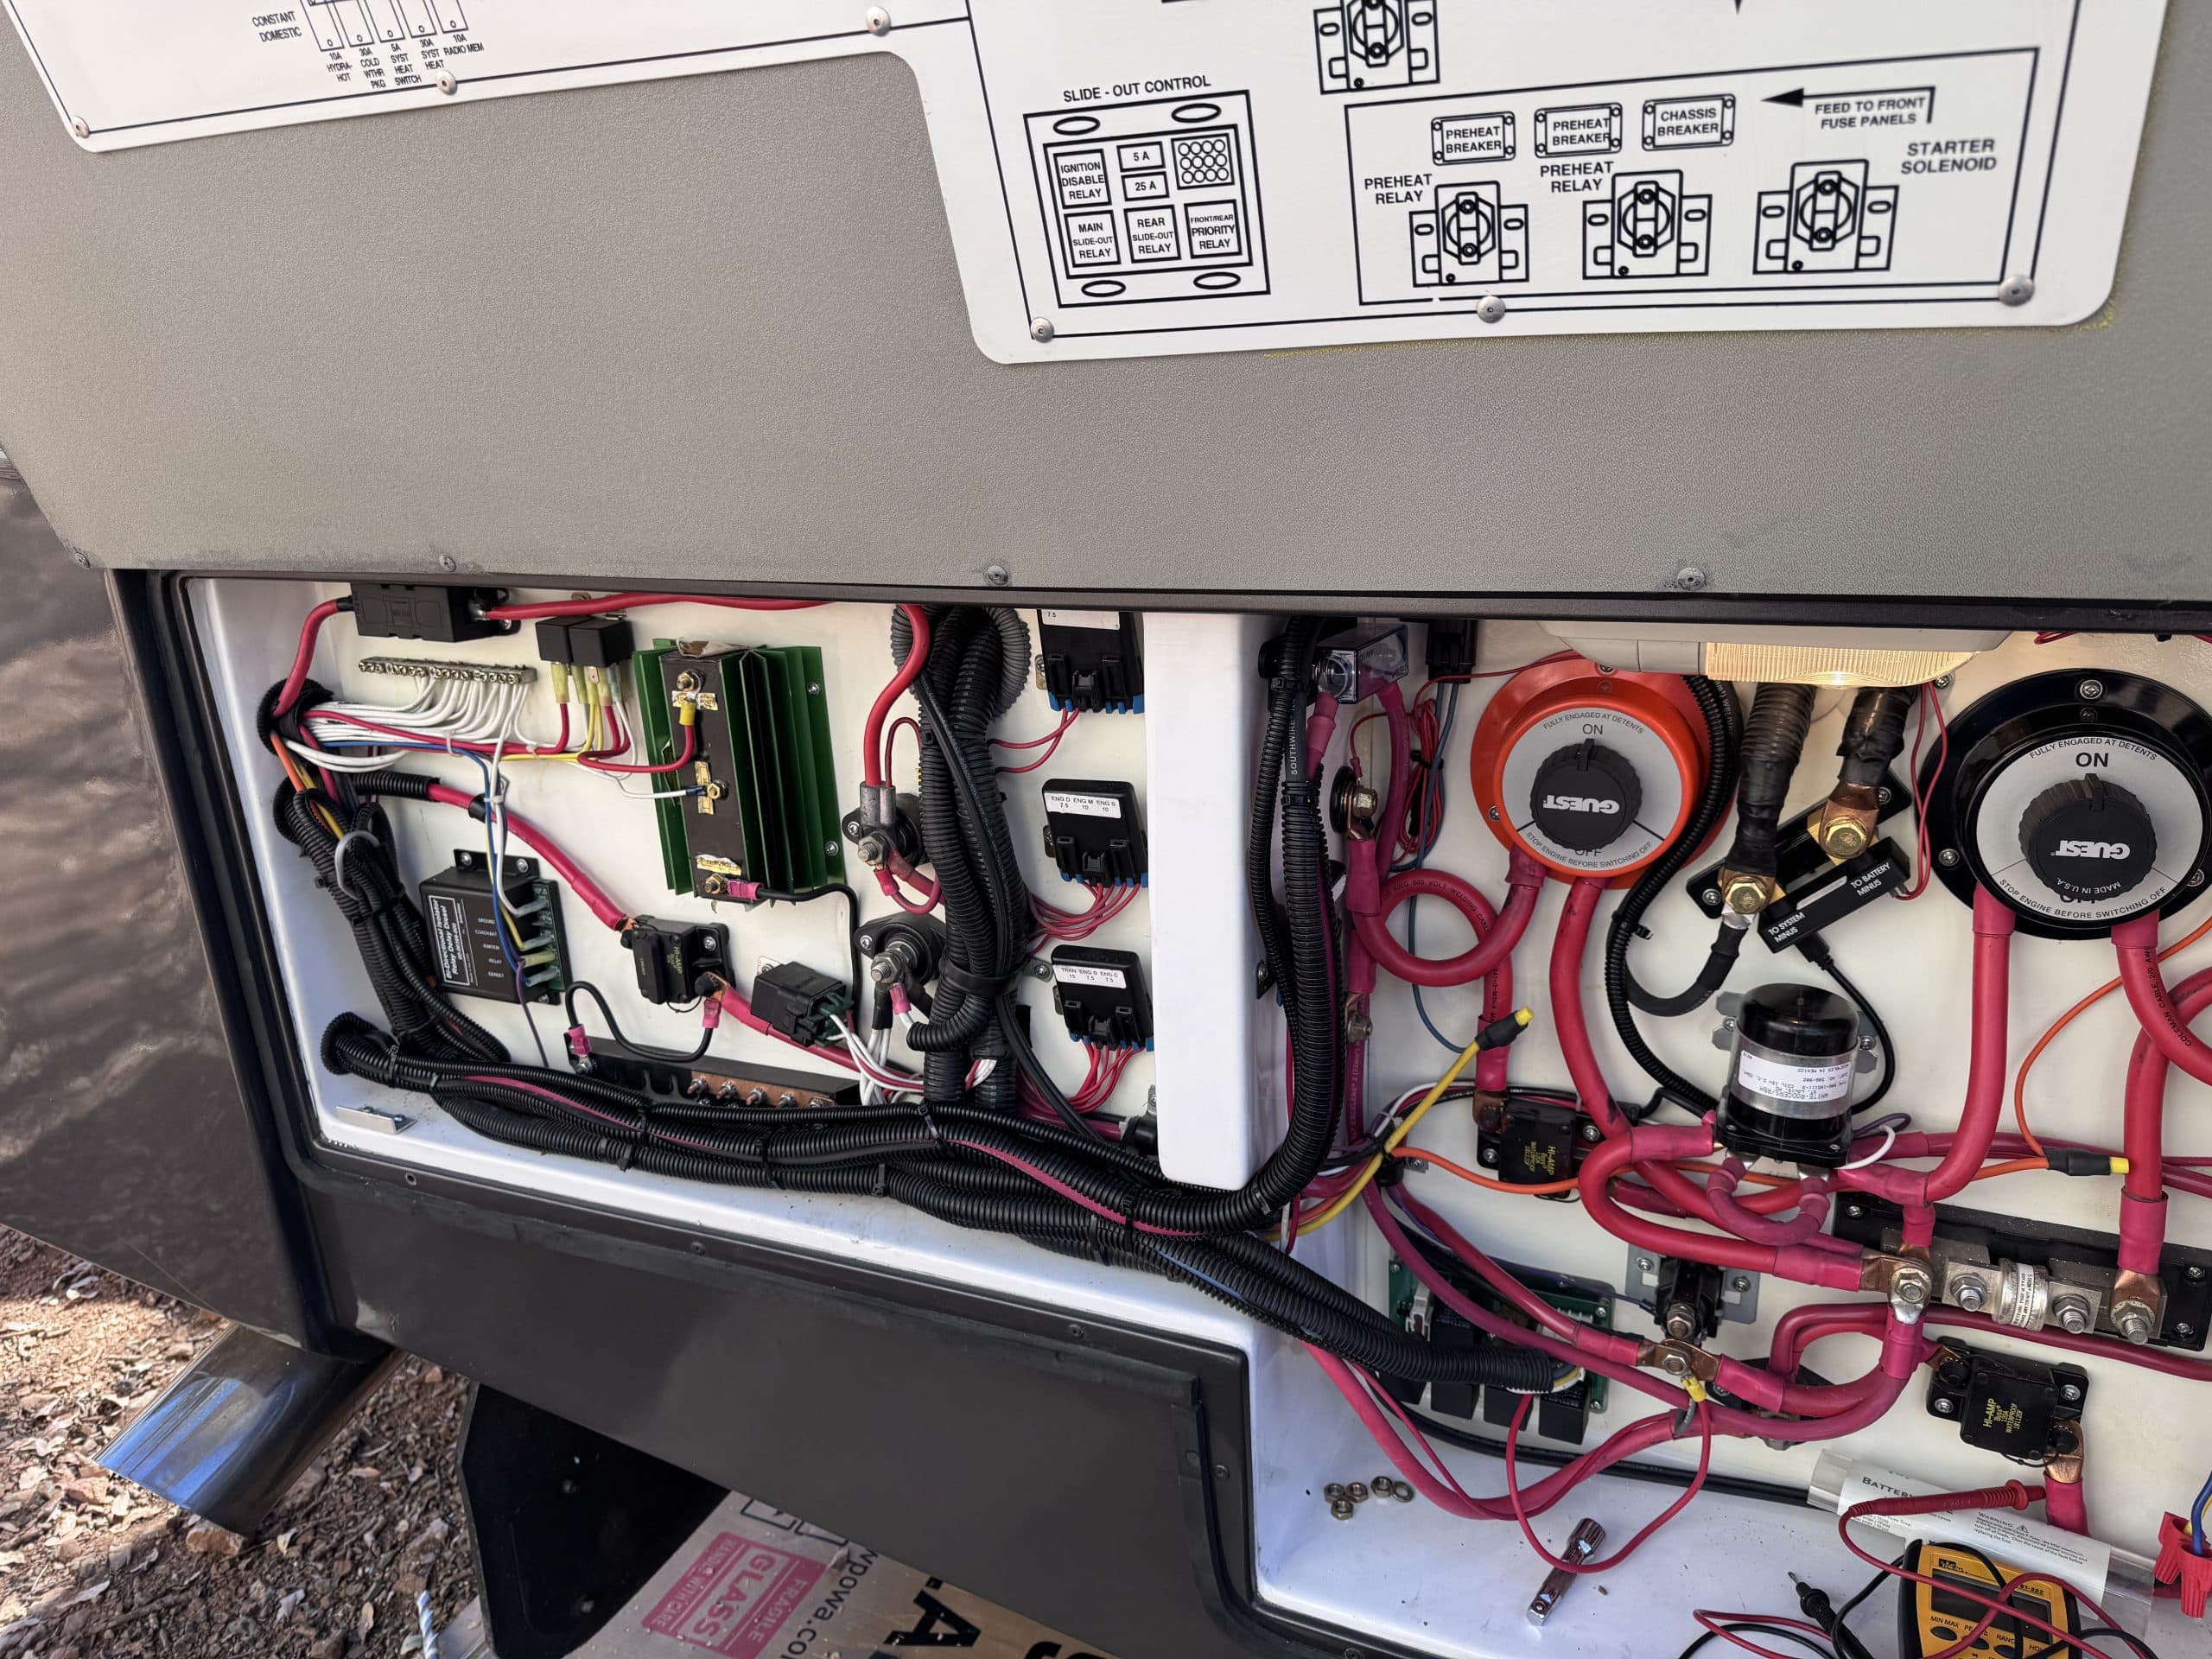
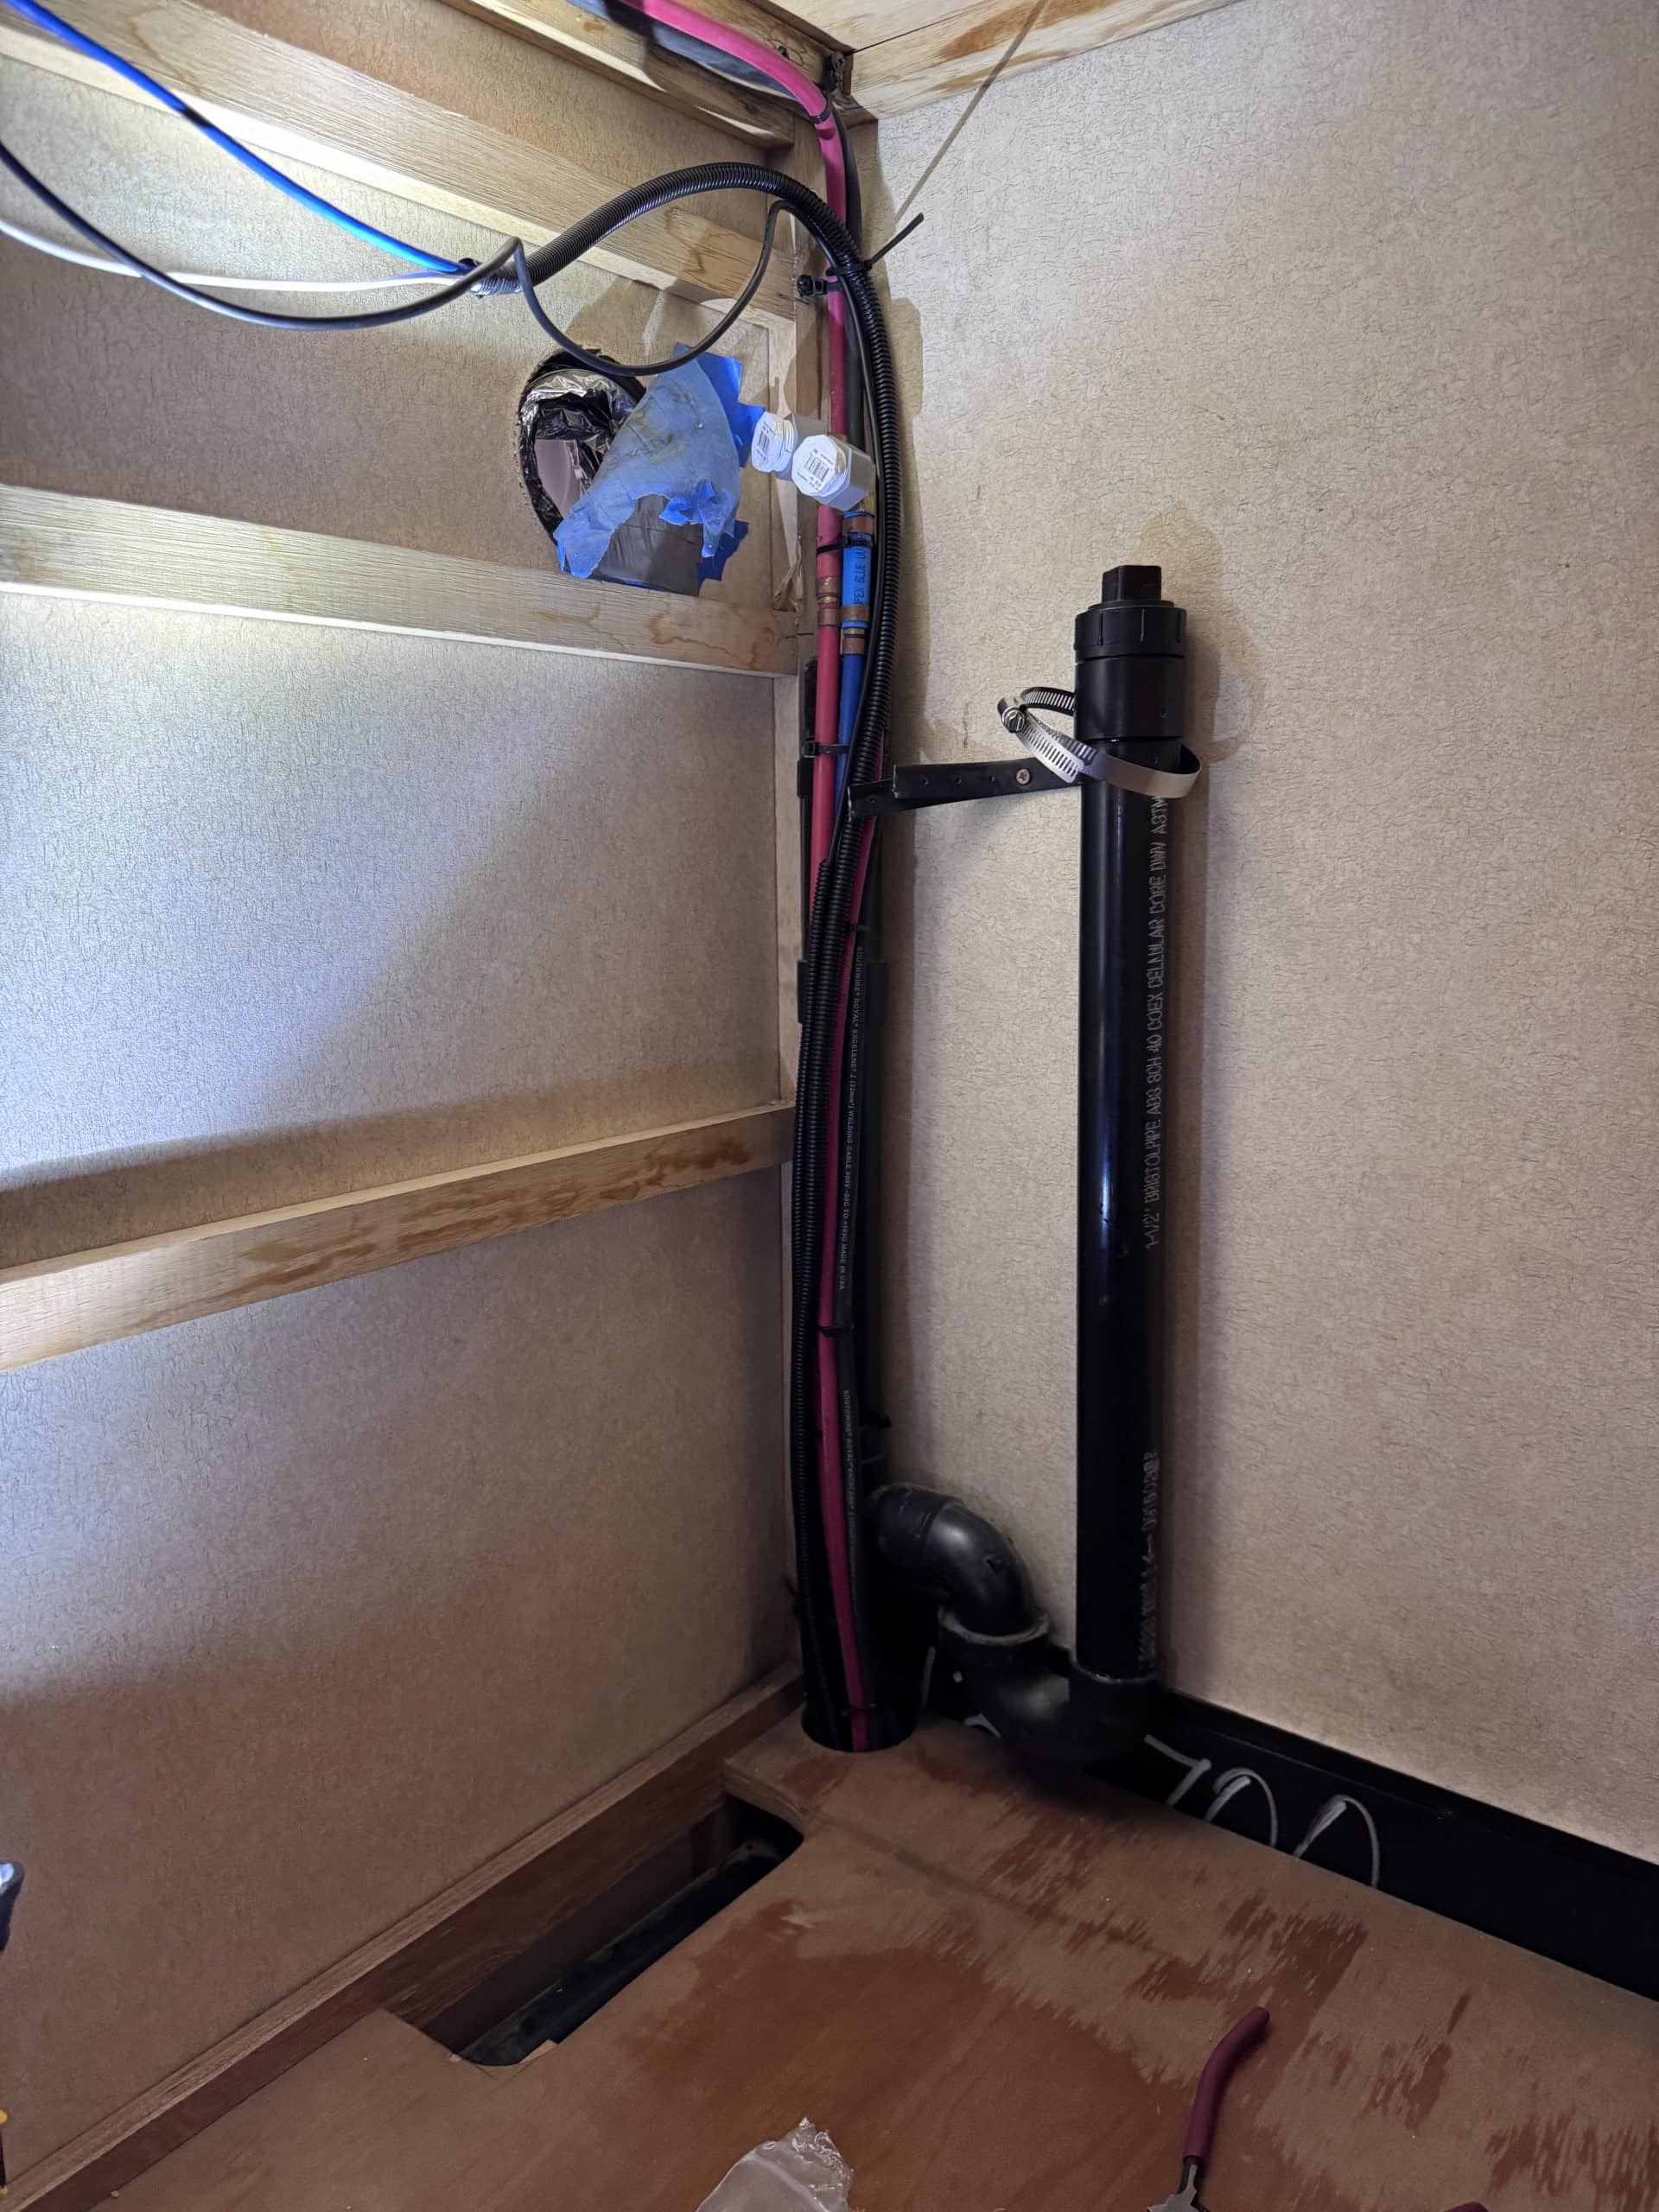
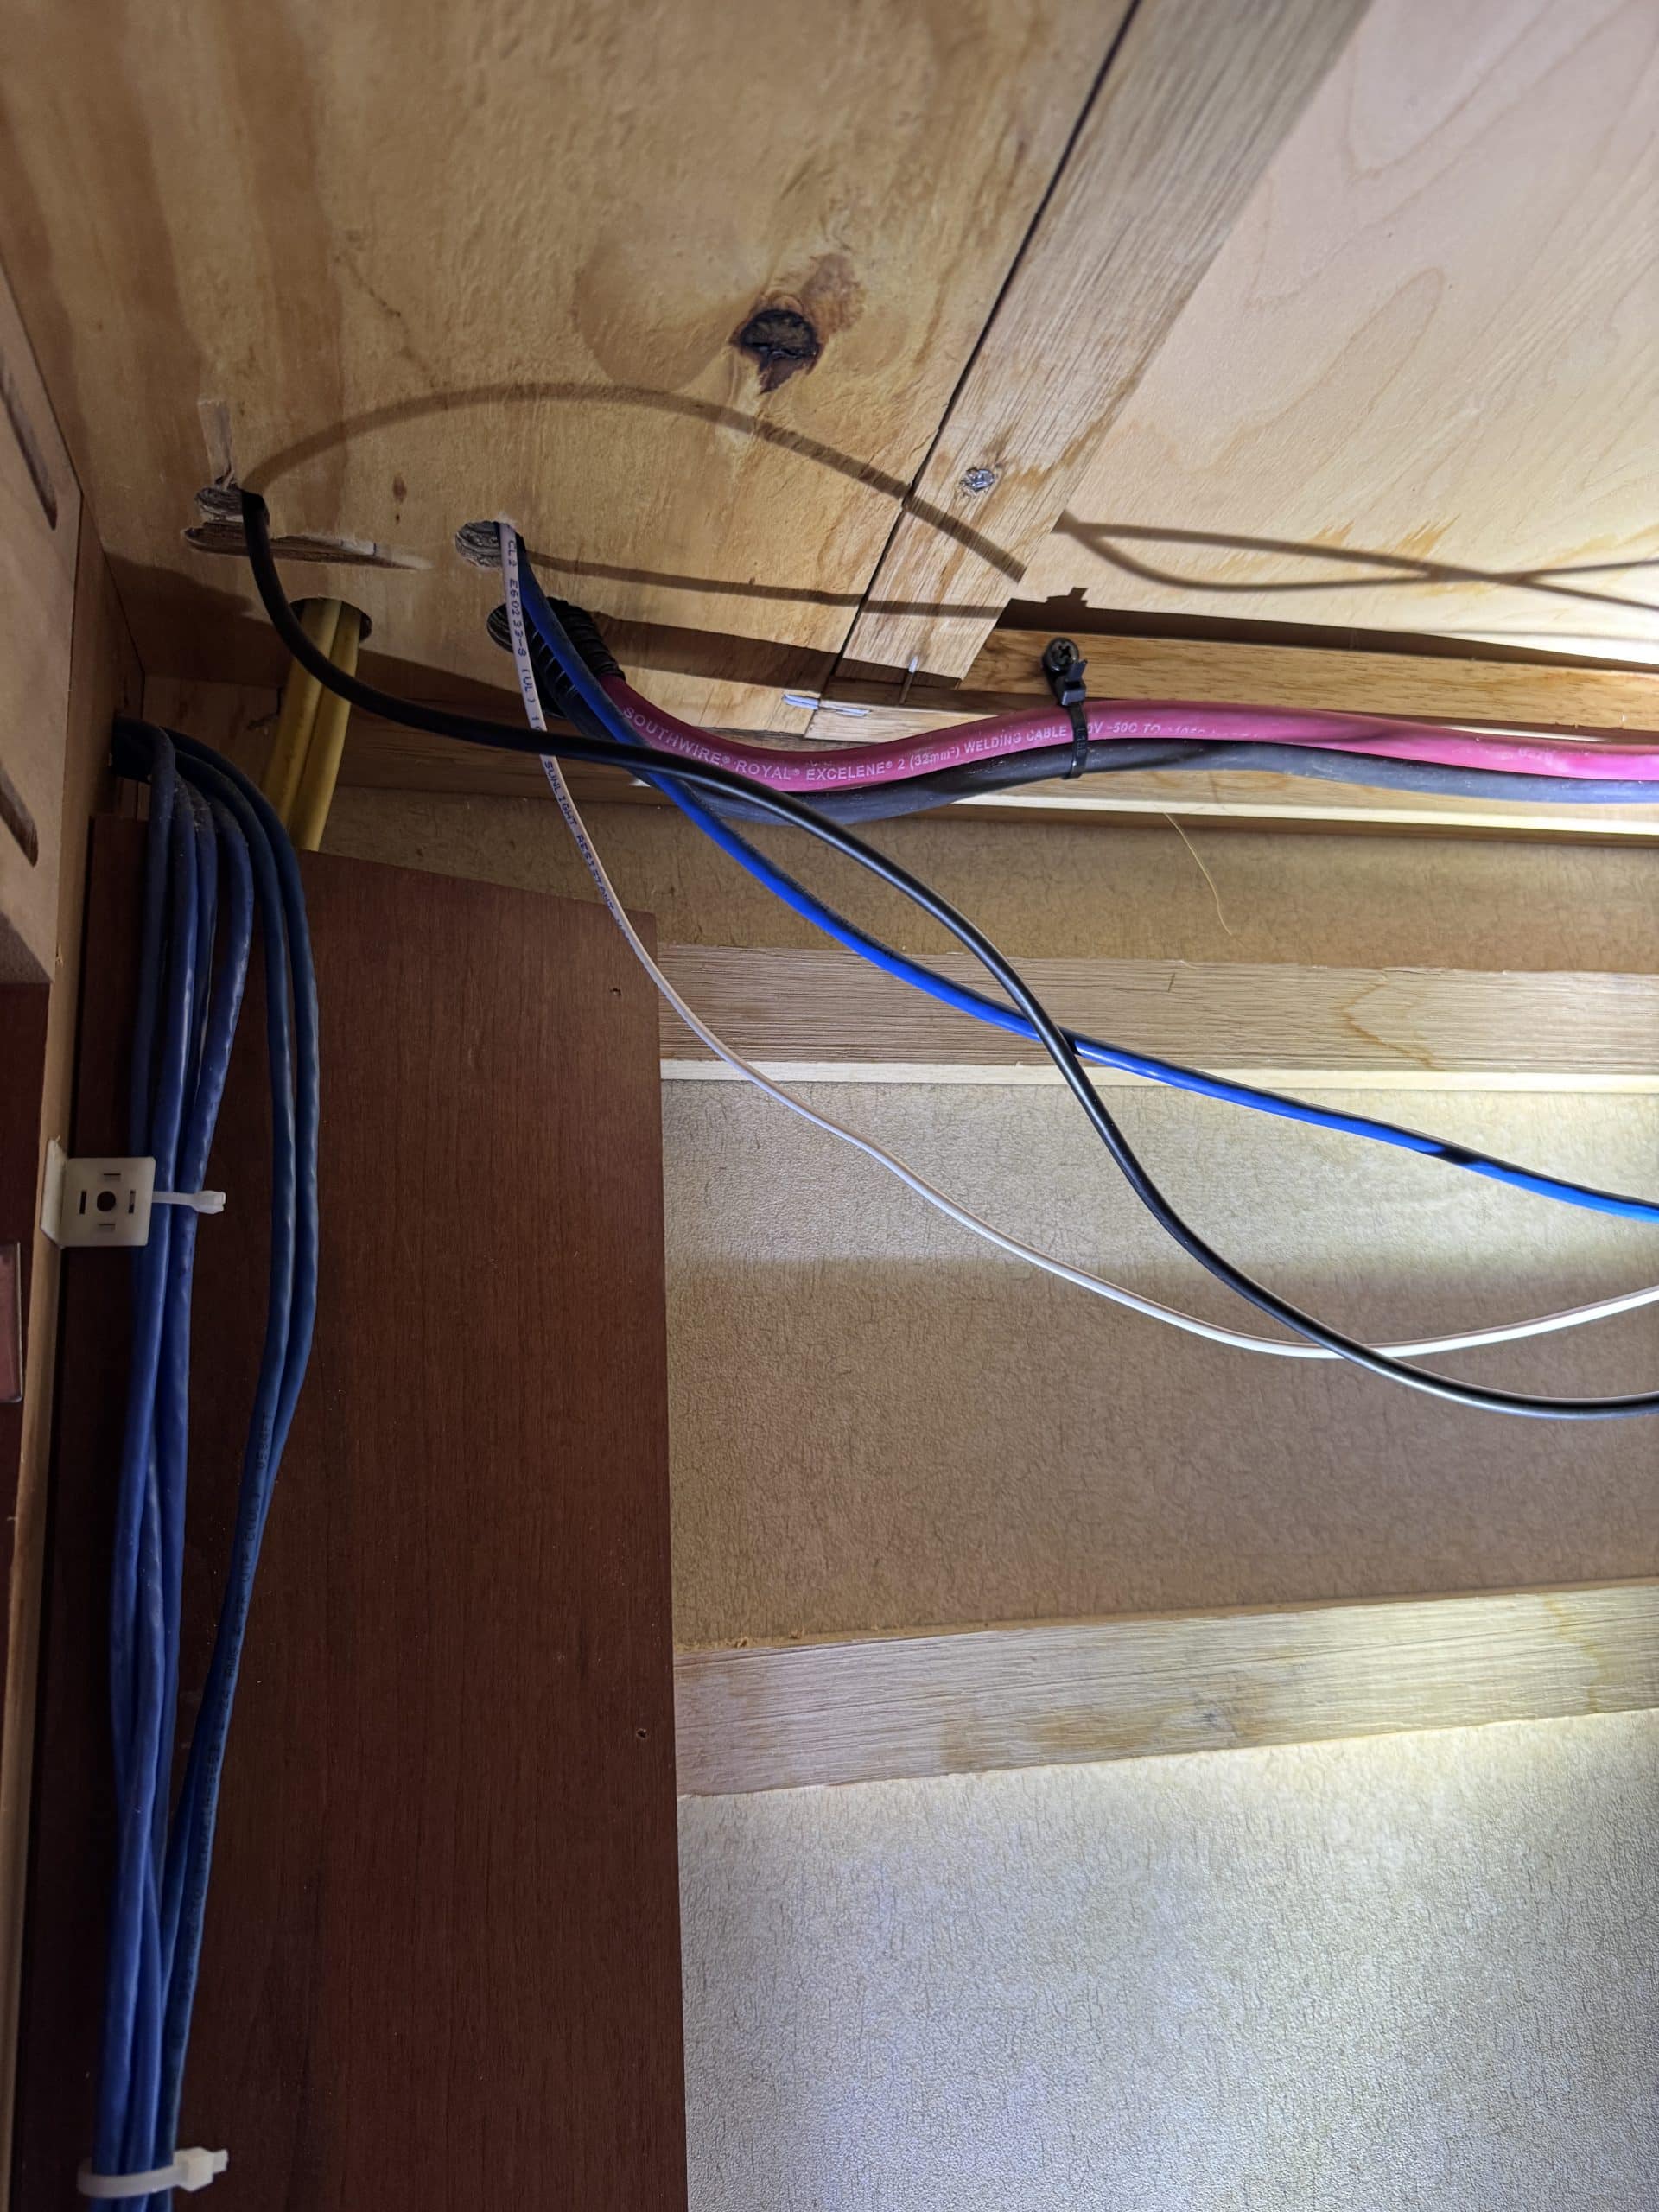
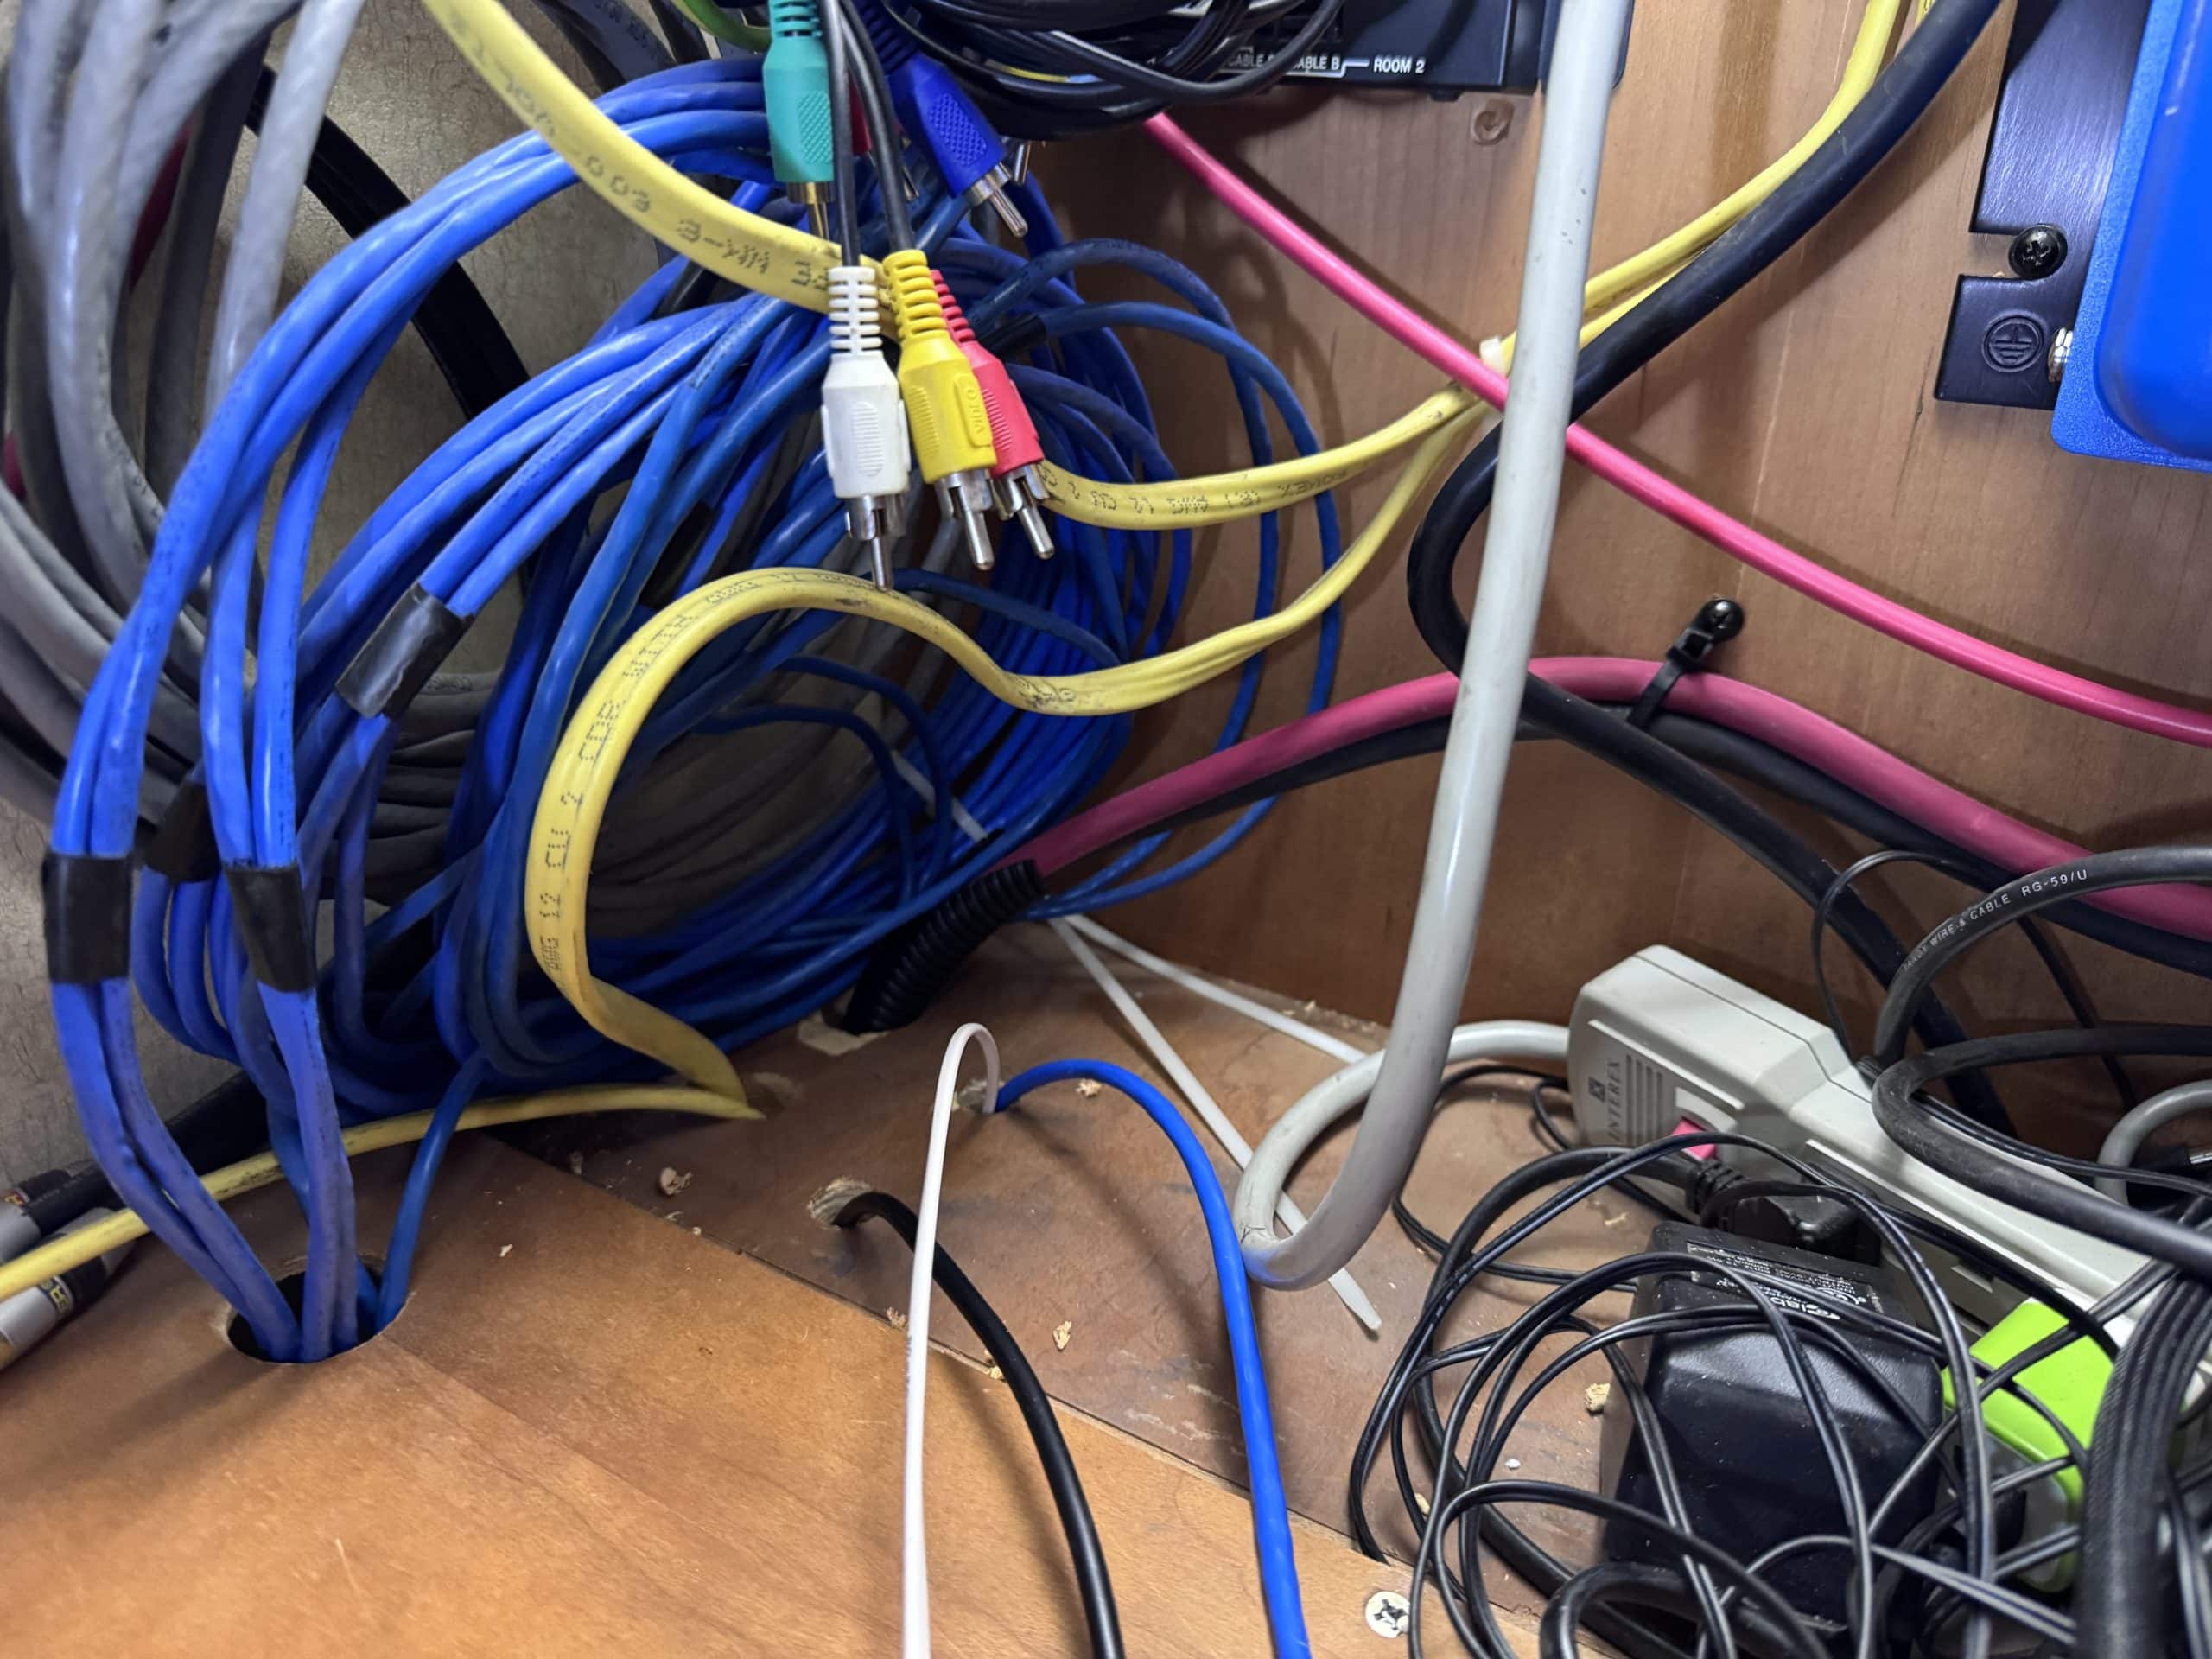
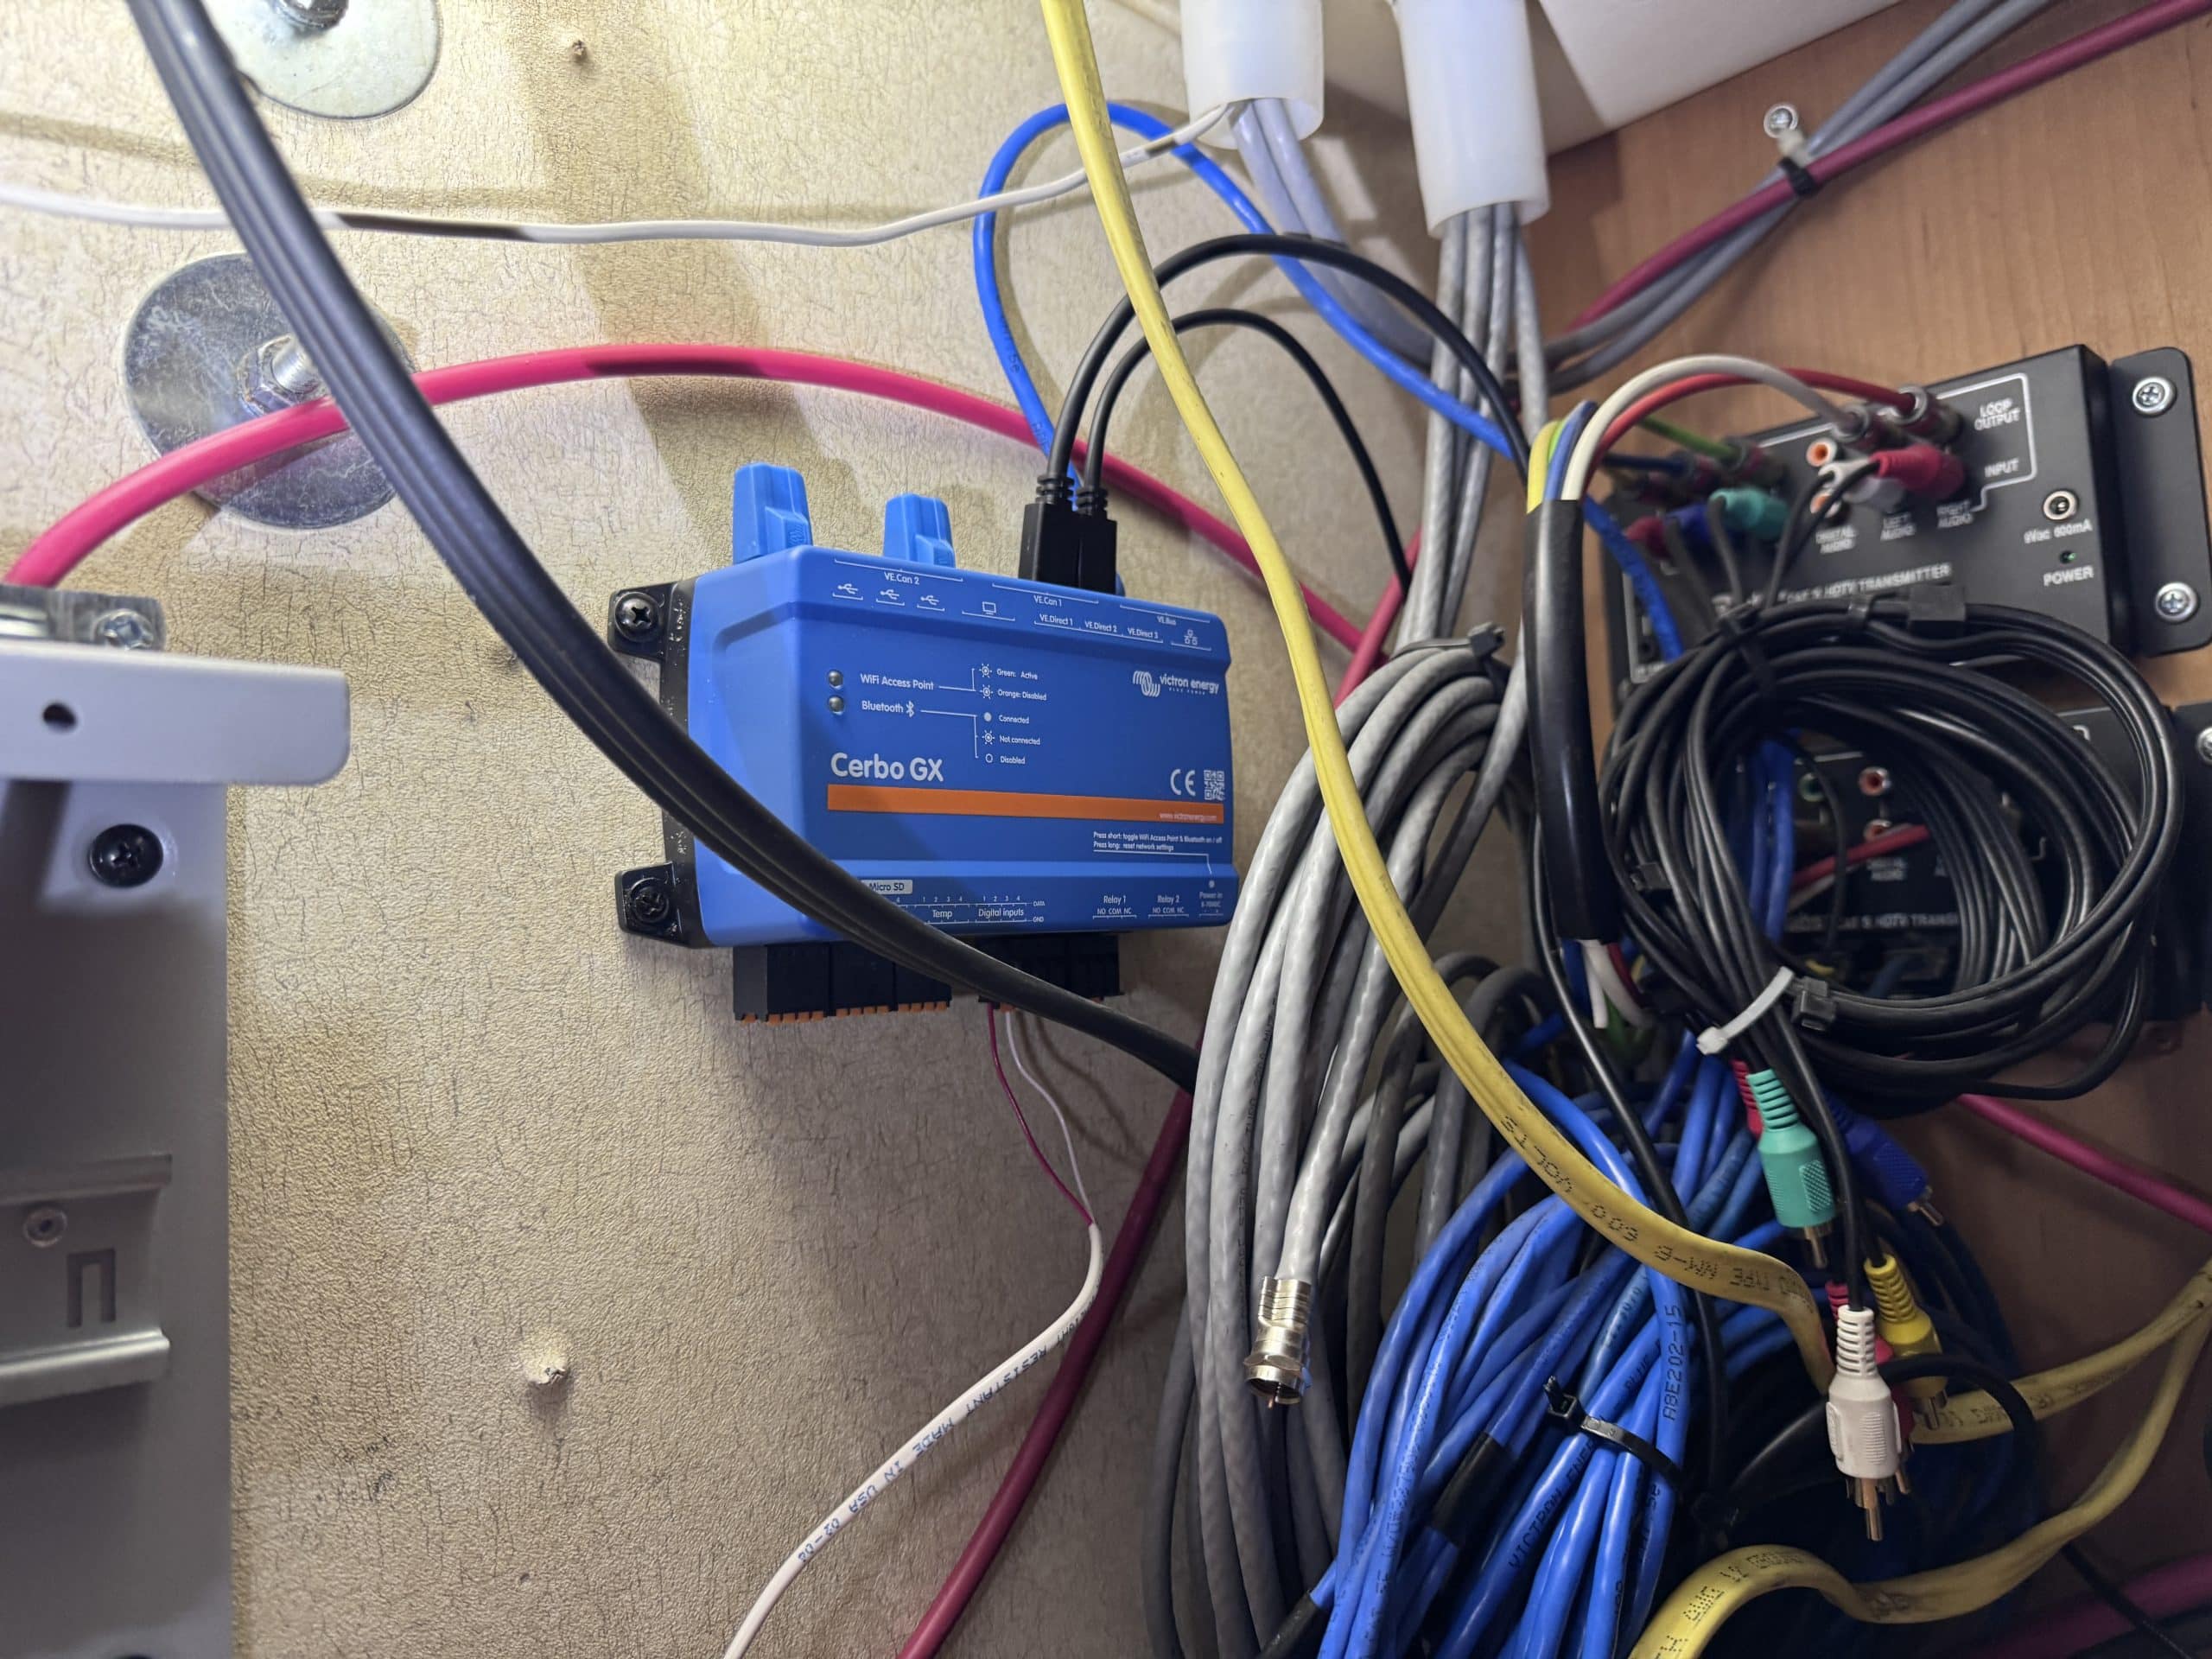
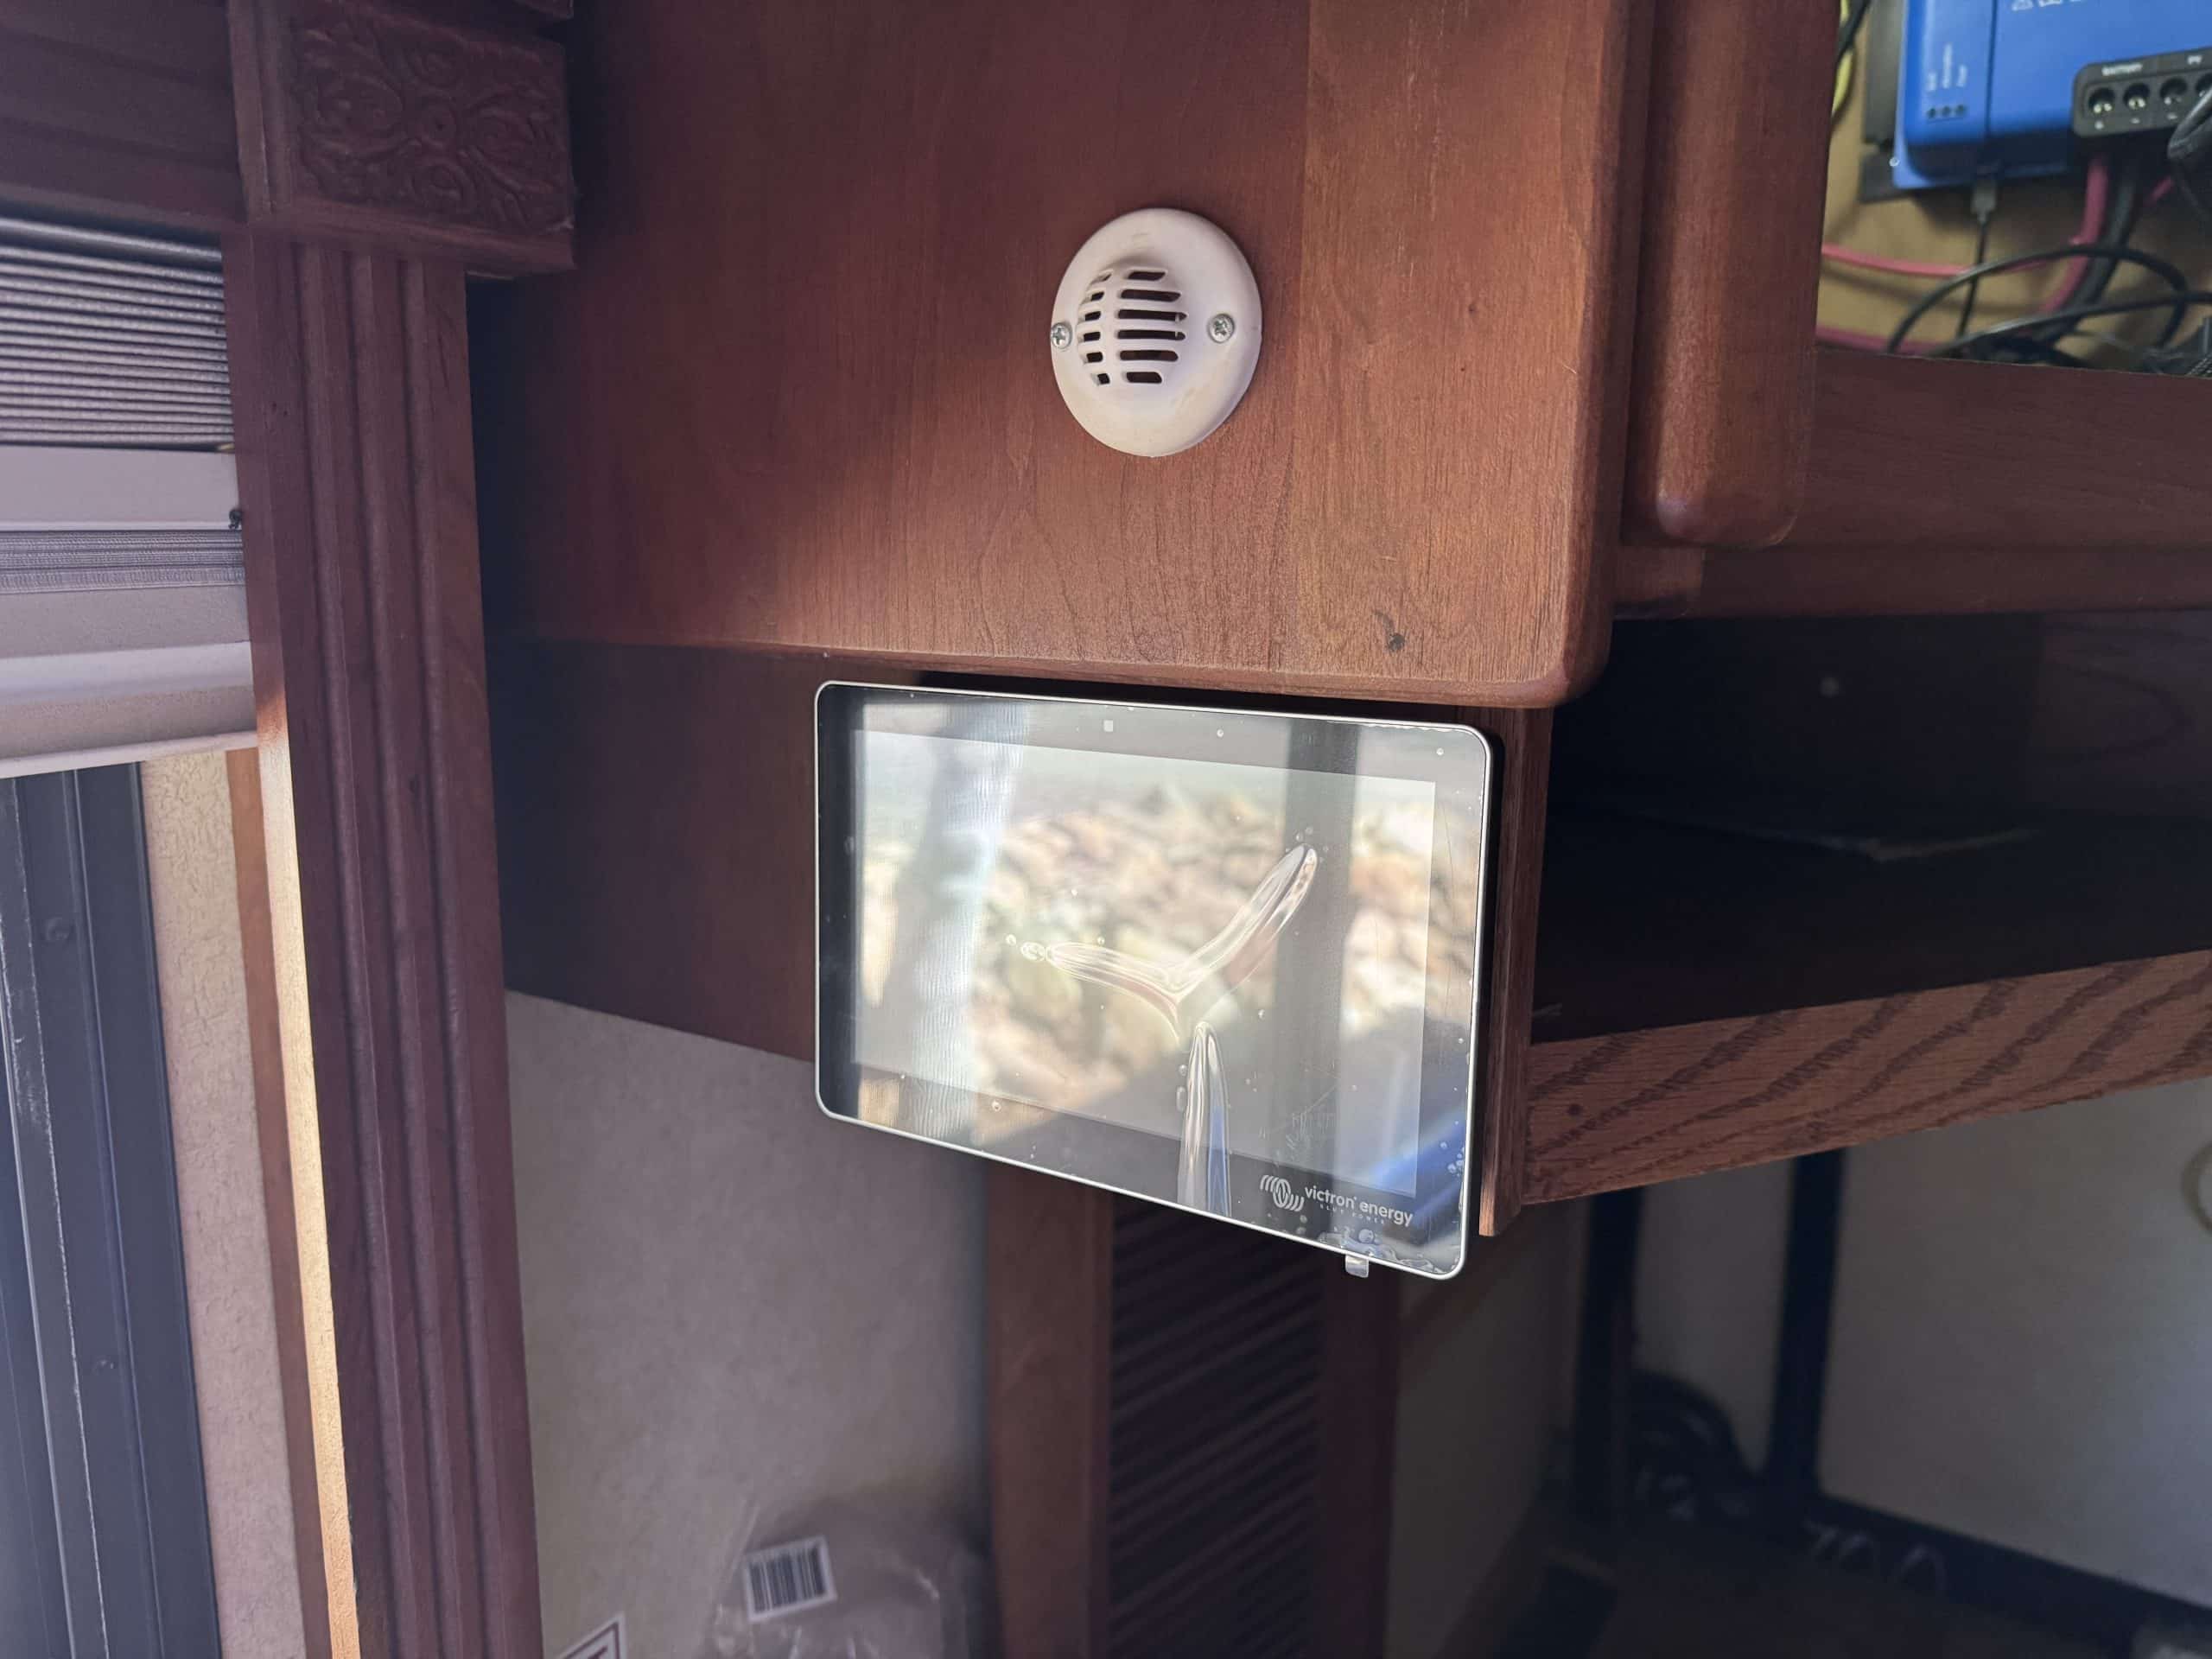
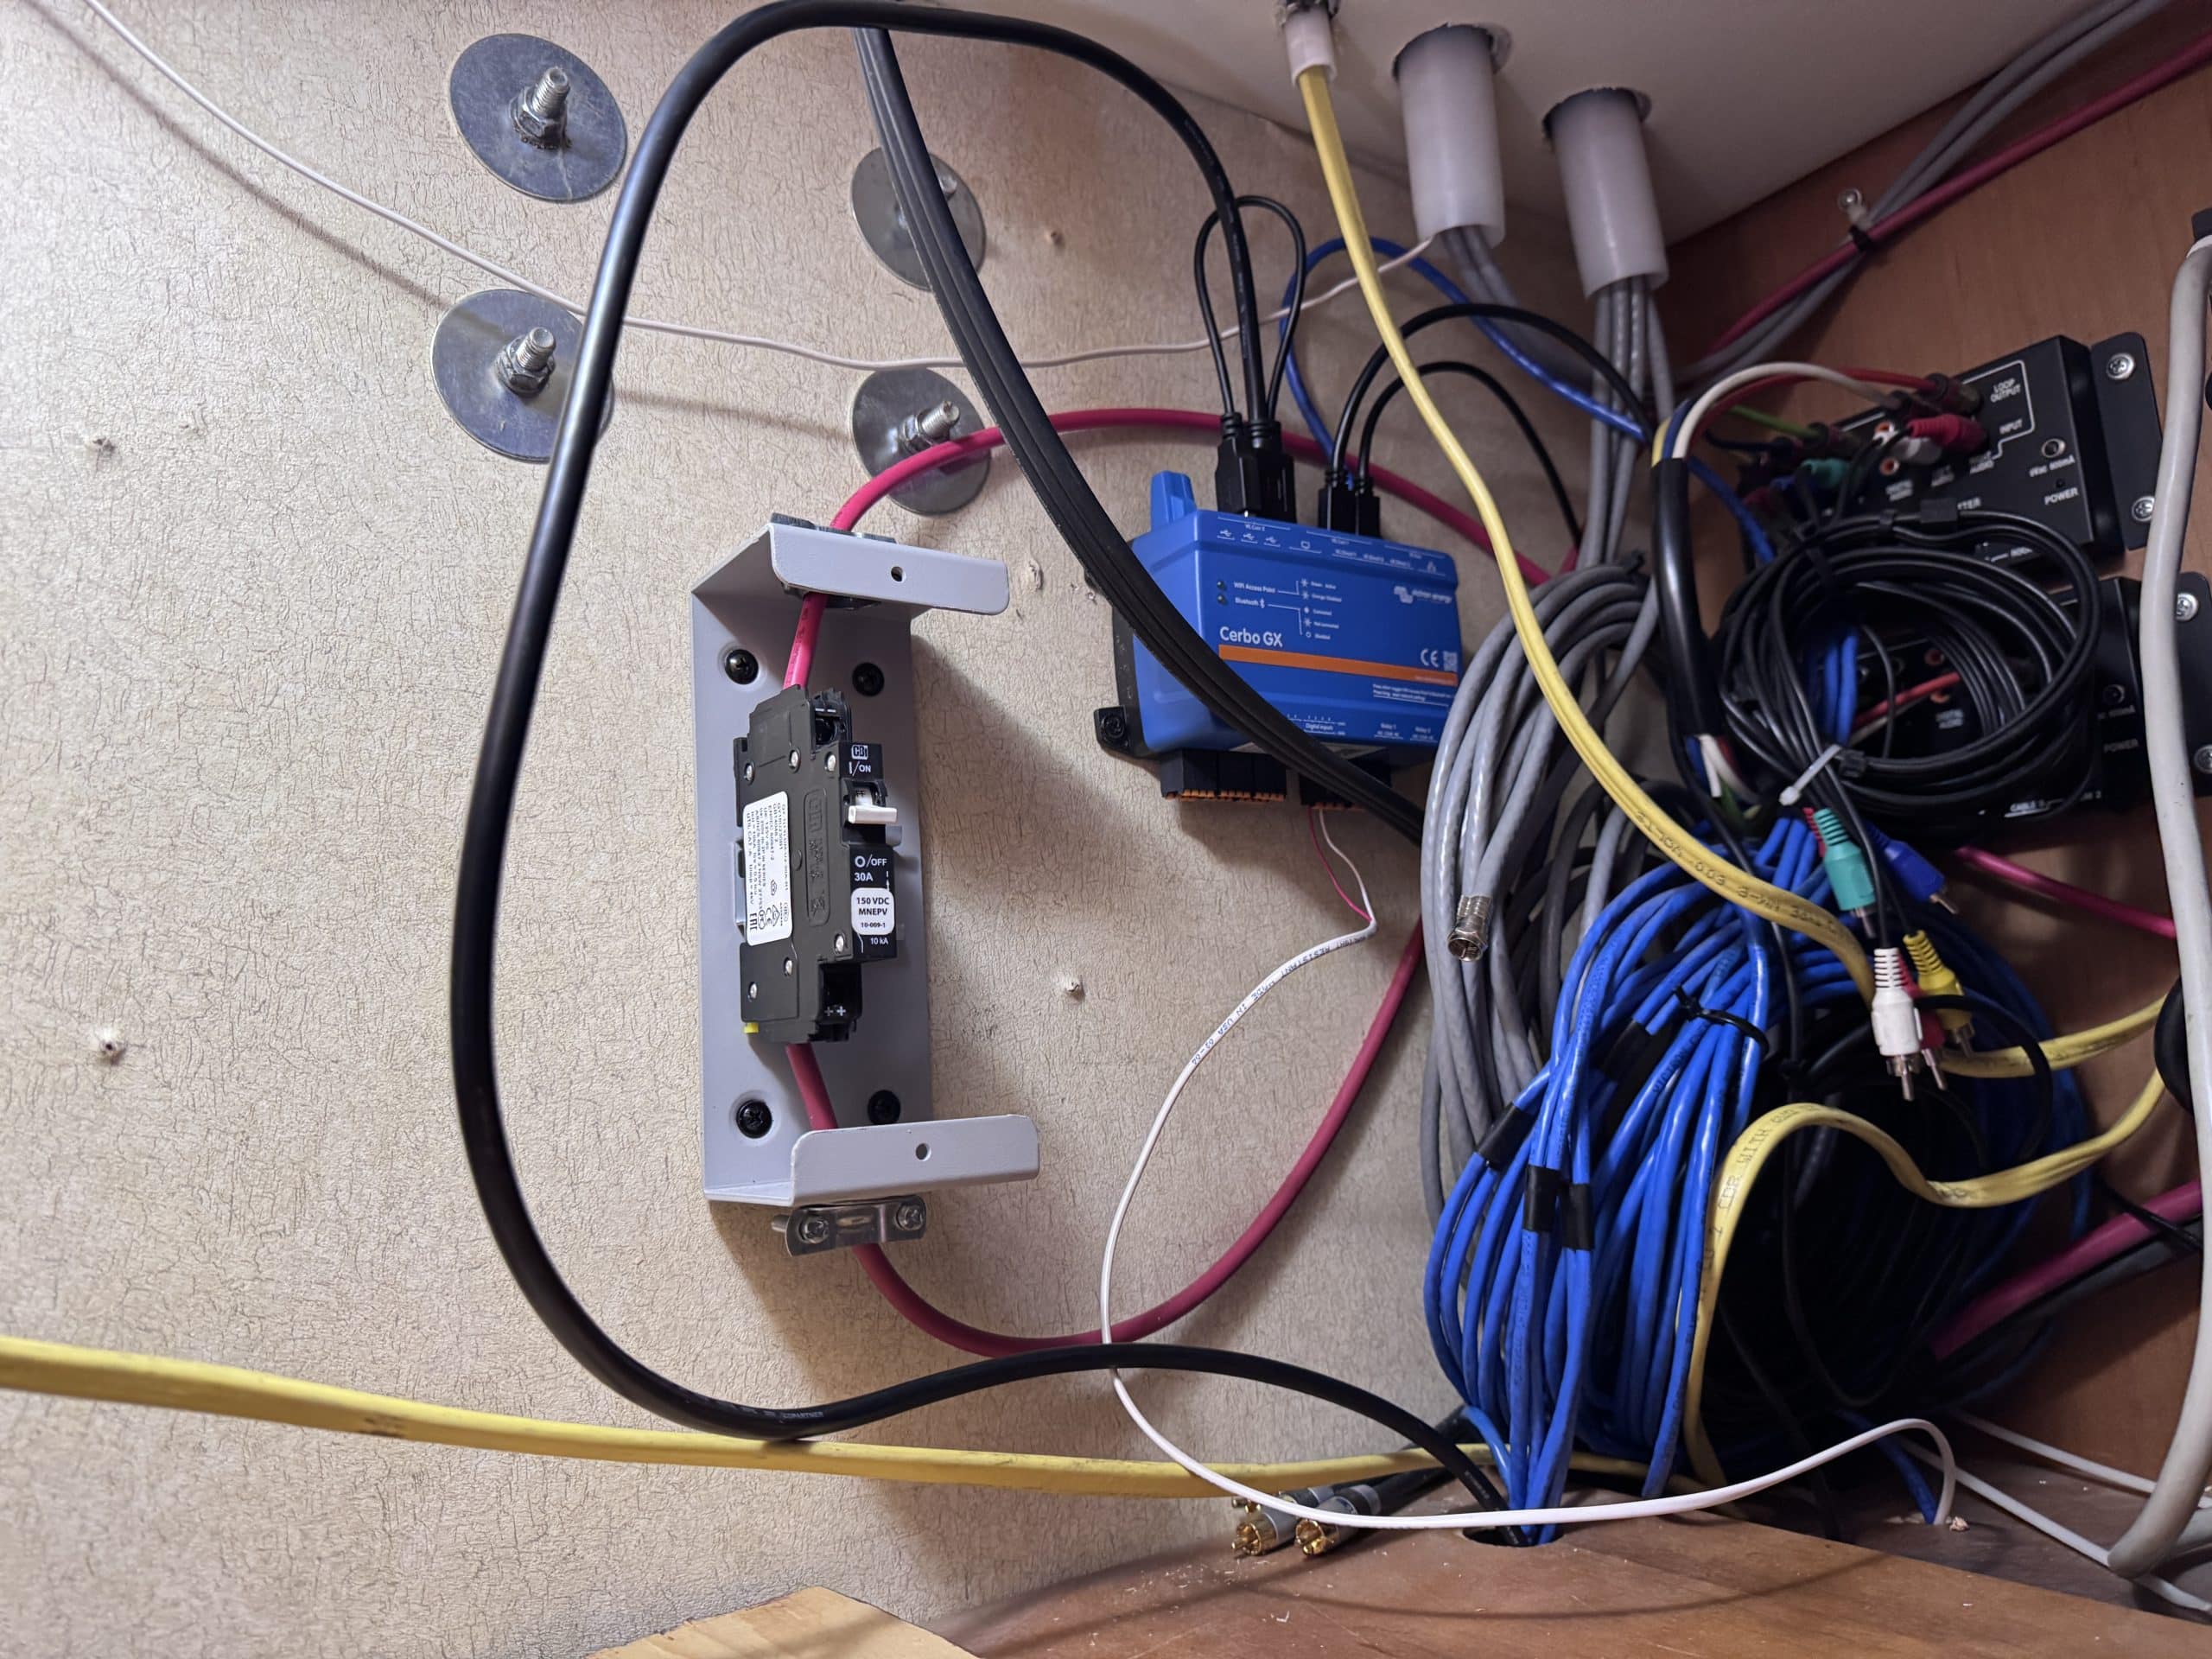
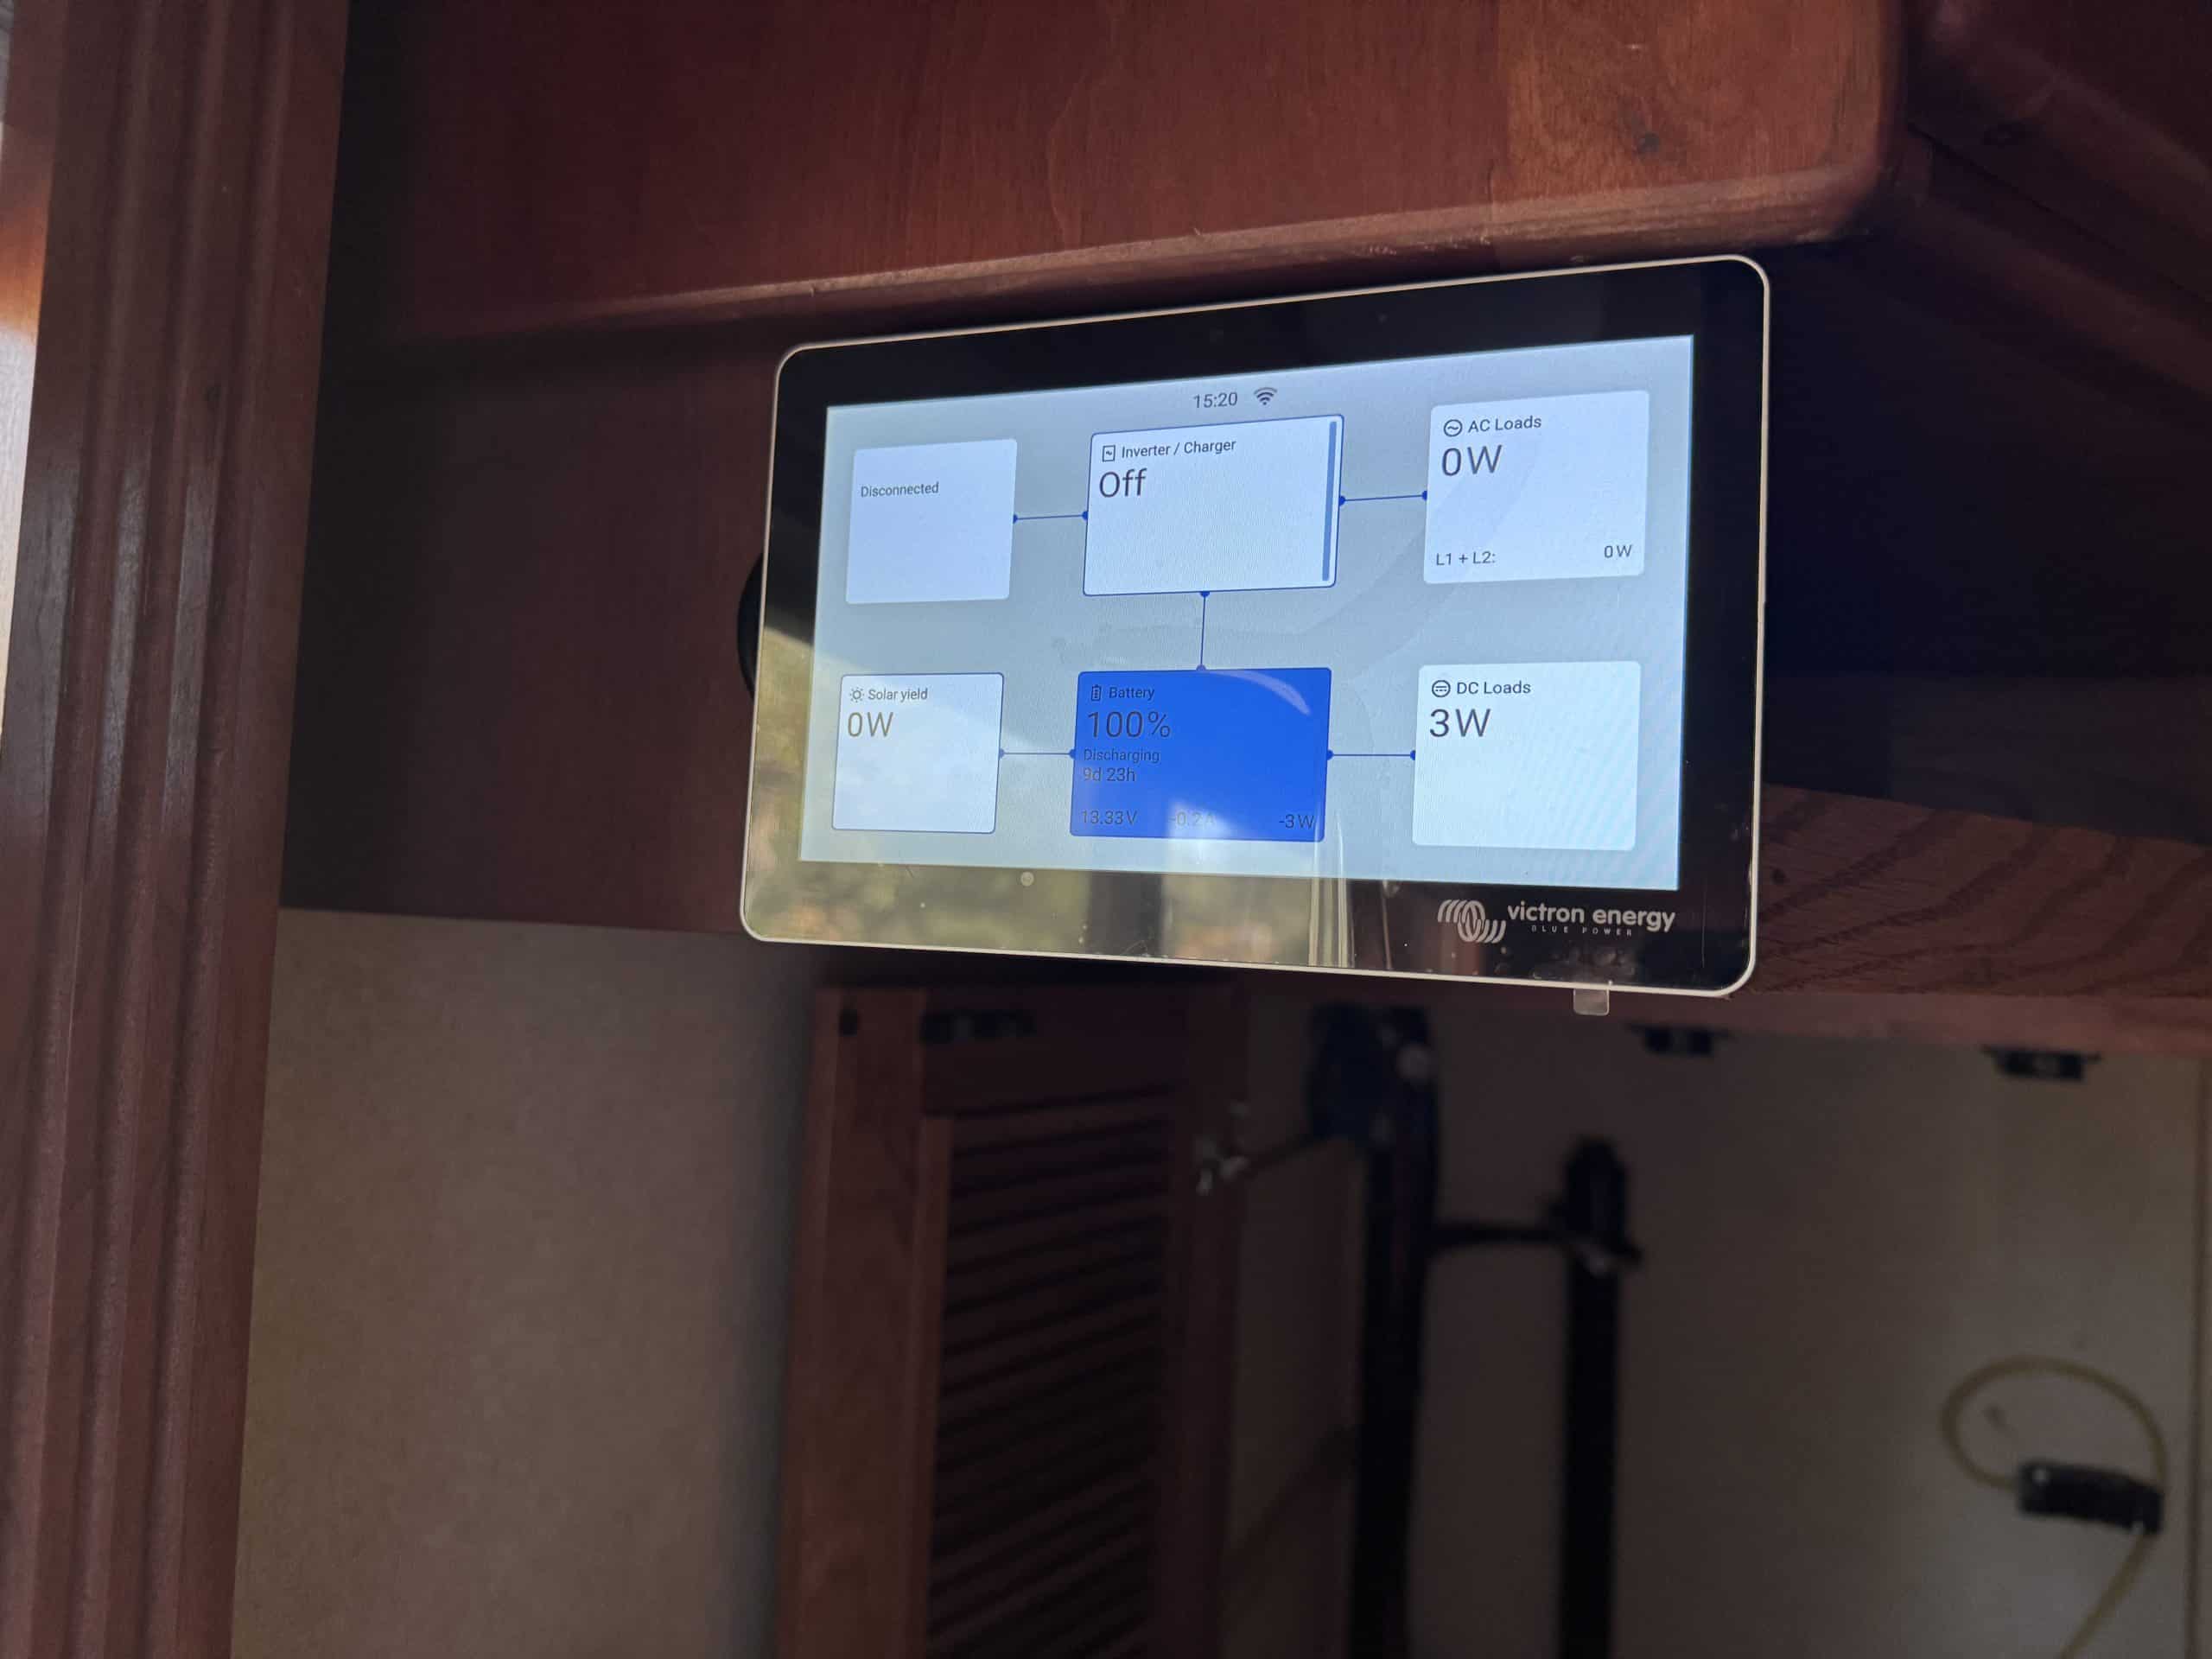
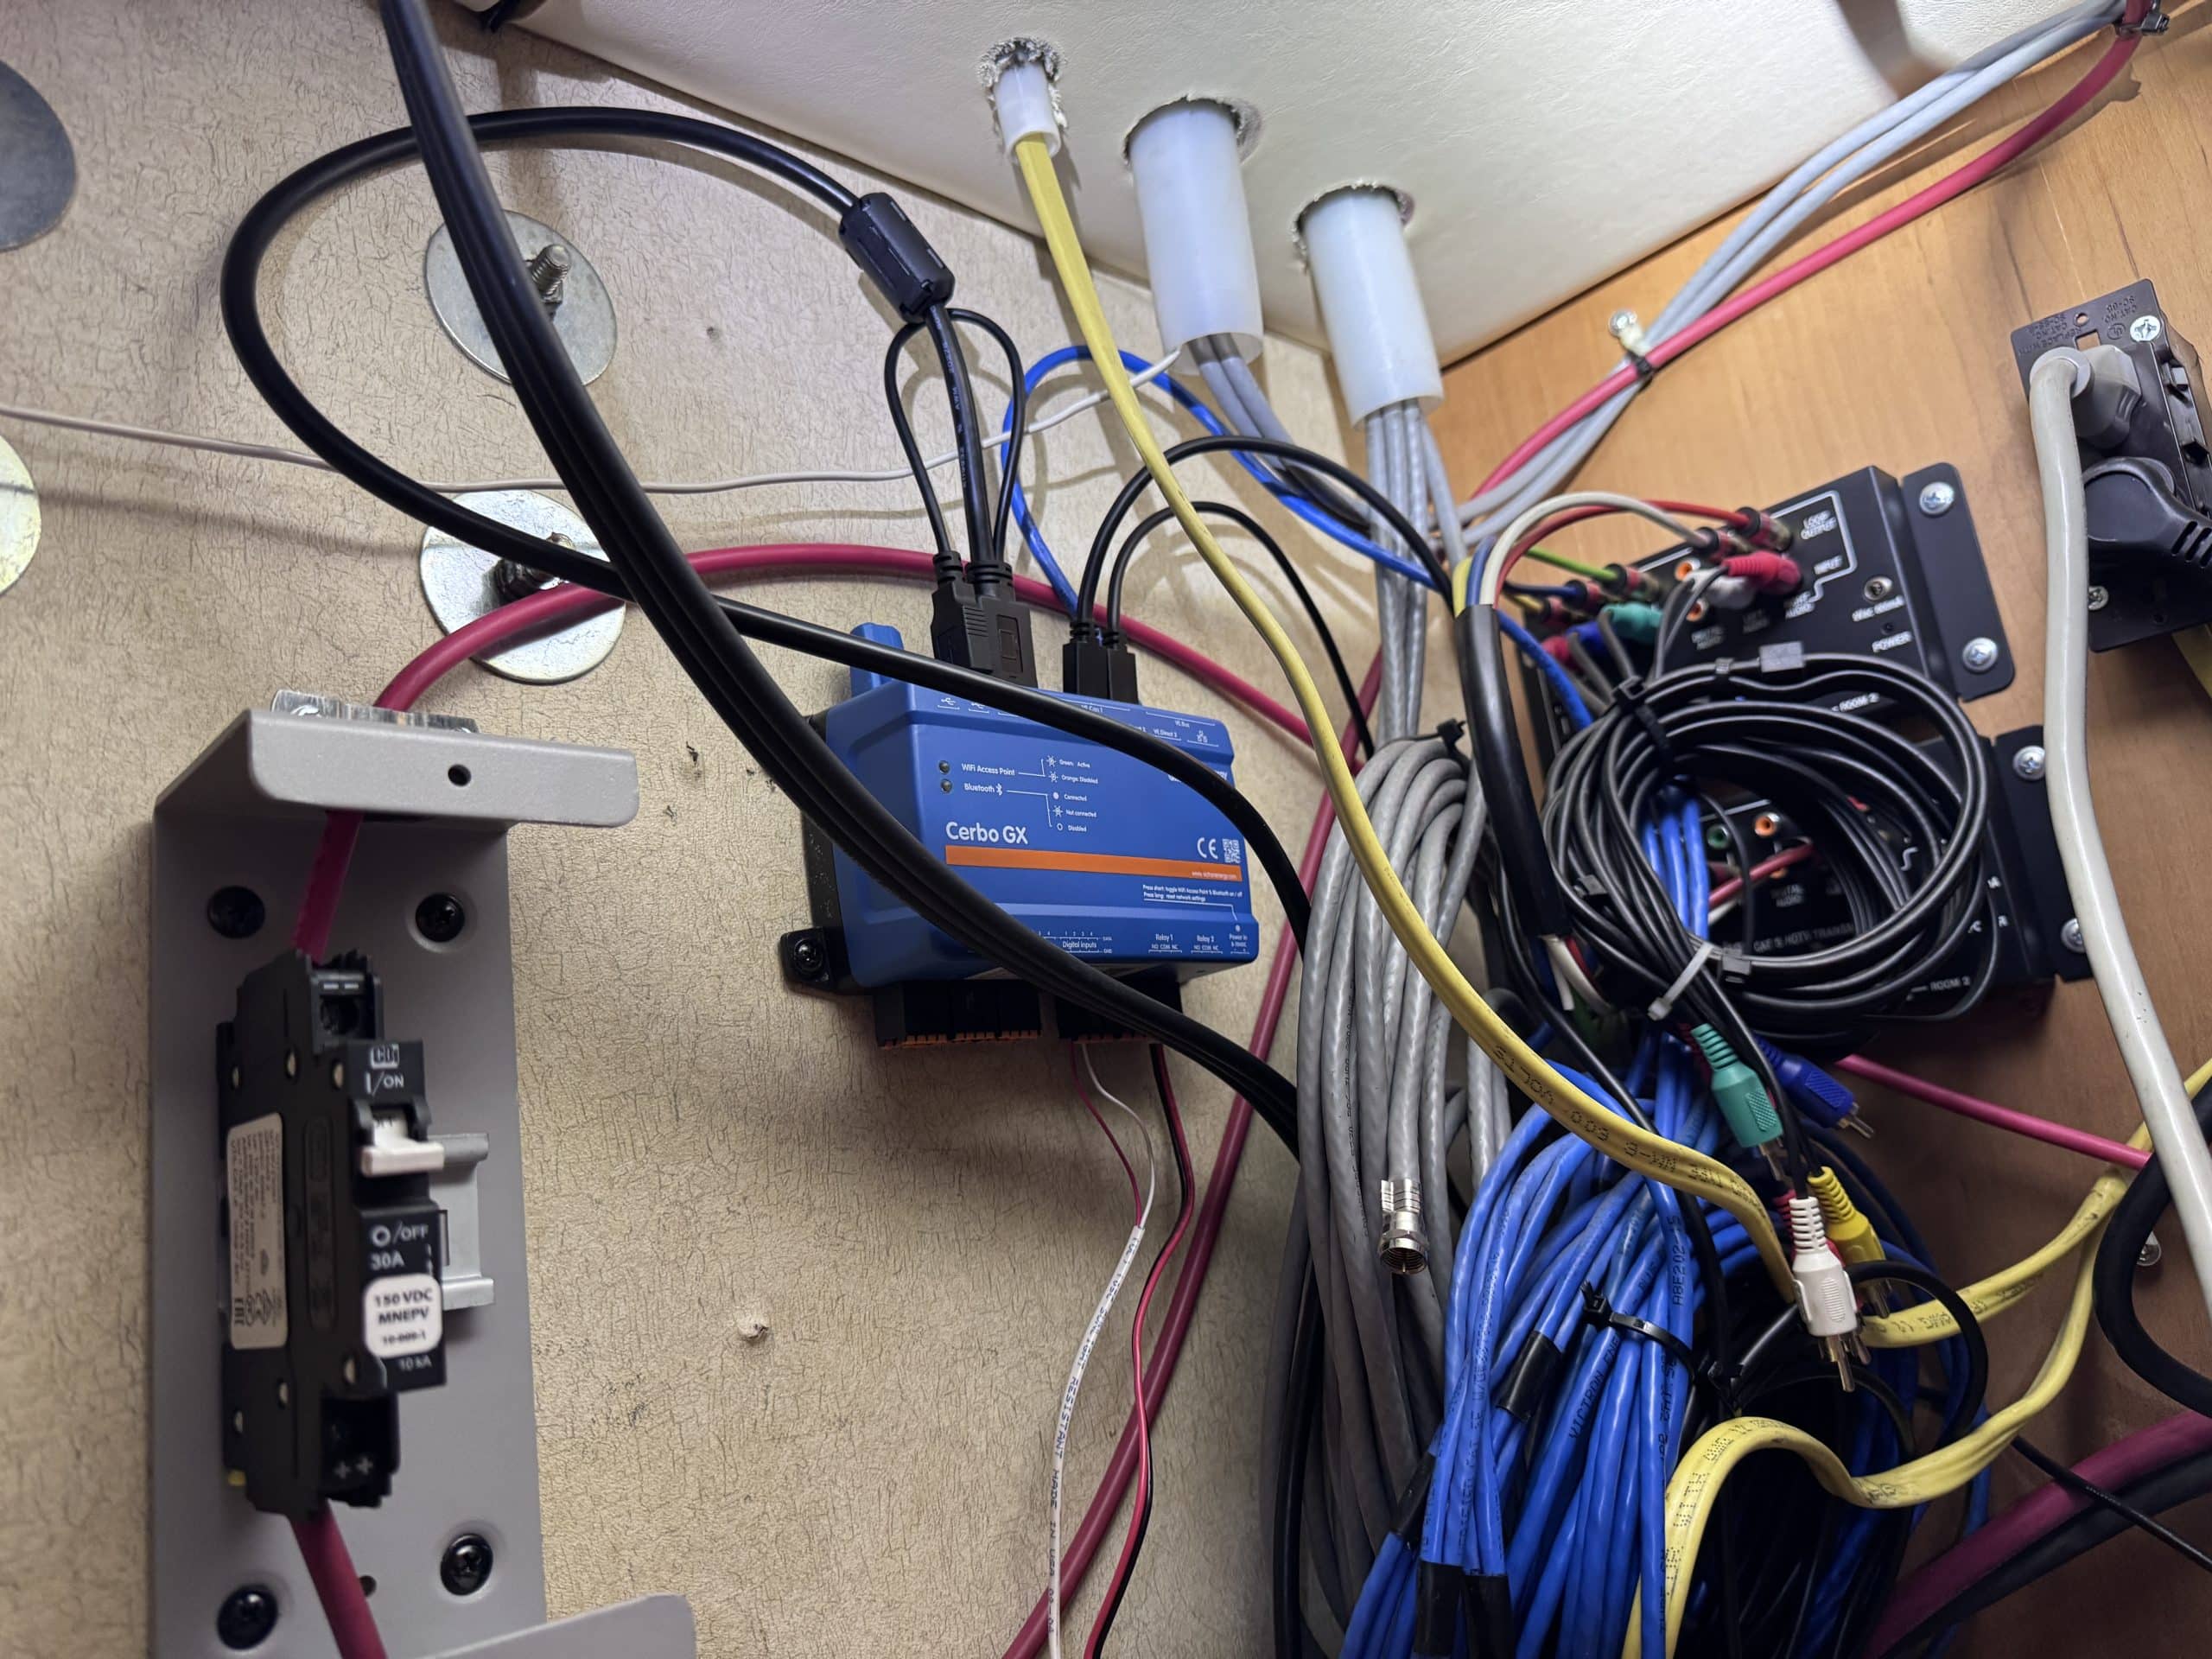
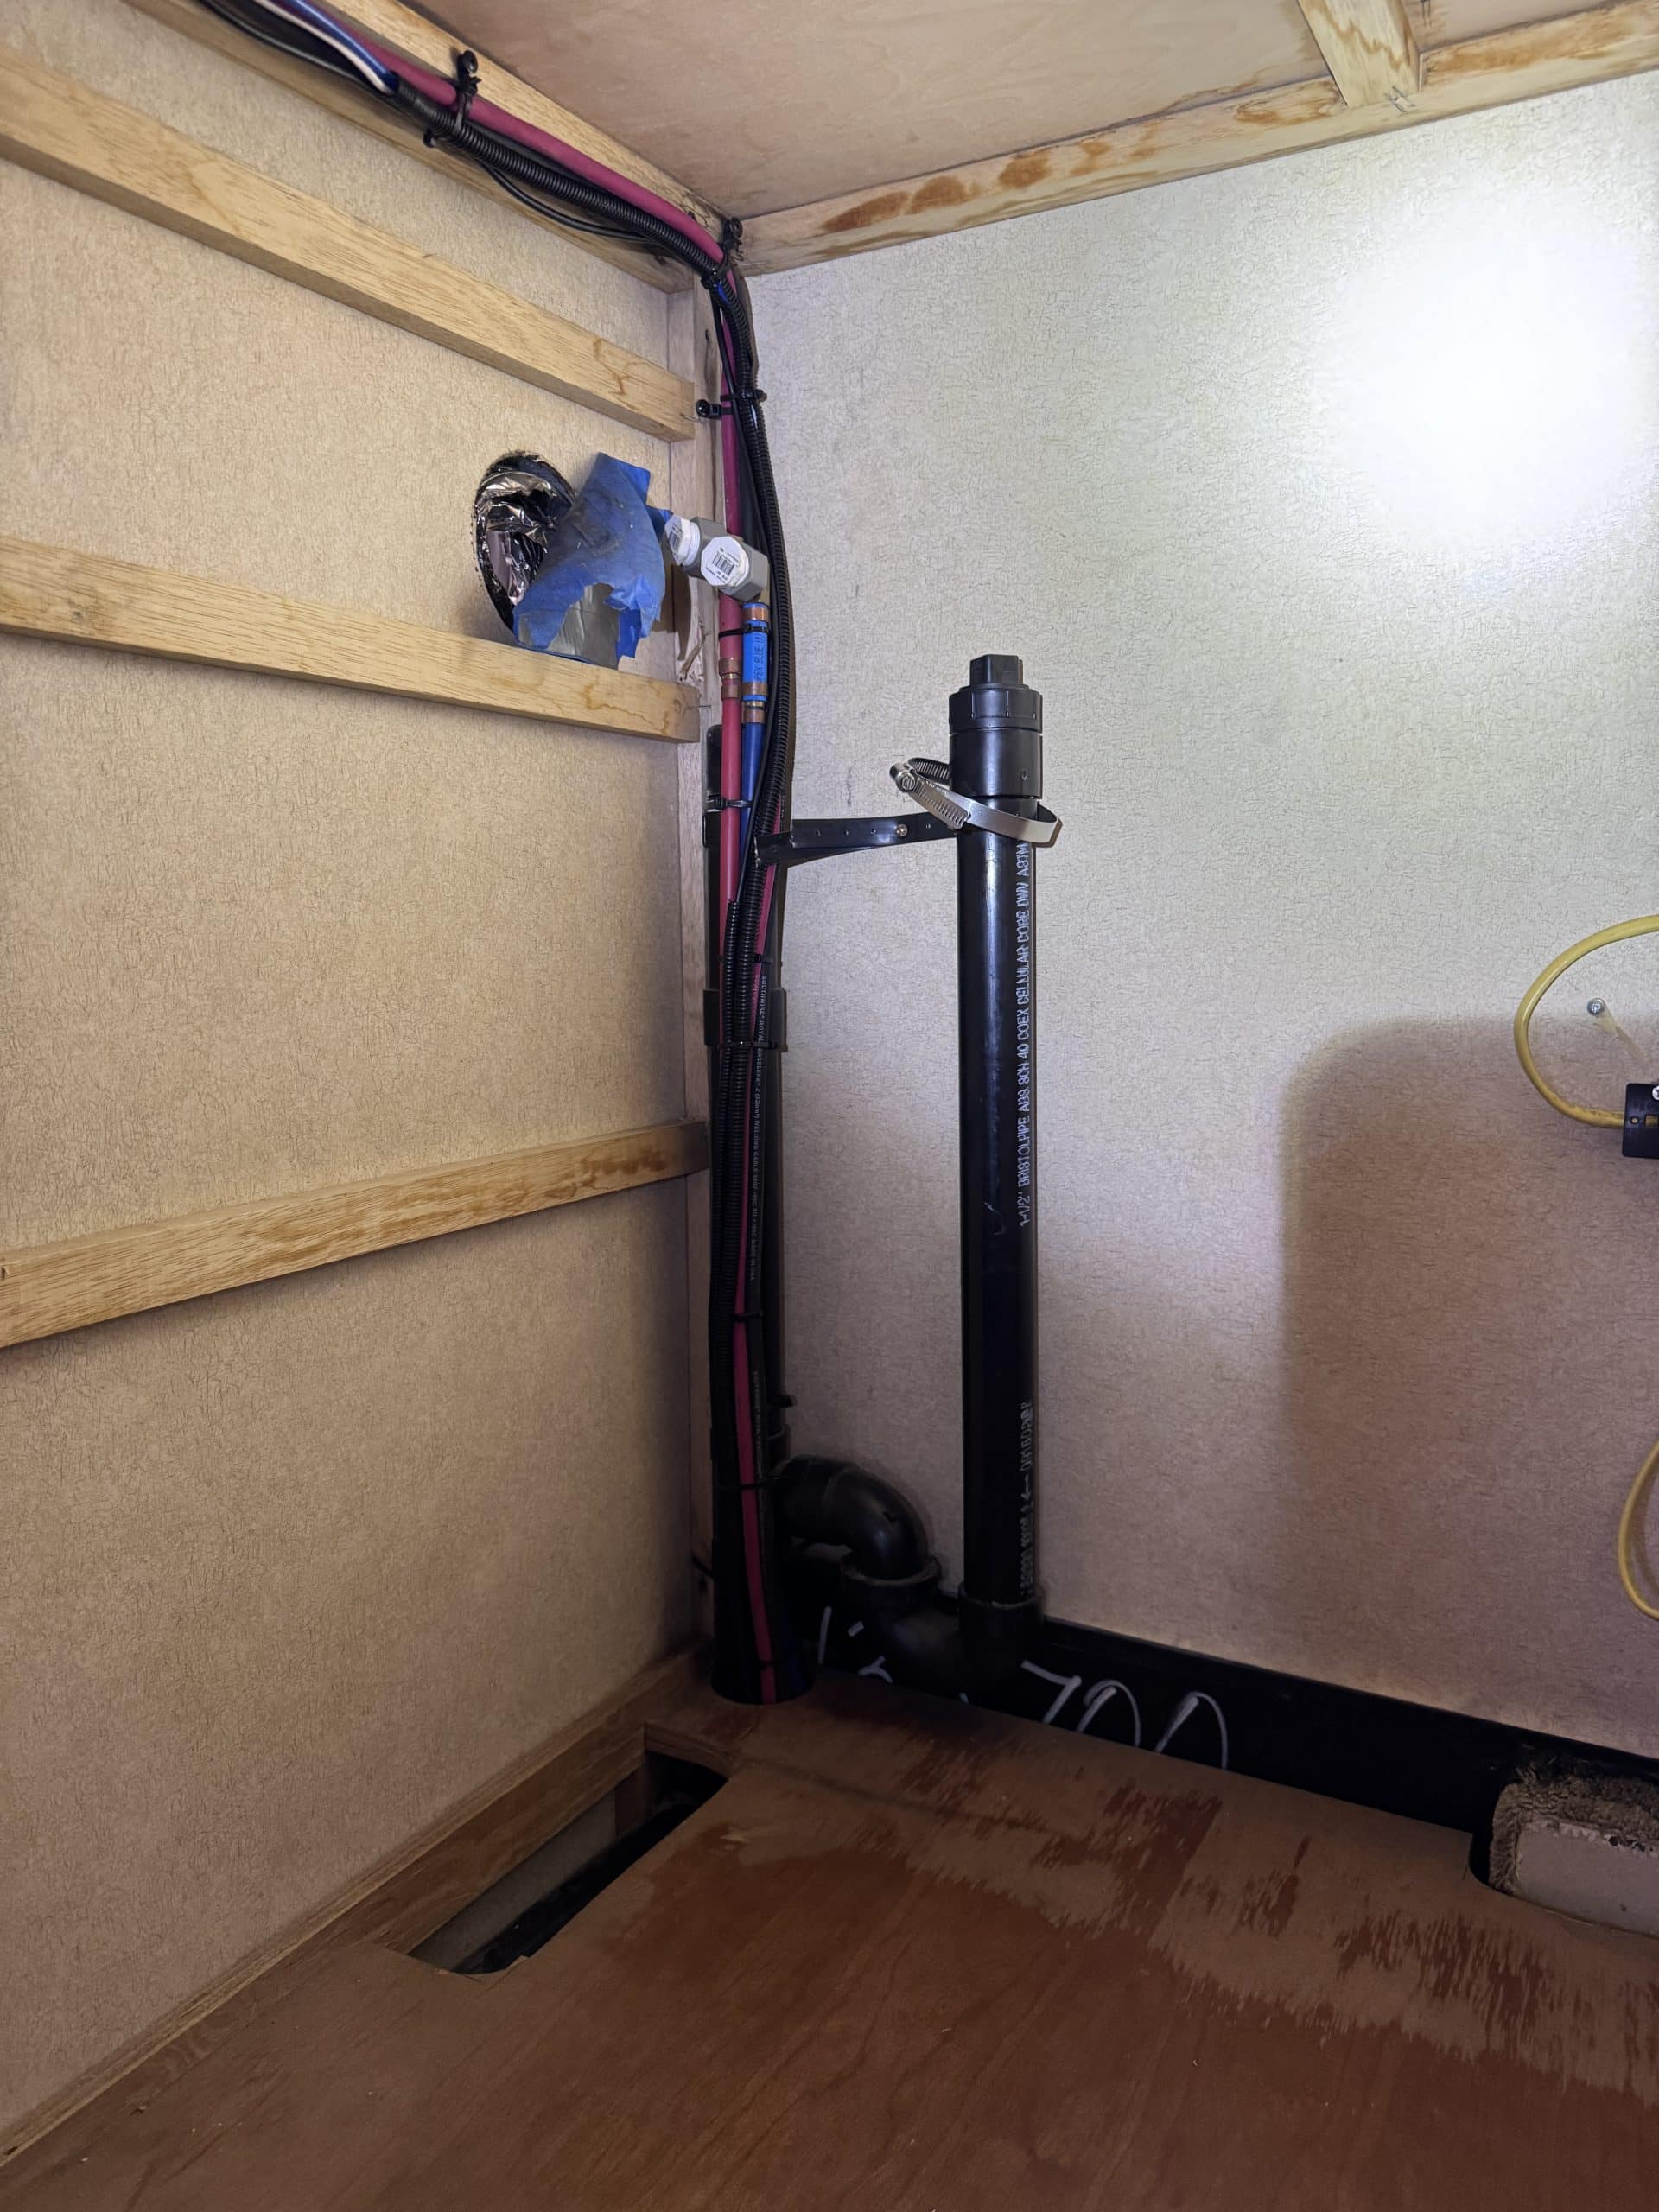
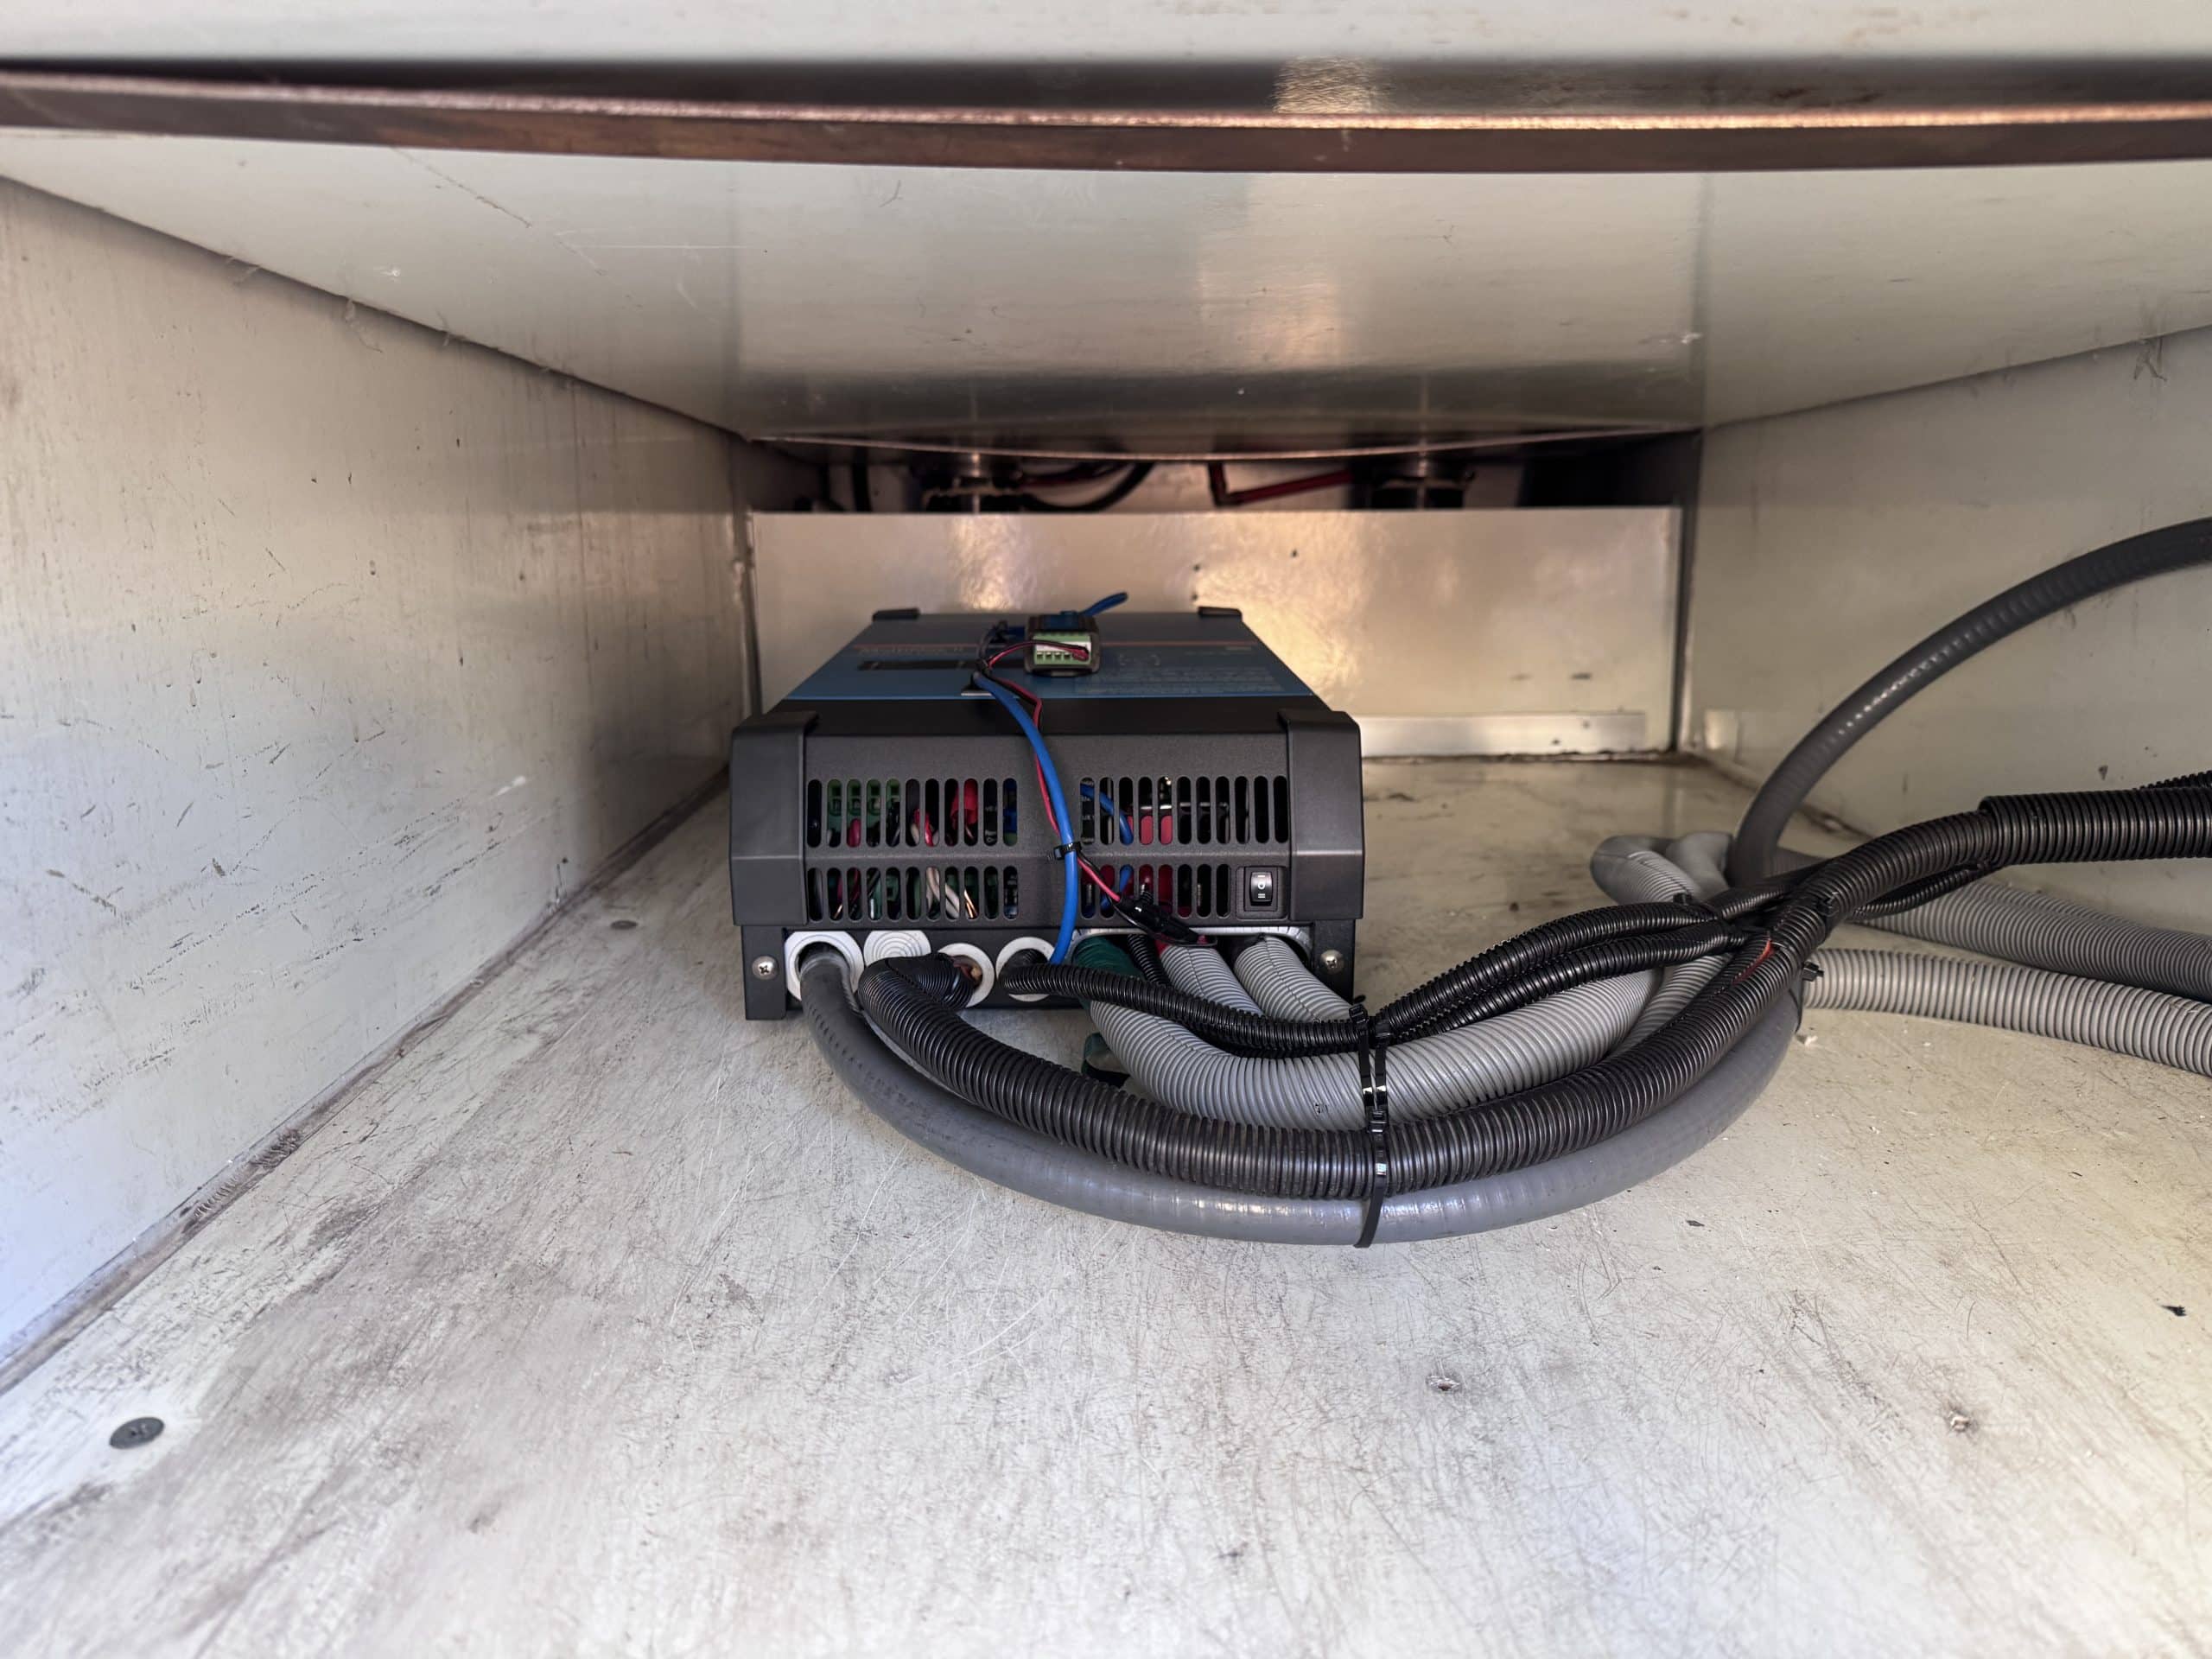
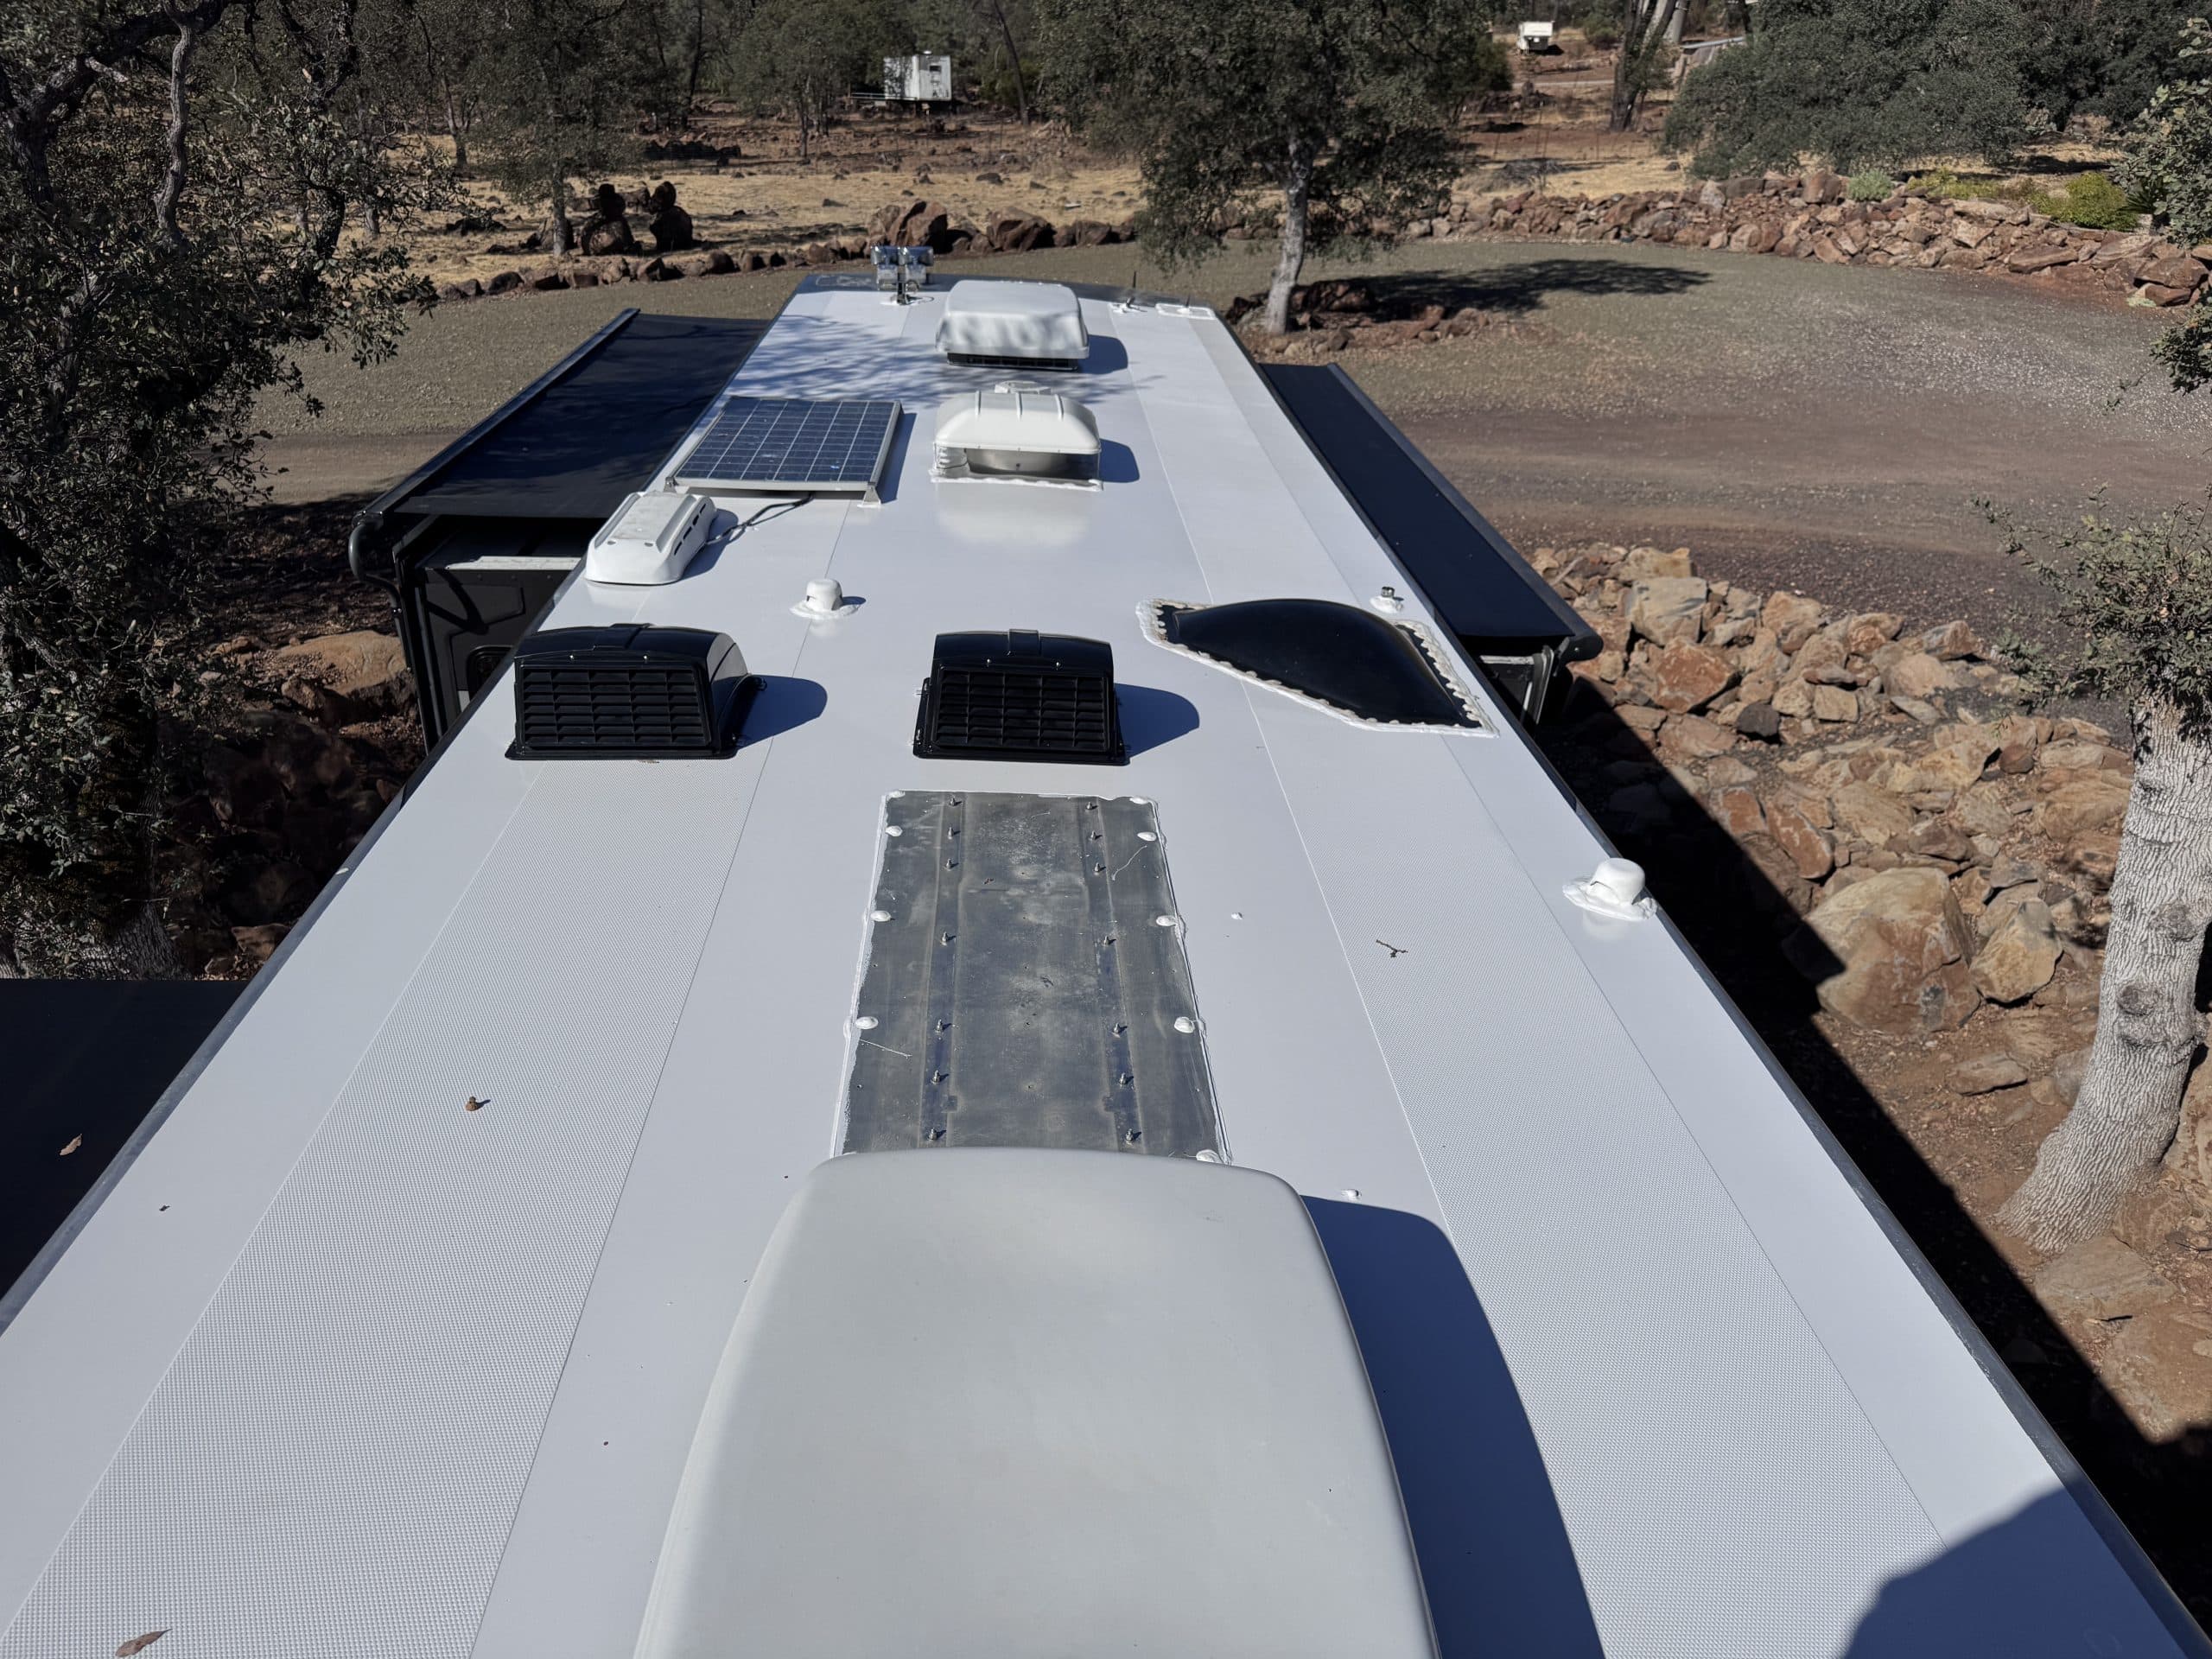
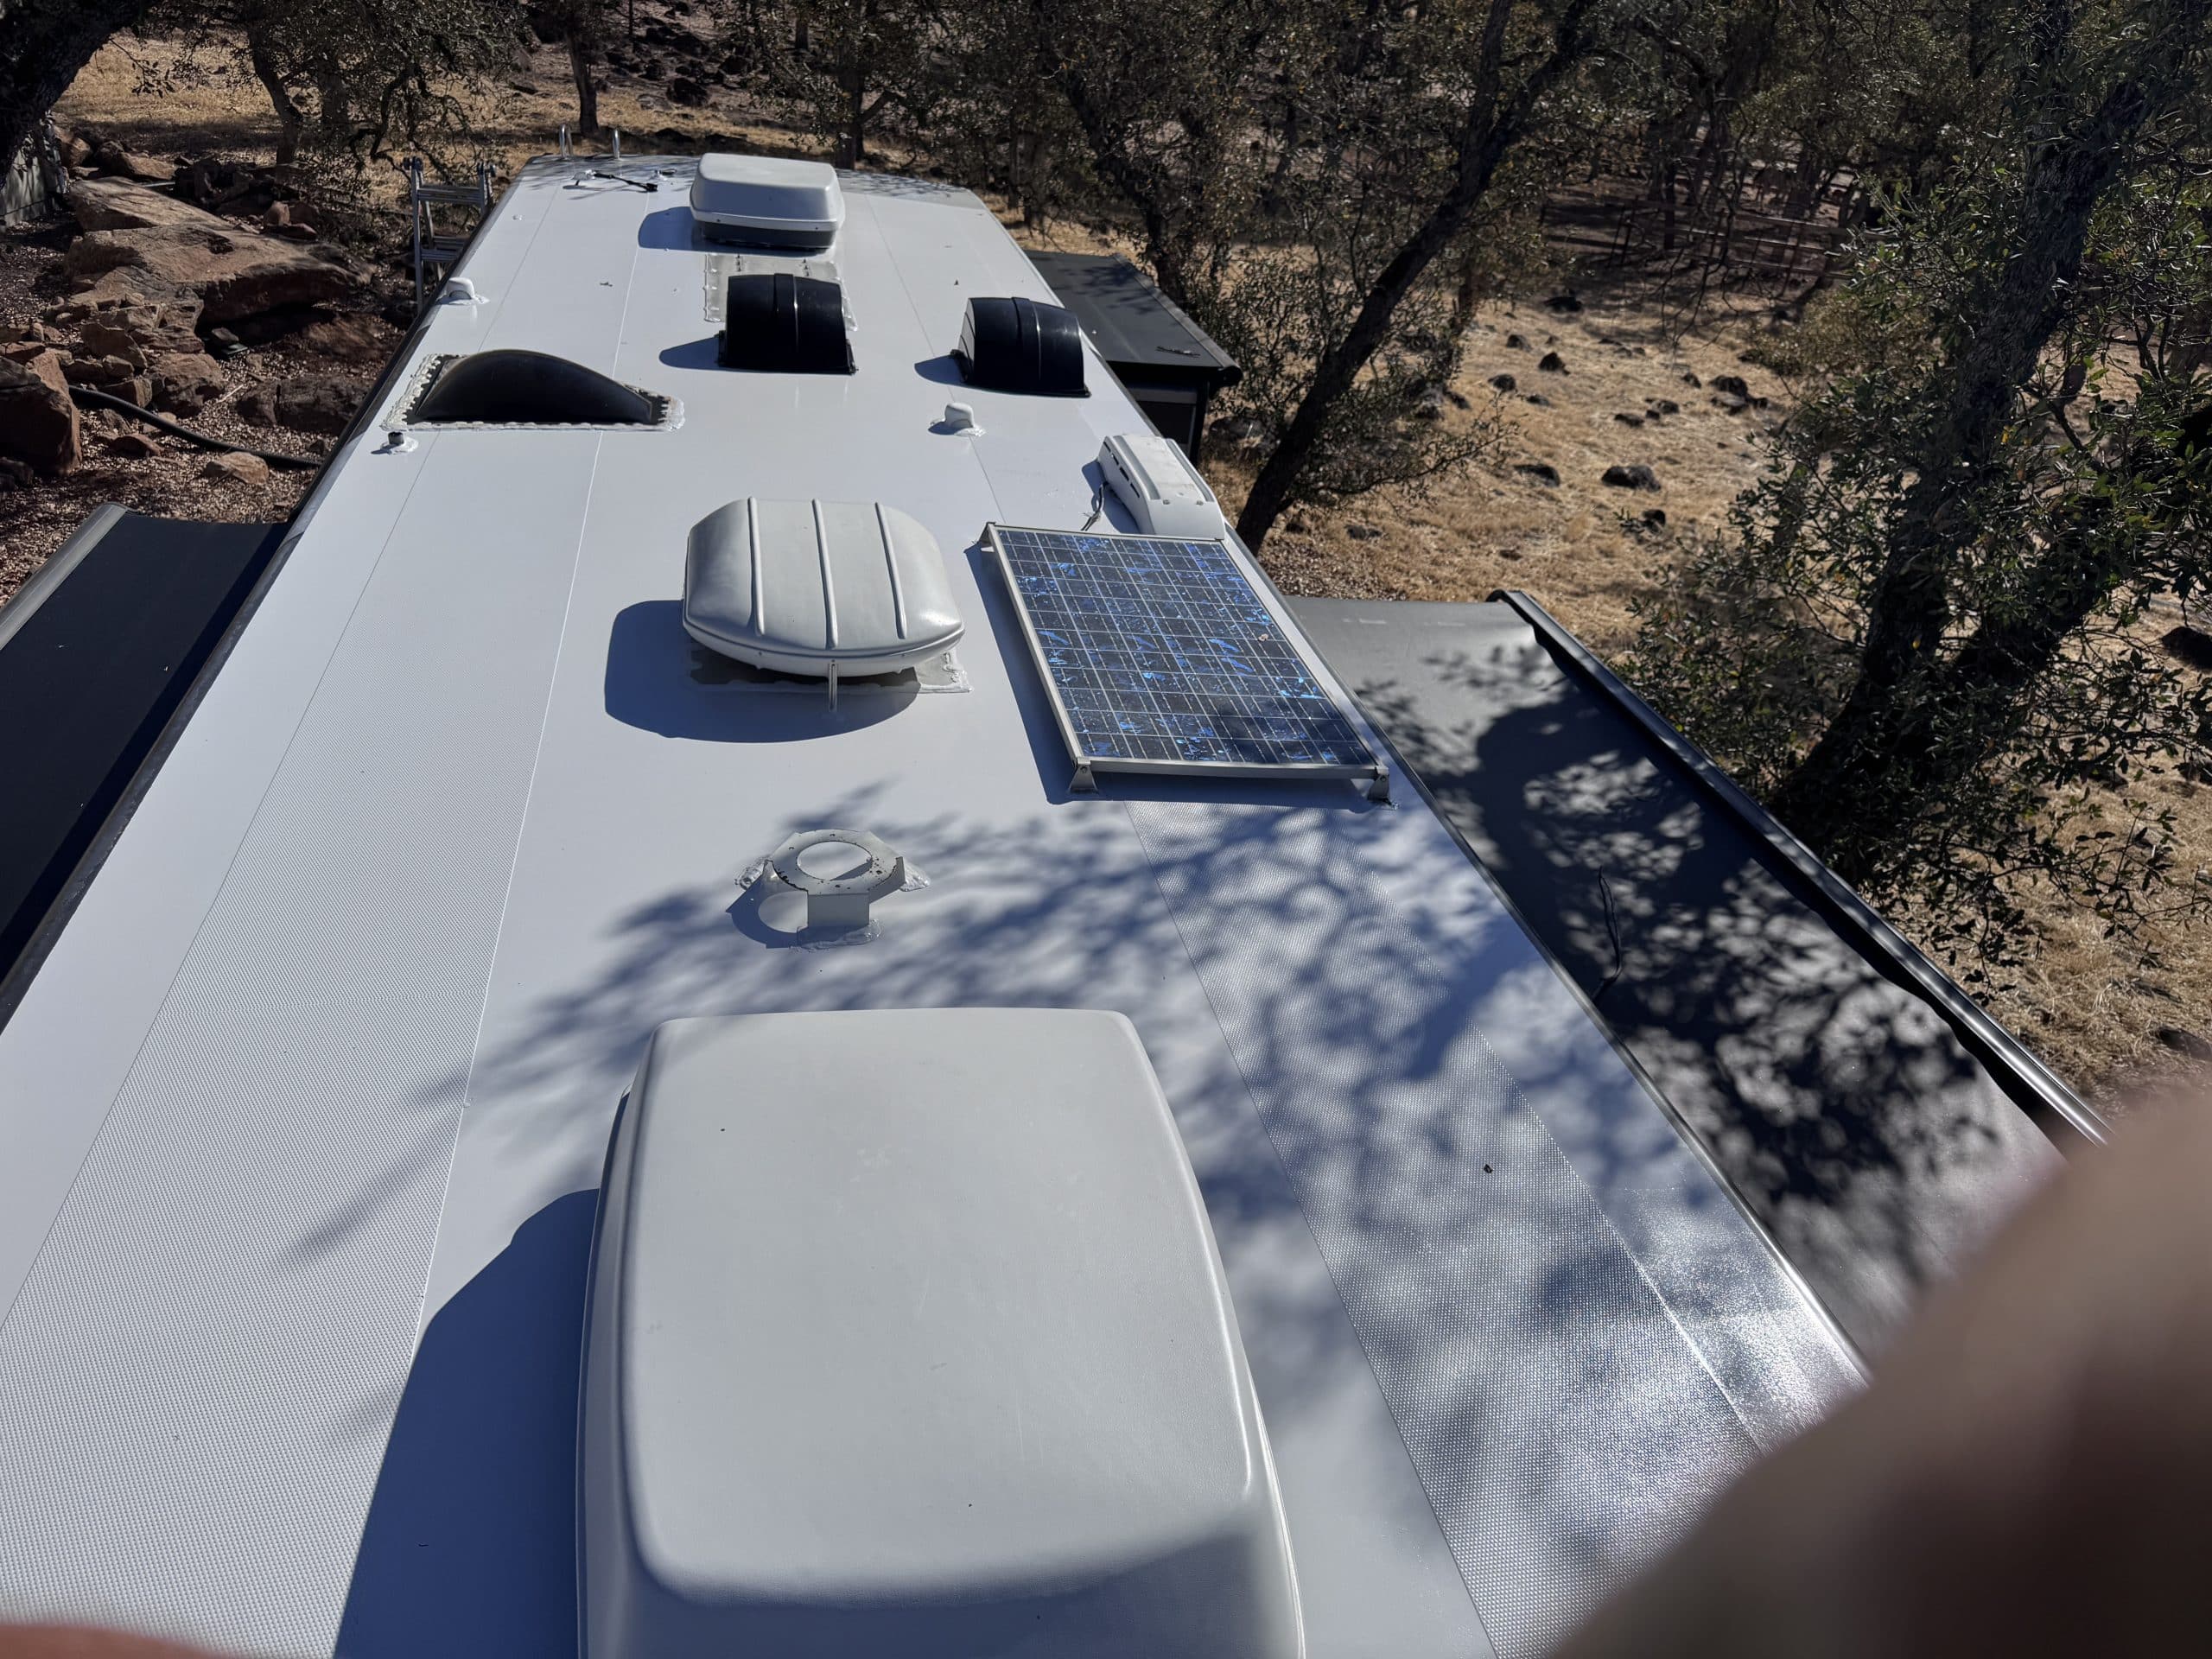
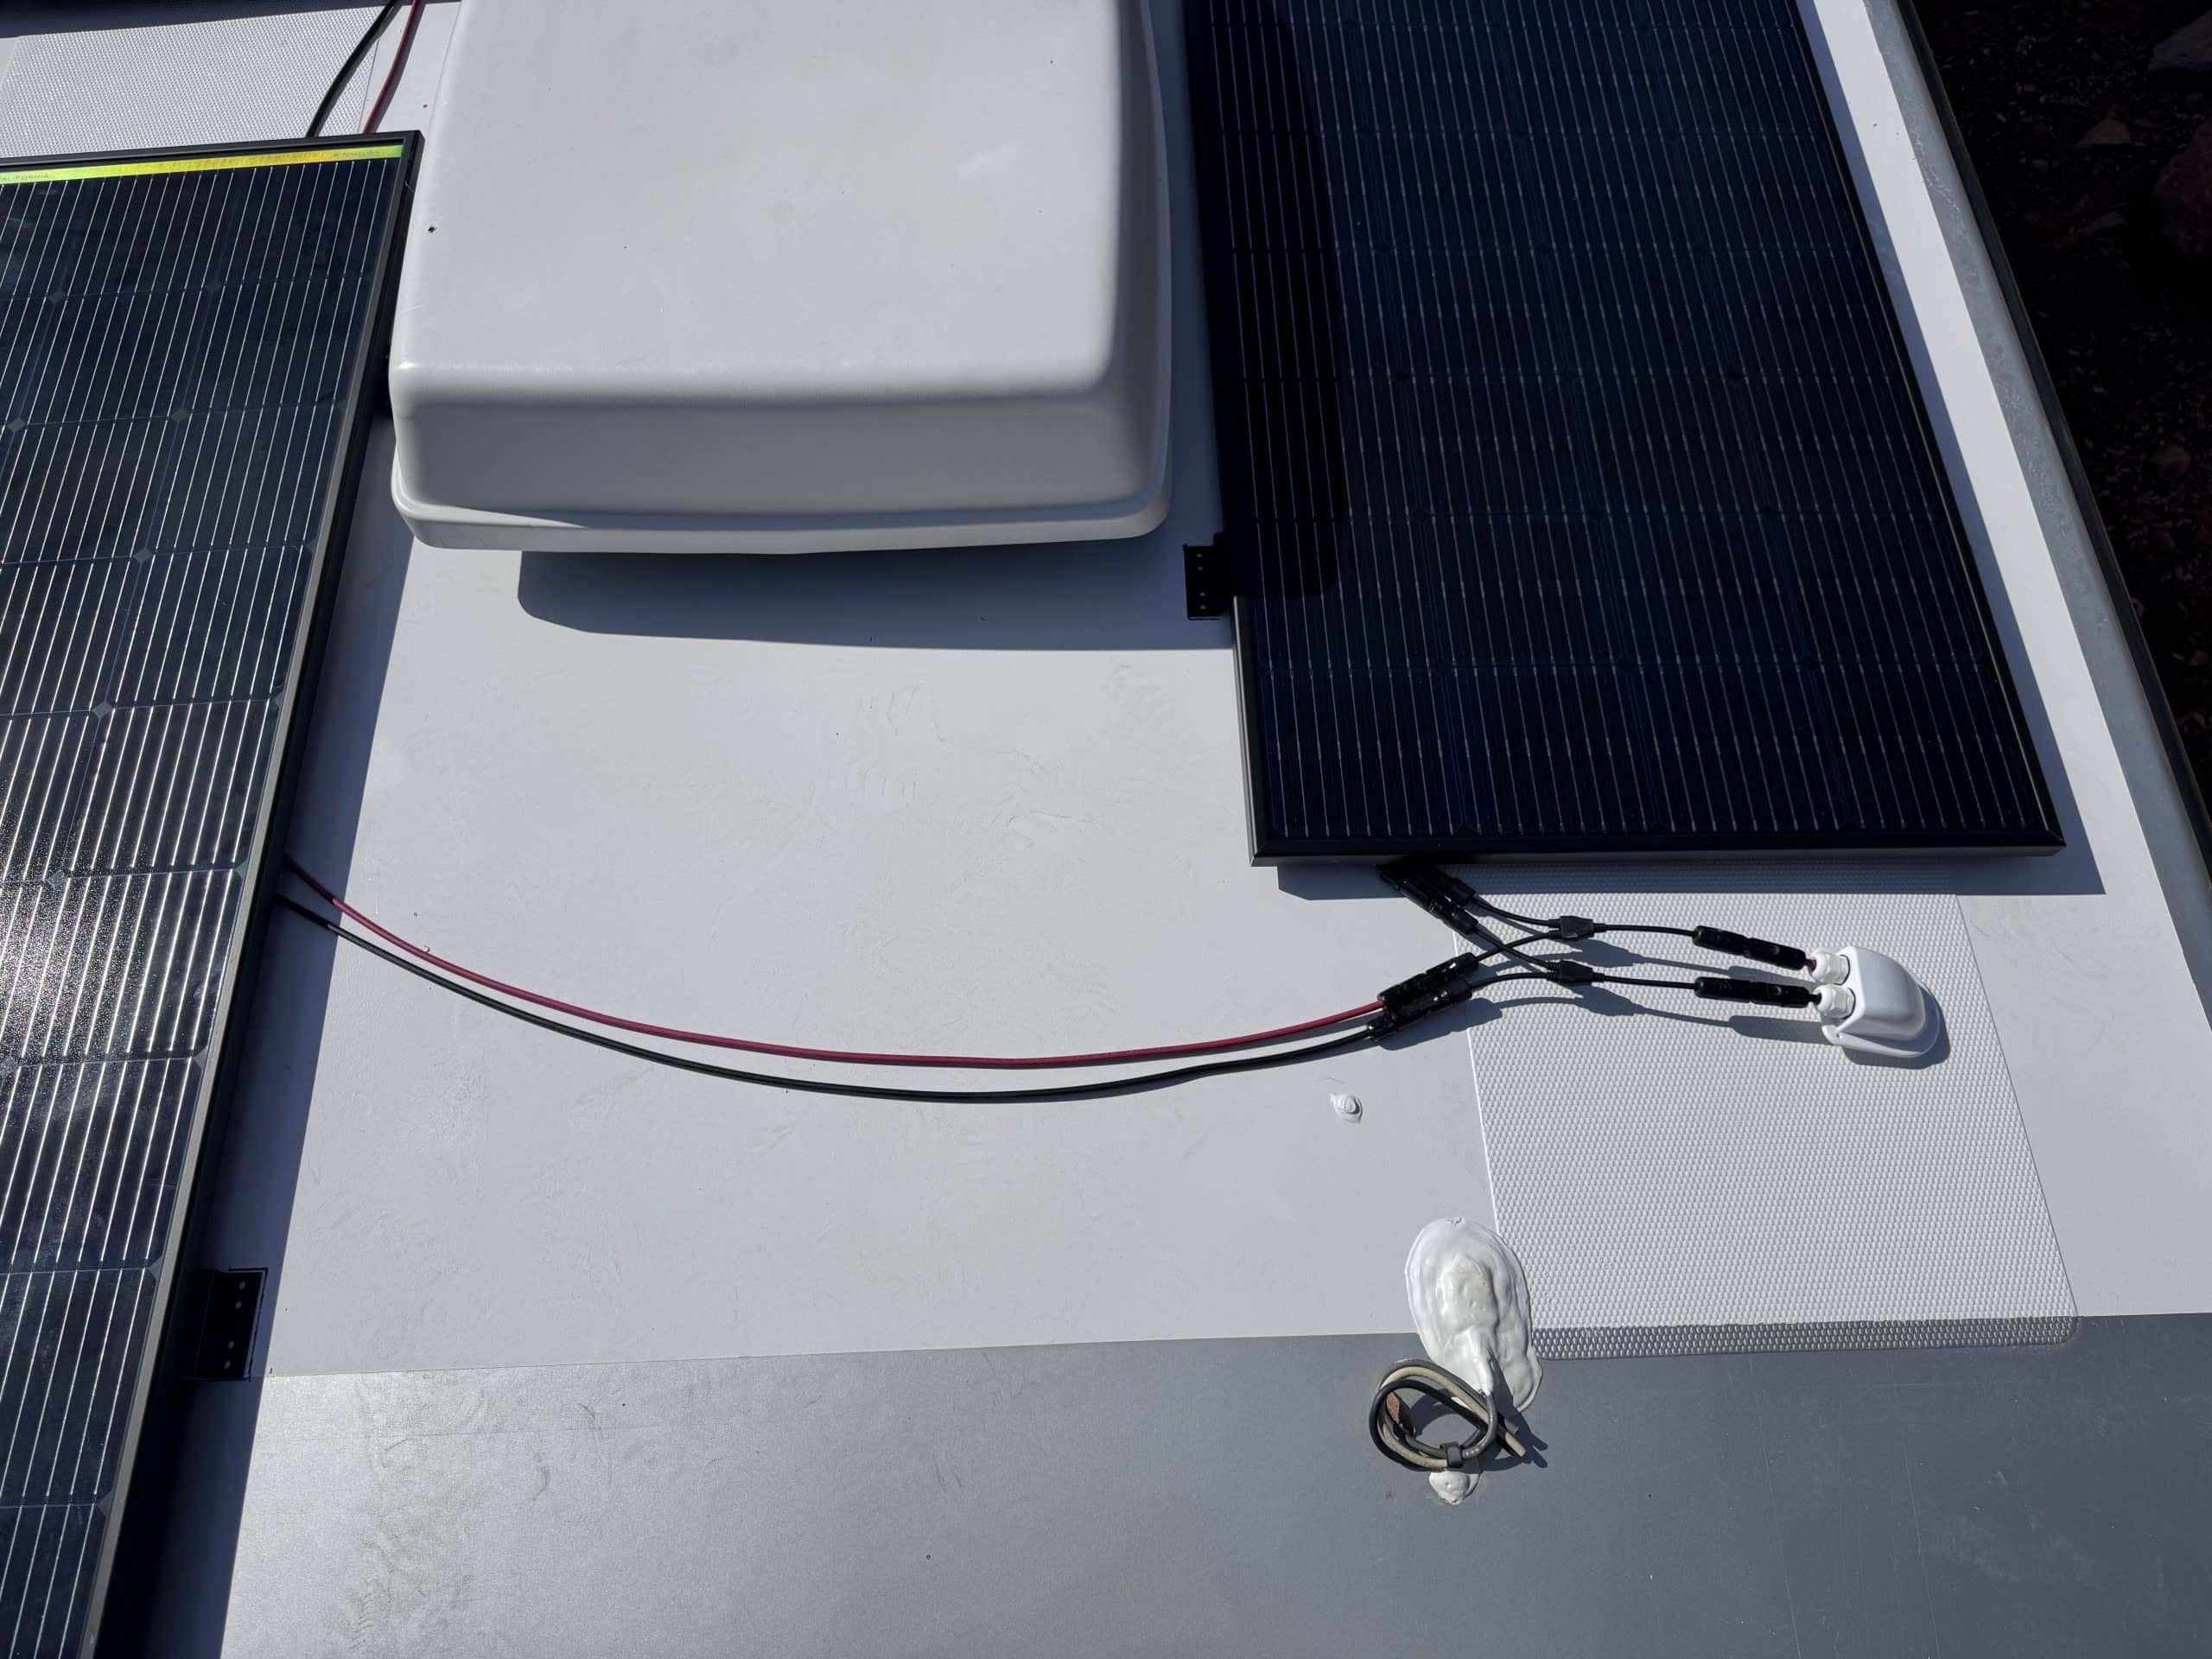
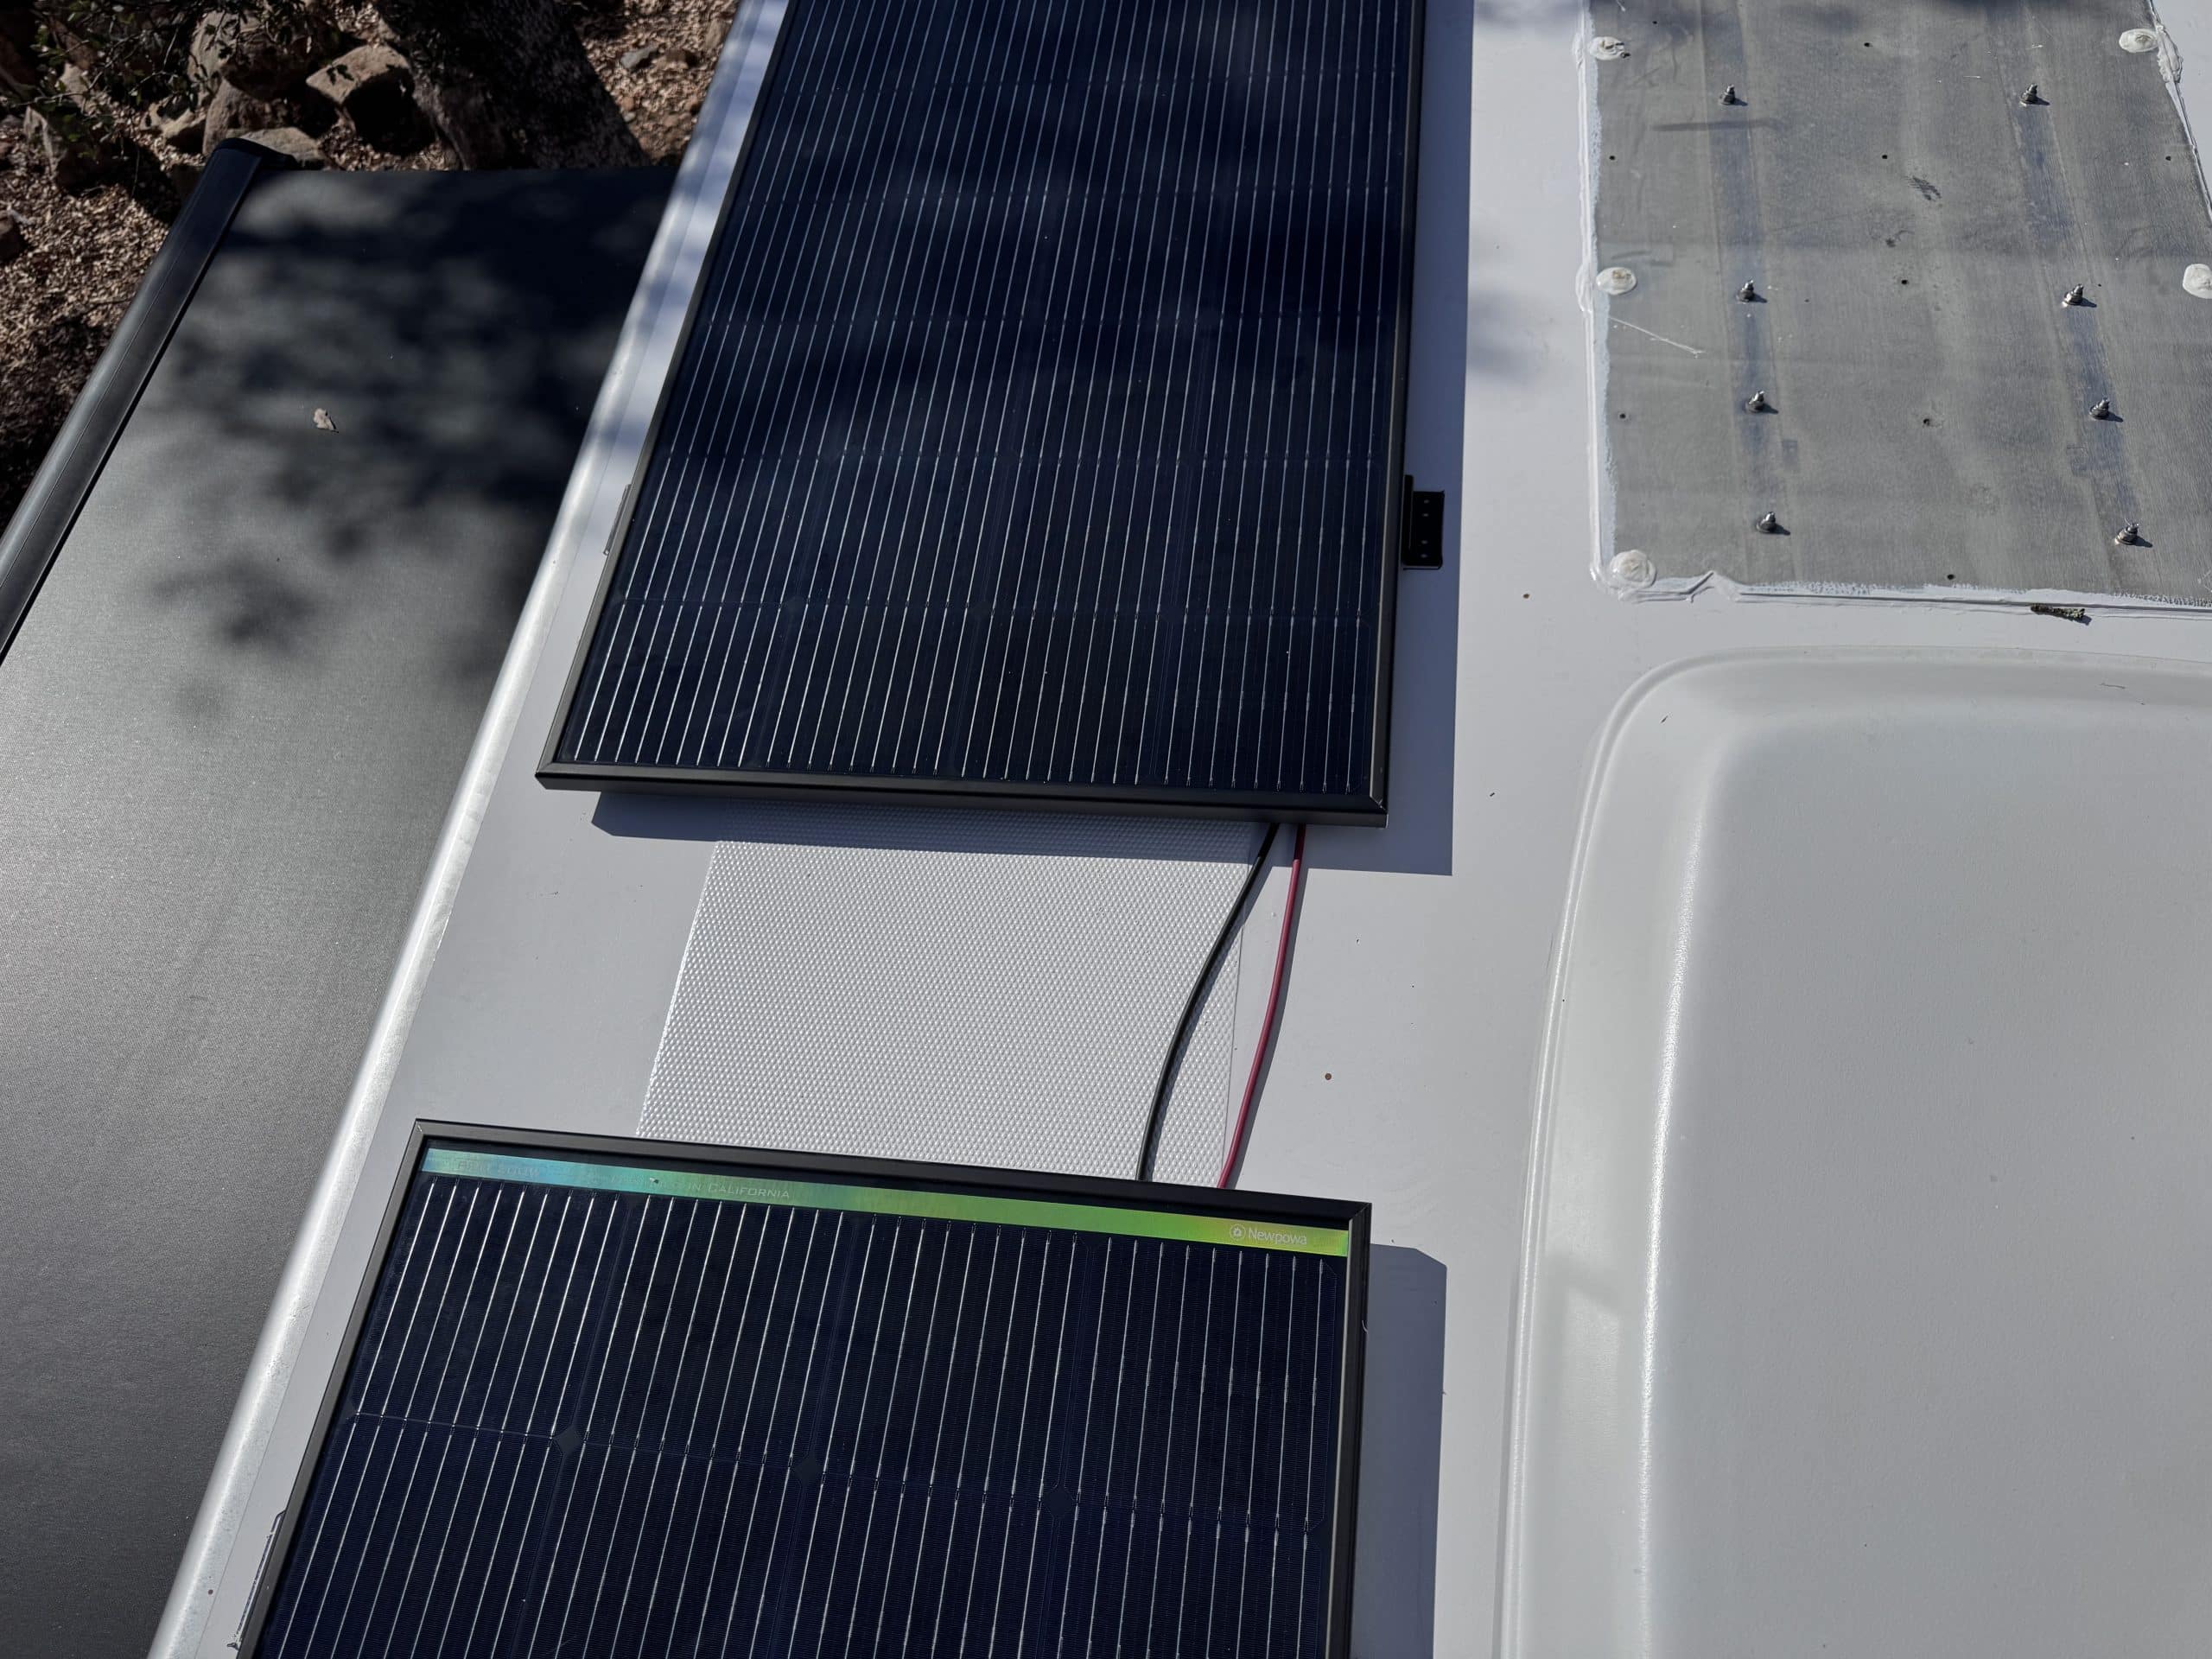
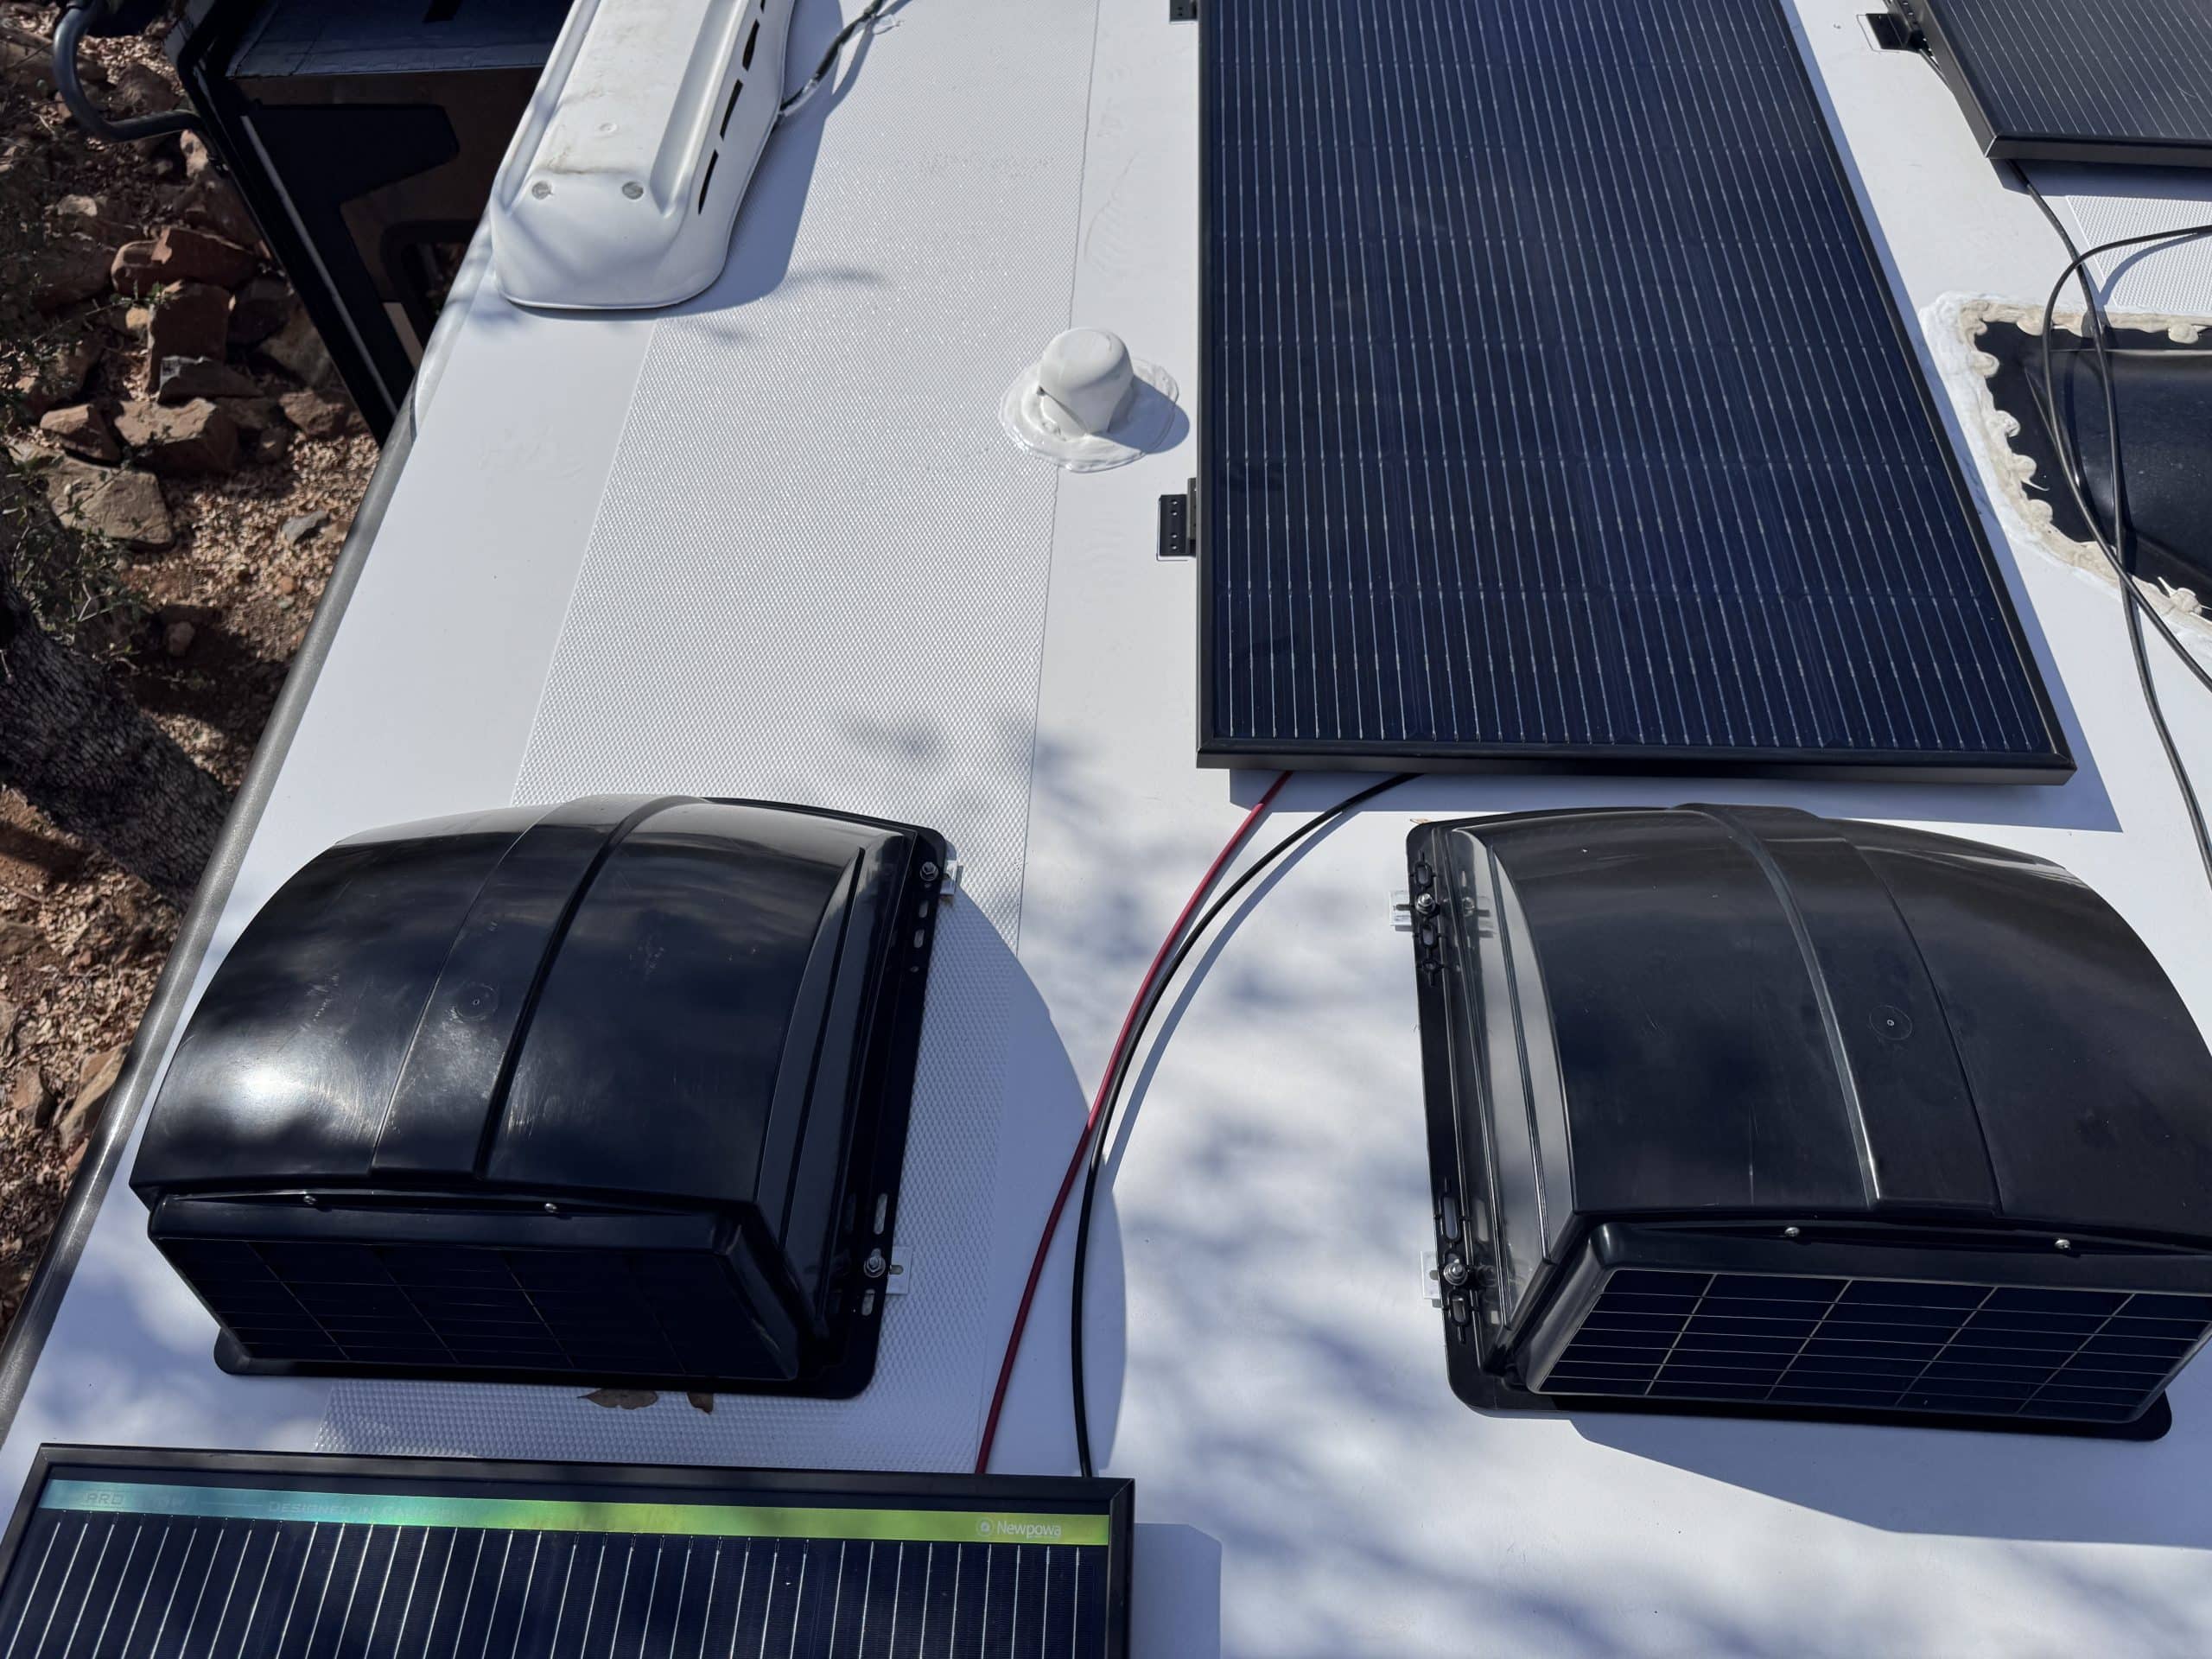
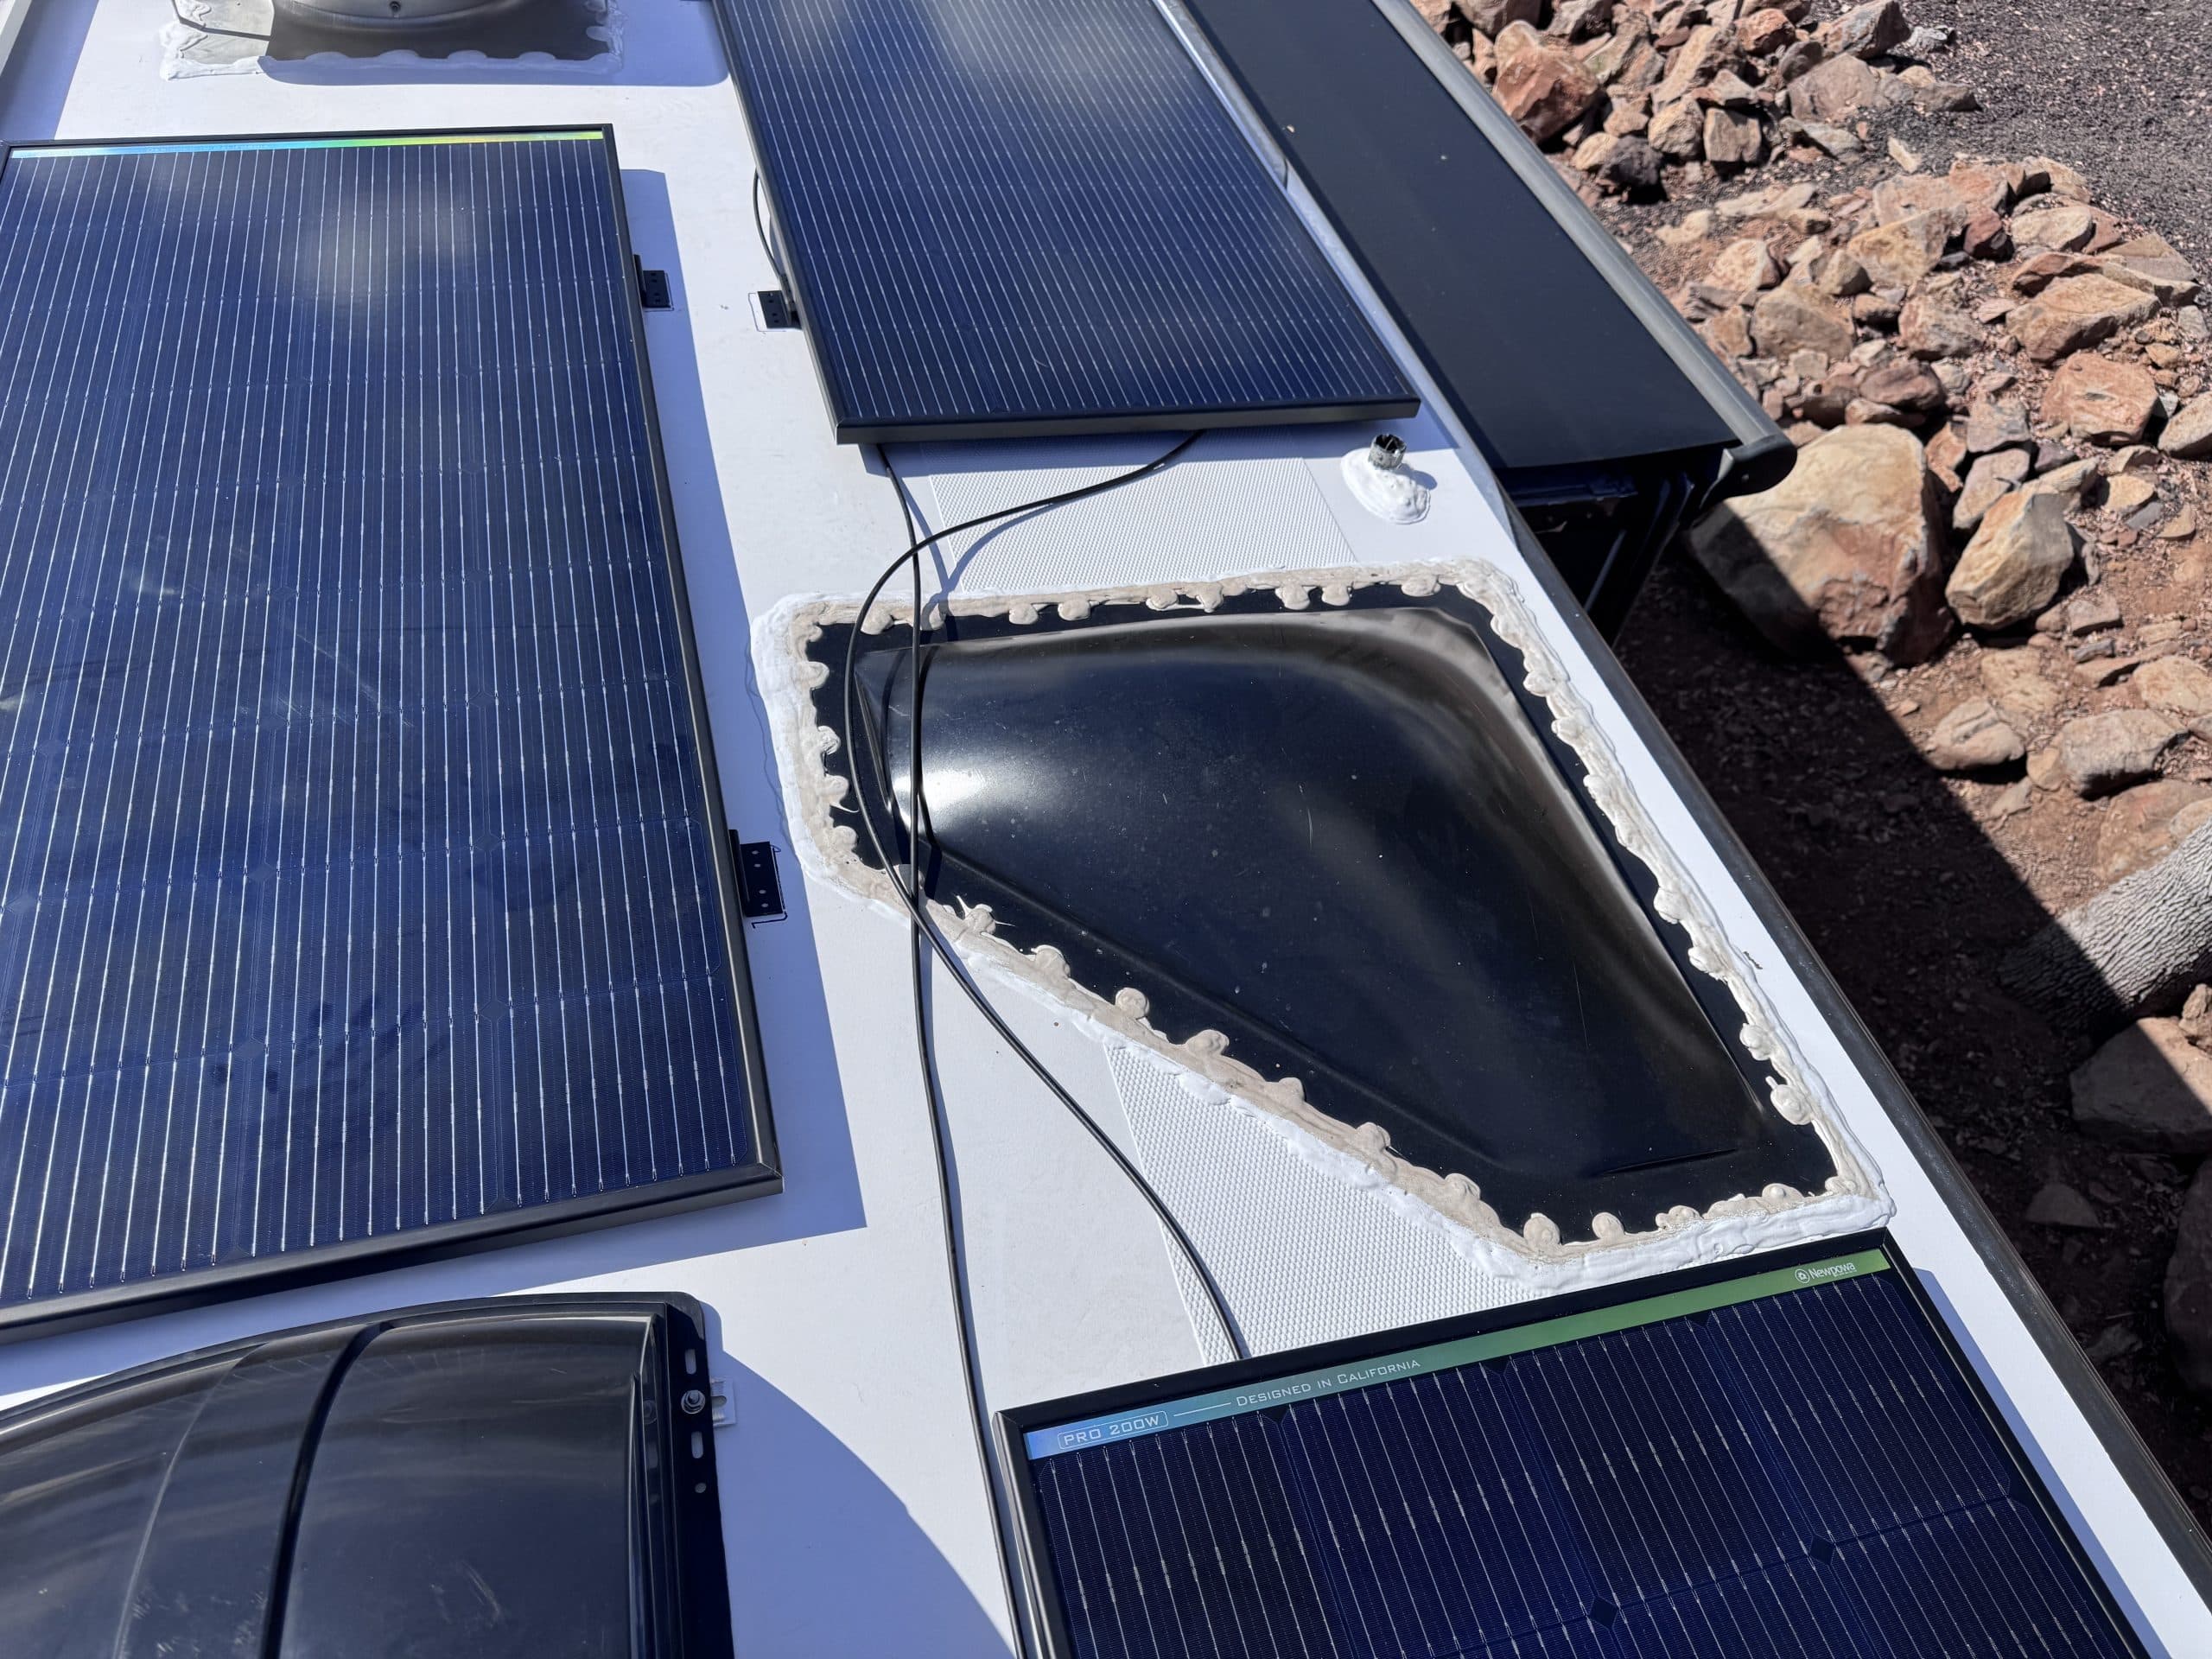
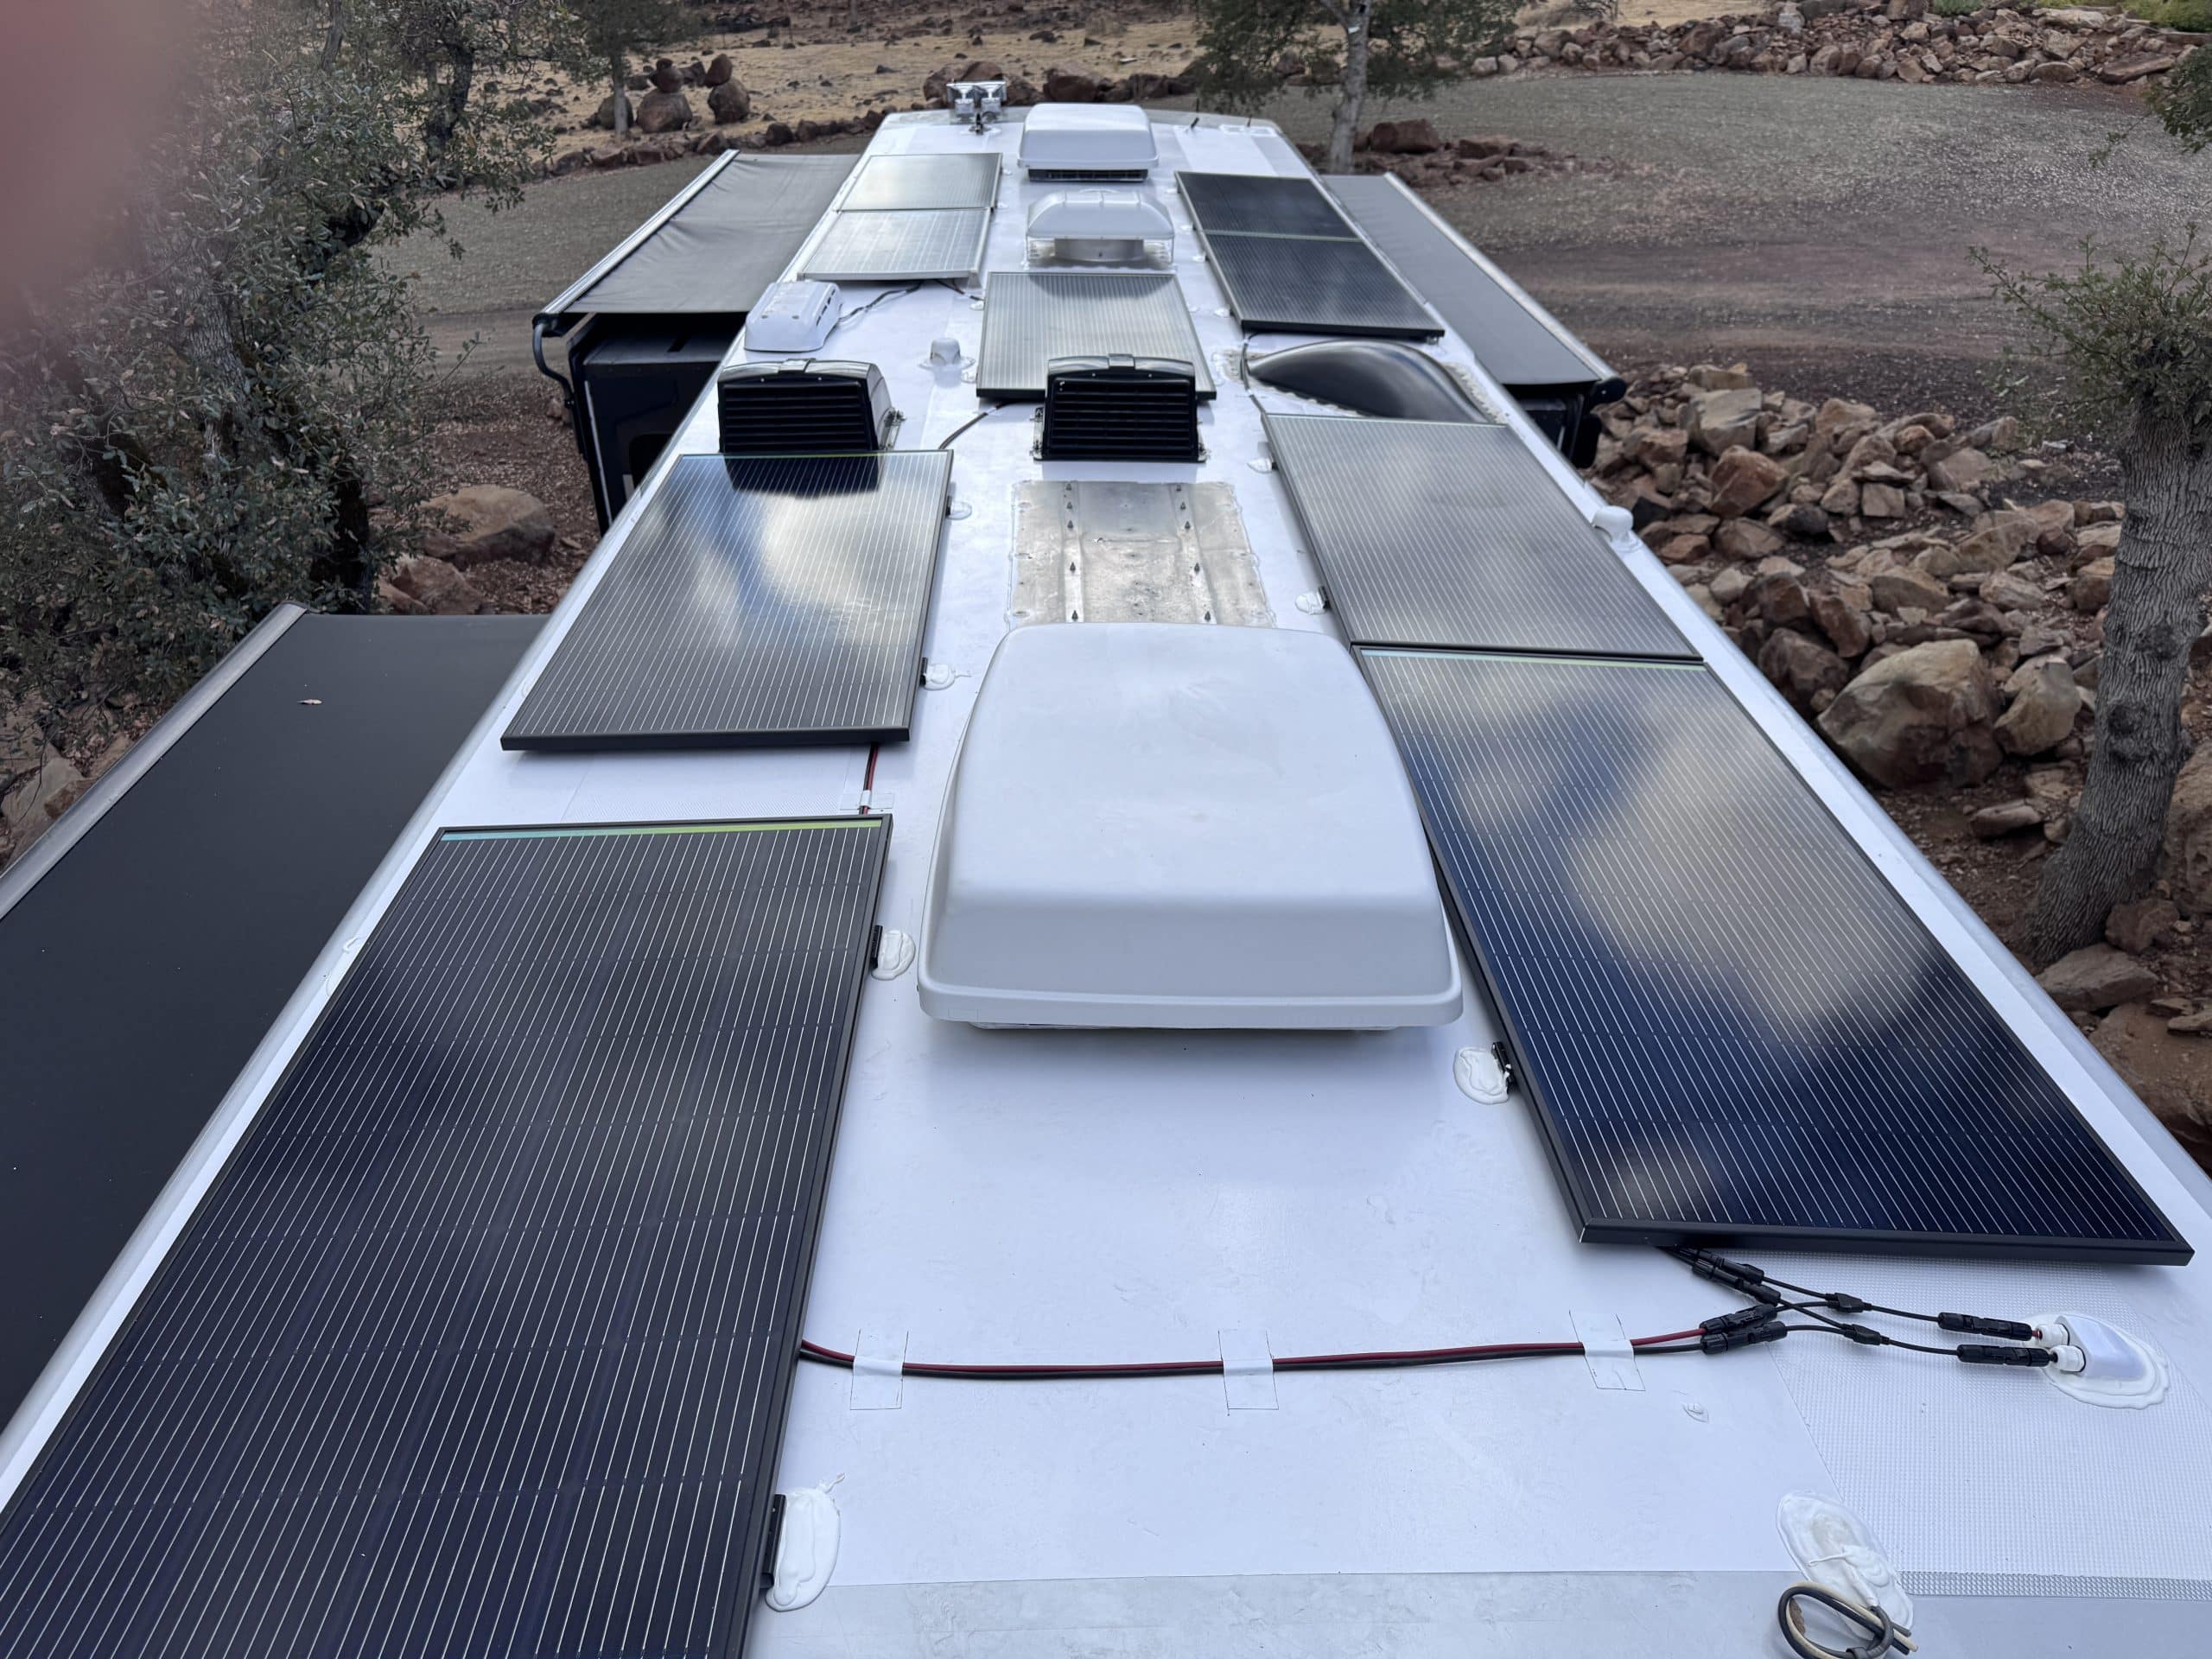
The existing solar package consisted of one small solar panel connected to a 30 amp MPPT solar controller. I left this in place and added eight 200 watt Newpowa Pro solar panels in a 4S2P configuration. The new panels were mated to a 150/100 MPPT smart solar controller. The OEM Trace inverter charger powered a sub panel in the rig. The owner wanted this same set up for the new Victron system, so I replaced it with a Multiplus II 3KVA 2×120 inverter charger. I added a VE Bus Smart Dongle to the Multiplus so the owner could control it via the Victron Connect App on his phone. I replaced the OEM battery monitor with a Victron SmartShunt. Finally, I added a Cerbo GX MKII with a seven inch touch panel to monitor and control all the components. I was able to install the Cerbo and display in the bedrrom of the rig. The bedroom had a washer/dryer cabinet with an entertainment center cabinet above it. These cabinets allowed for a good path to run wires and communication cables for both the solar and the Cerbo.
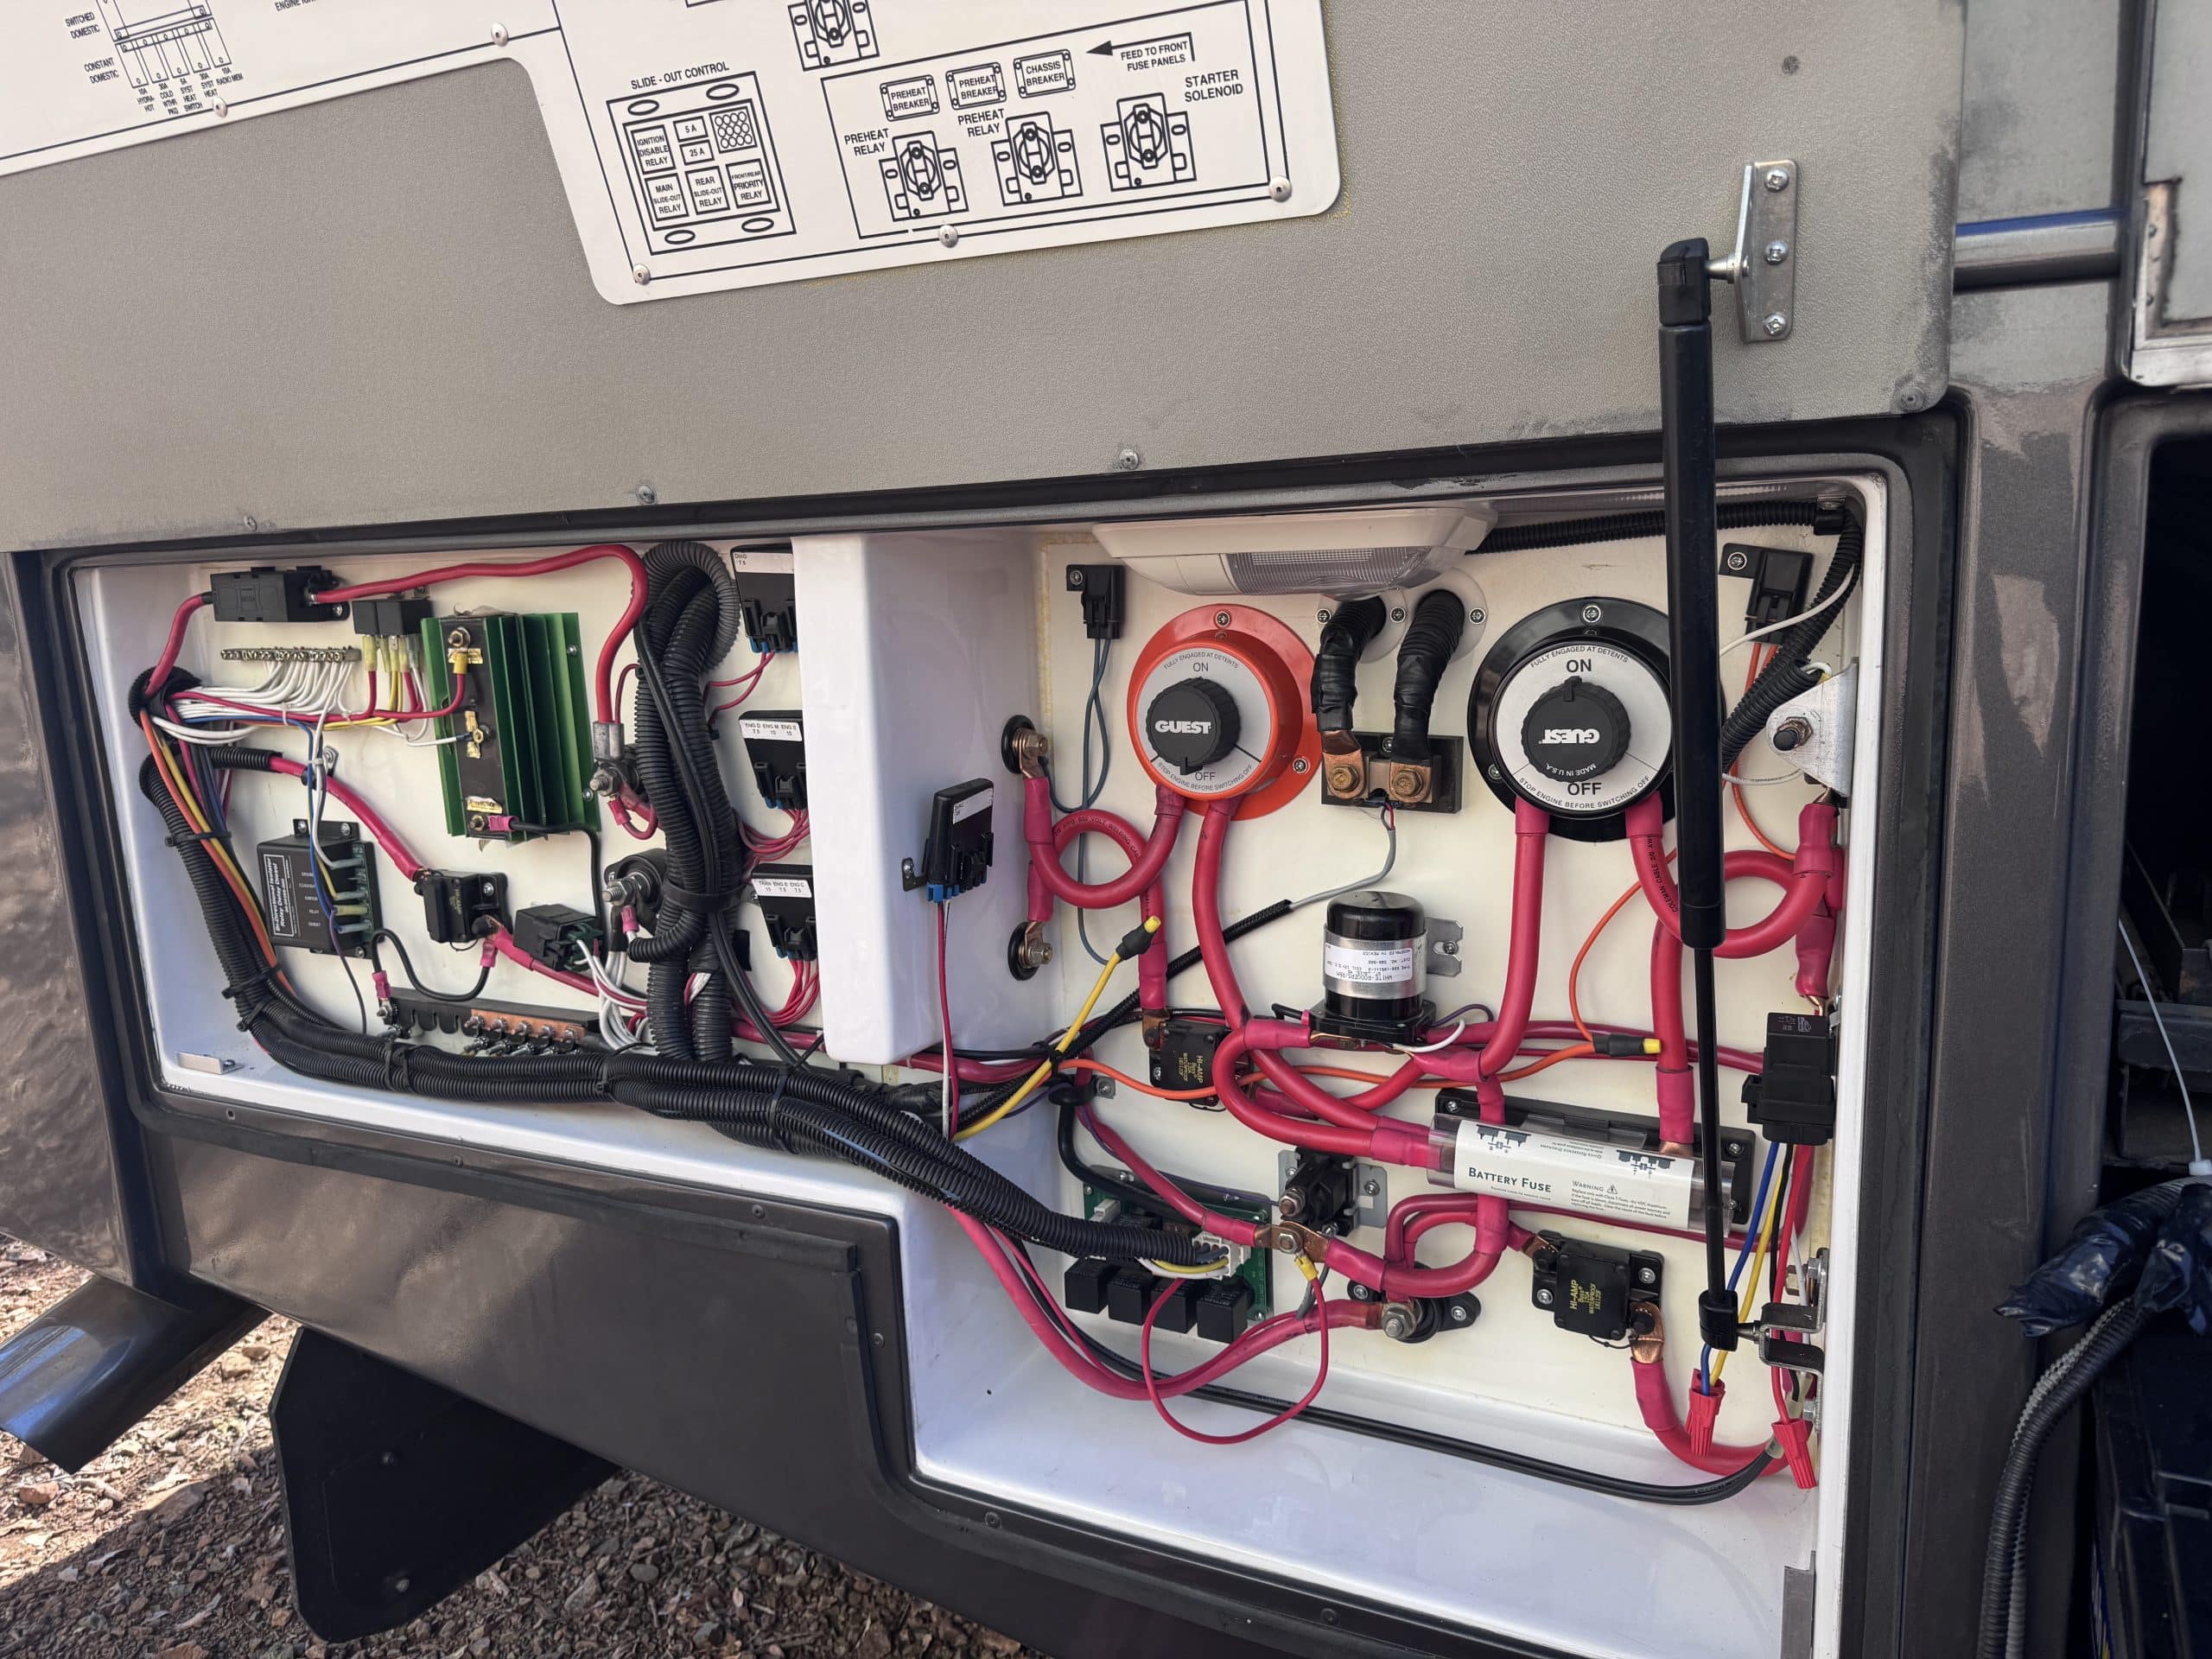
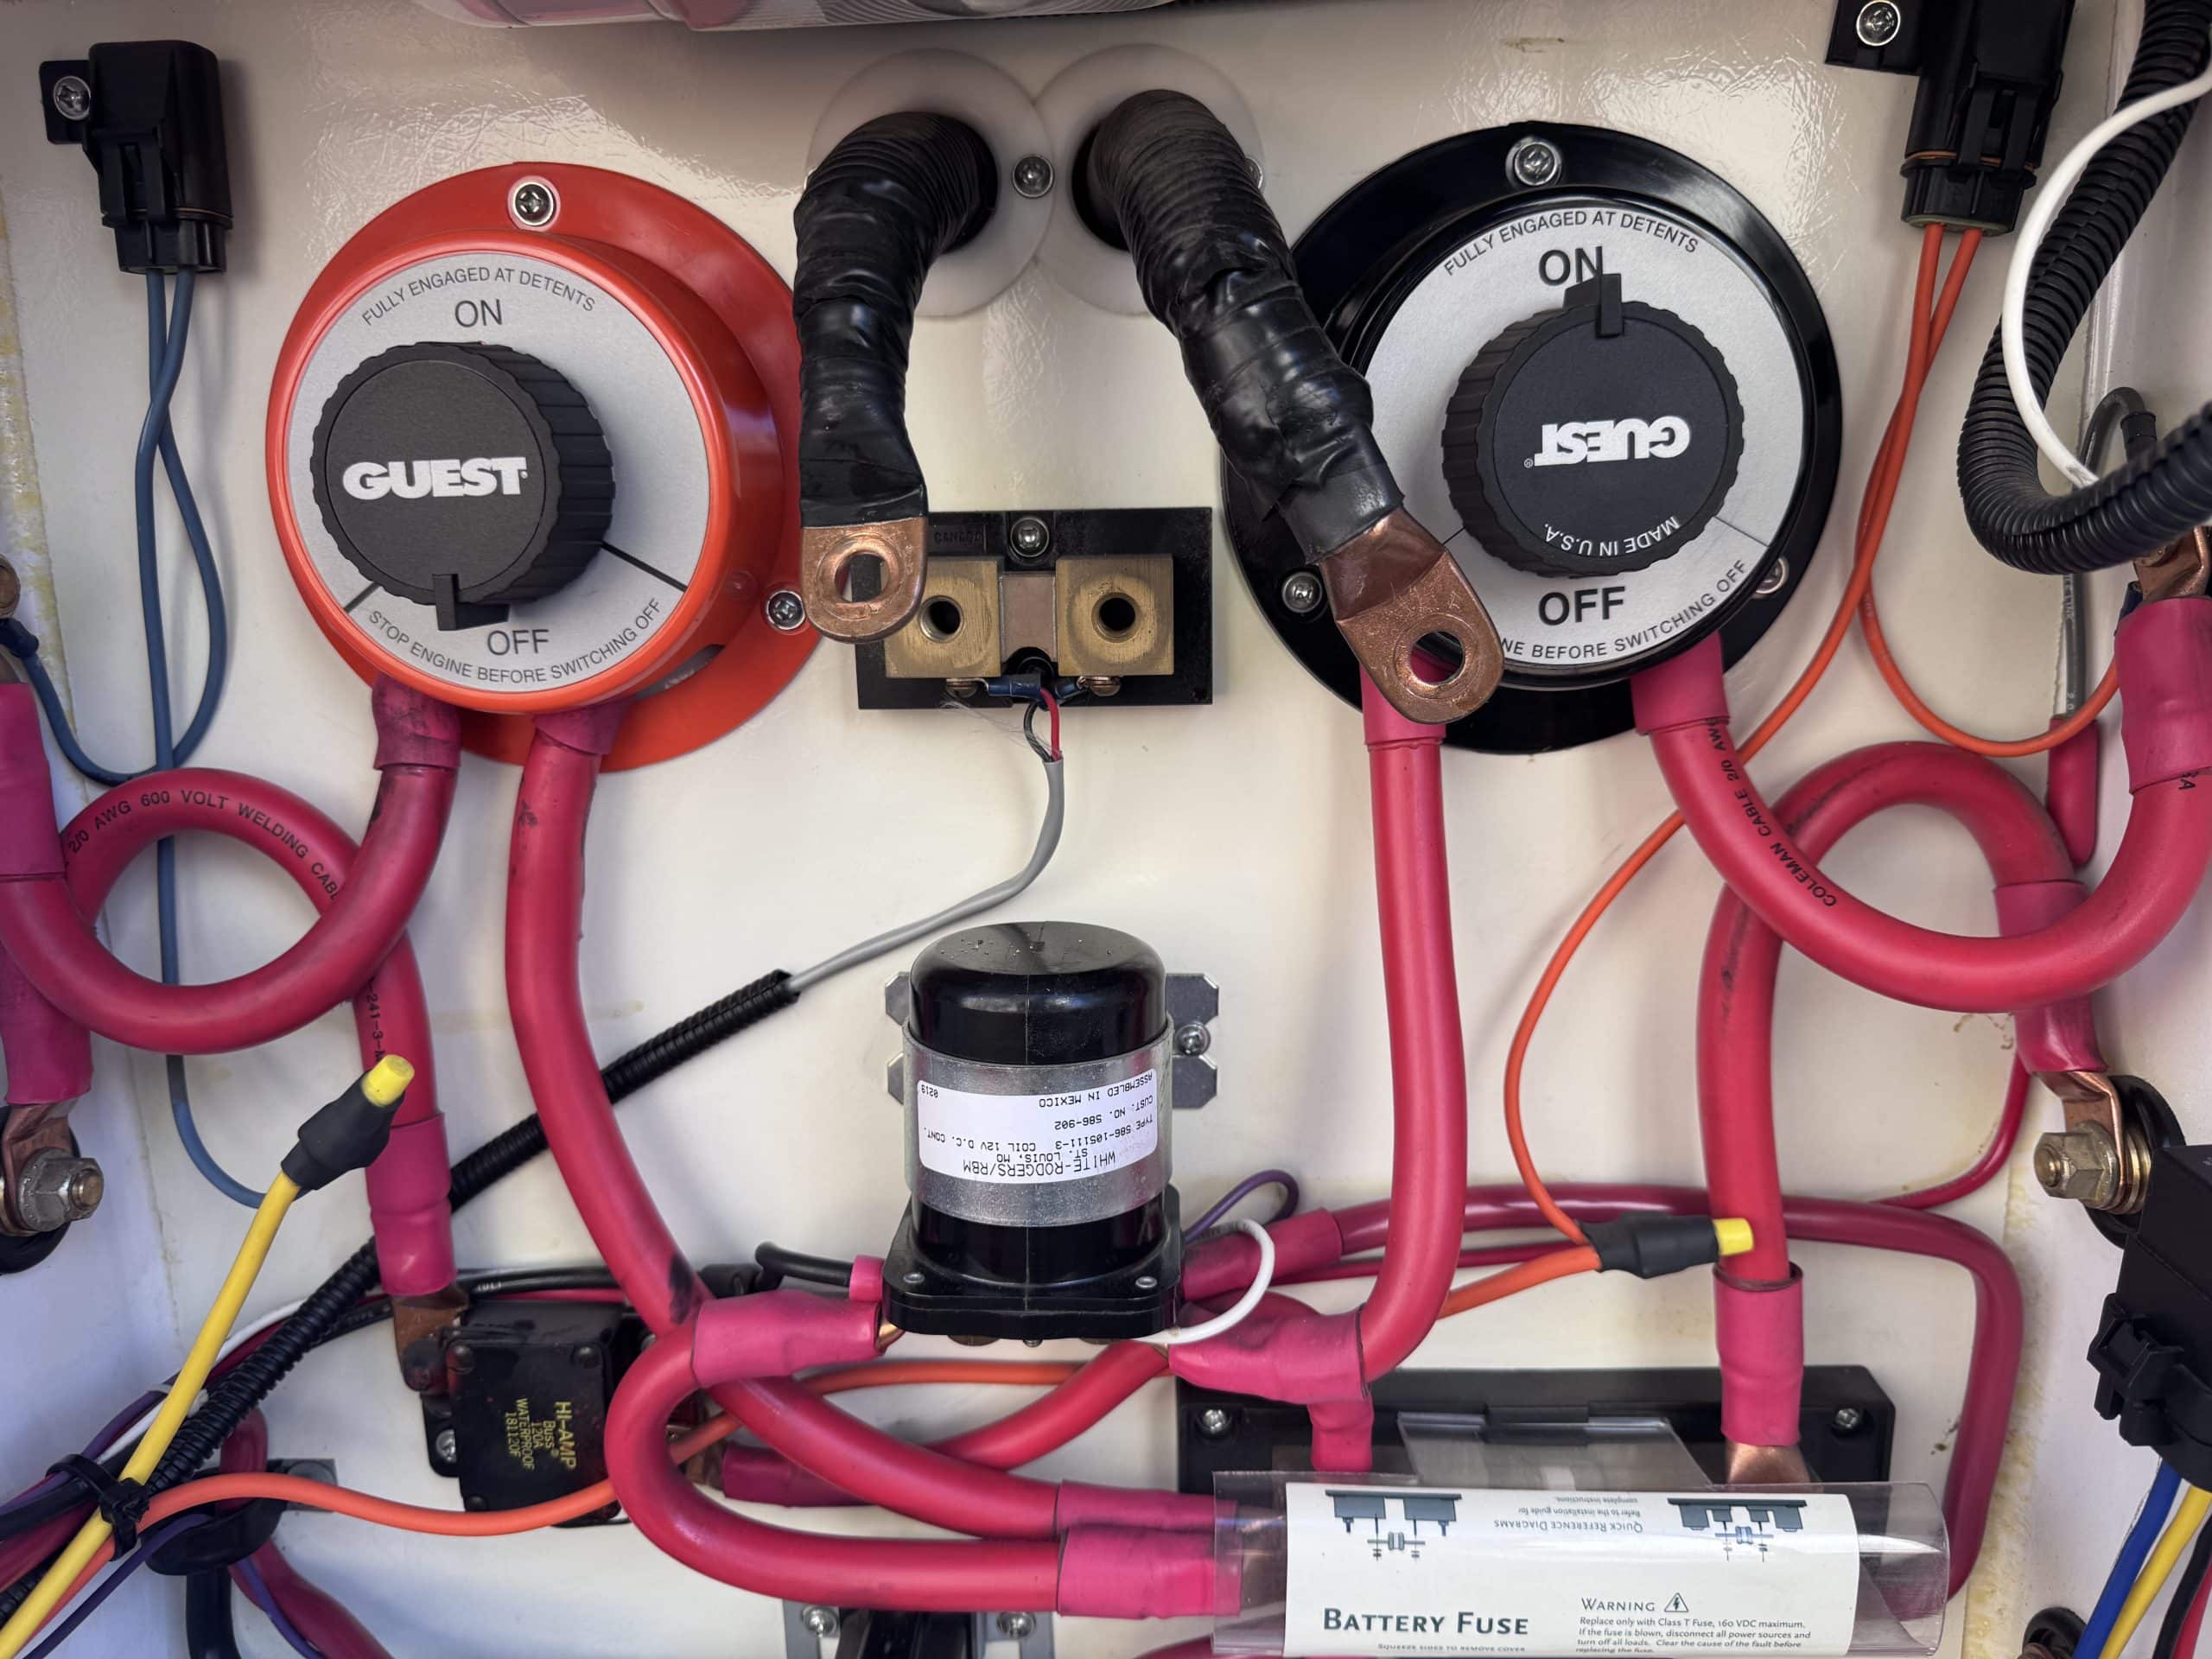
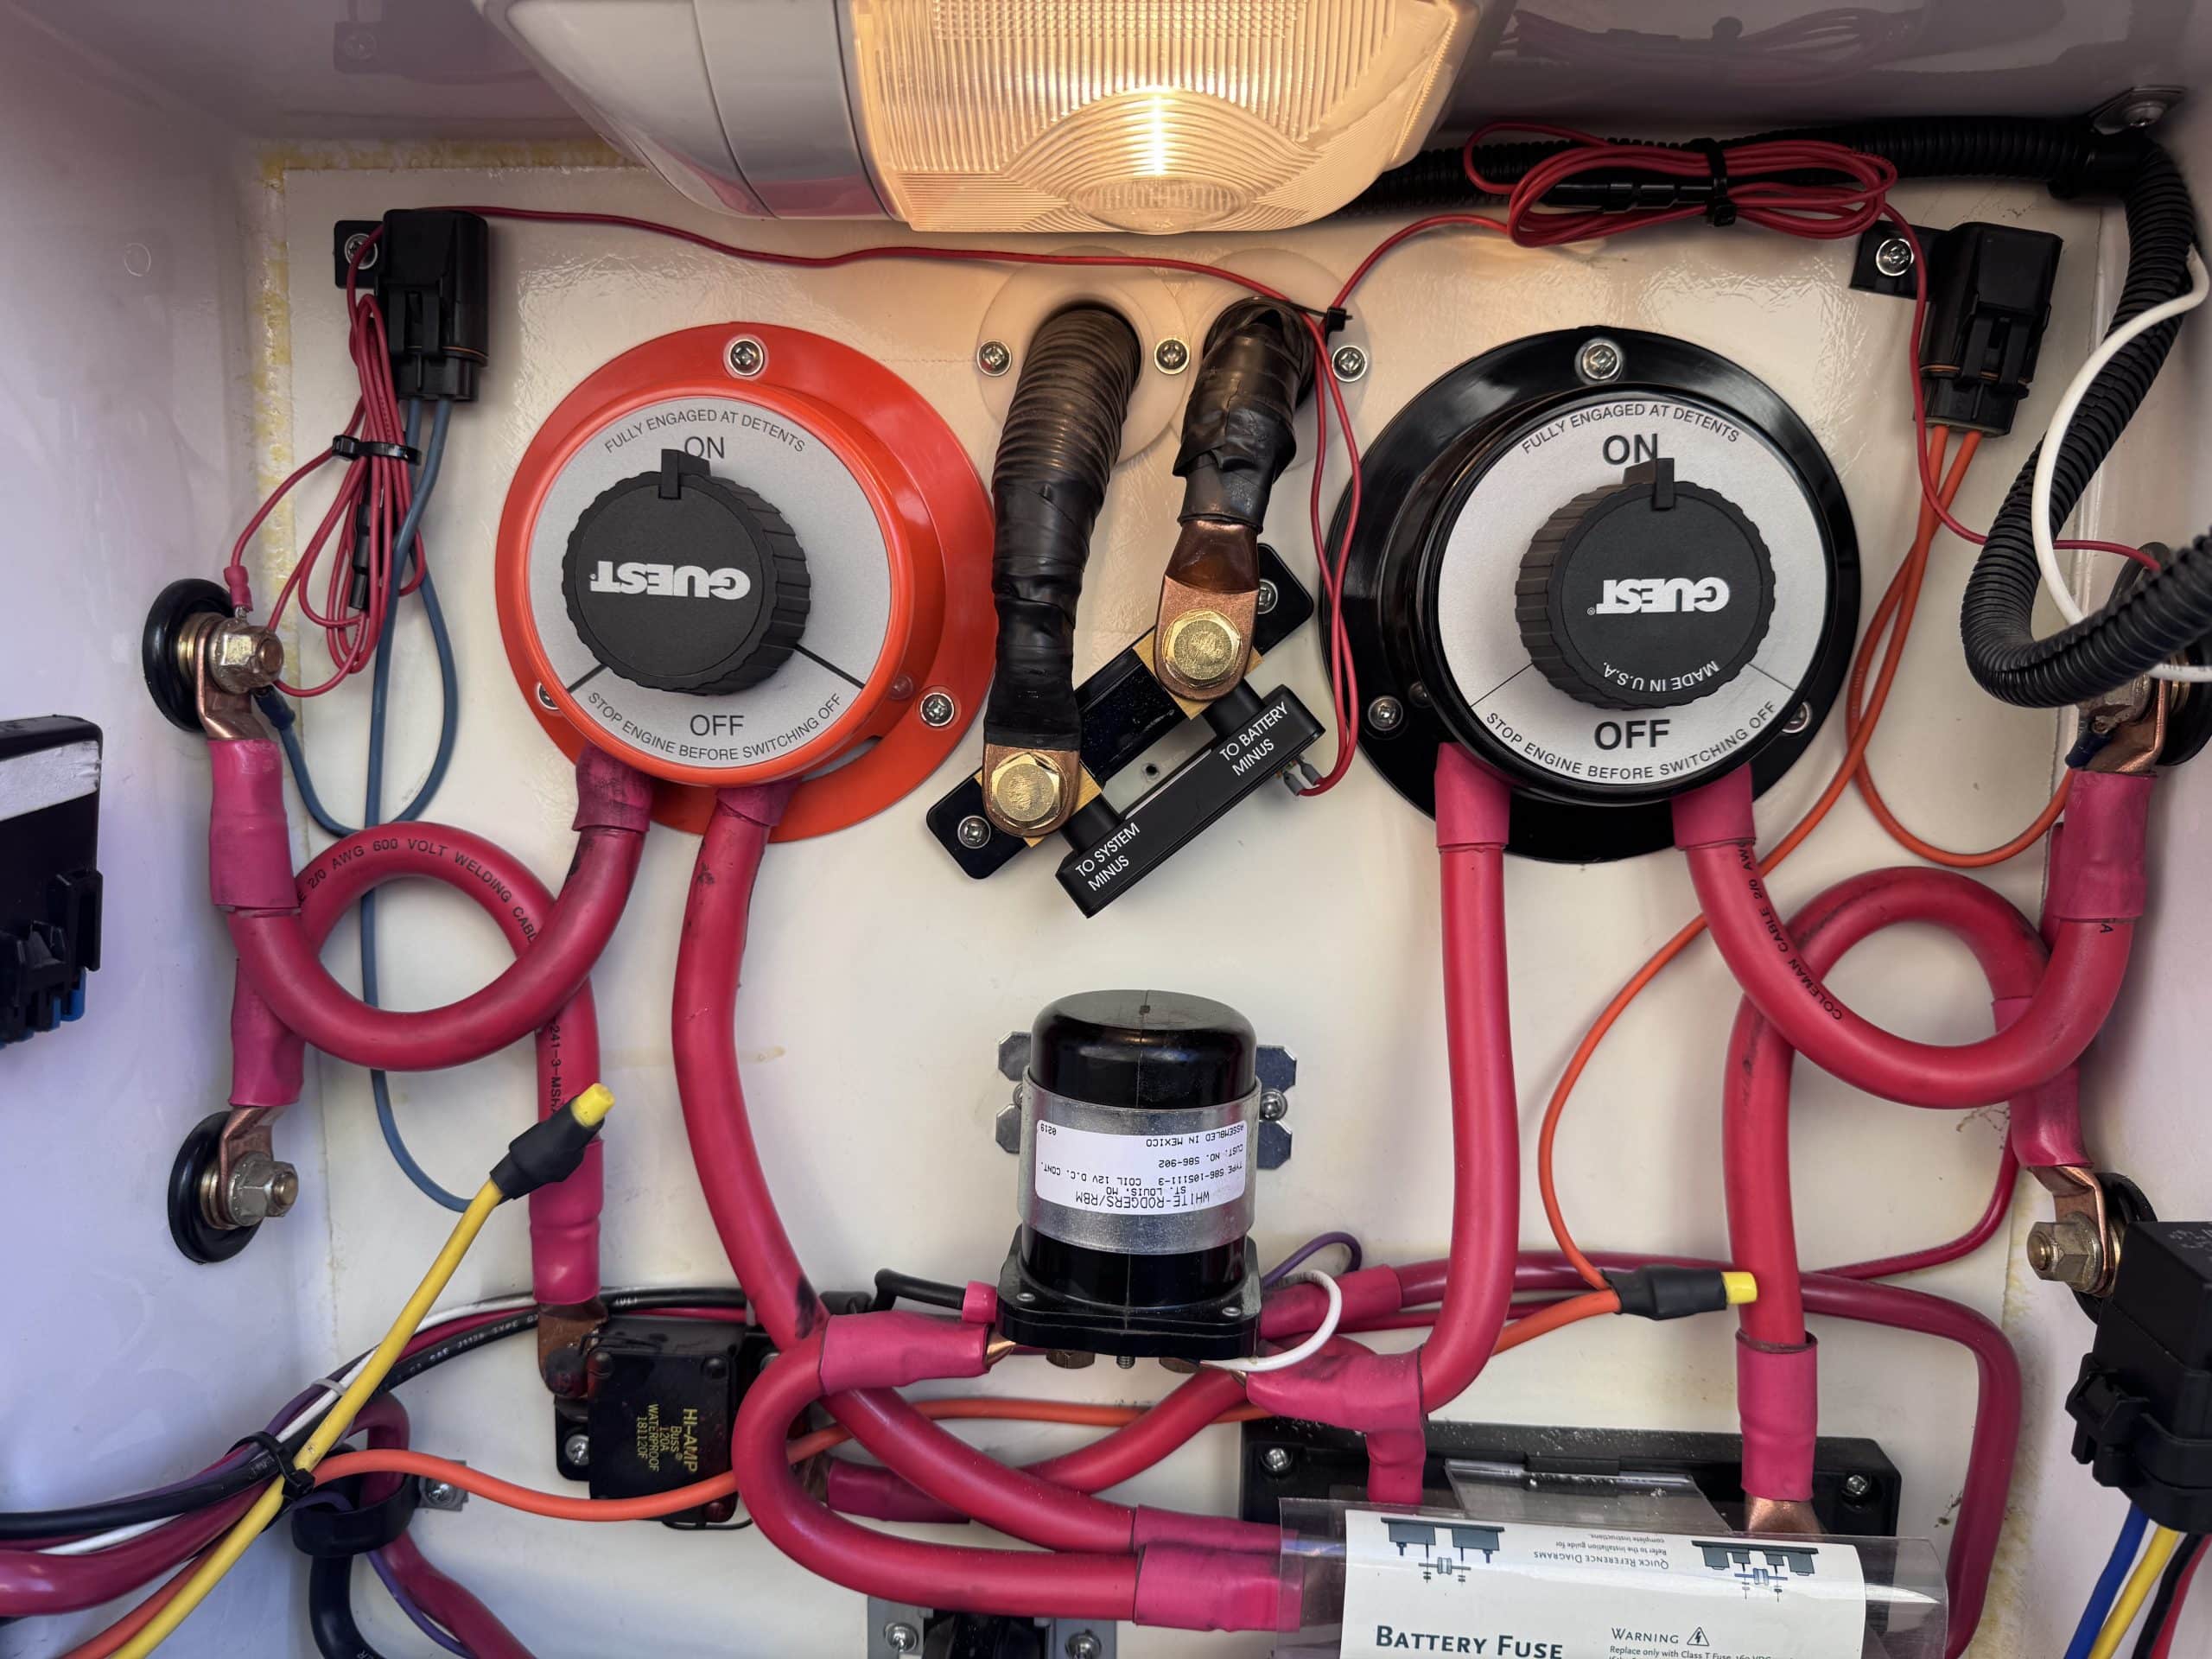
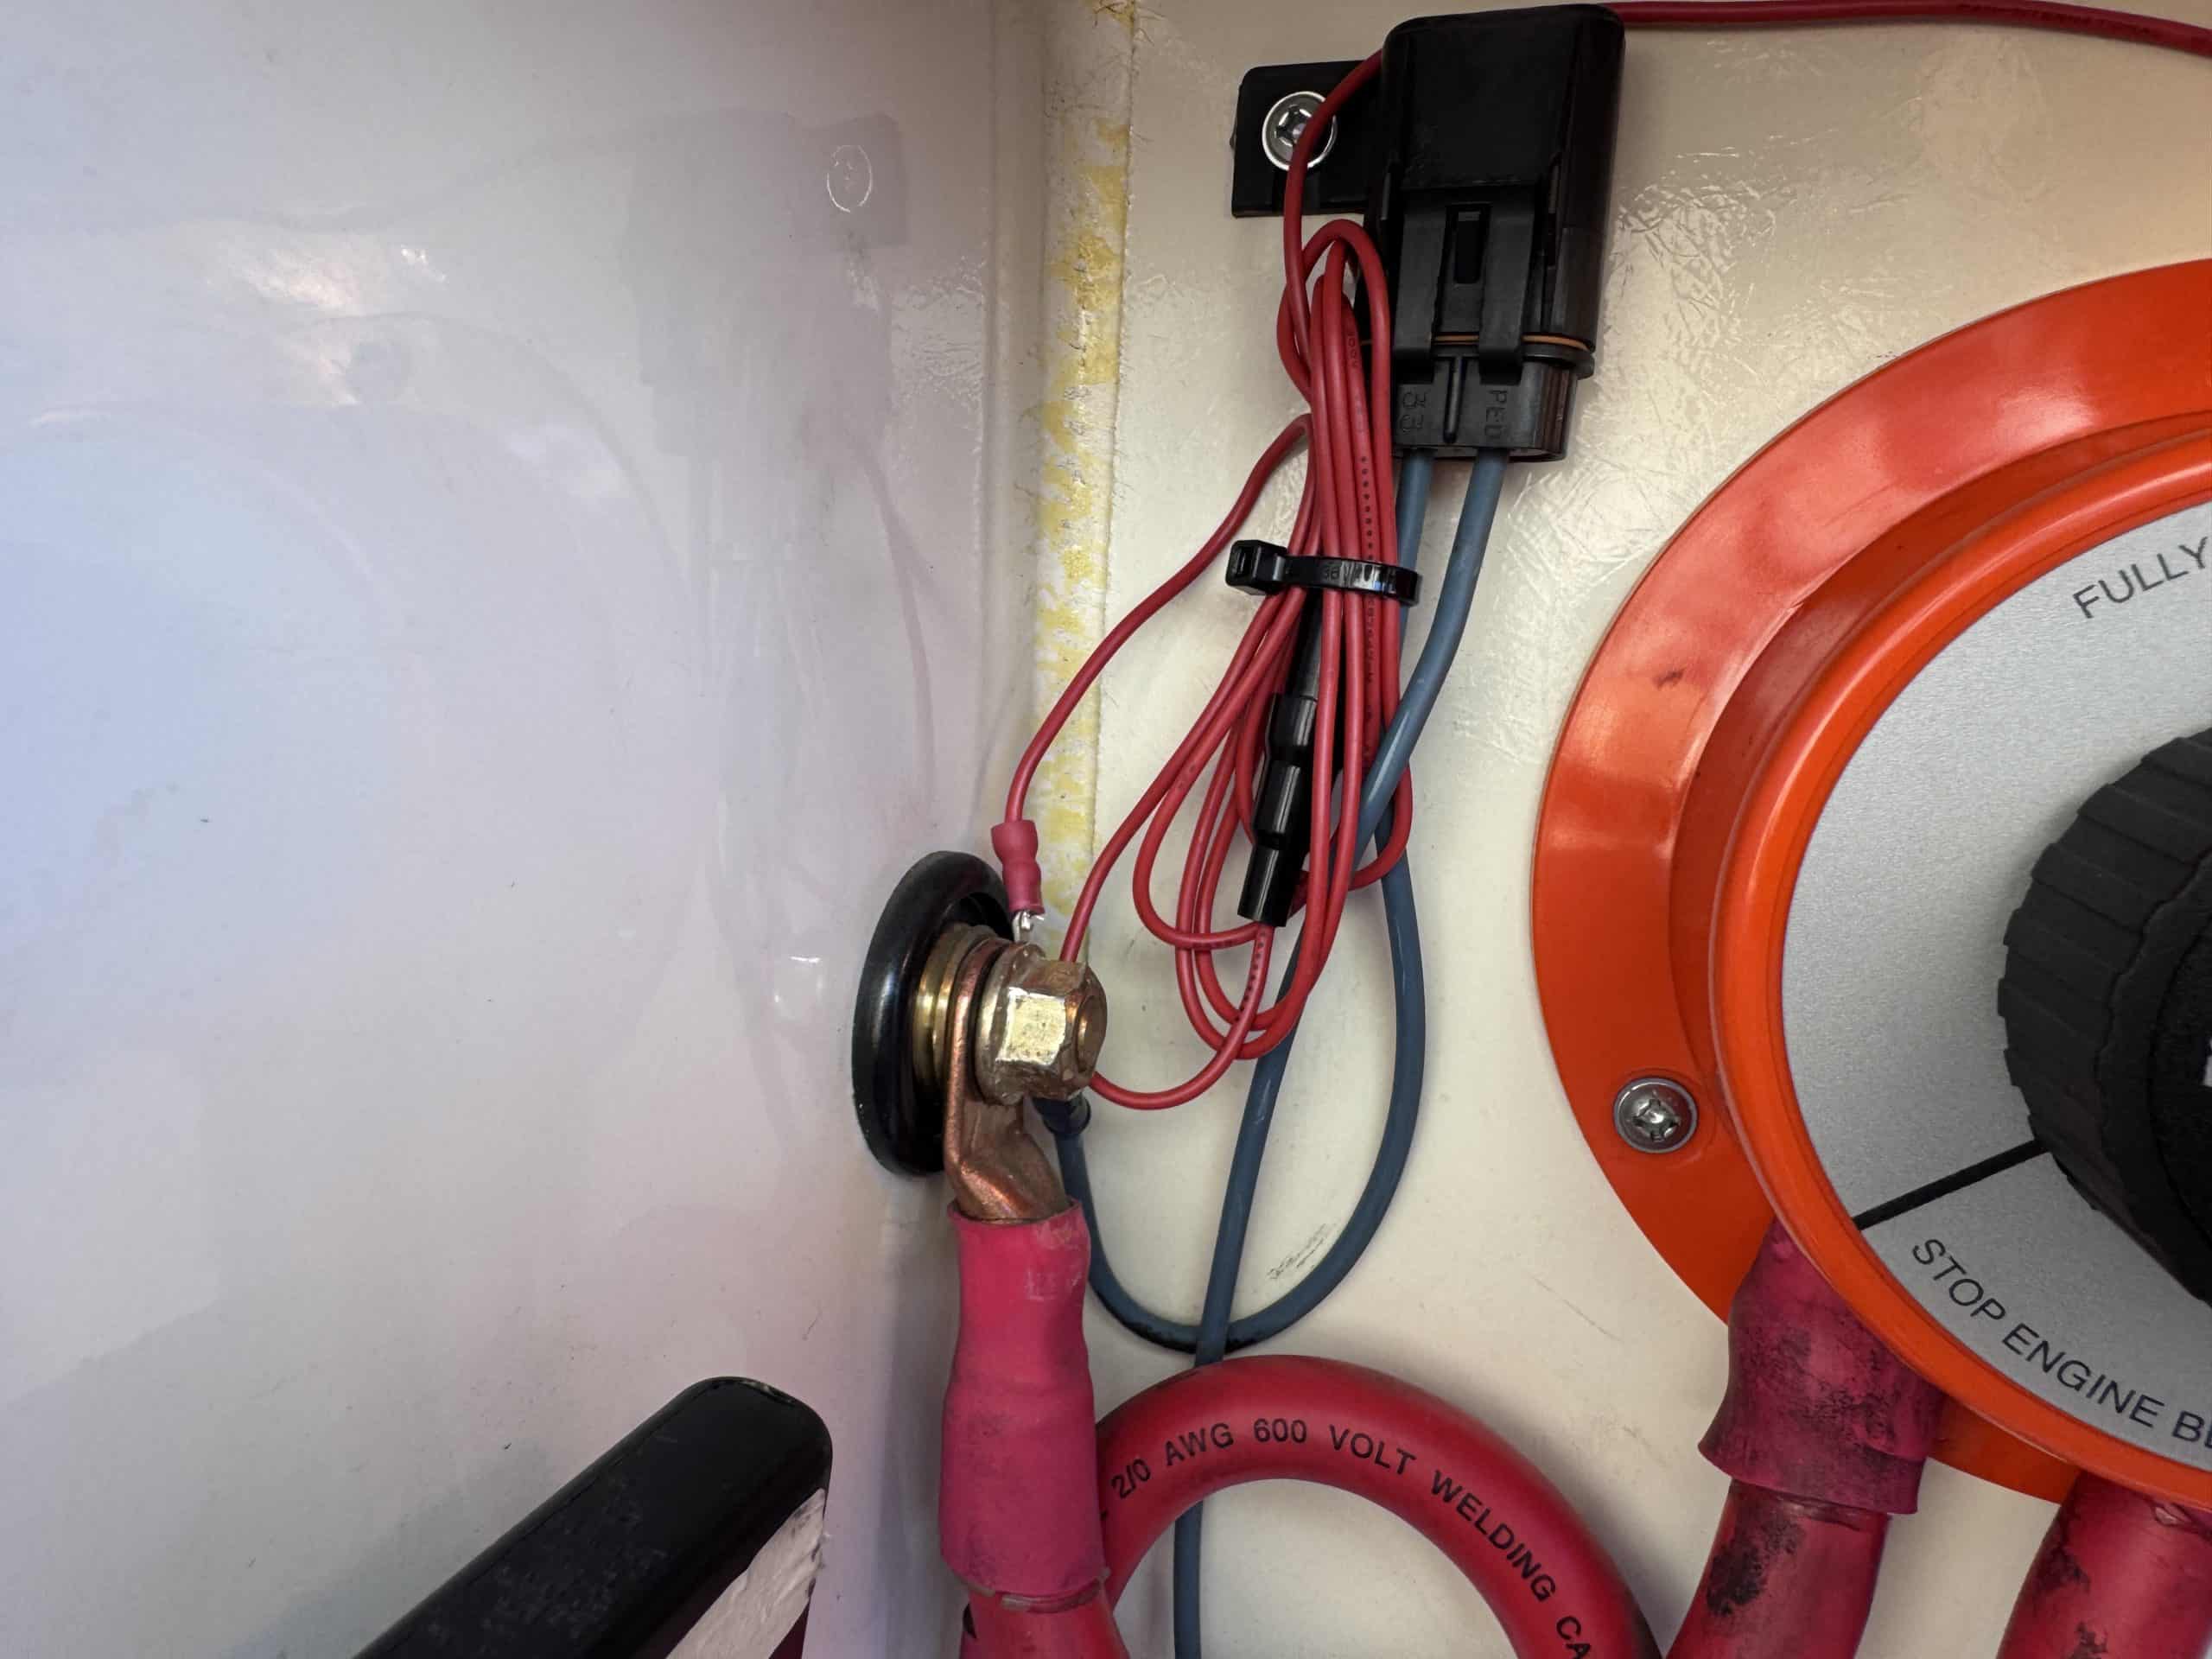
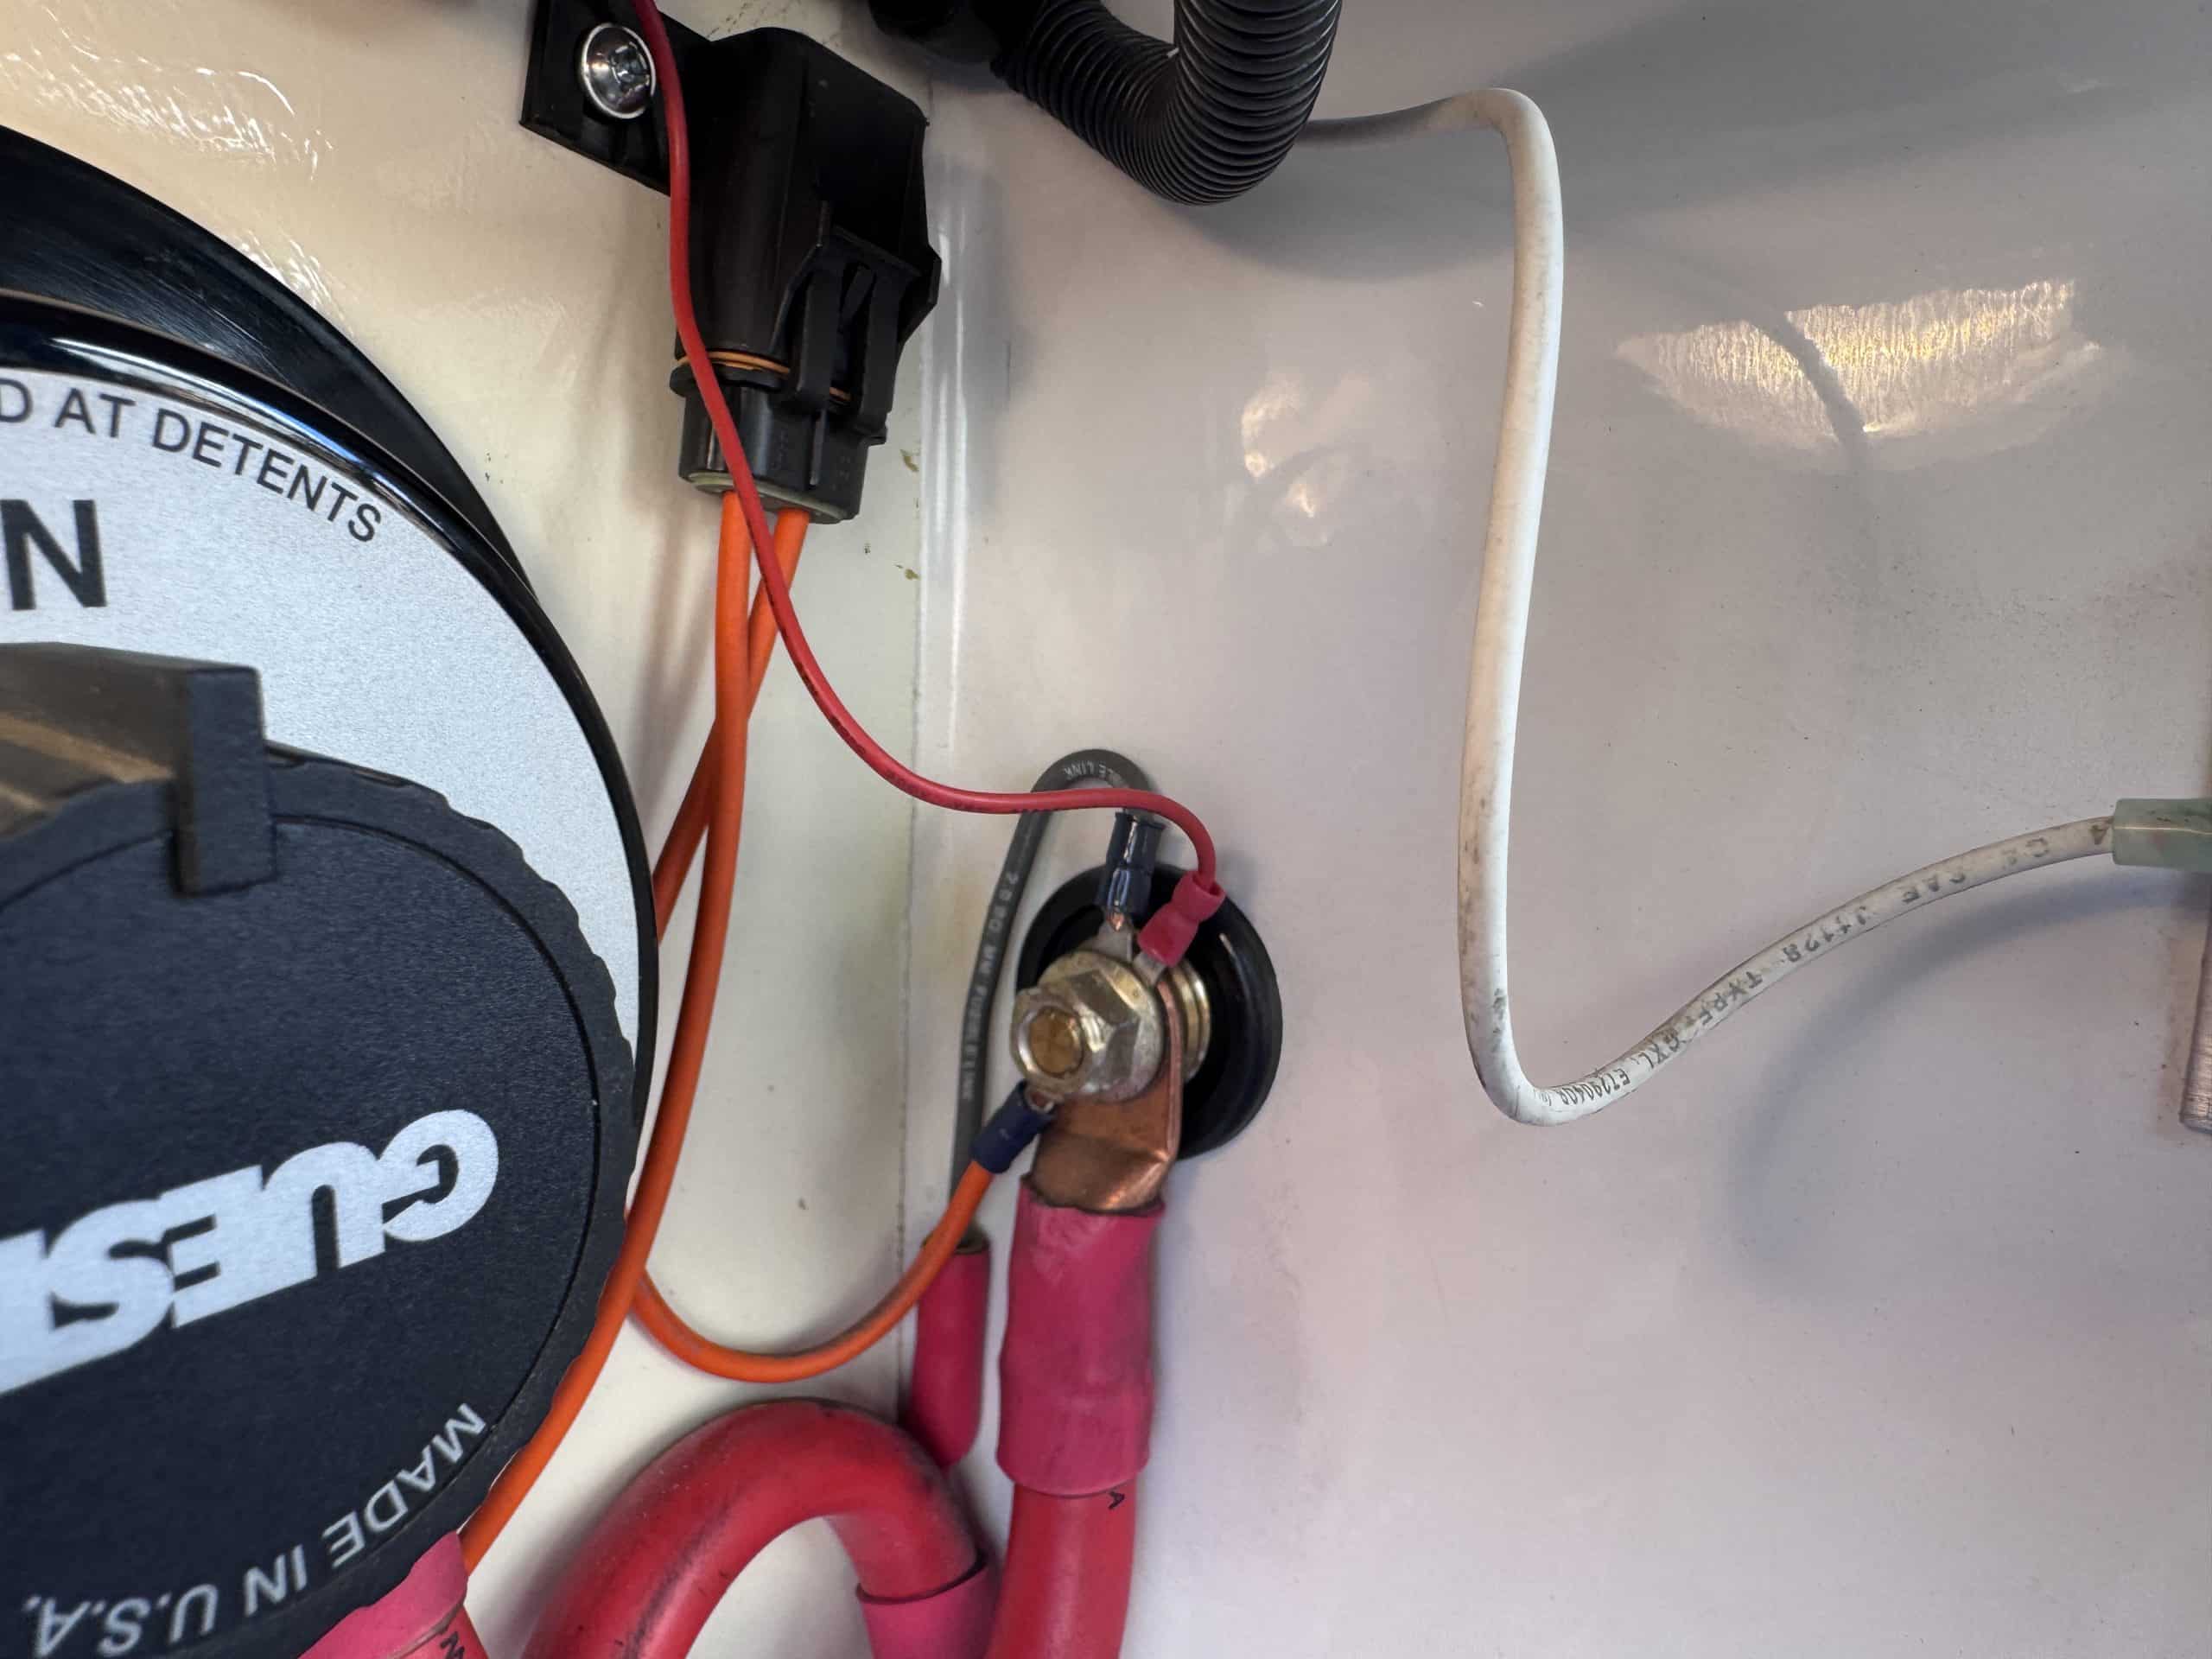
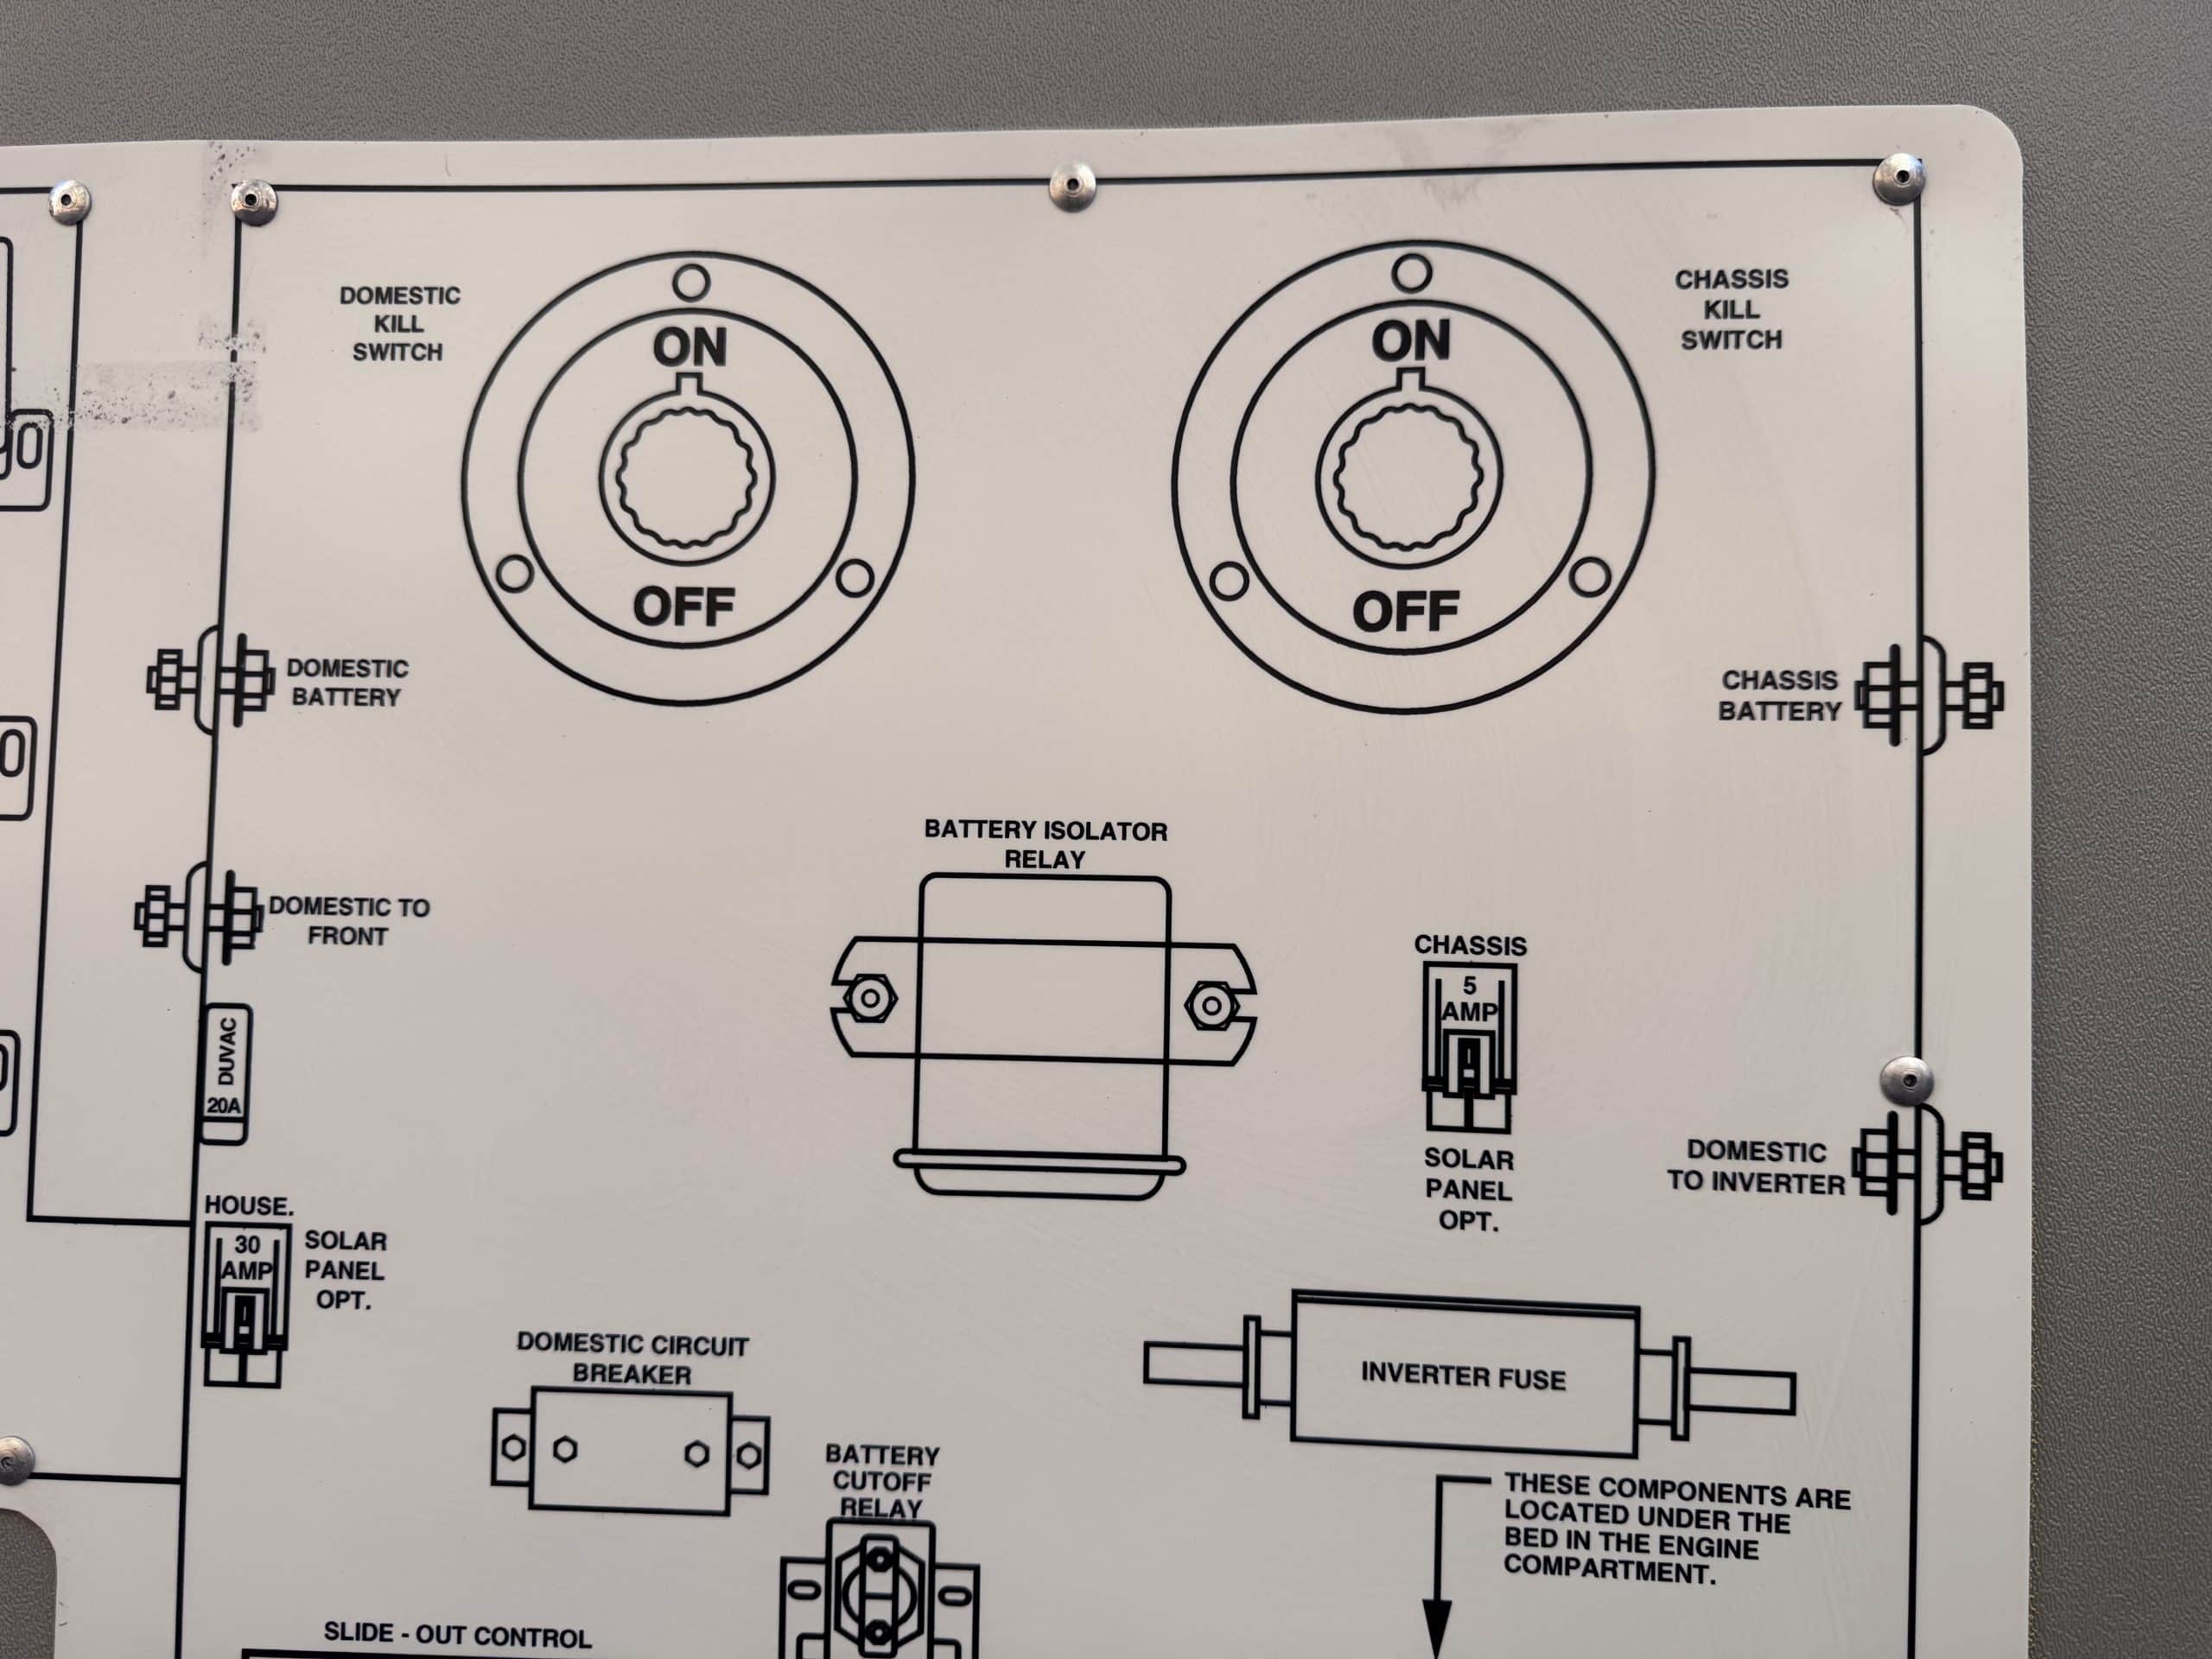
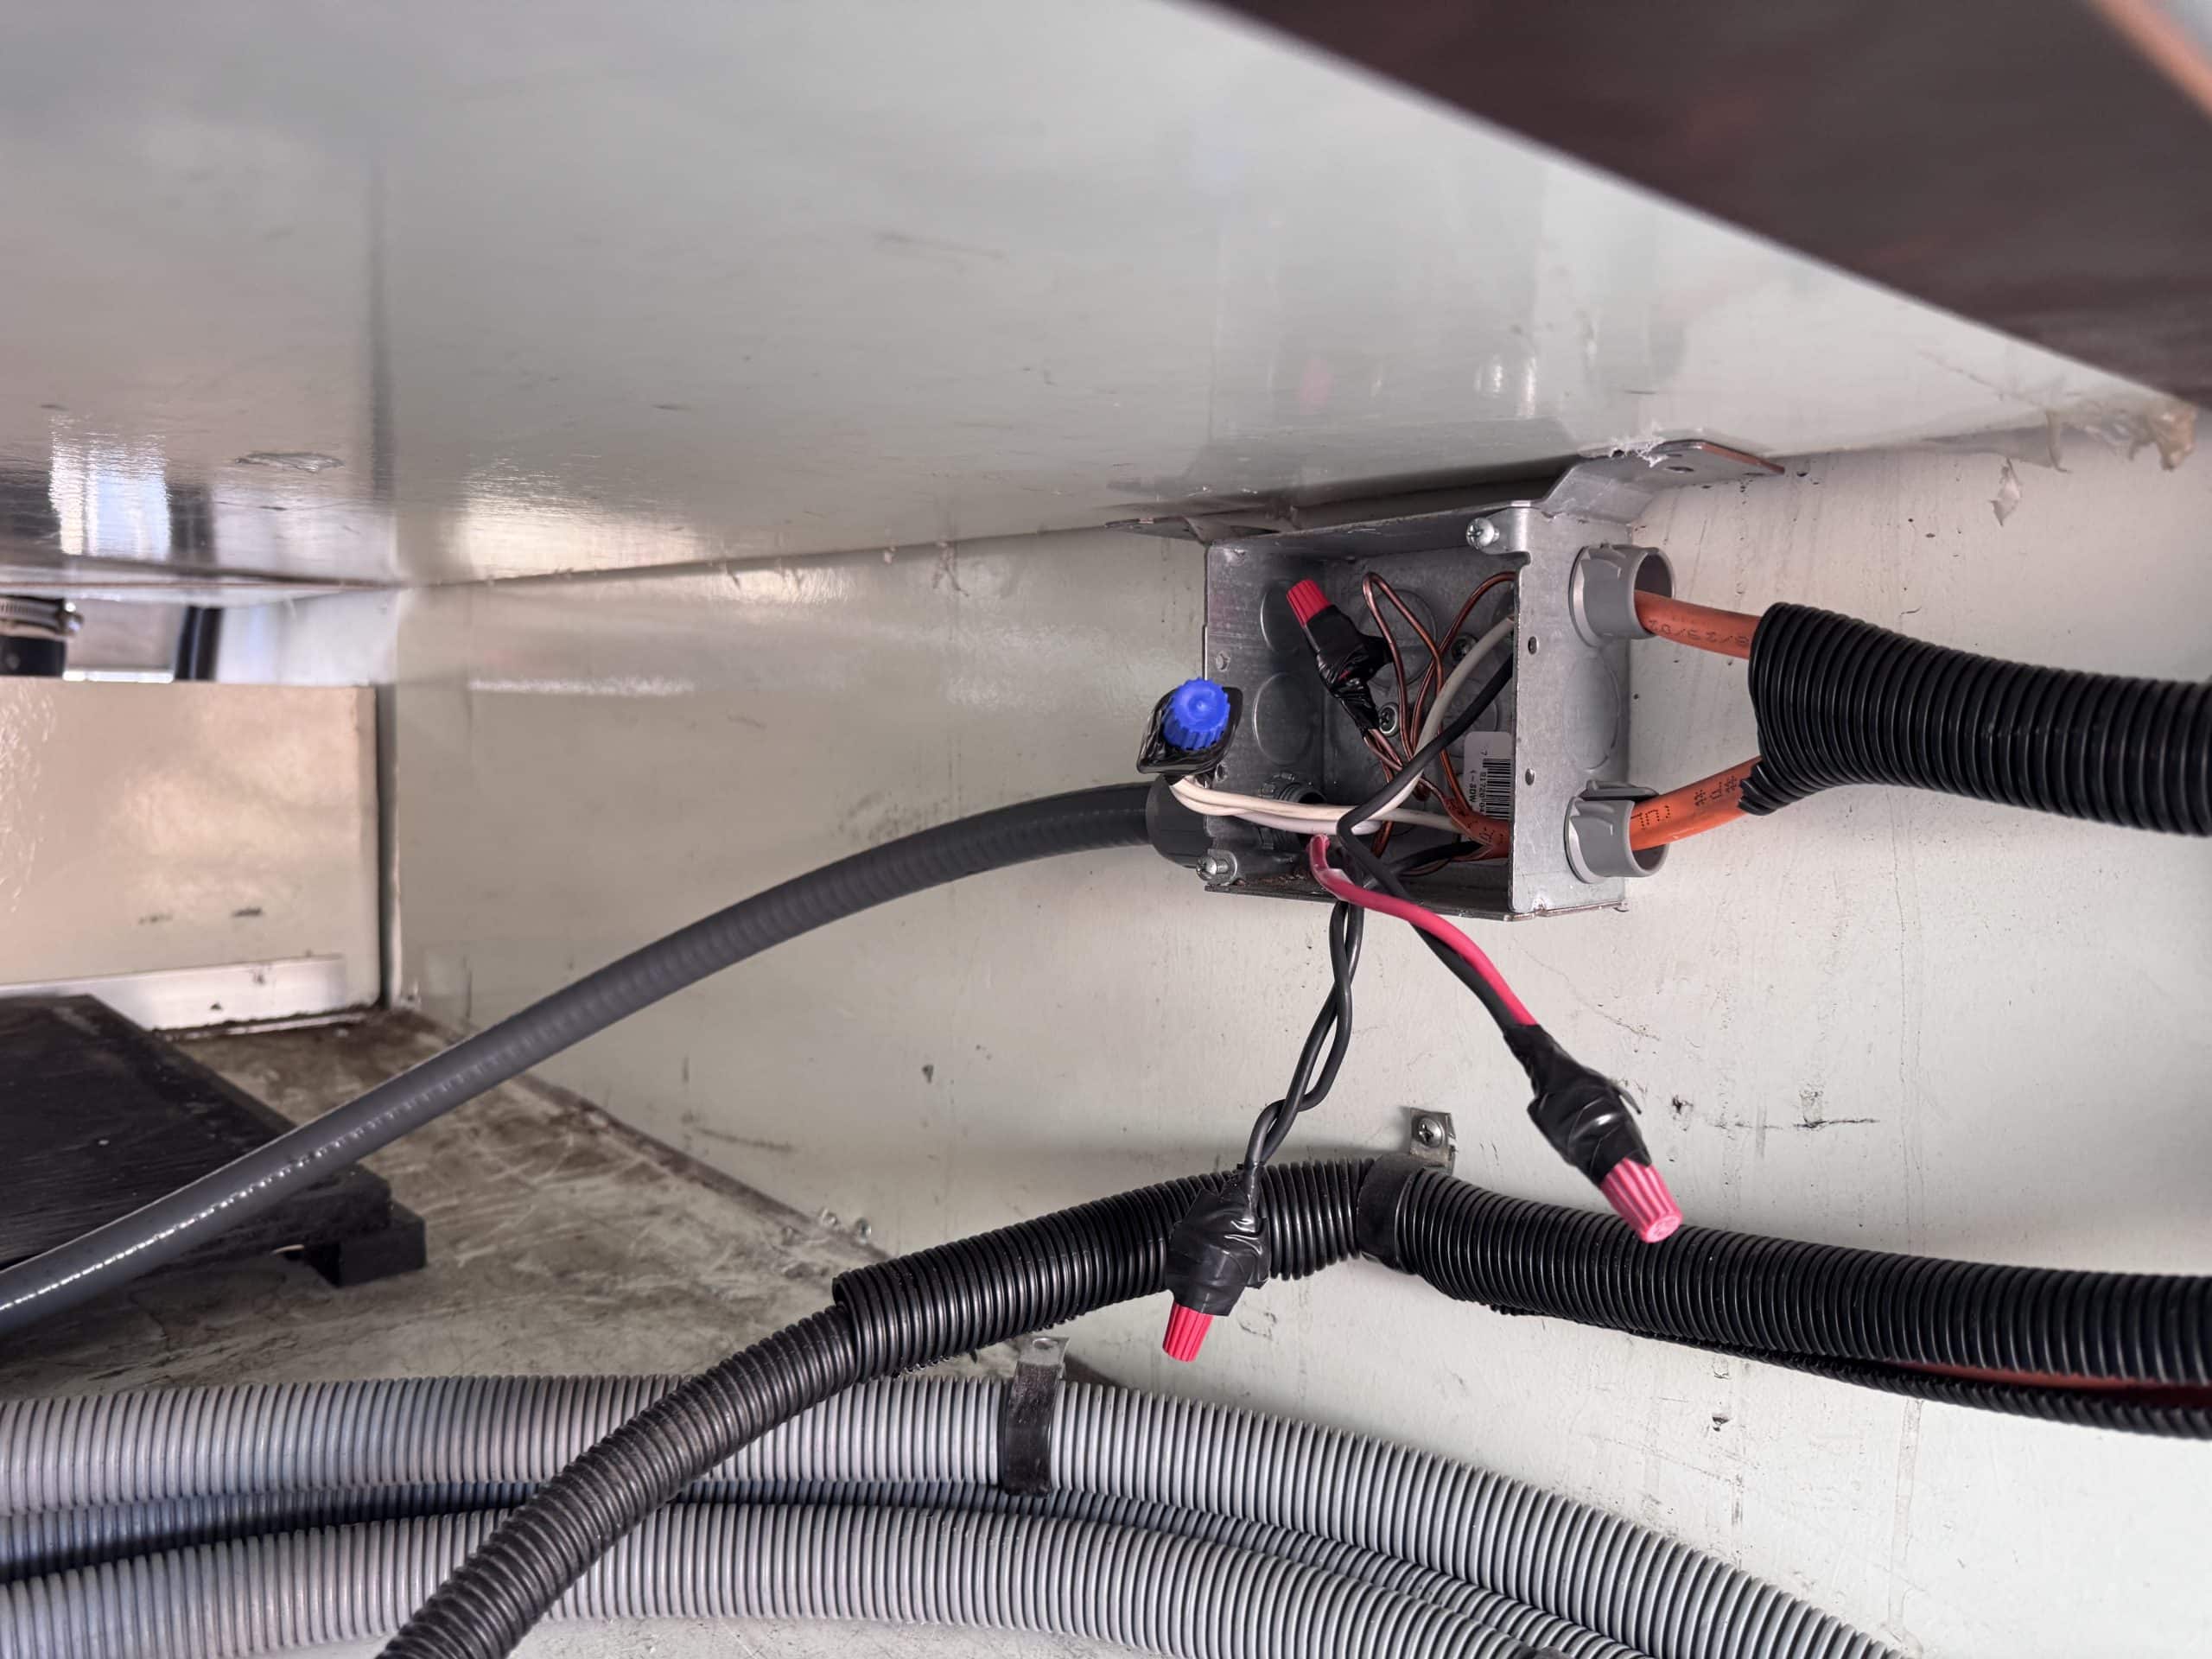
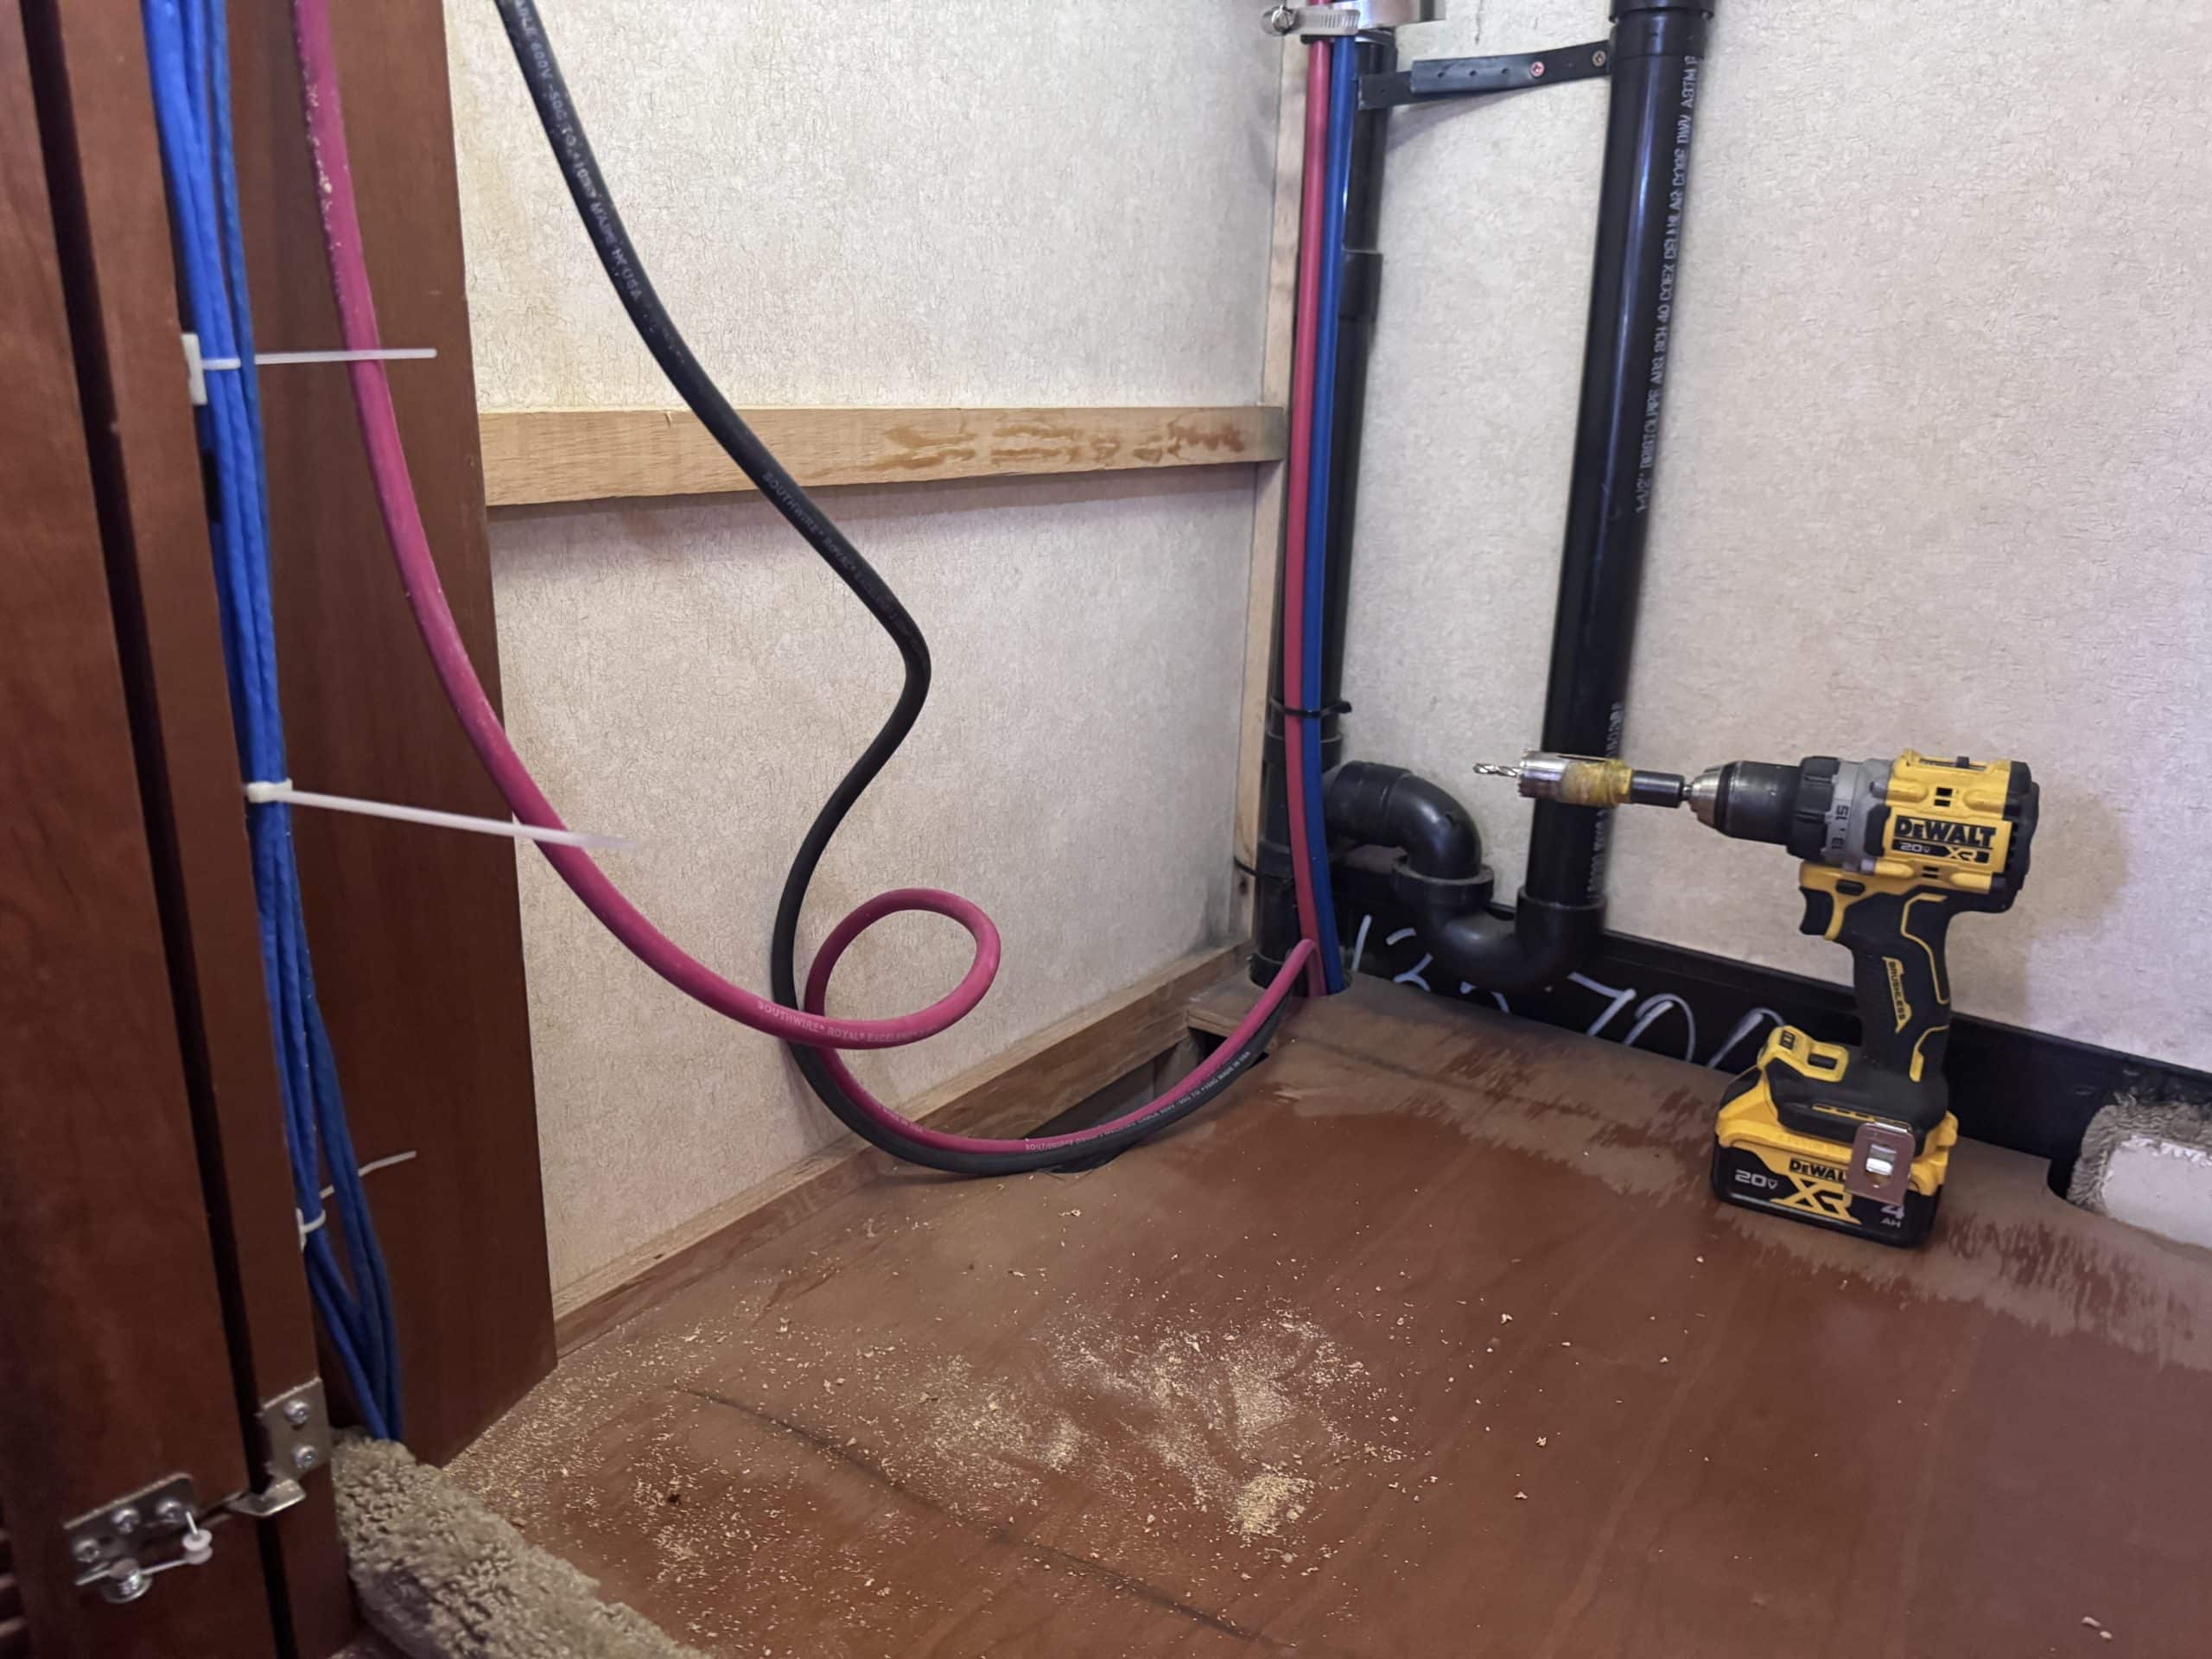
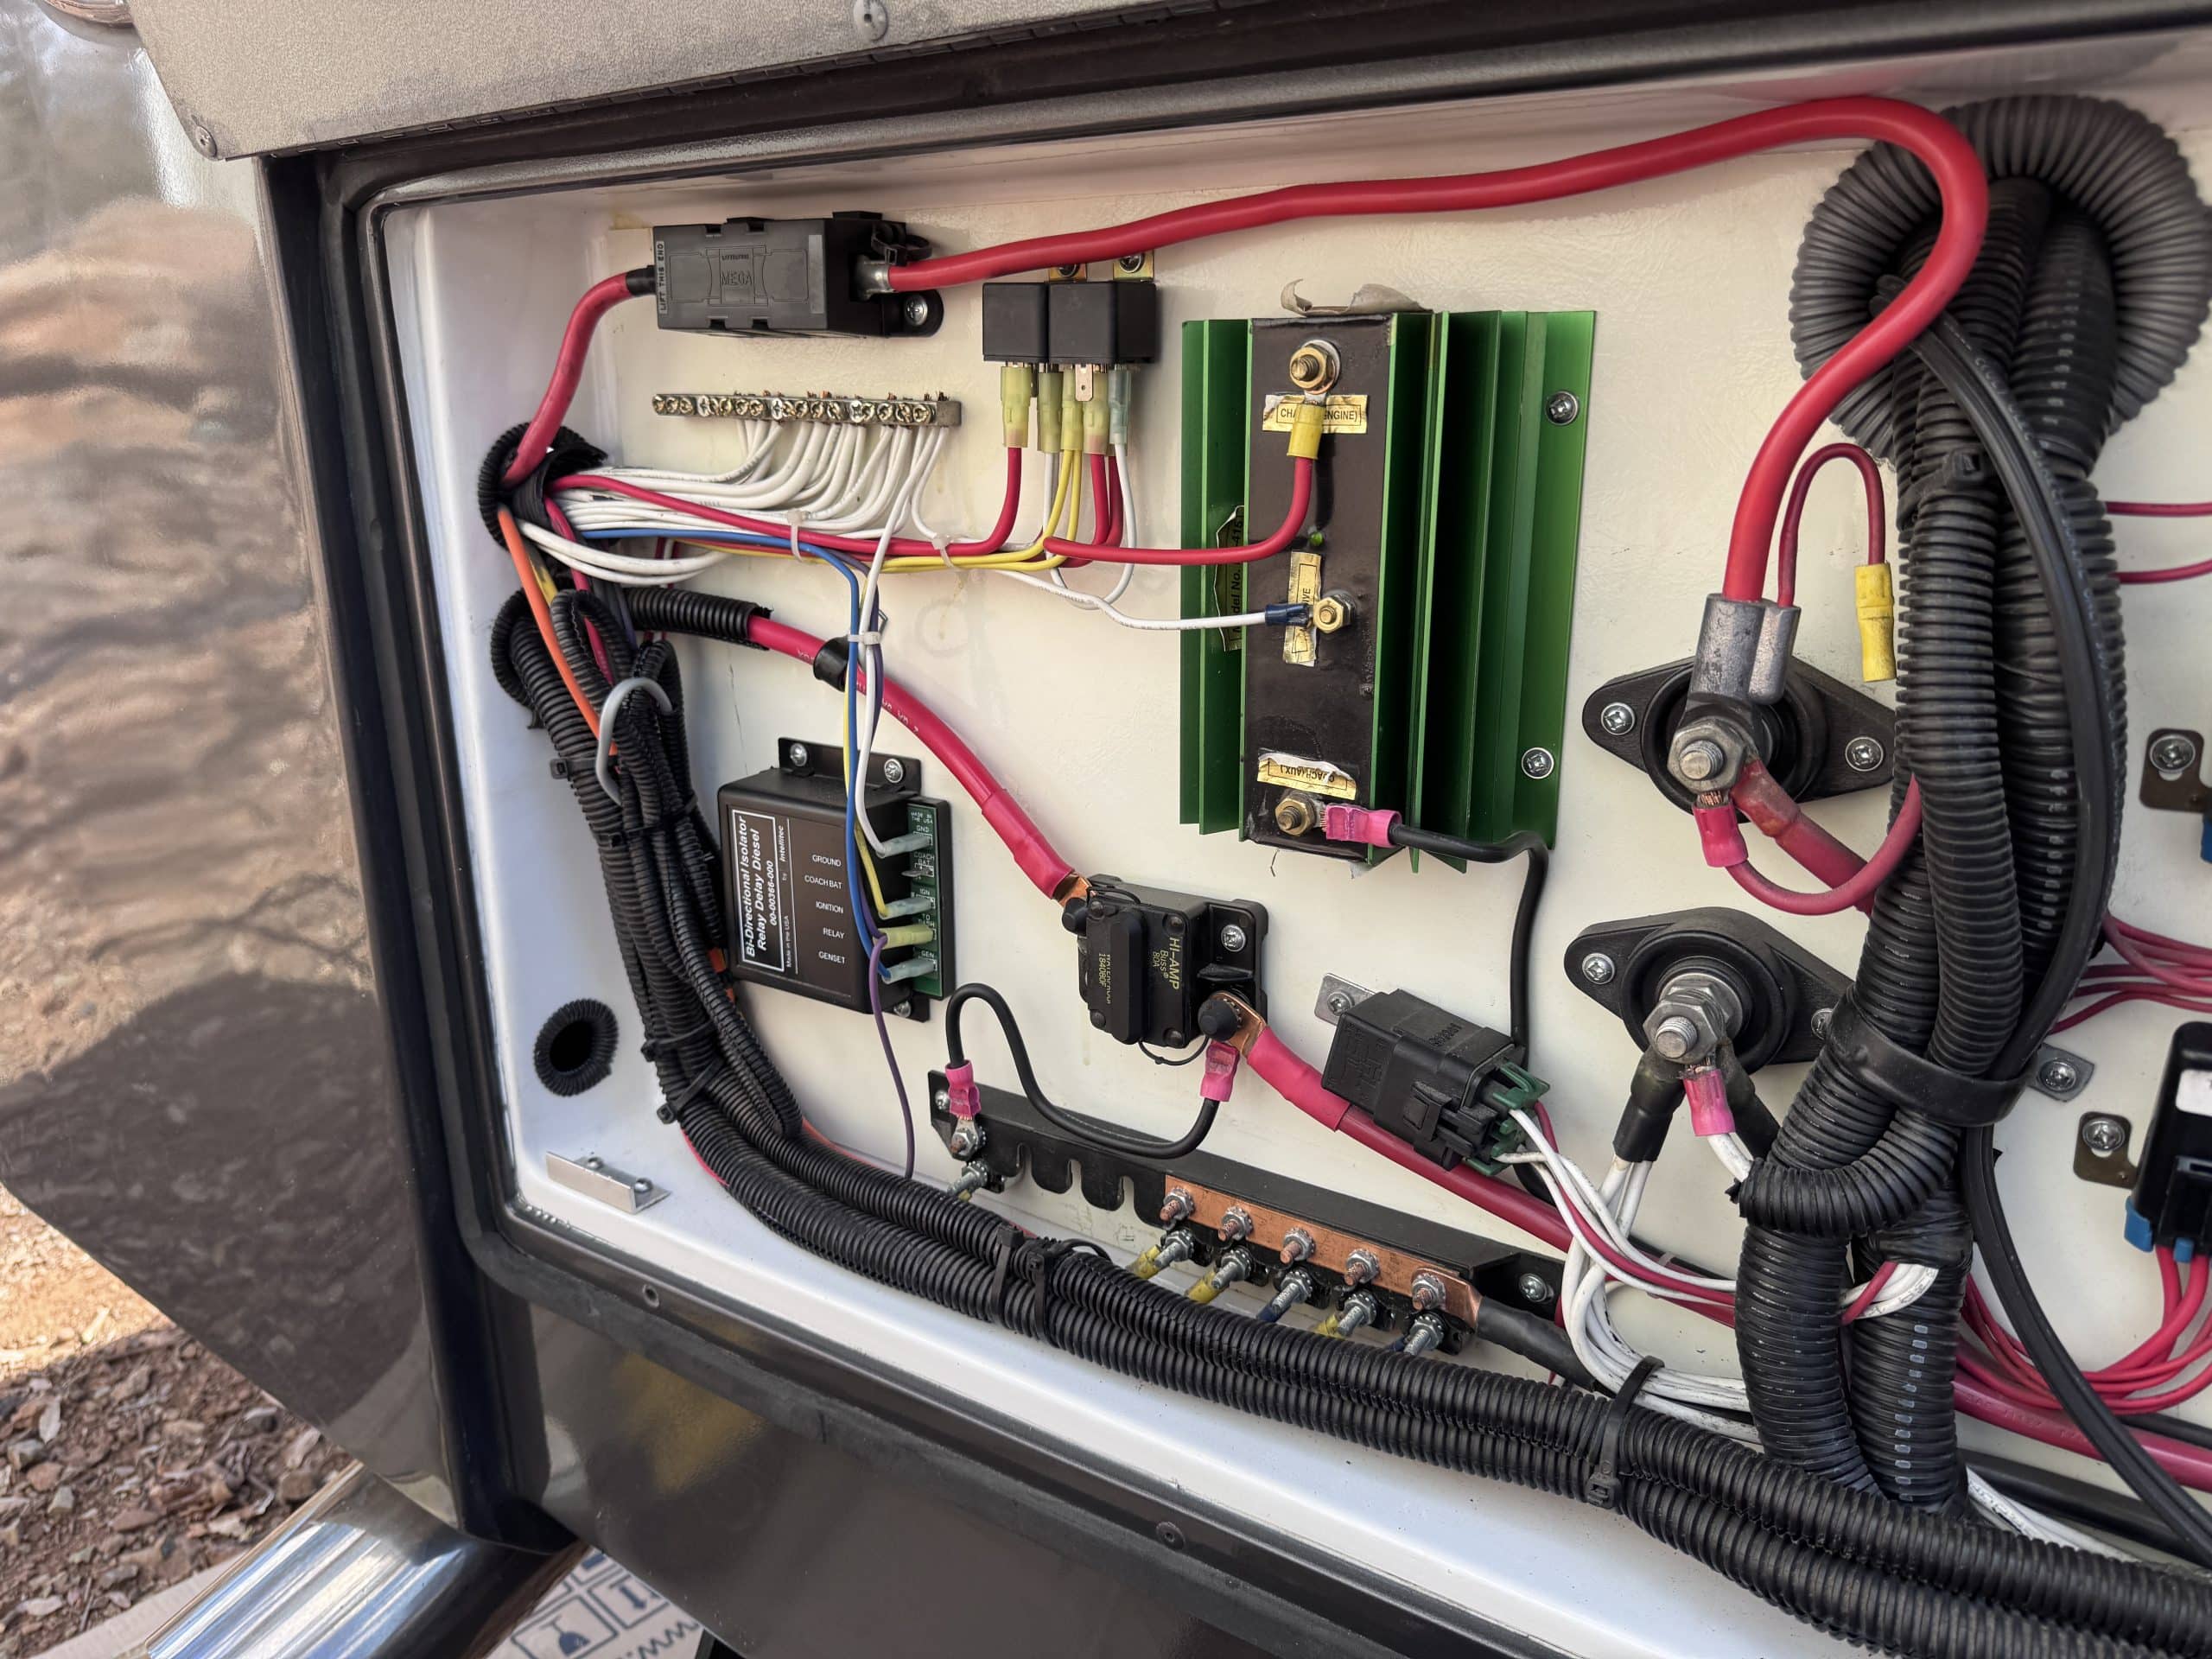
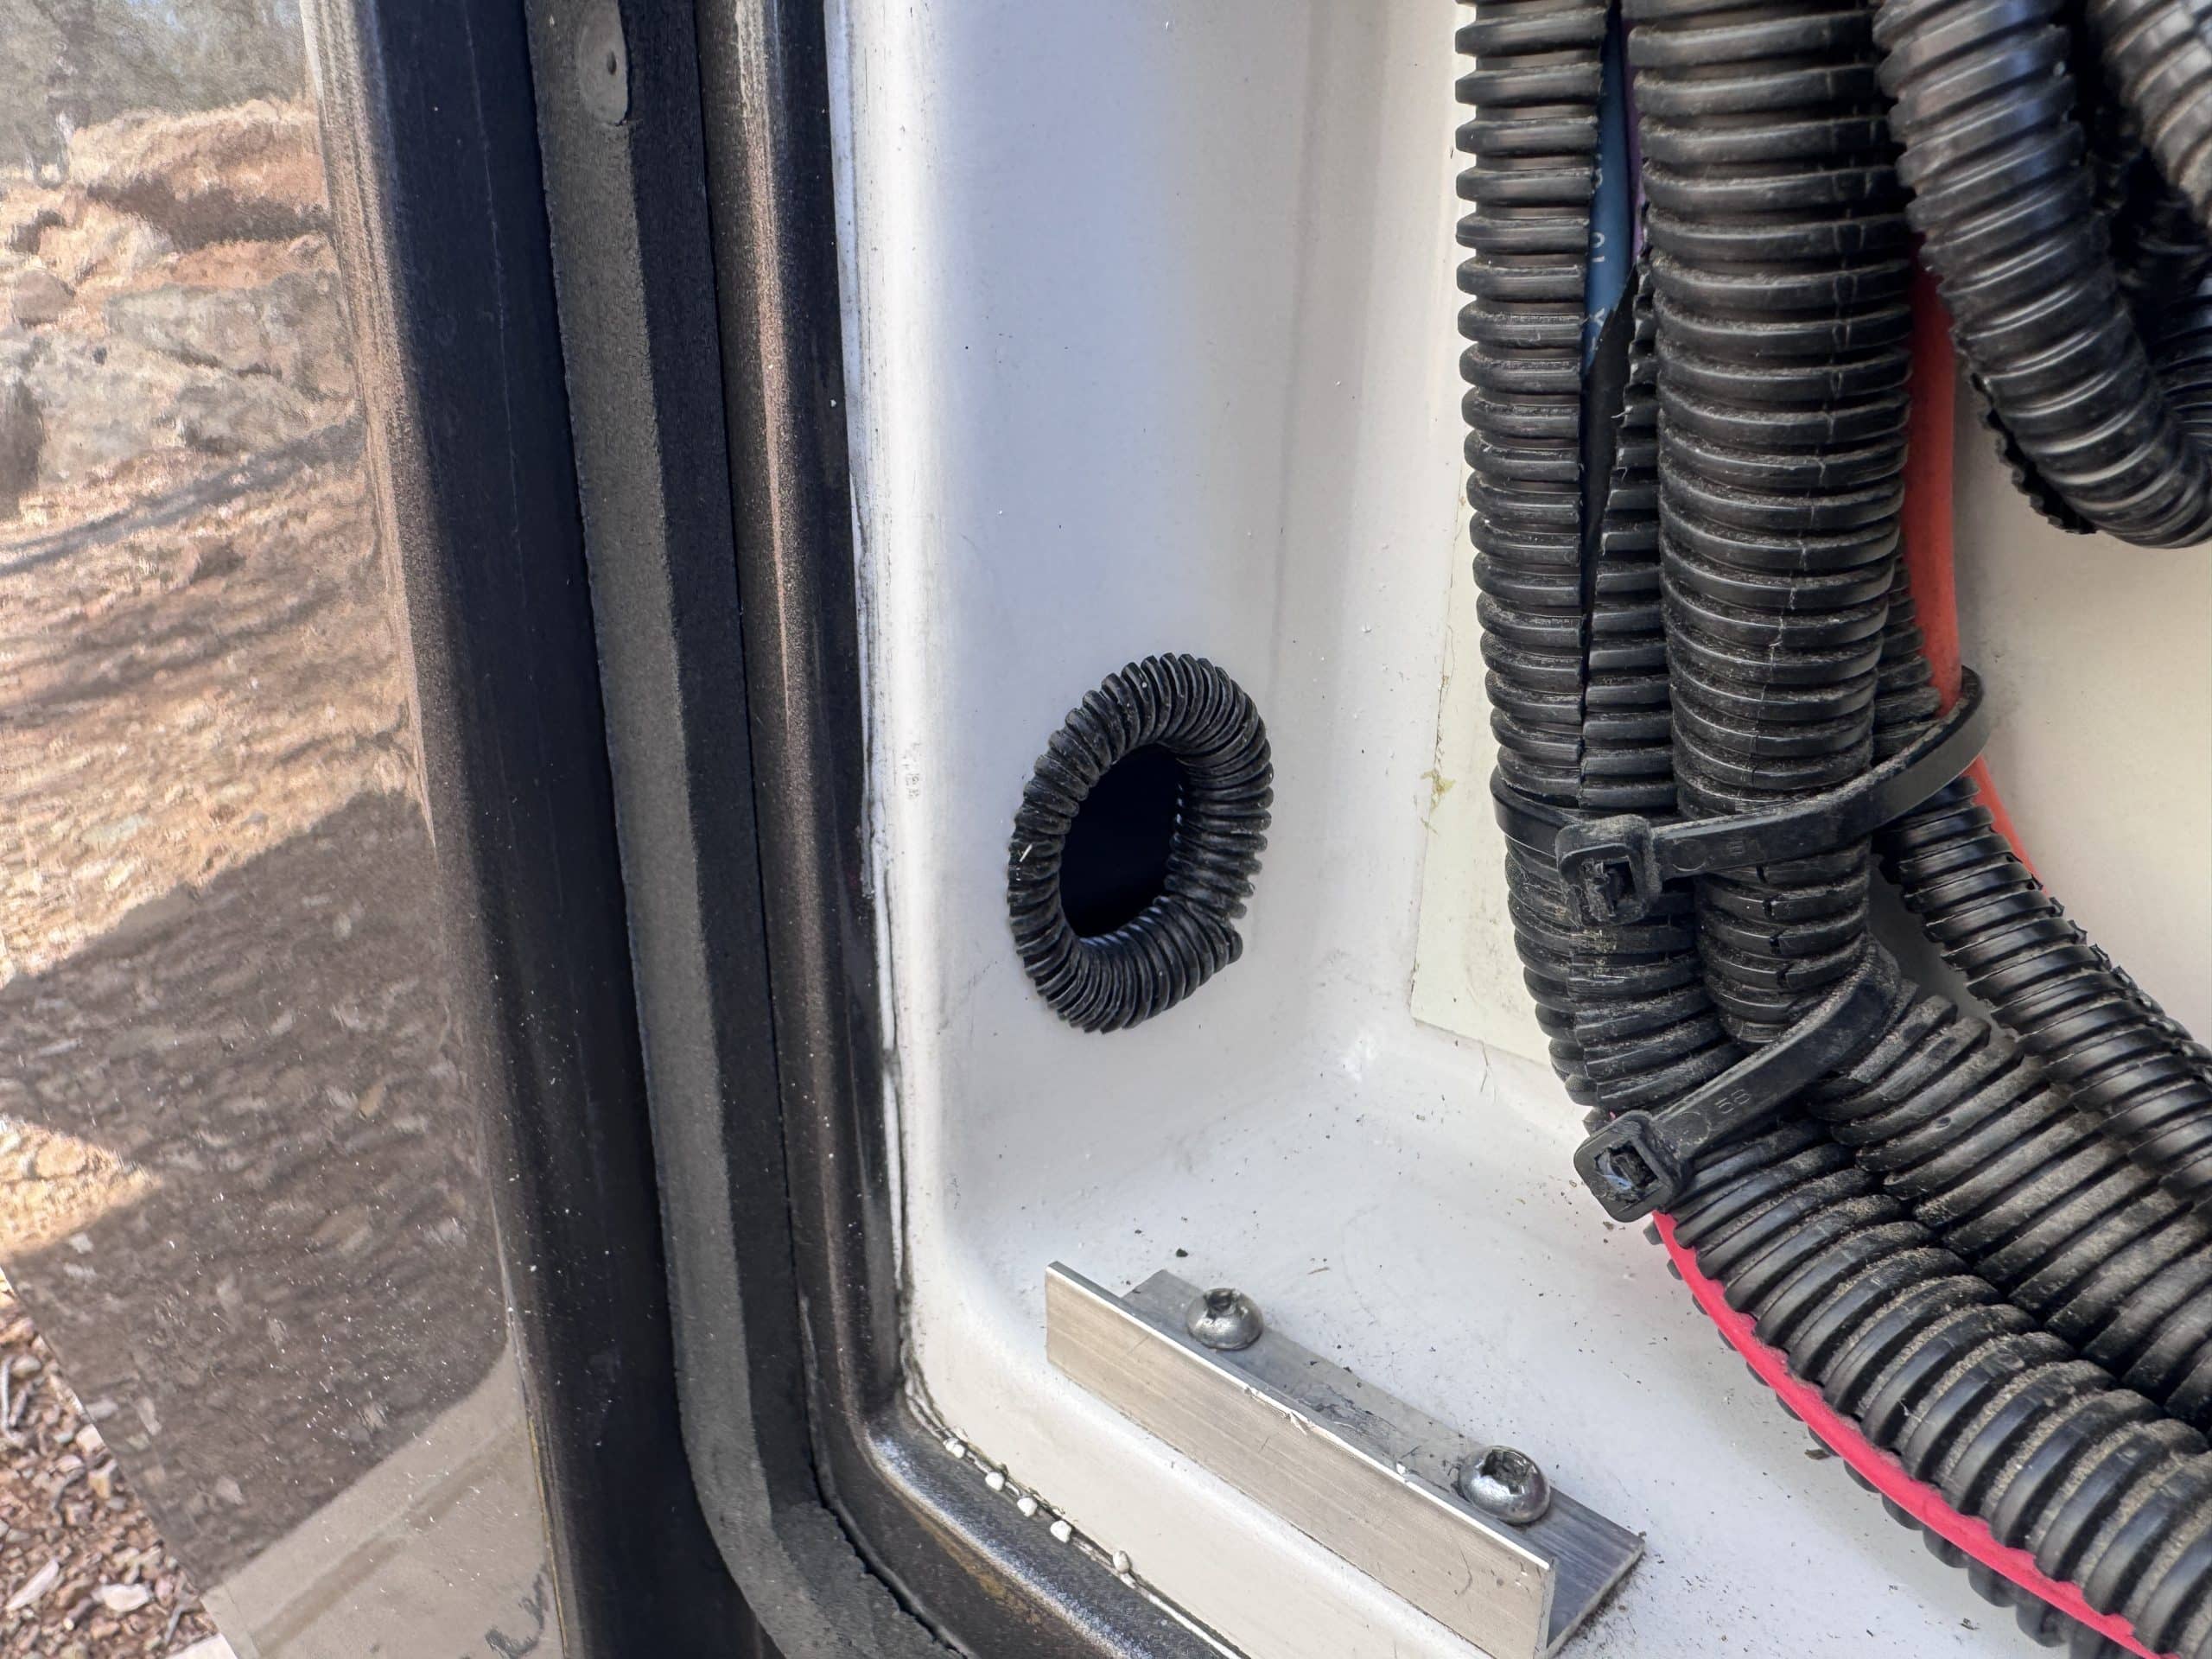
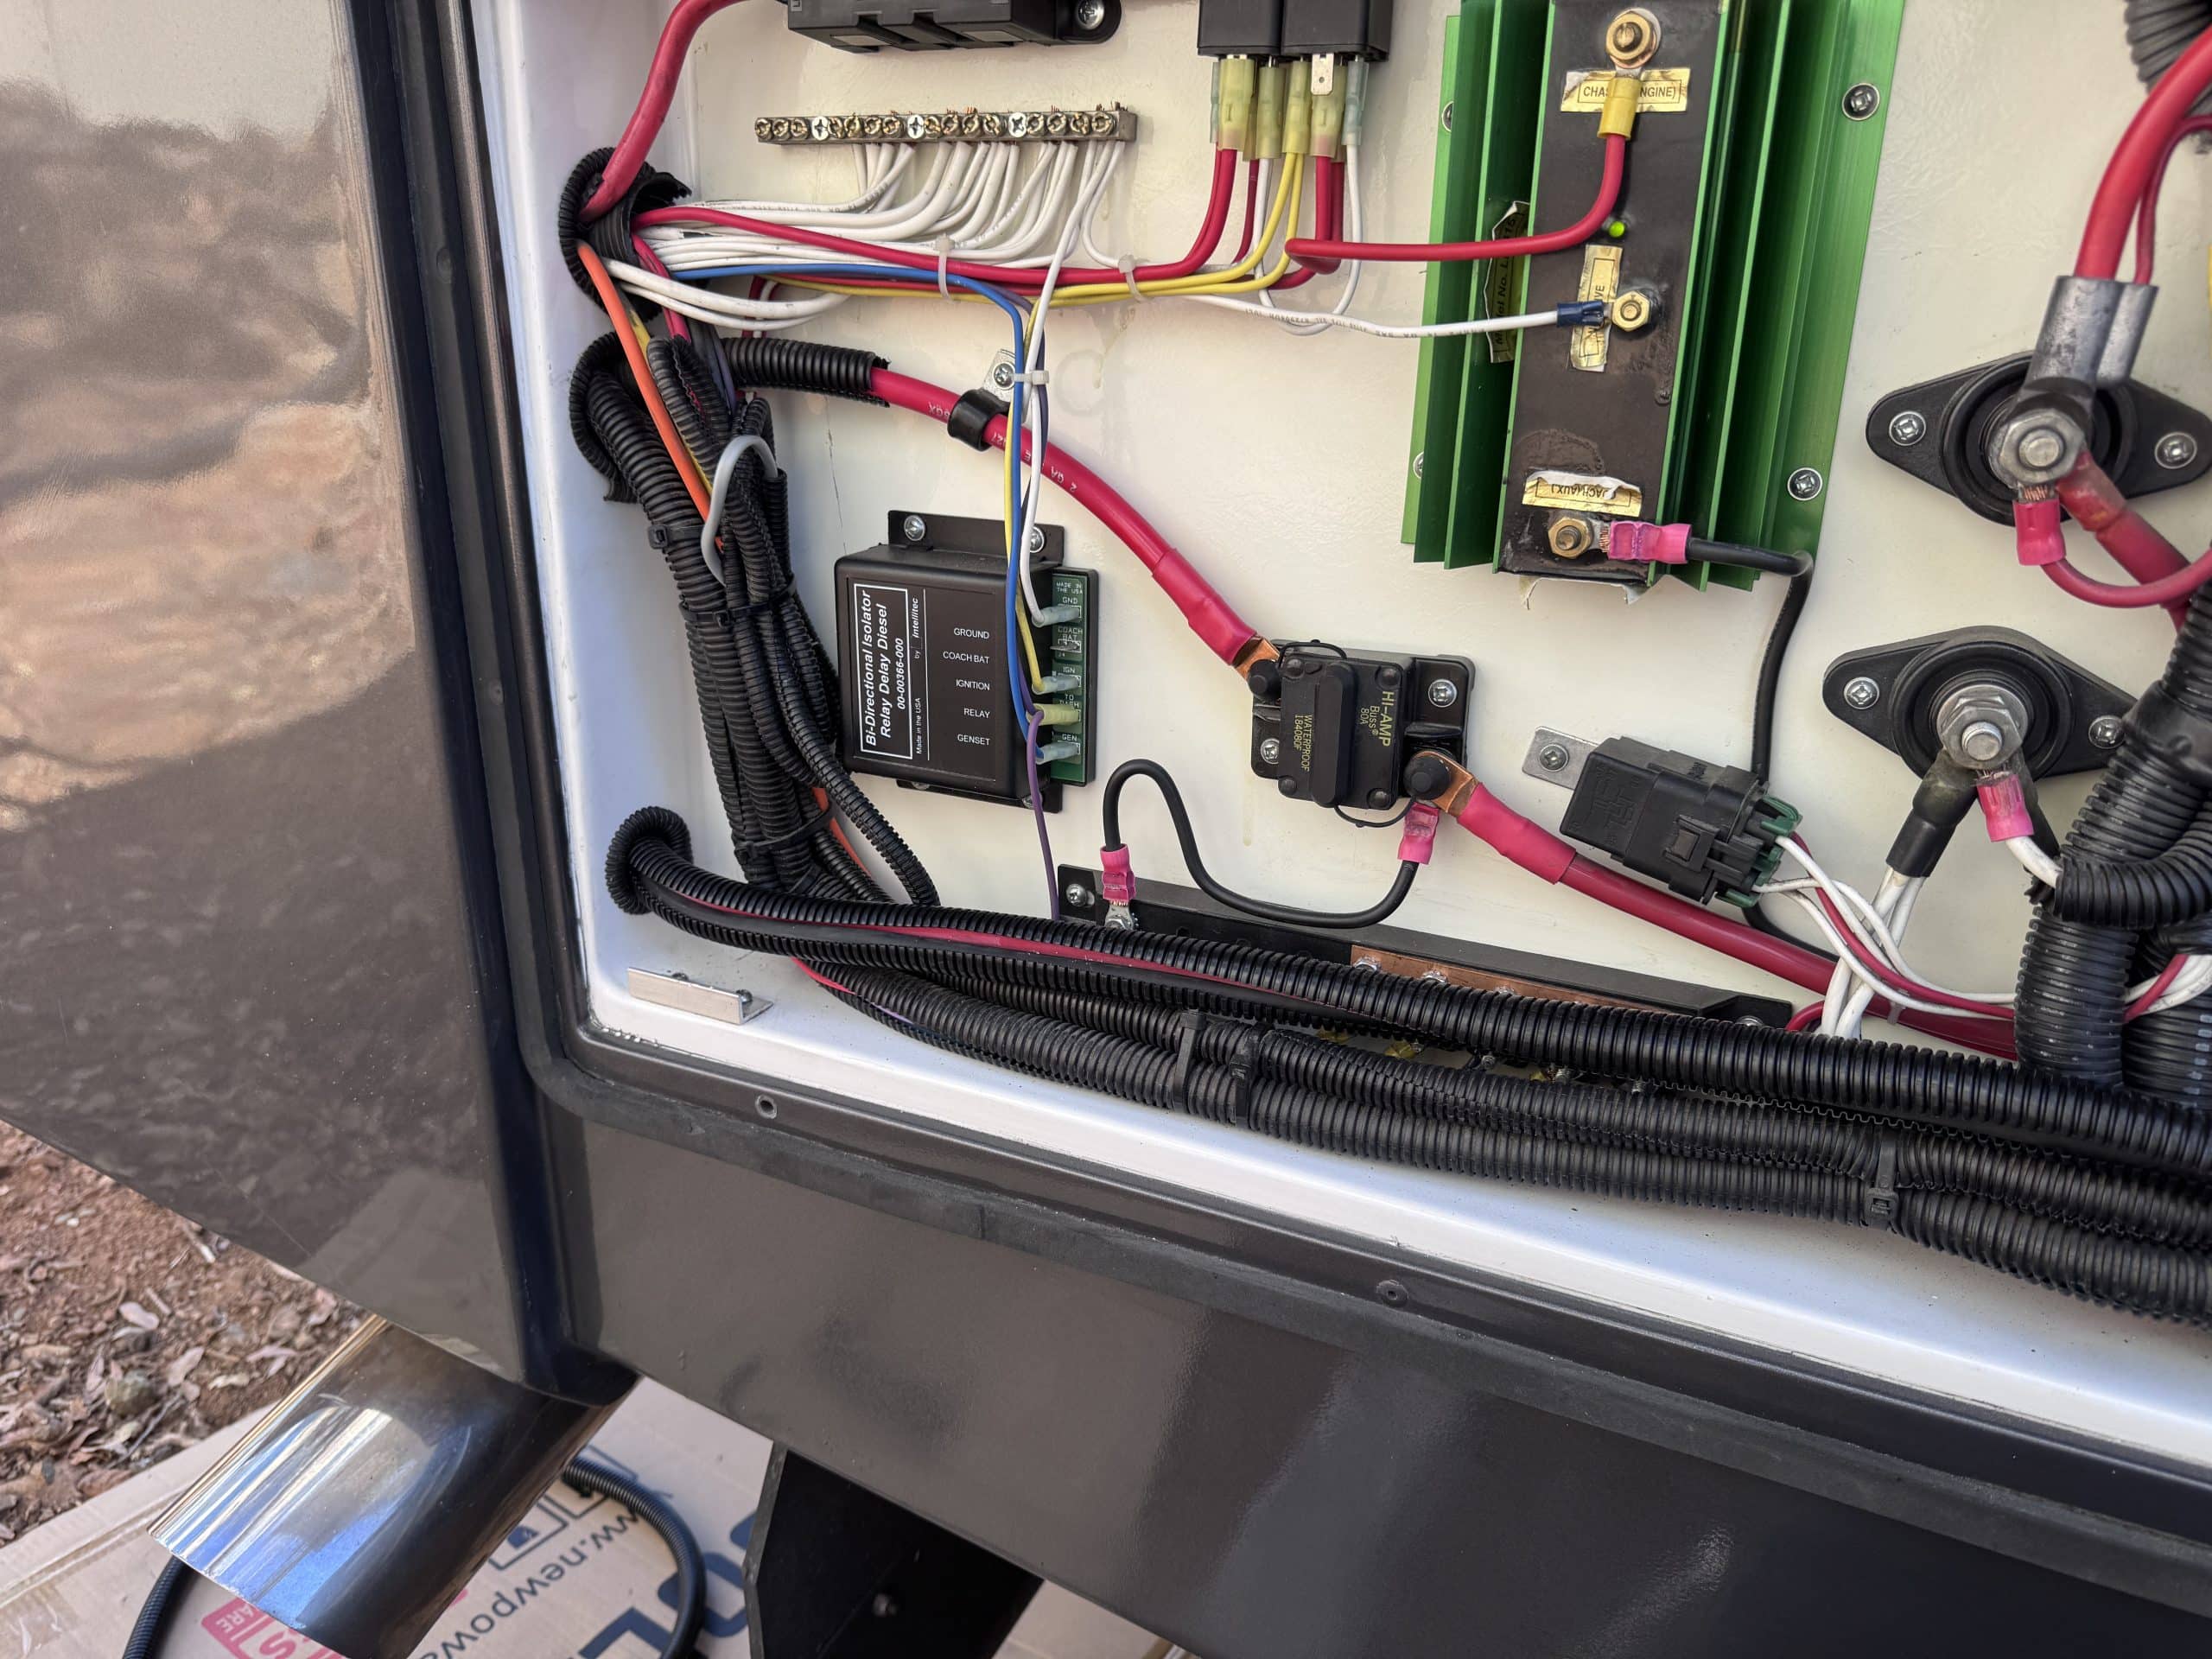
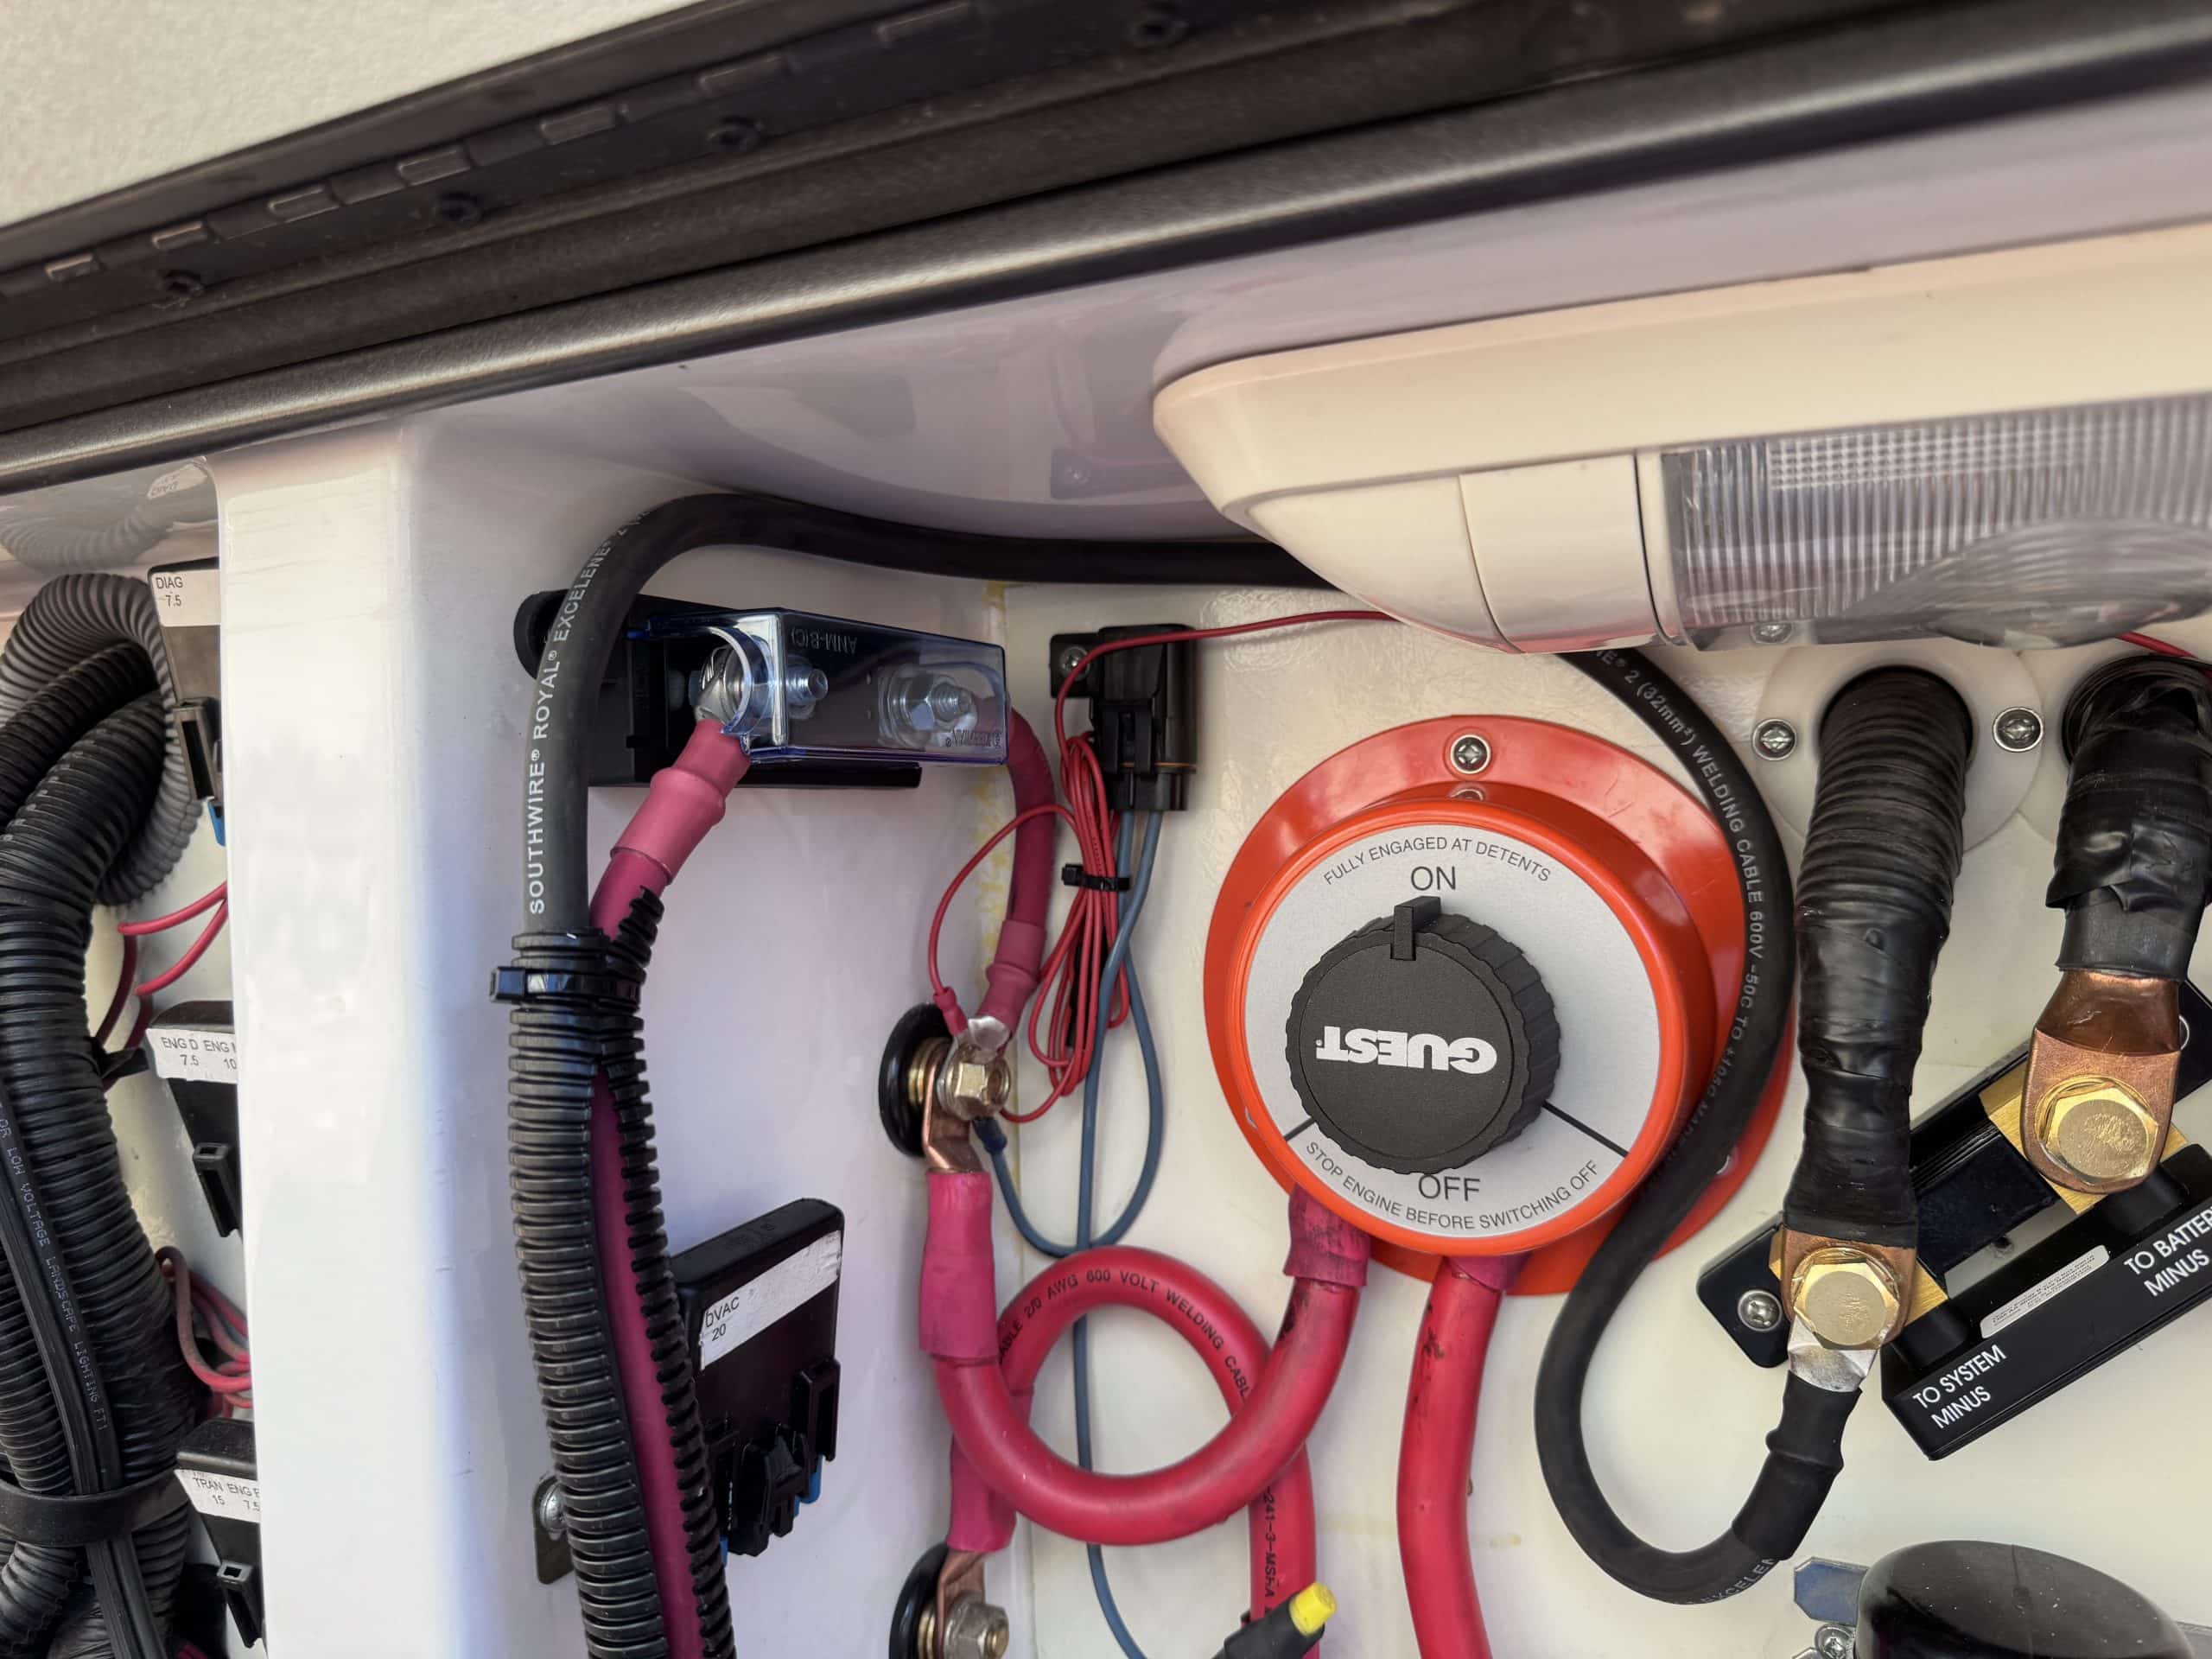
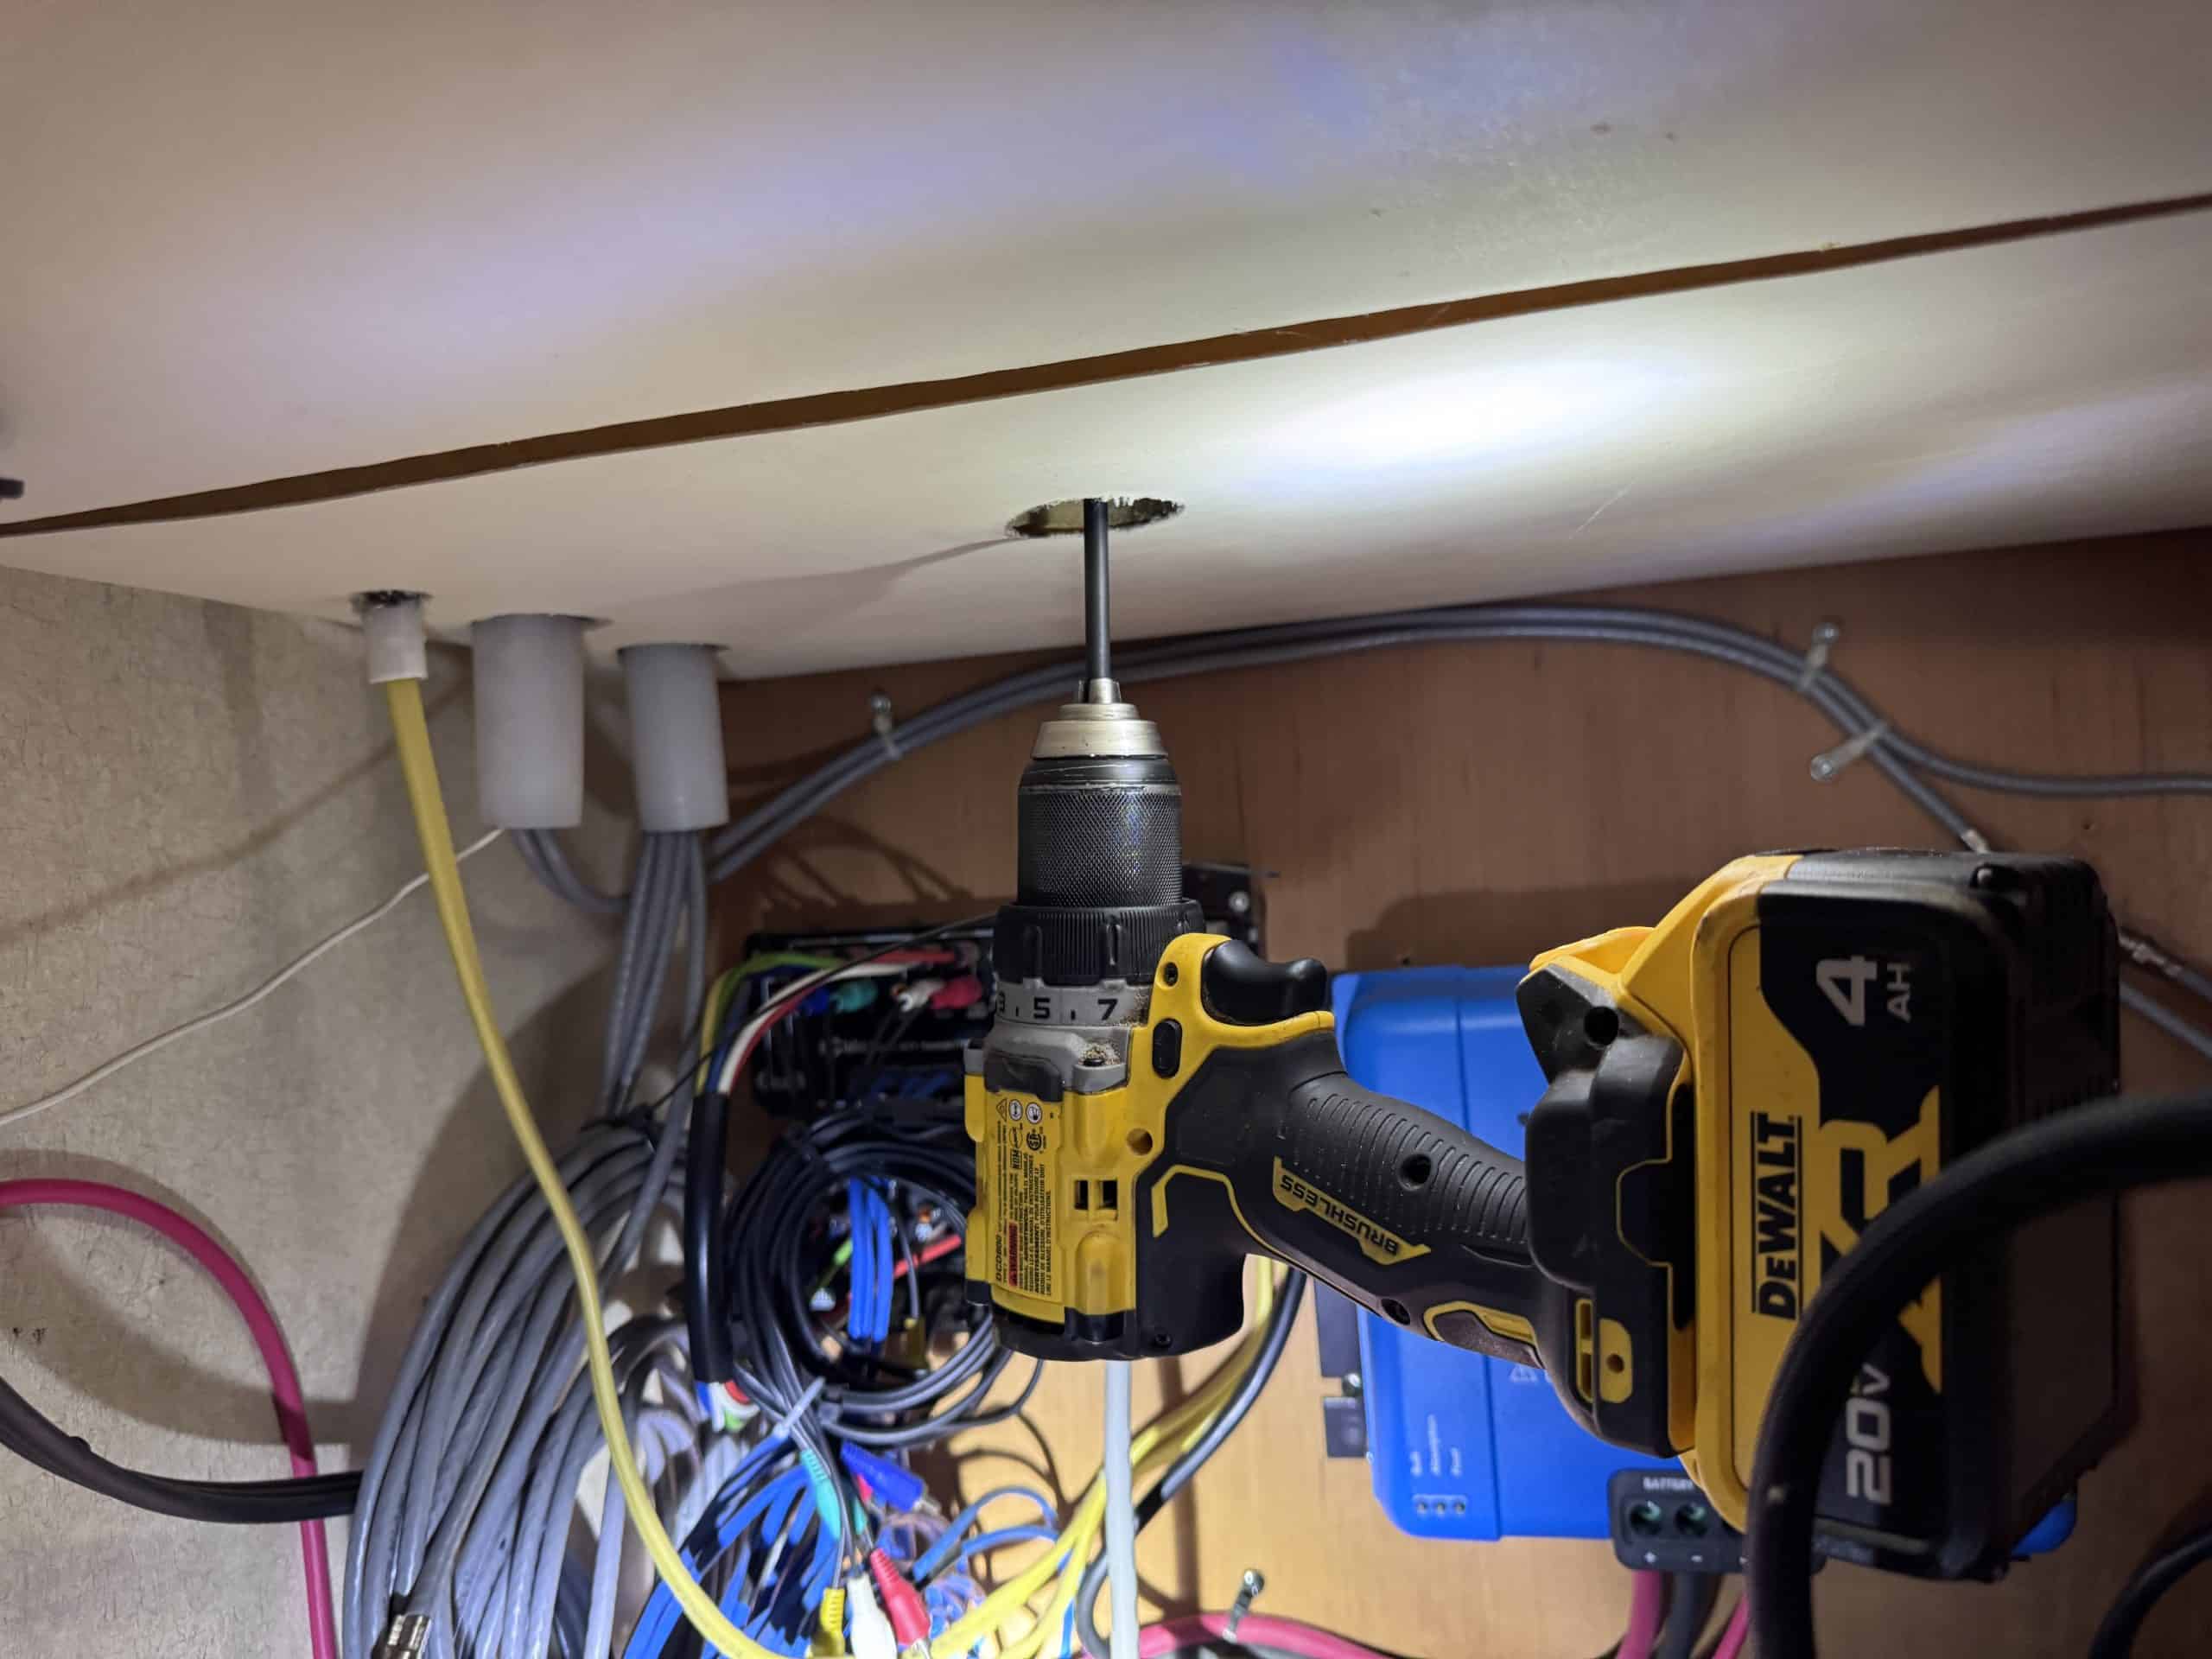
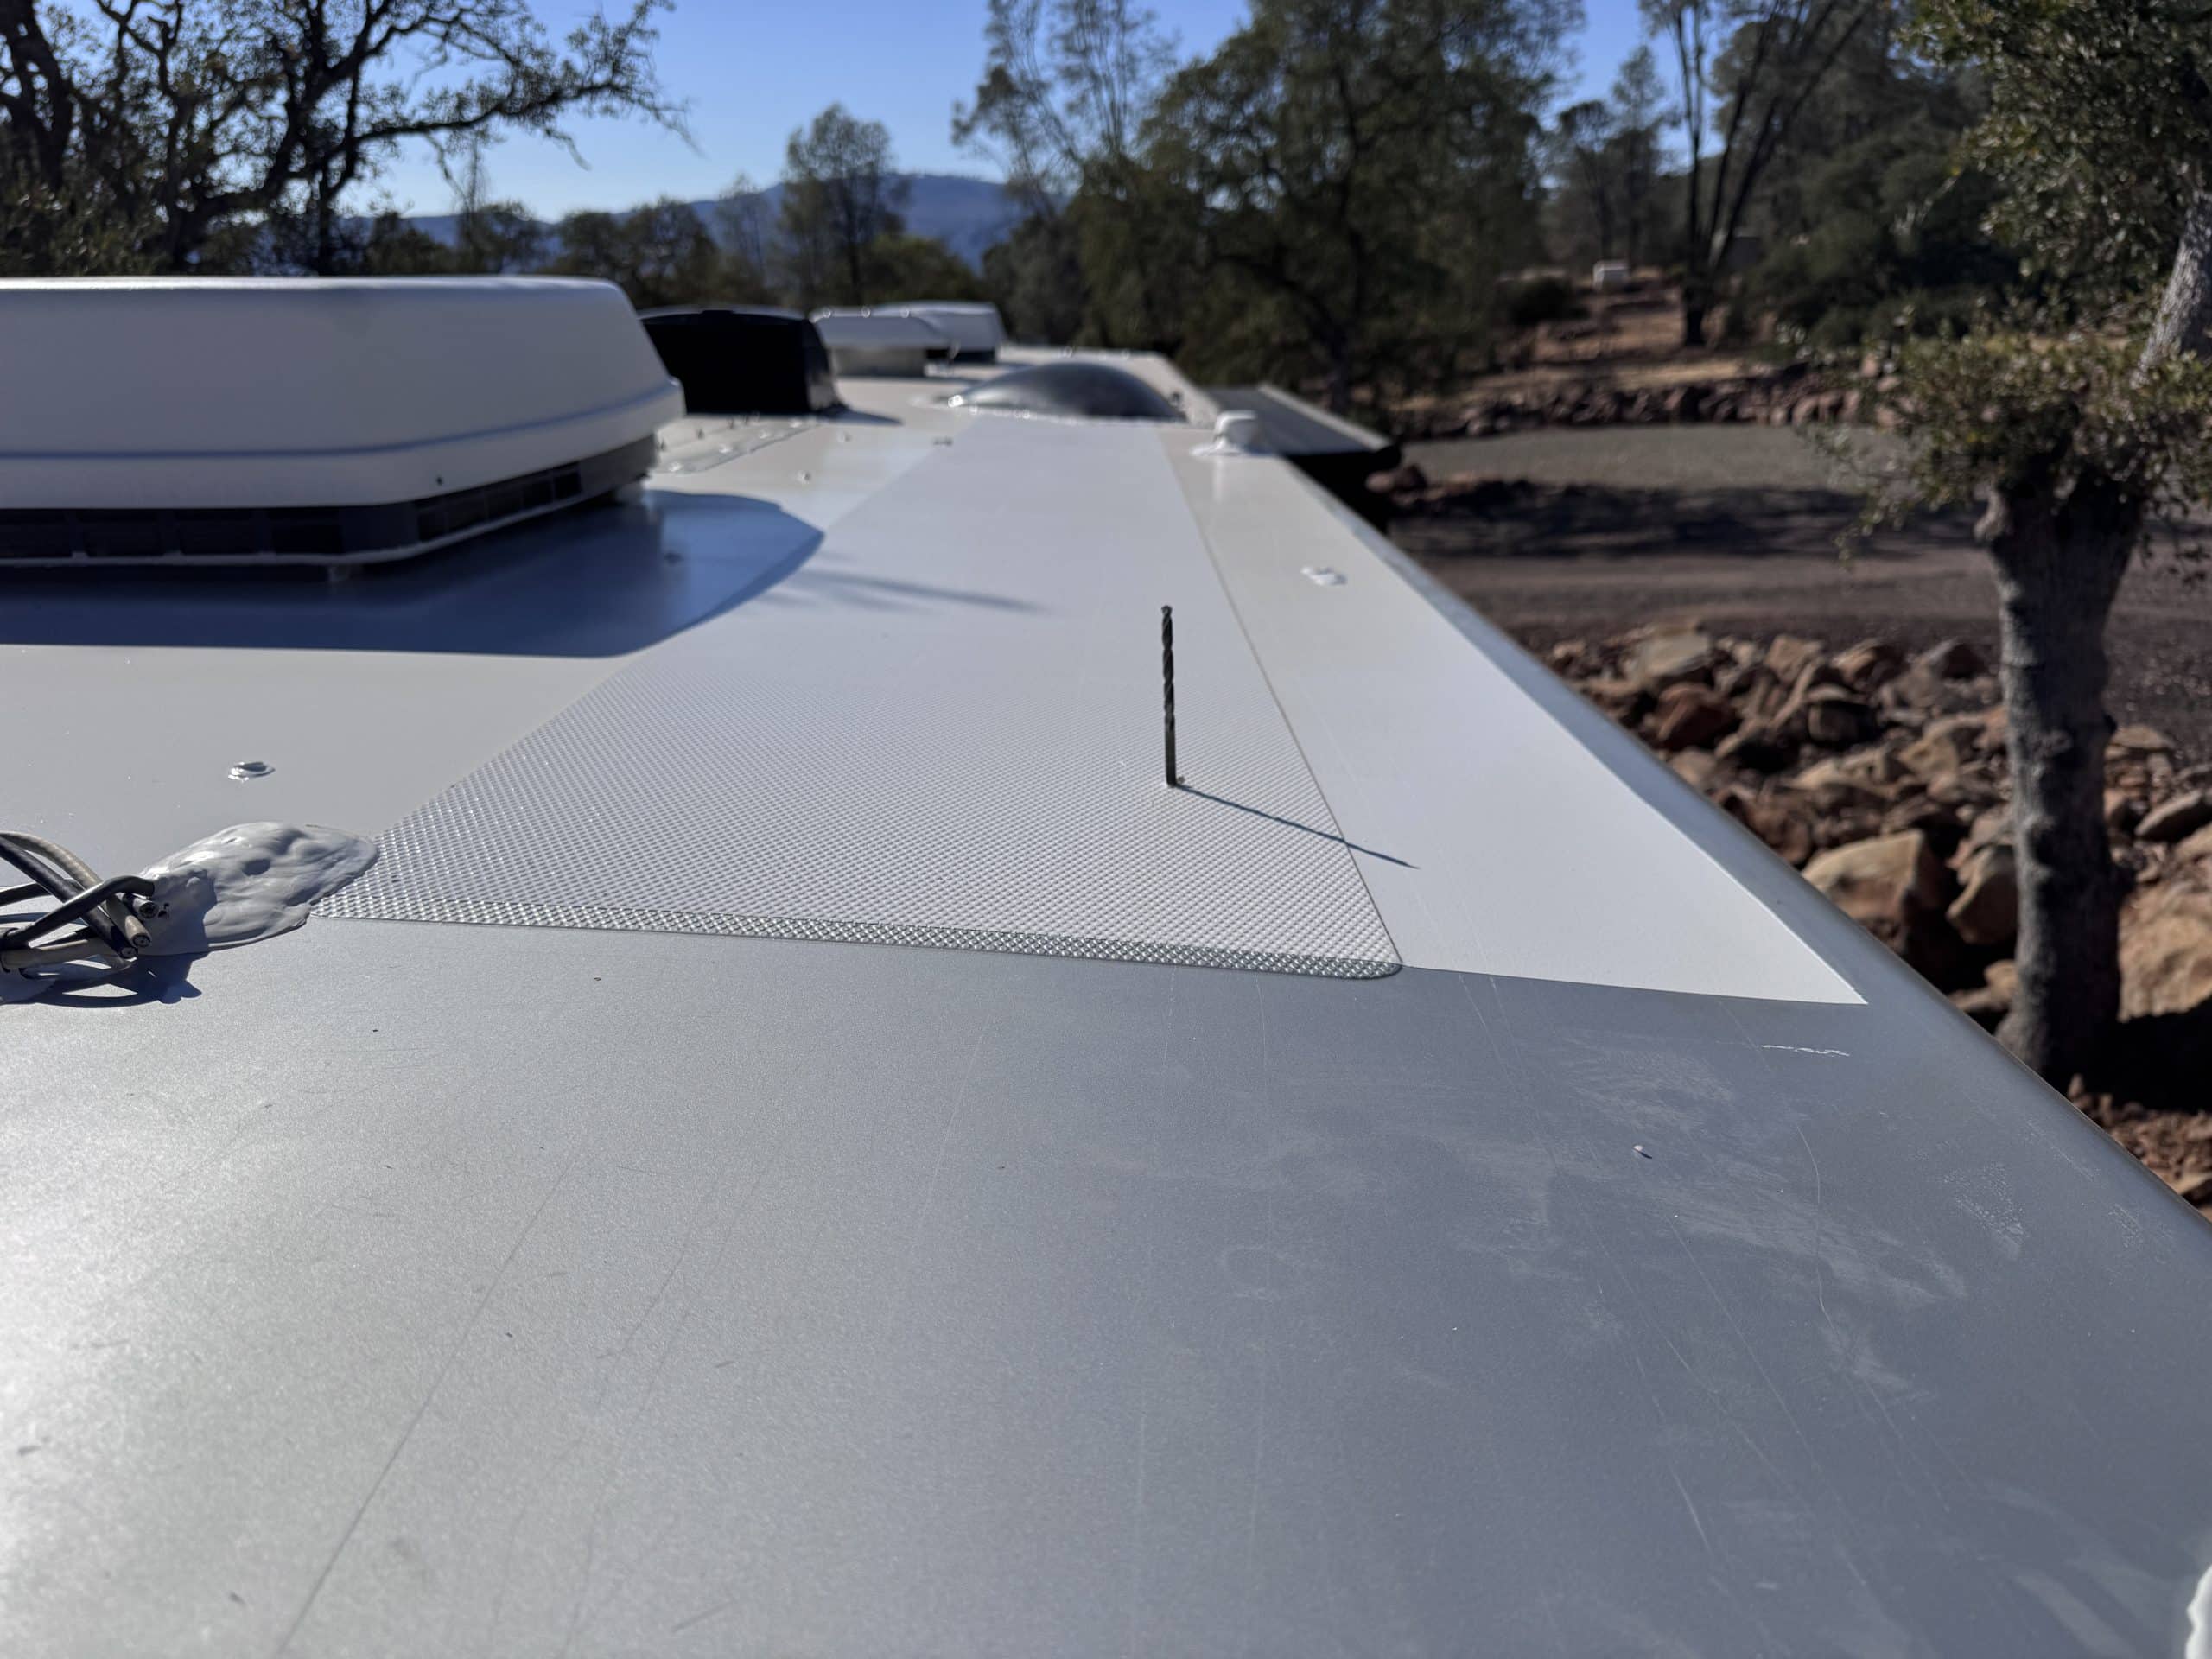
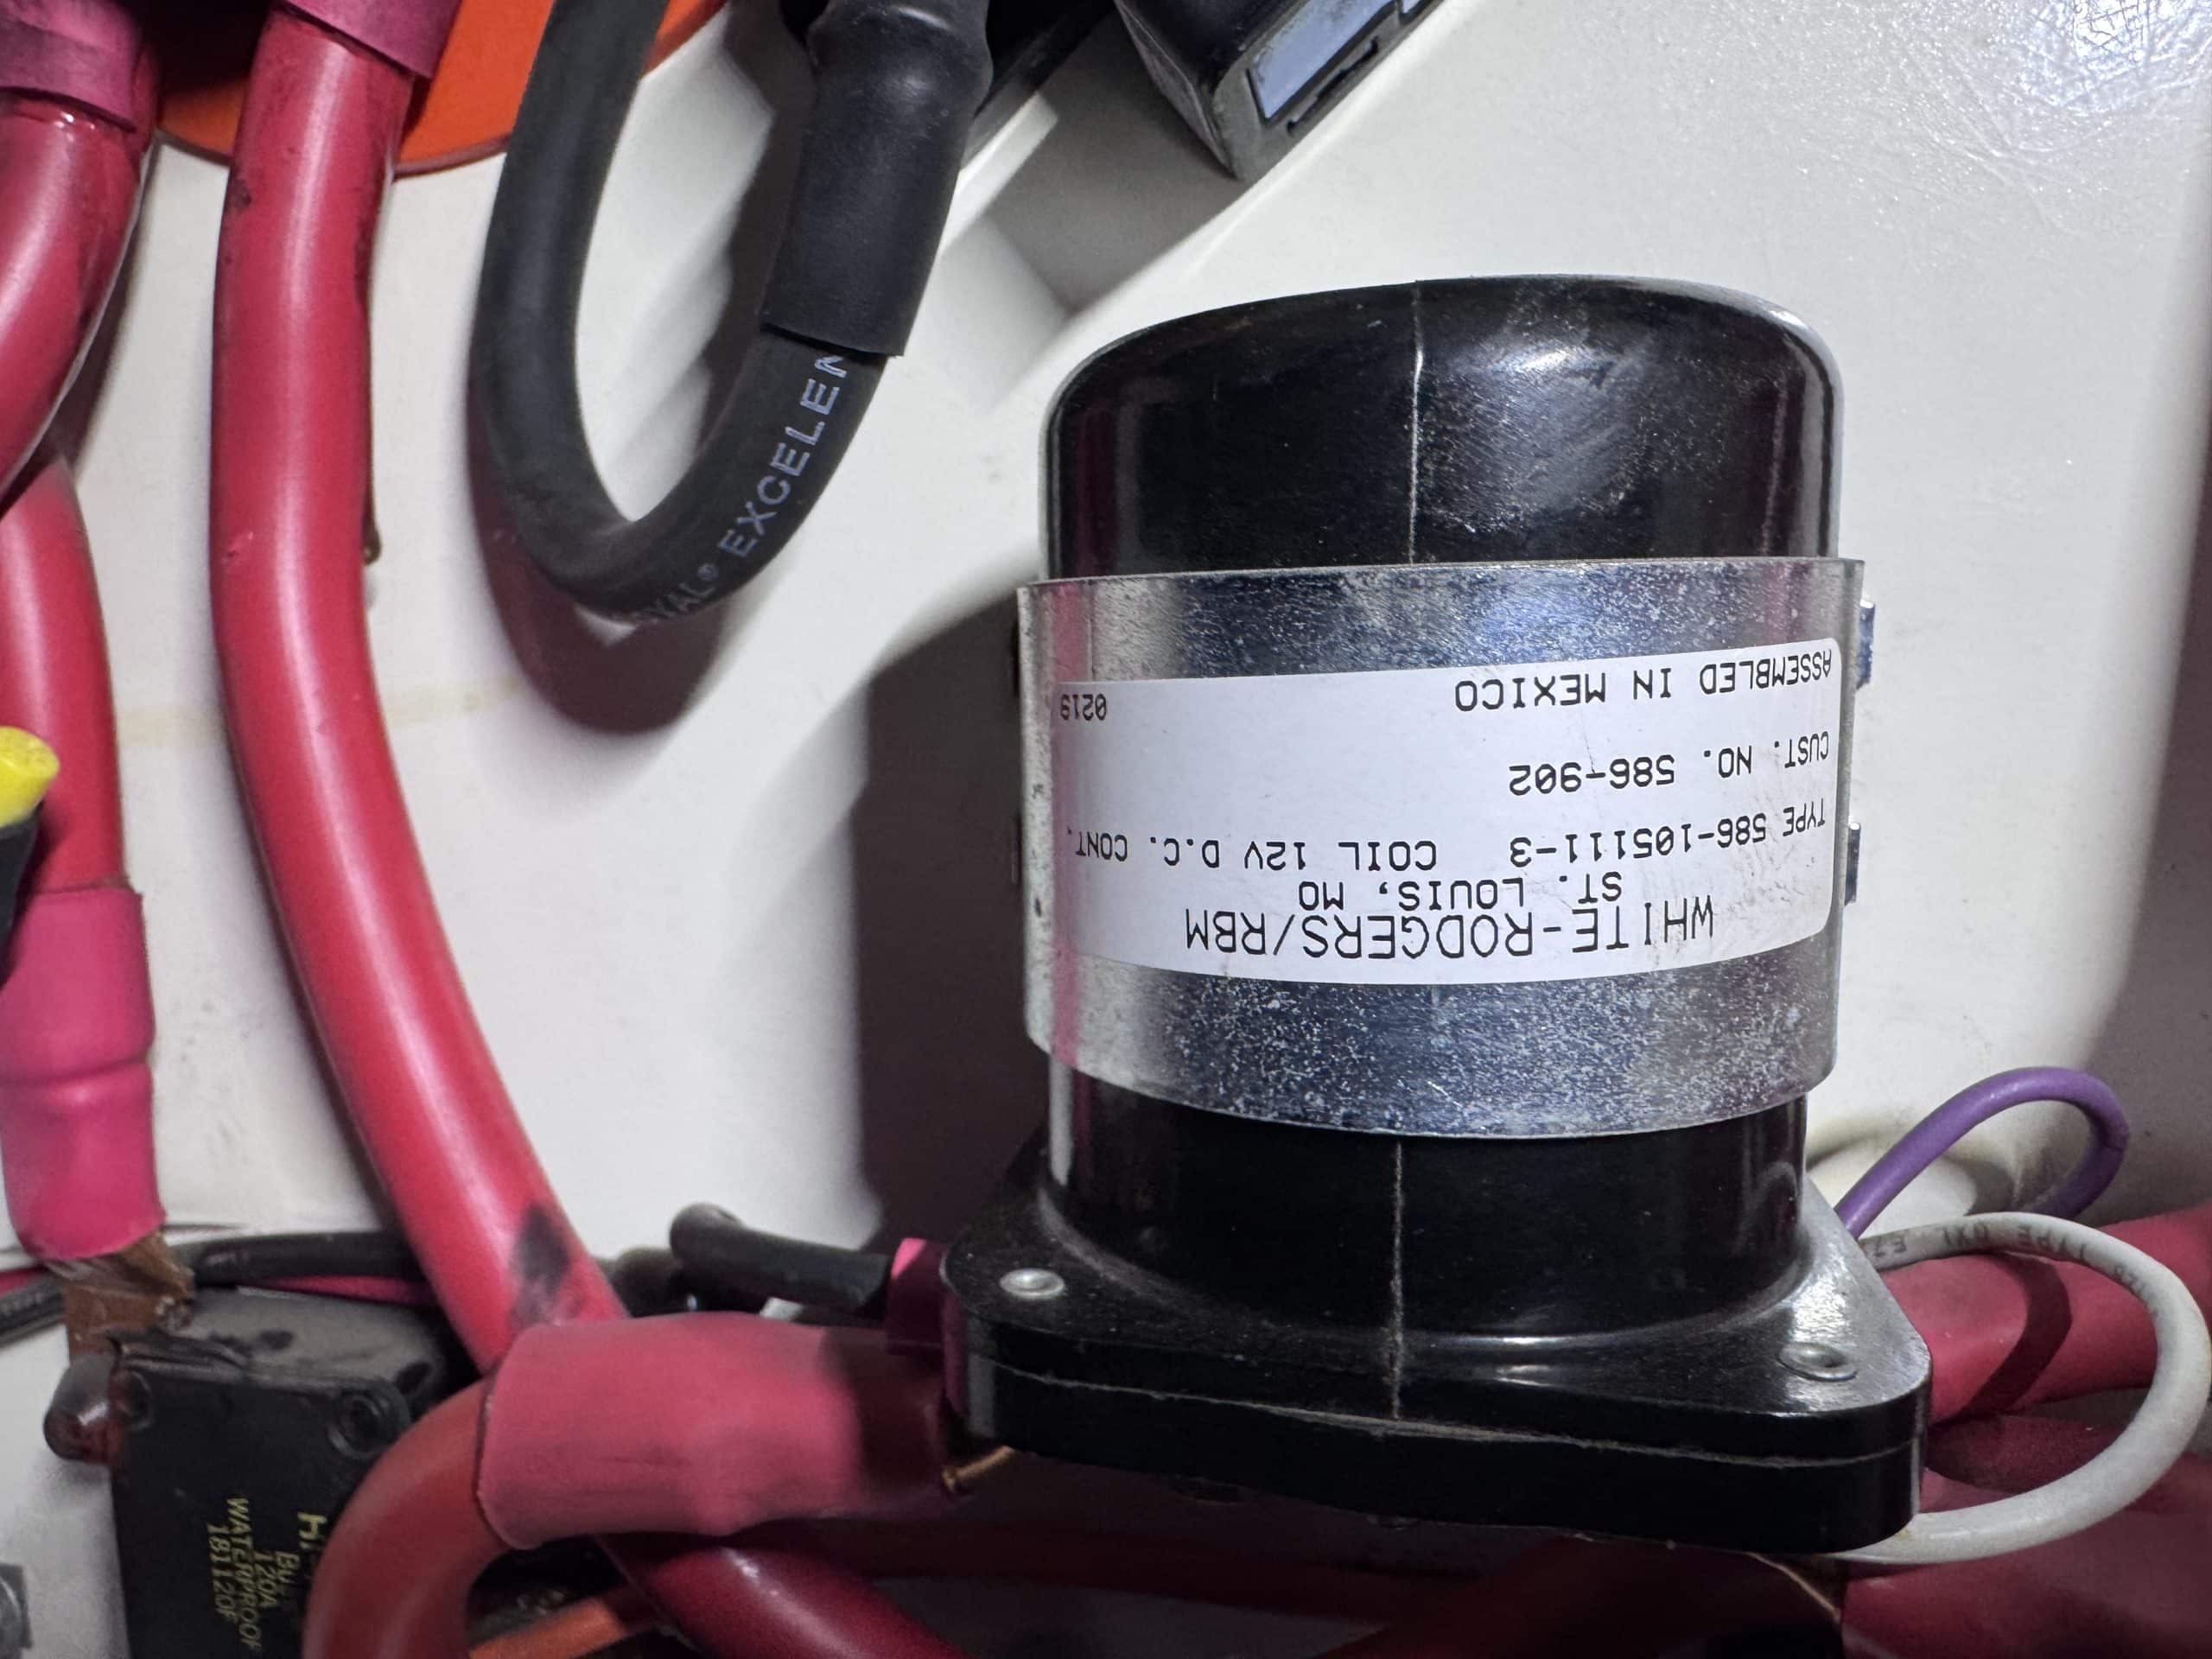
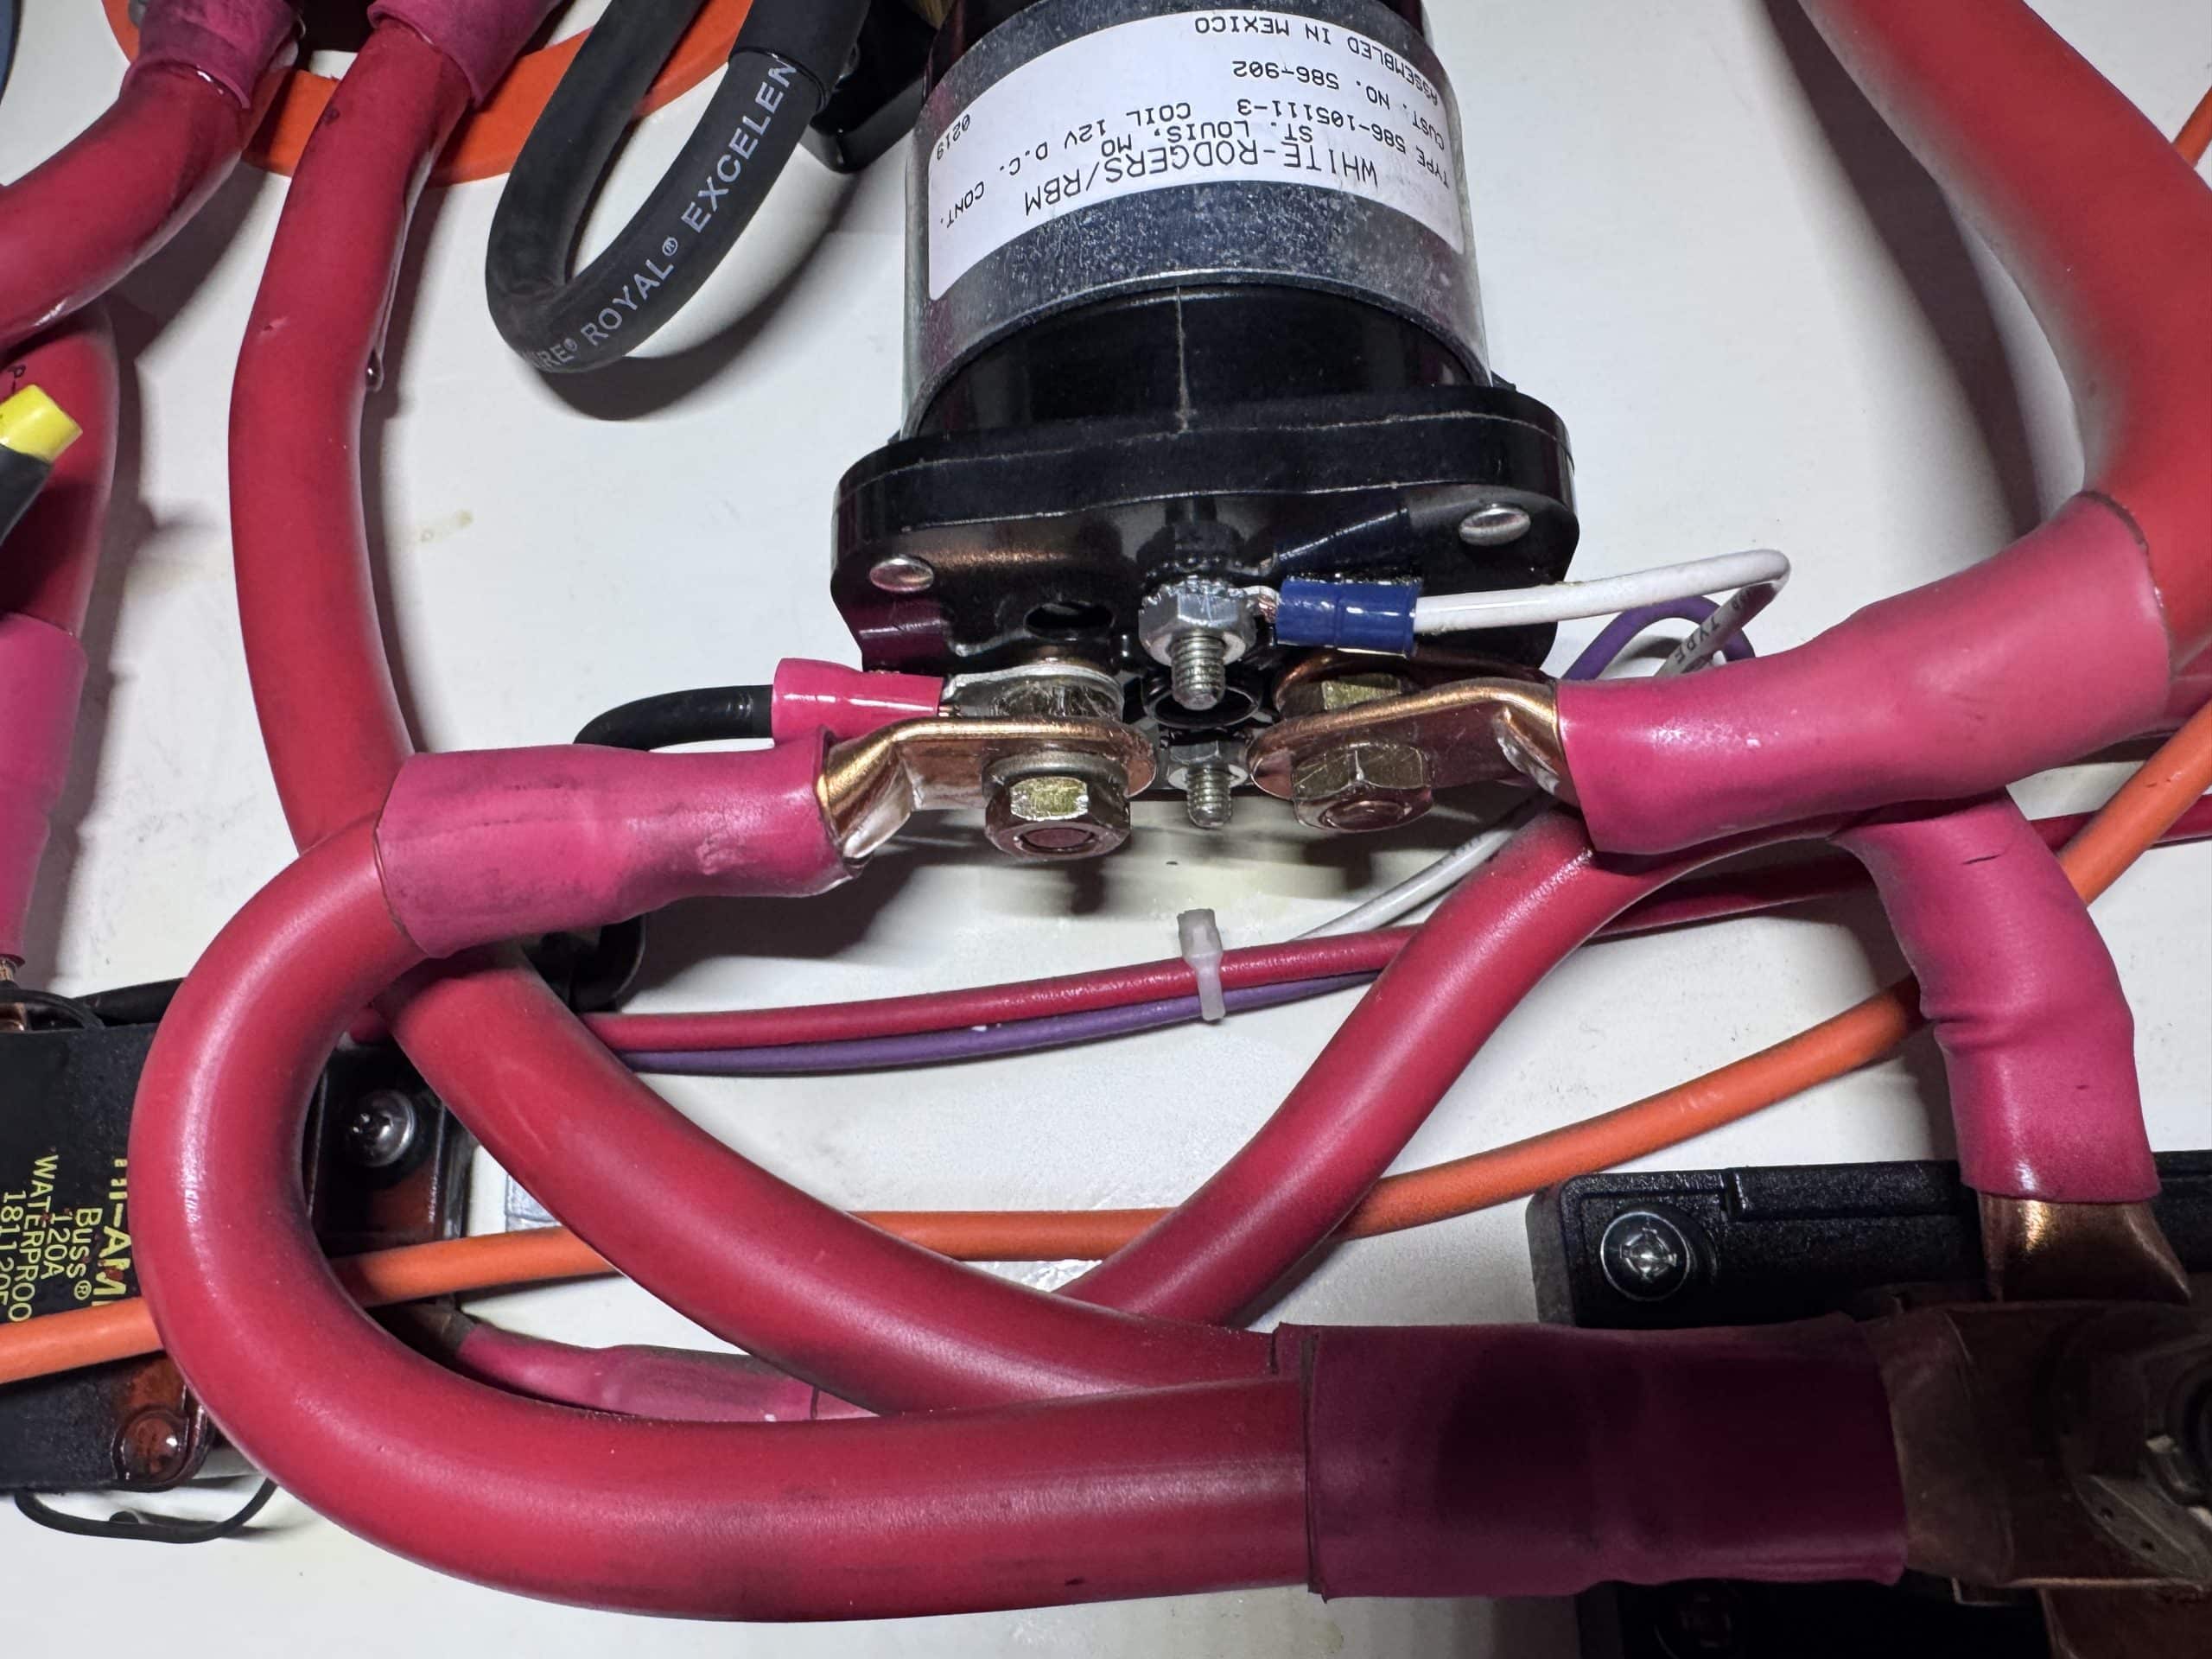
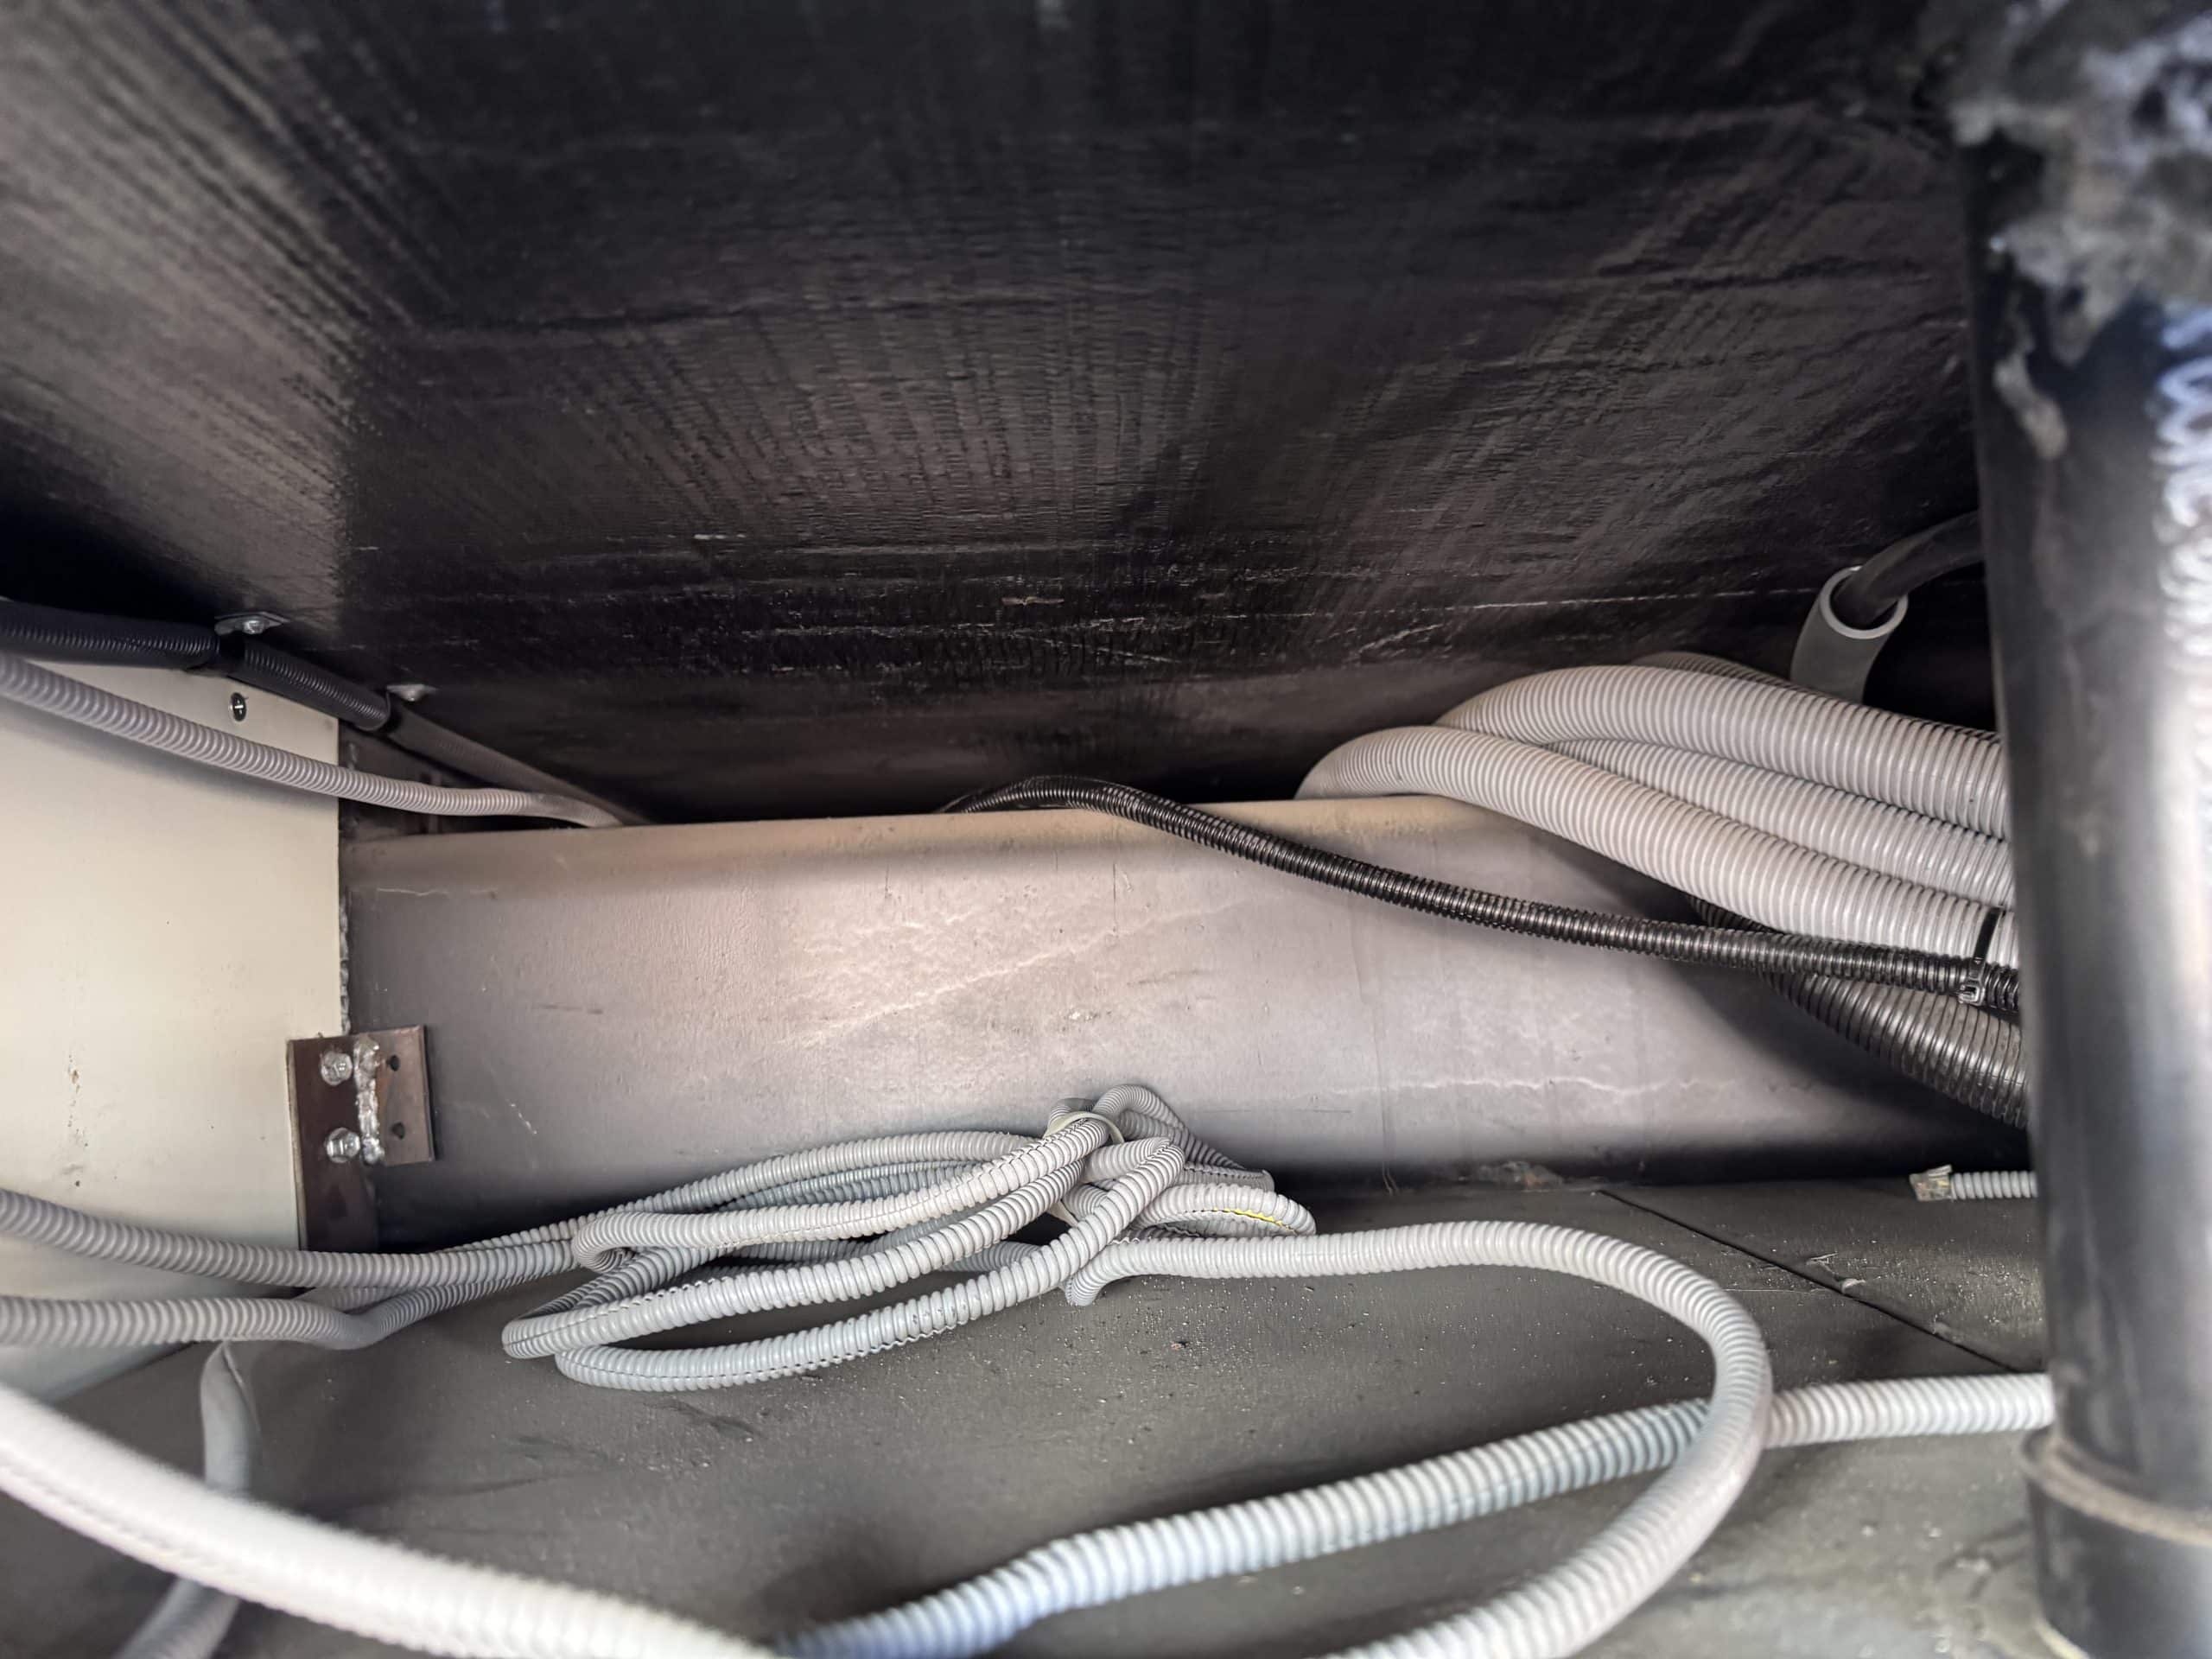
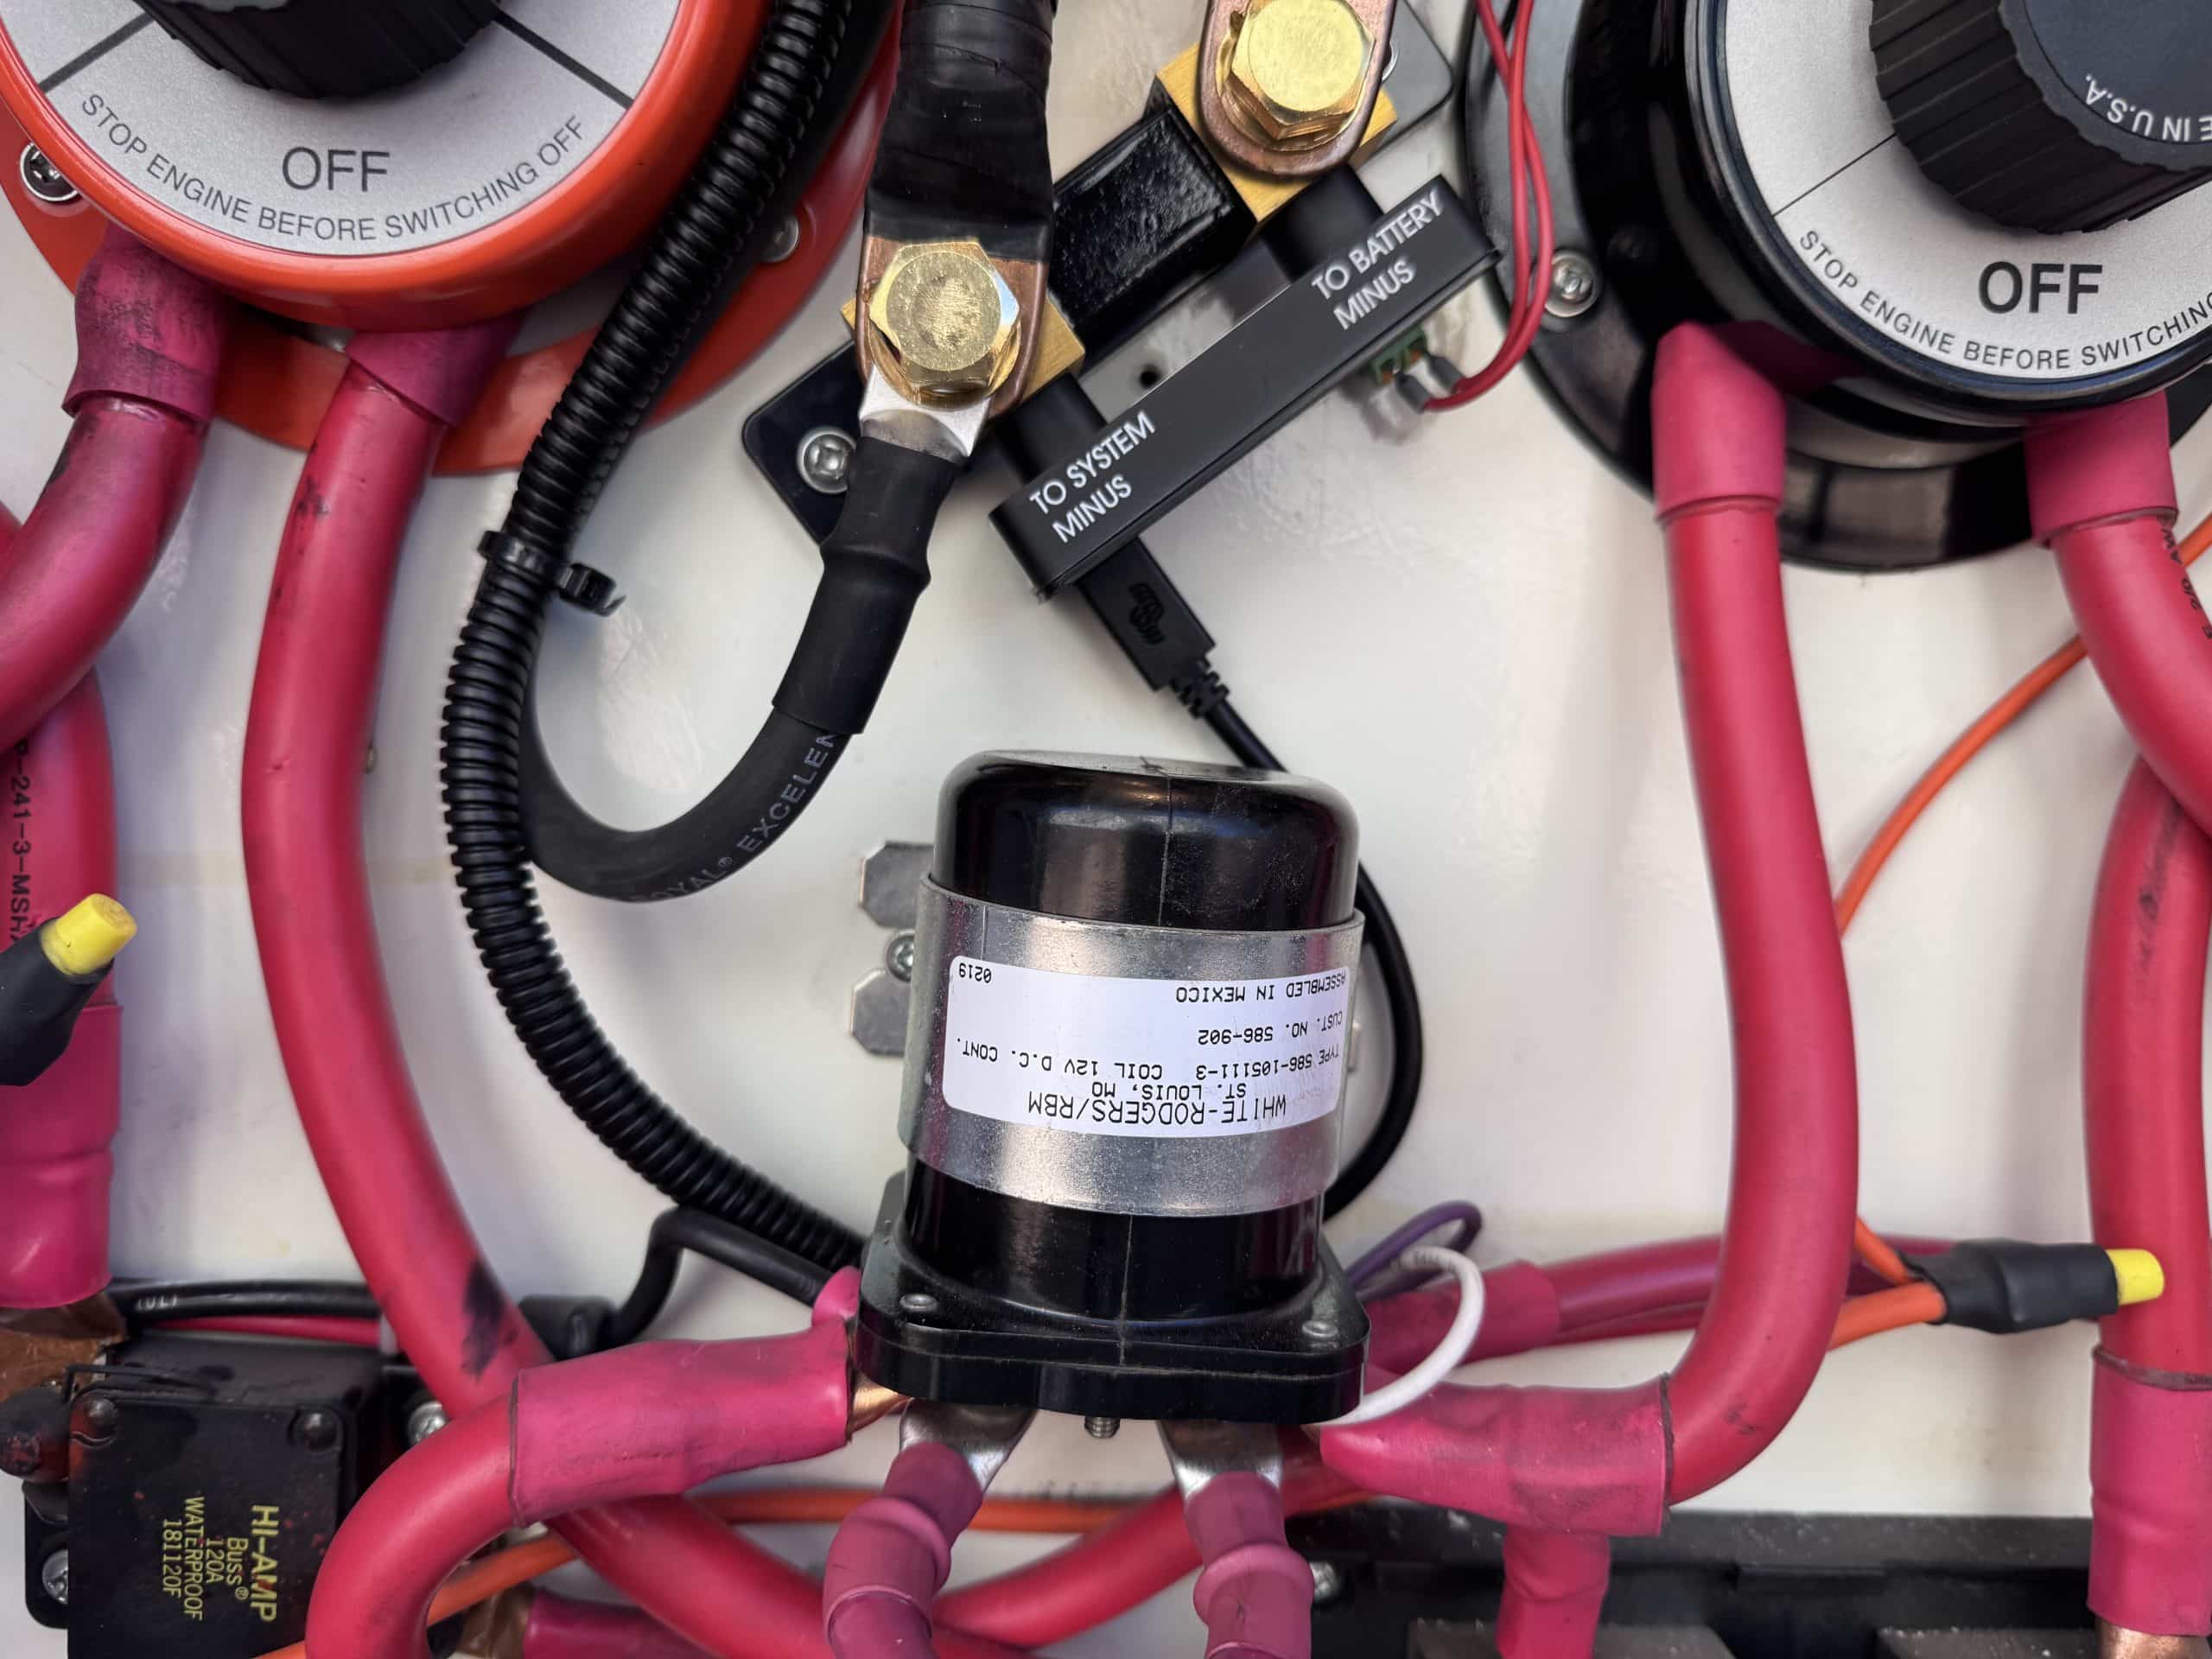
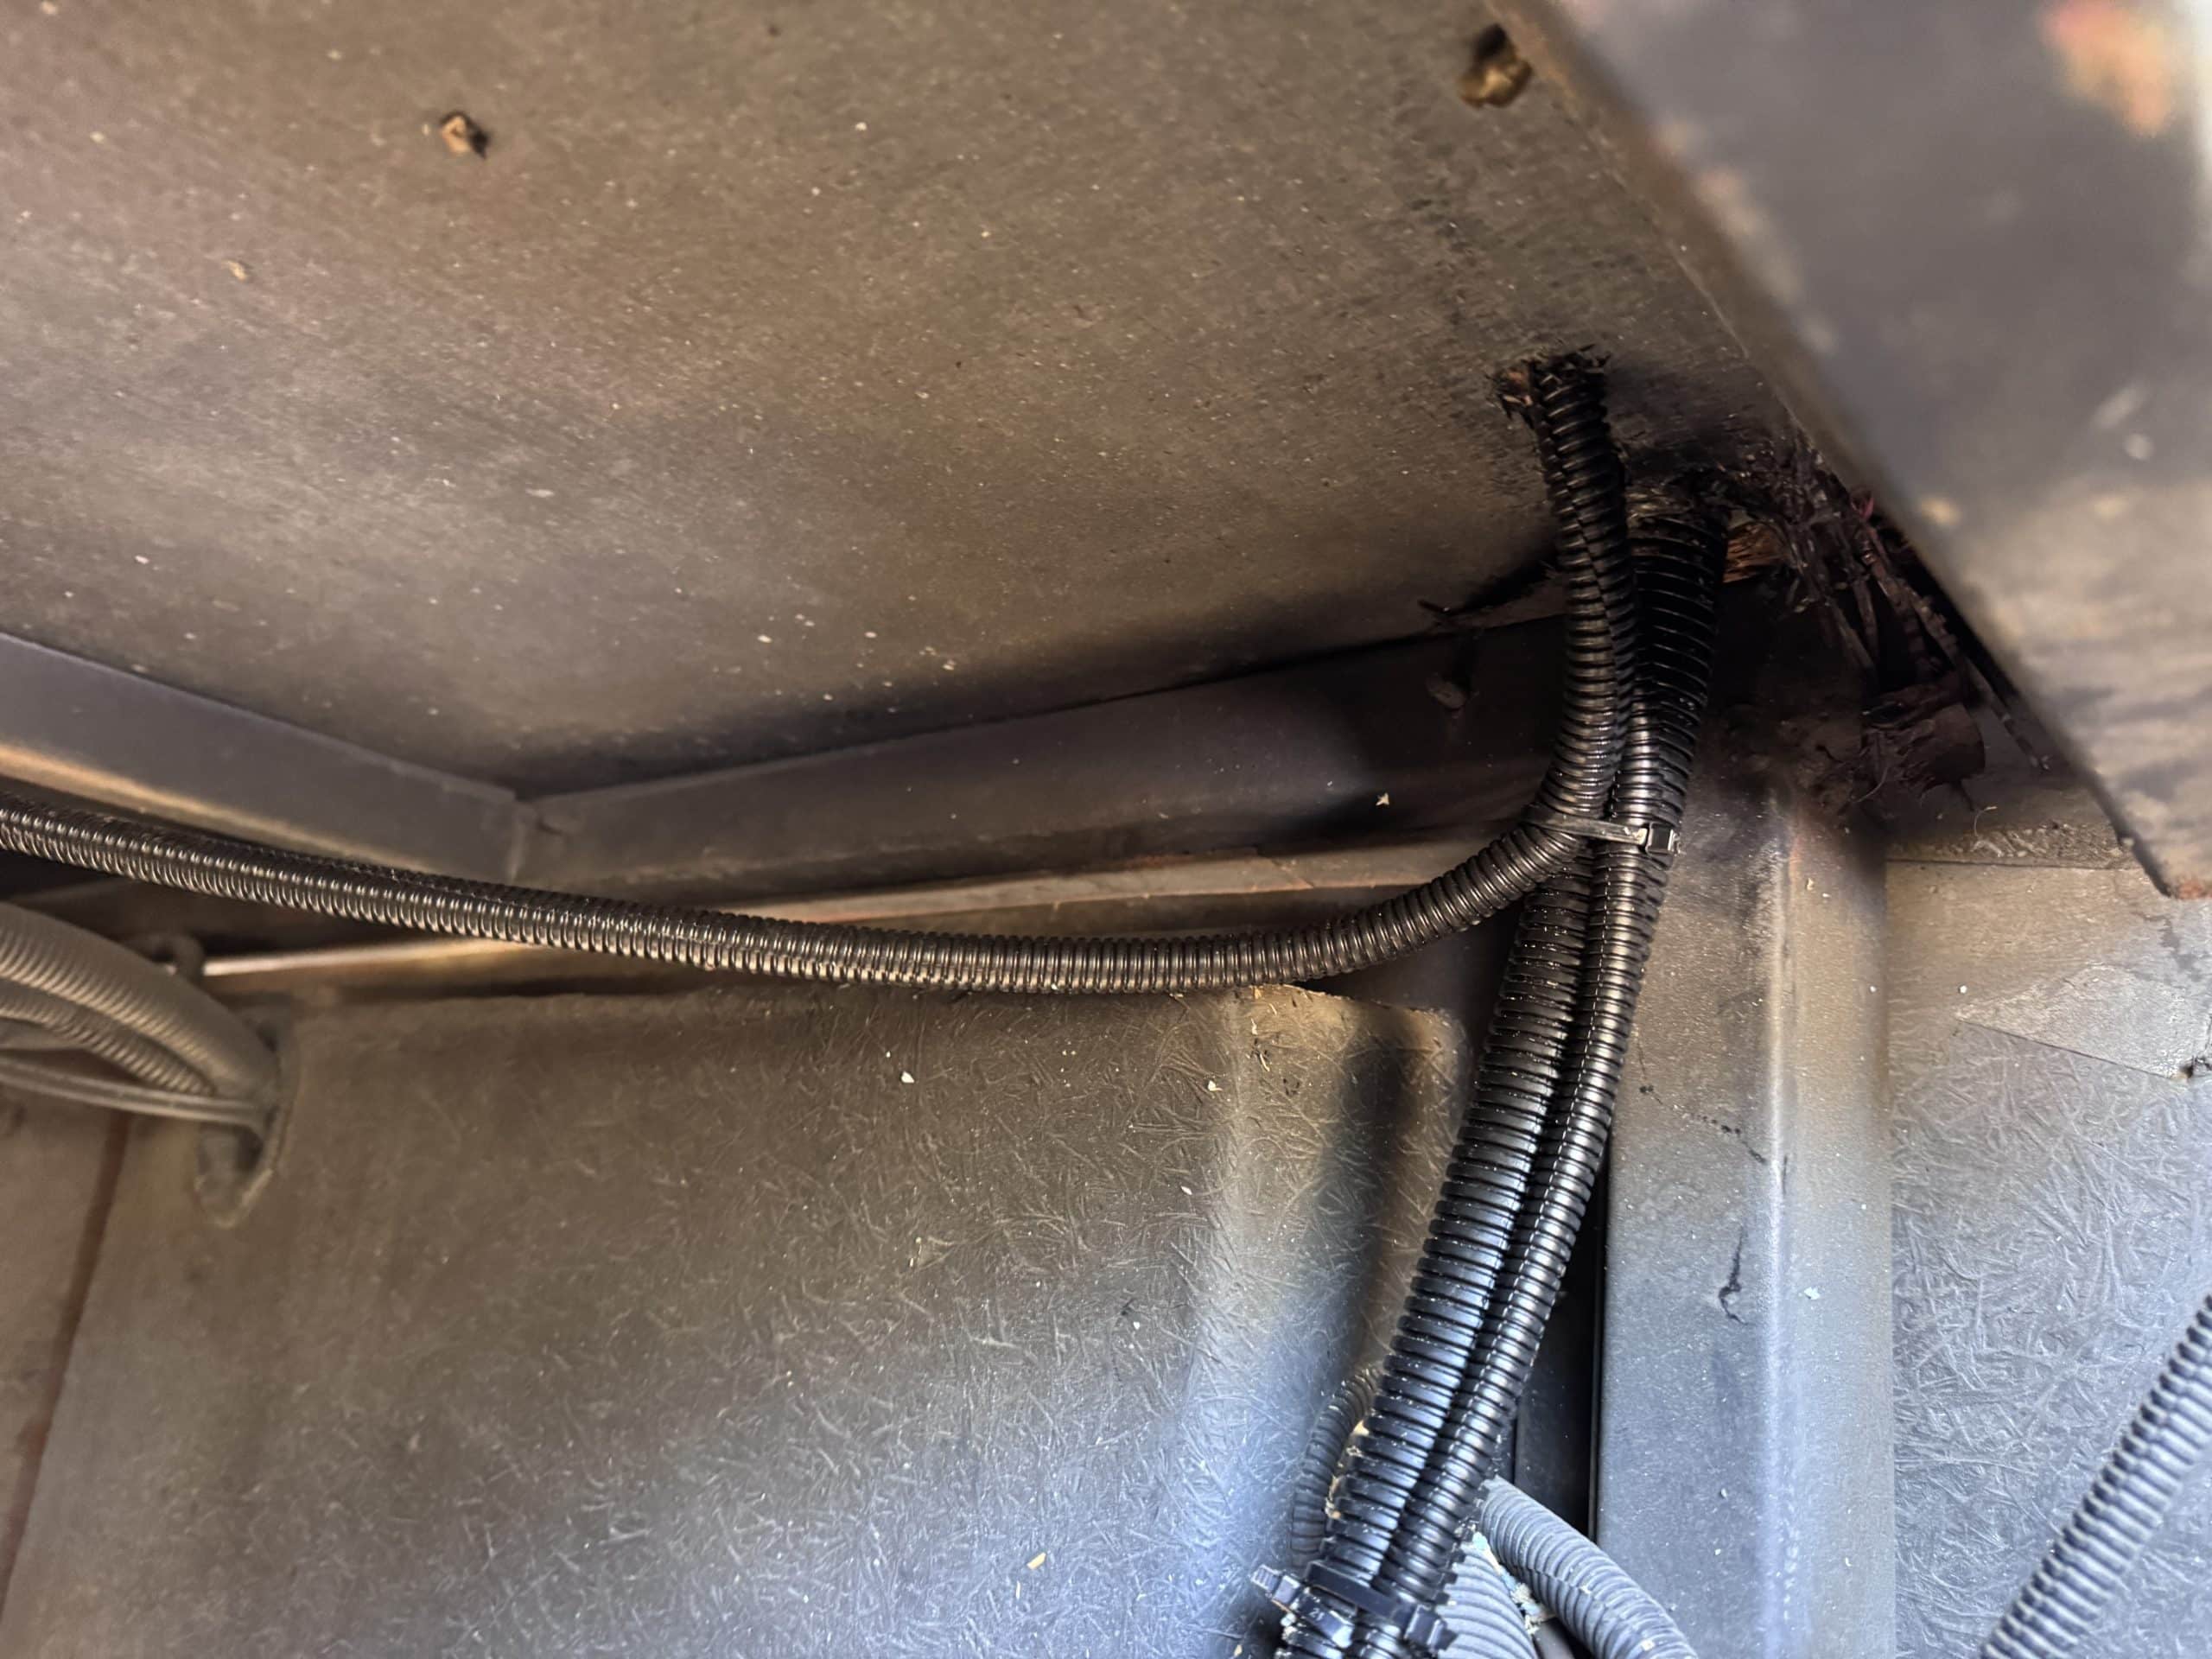
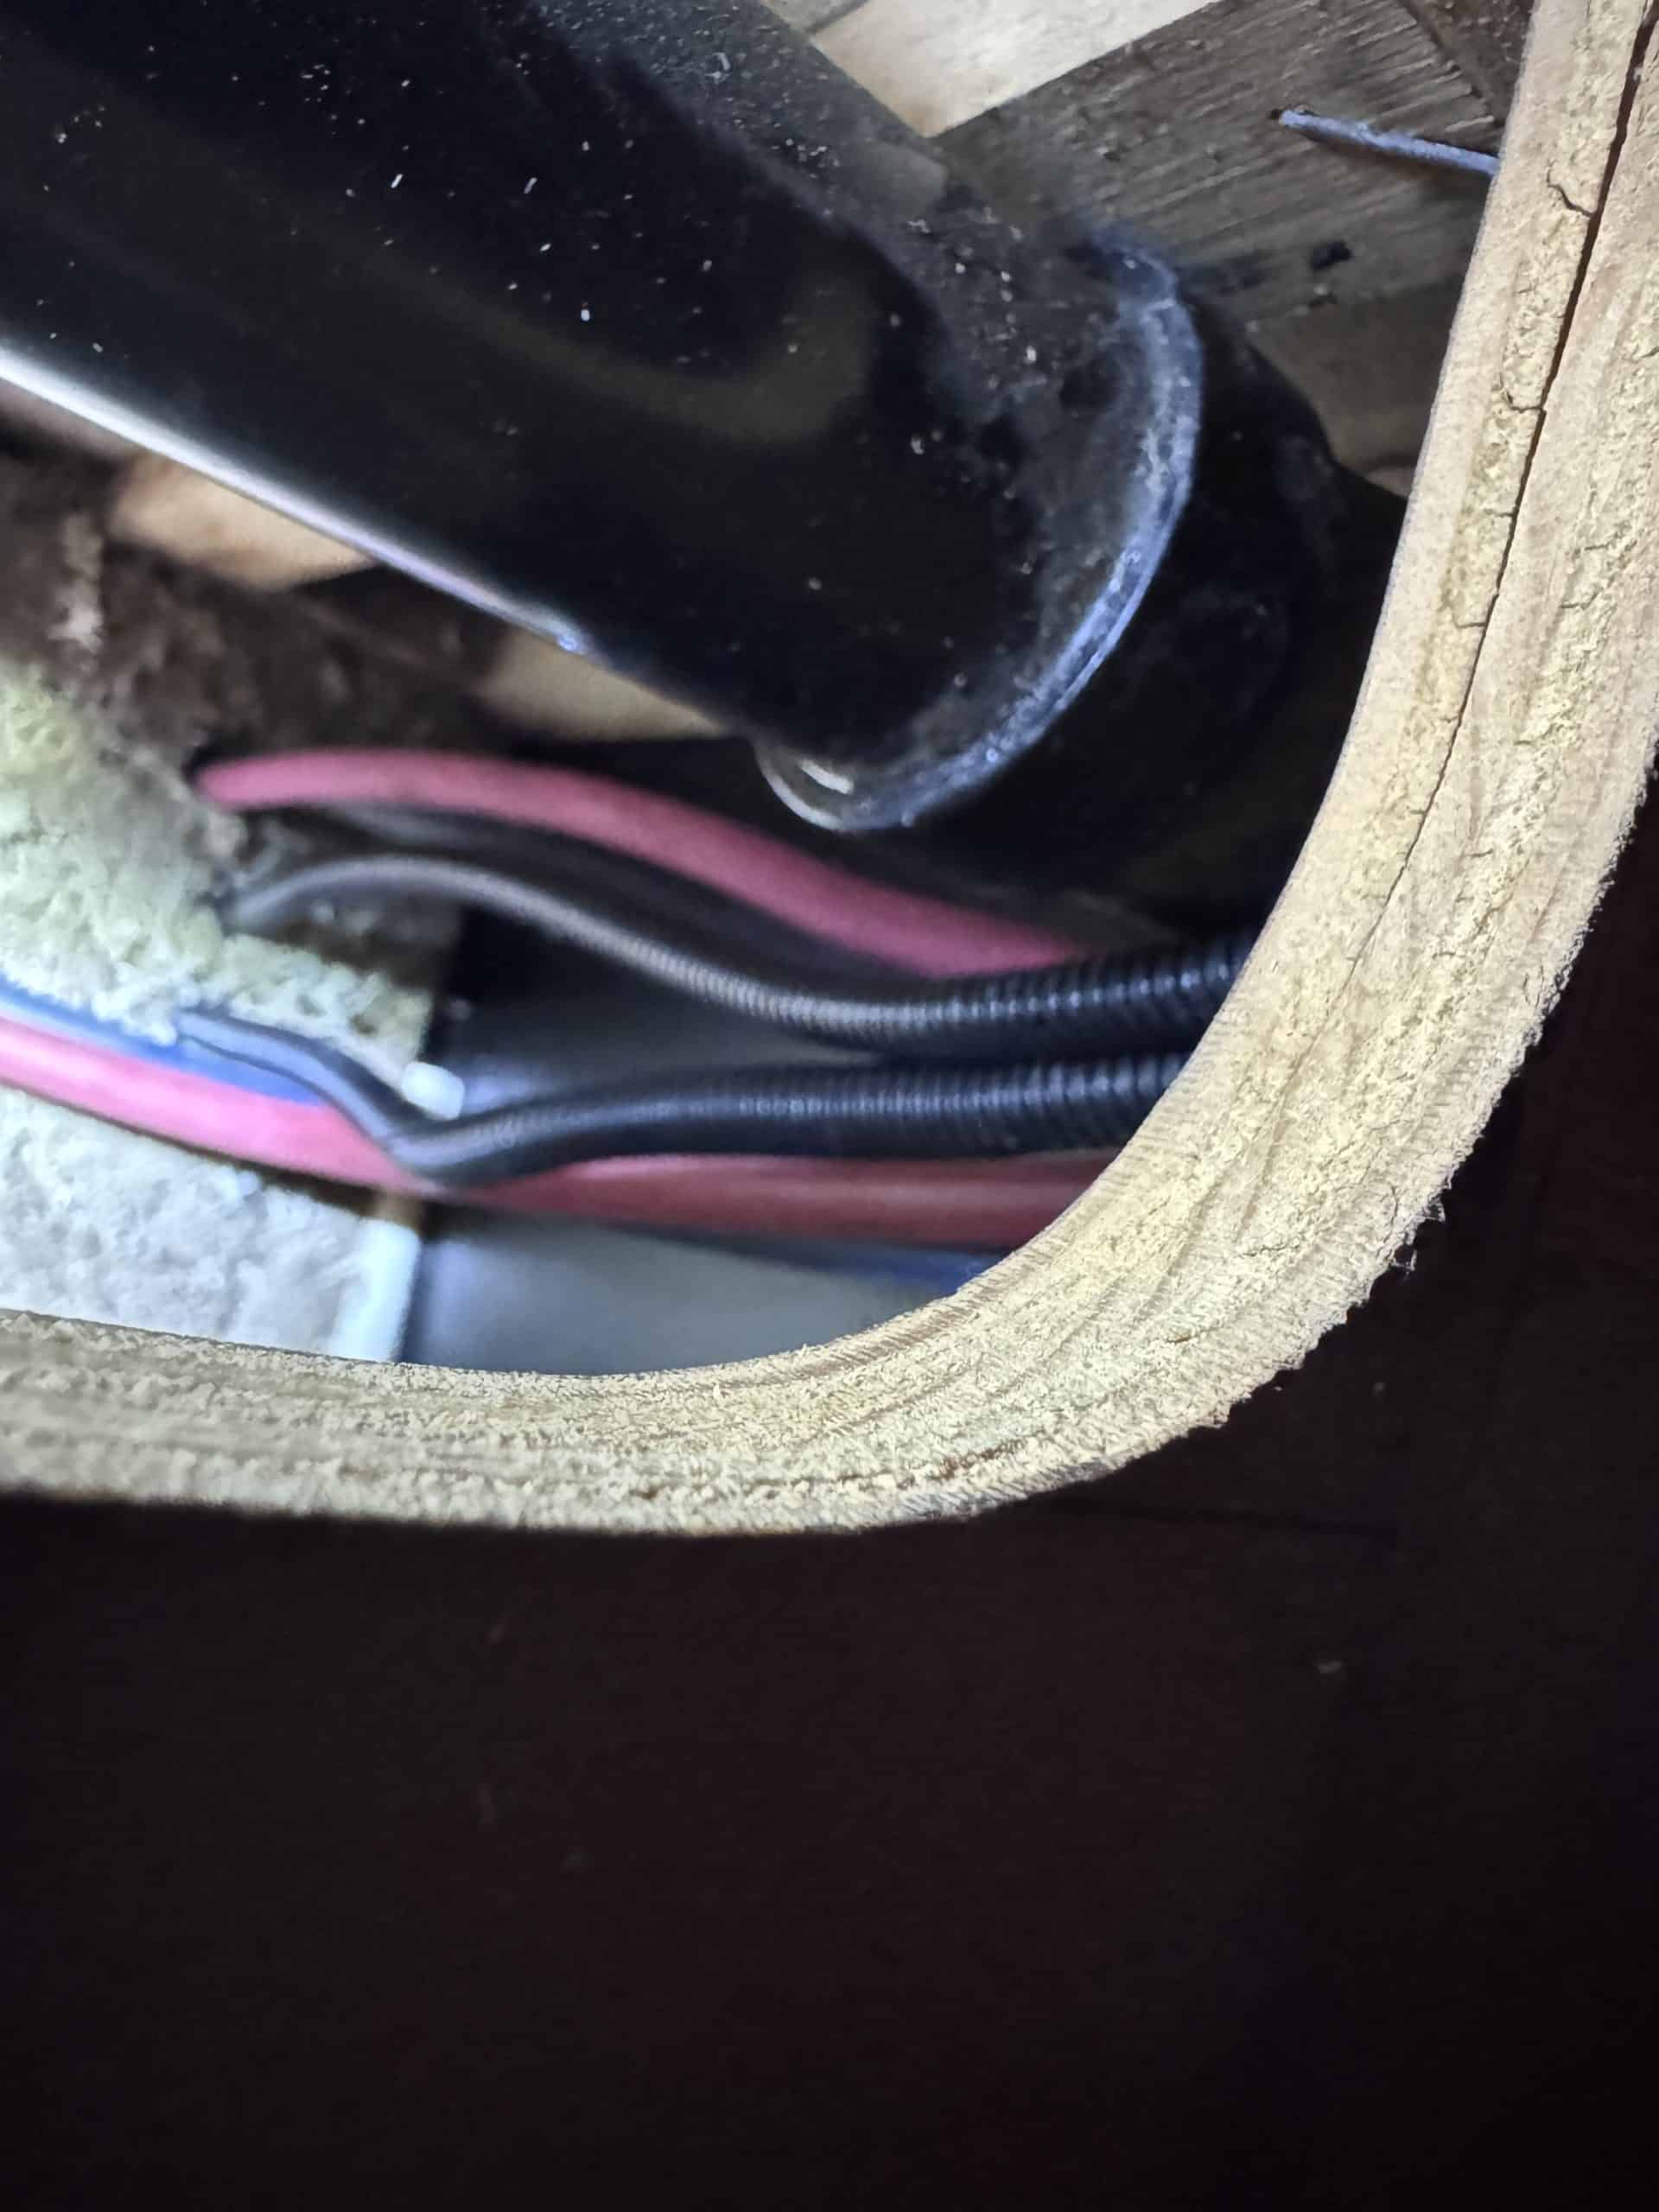
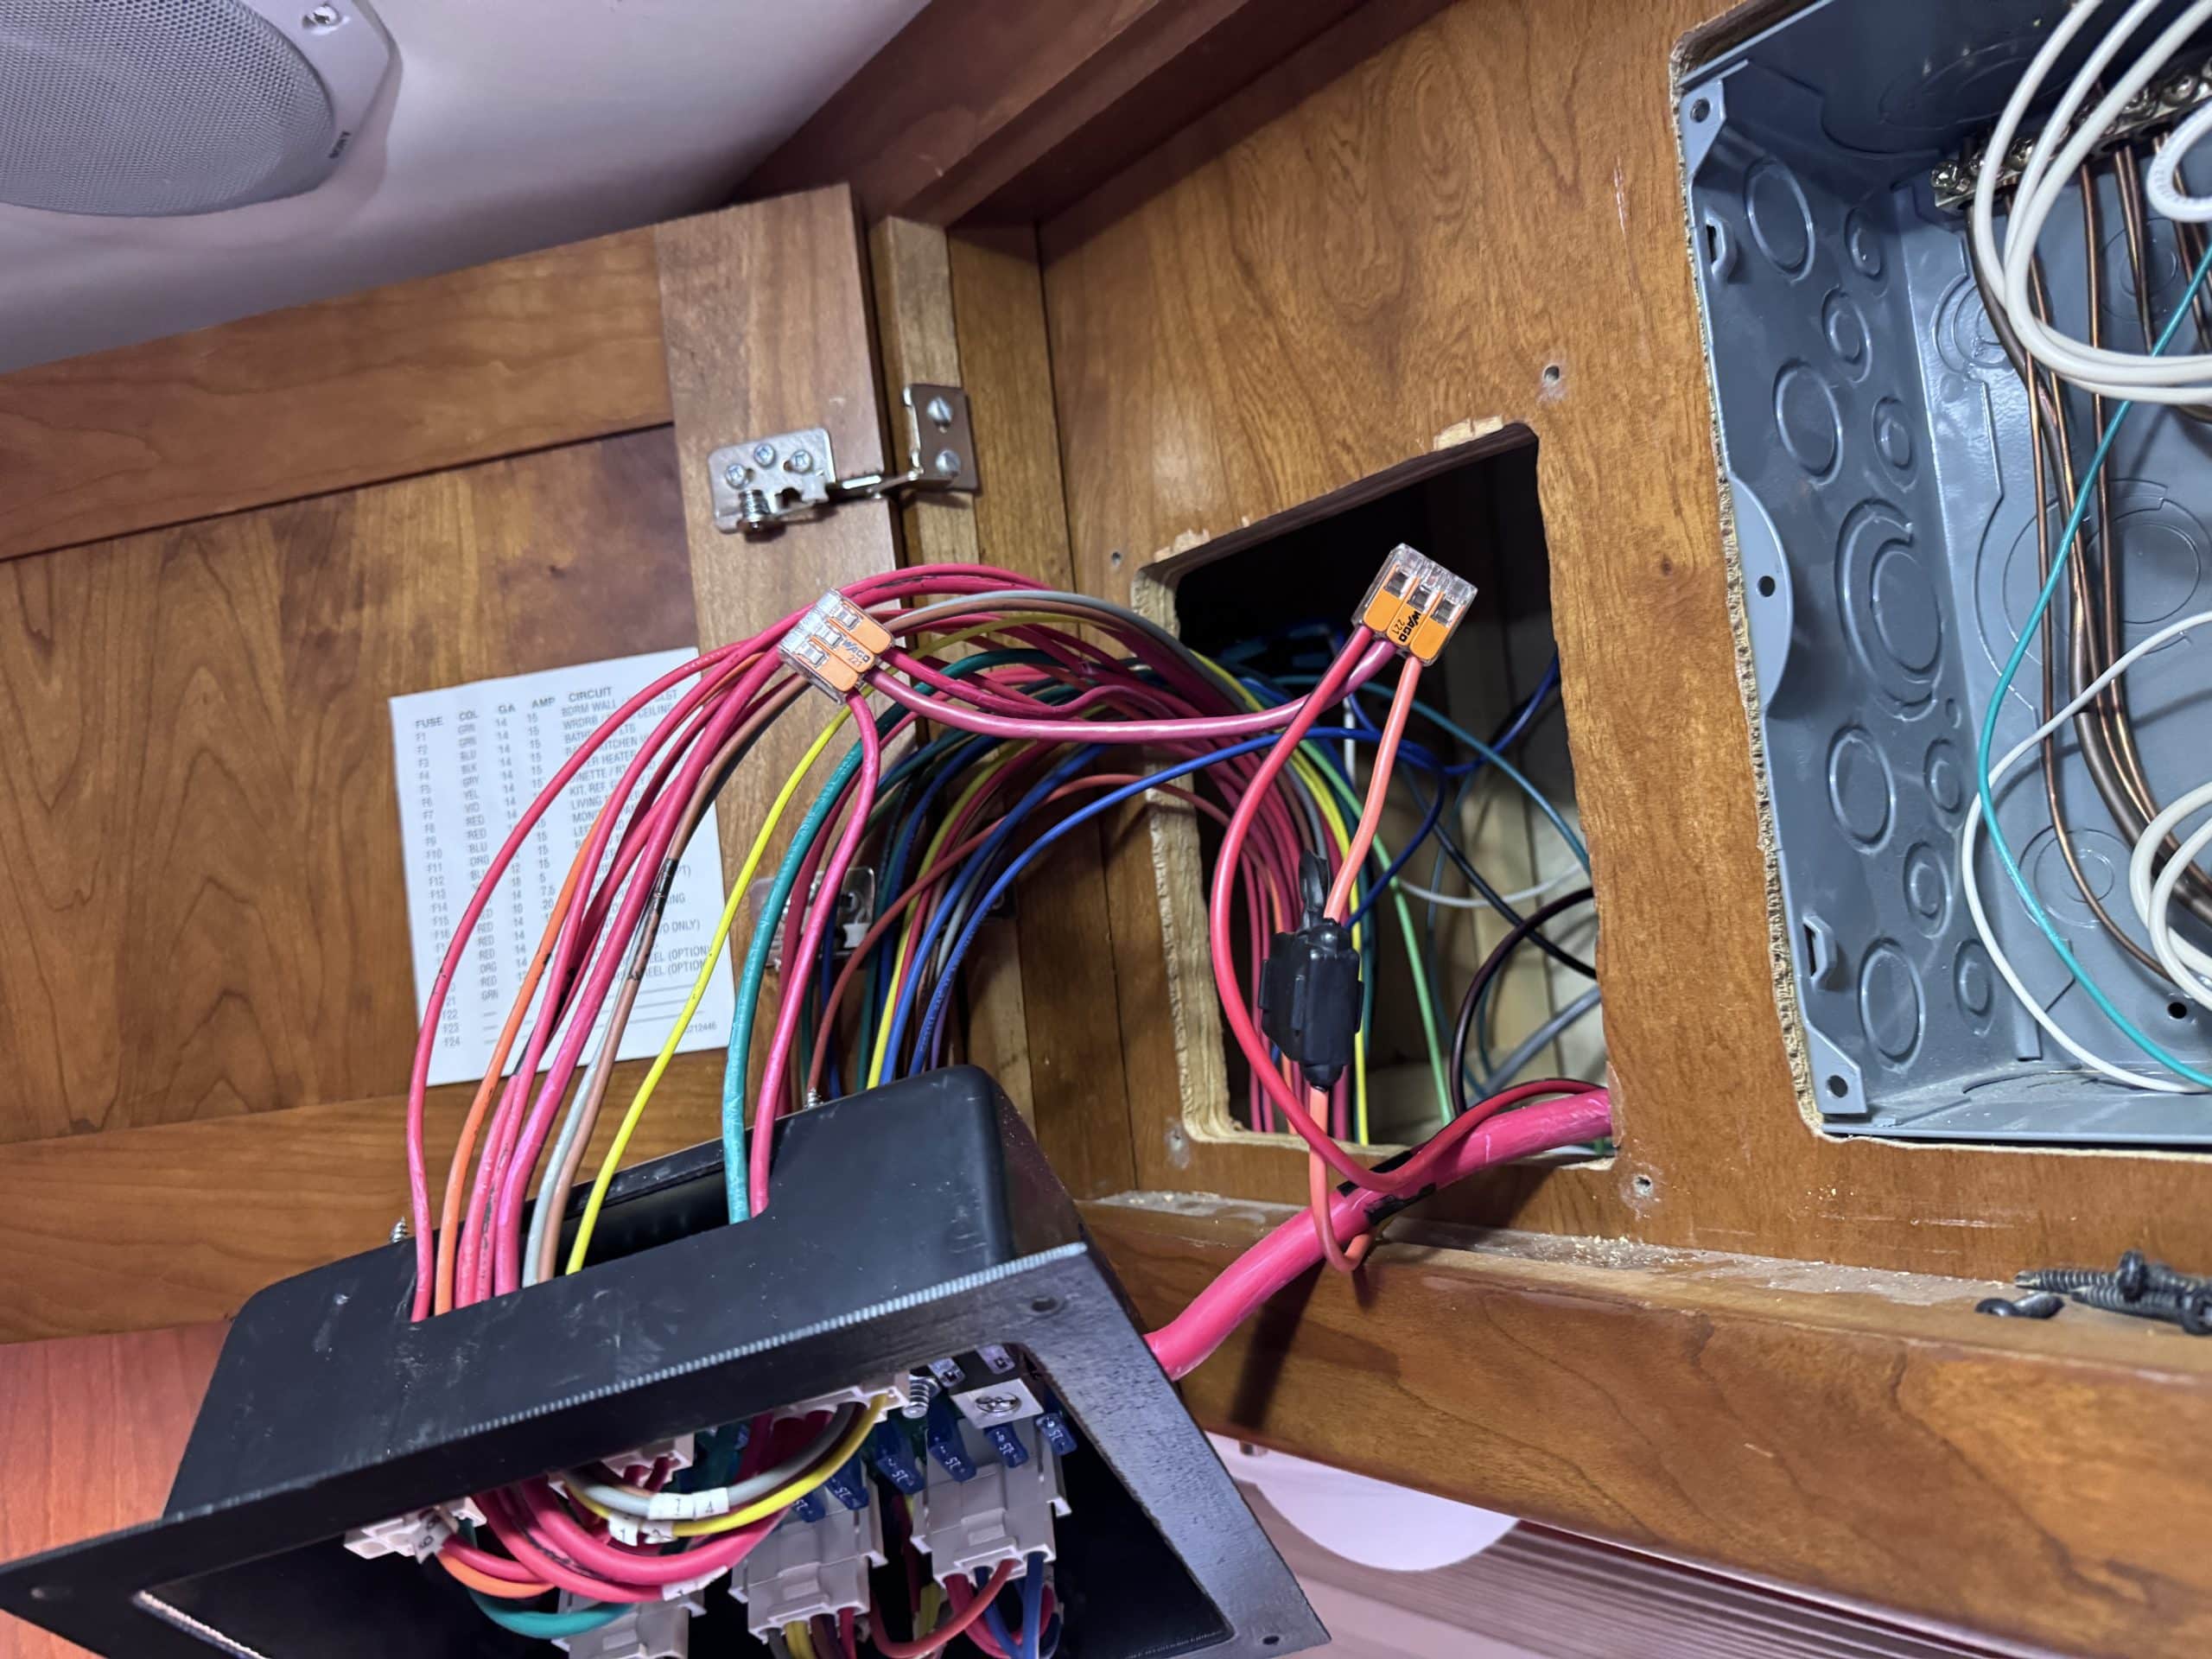
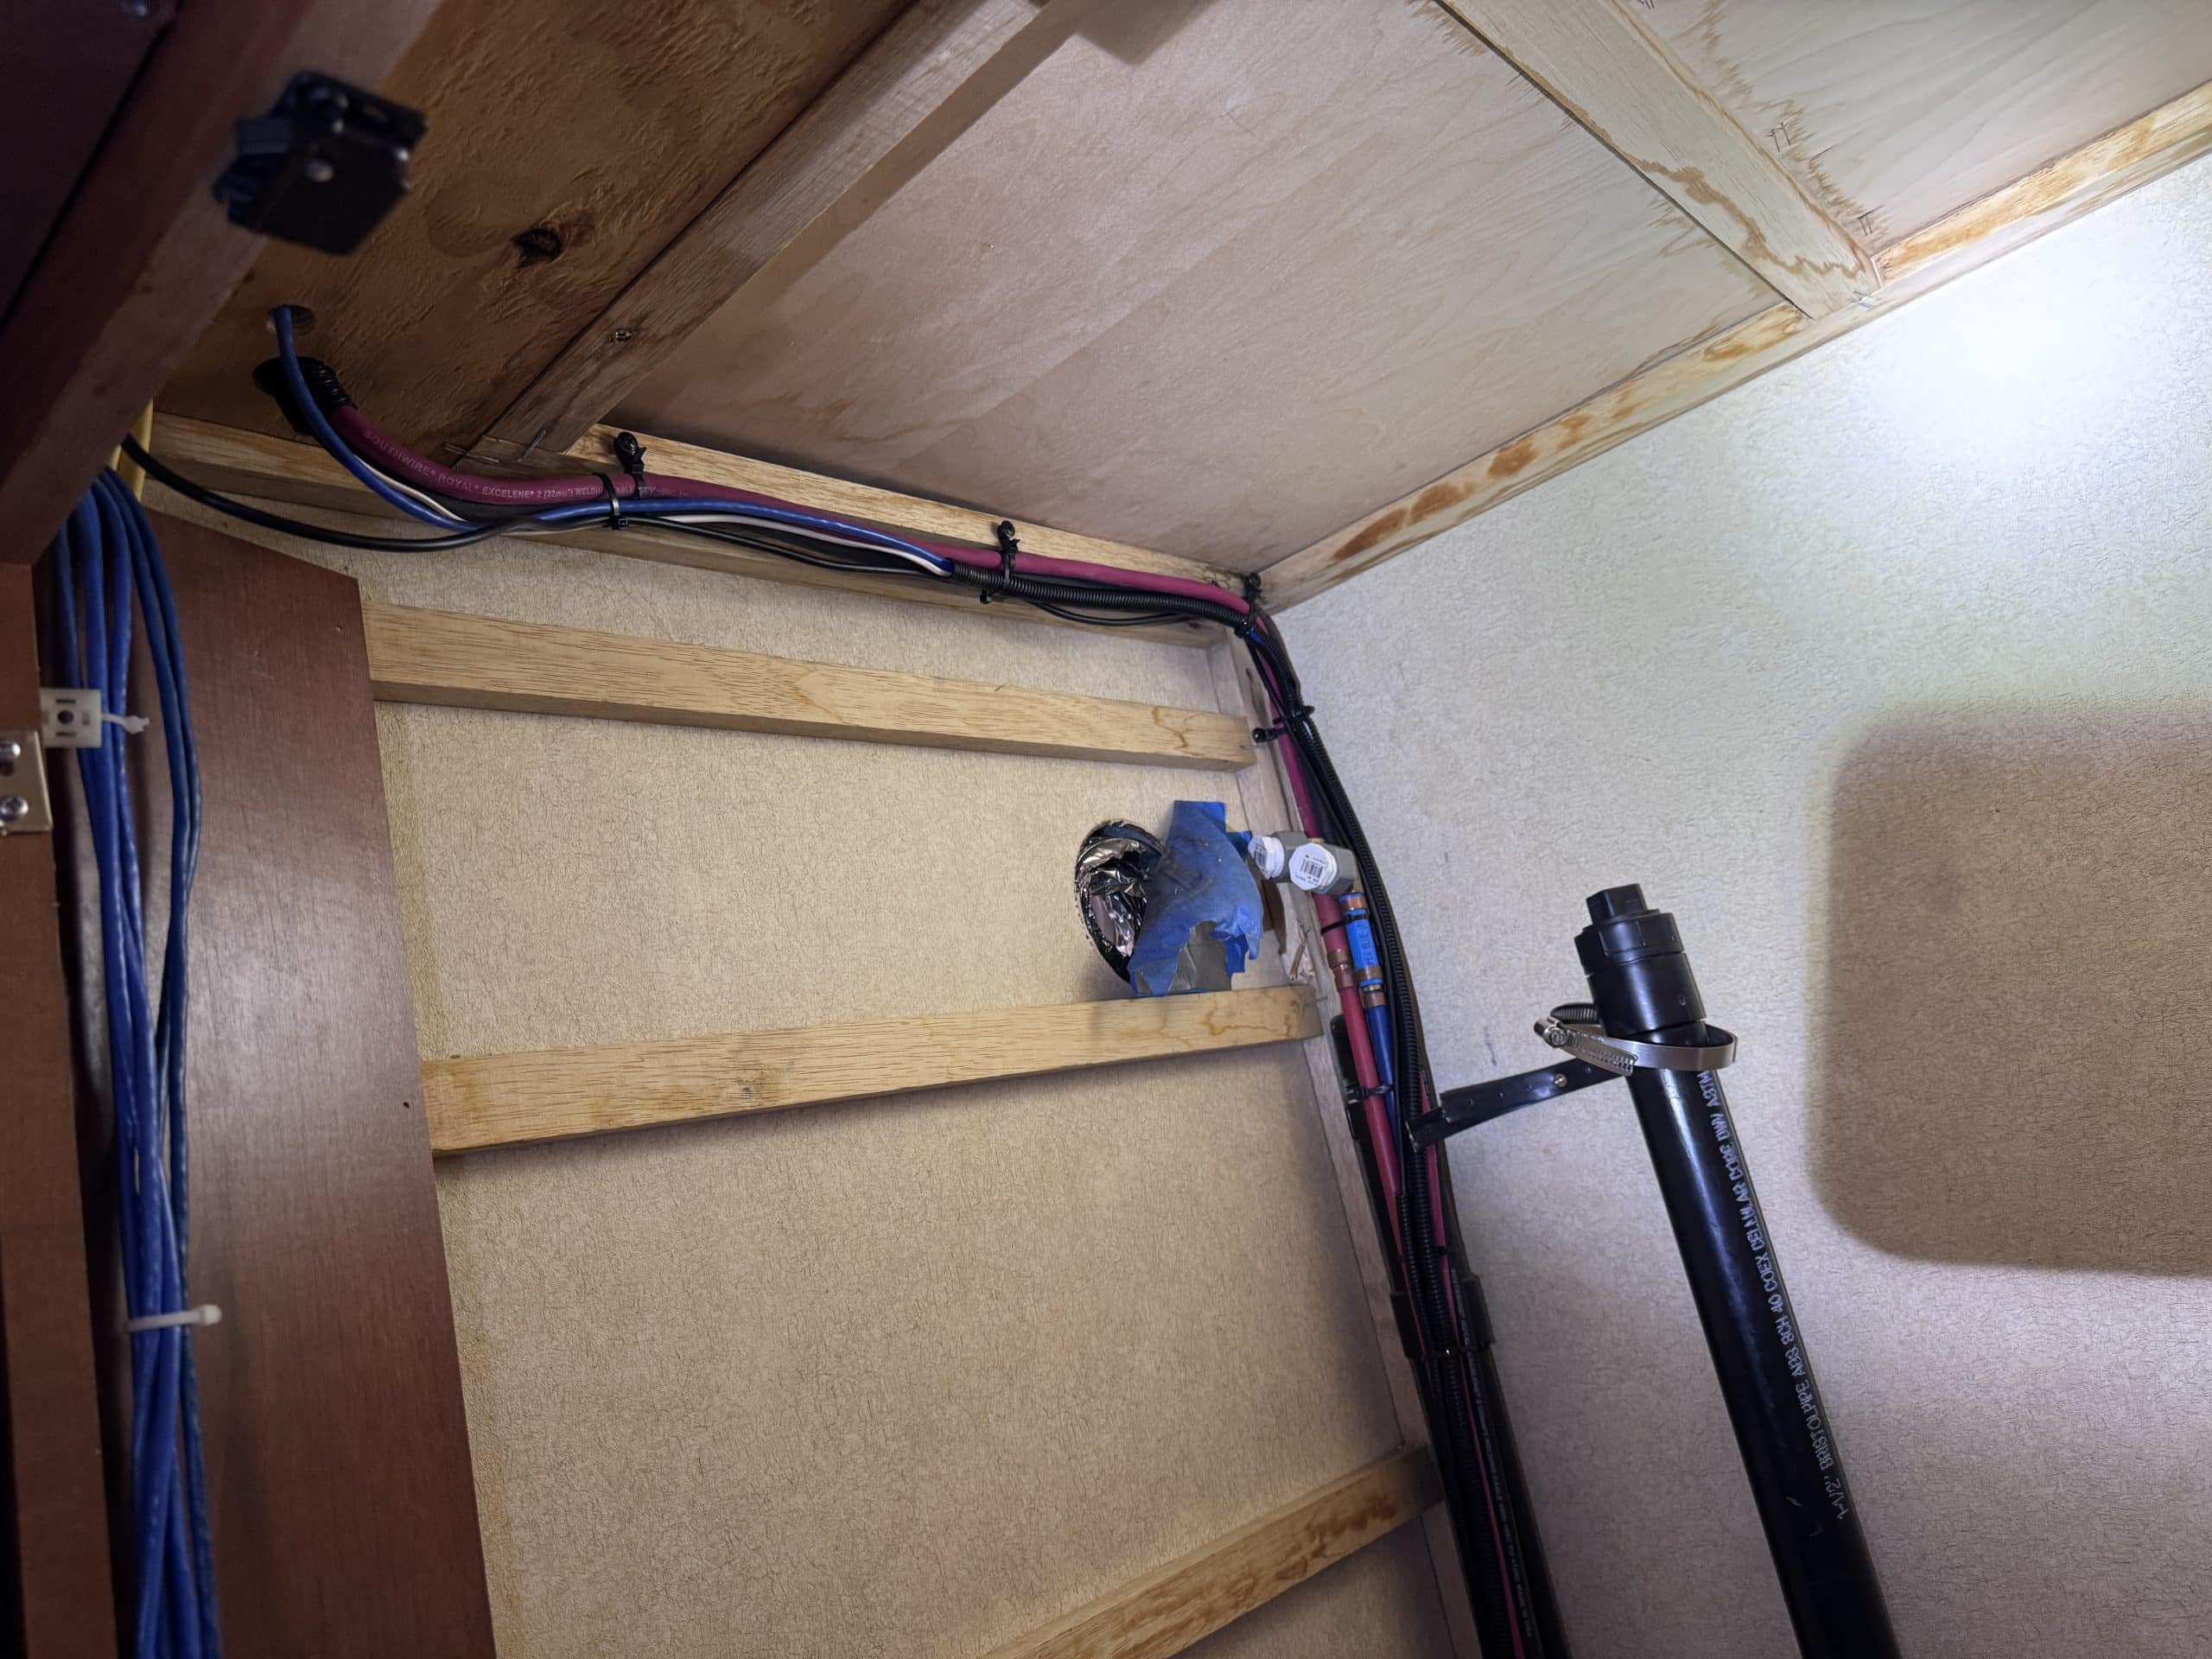
The installation went relatively smoothly. There was an issue with the interface between the house DC system and the chassis DC system. I was able to work around this issue by adding a jumper wire across the terminals of the system’s battery isolator switch. Additionally, like with most diesel pusher motorhomes, the wire runs were a bit difficult, but I was able to get everything in place with a bit of work.