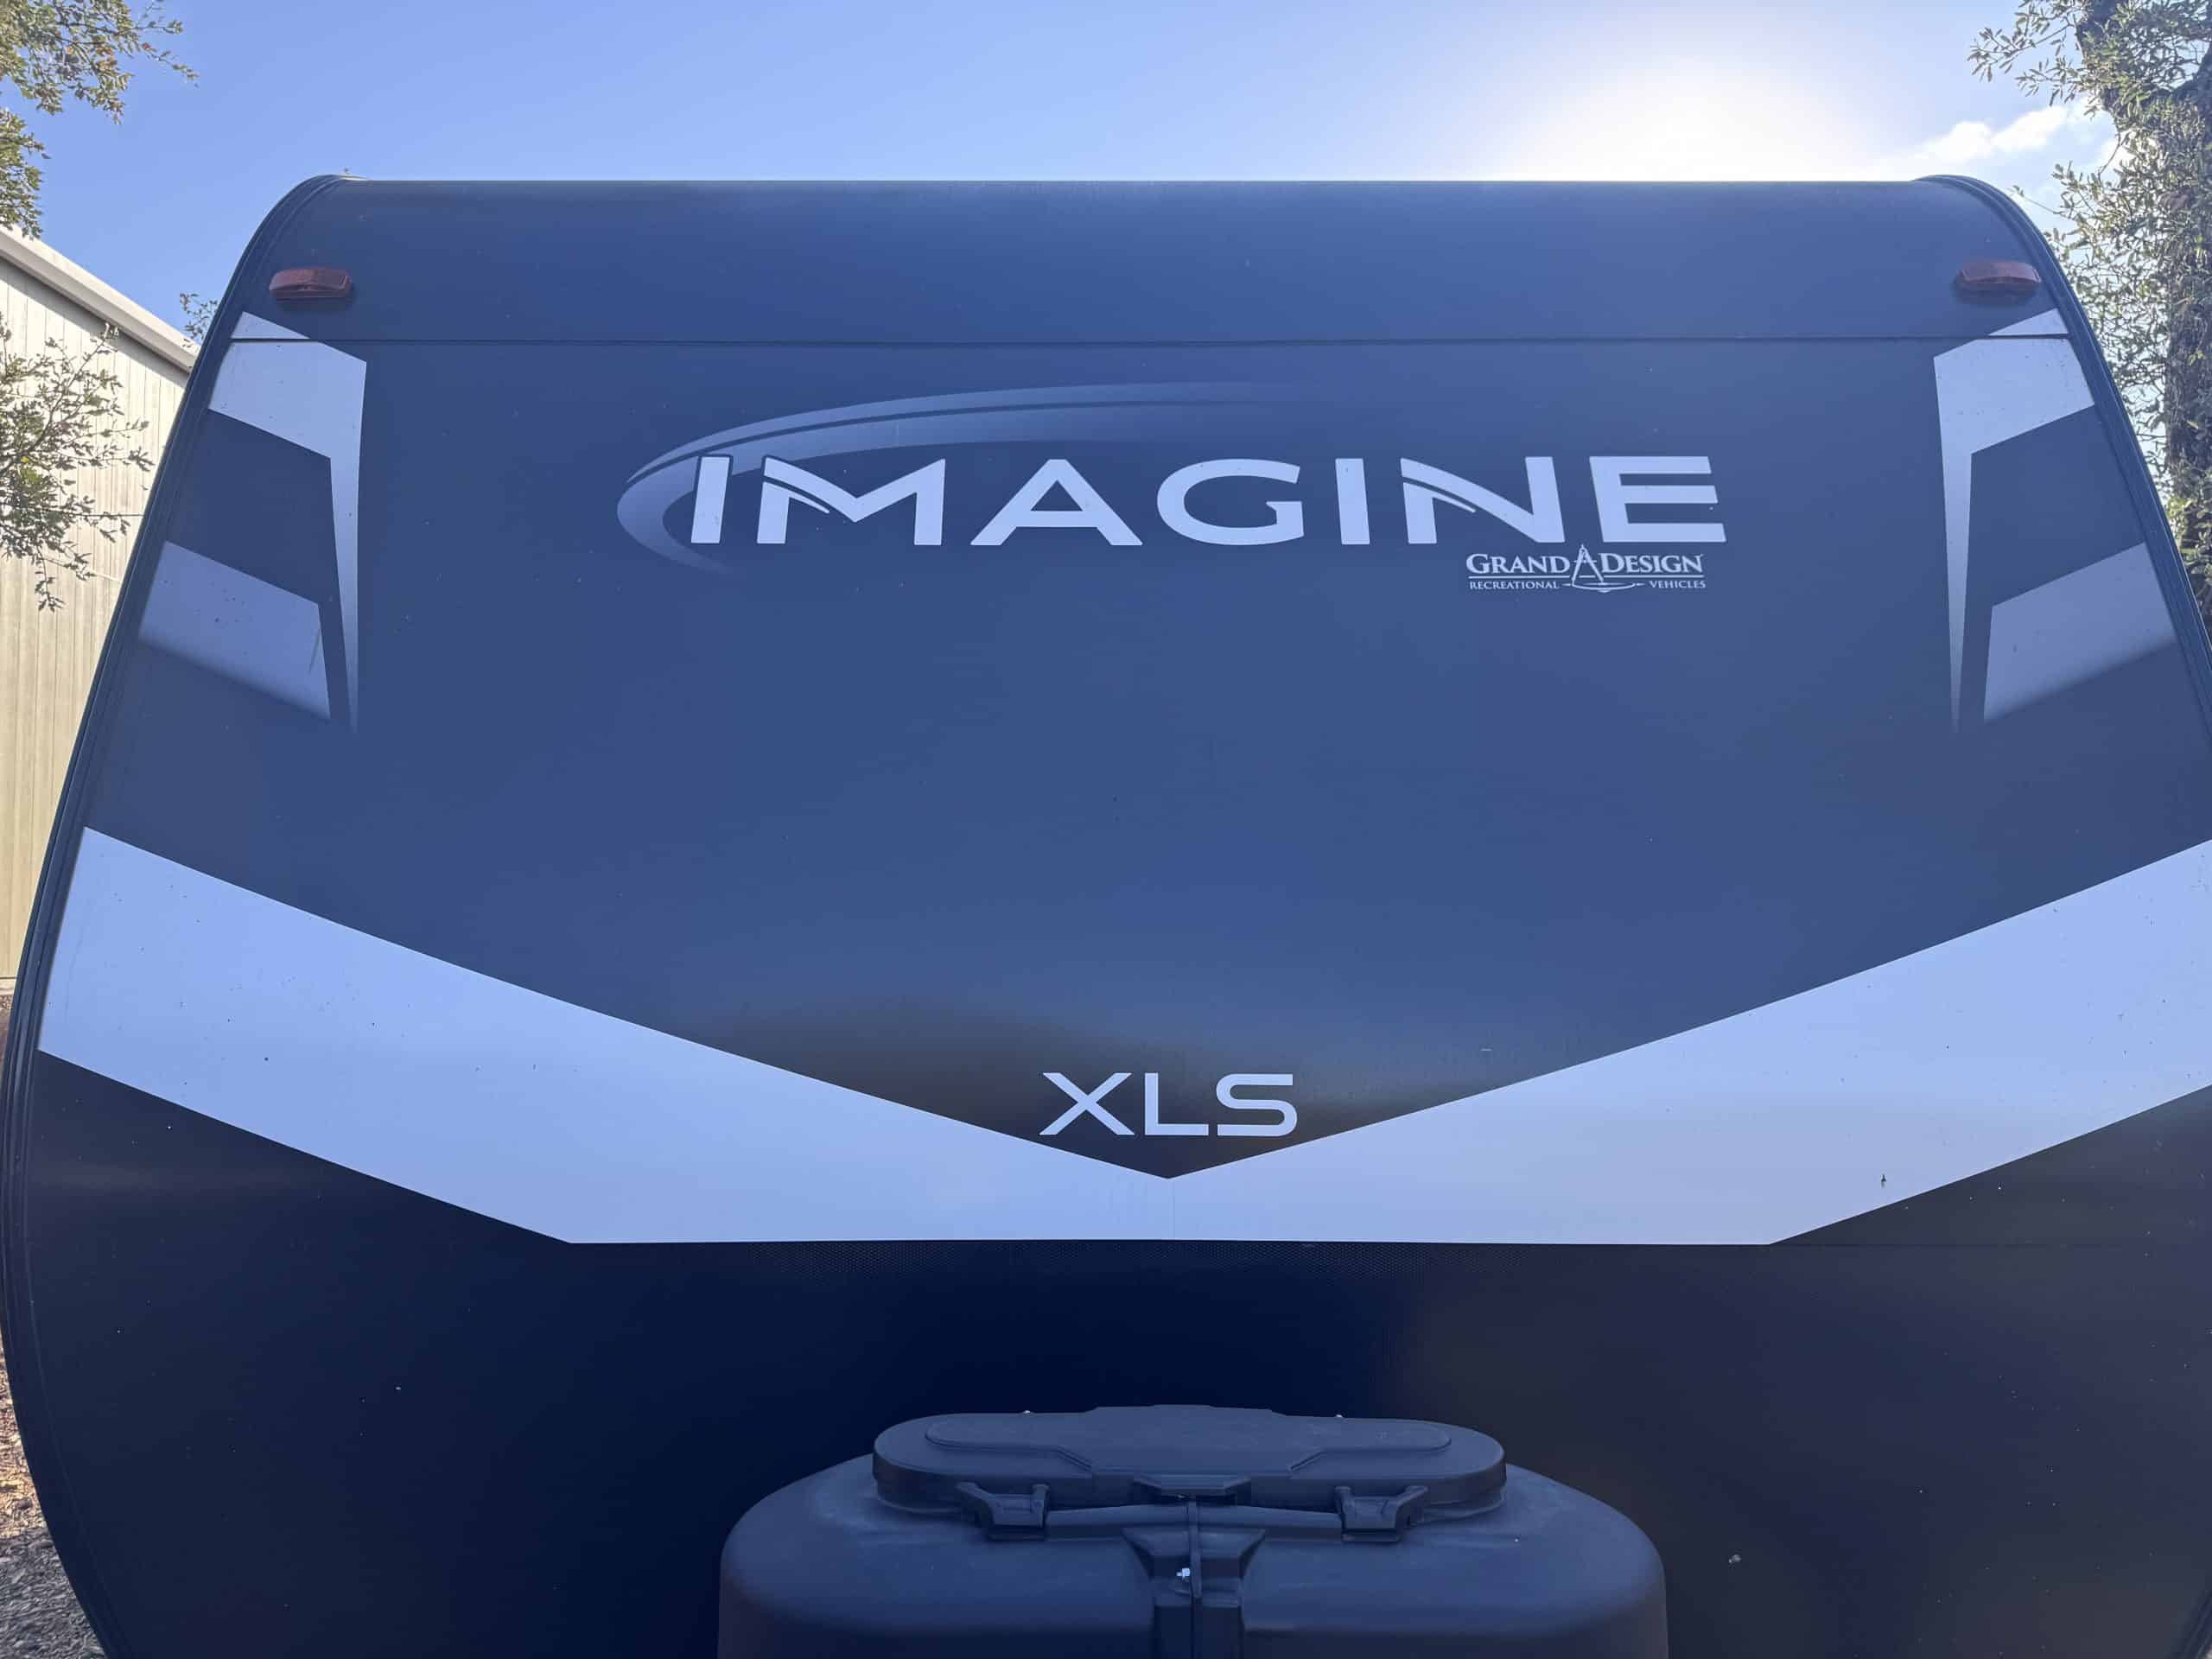
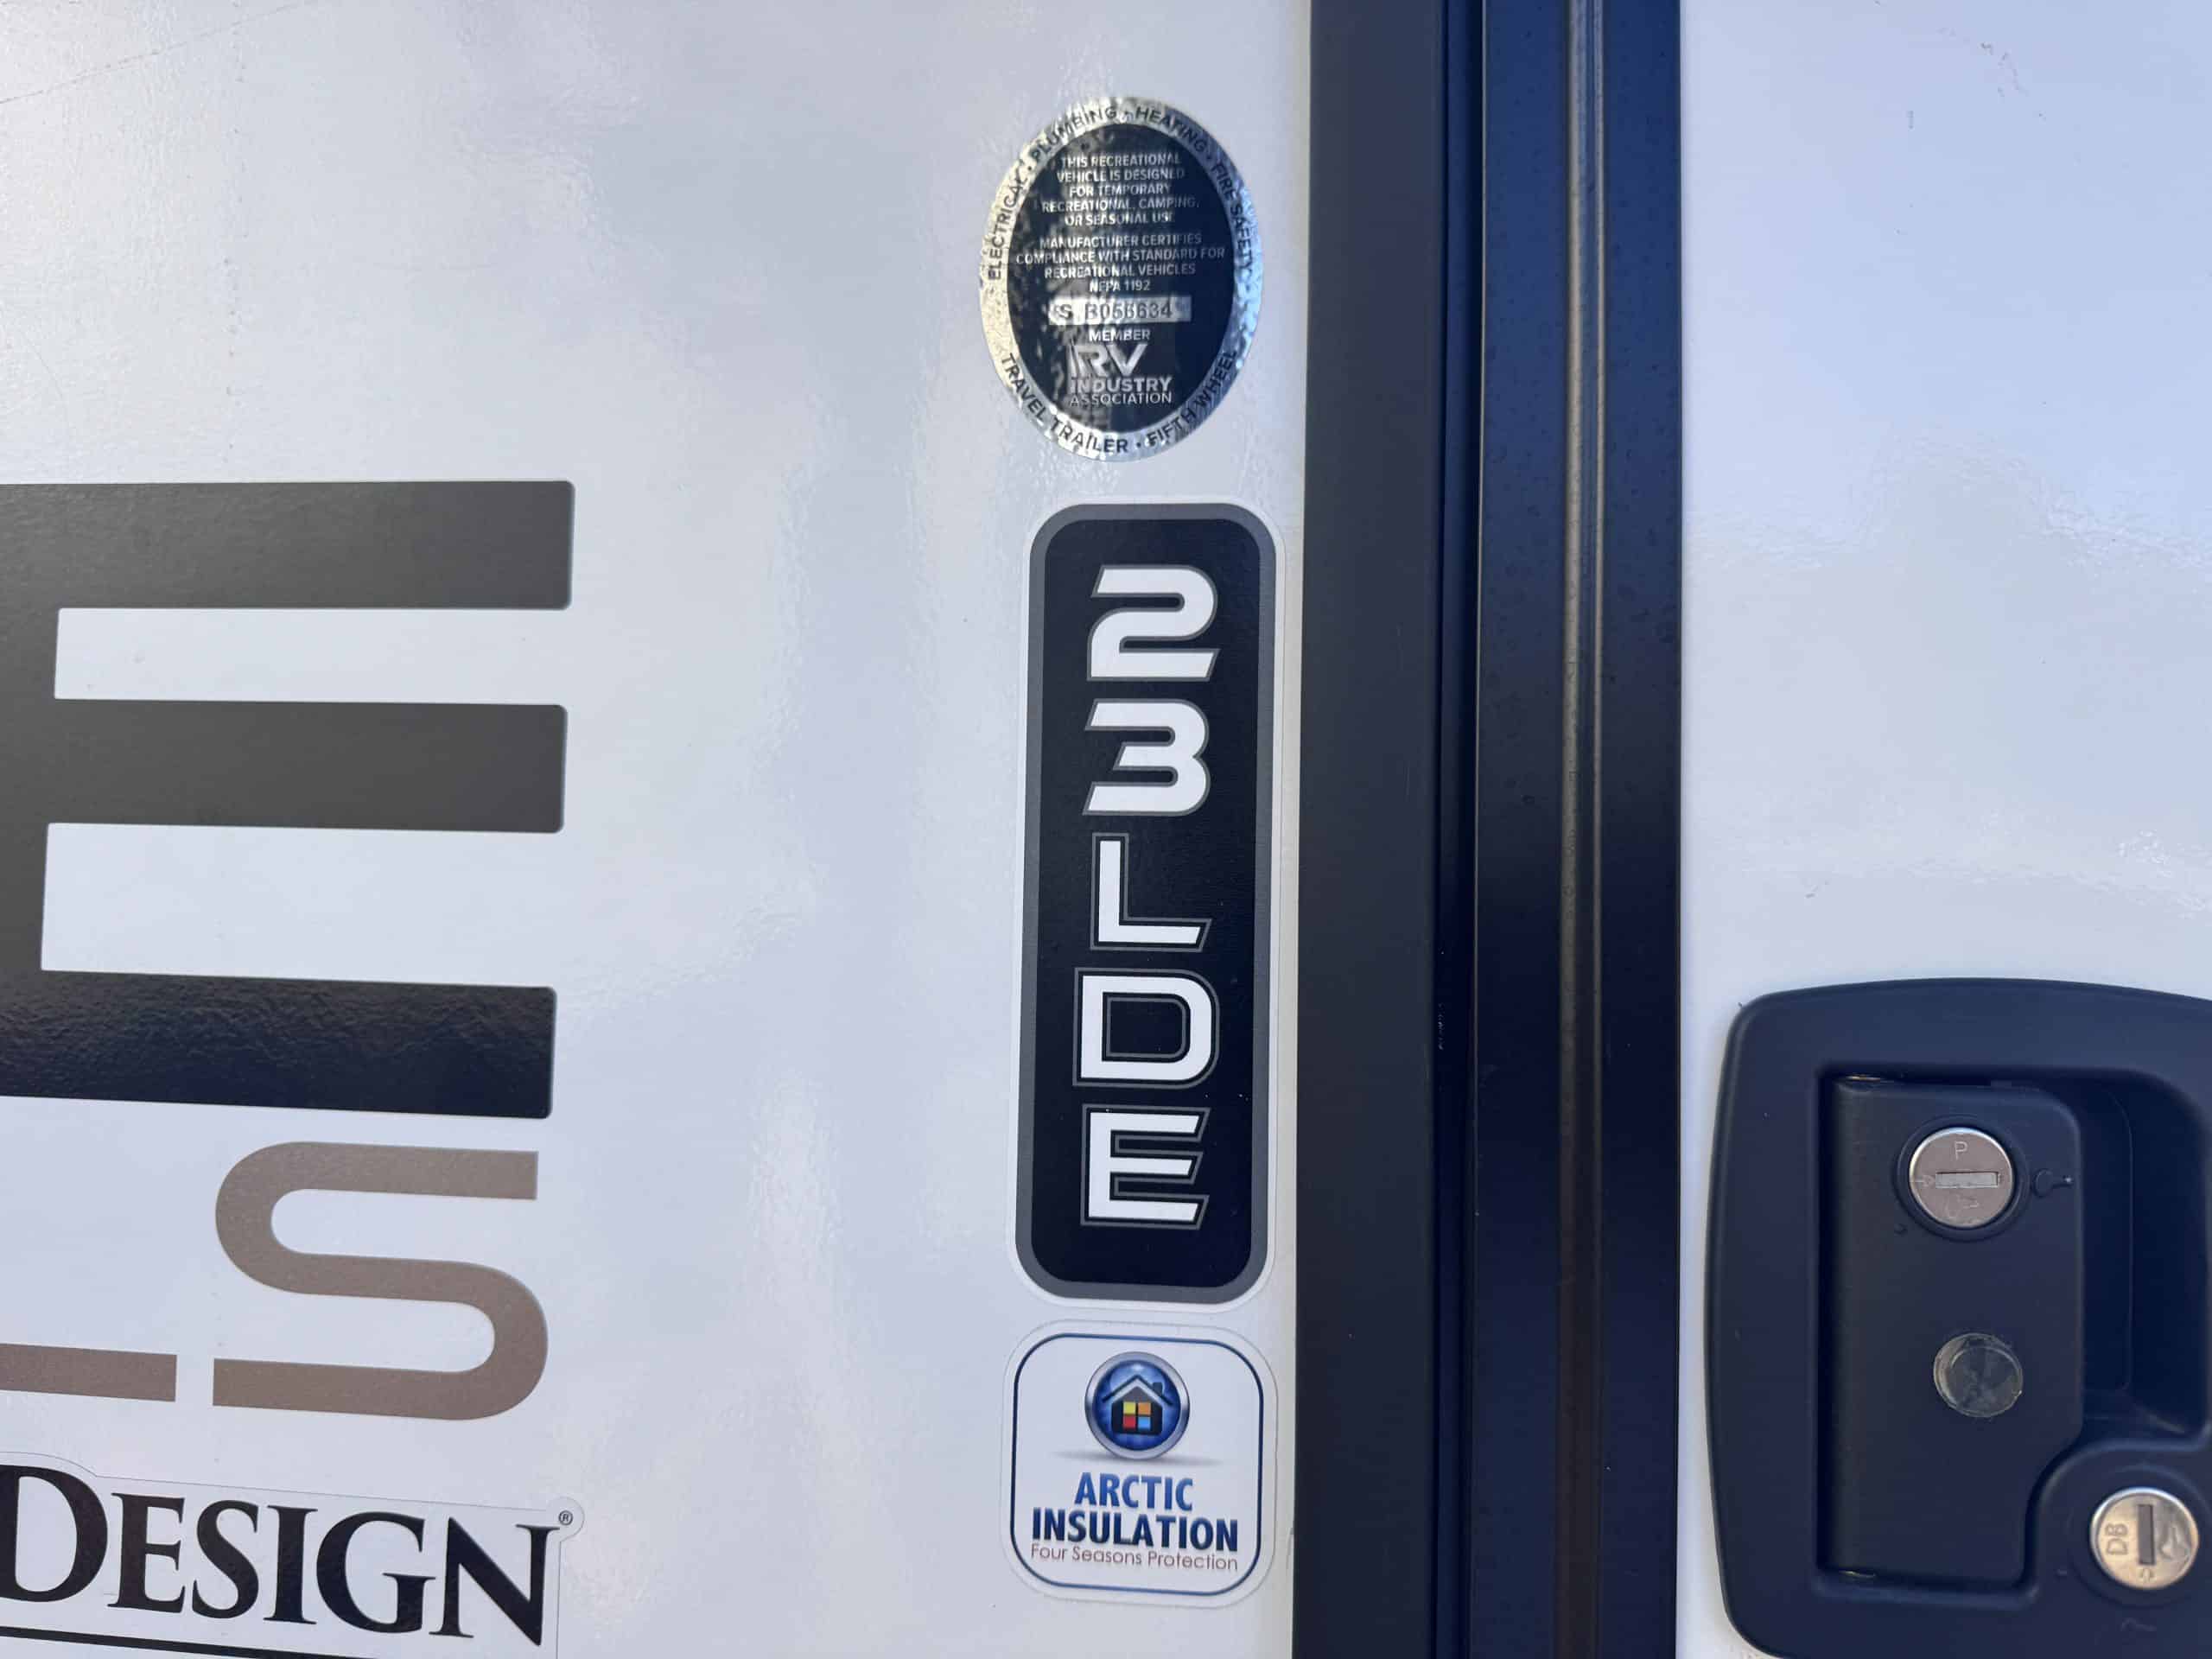
Grand Design Imagine 23LDE
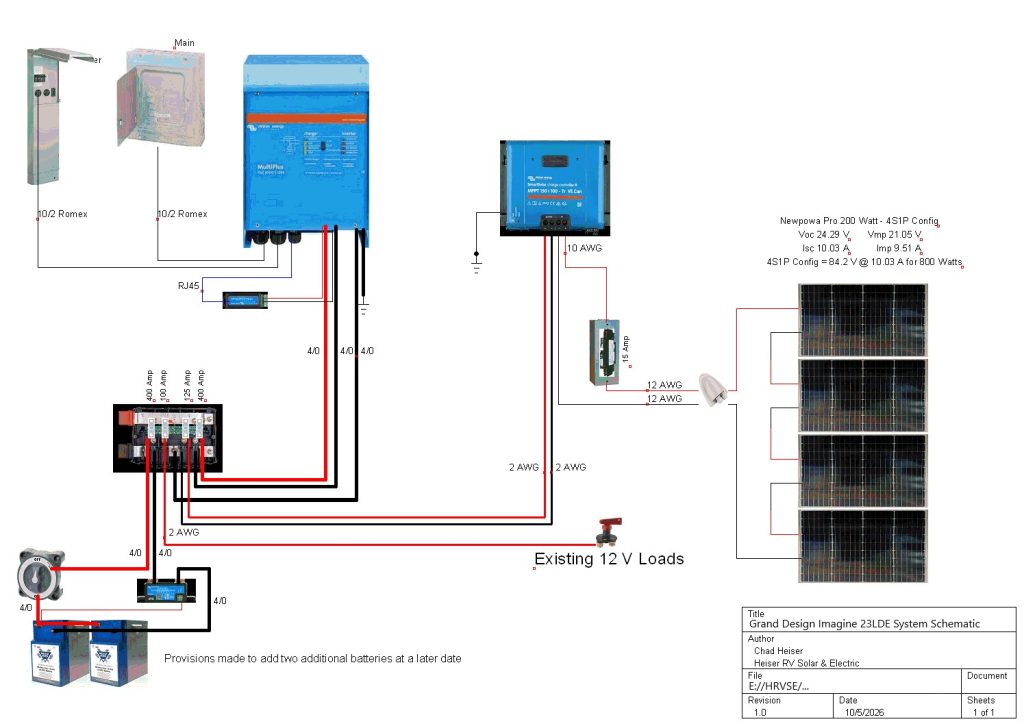
System Schematic
Basic Parts List
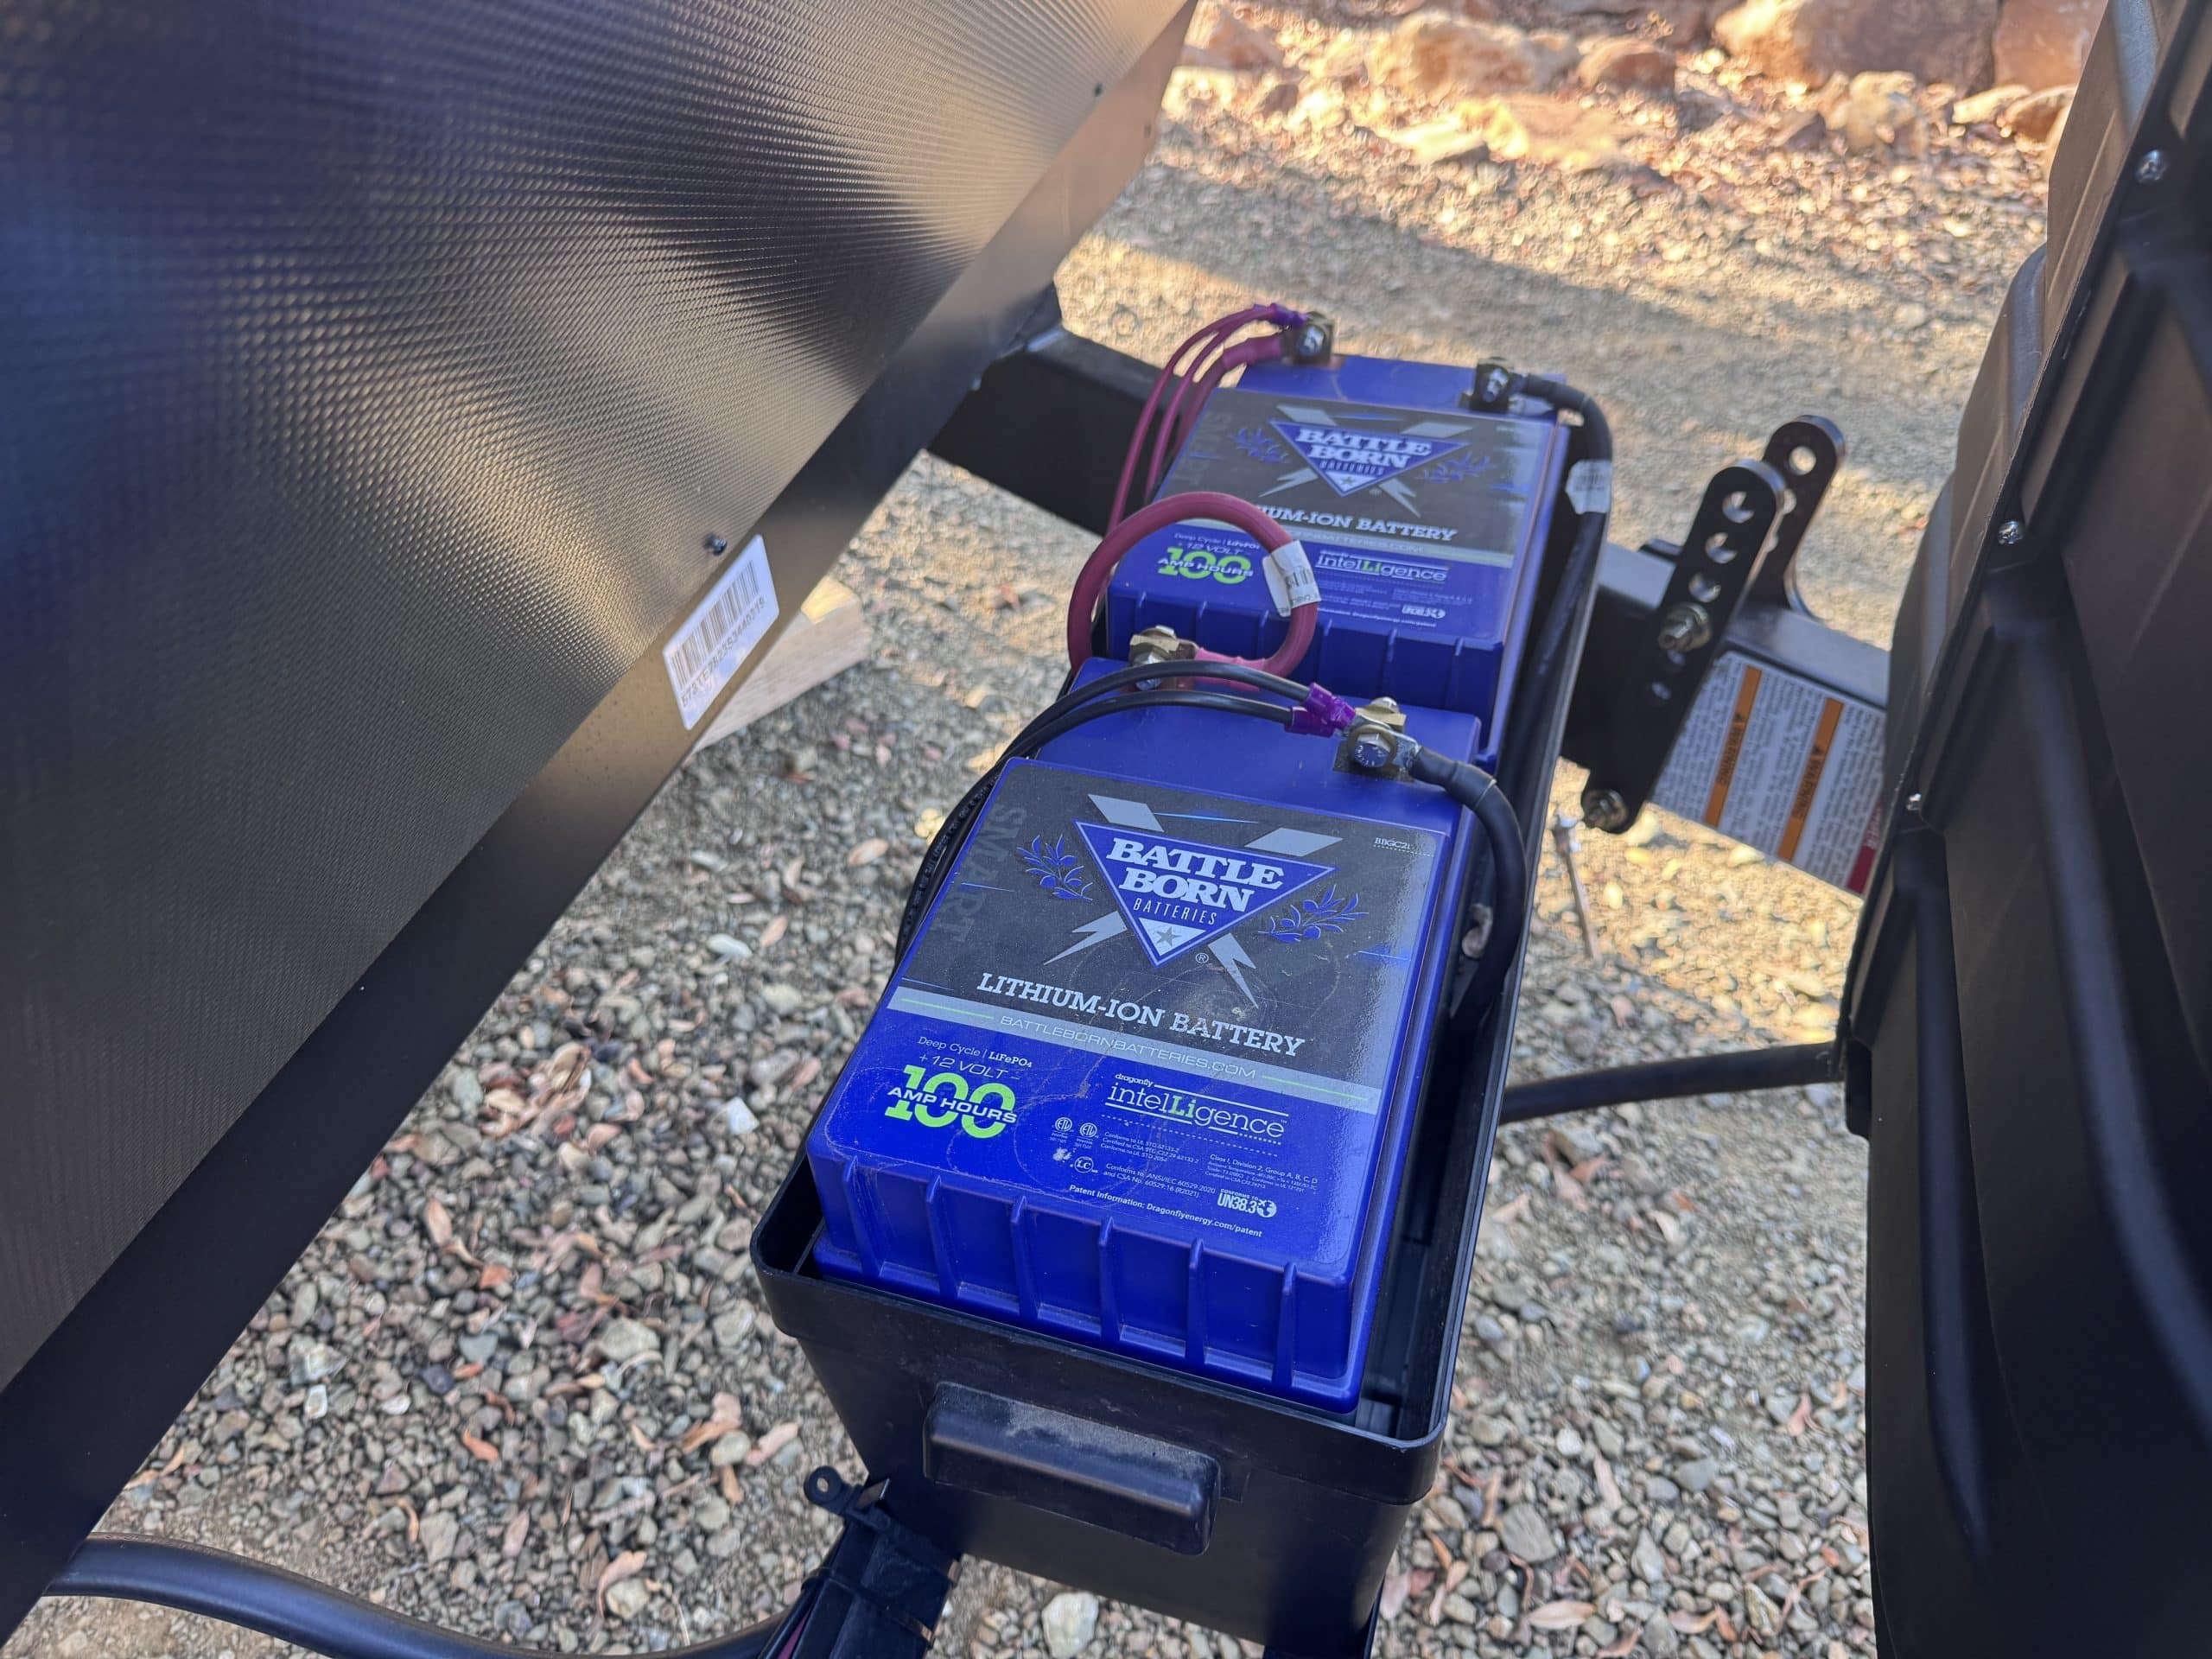
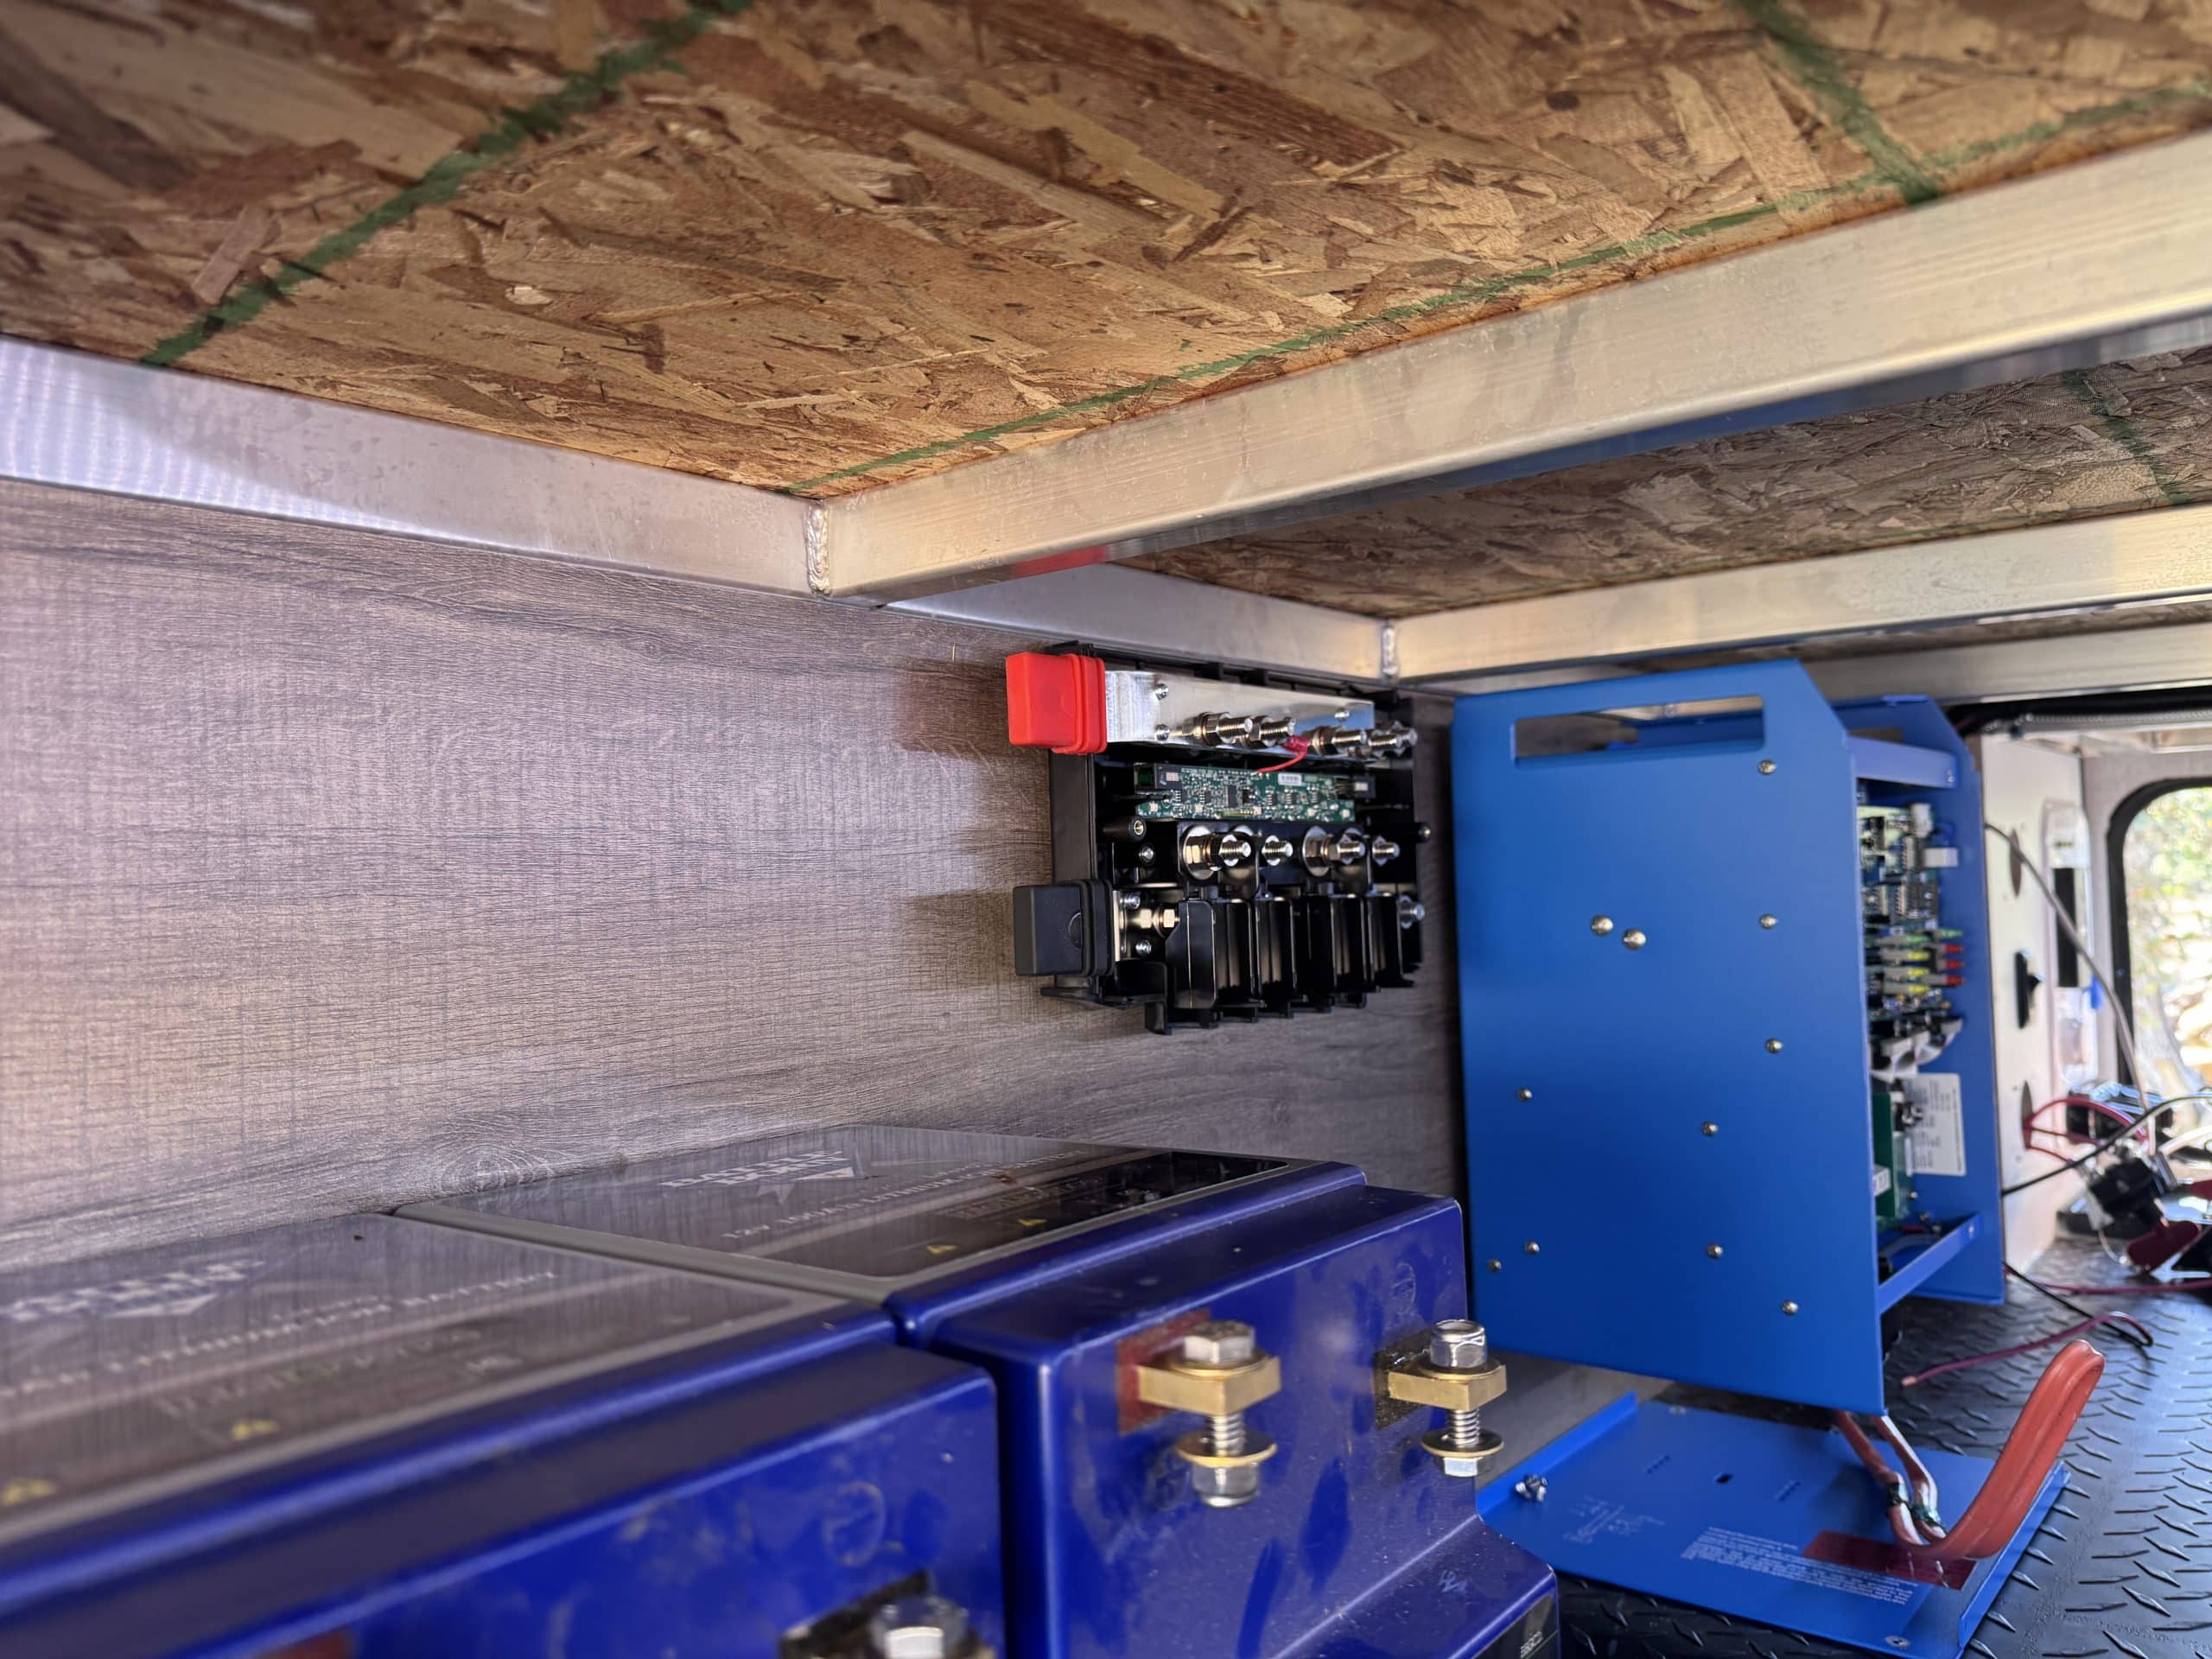
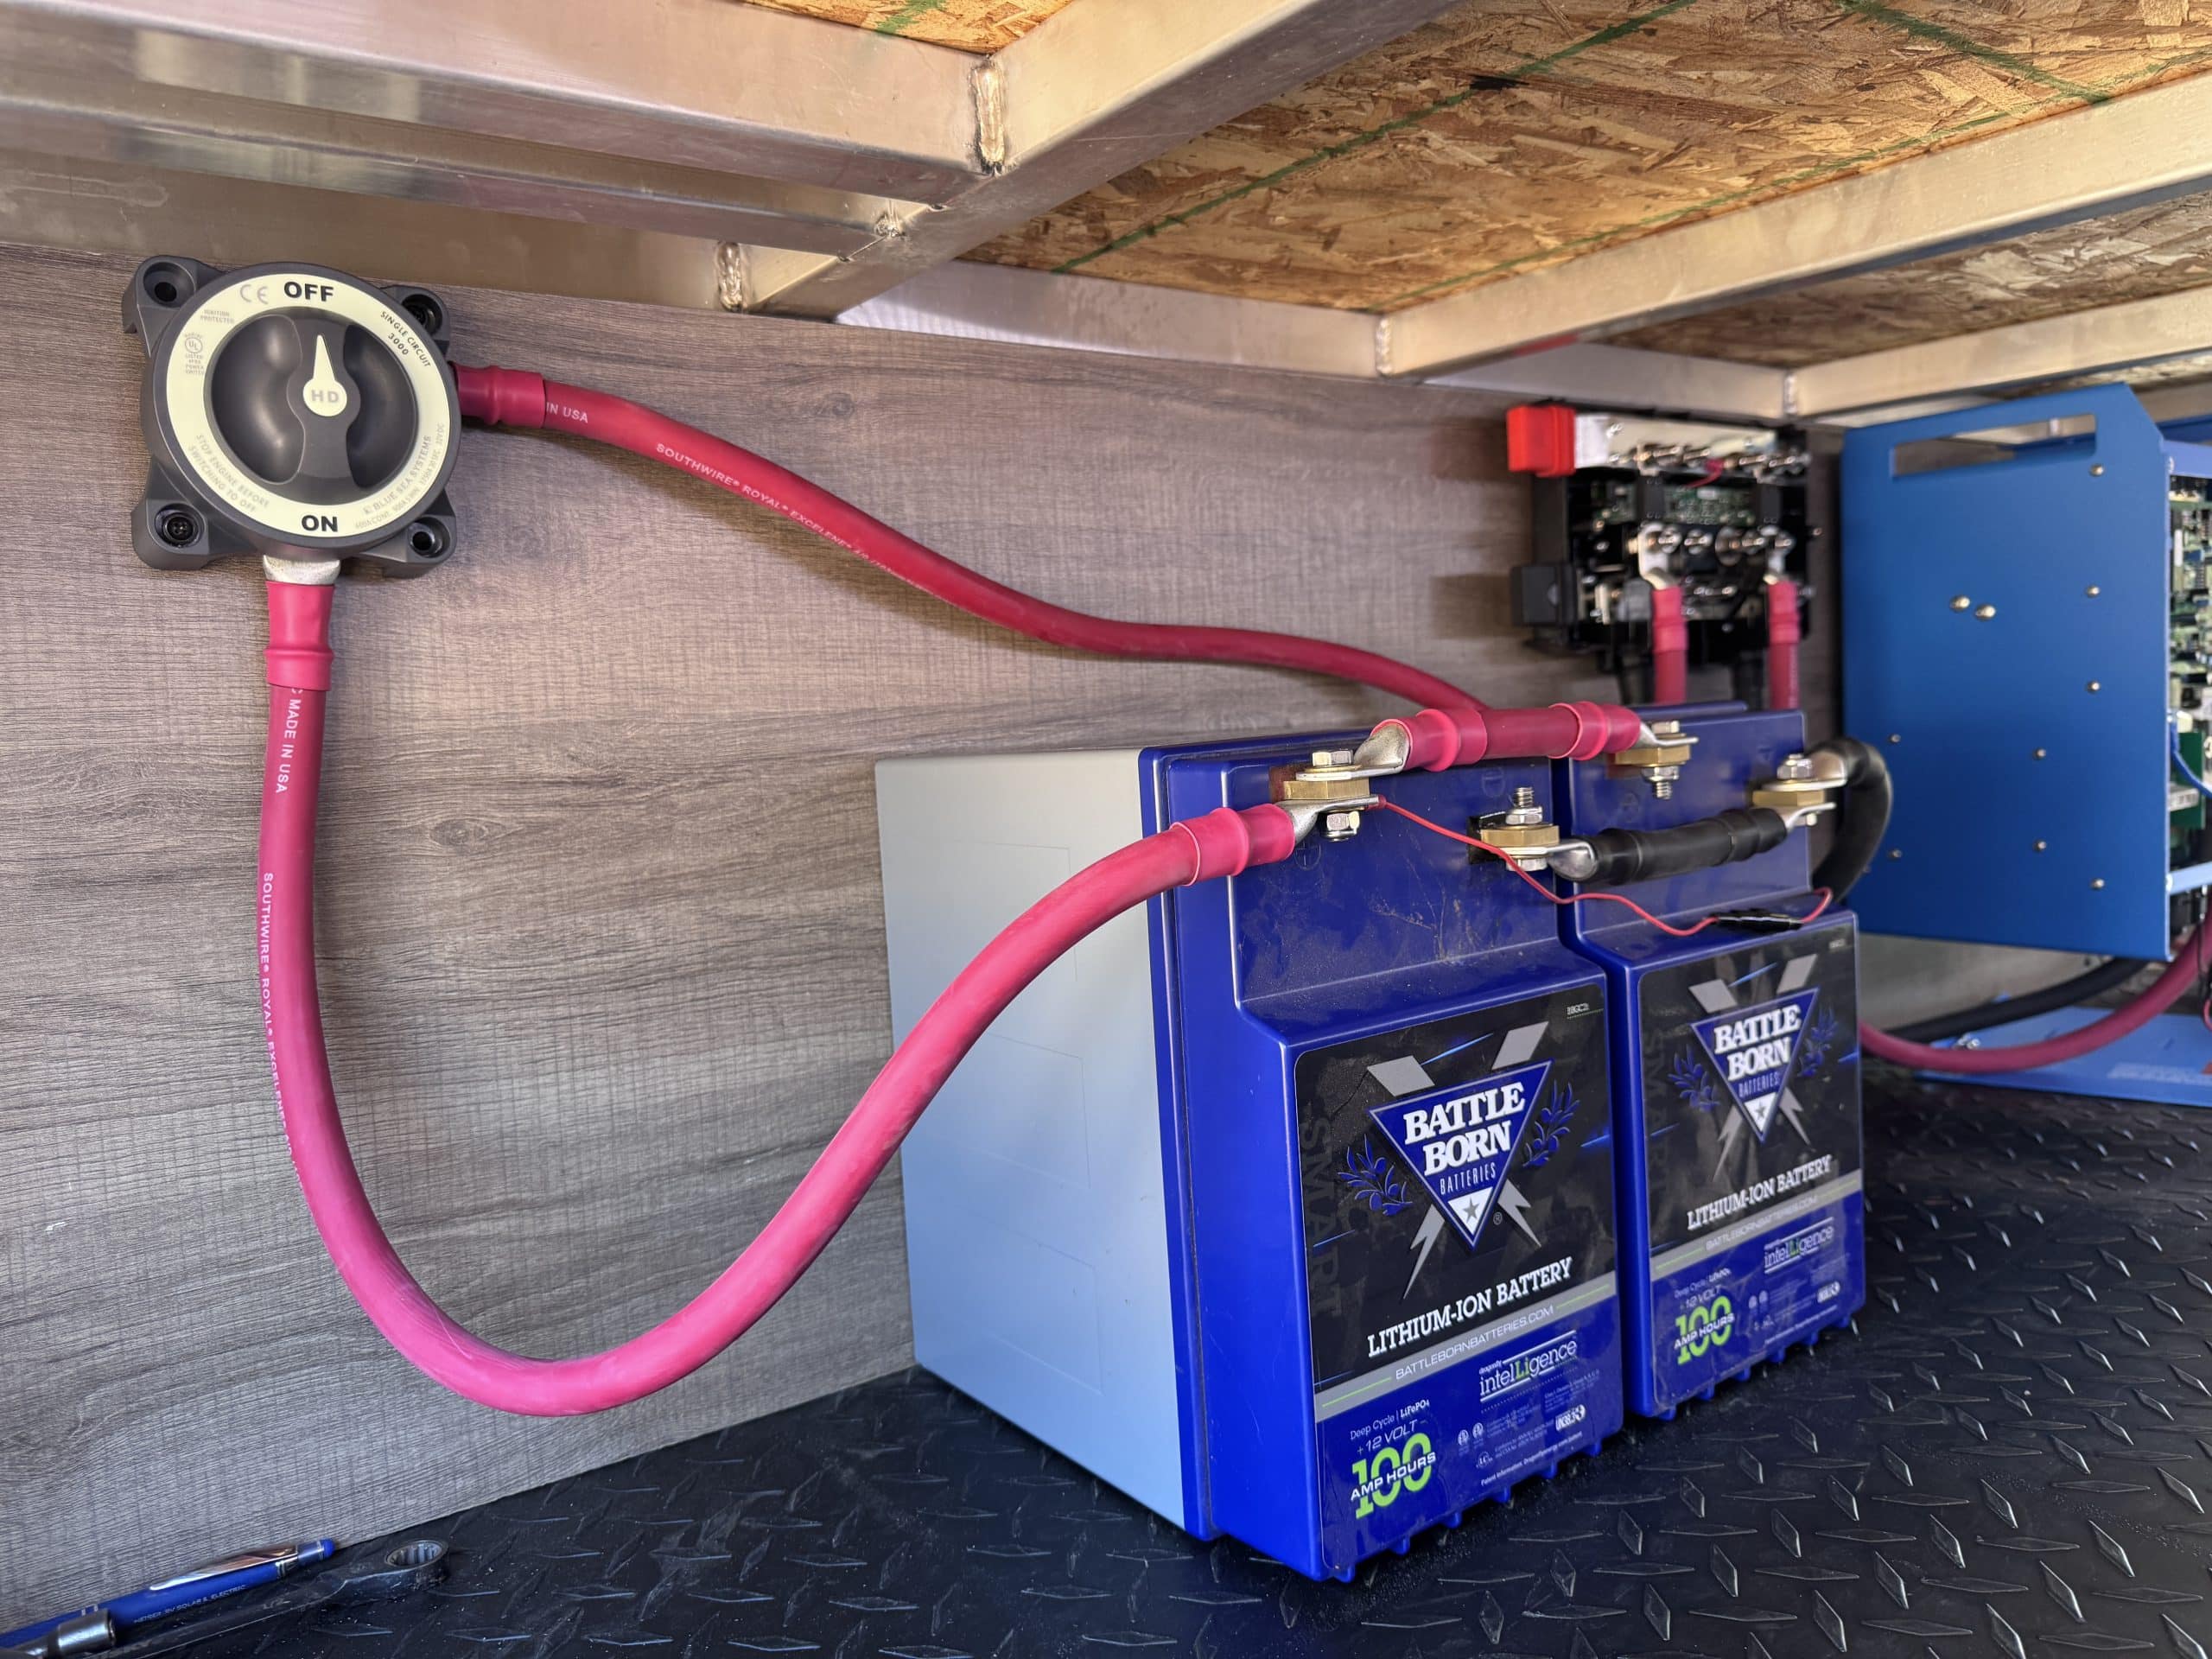
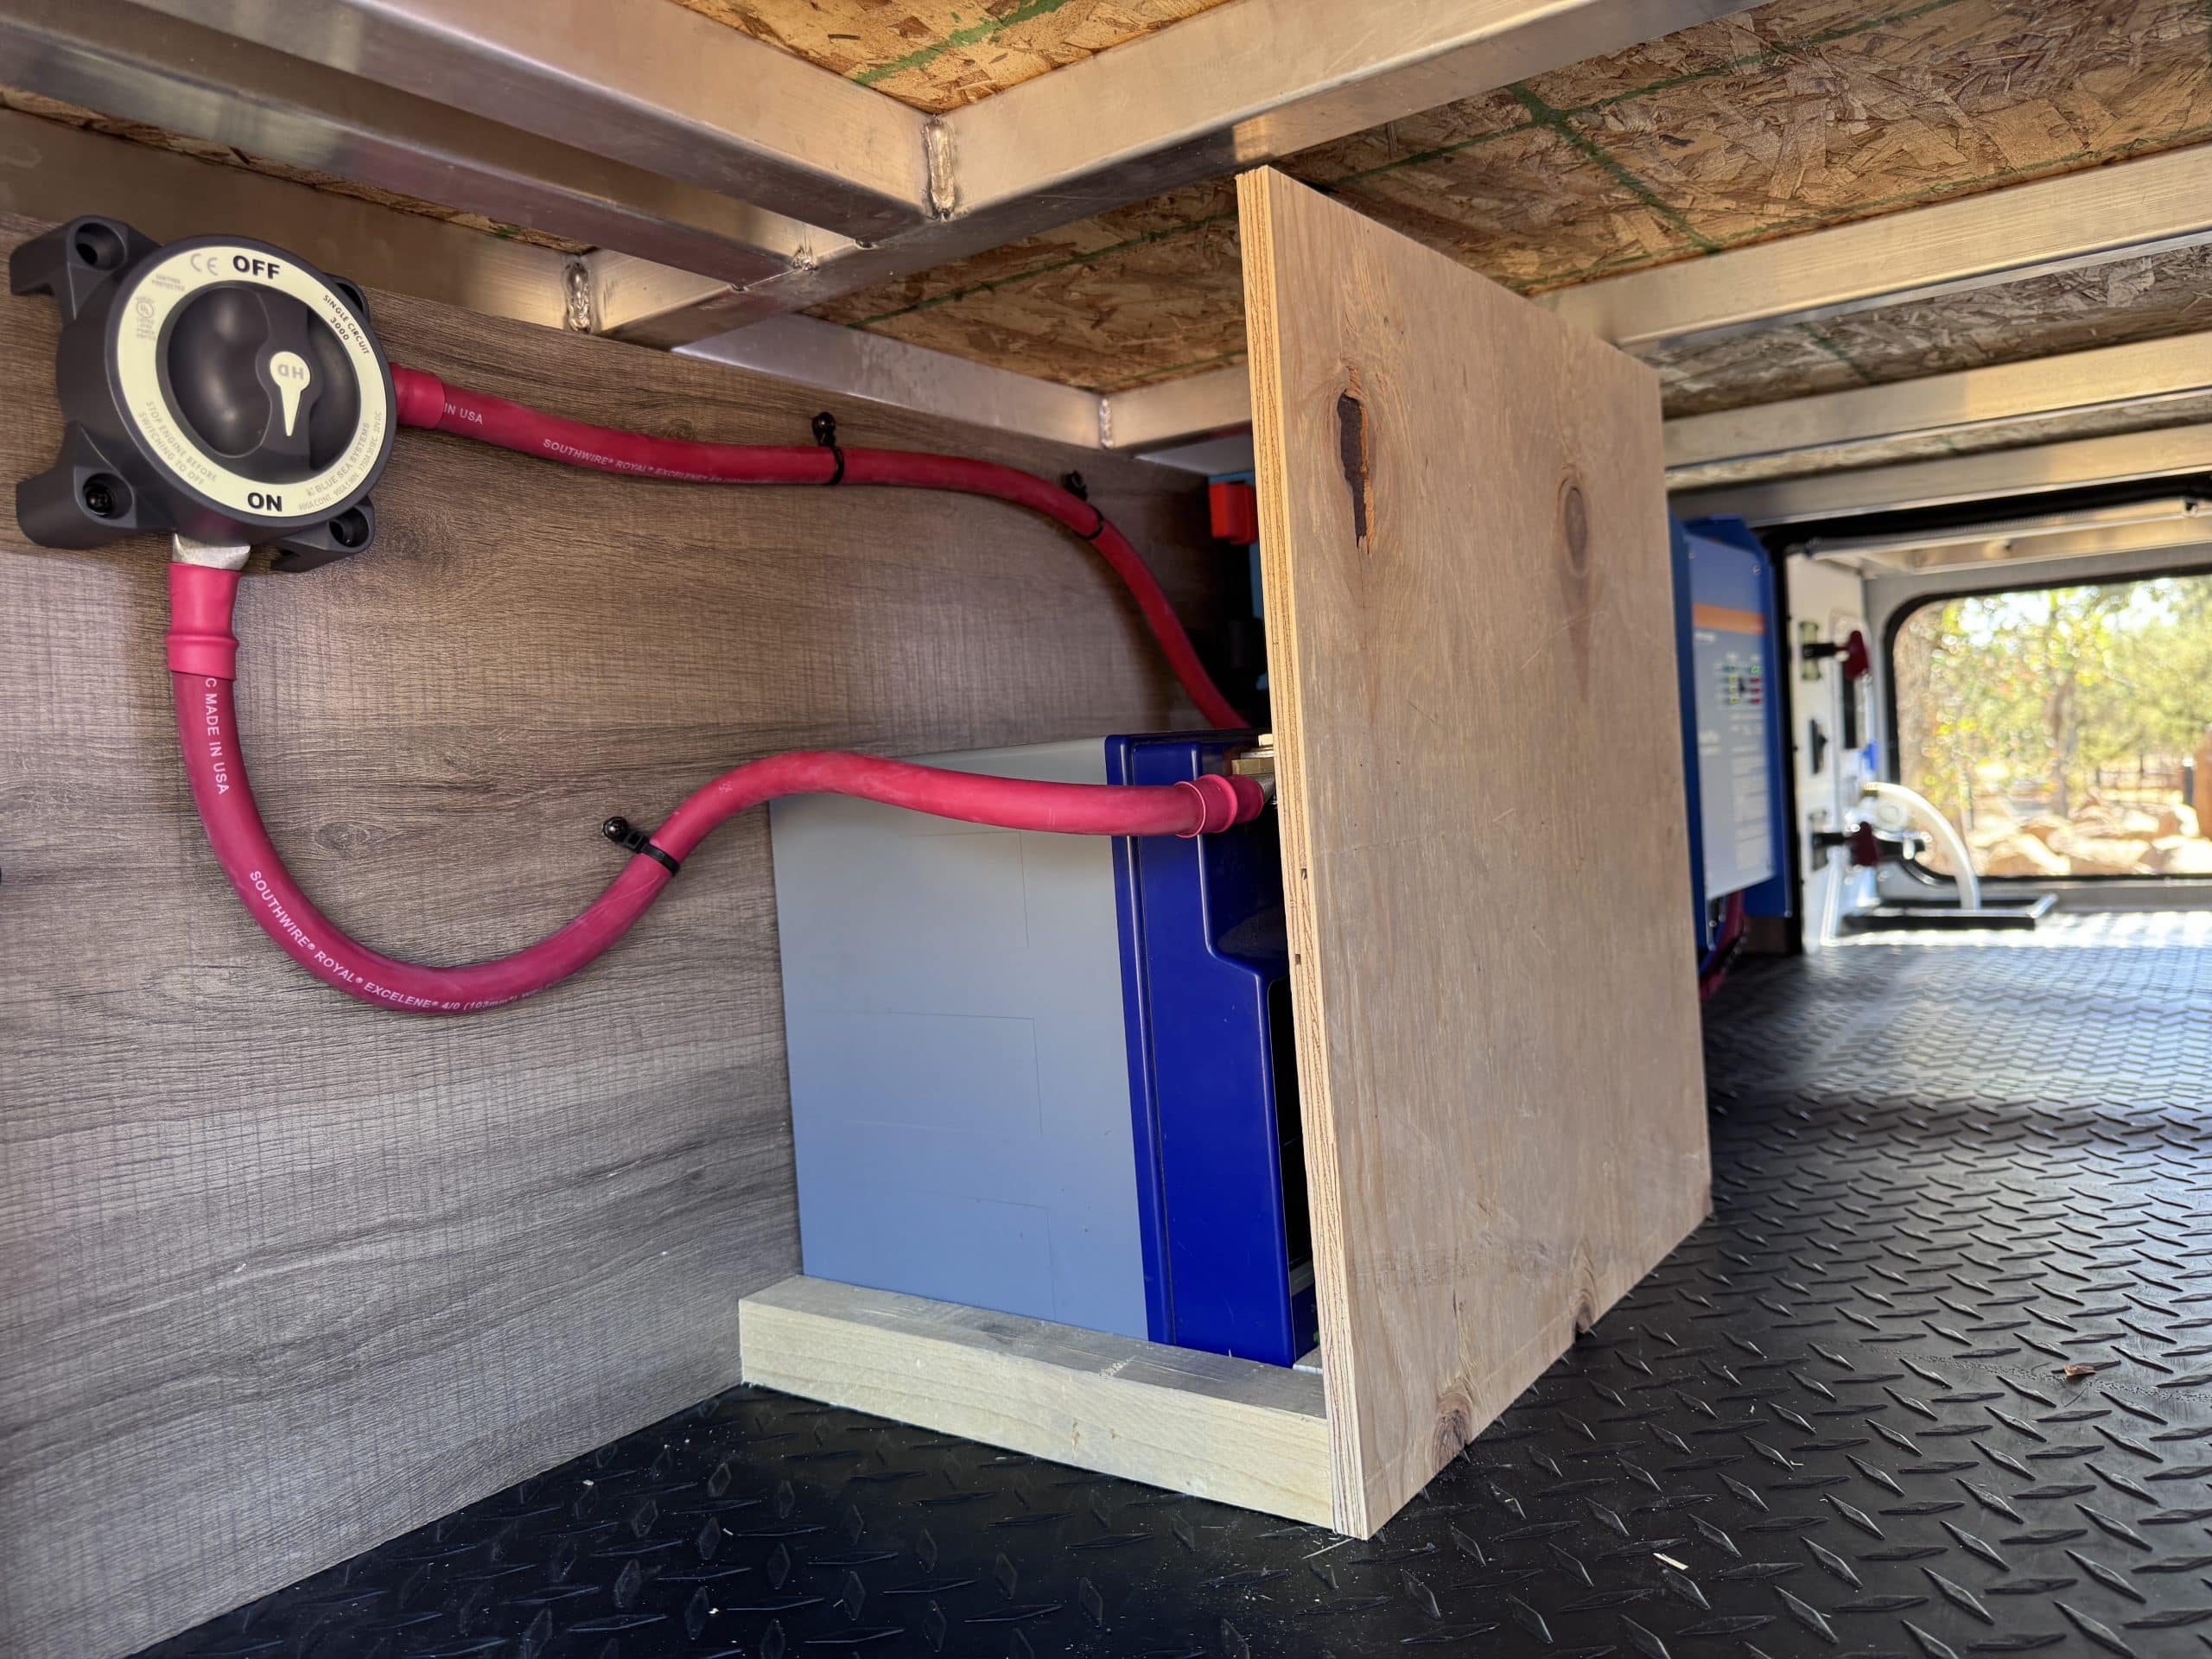
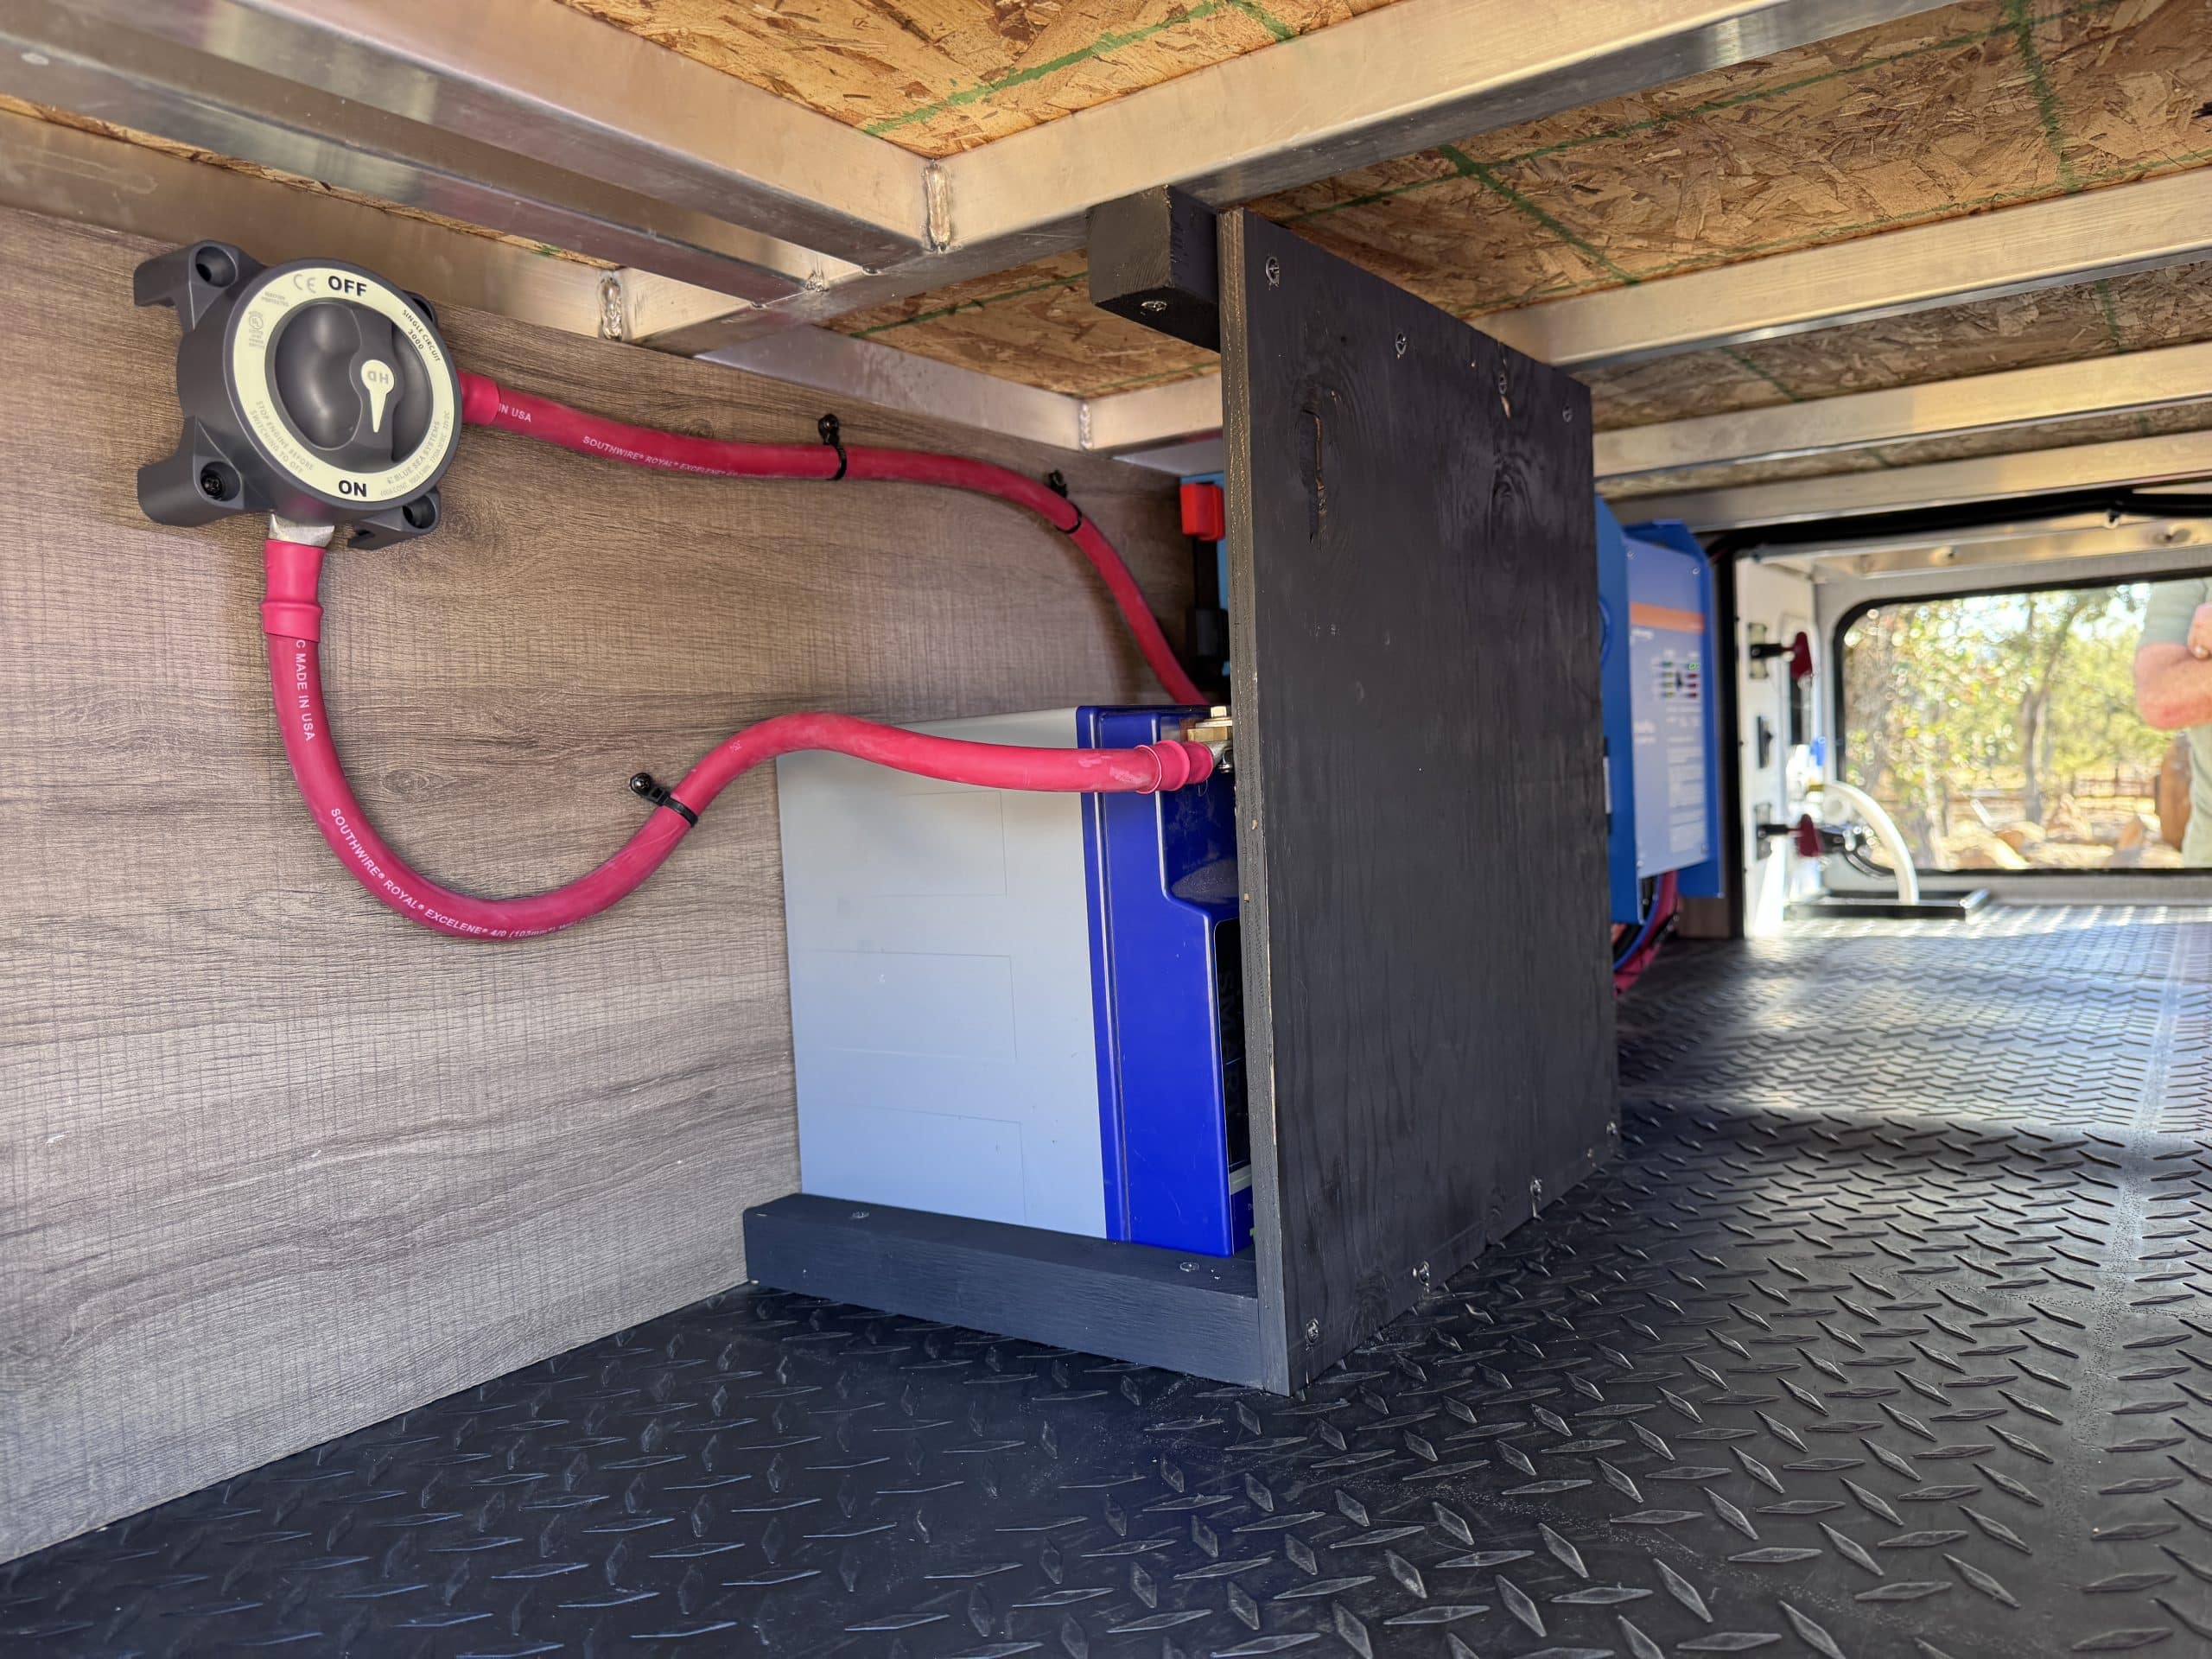
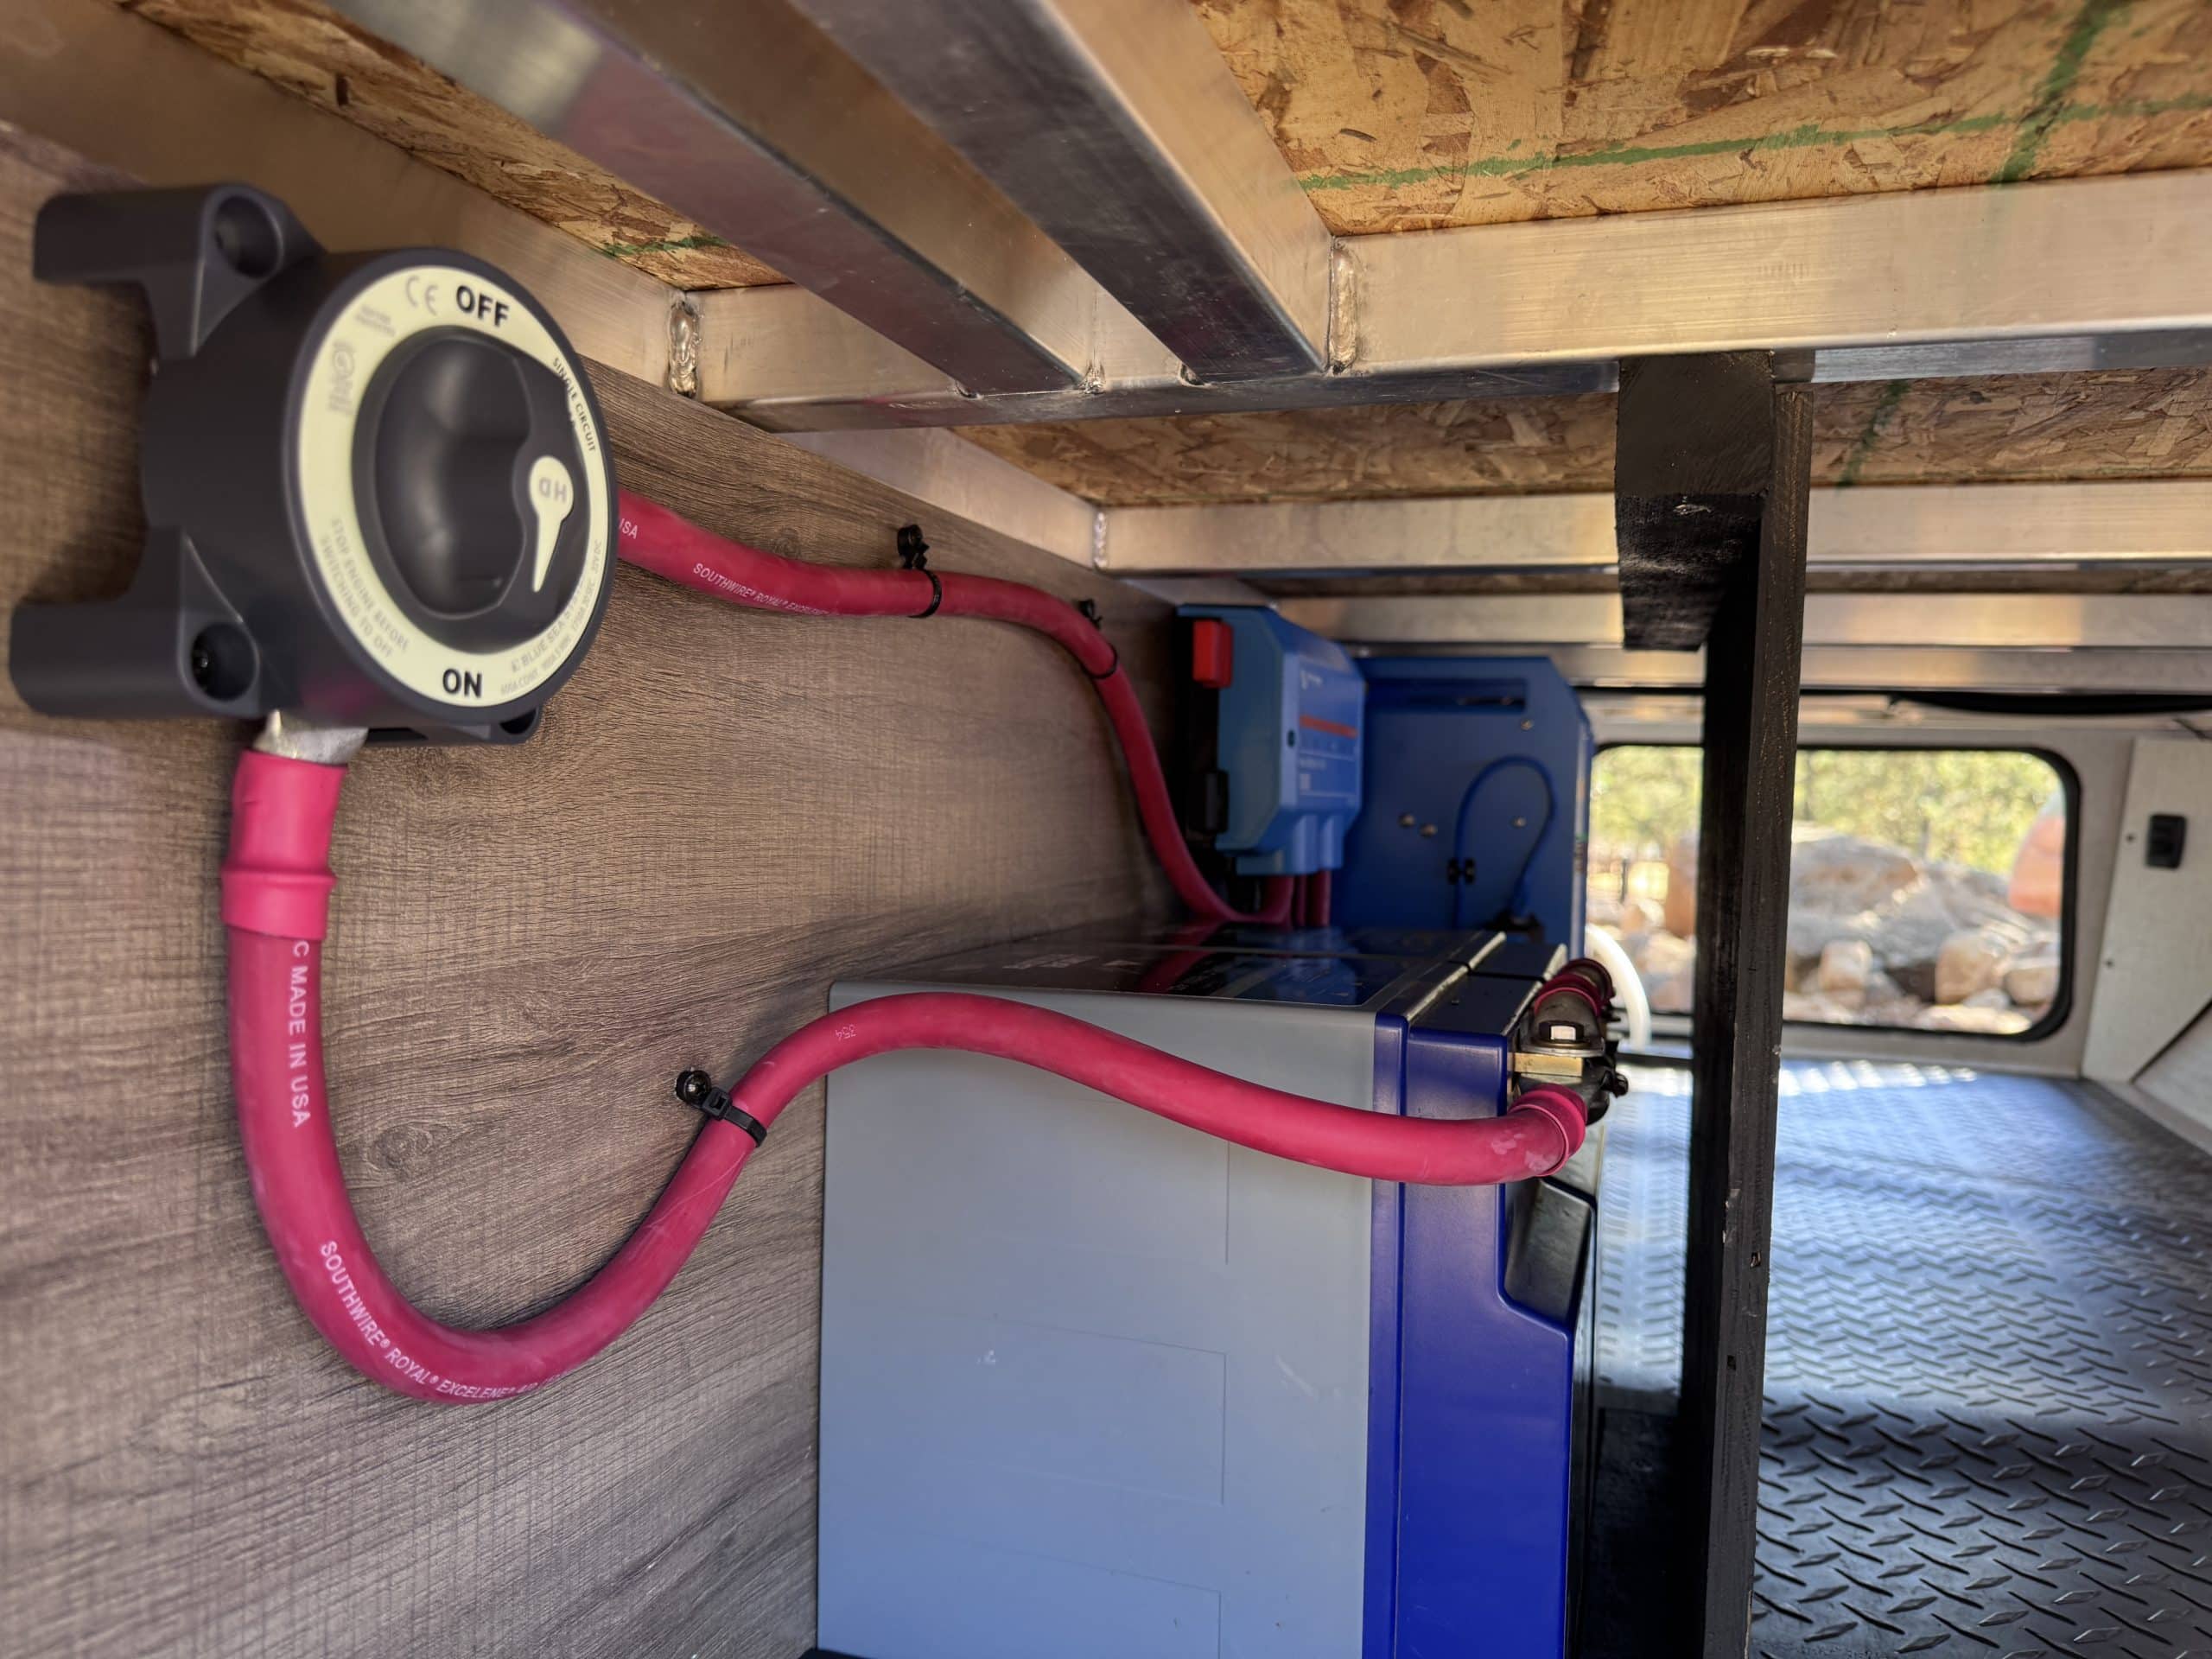
- 2 - Battle Born GC2 100 amp hour lithium batteries
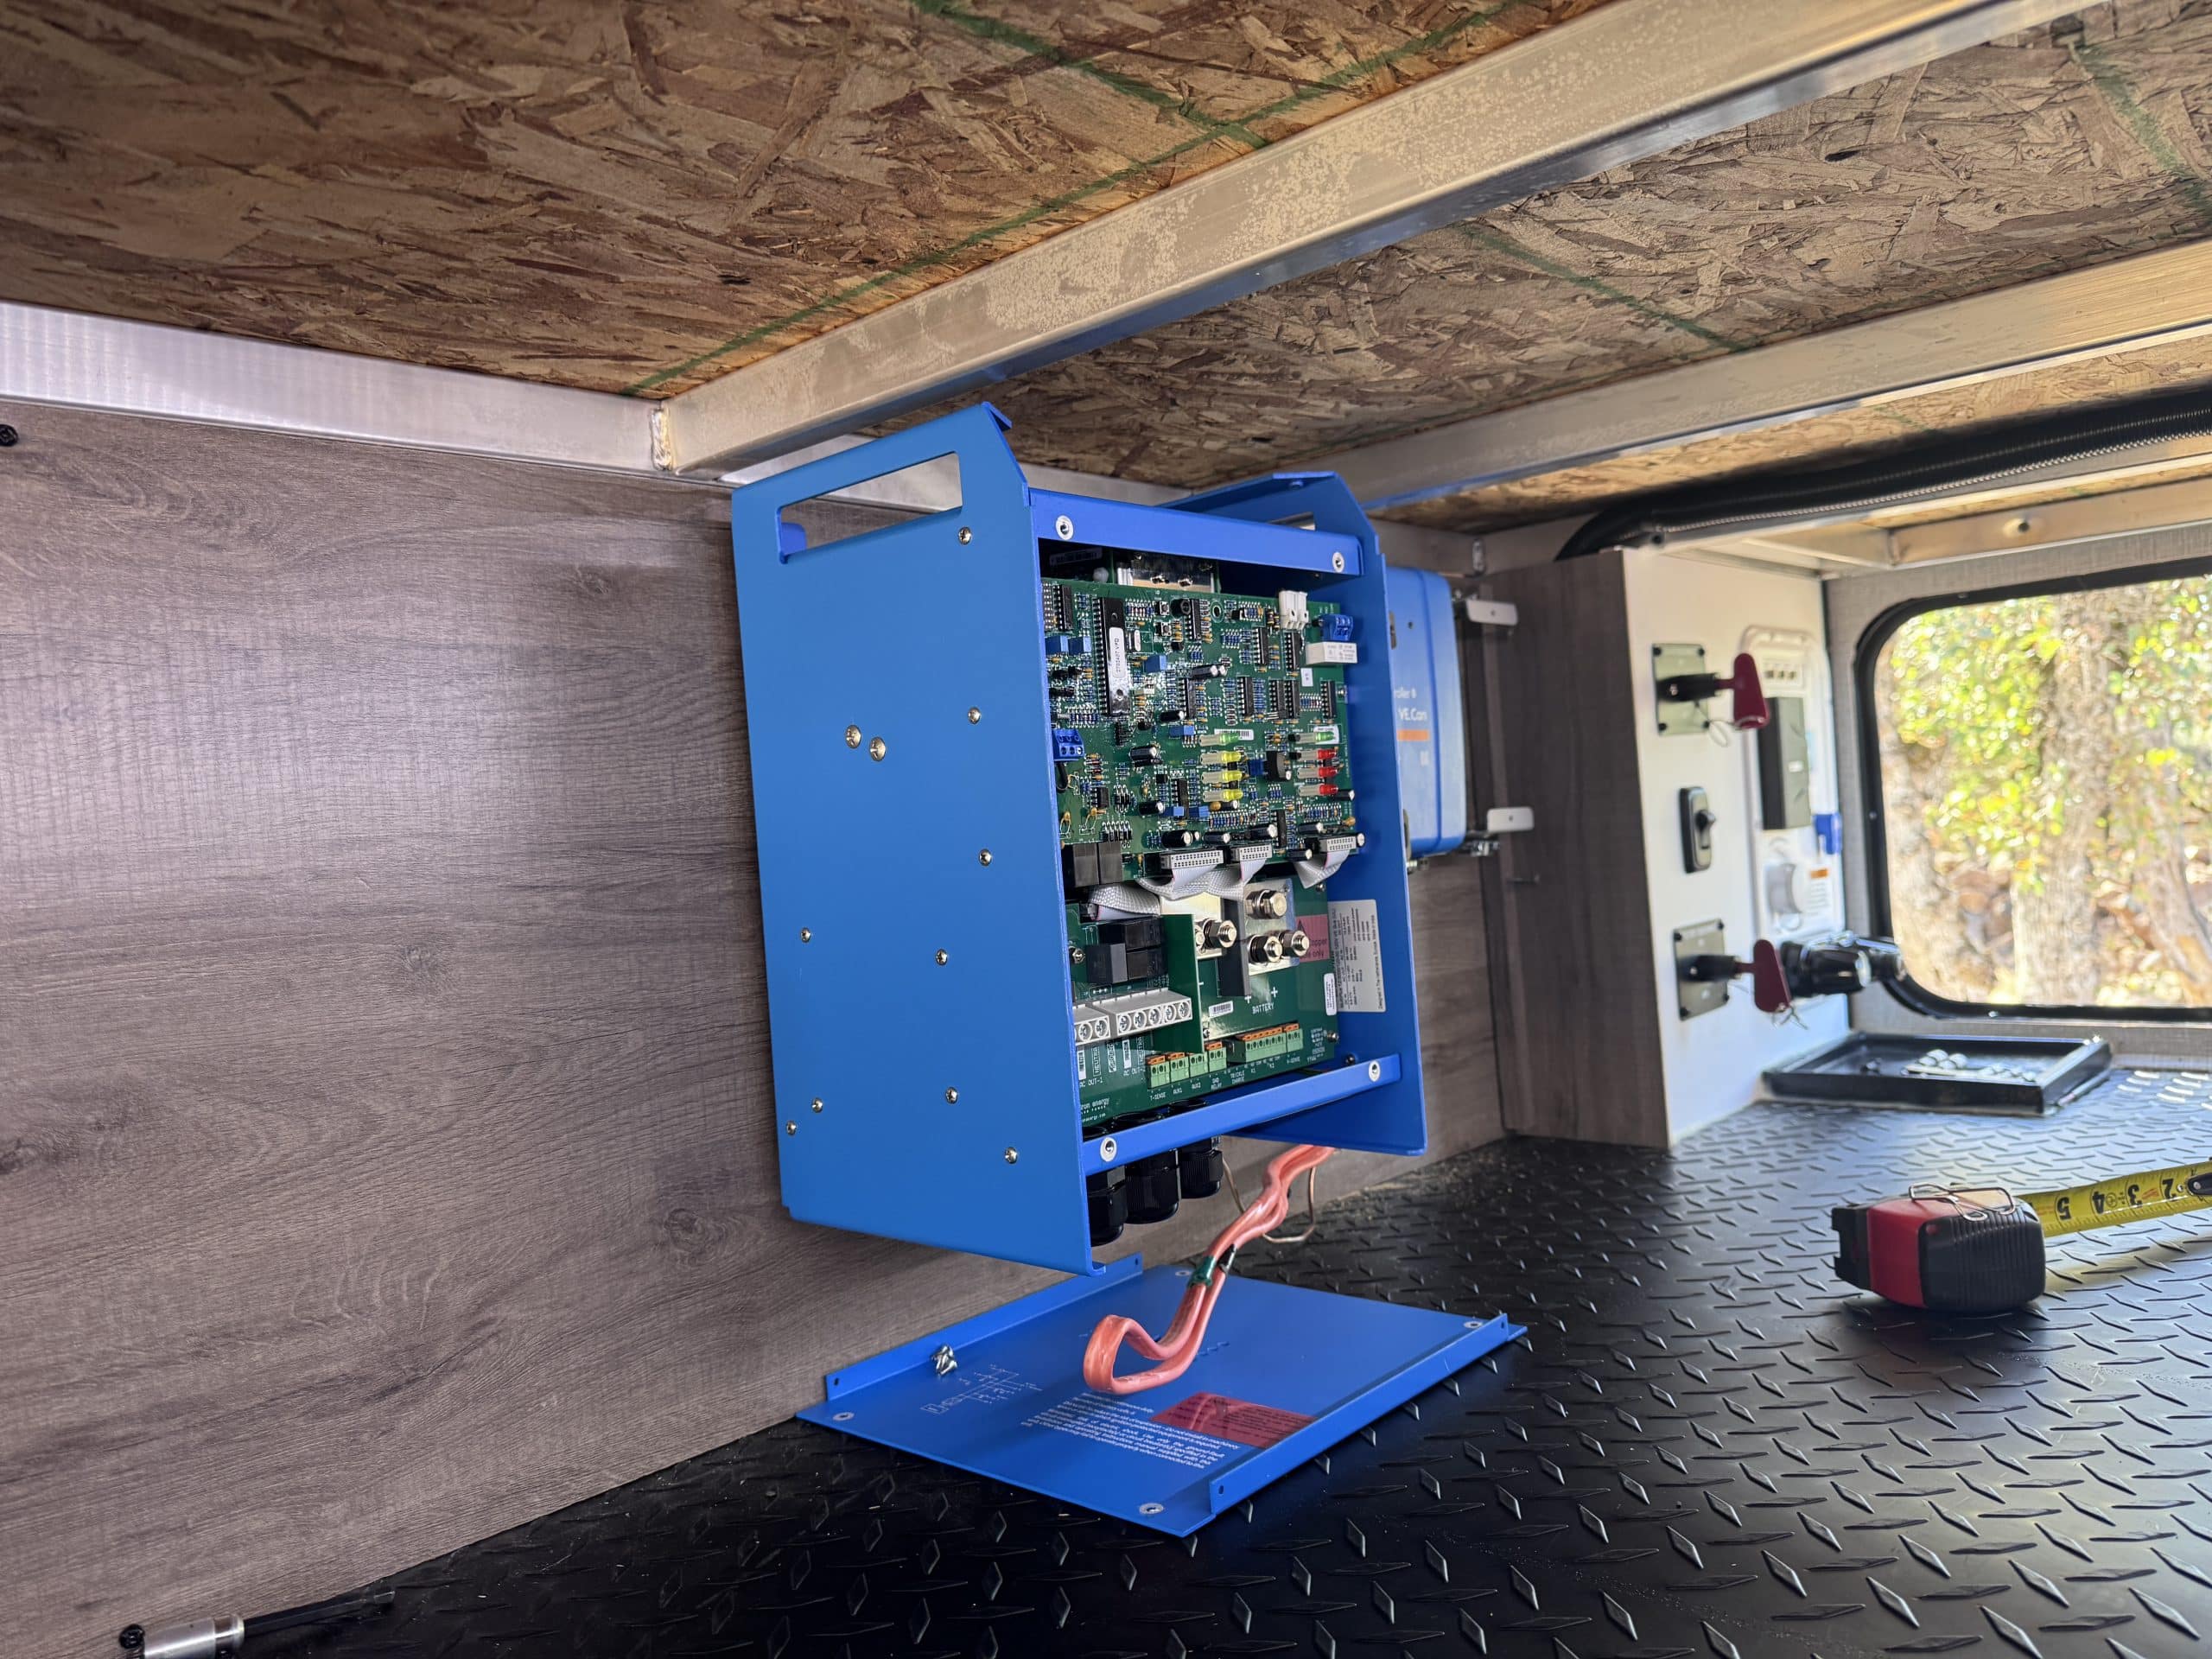
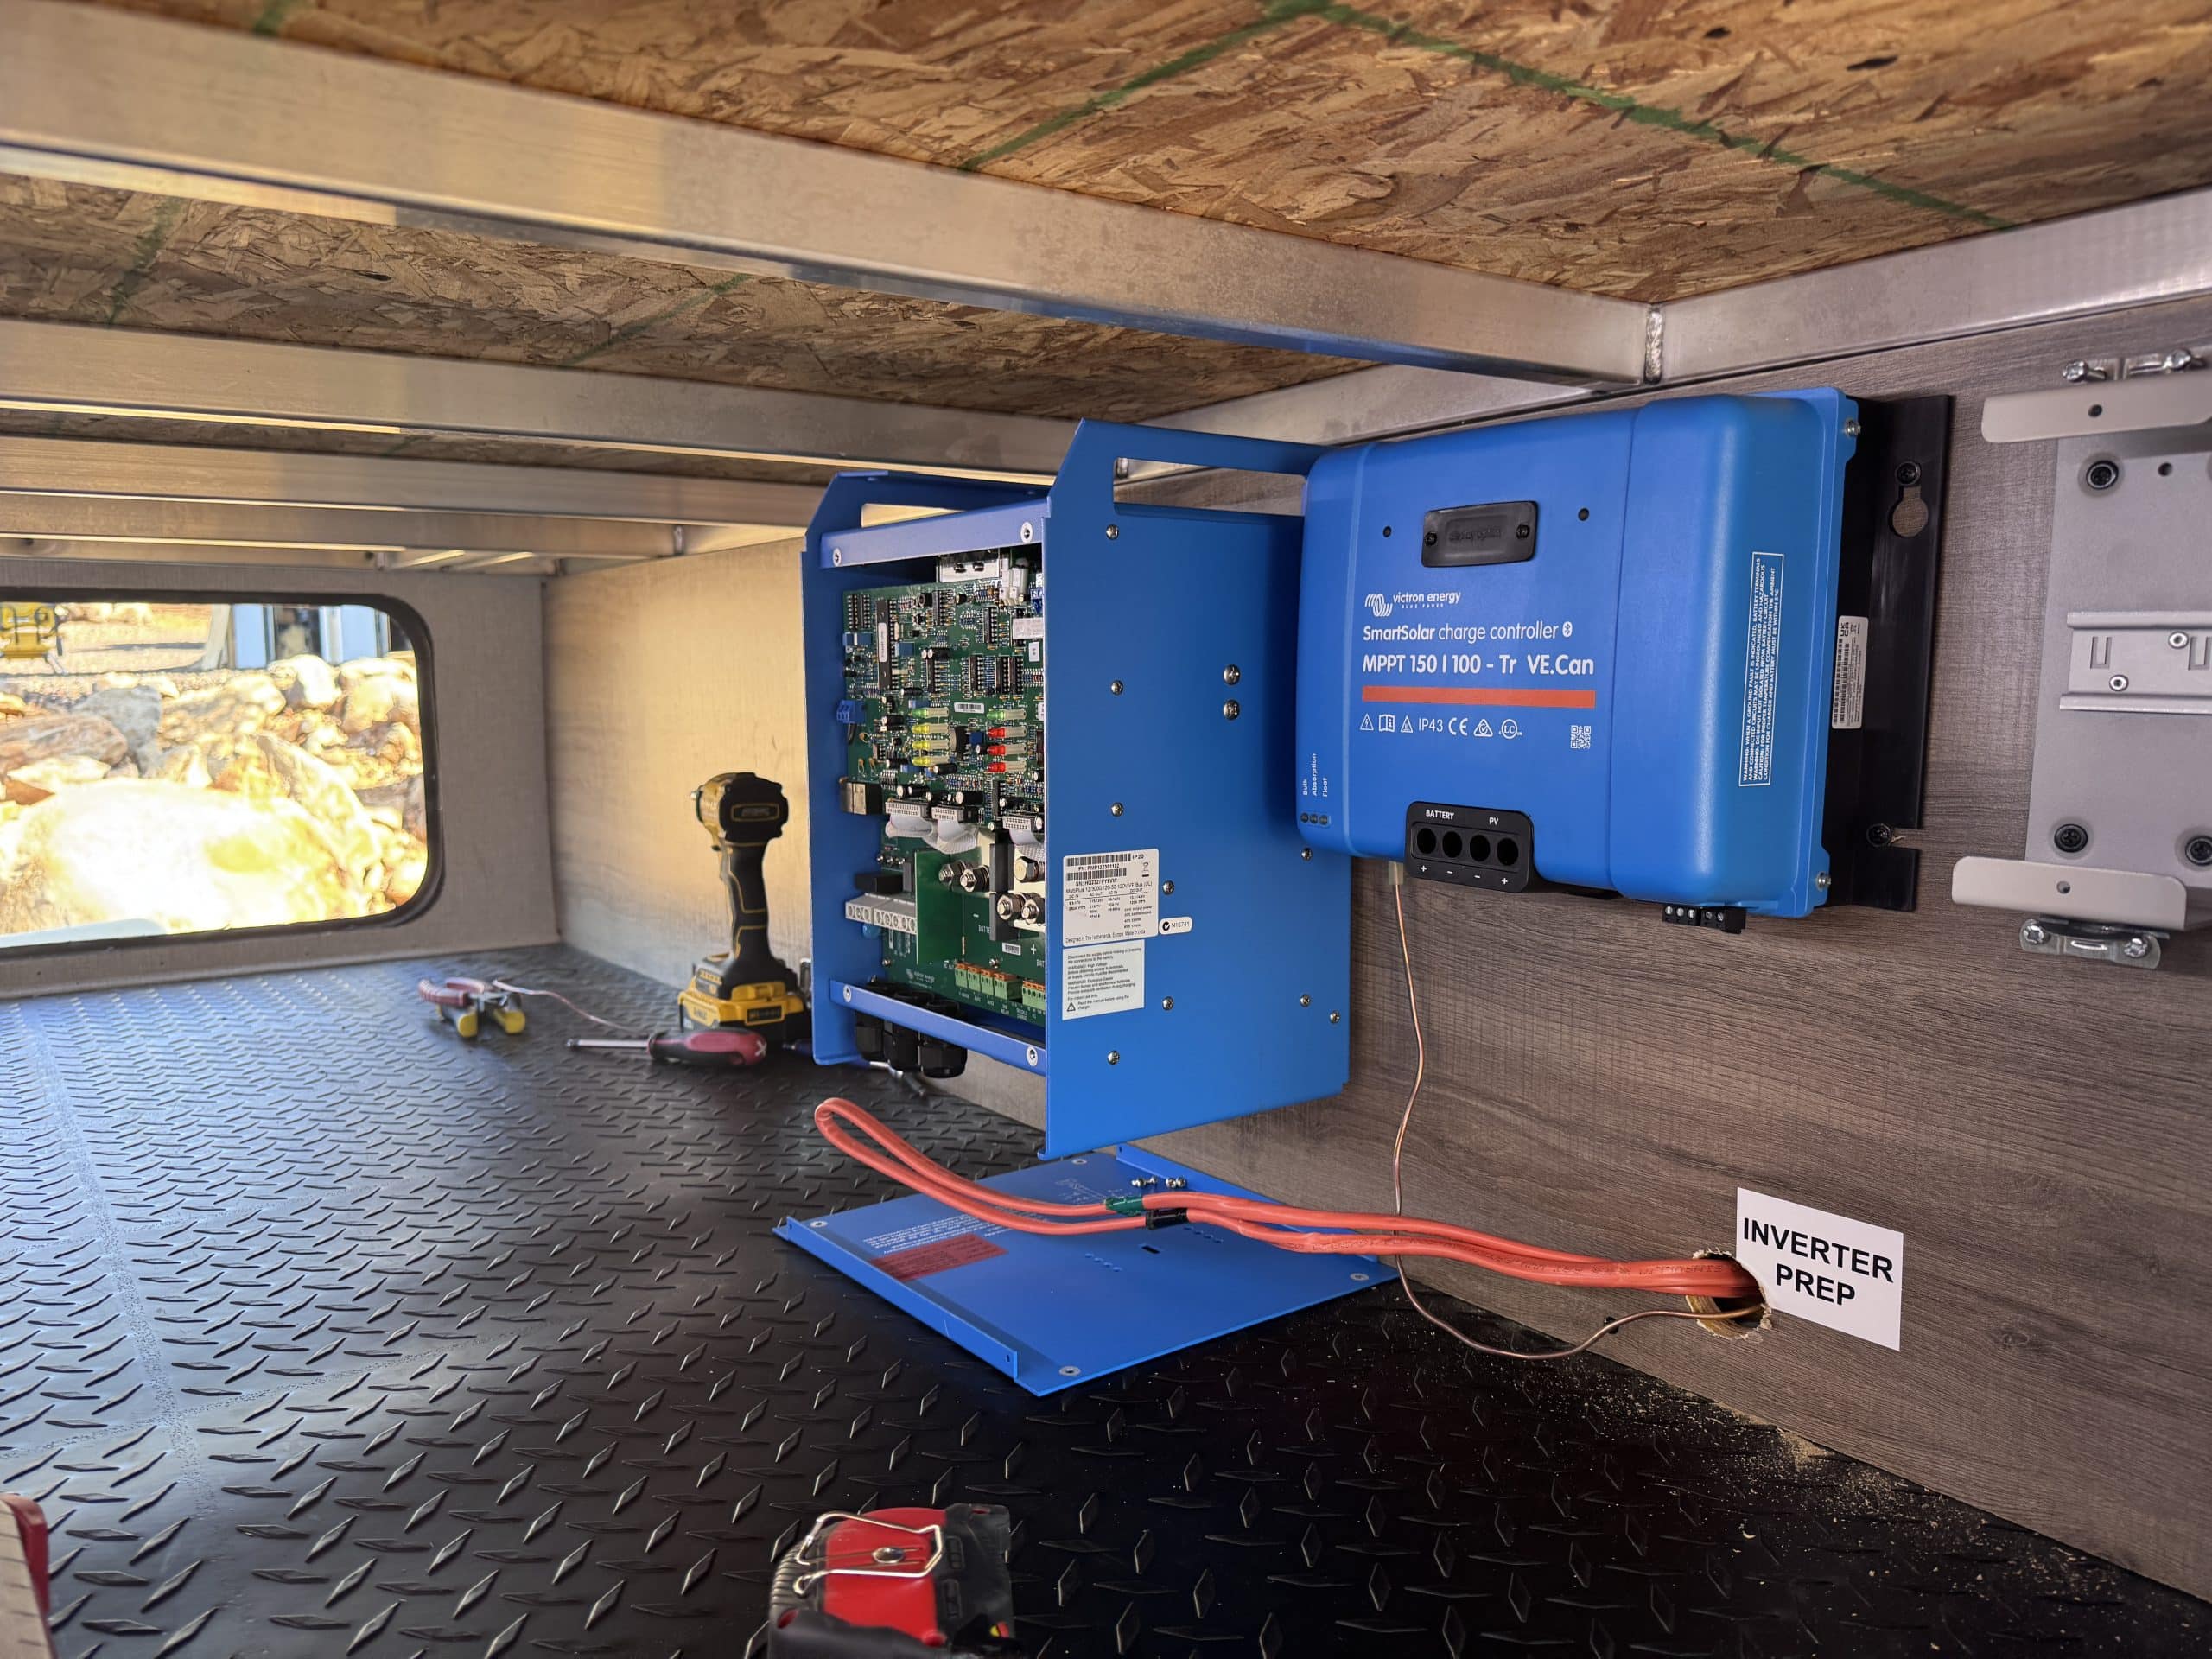
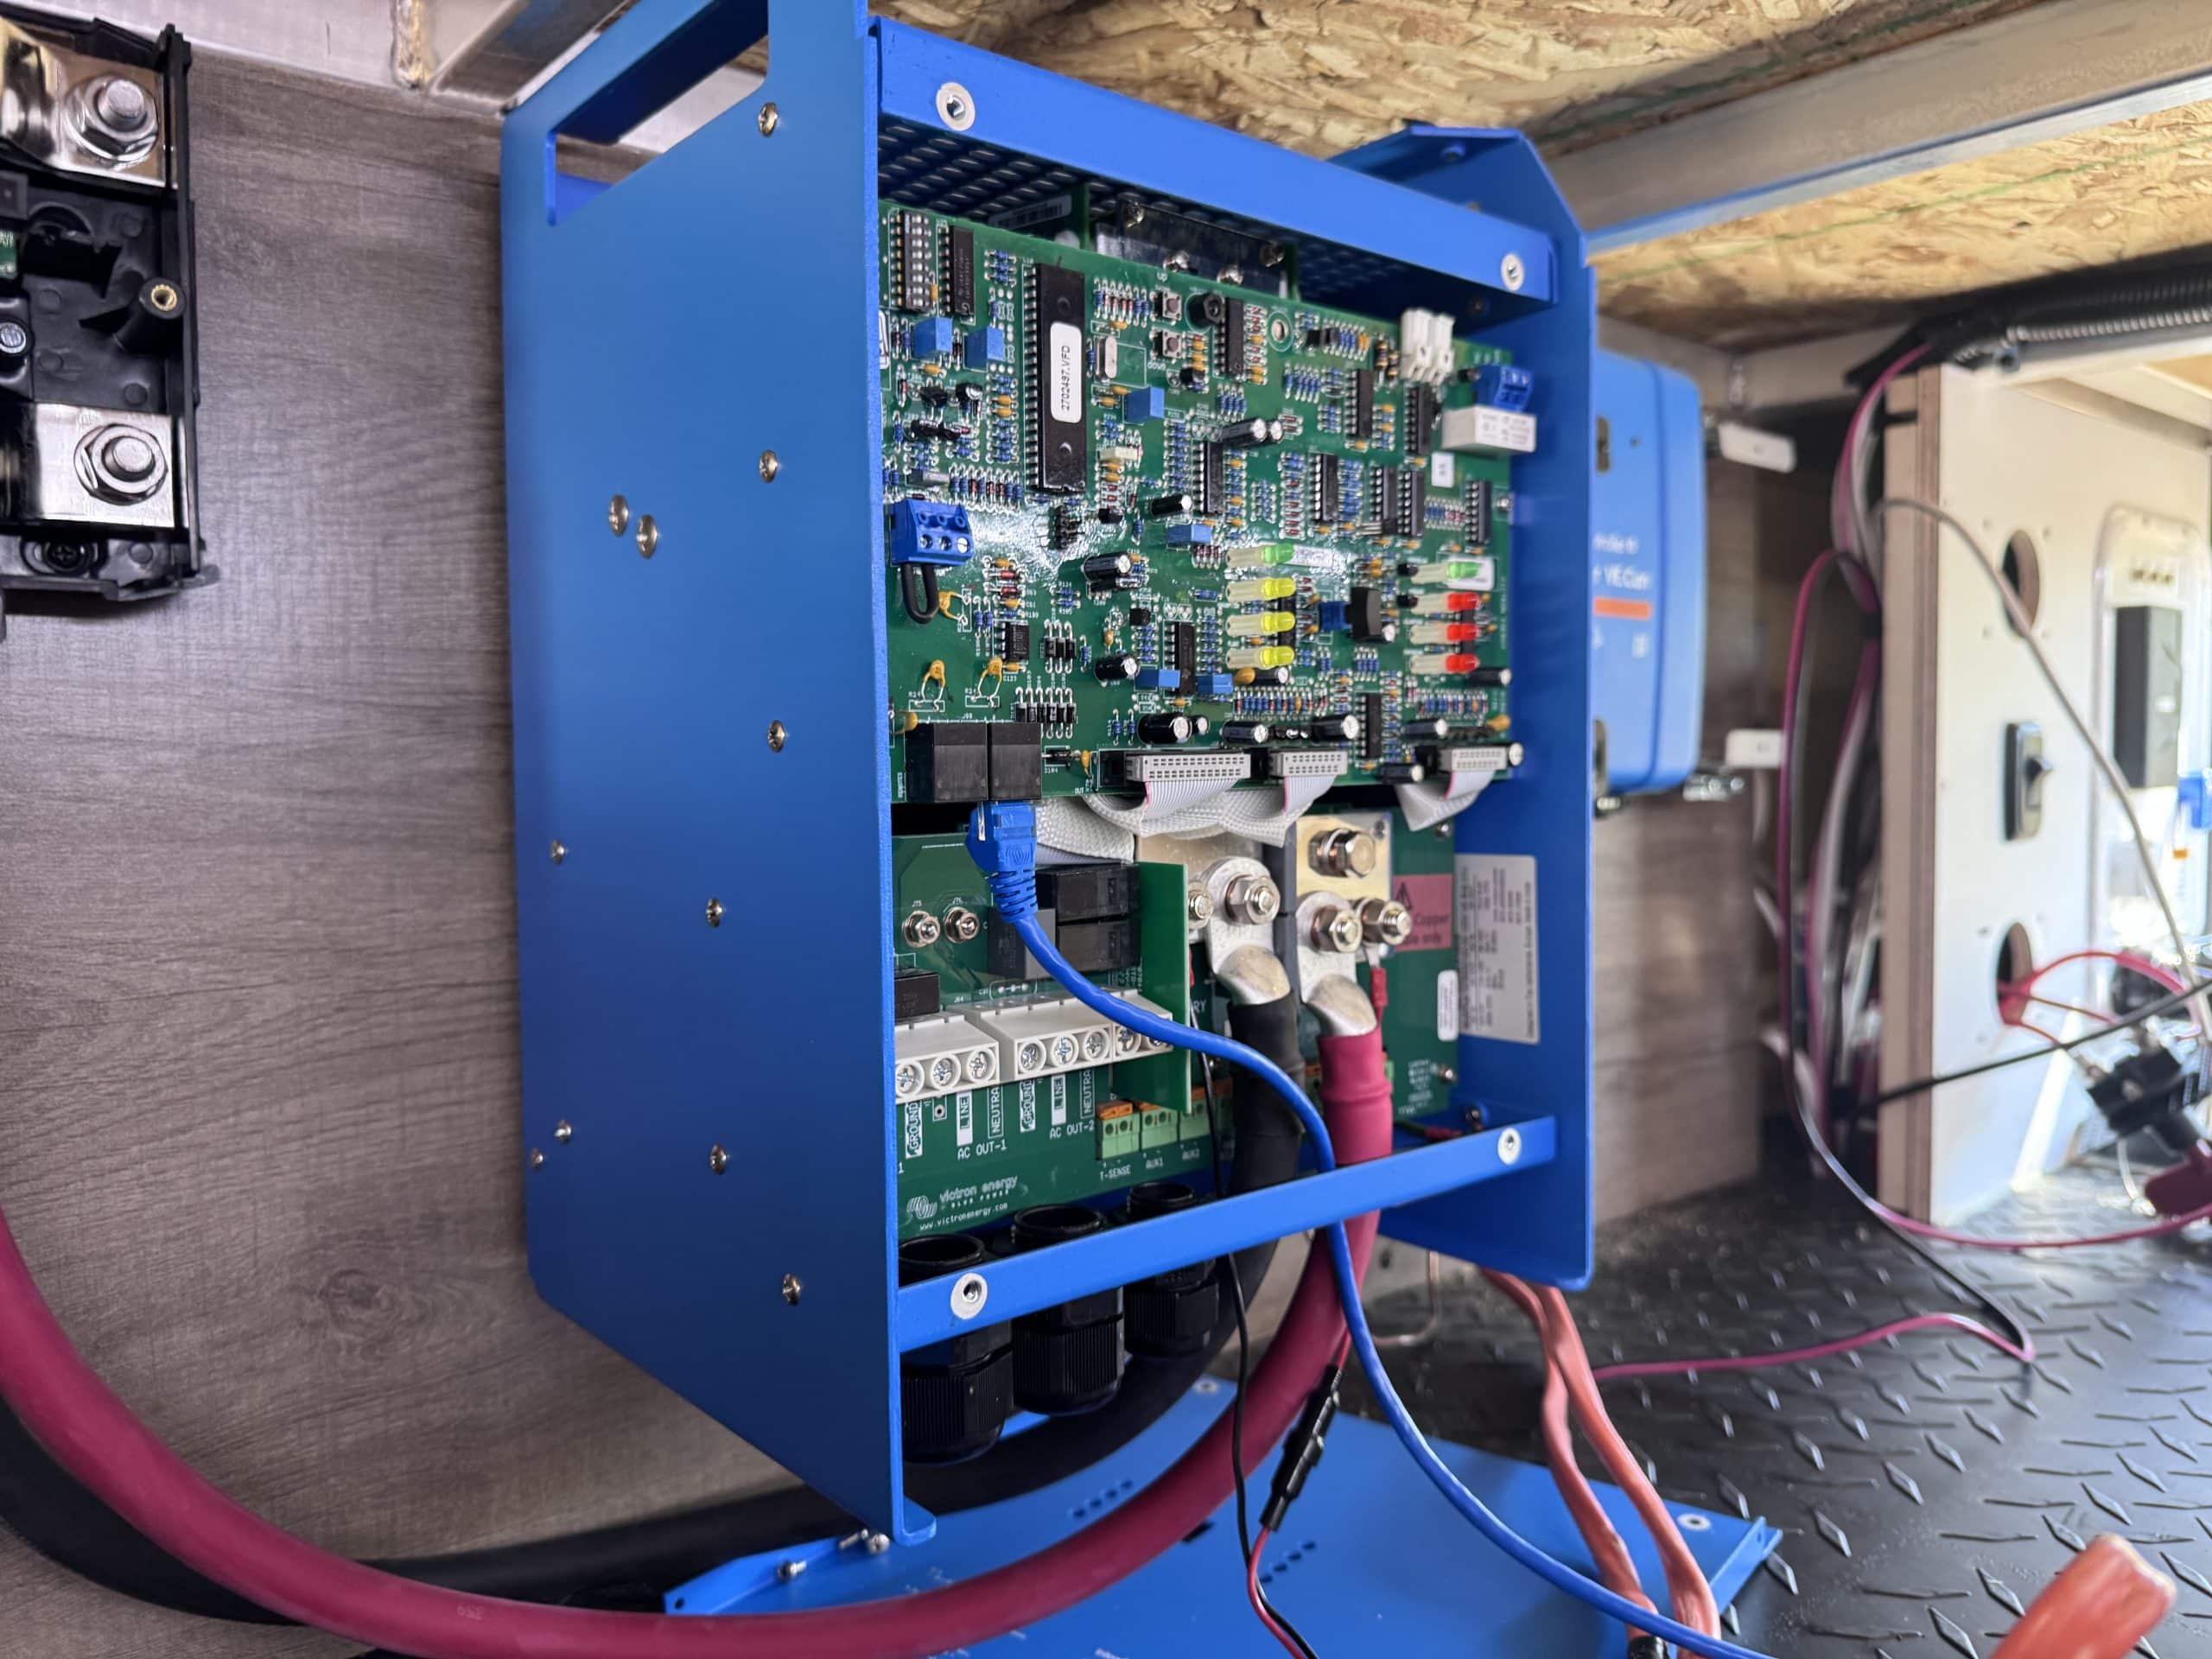
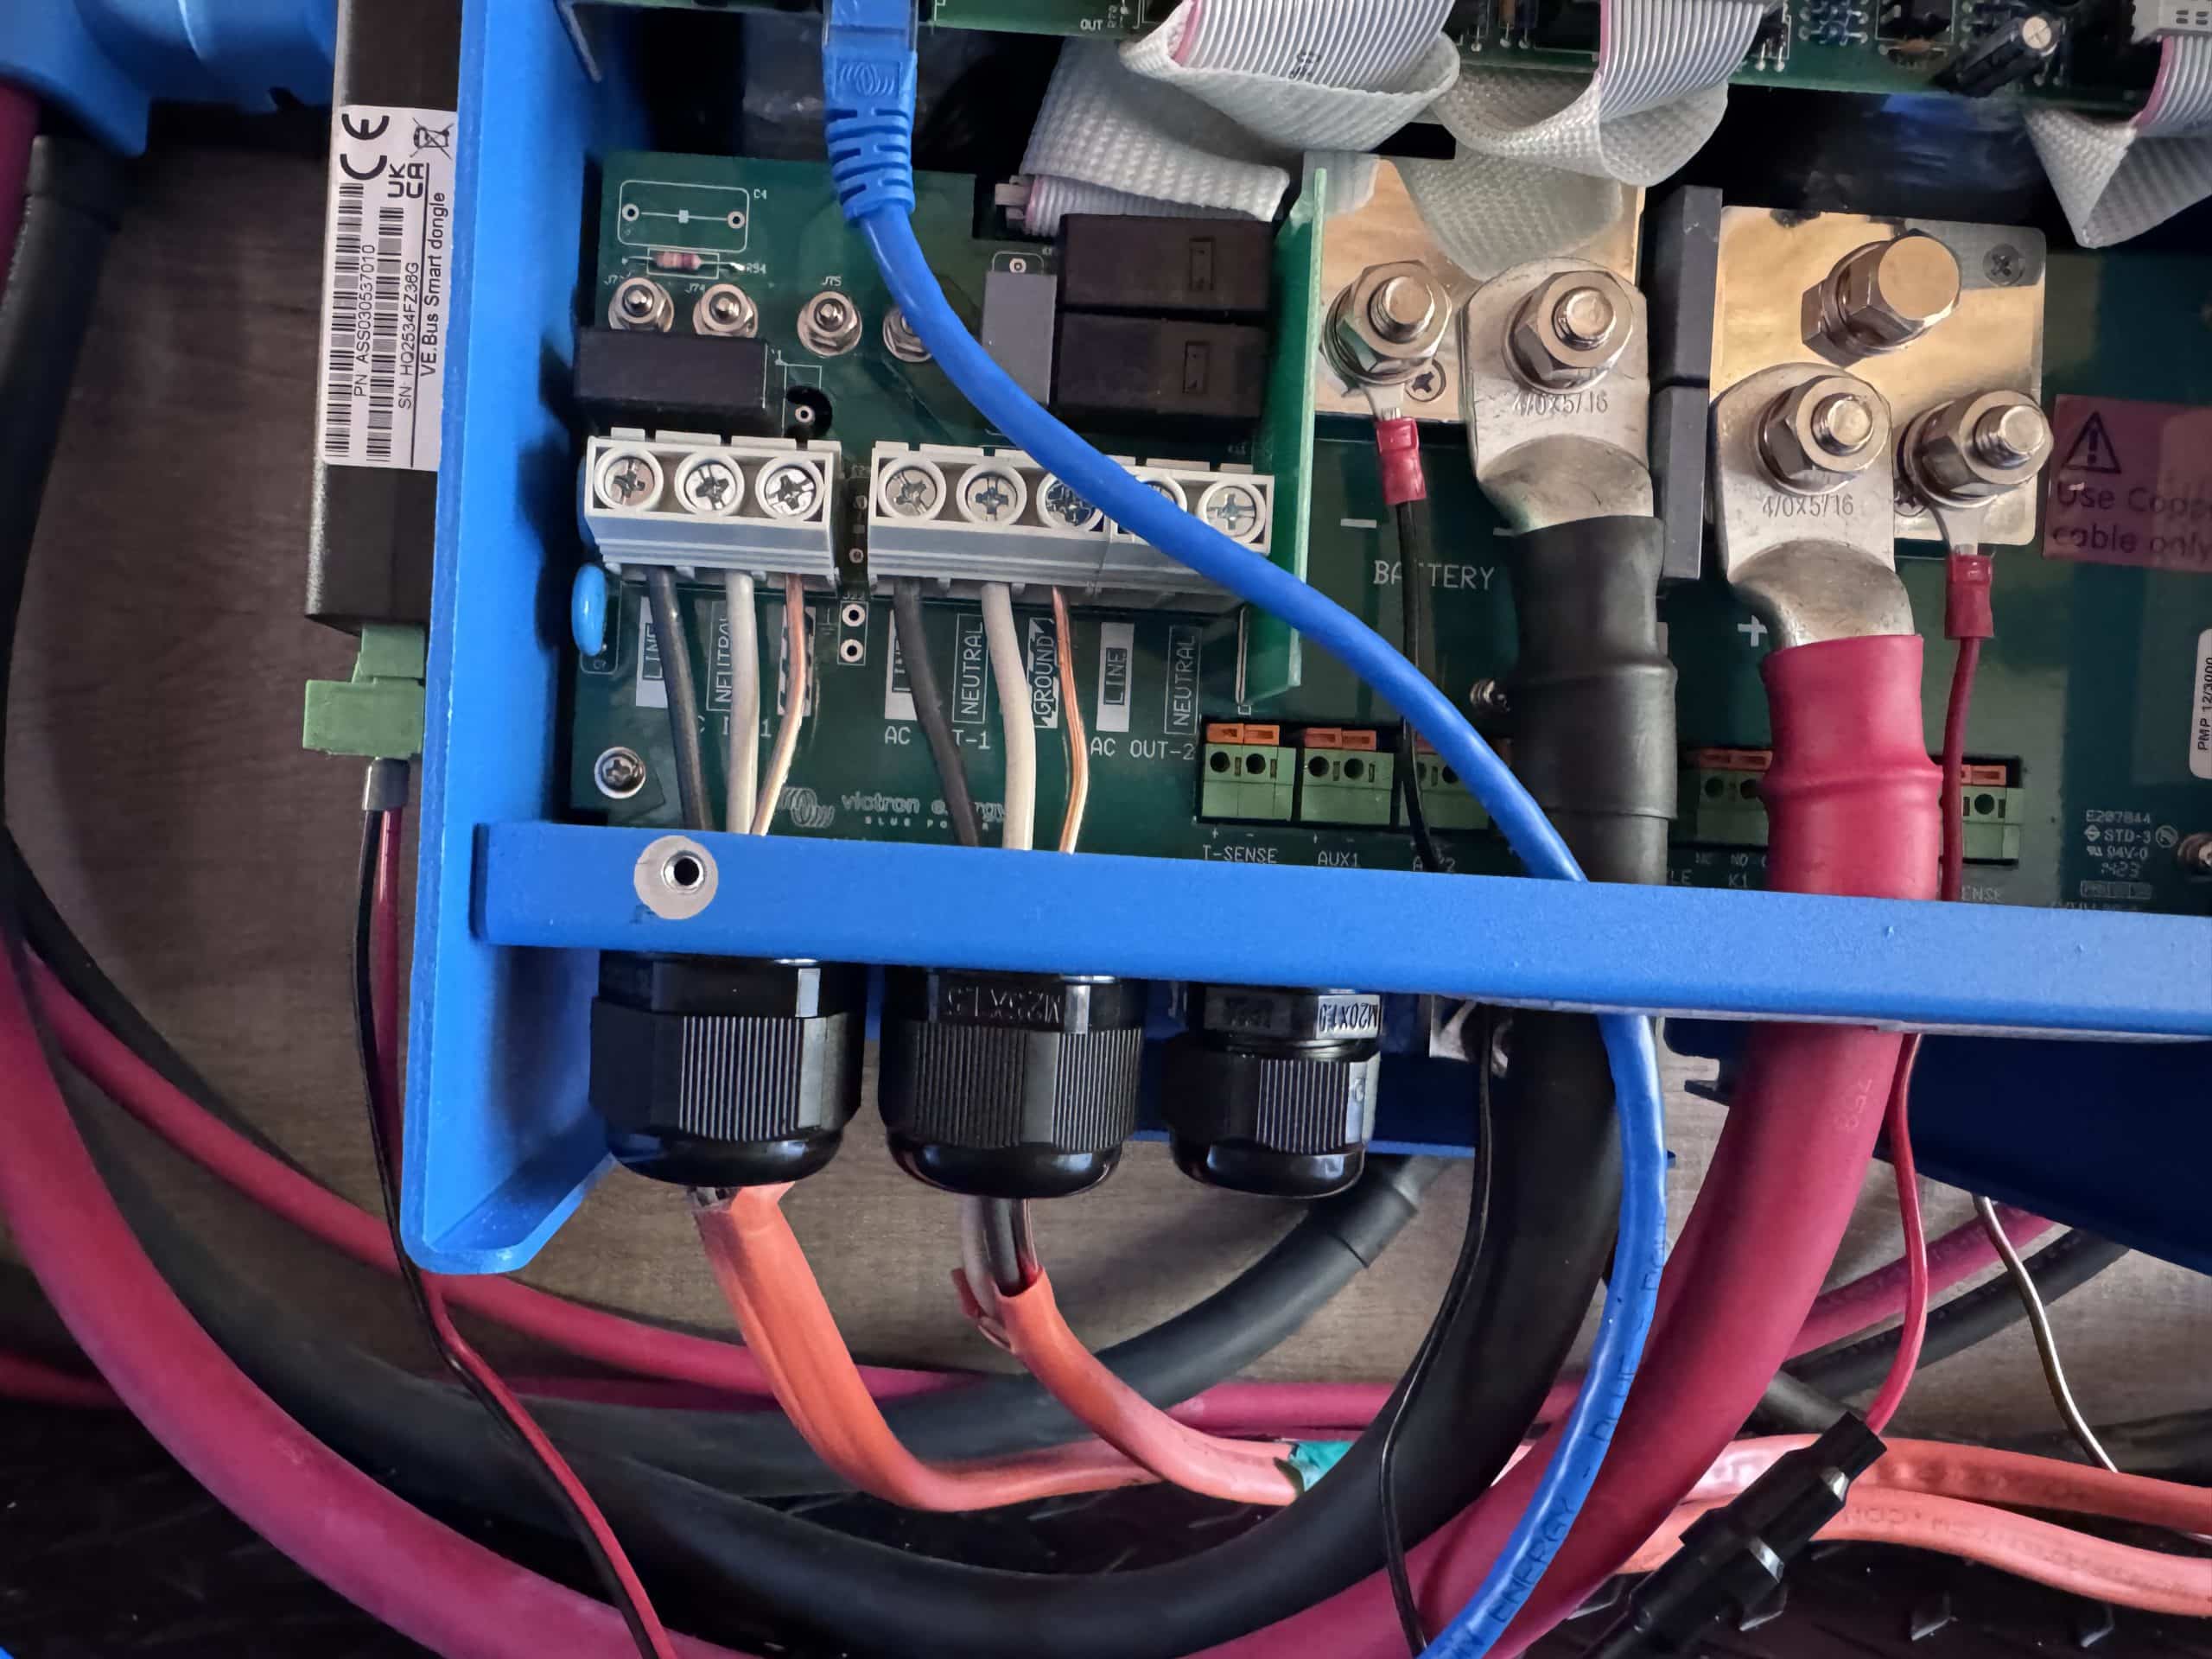
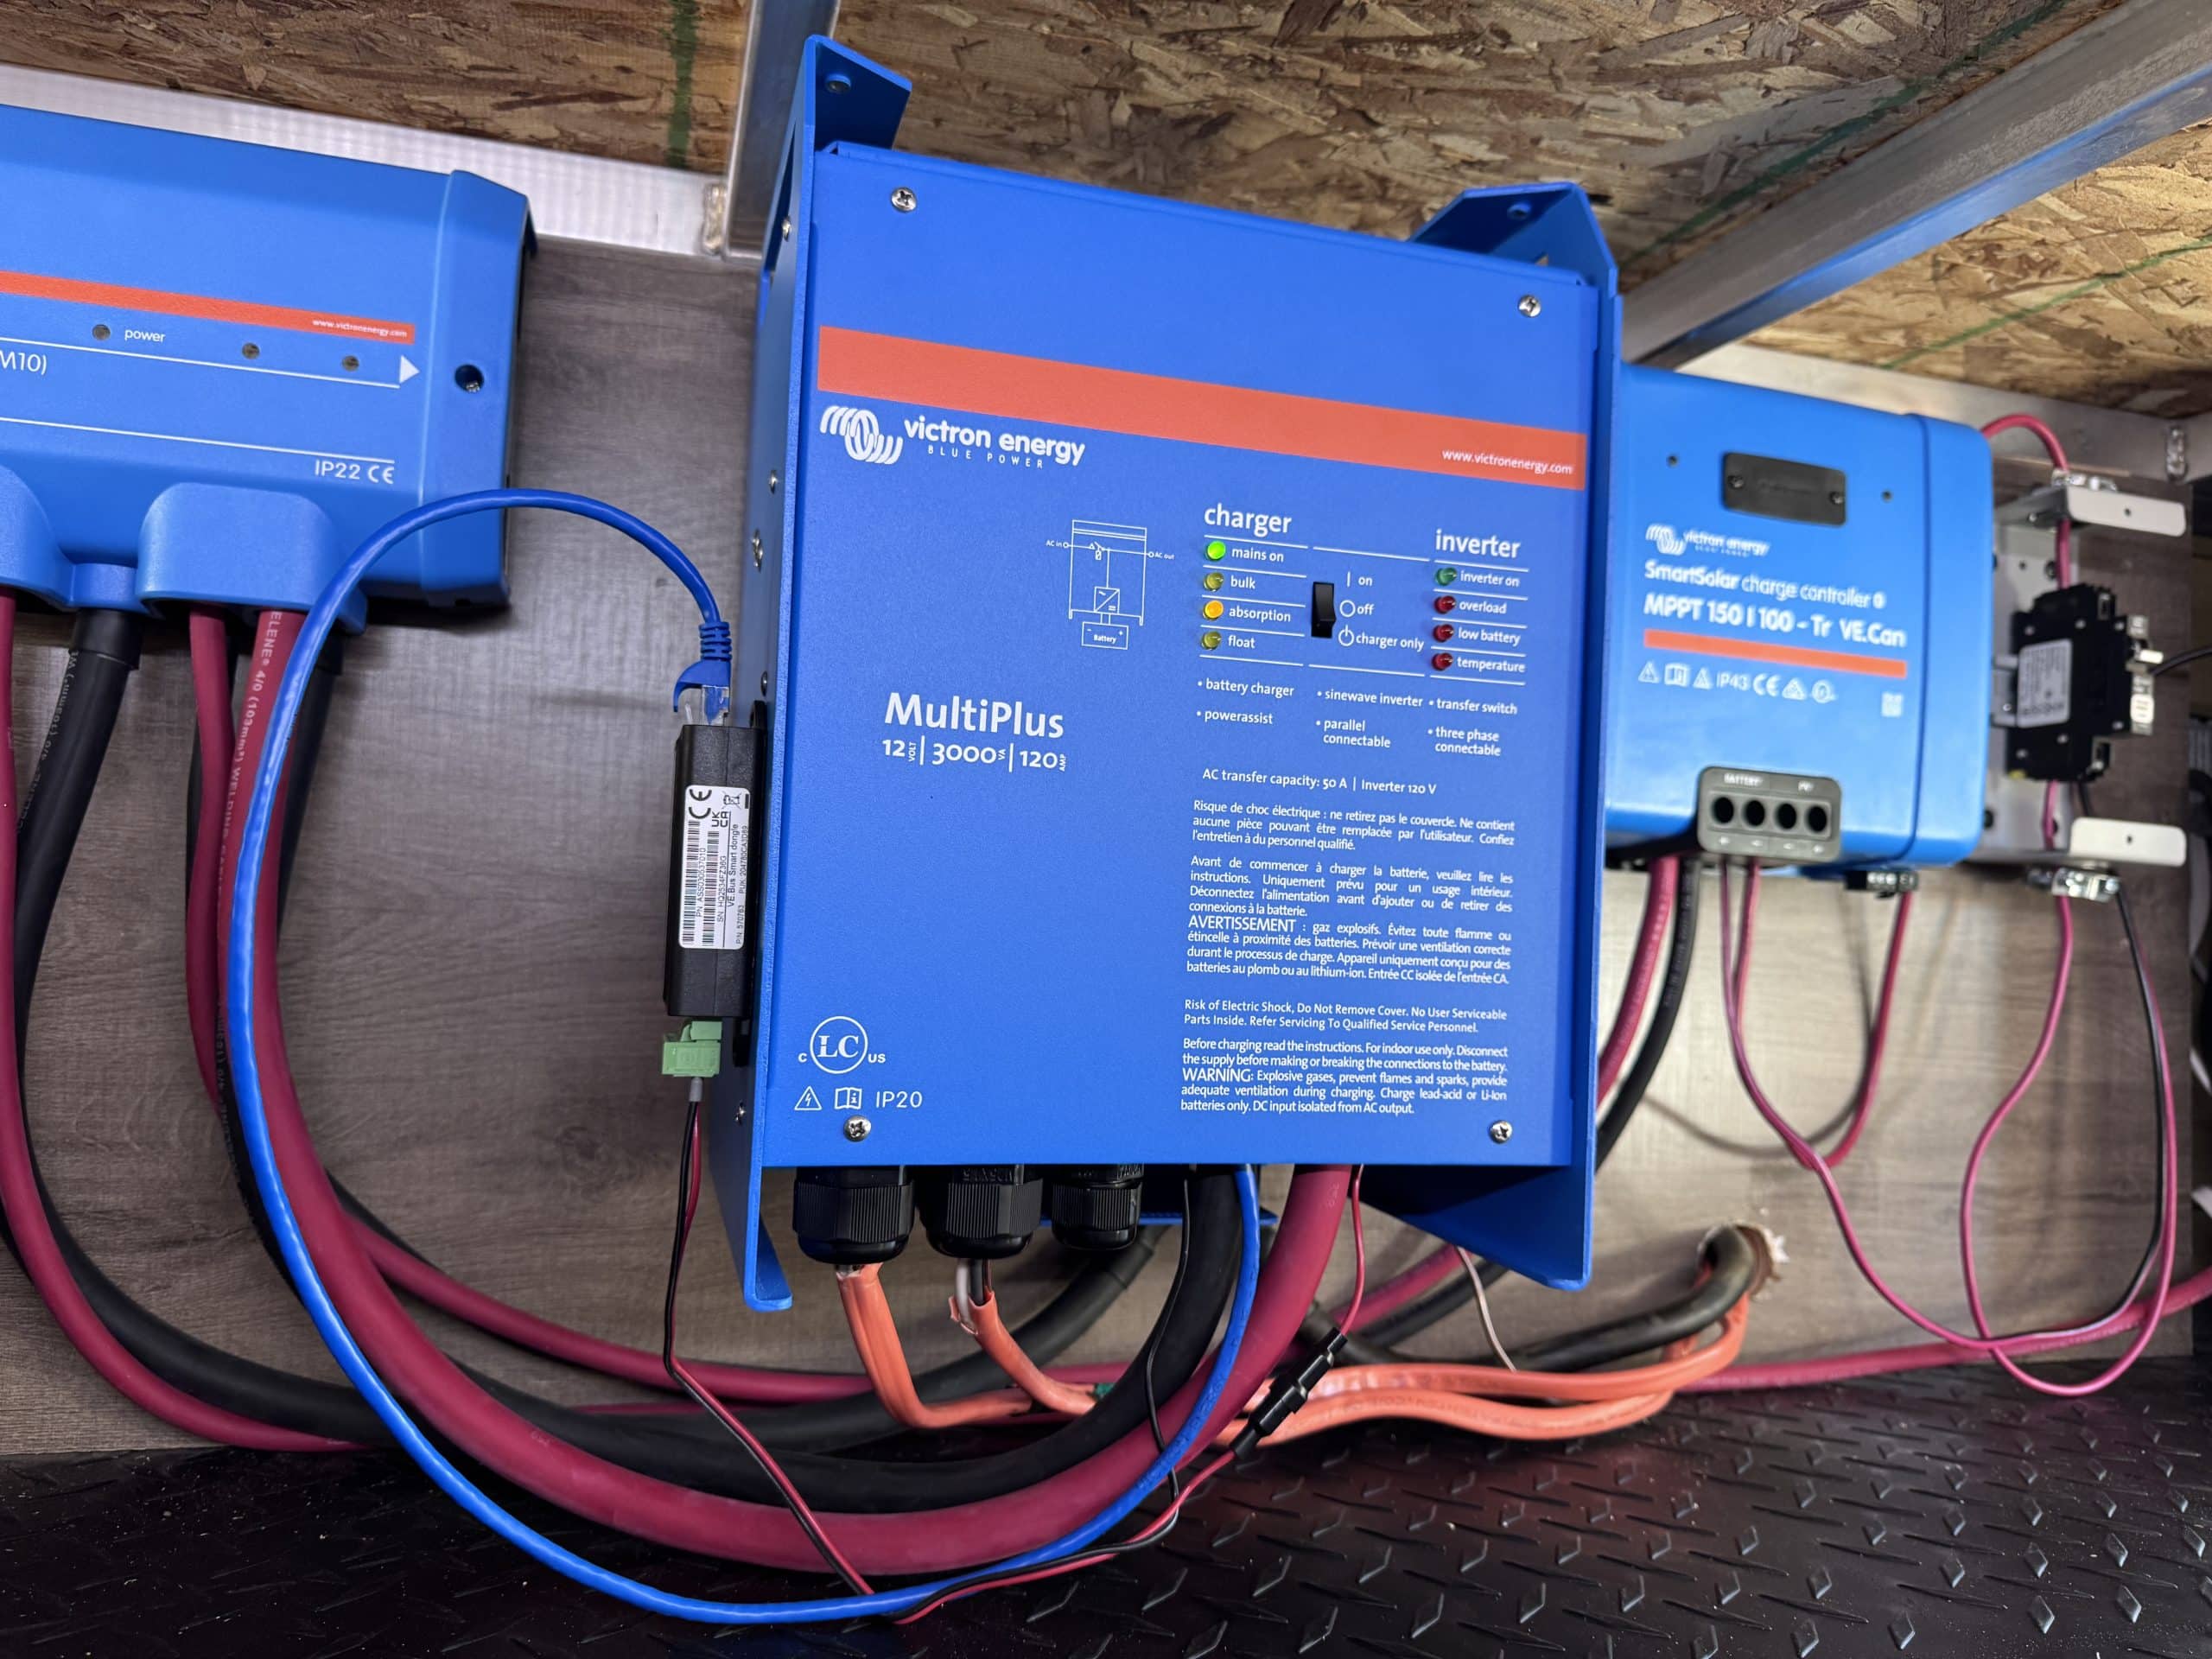
- Victron Multiplus12/3000/120-50 hybrid inverter charger
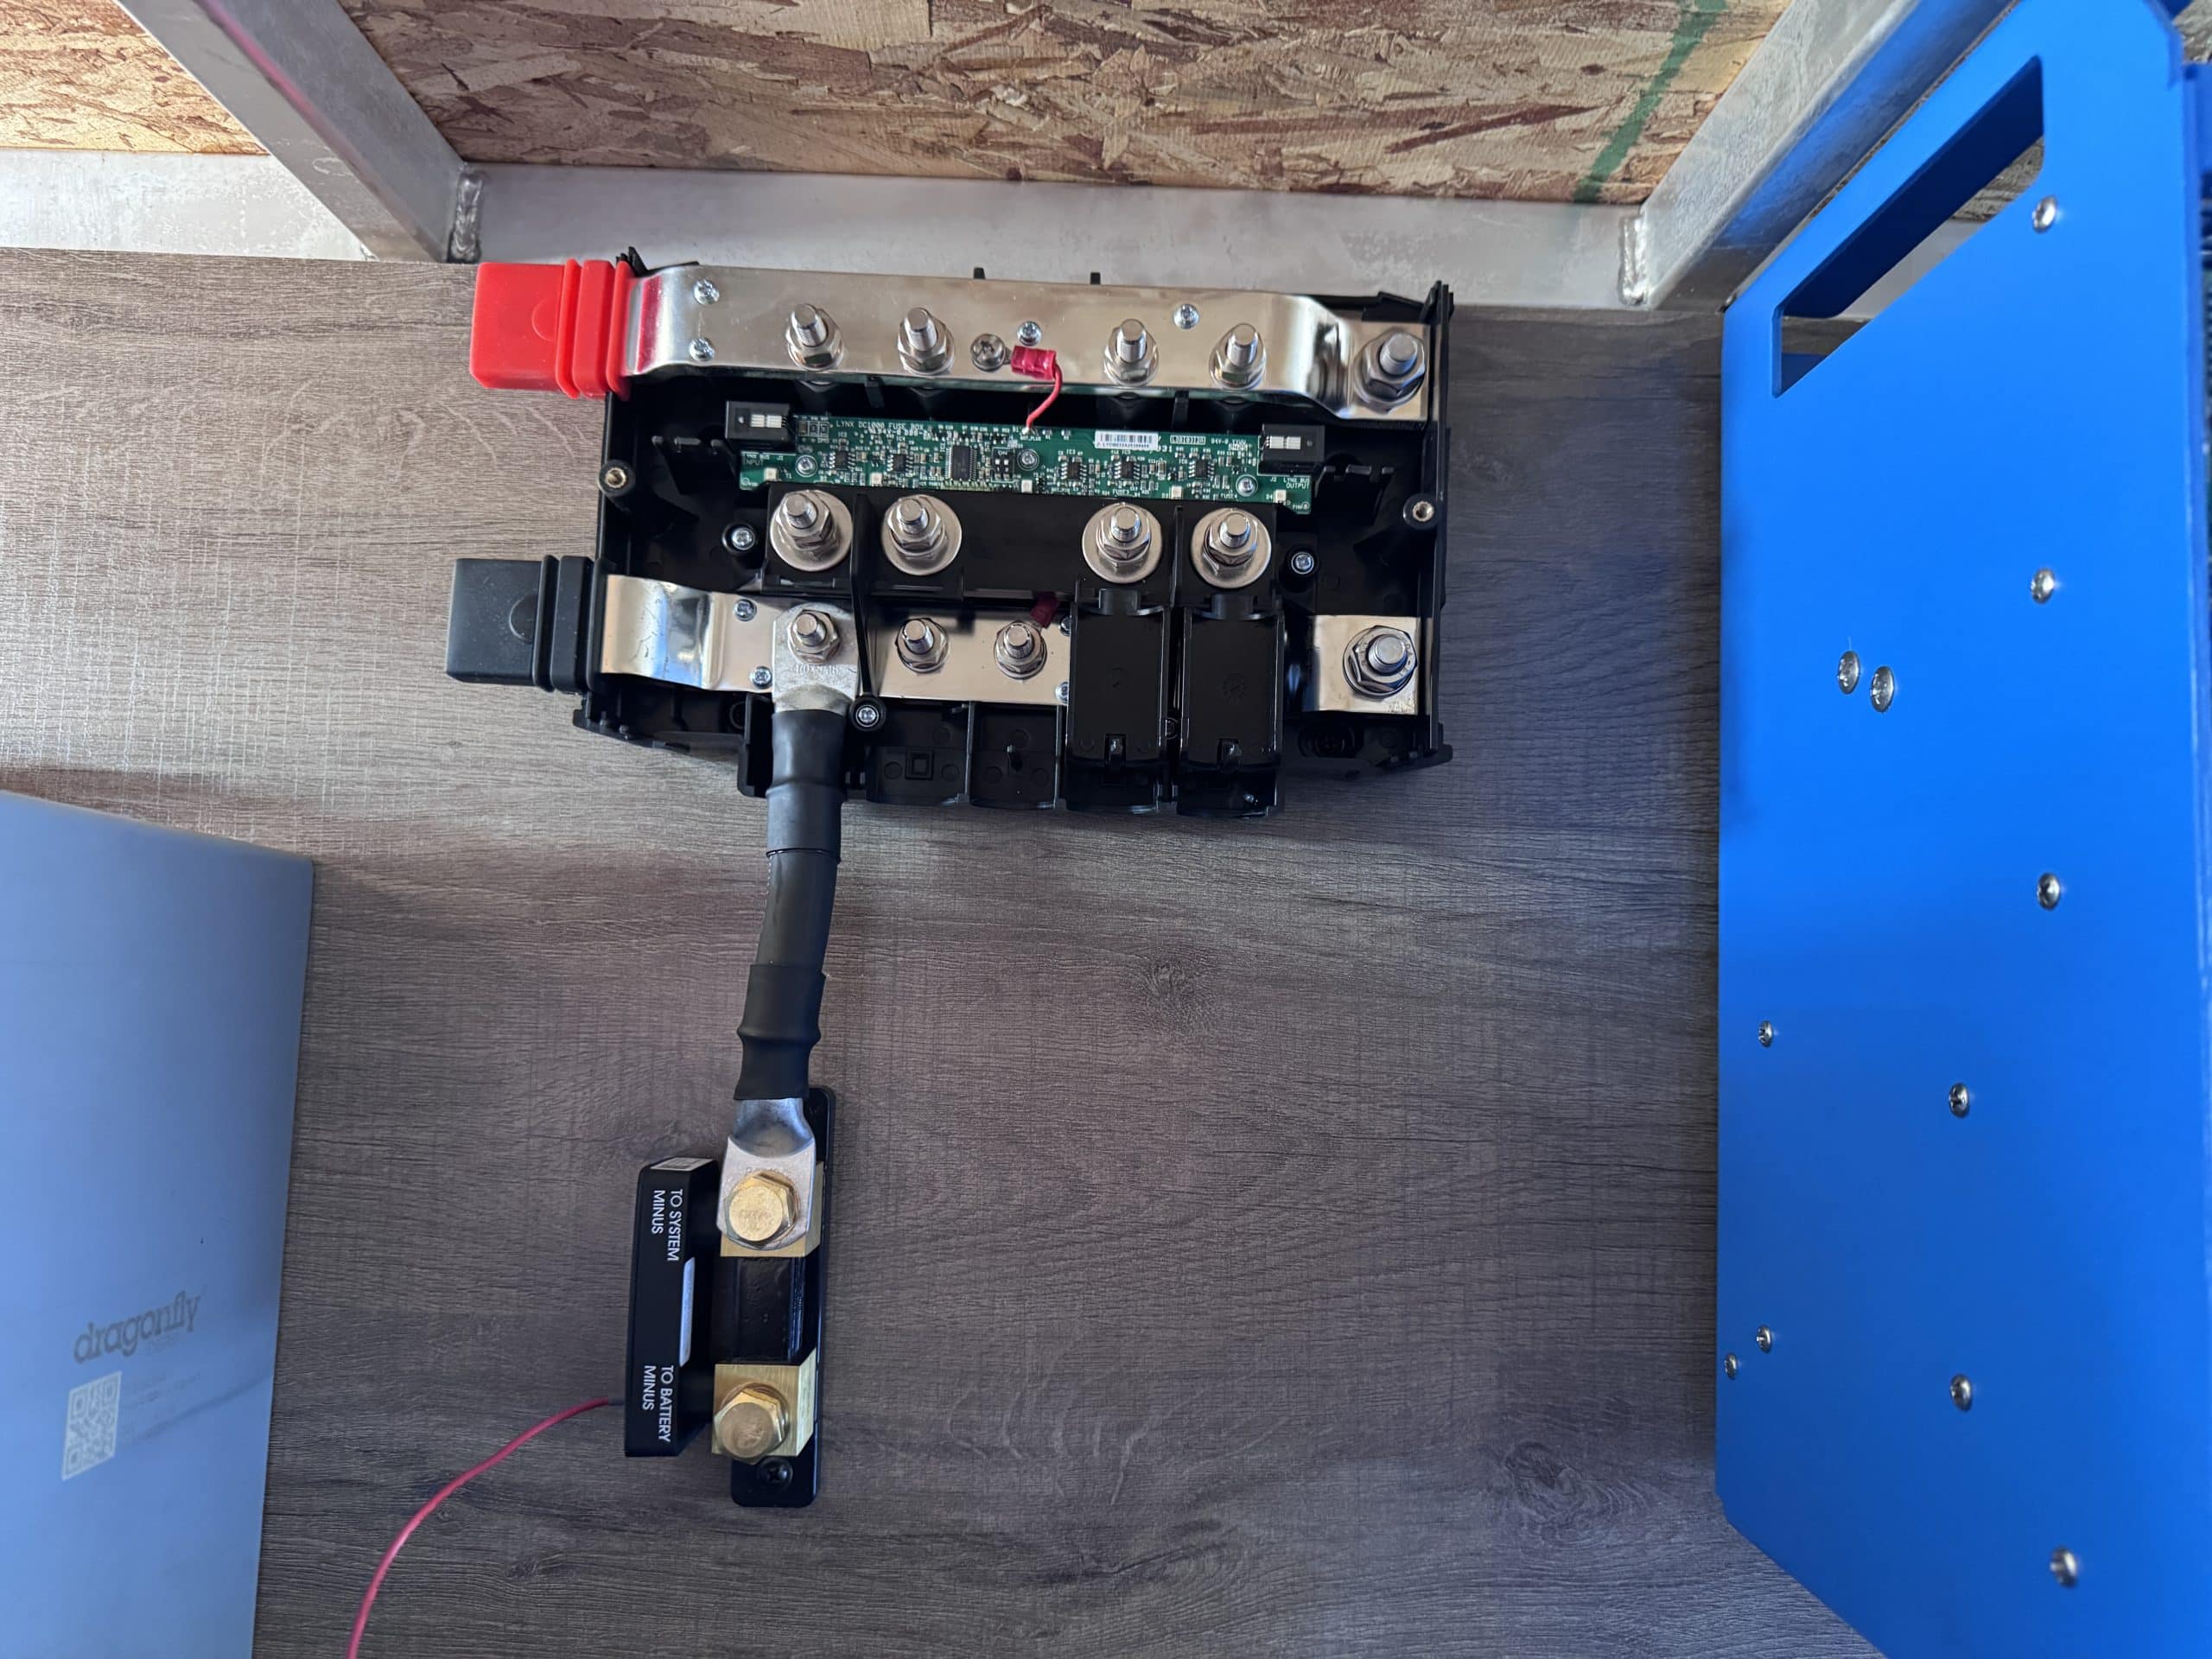
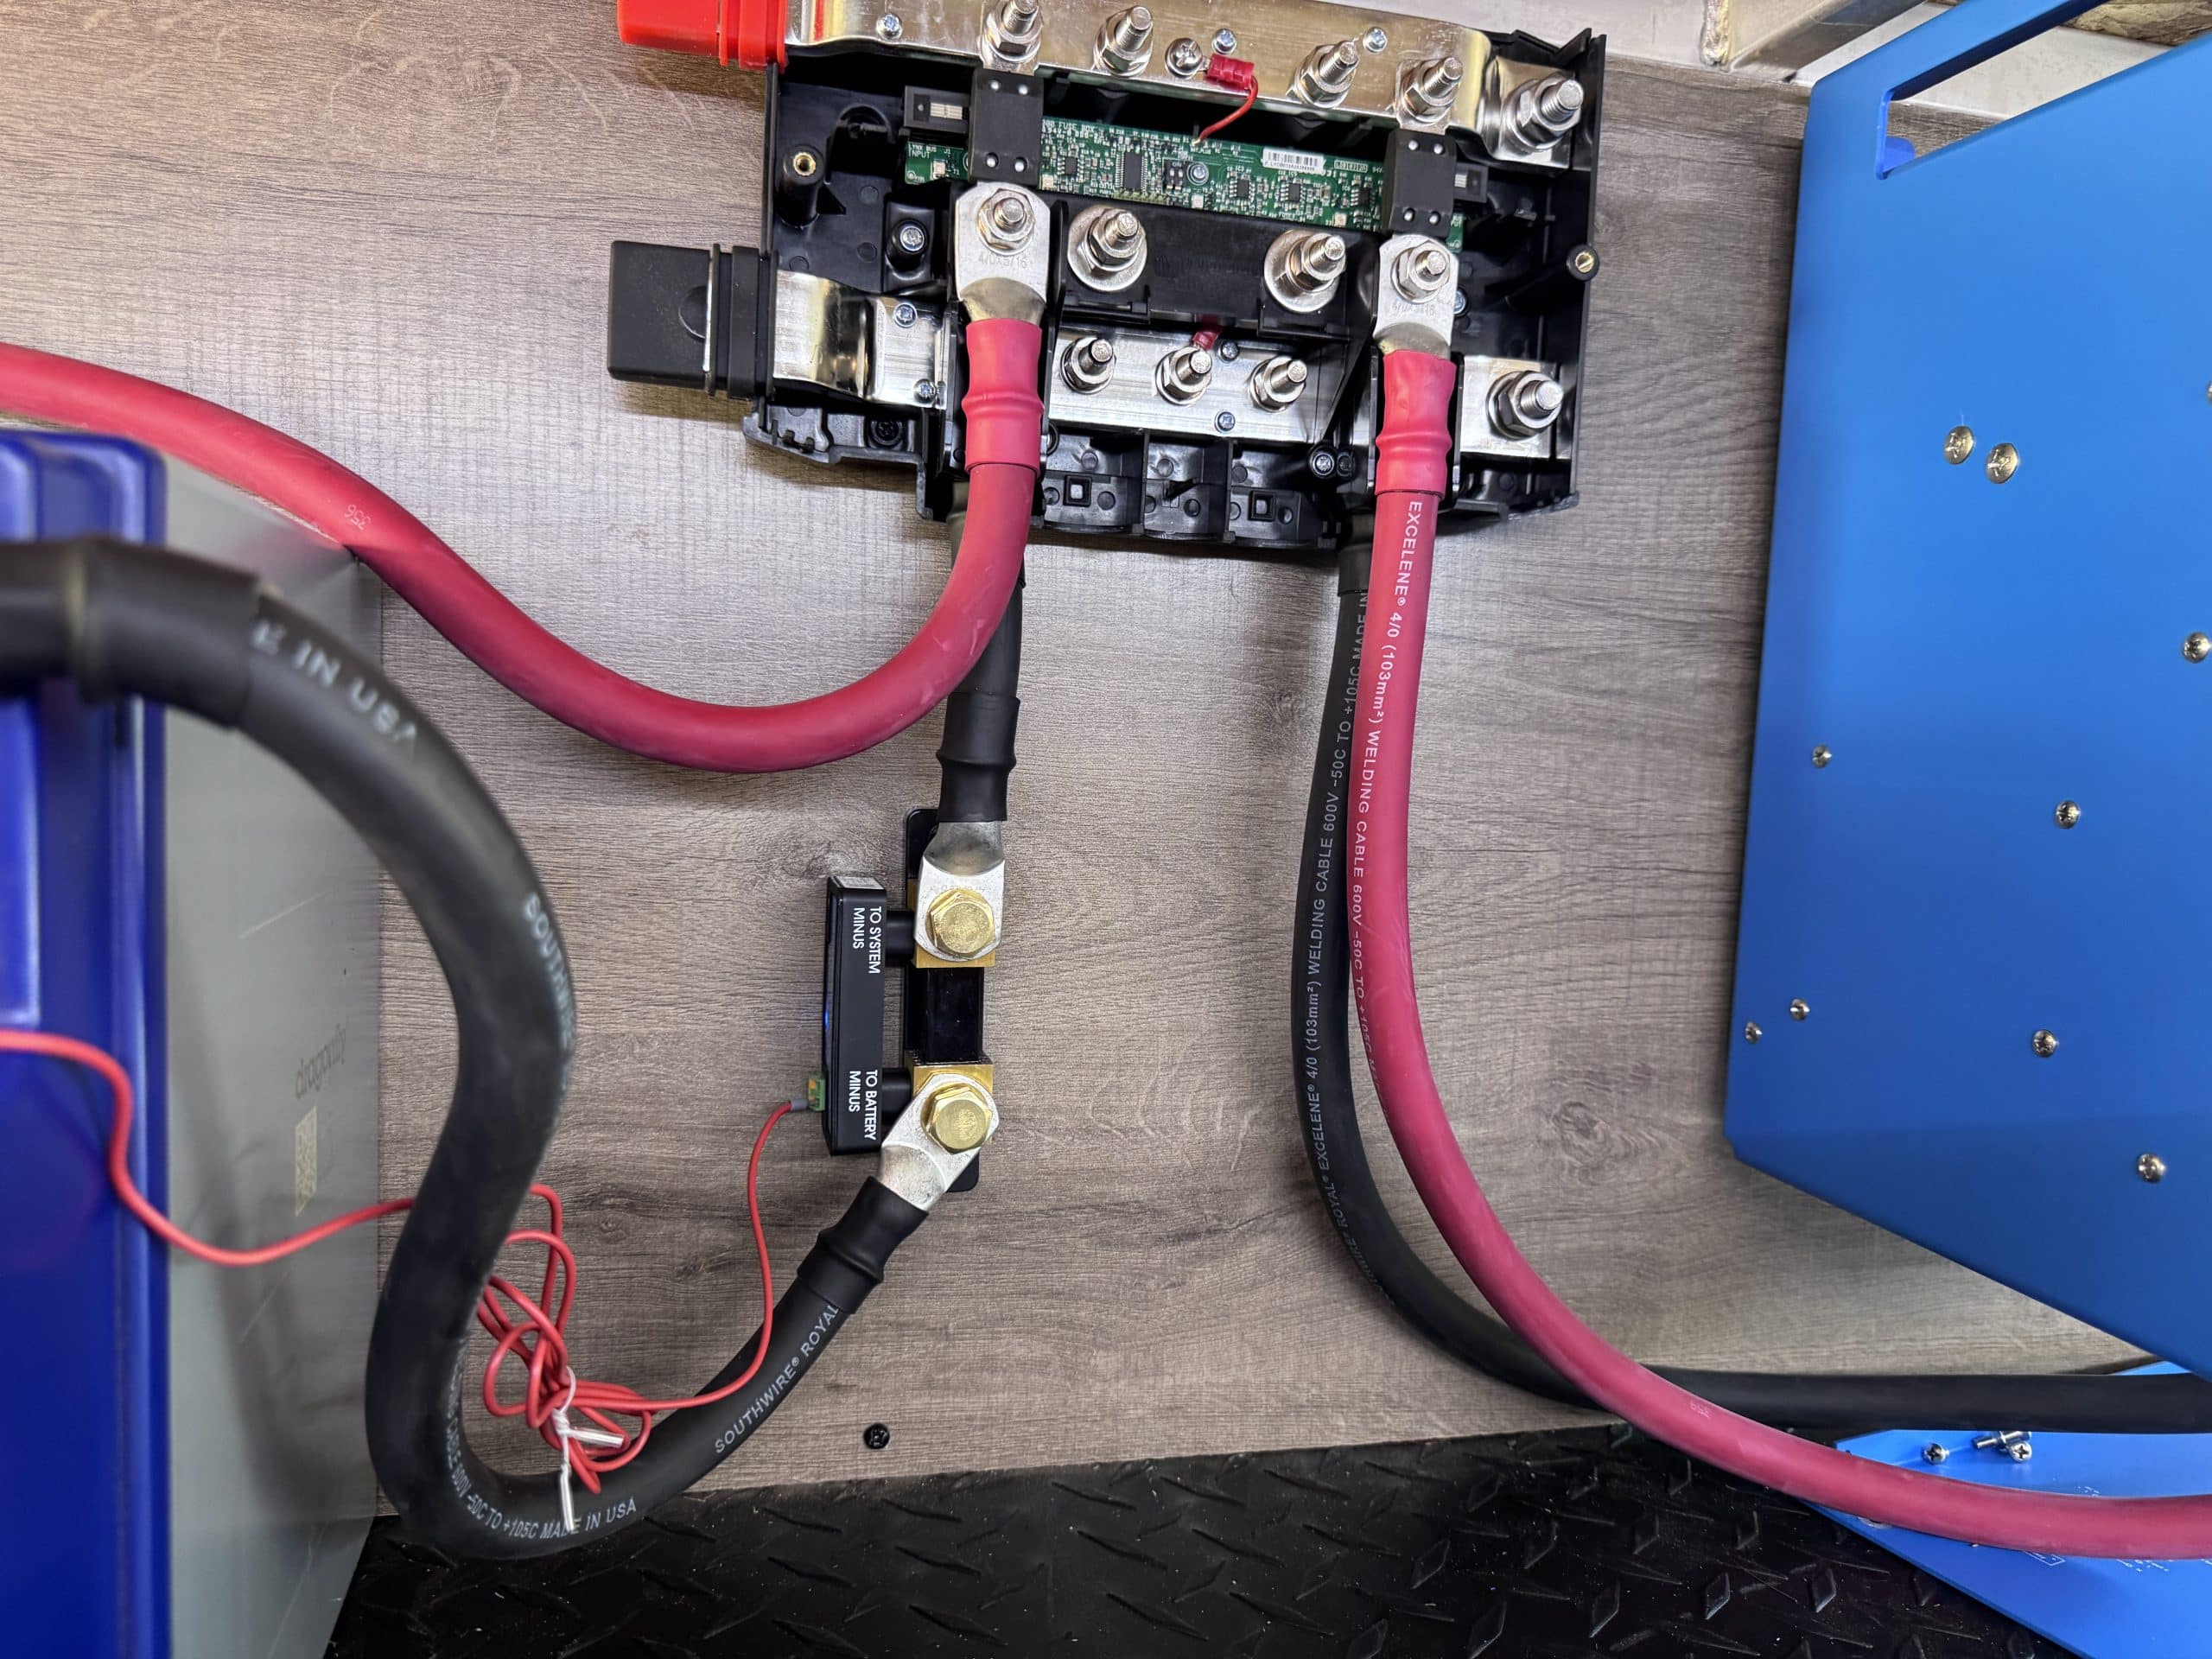
- Victron Smart Shunt with Bluetooth built in
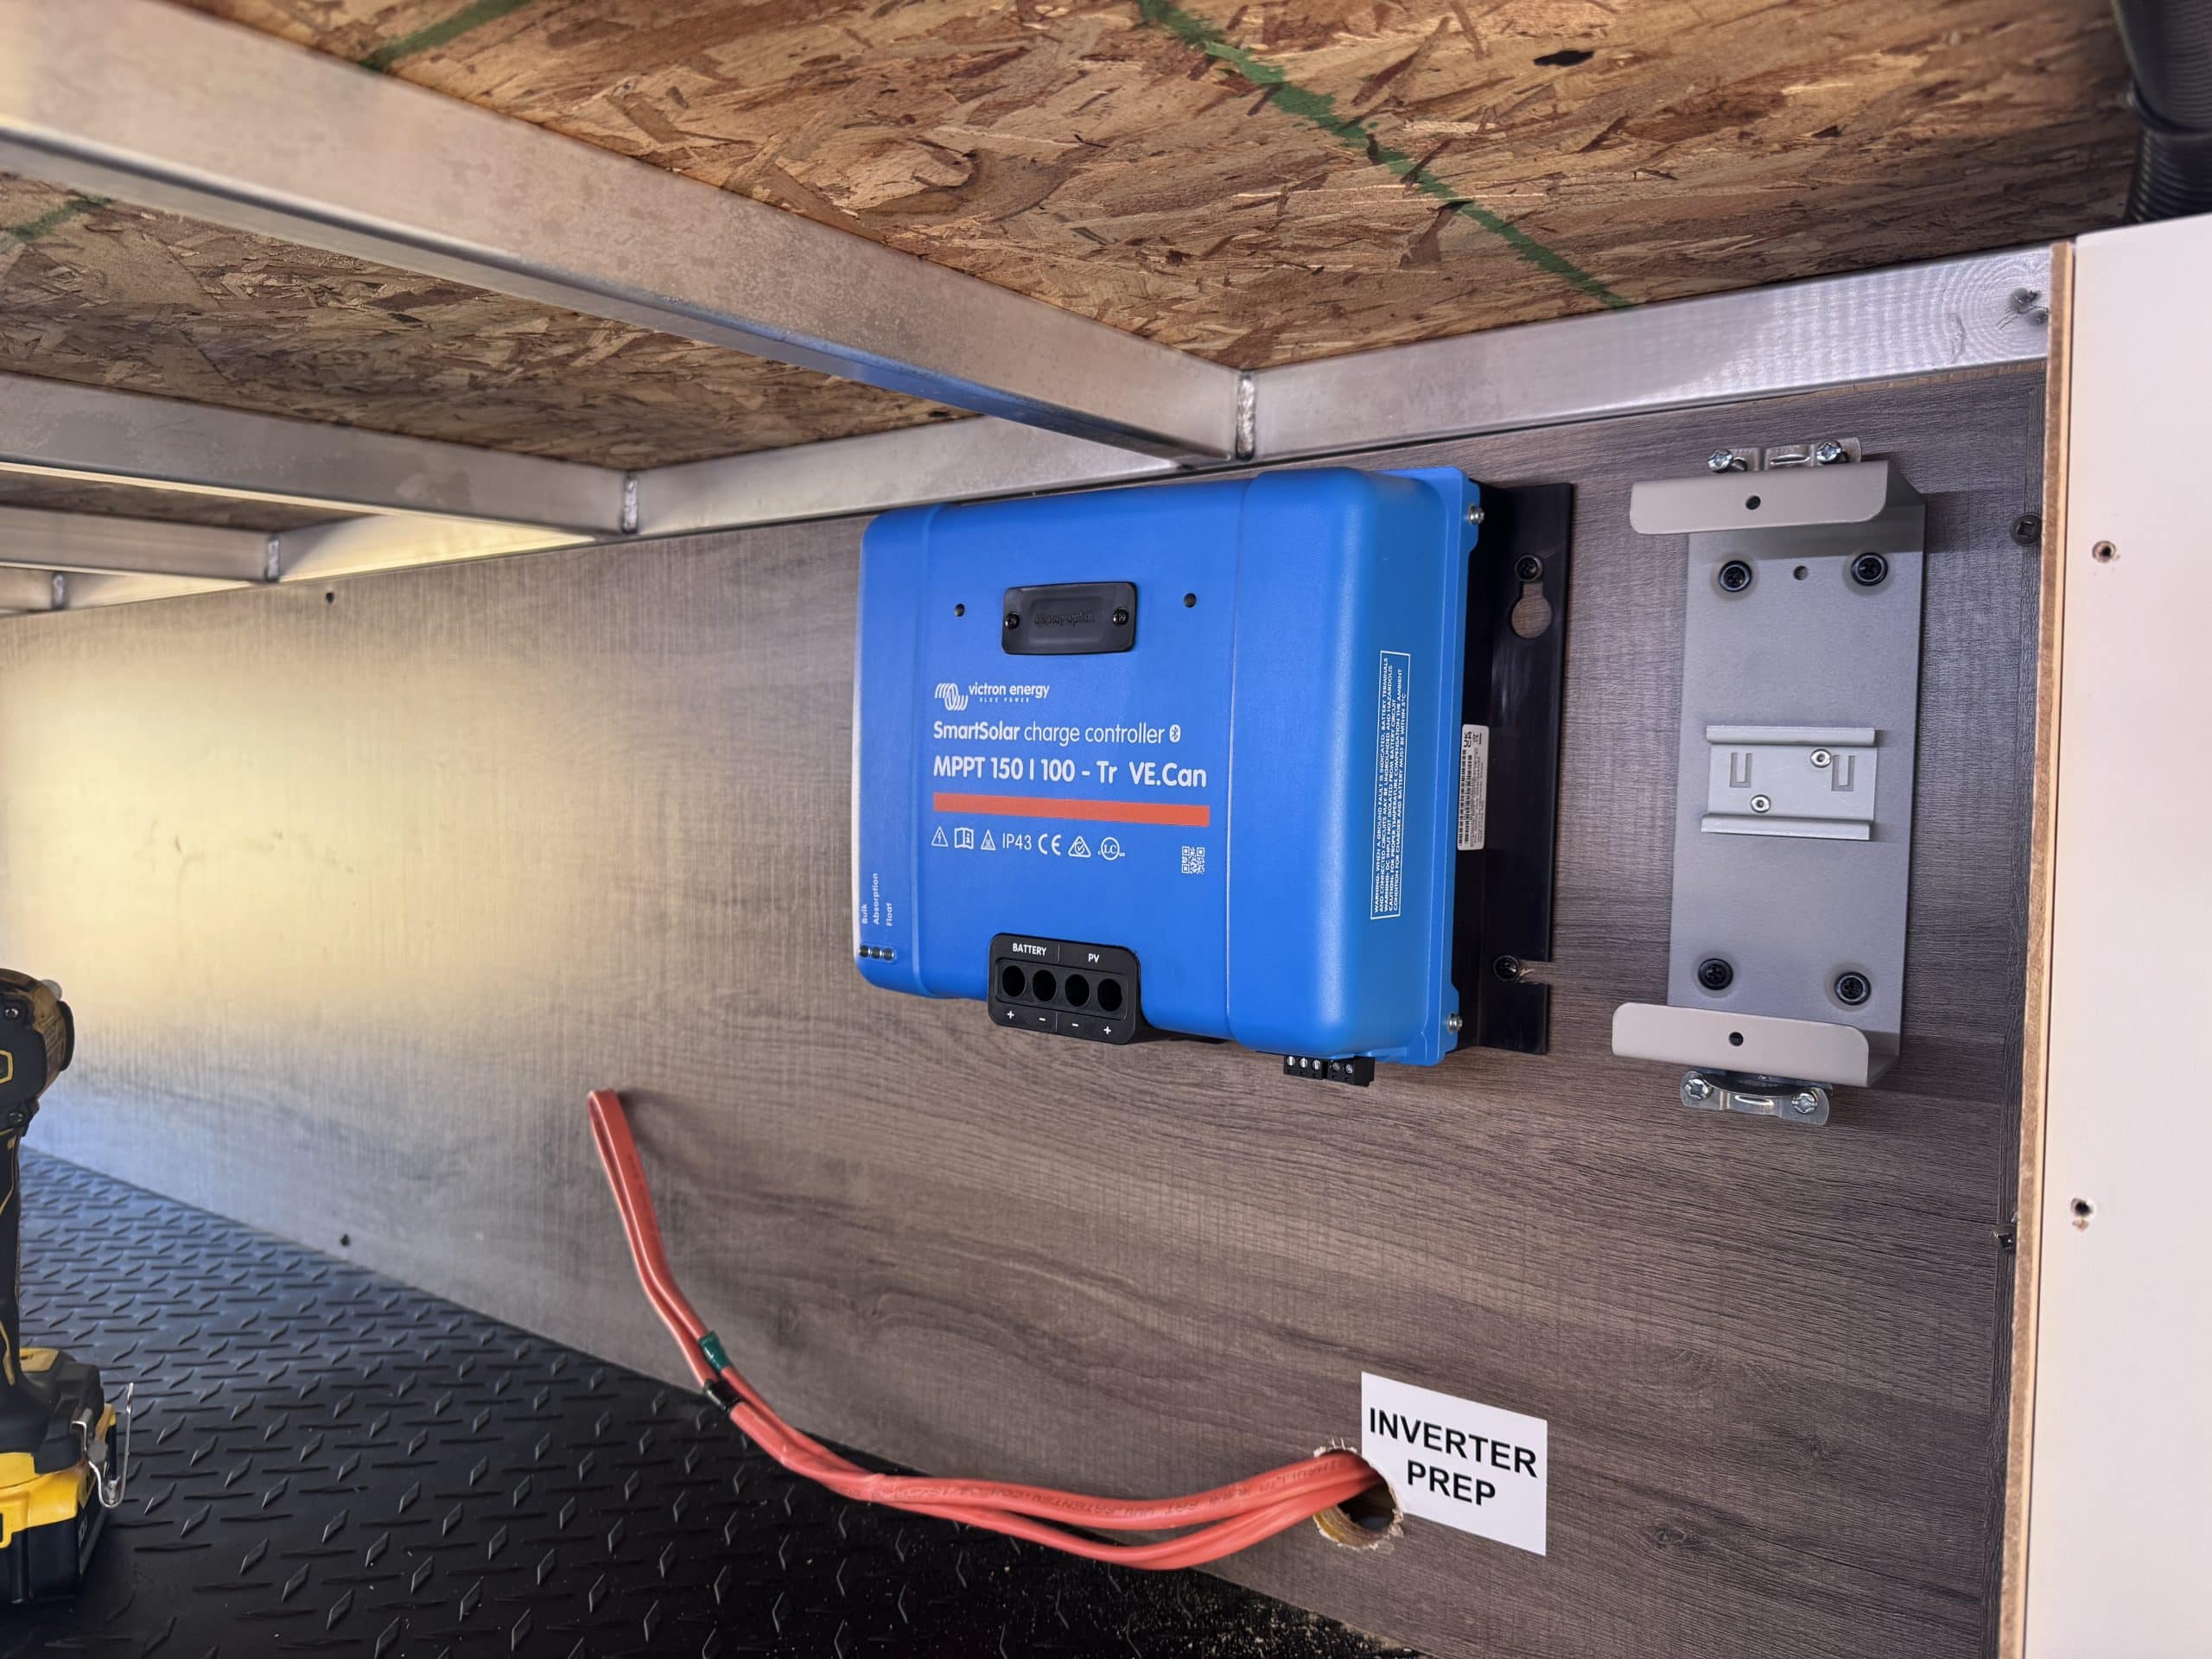
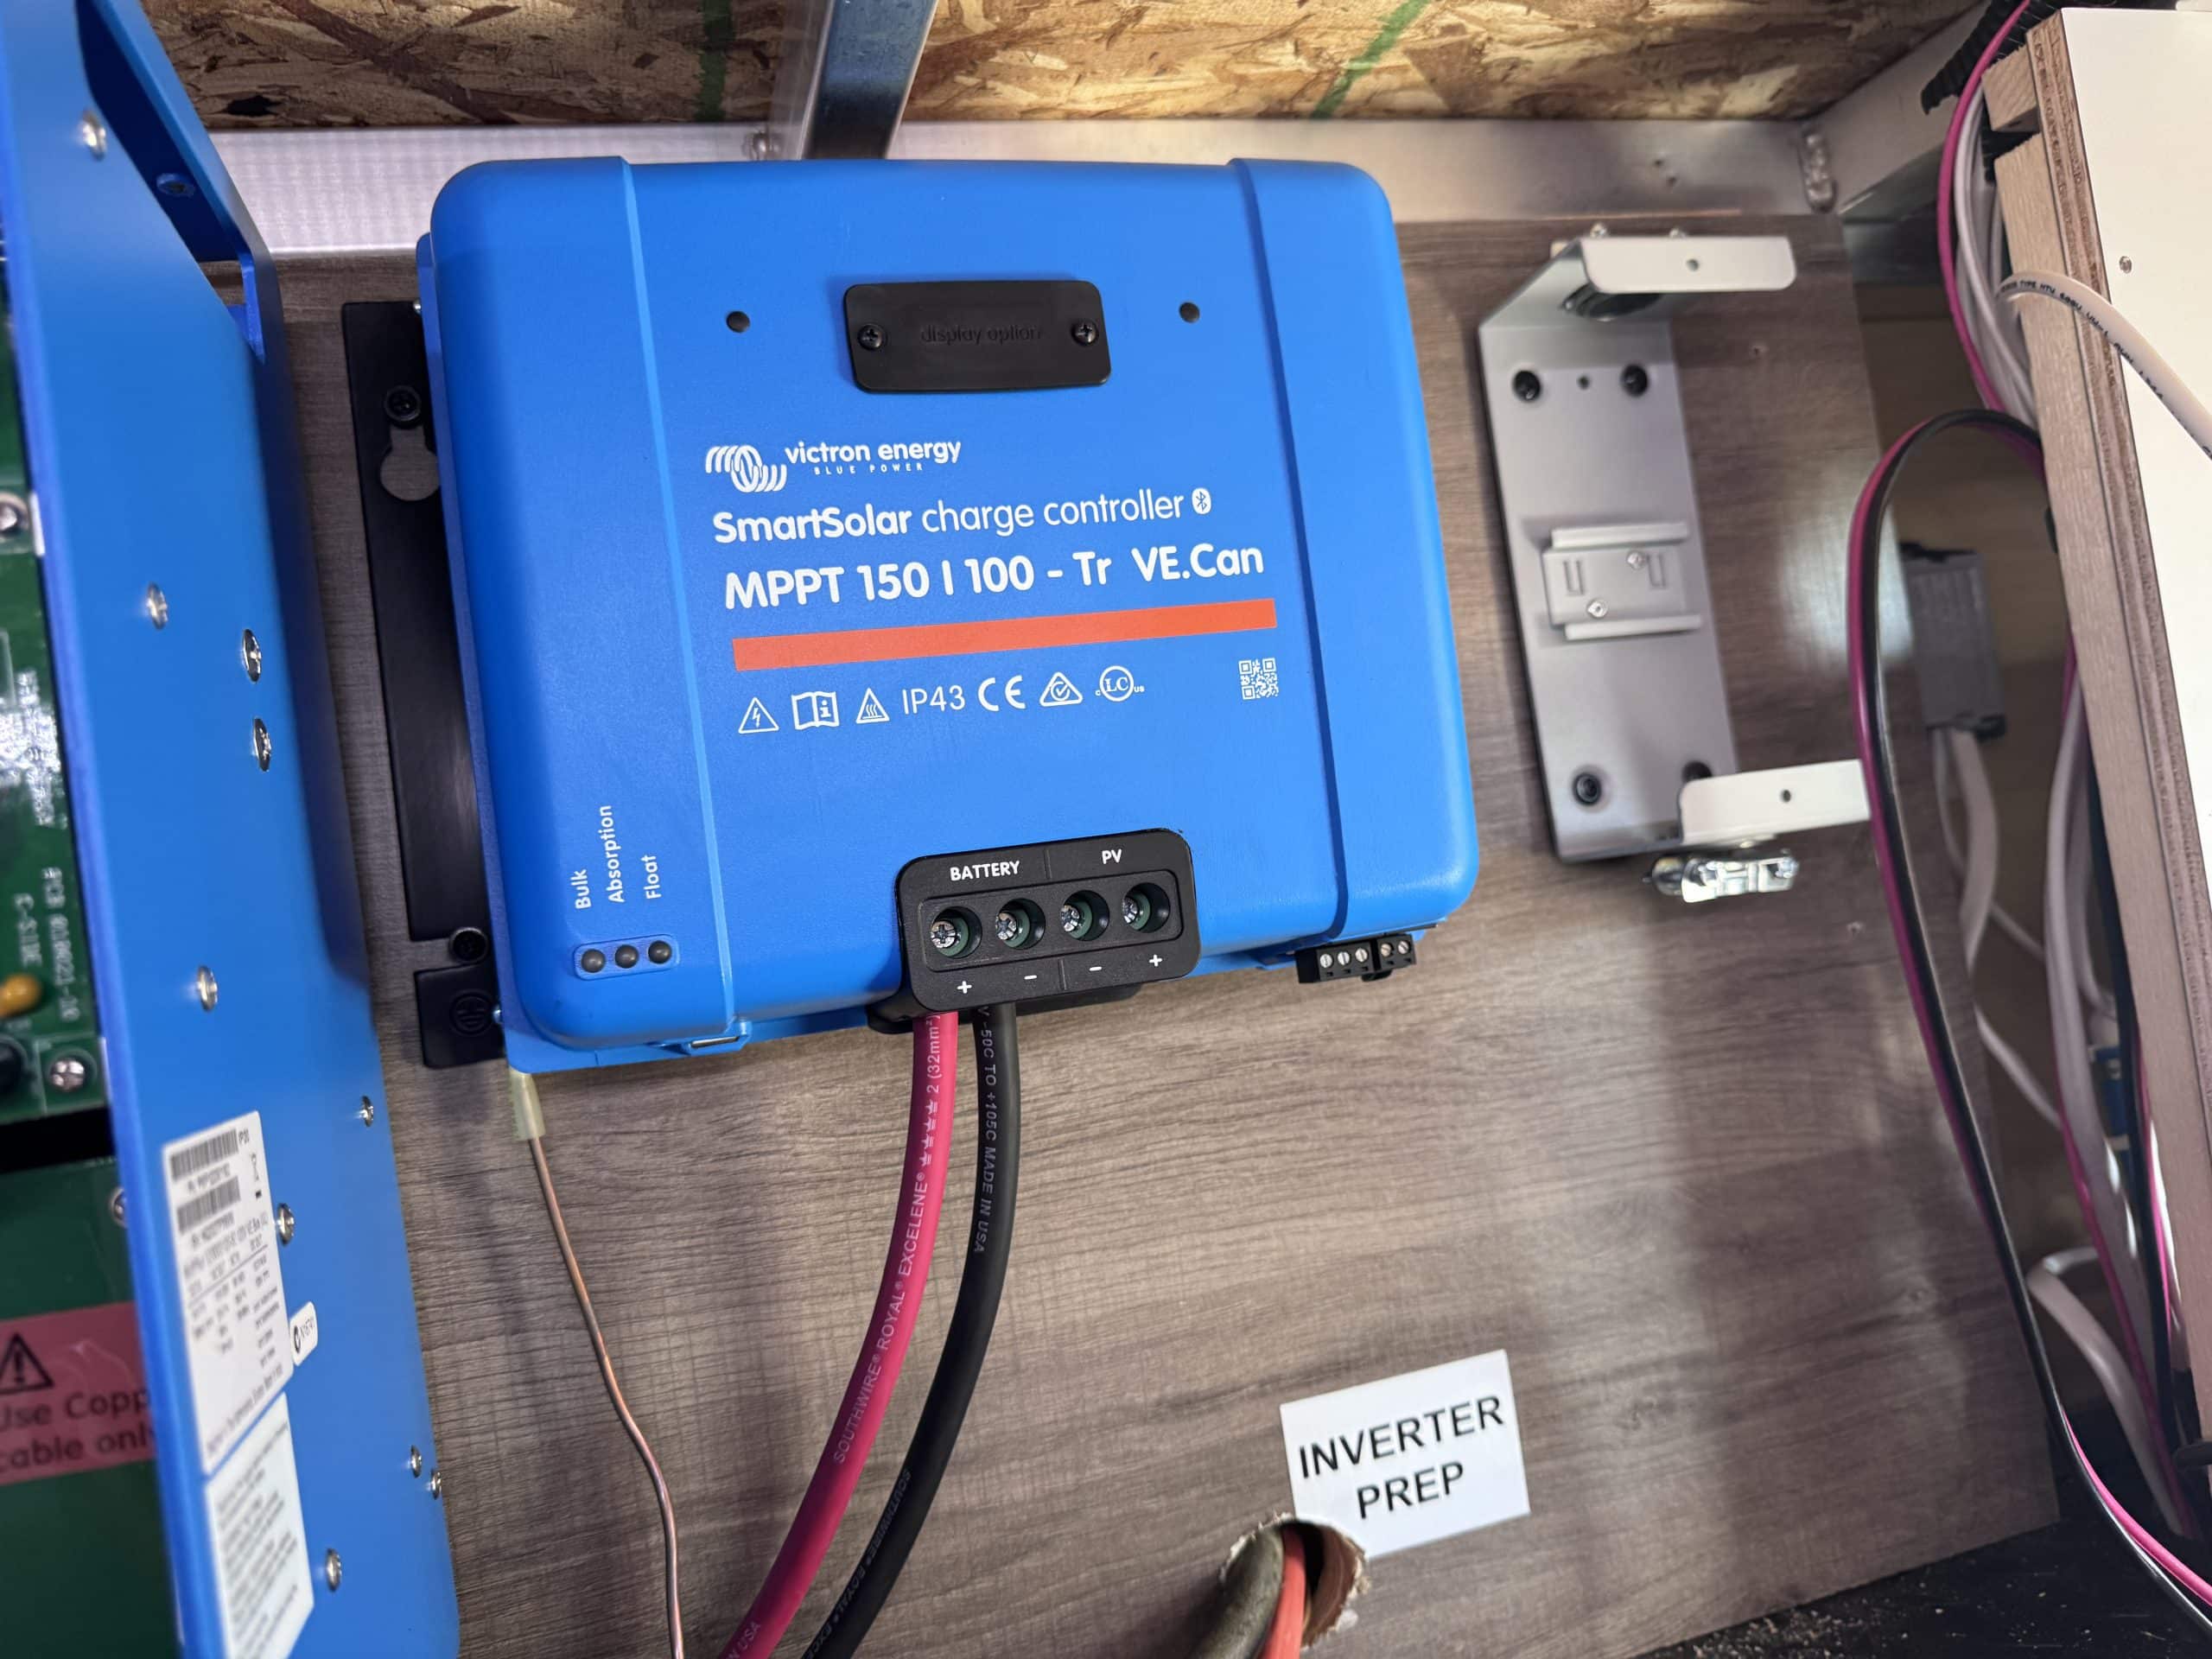
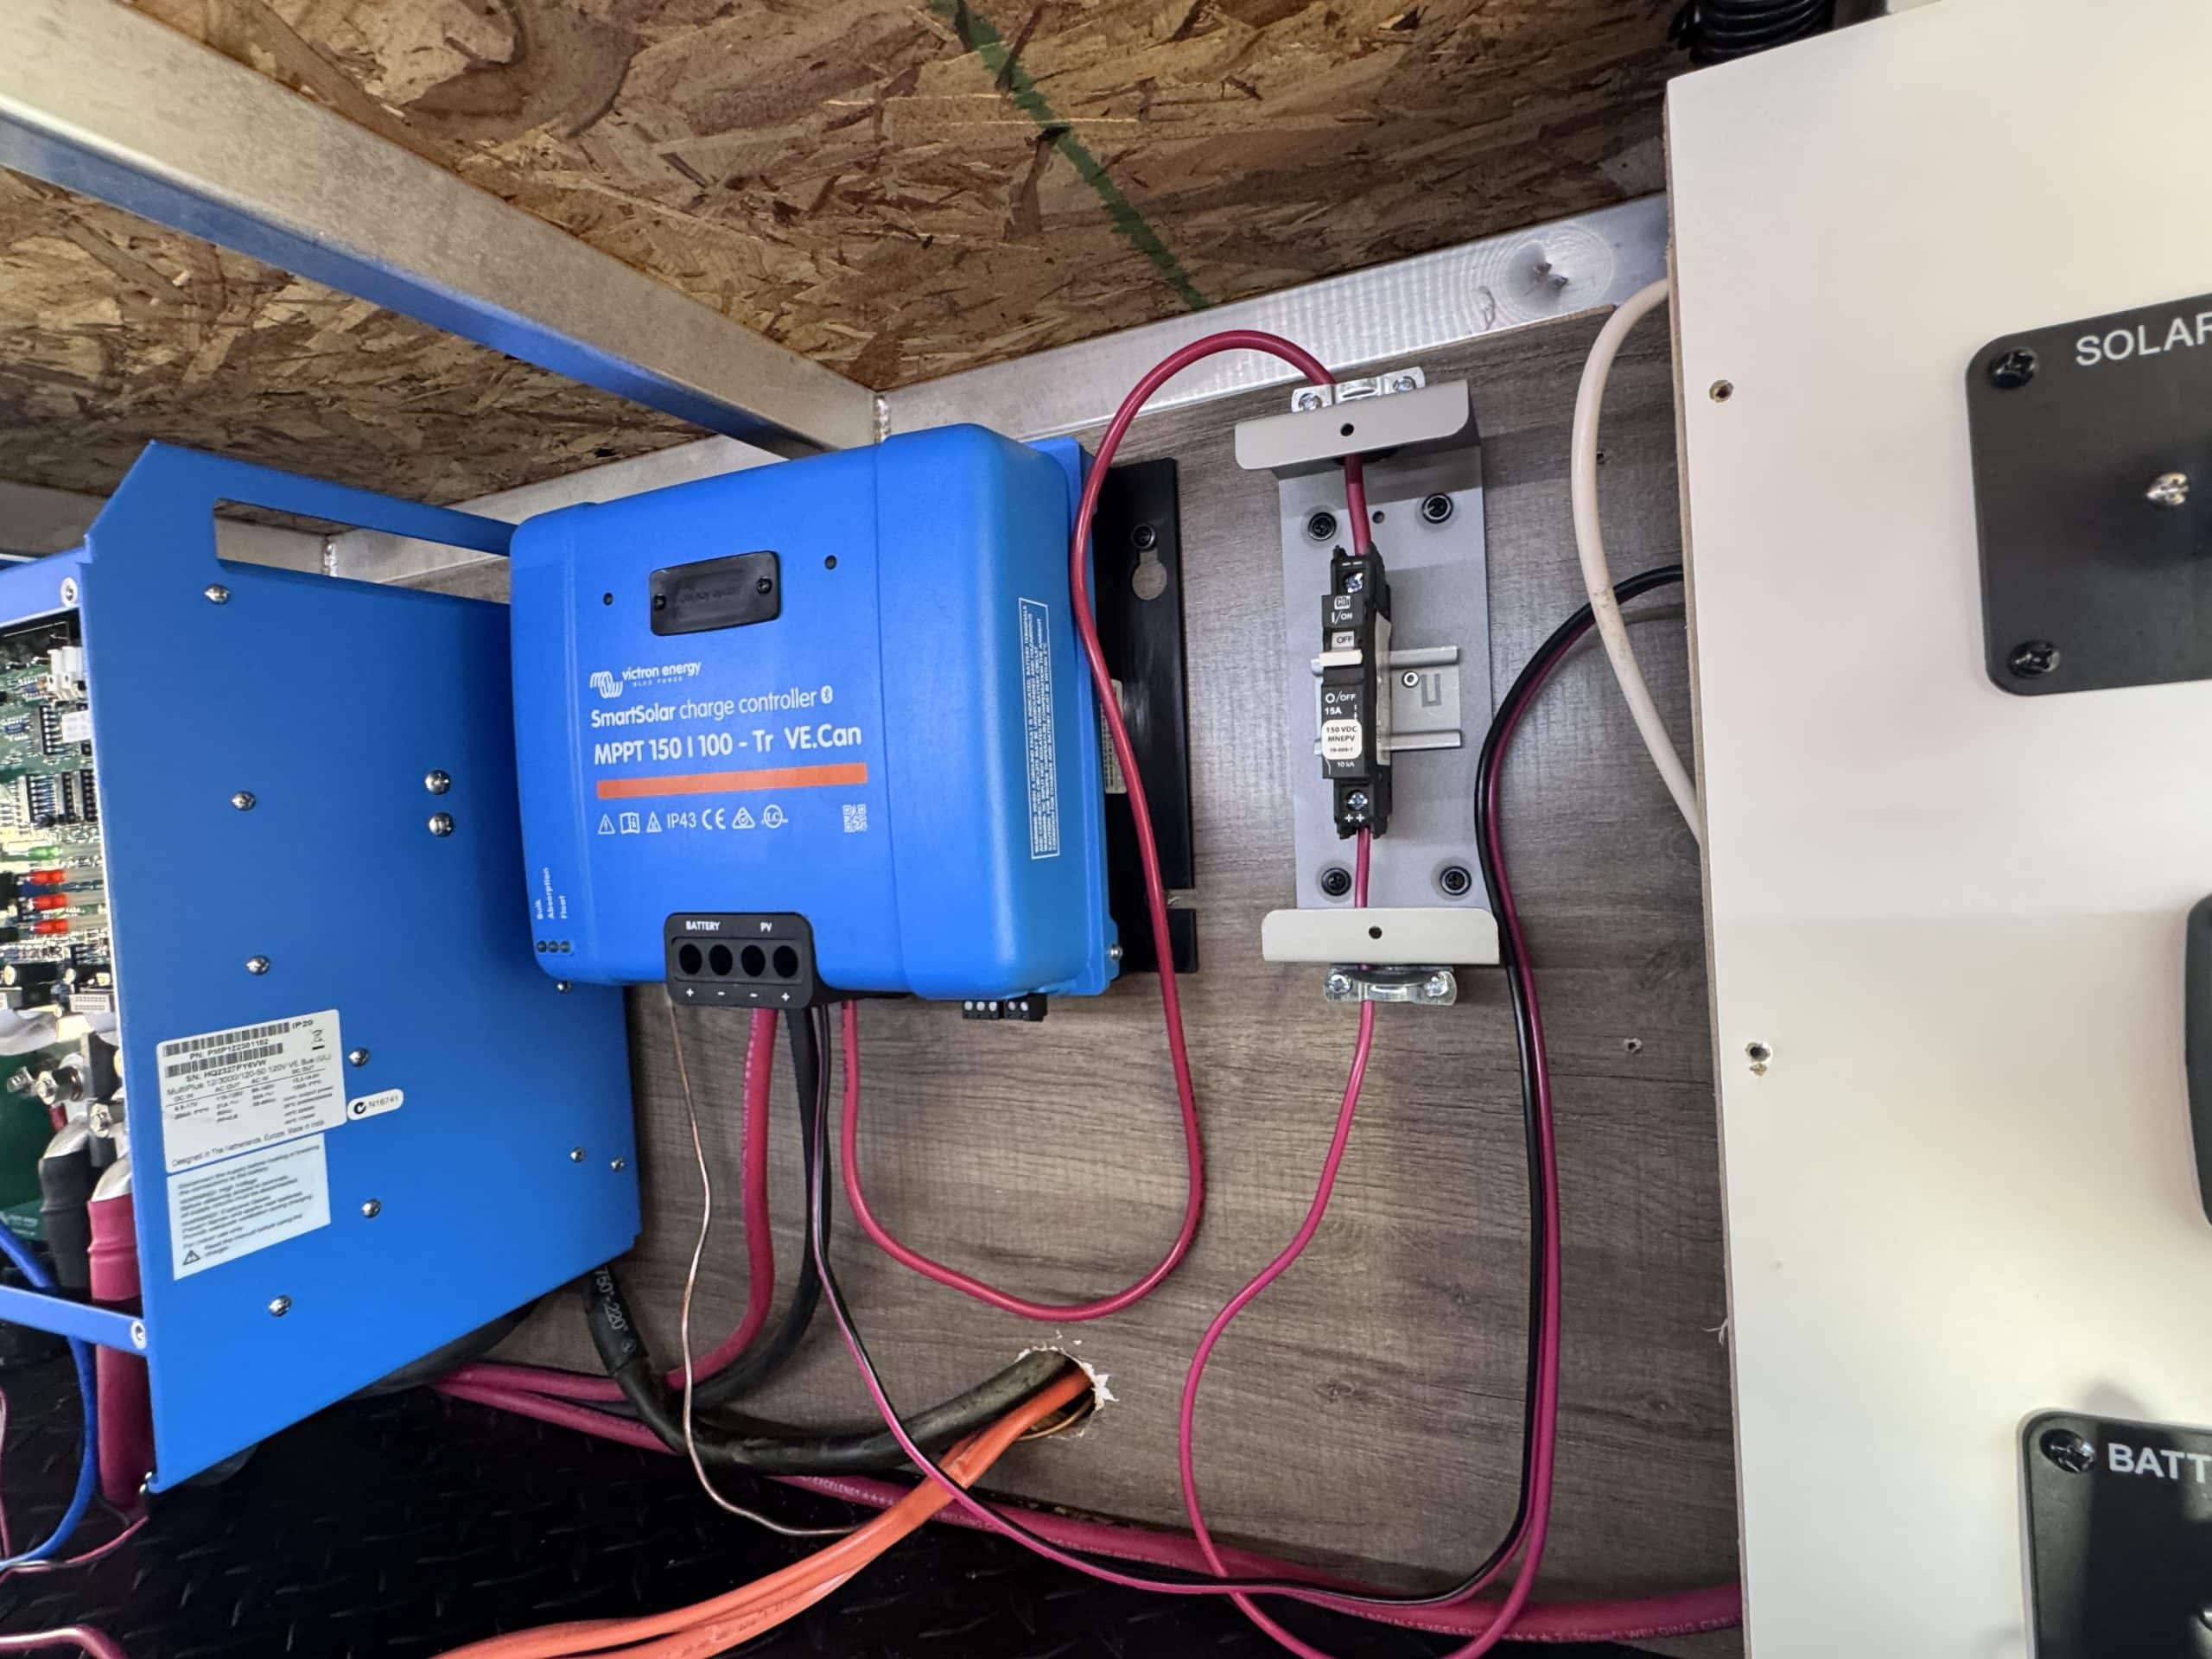
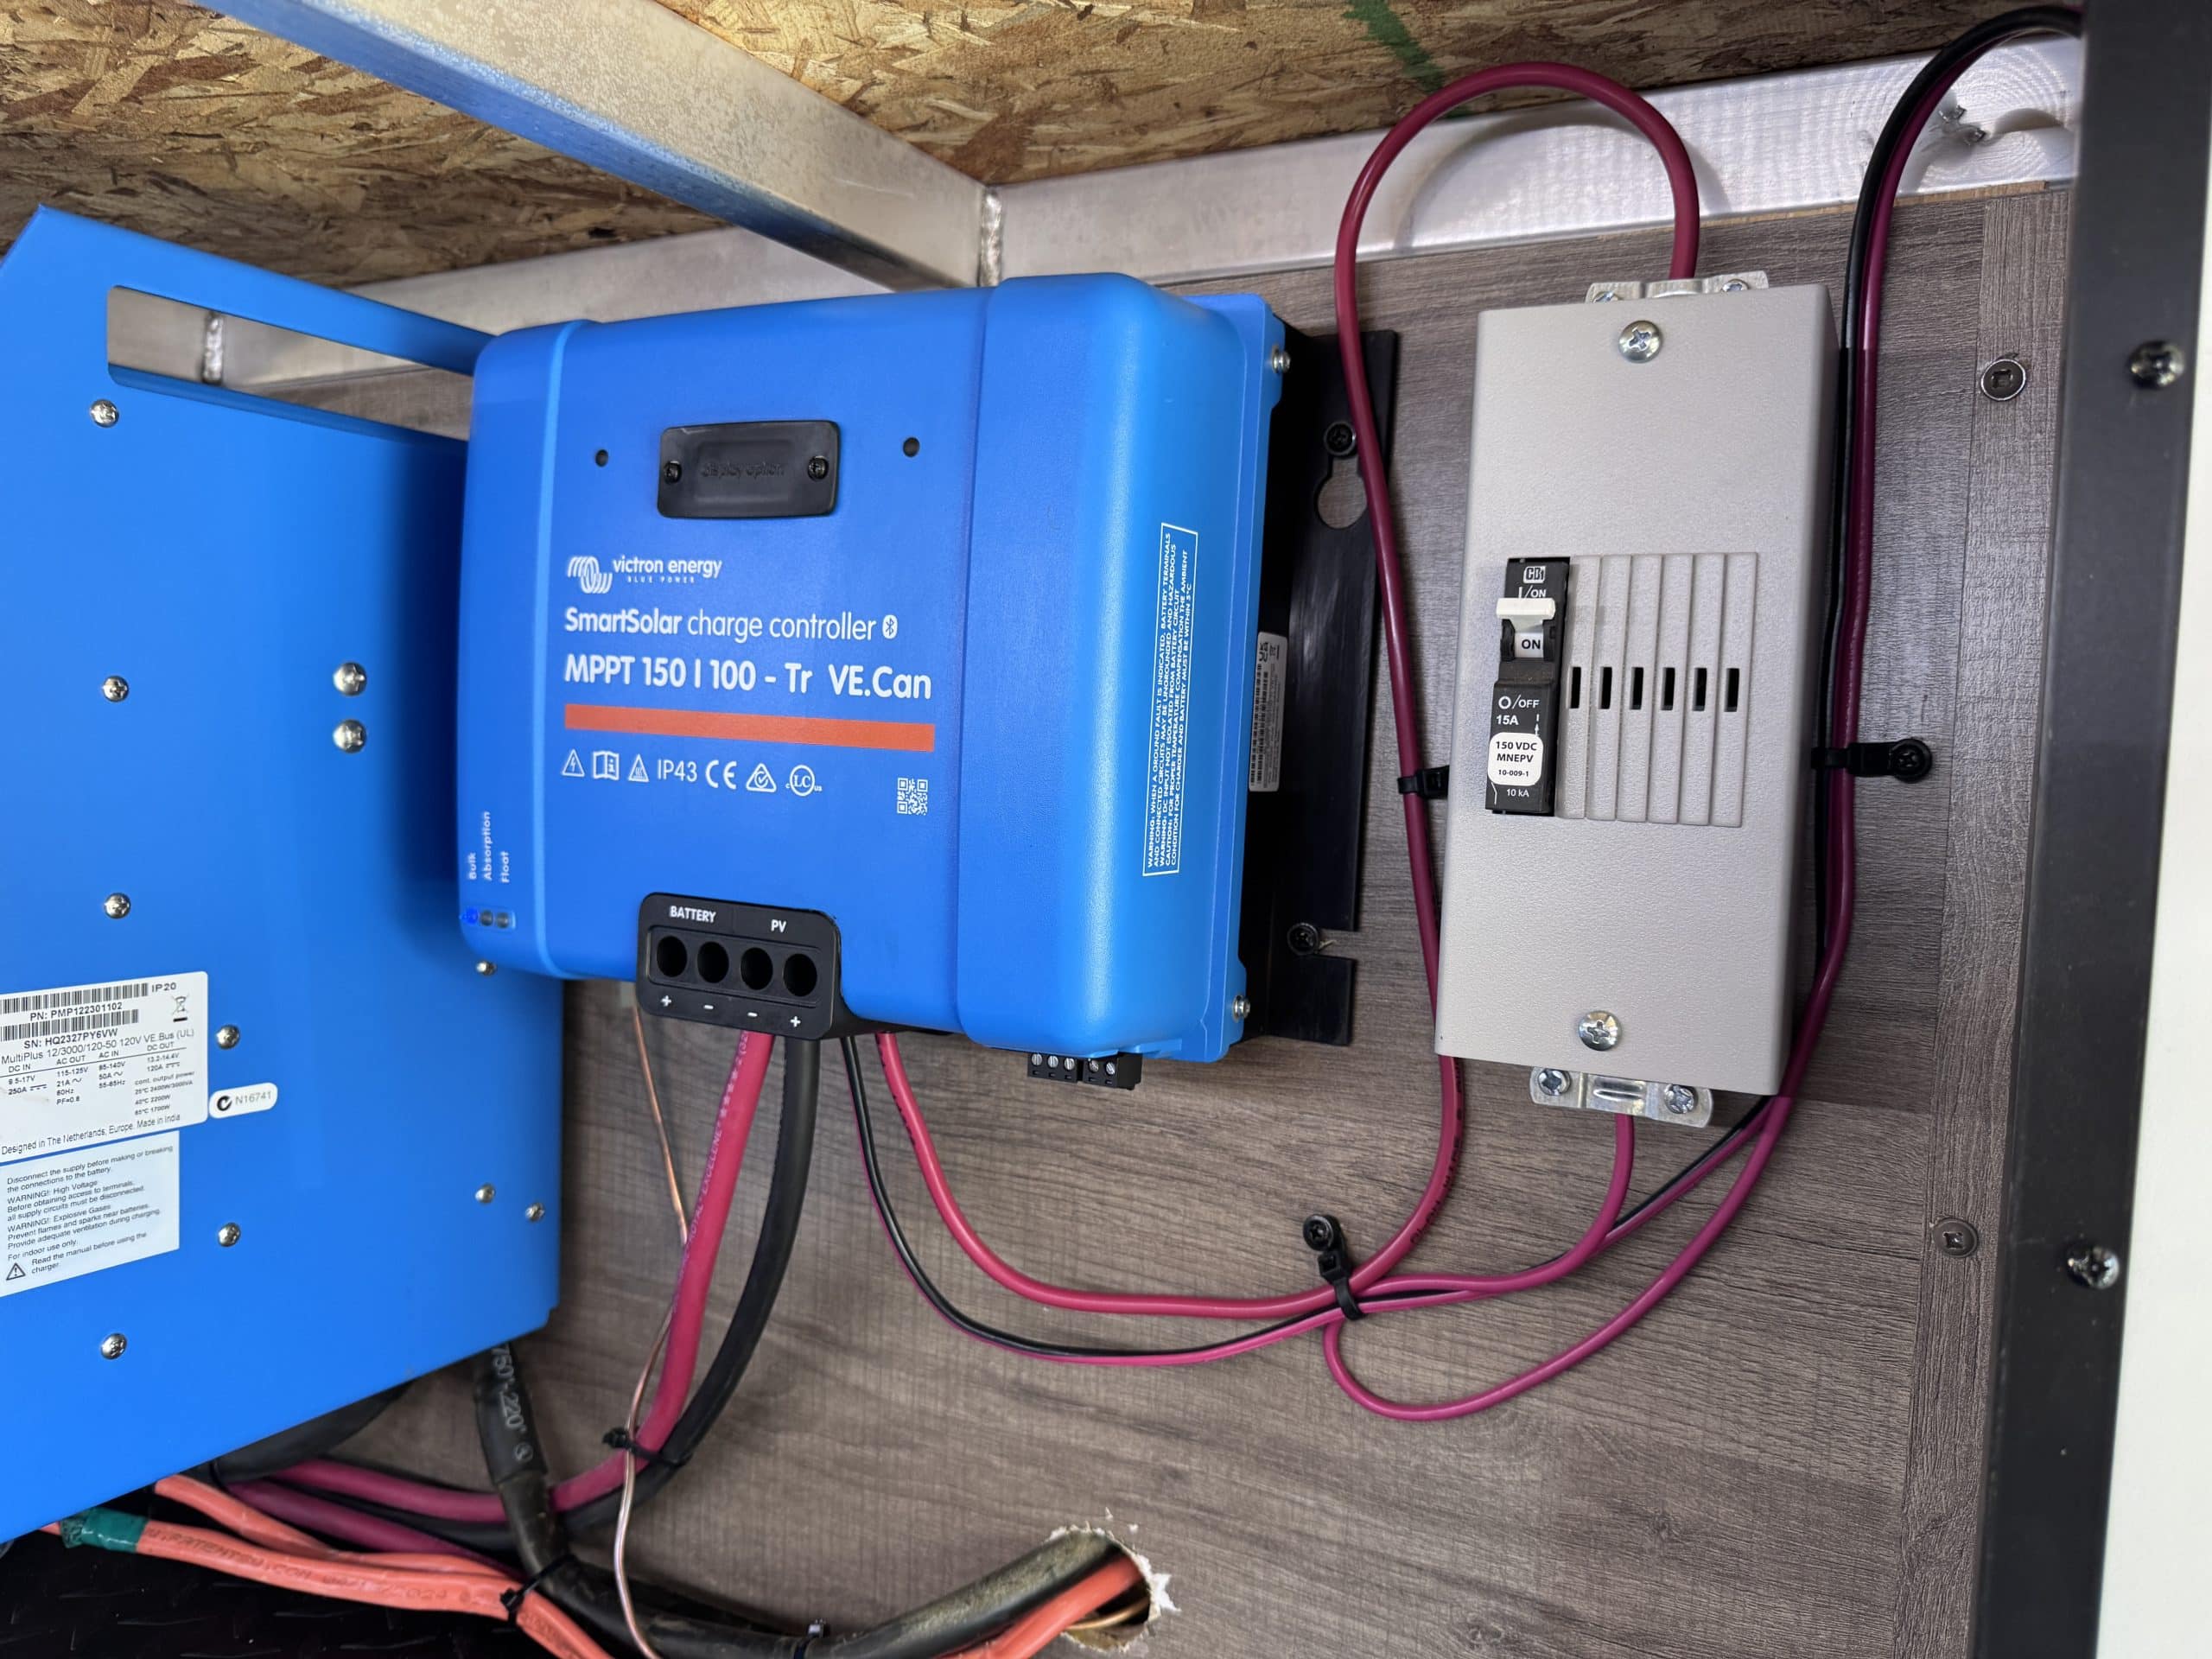
- Victron MPPT 150/100 Smart Solar charge controller with built in Bluetooth
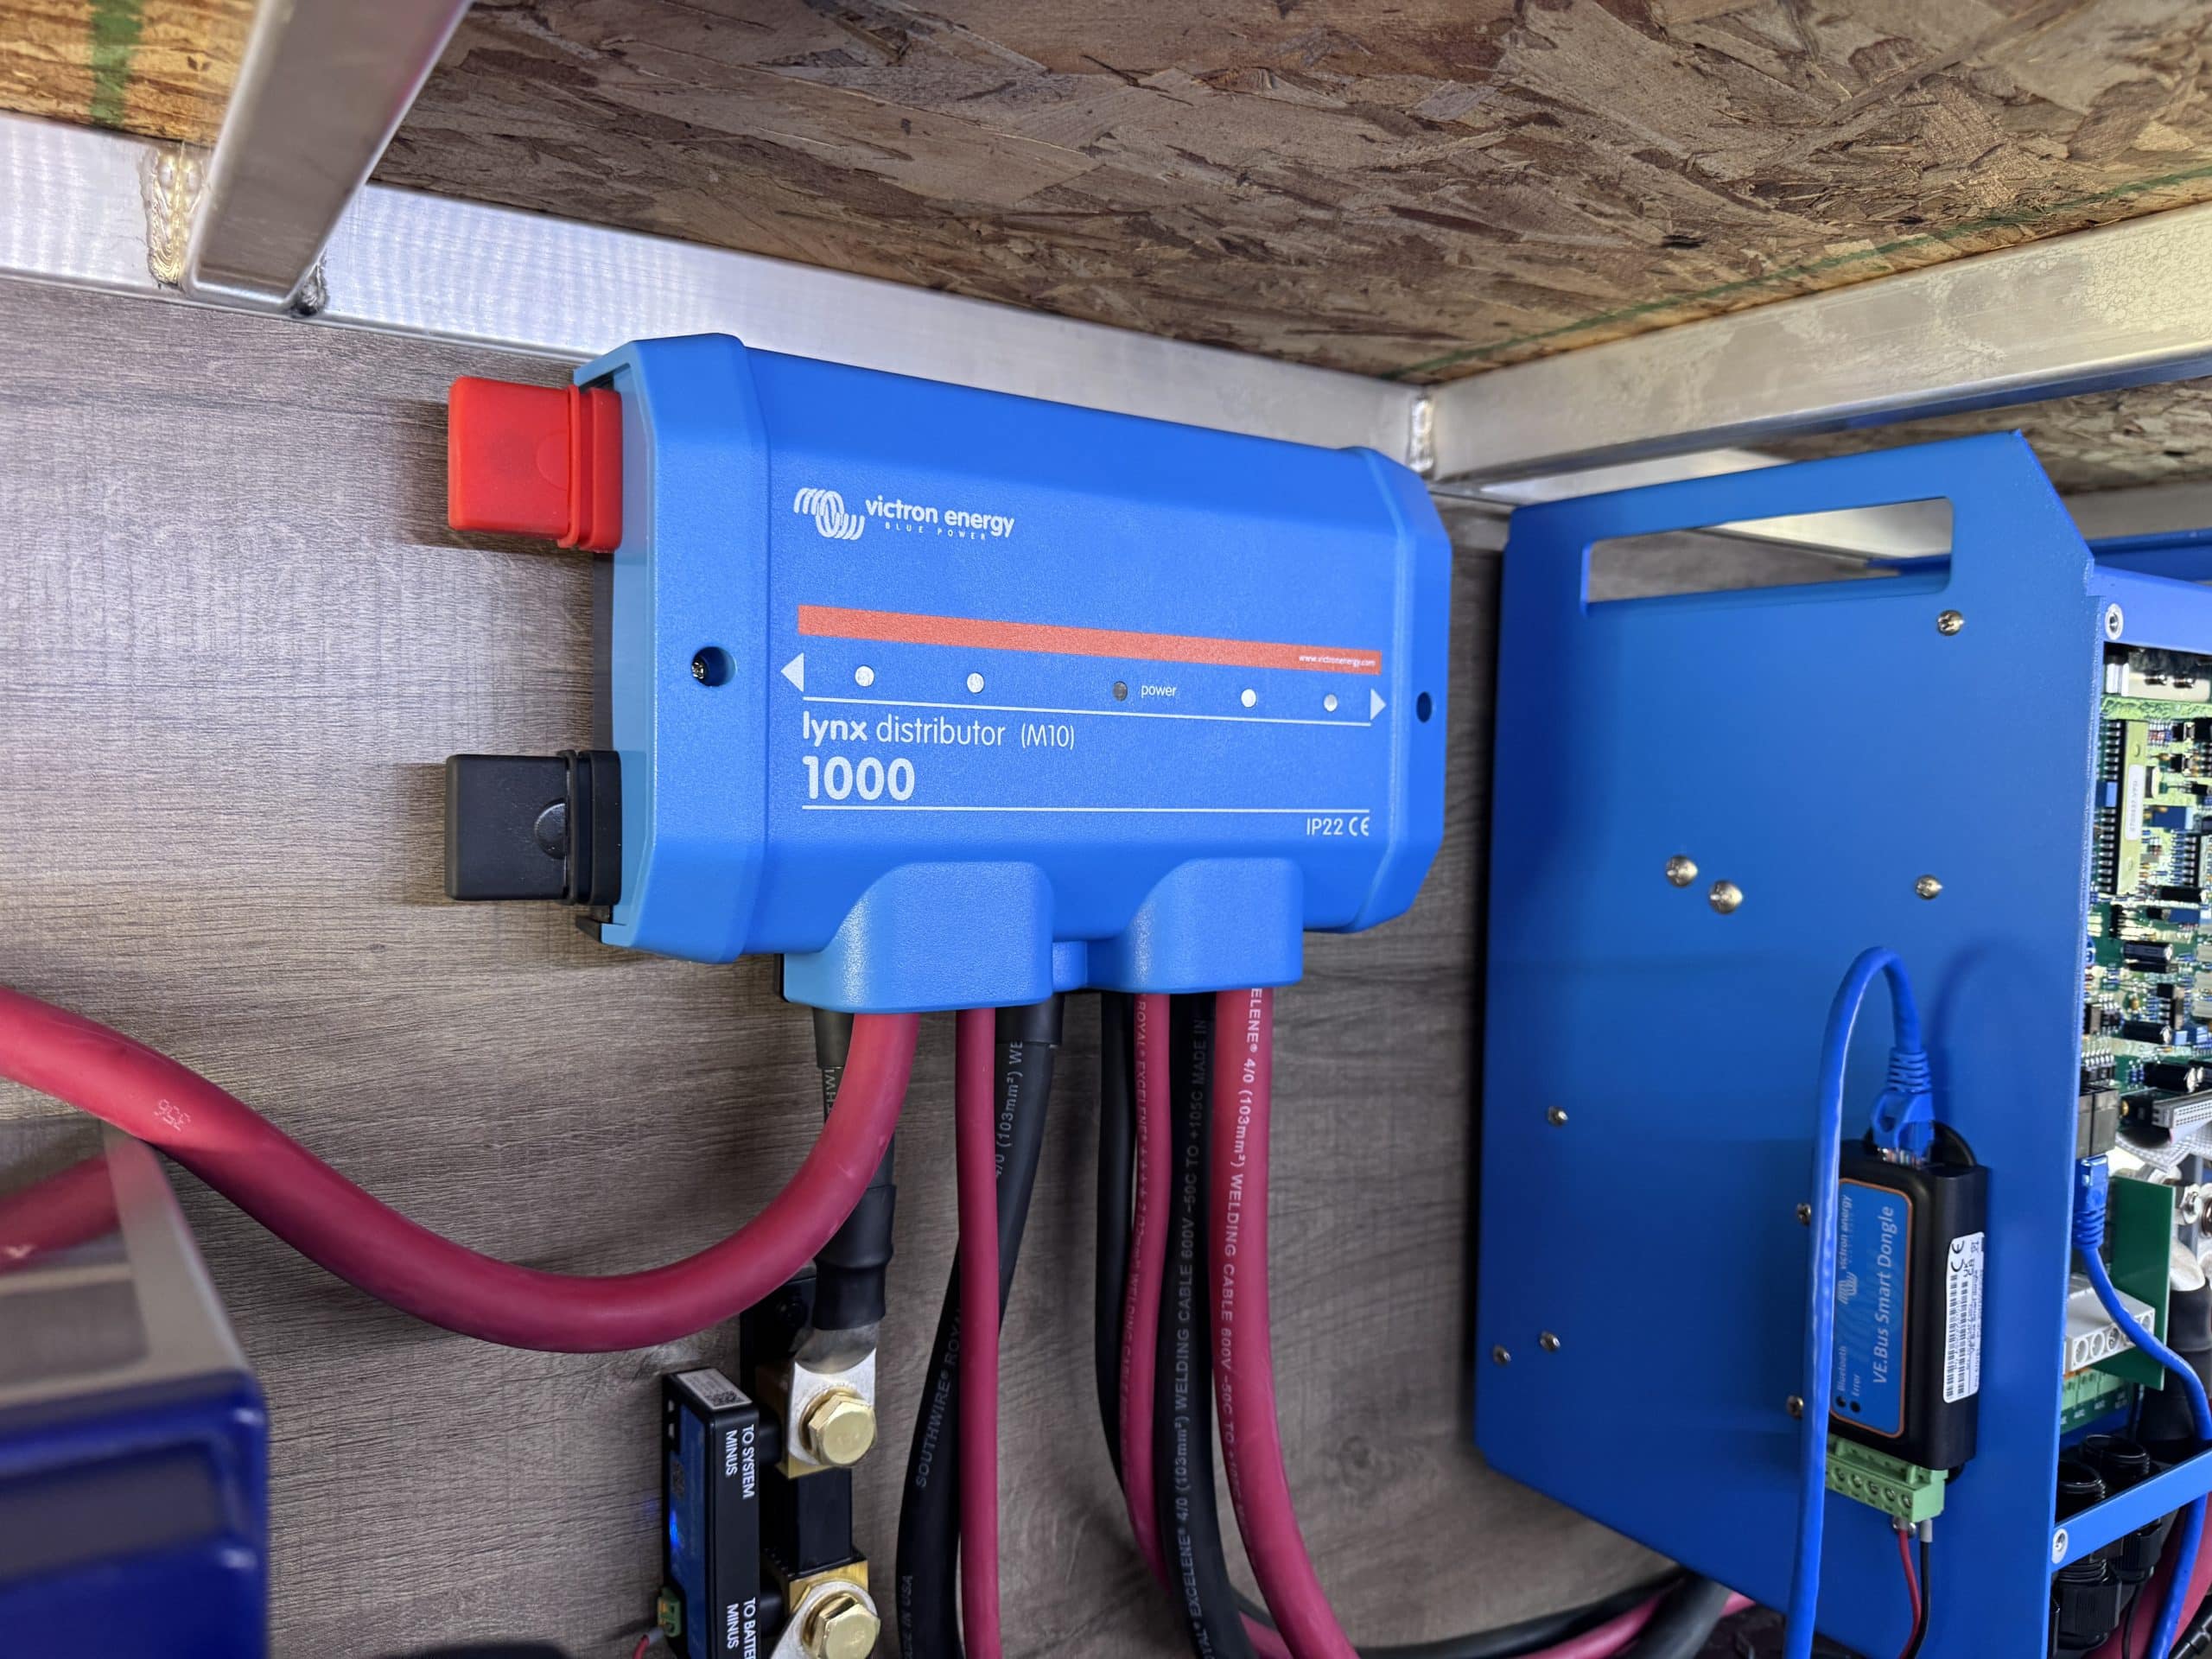
- Victron VE.Bus Smart Dongle – allows Bluetooth connectivity to Multiplus
- Various Victron RJ-45 Cables
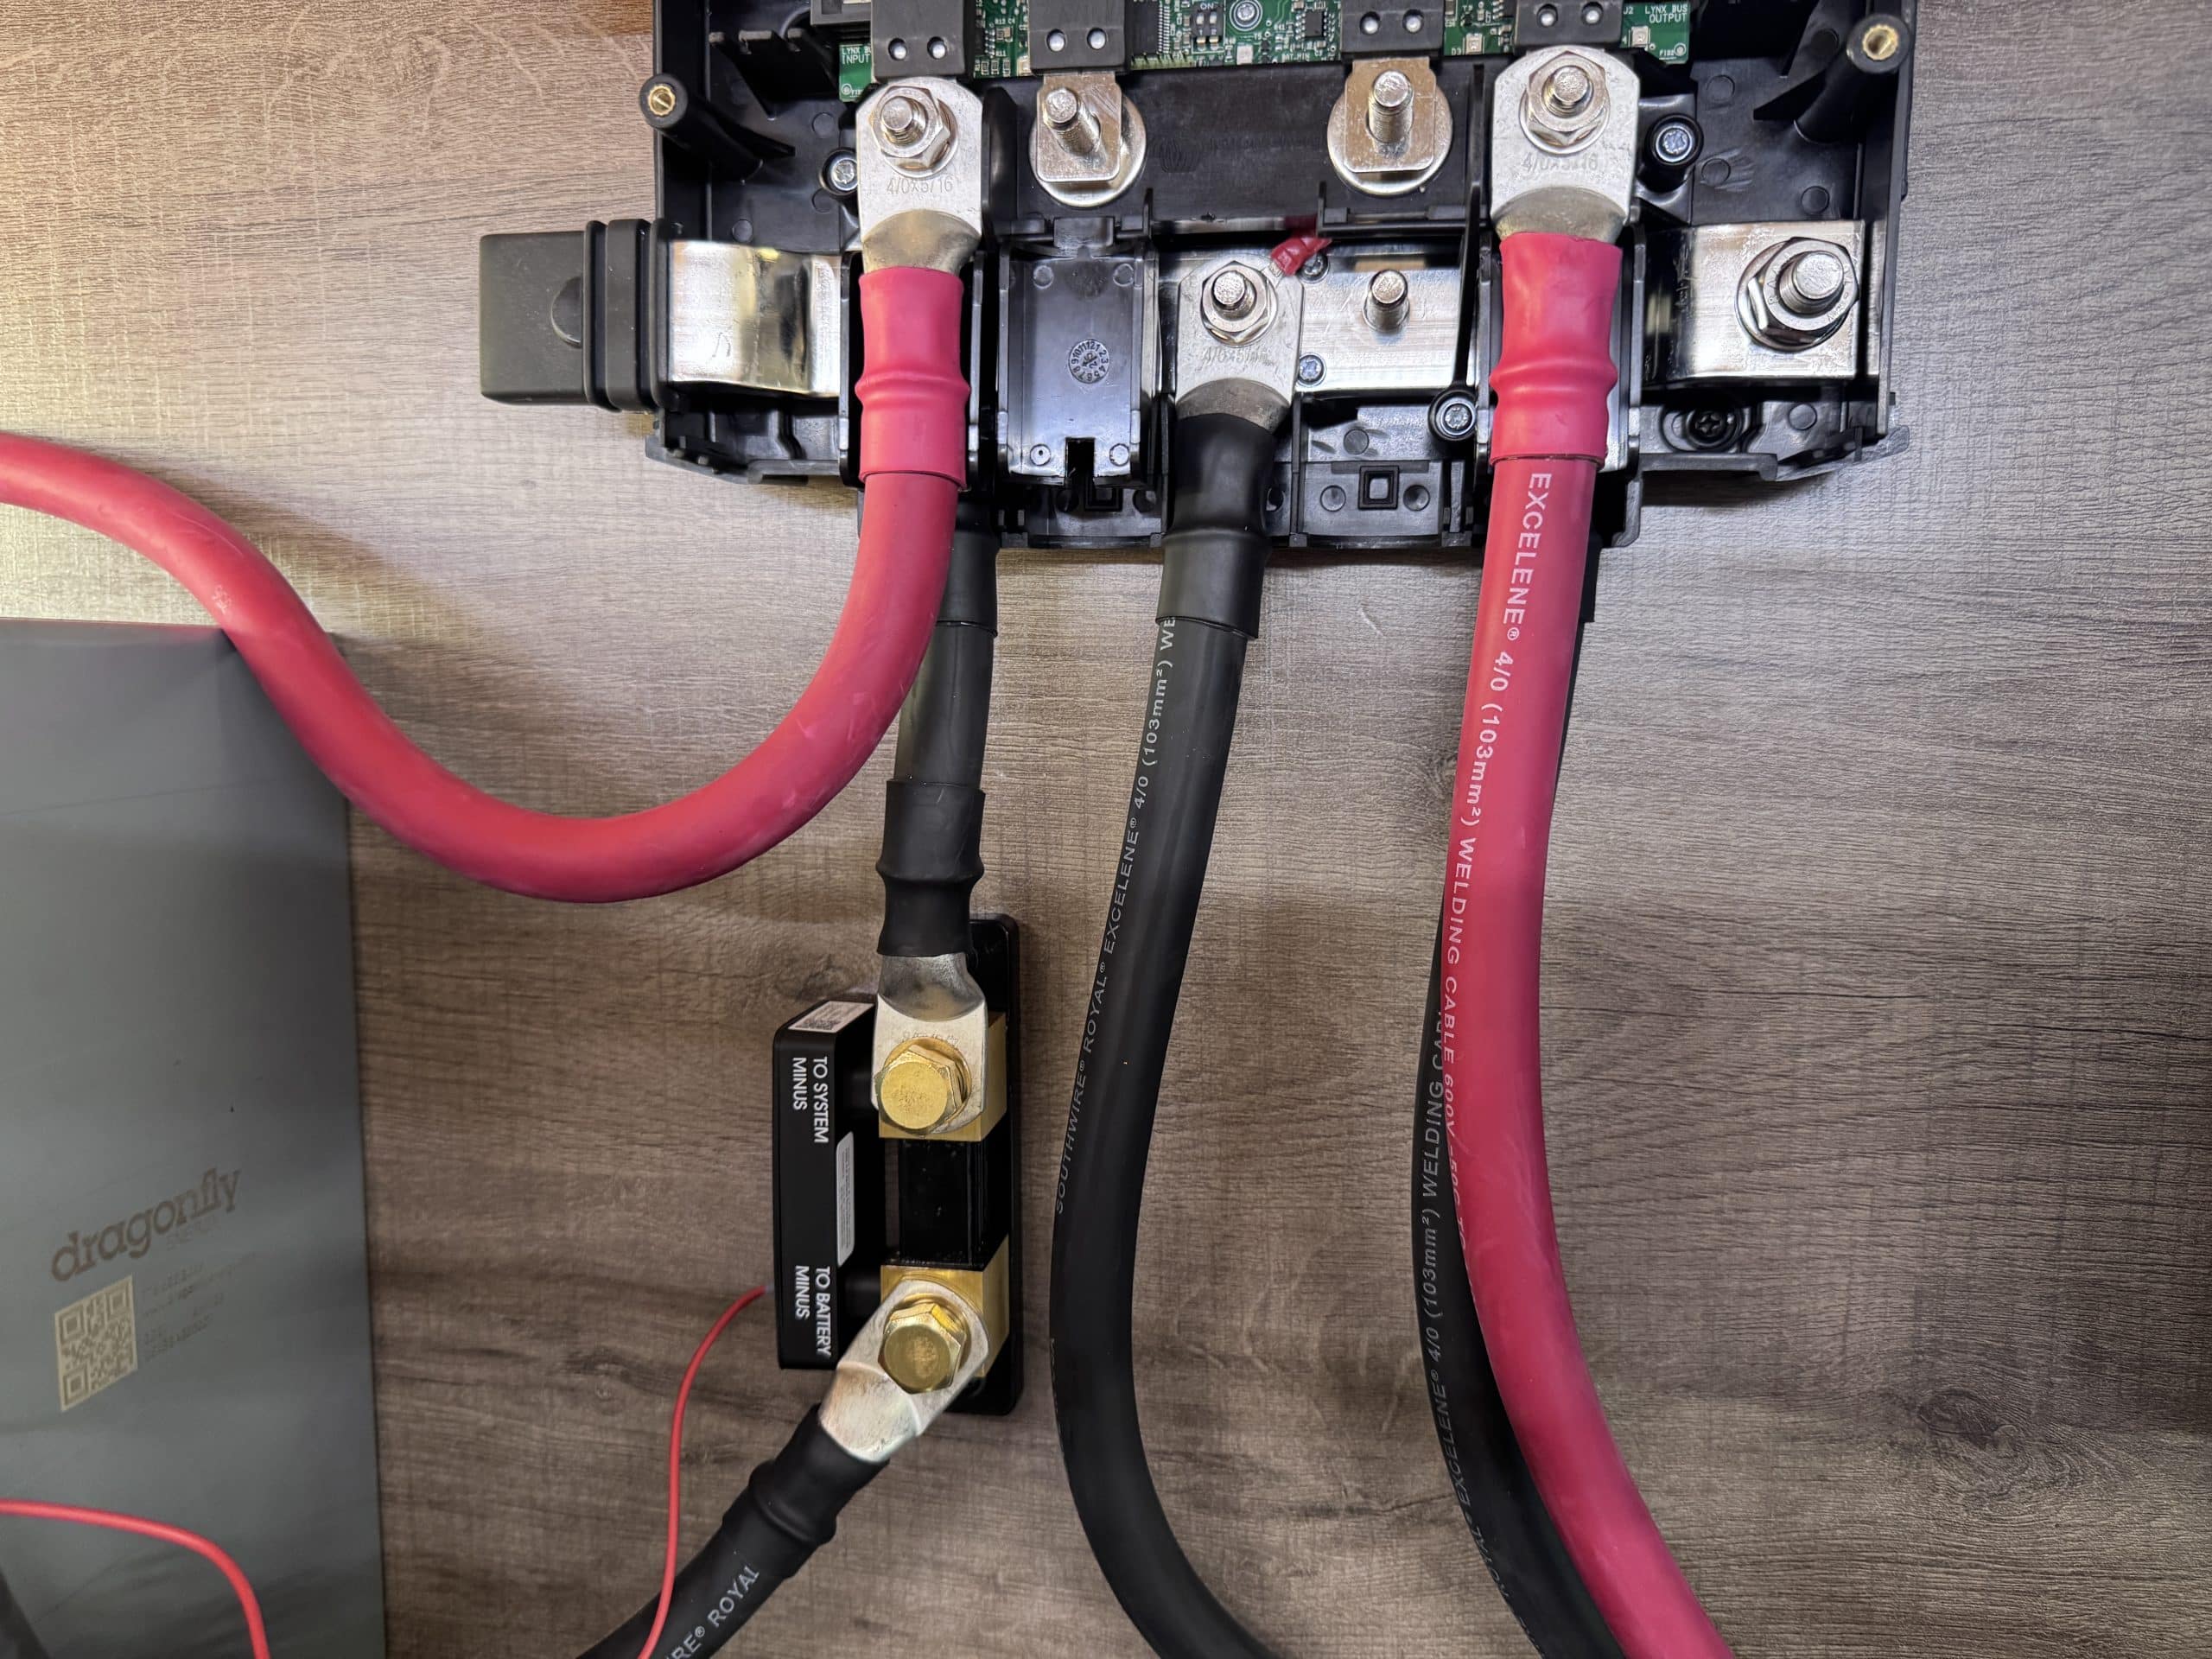
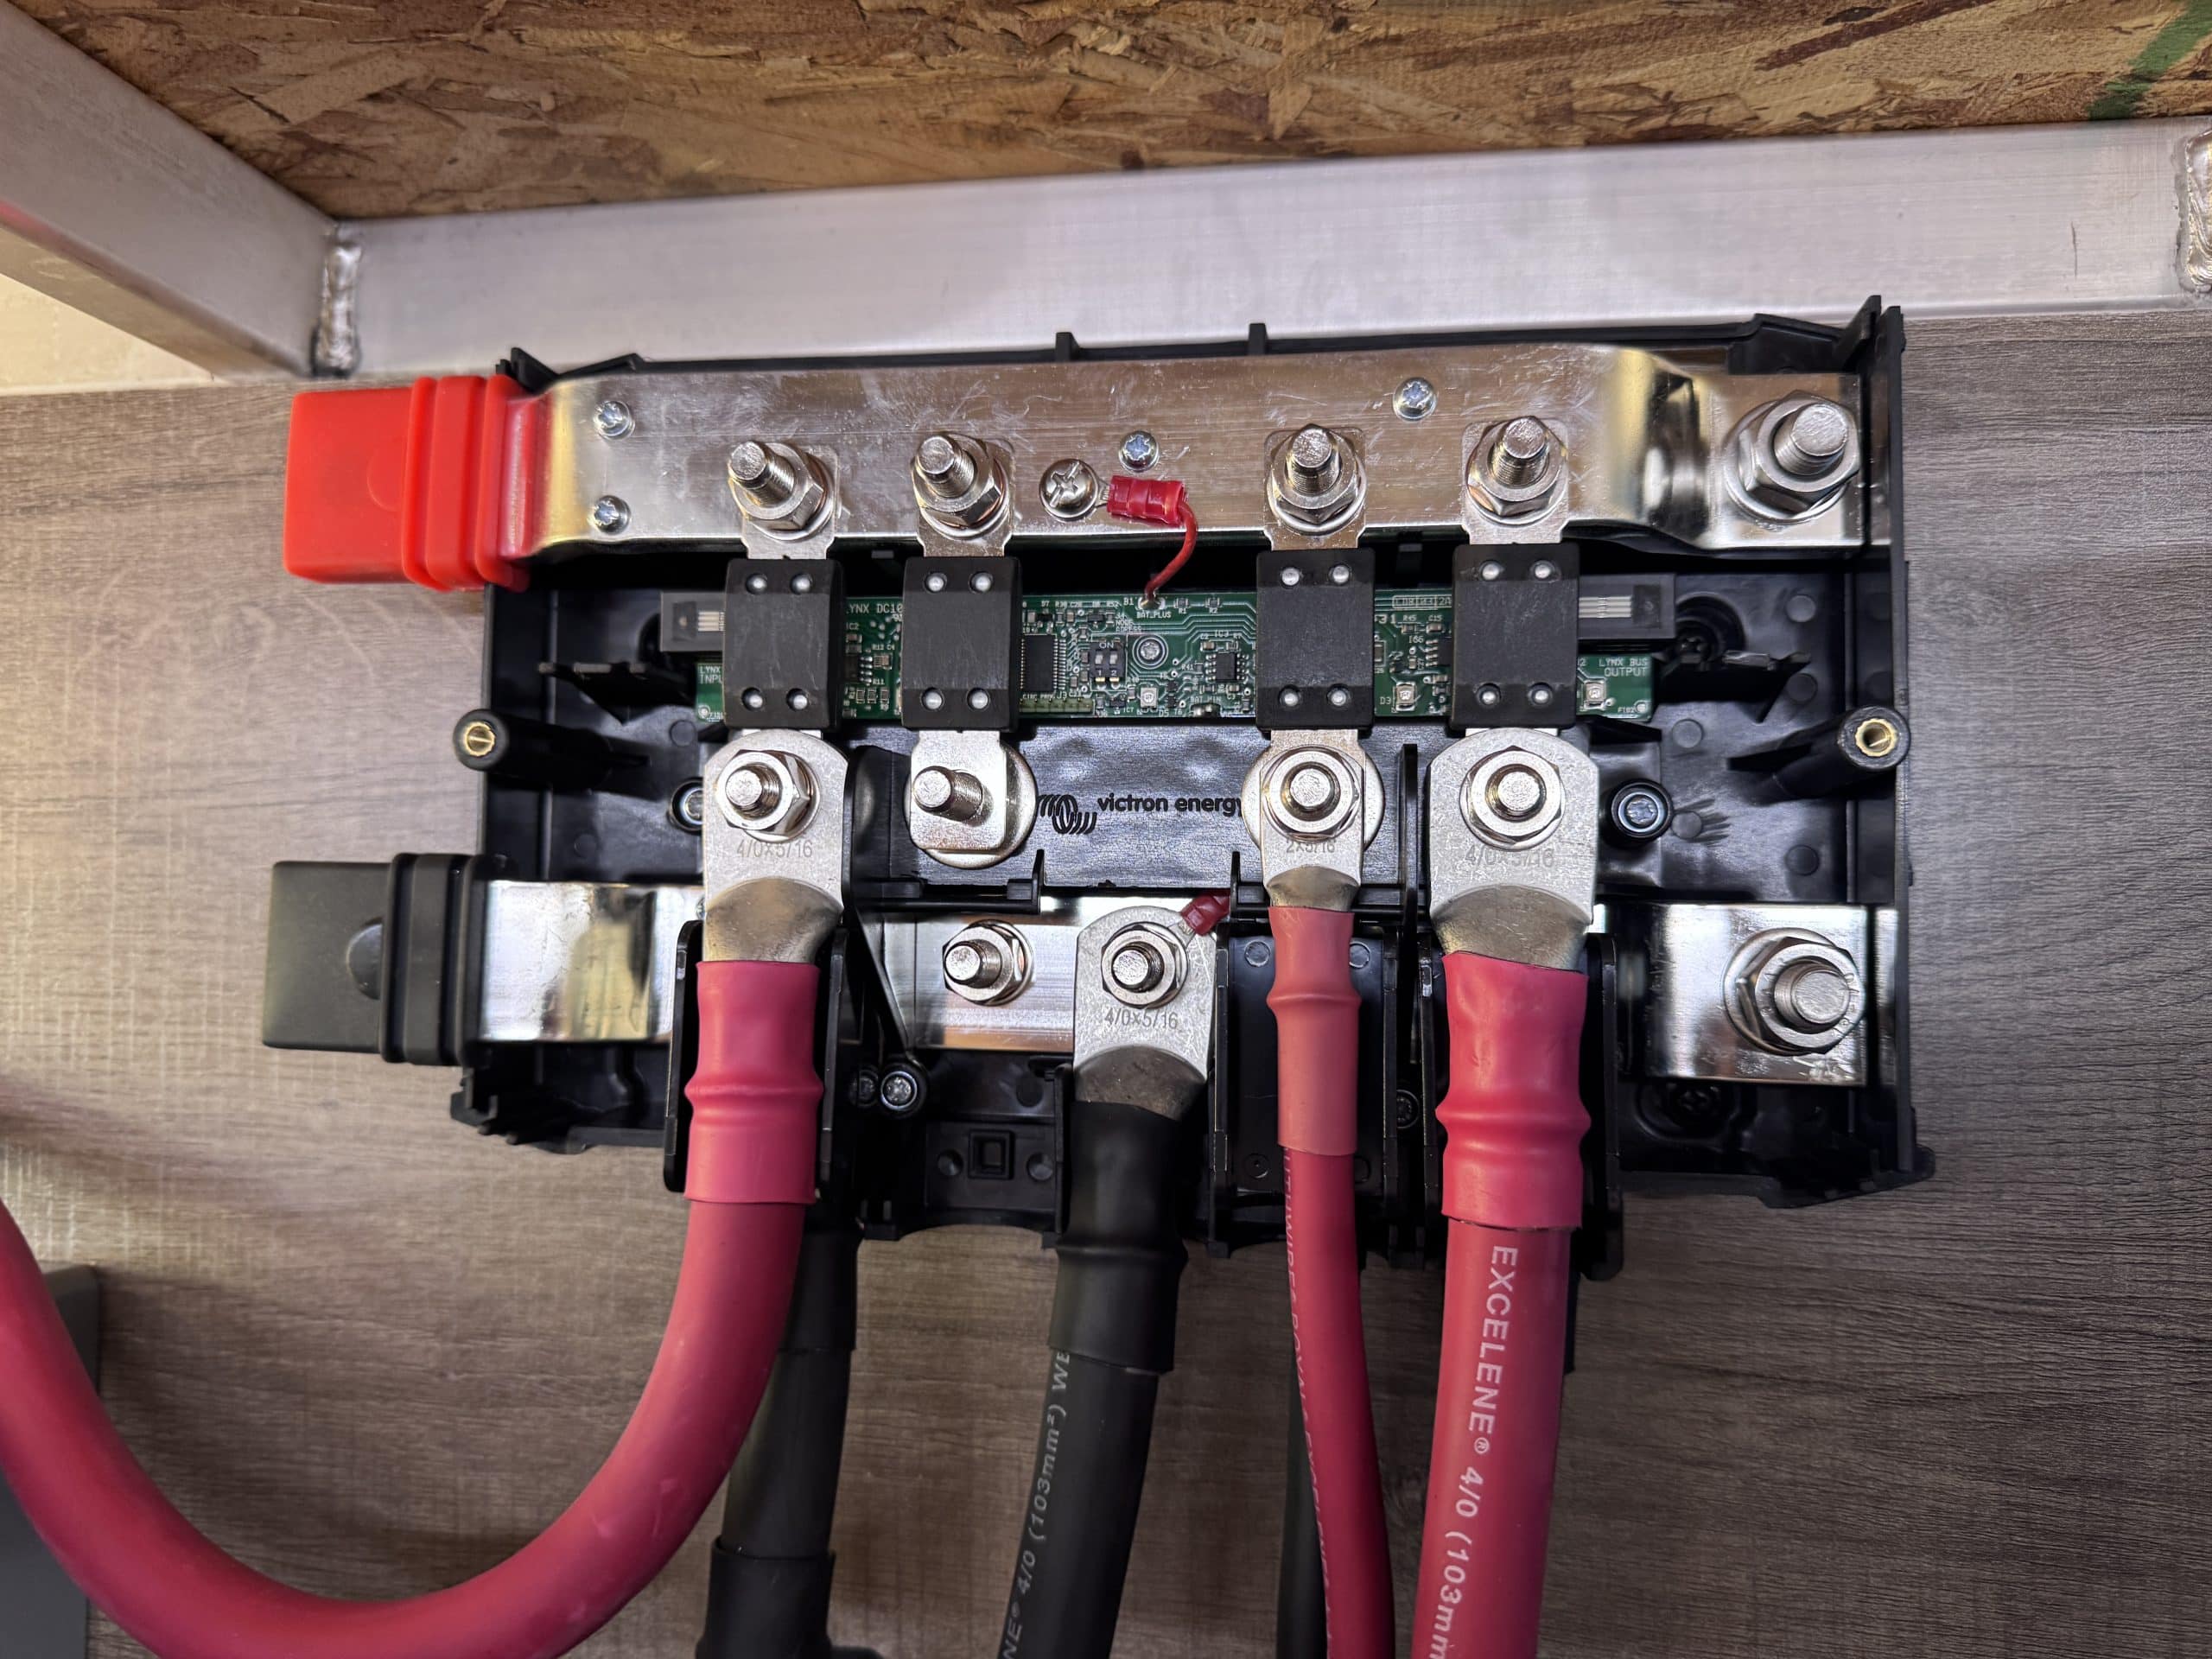
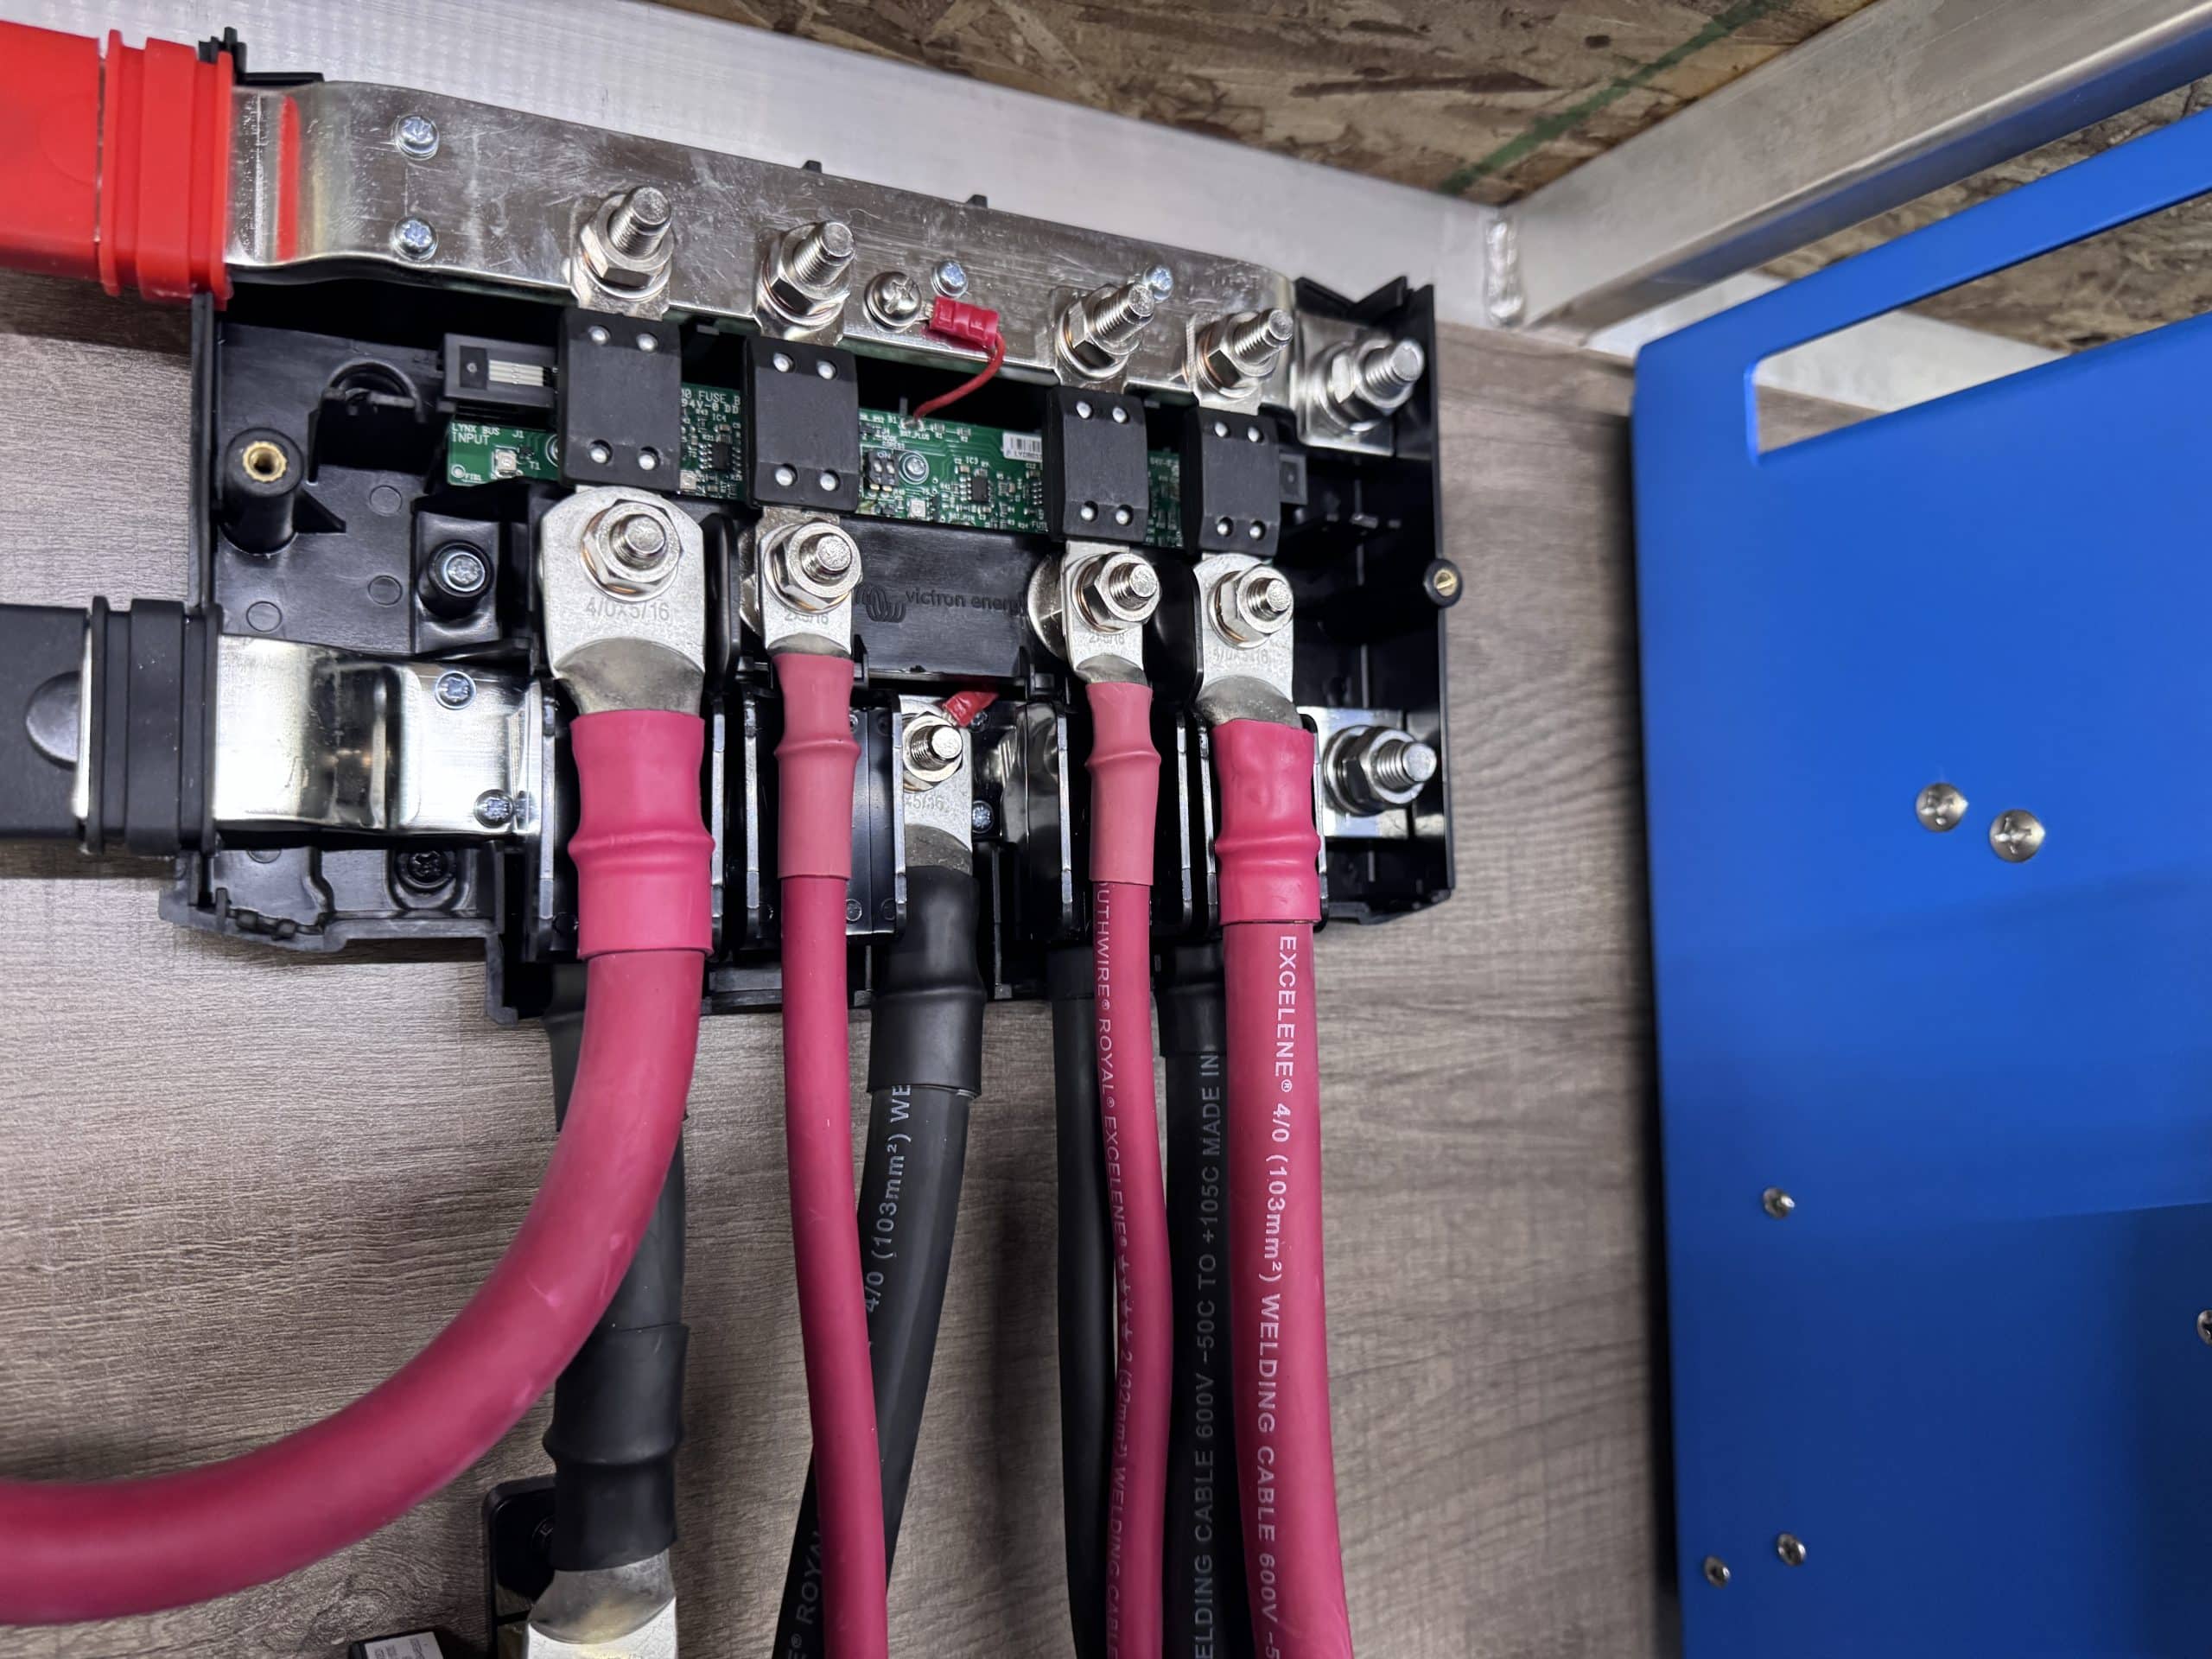
- Victron Lynx Distributor
- Various Victron Mega Fuses for Lynx Distributor
- 9 Feet 2 AWG Welding Cable - Red
- 4 Feet 2 AWG Welding Cable - Black
- 9 Feet 4/0 Welding Cable - Black
- 9 Feet 4/0 Welding Cable - Red
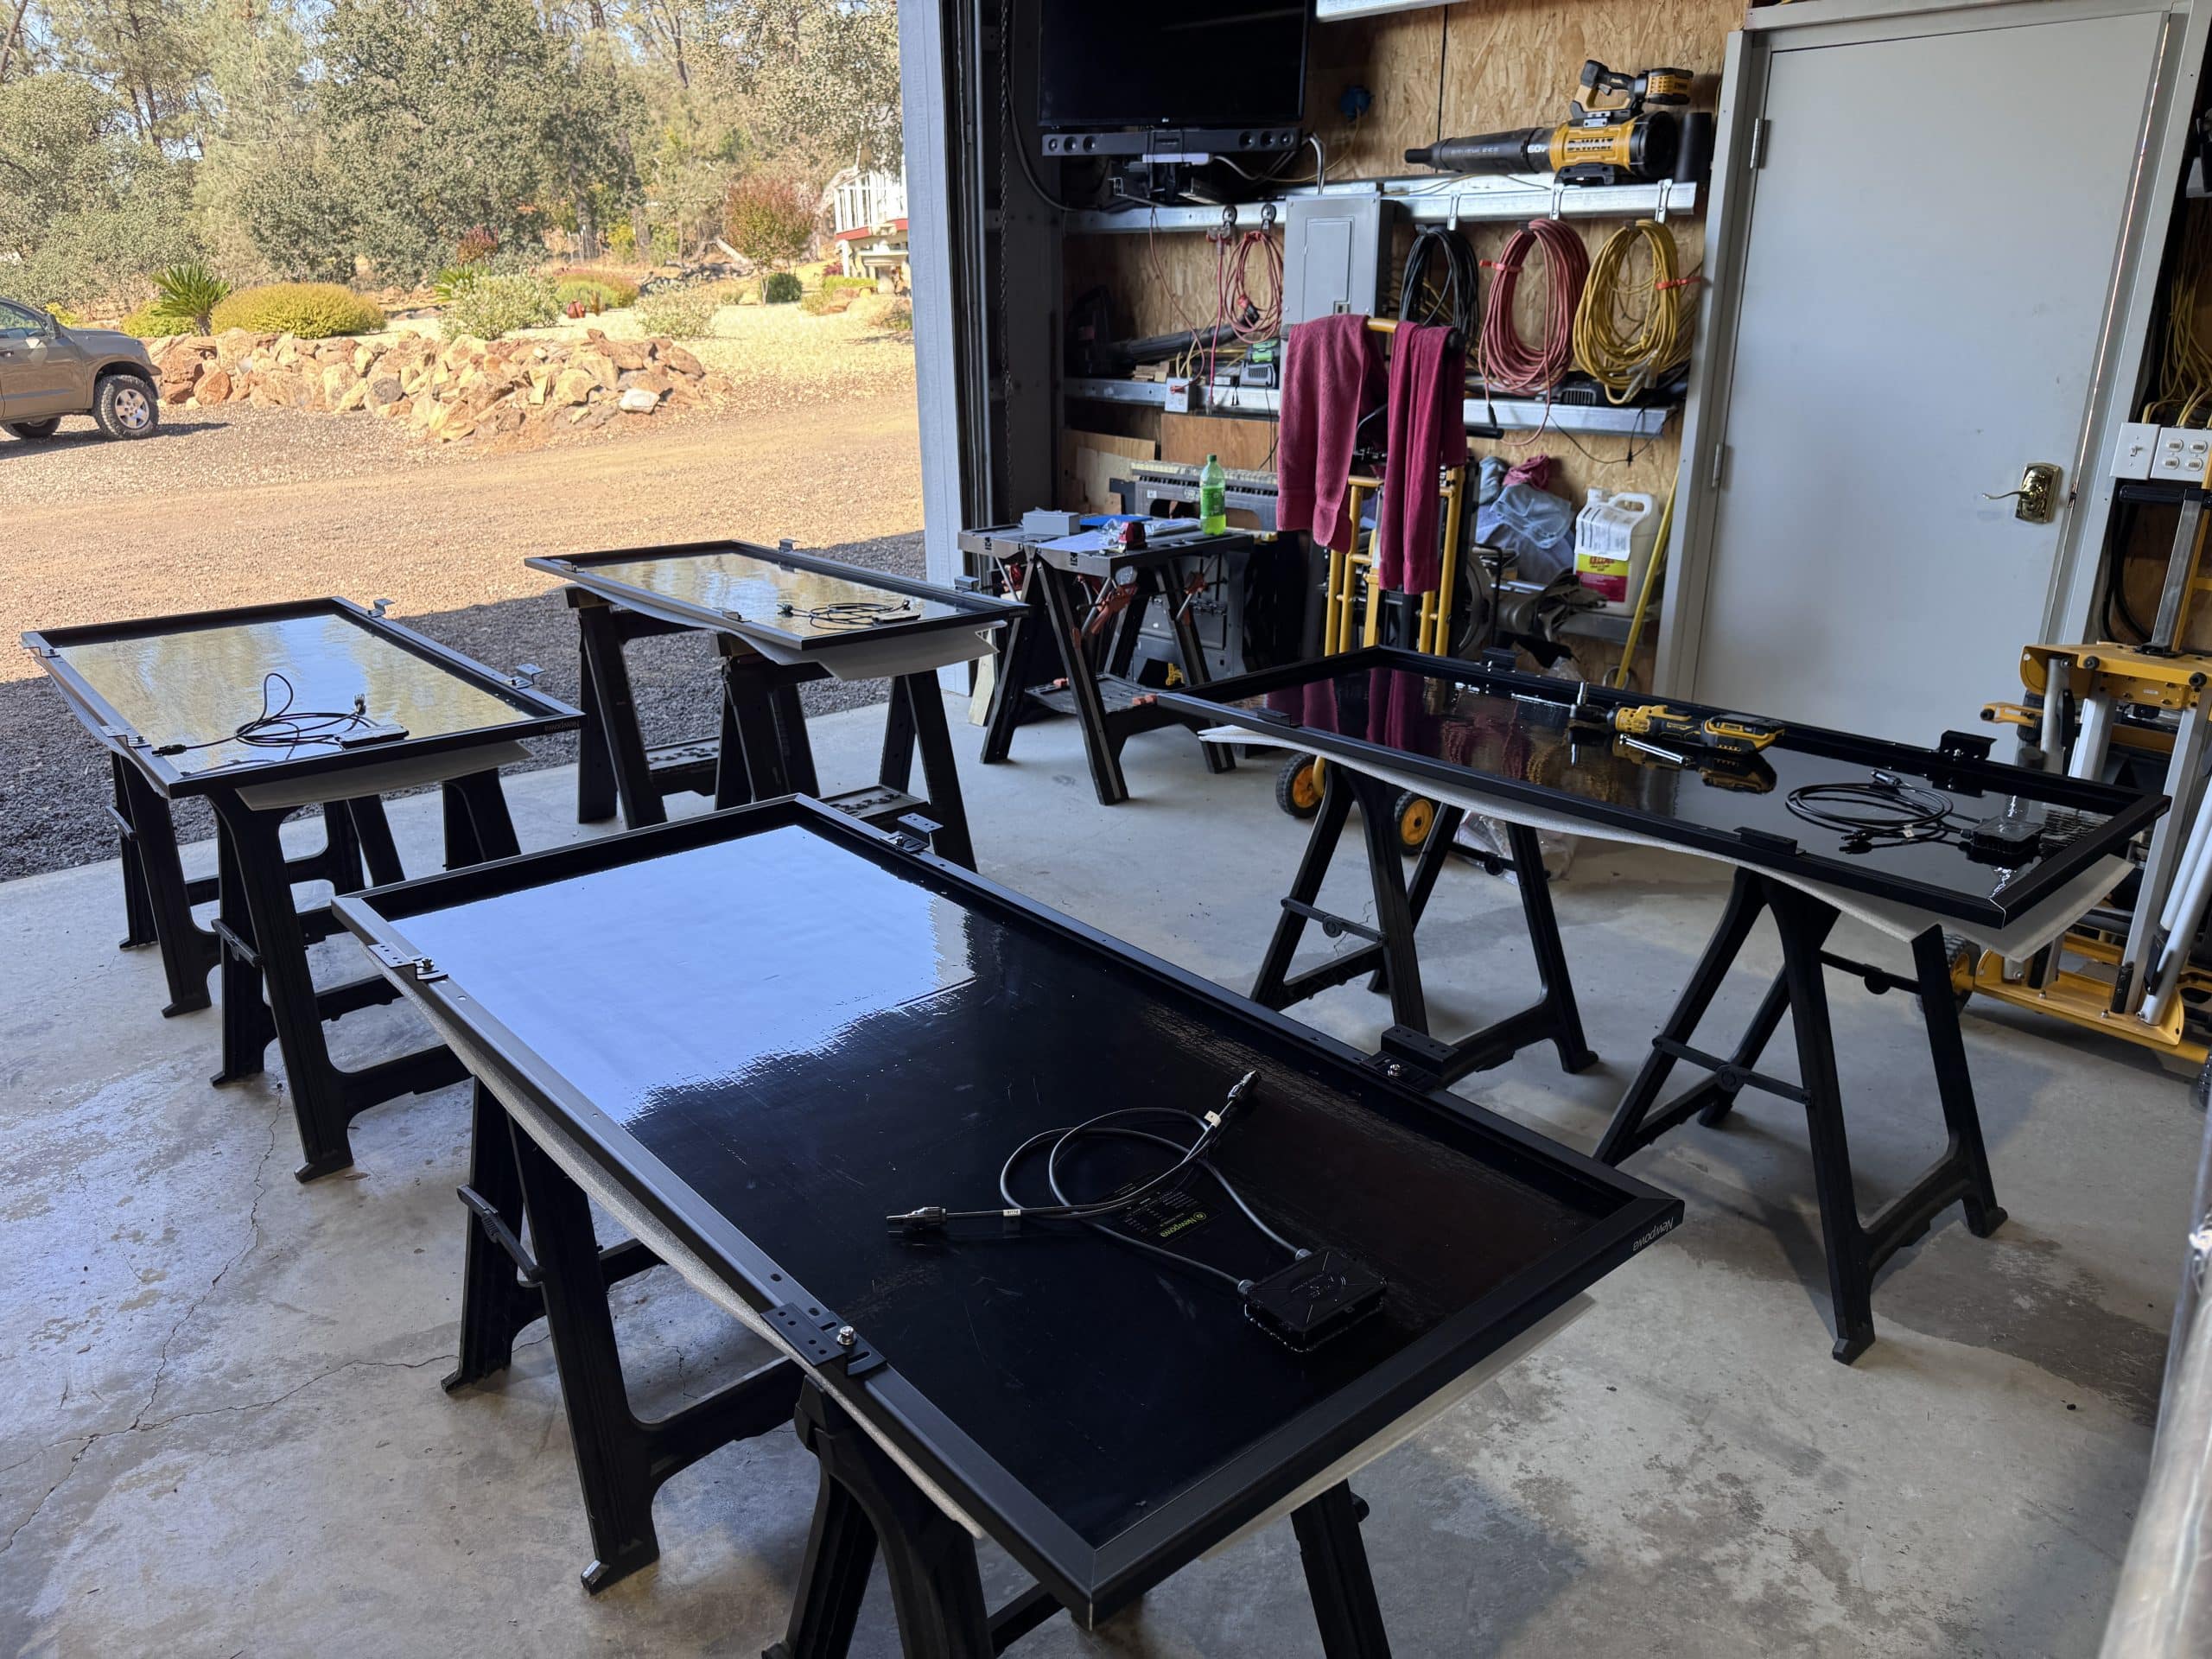
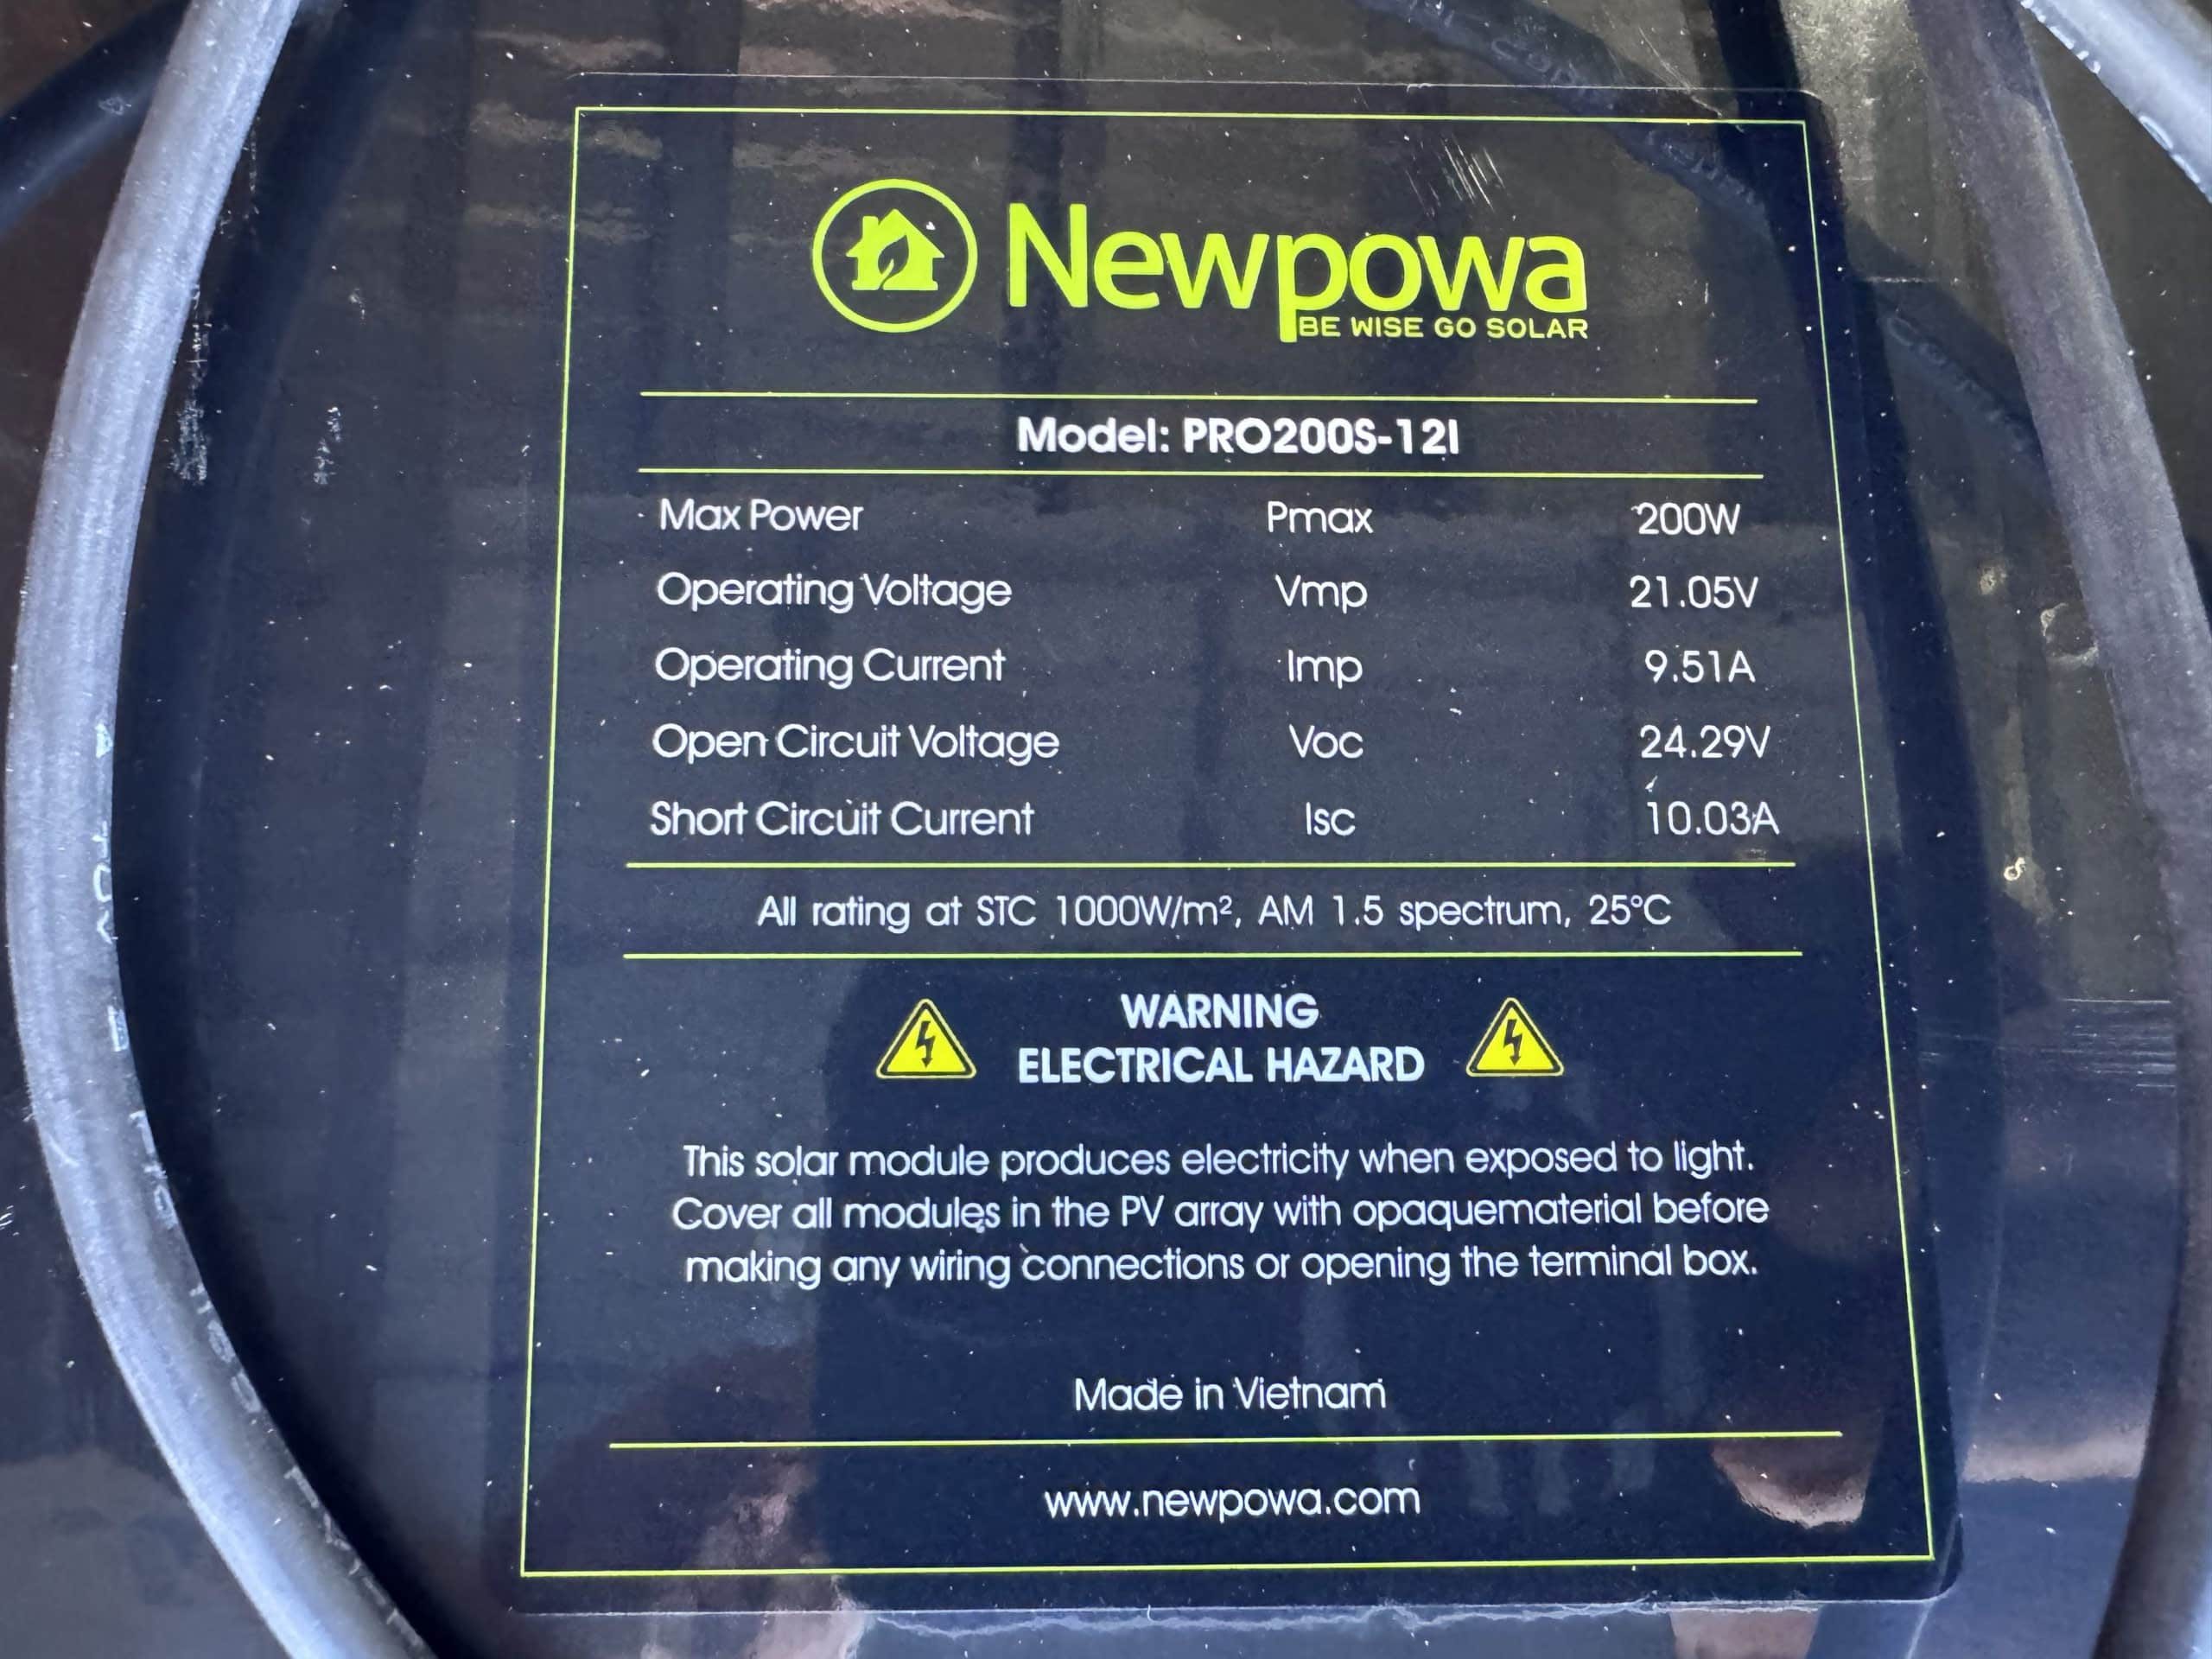
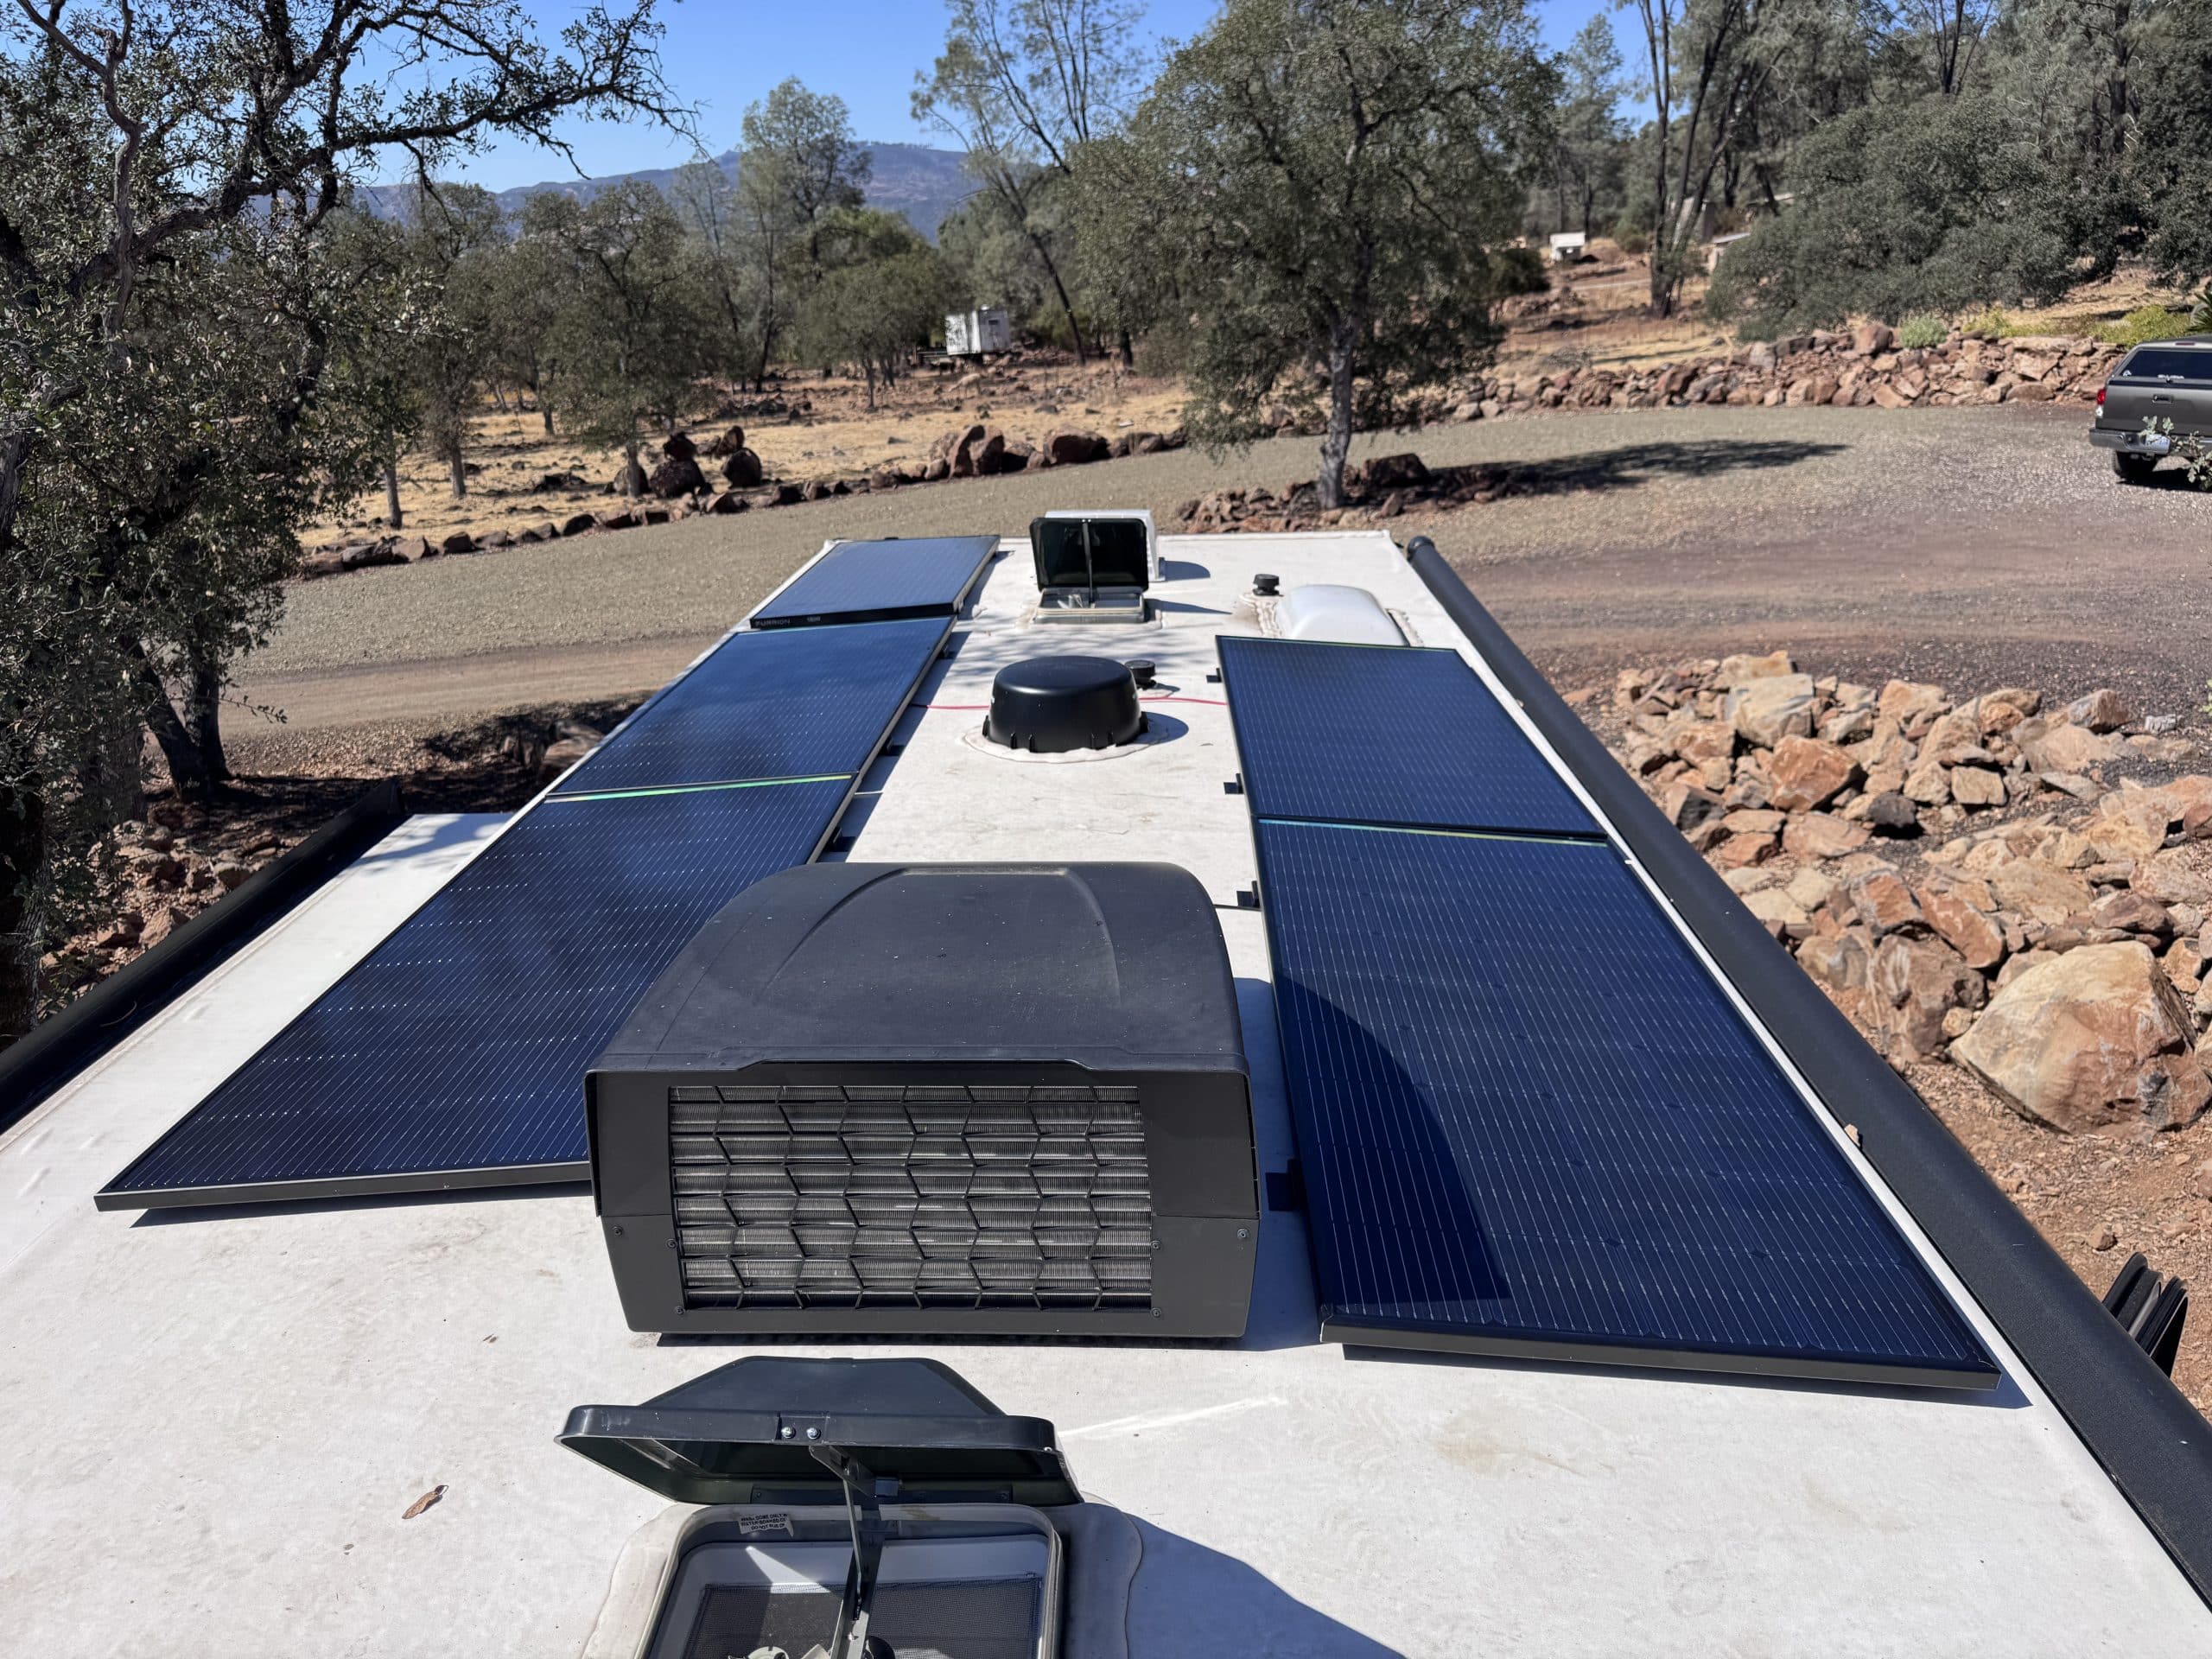
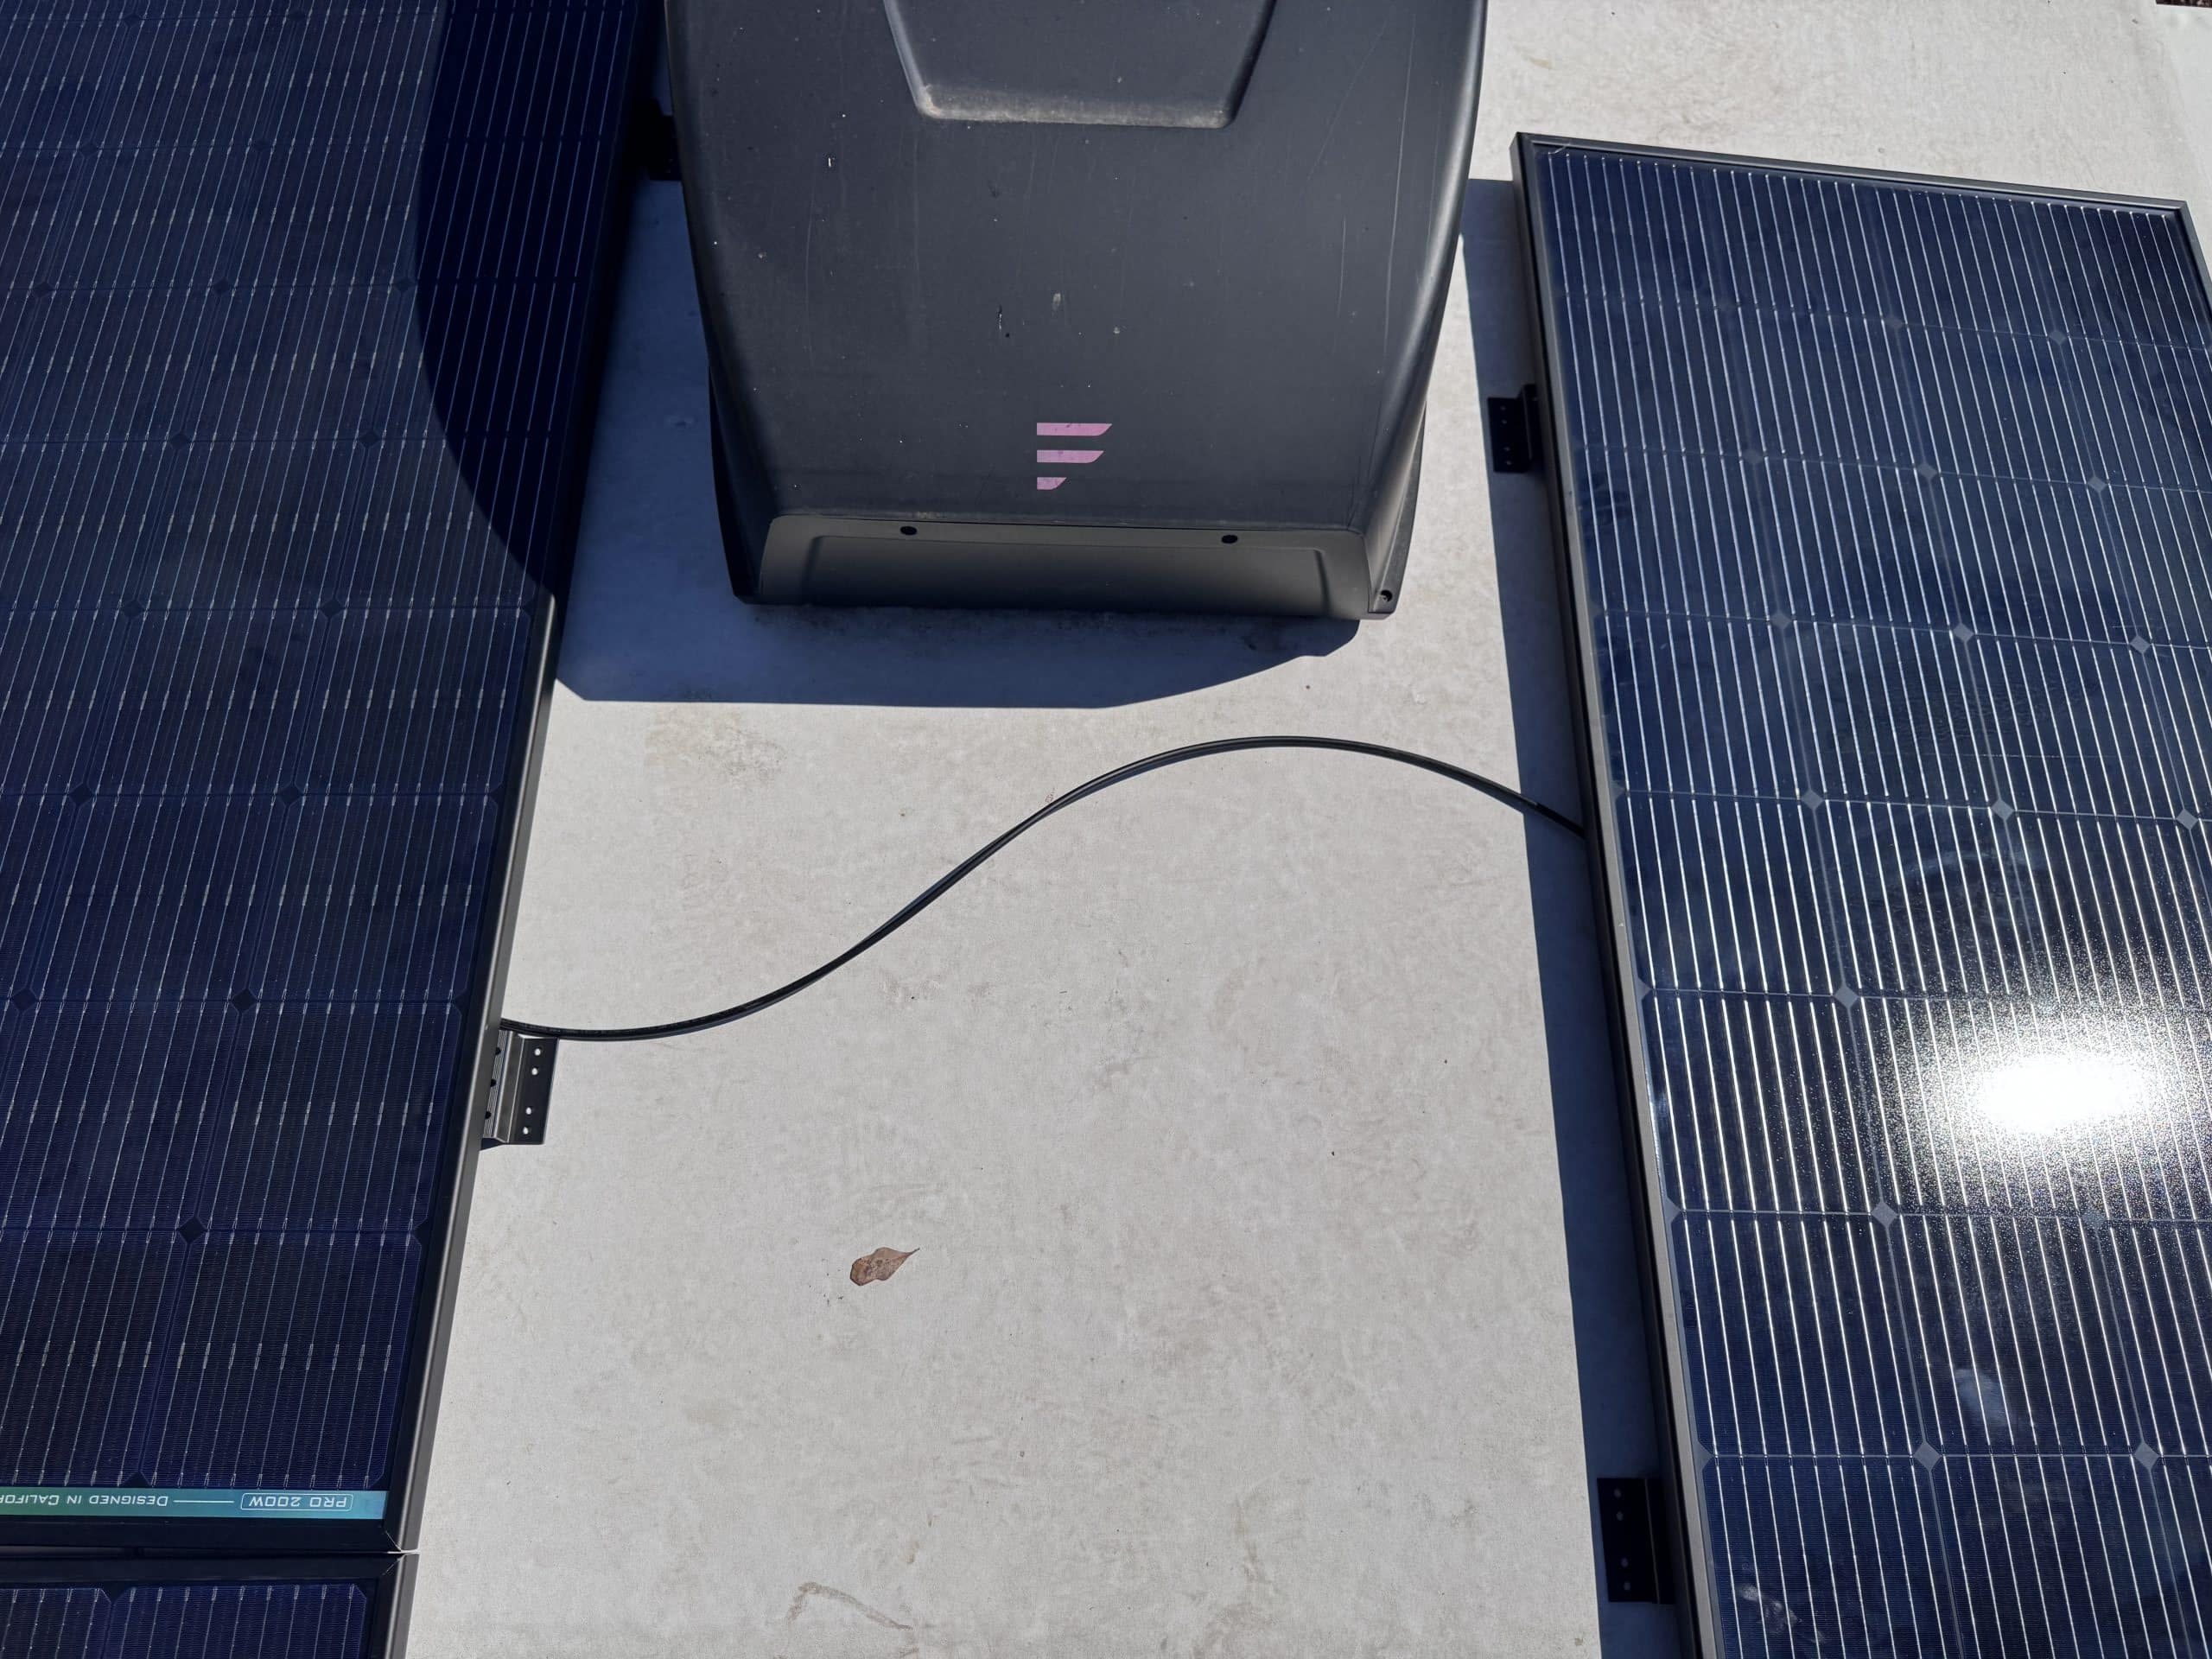
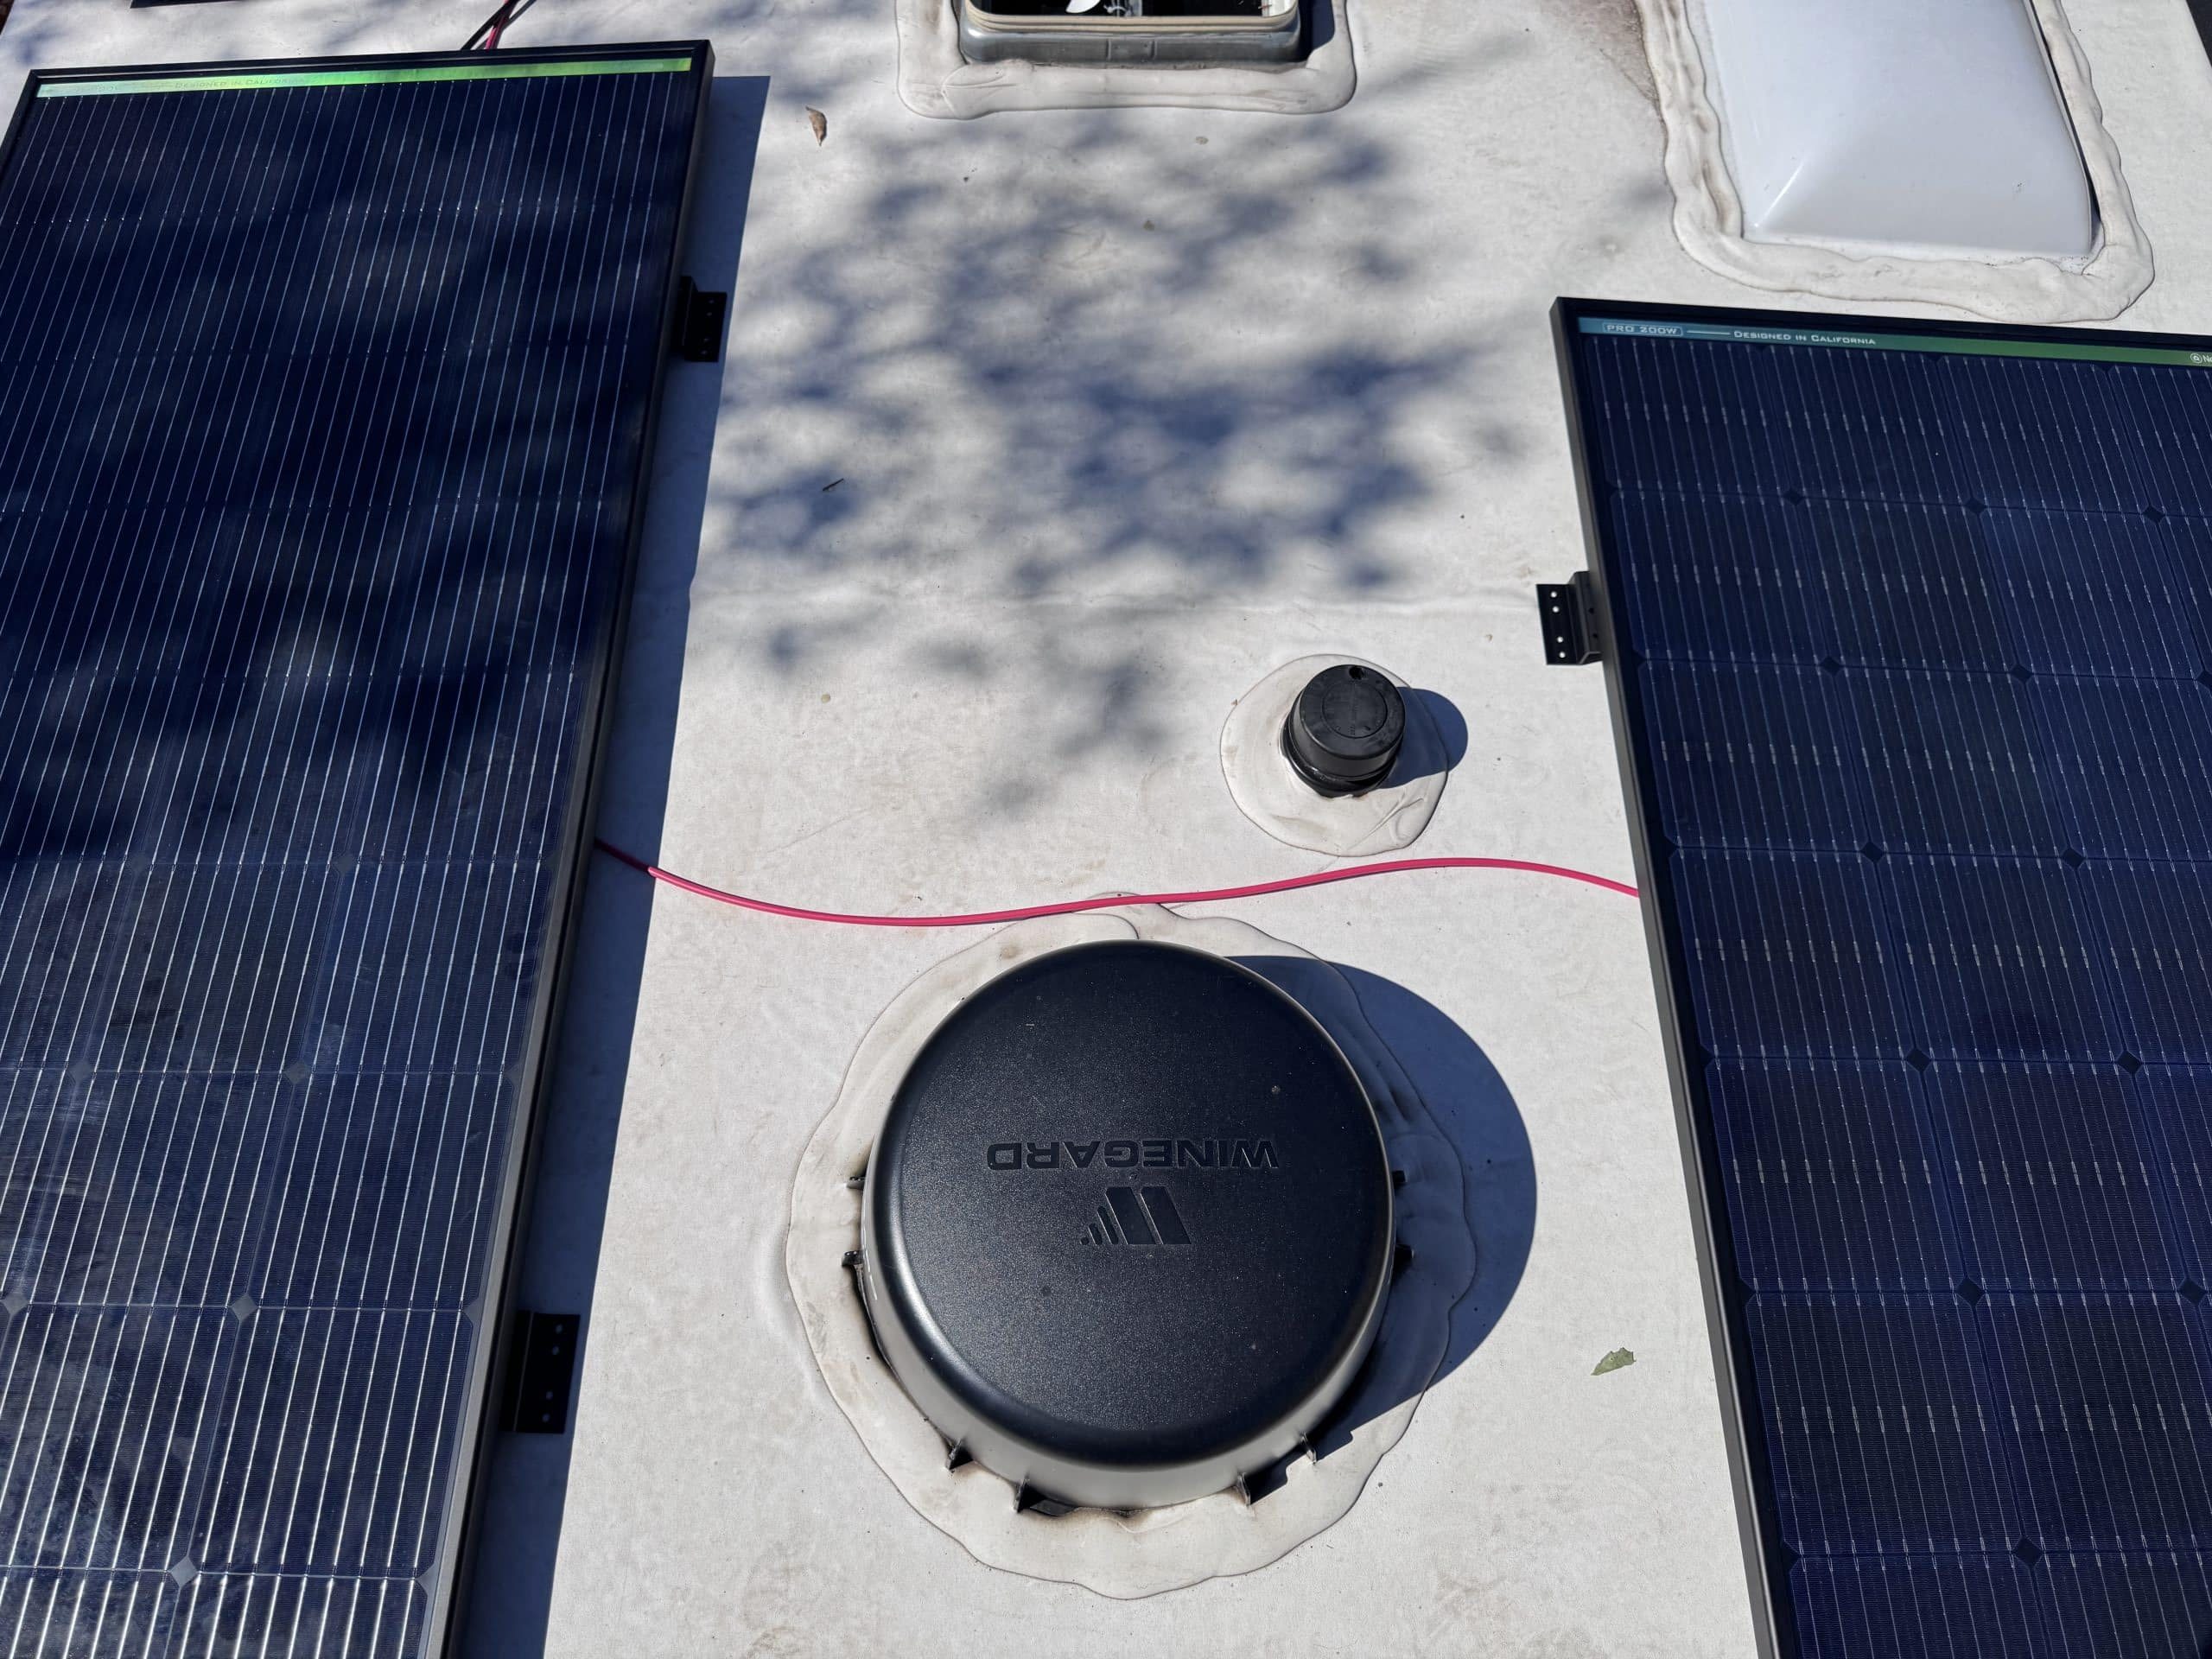
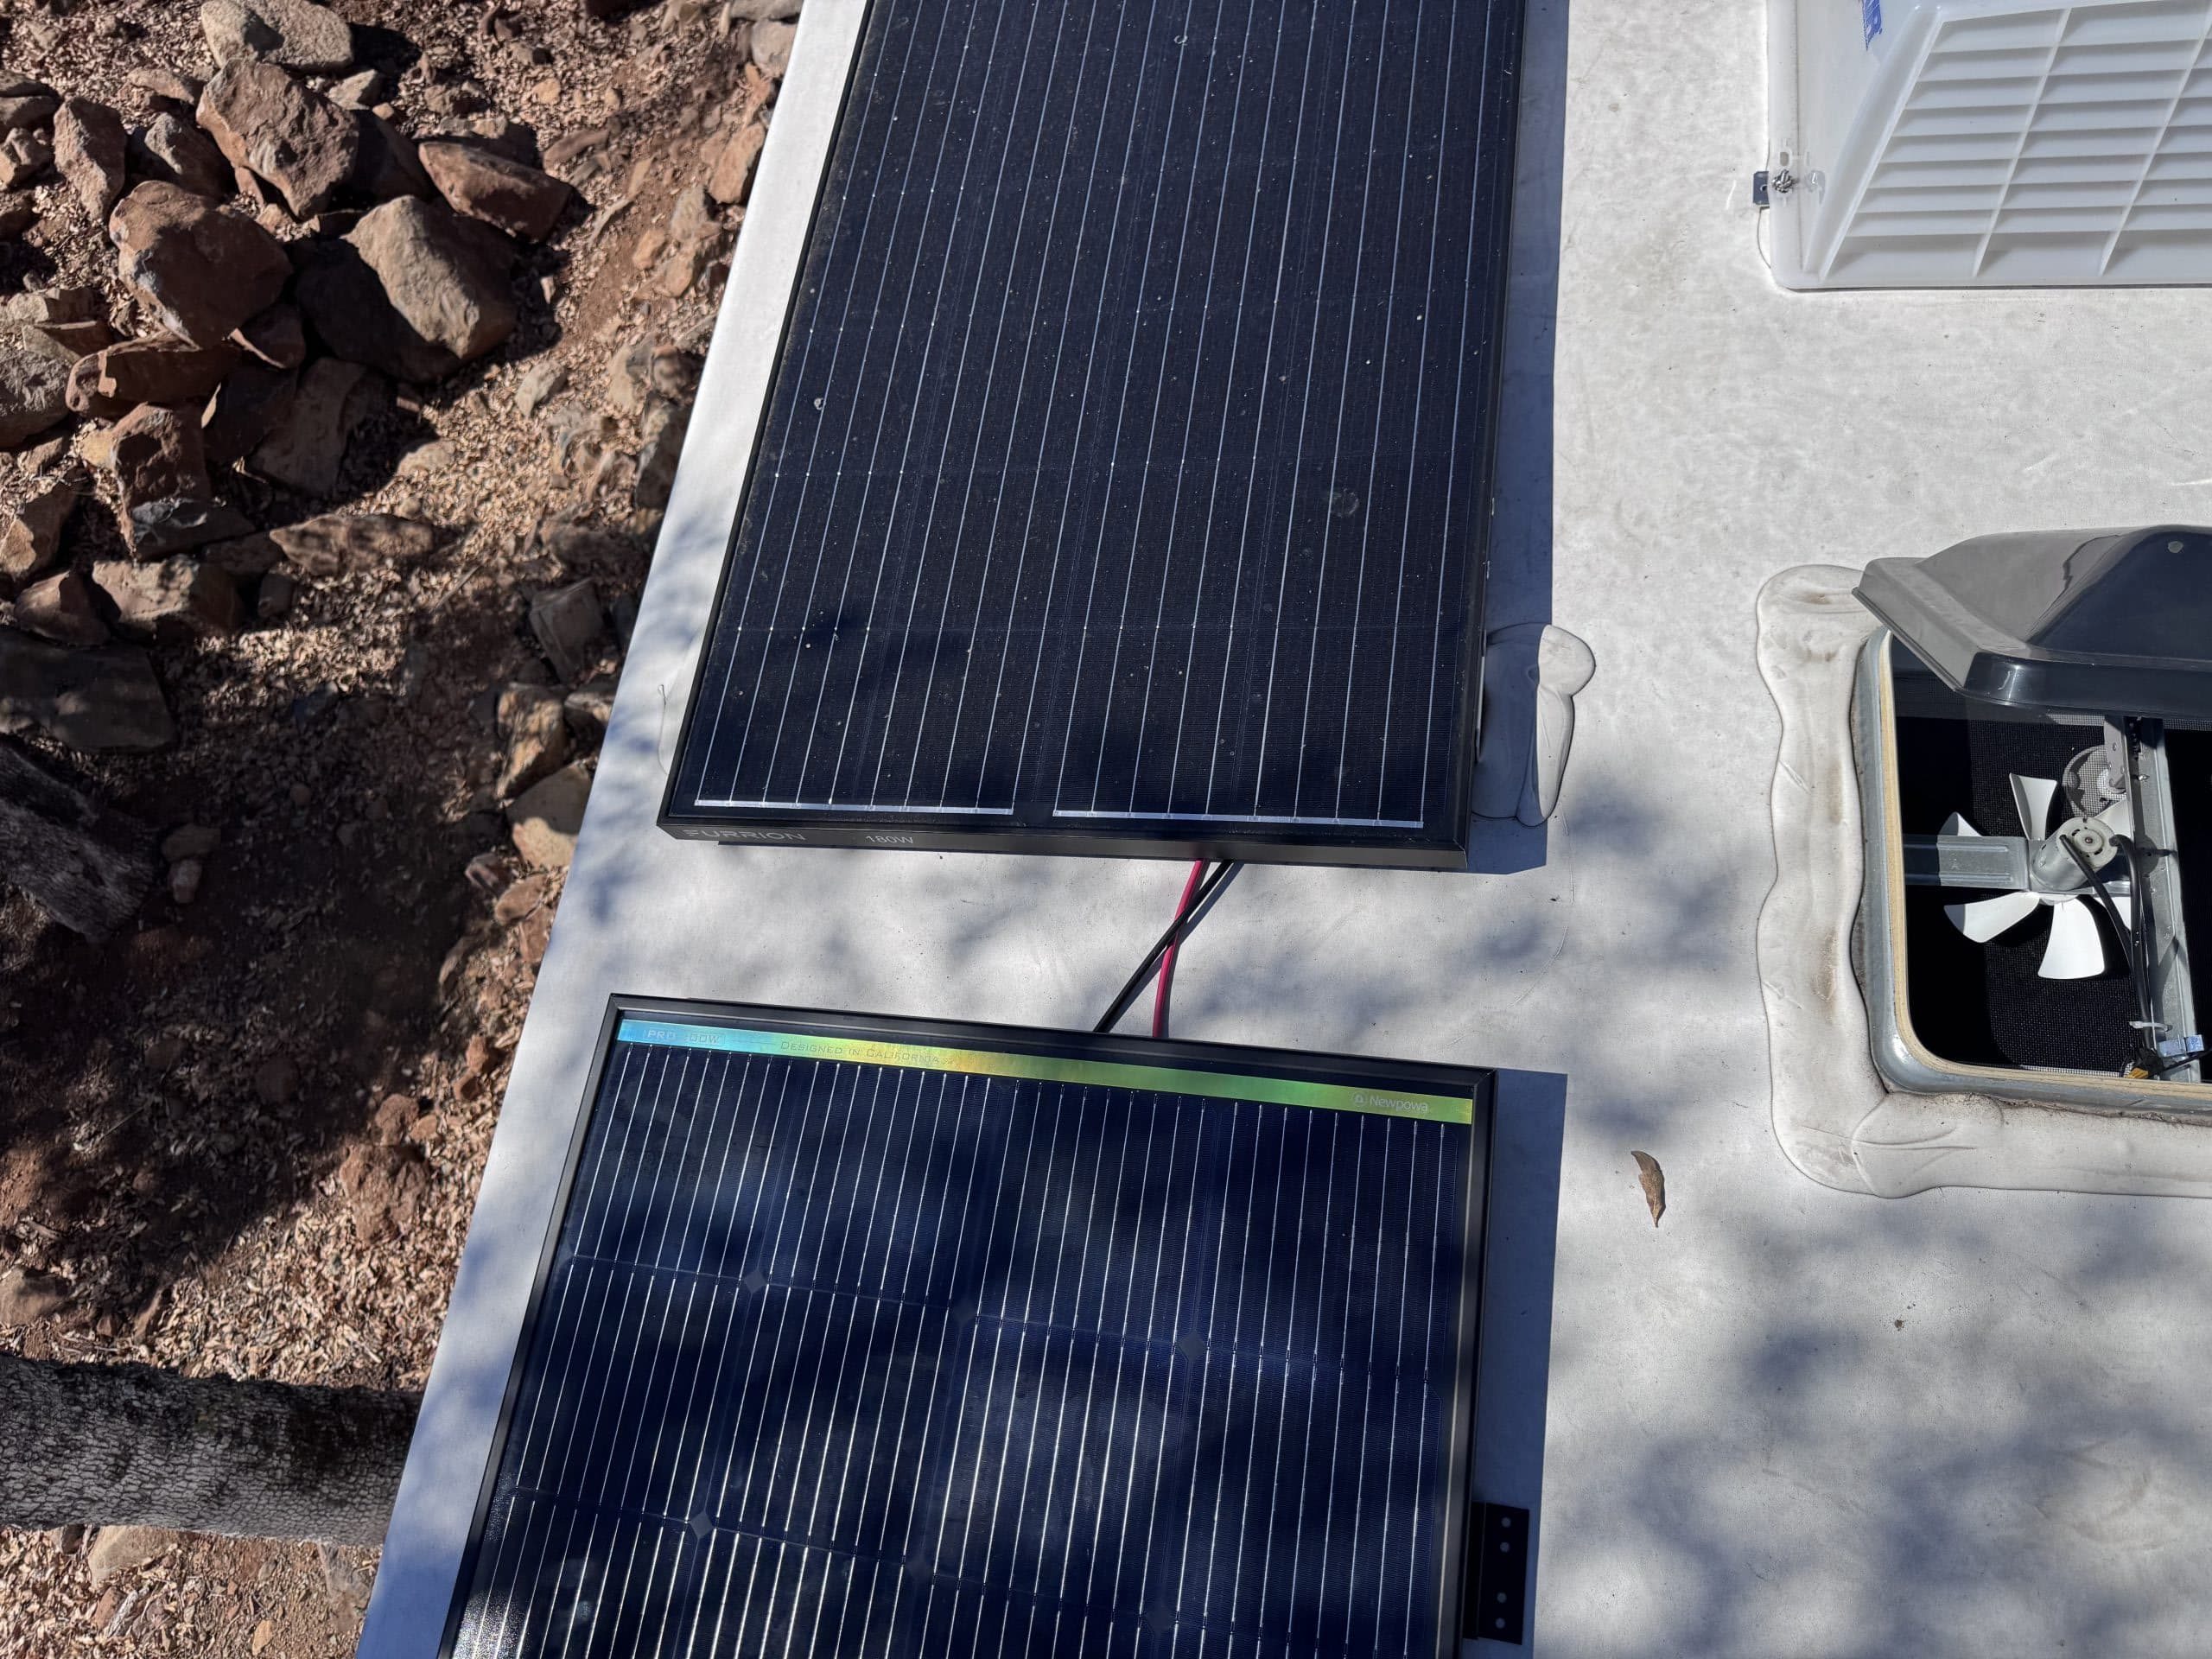
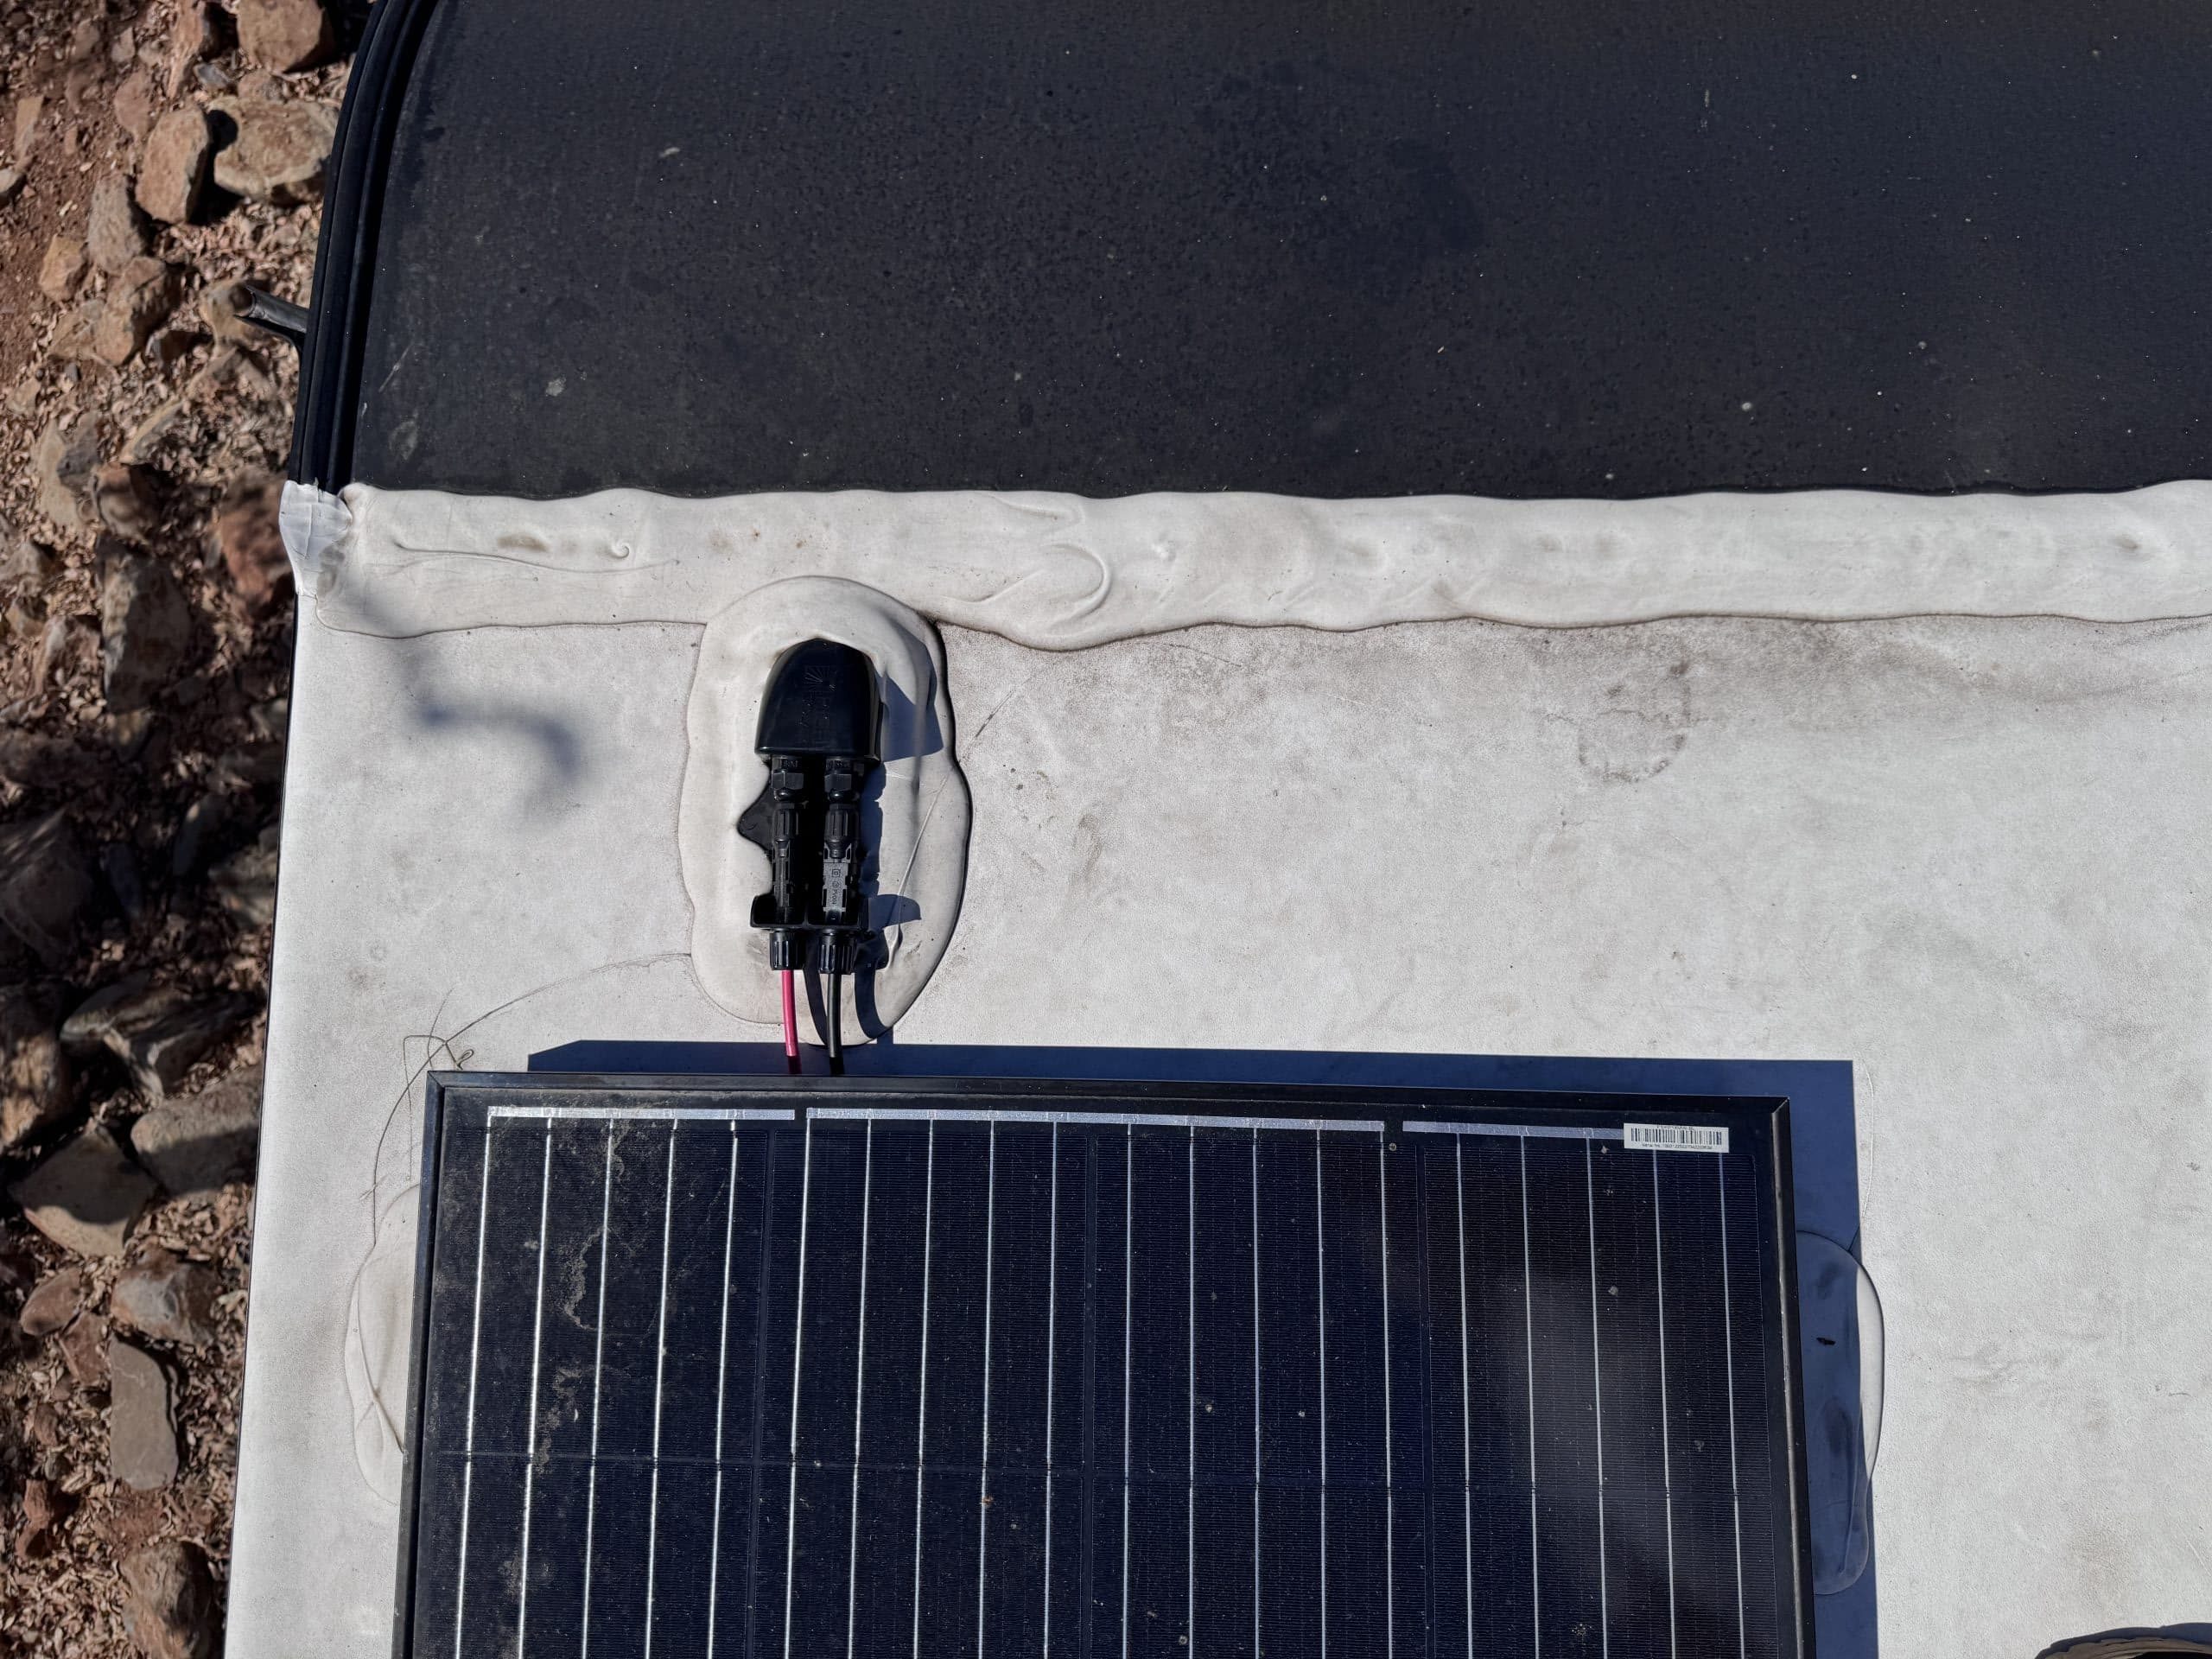
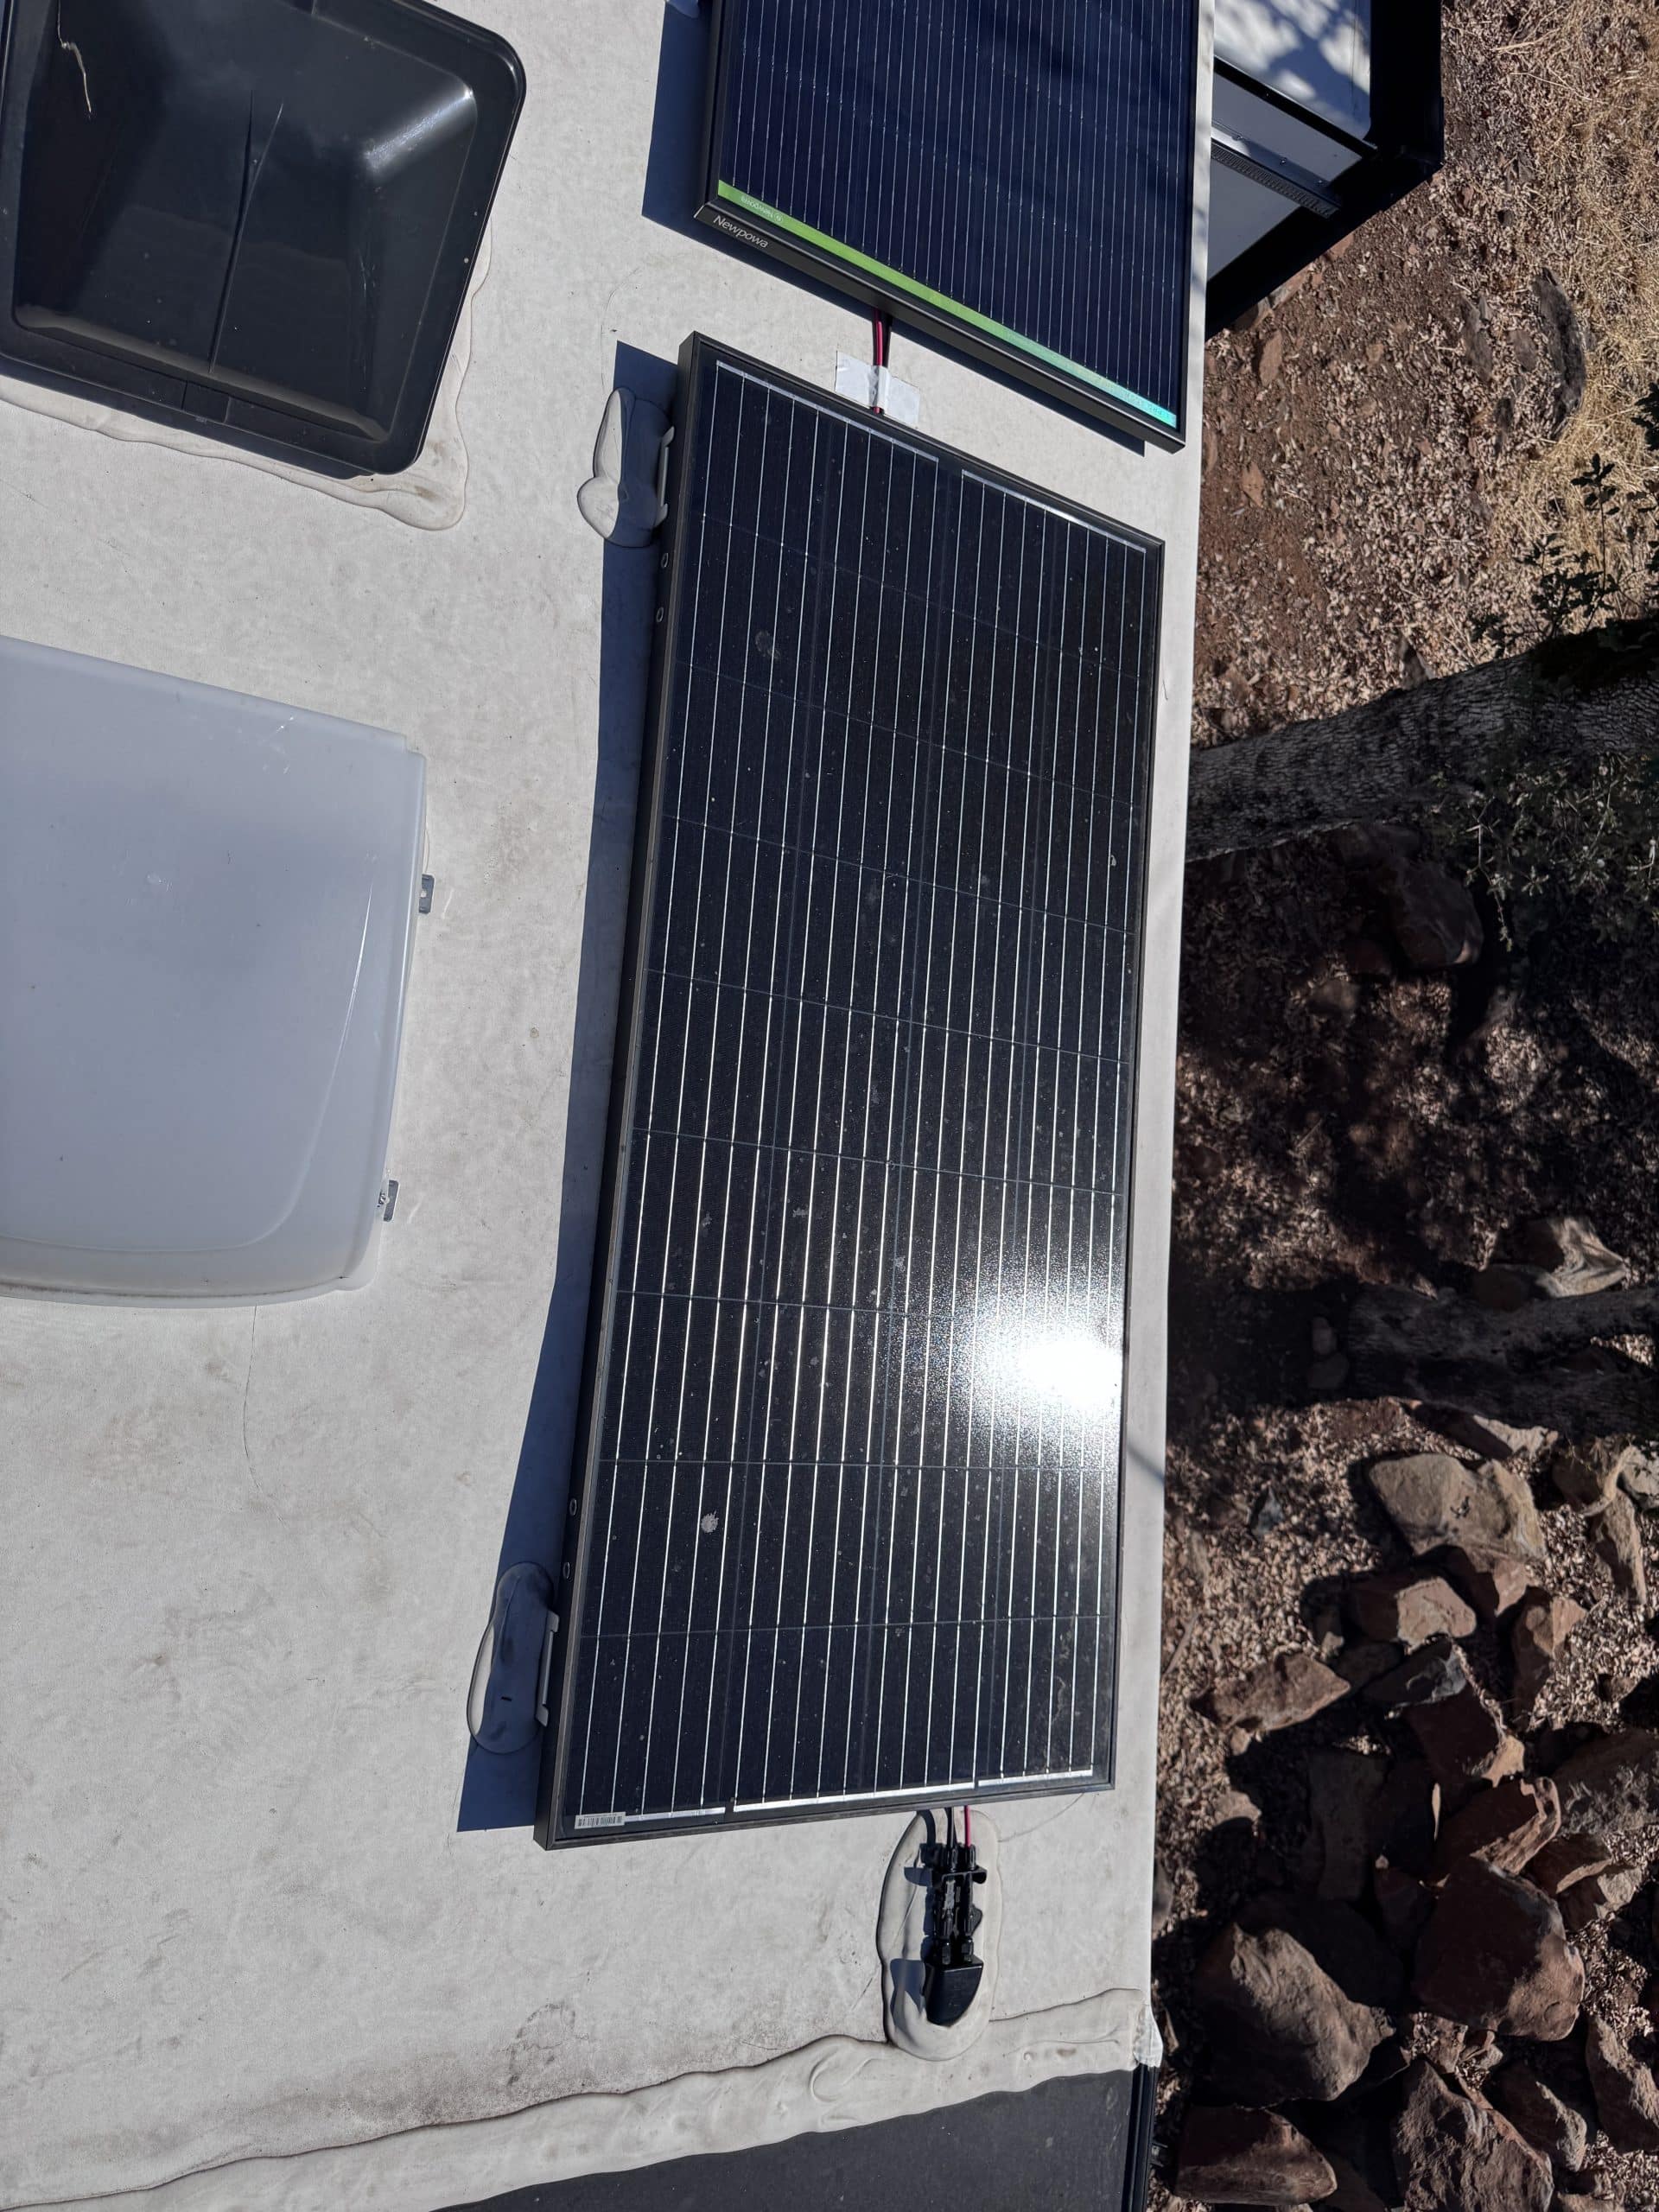
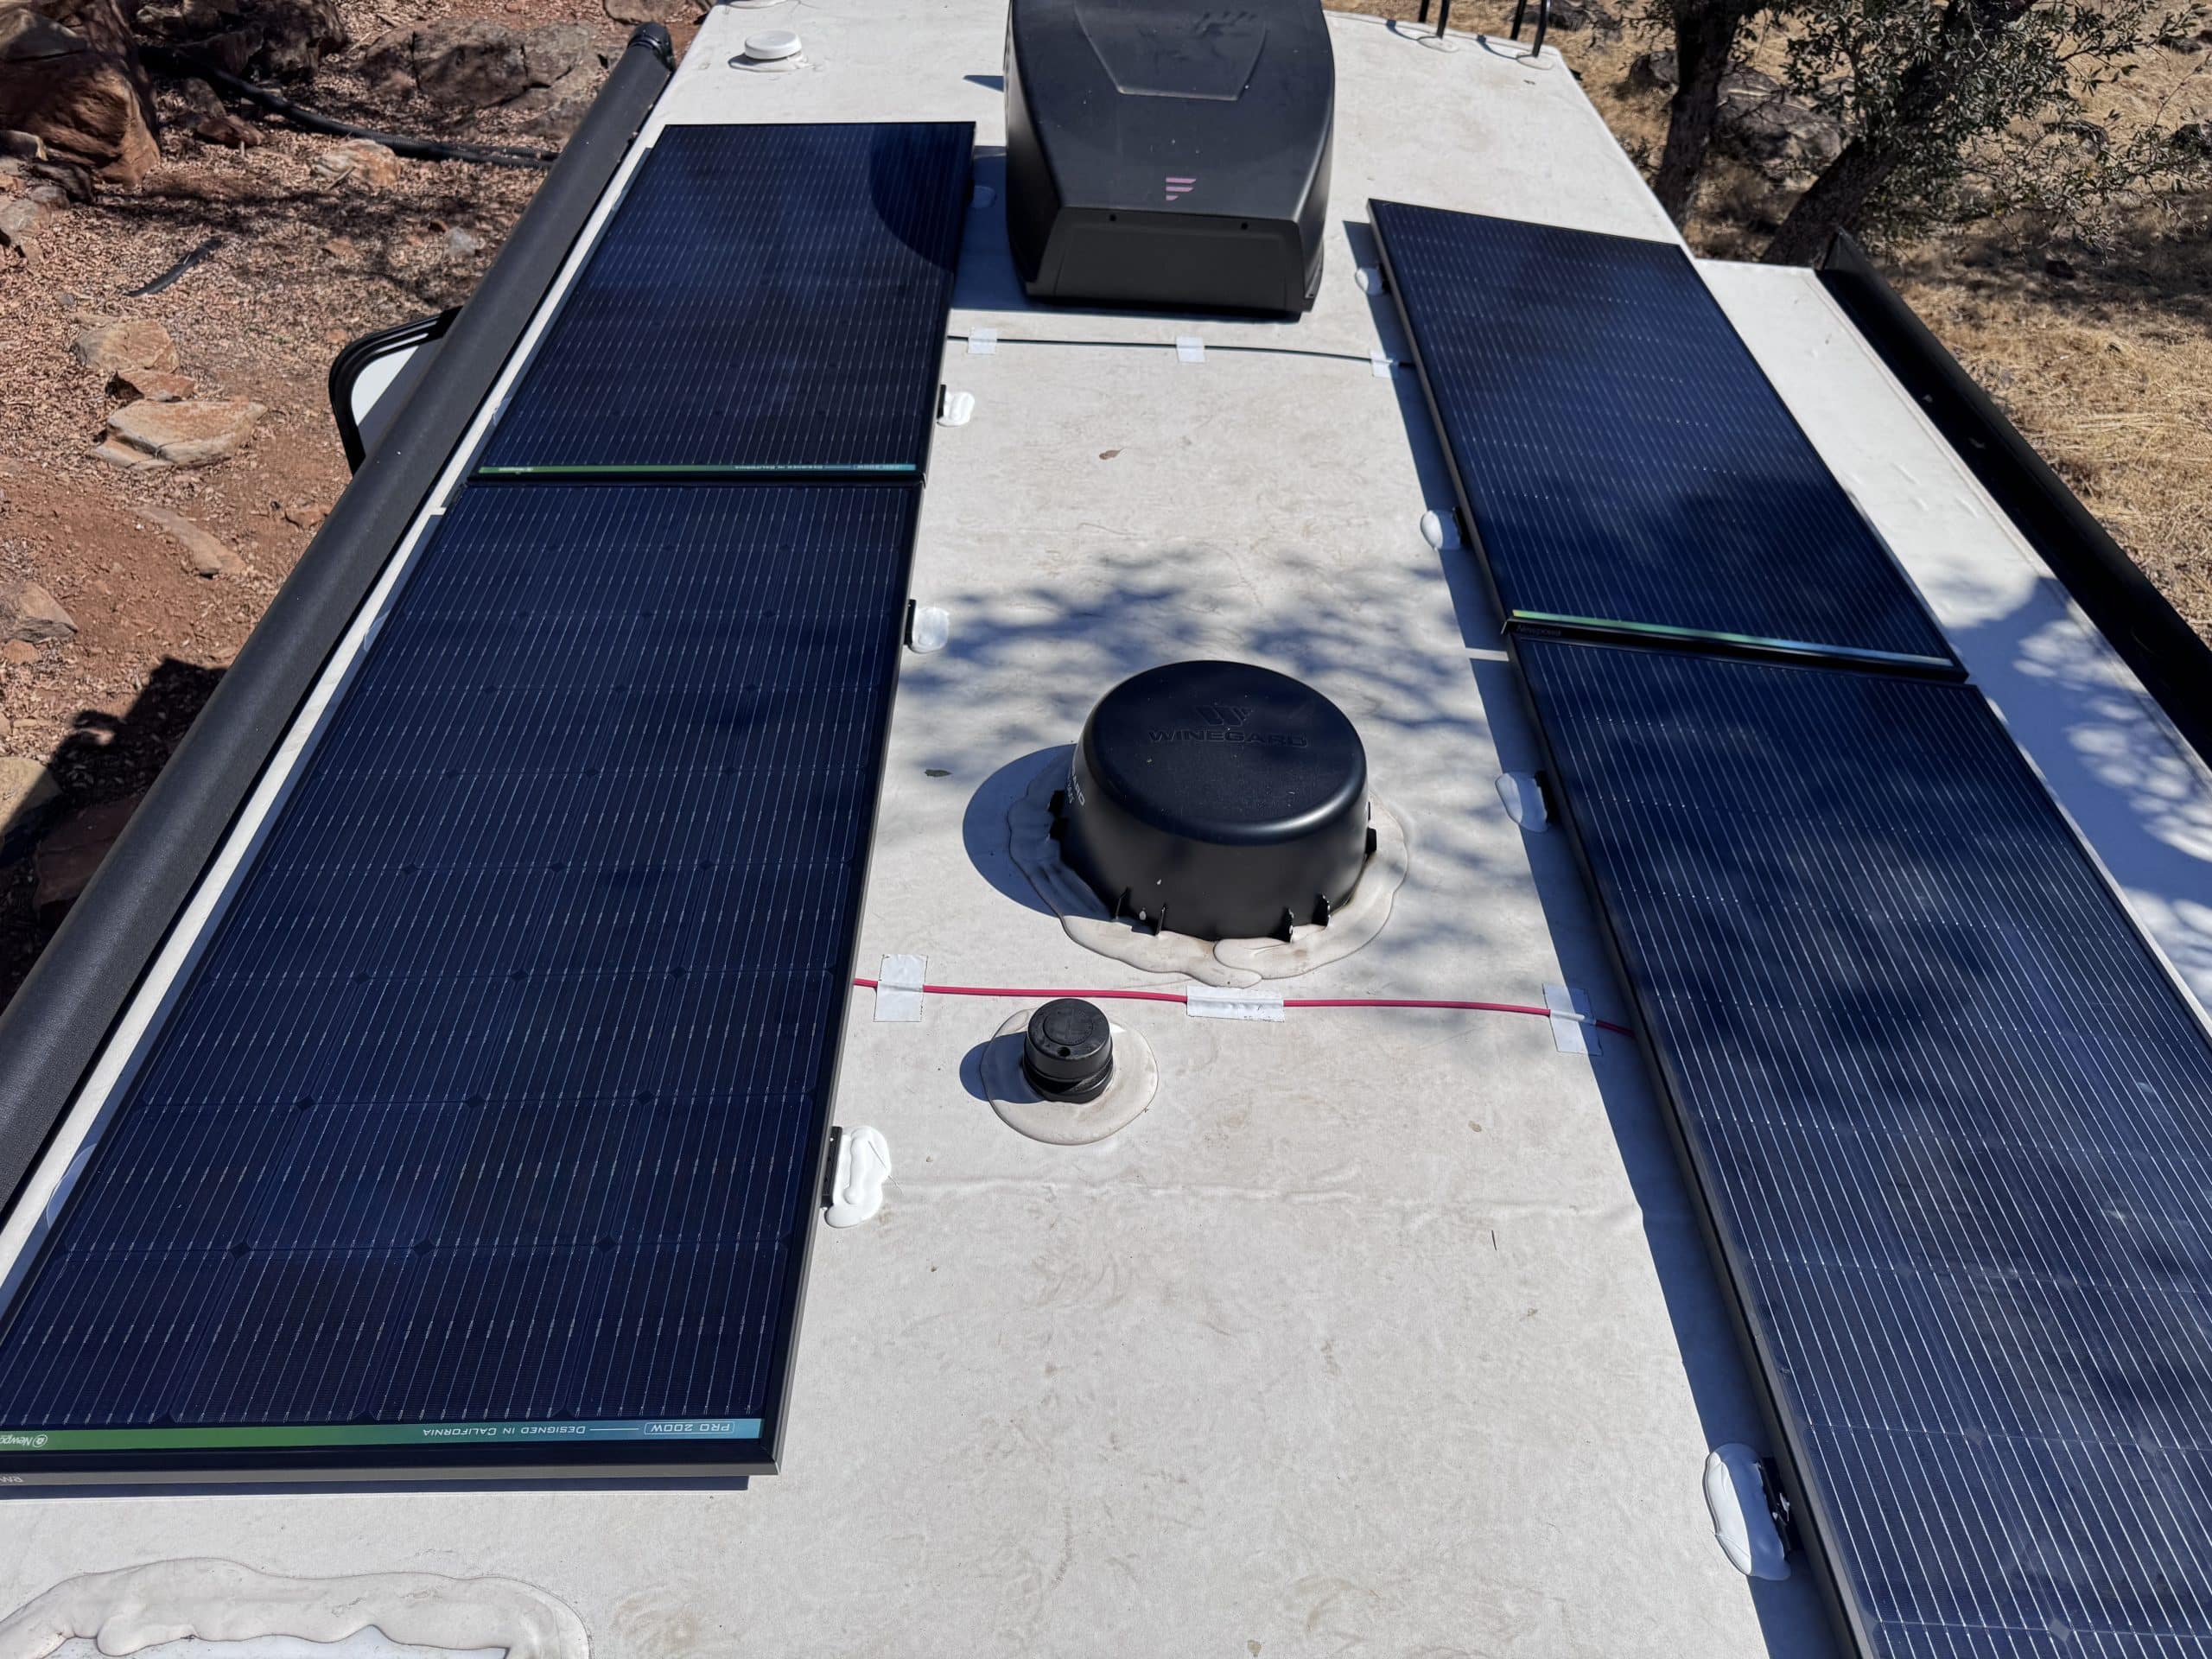
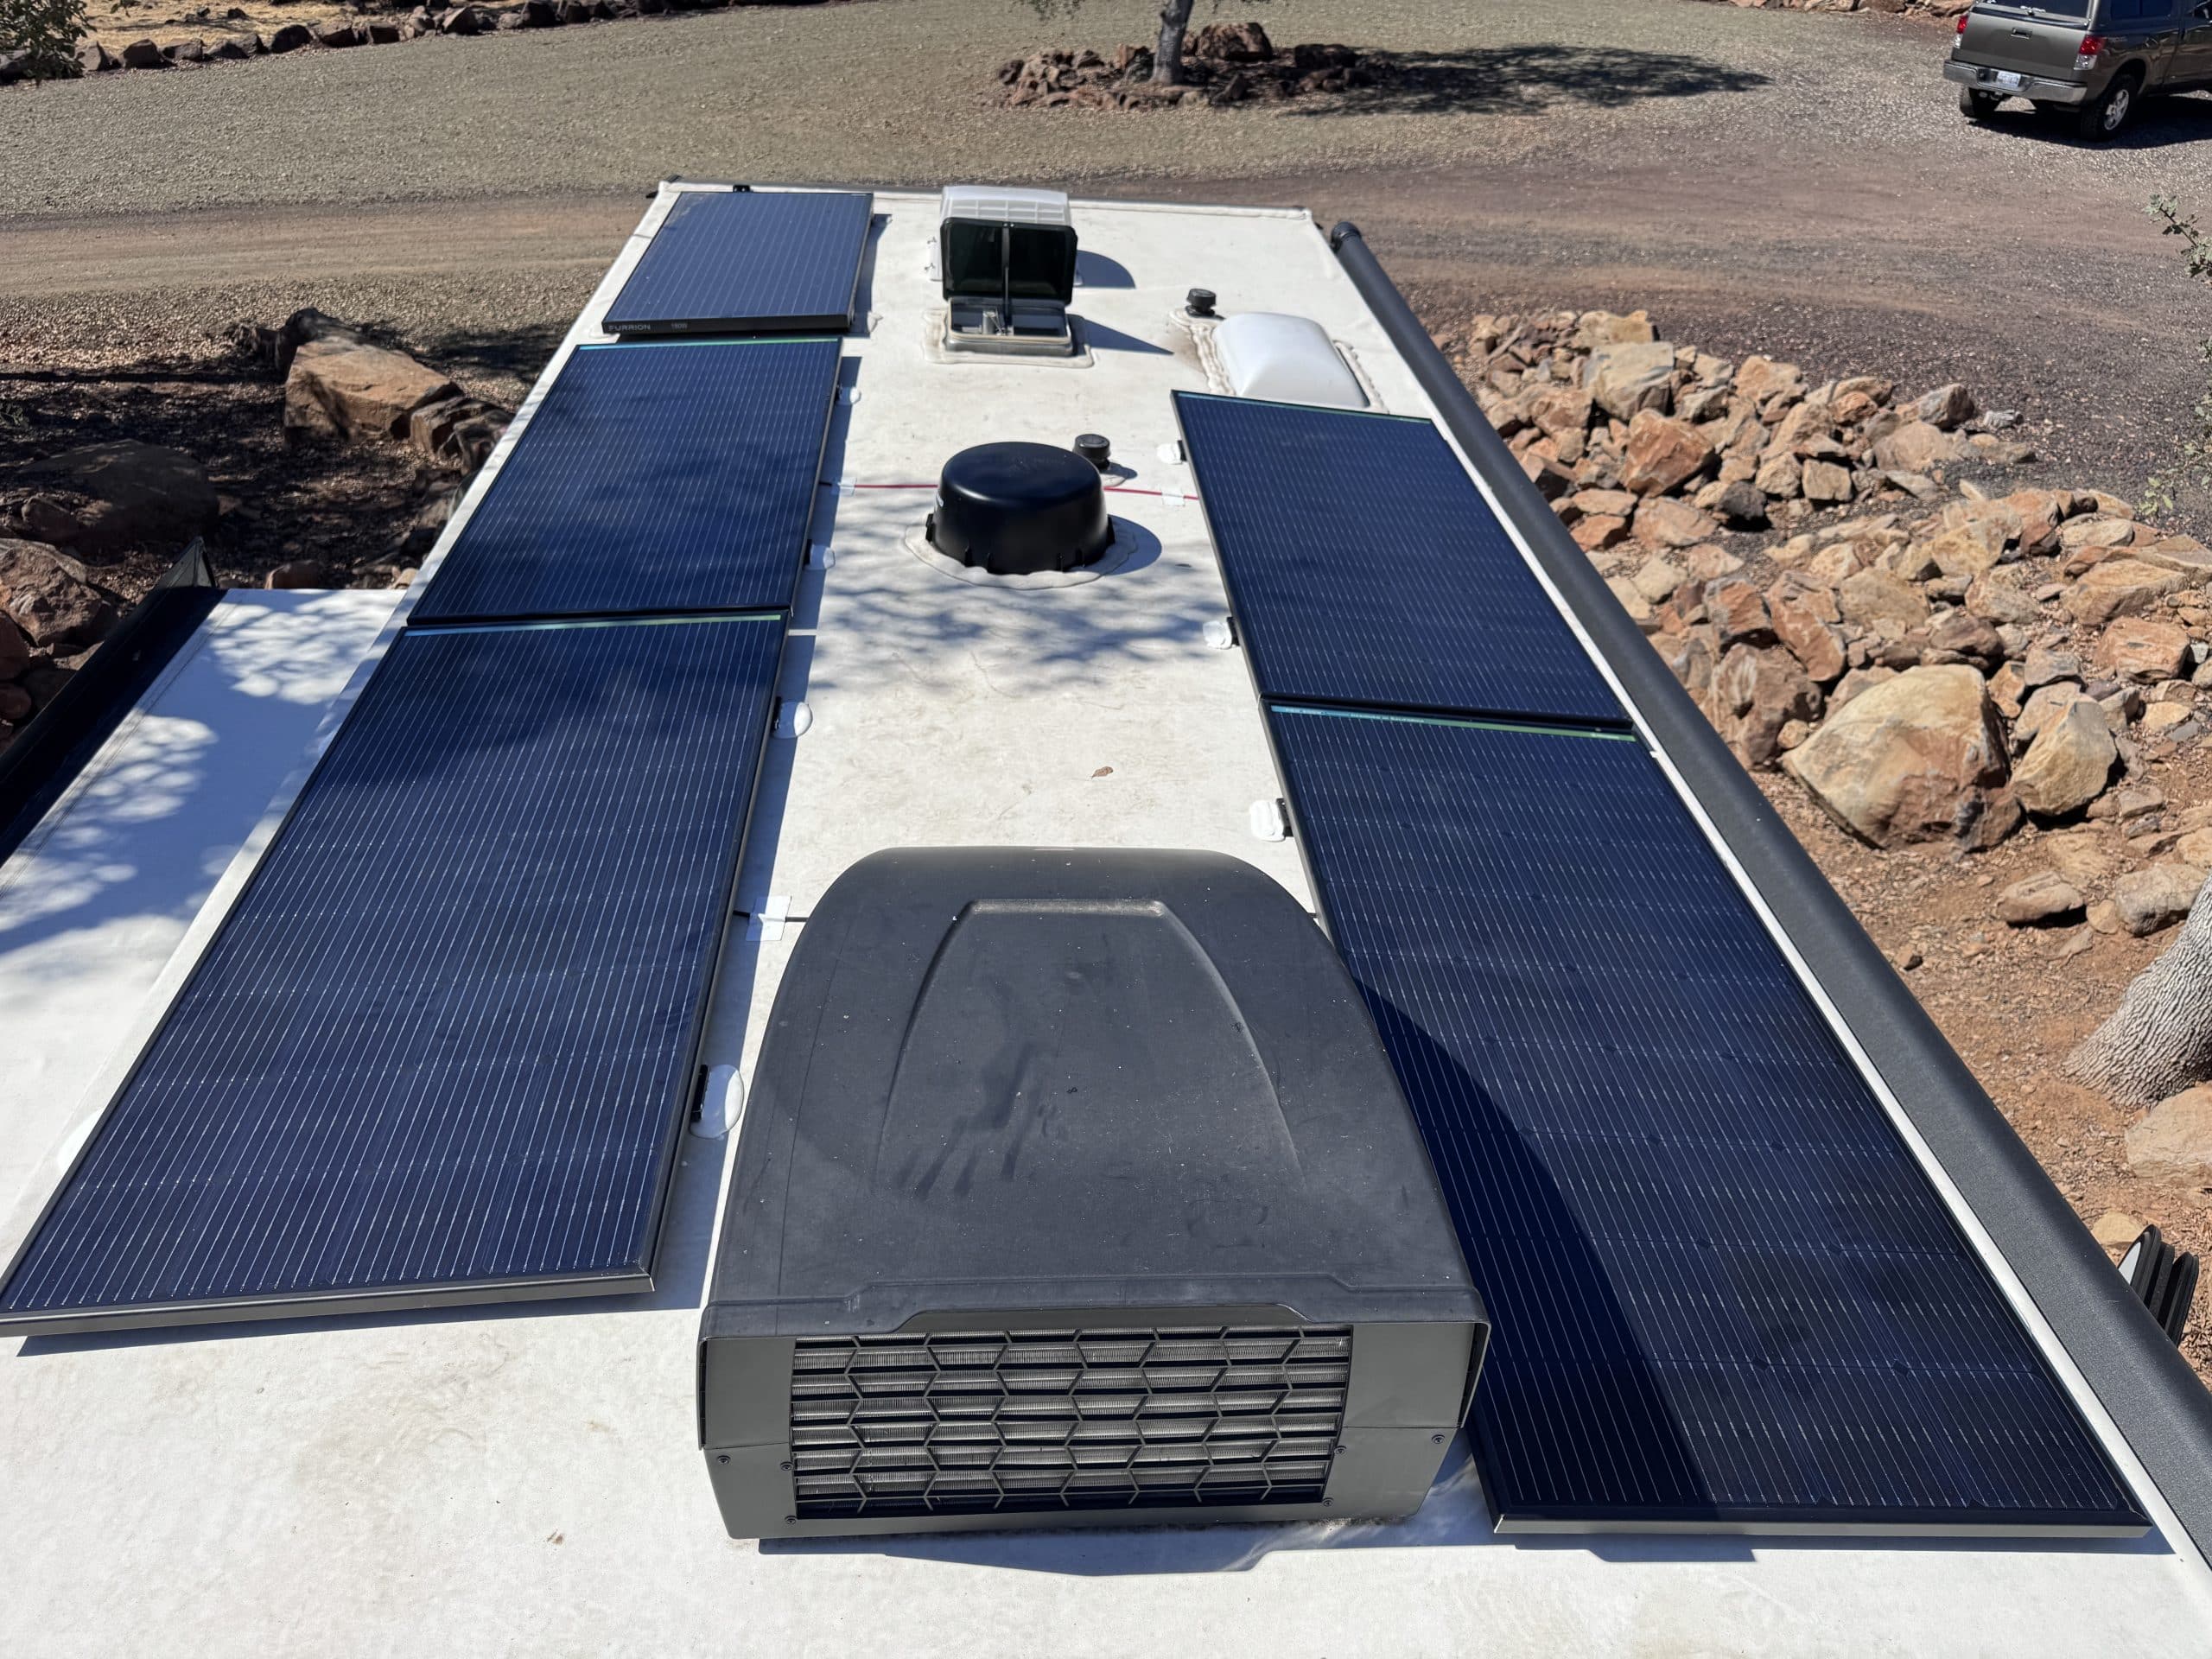
- 4 - Newpowa Pro 200 Watt solar panels
- 16 - Newpowa Pro z-brackets
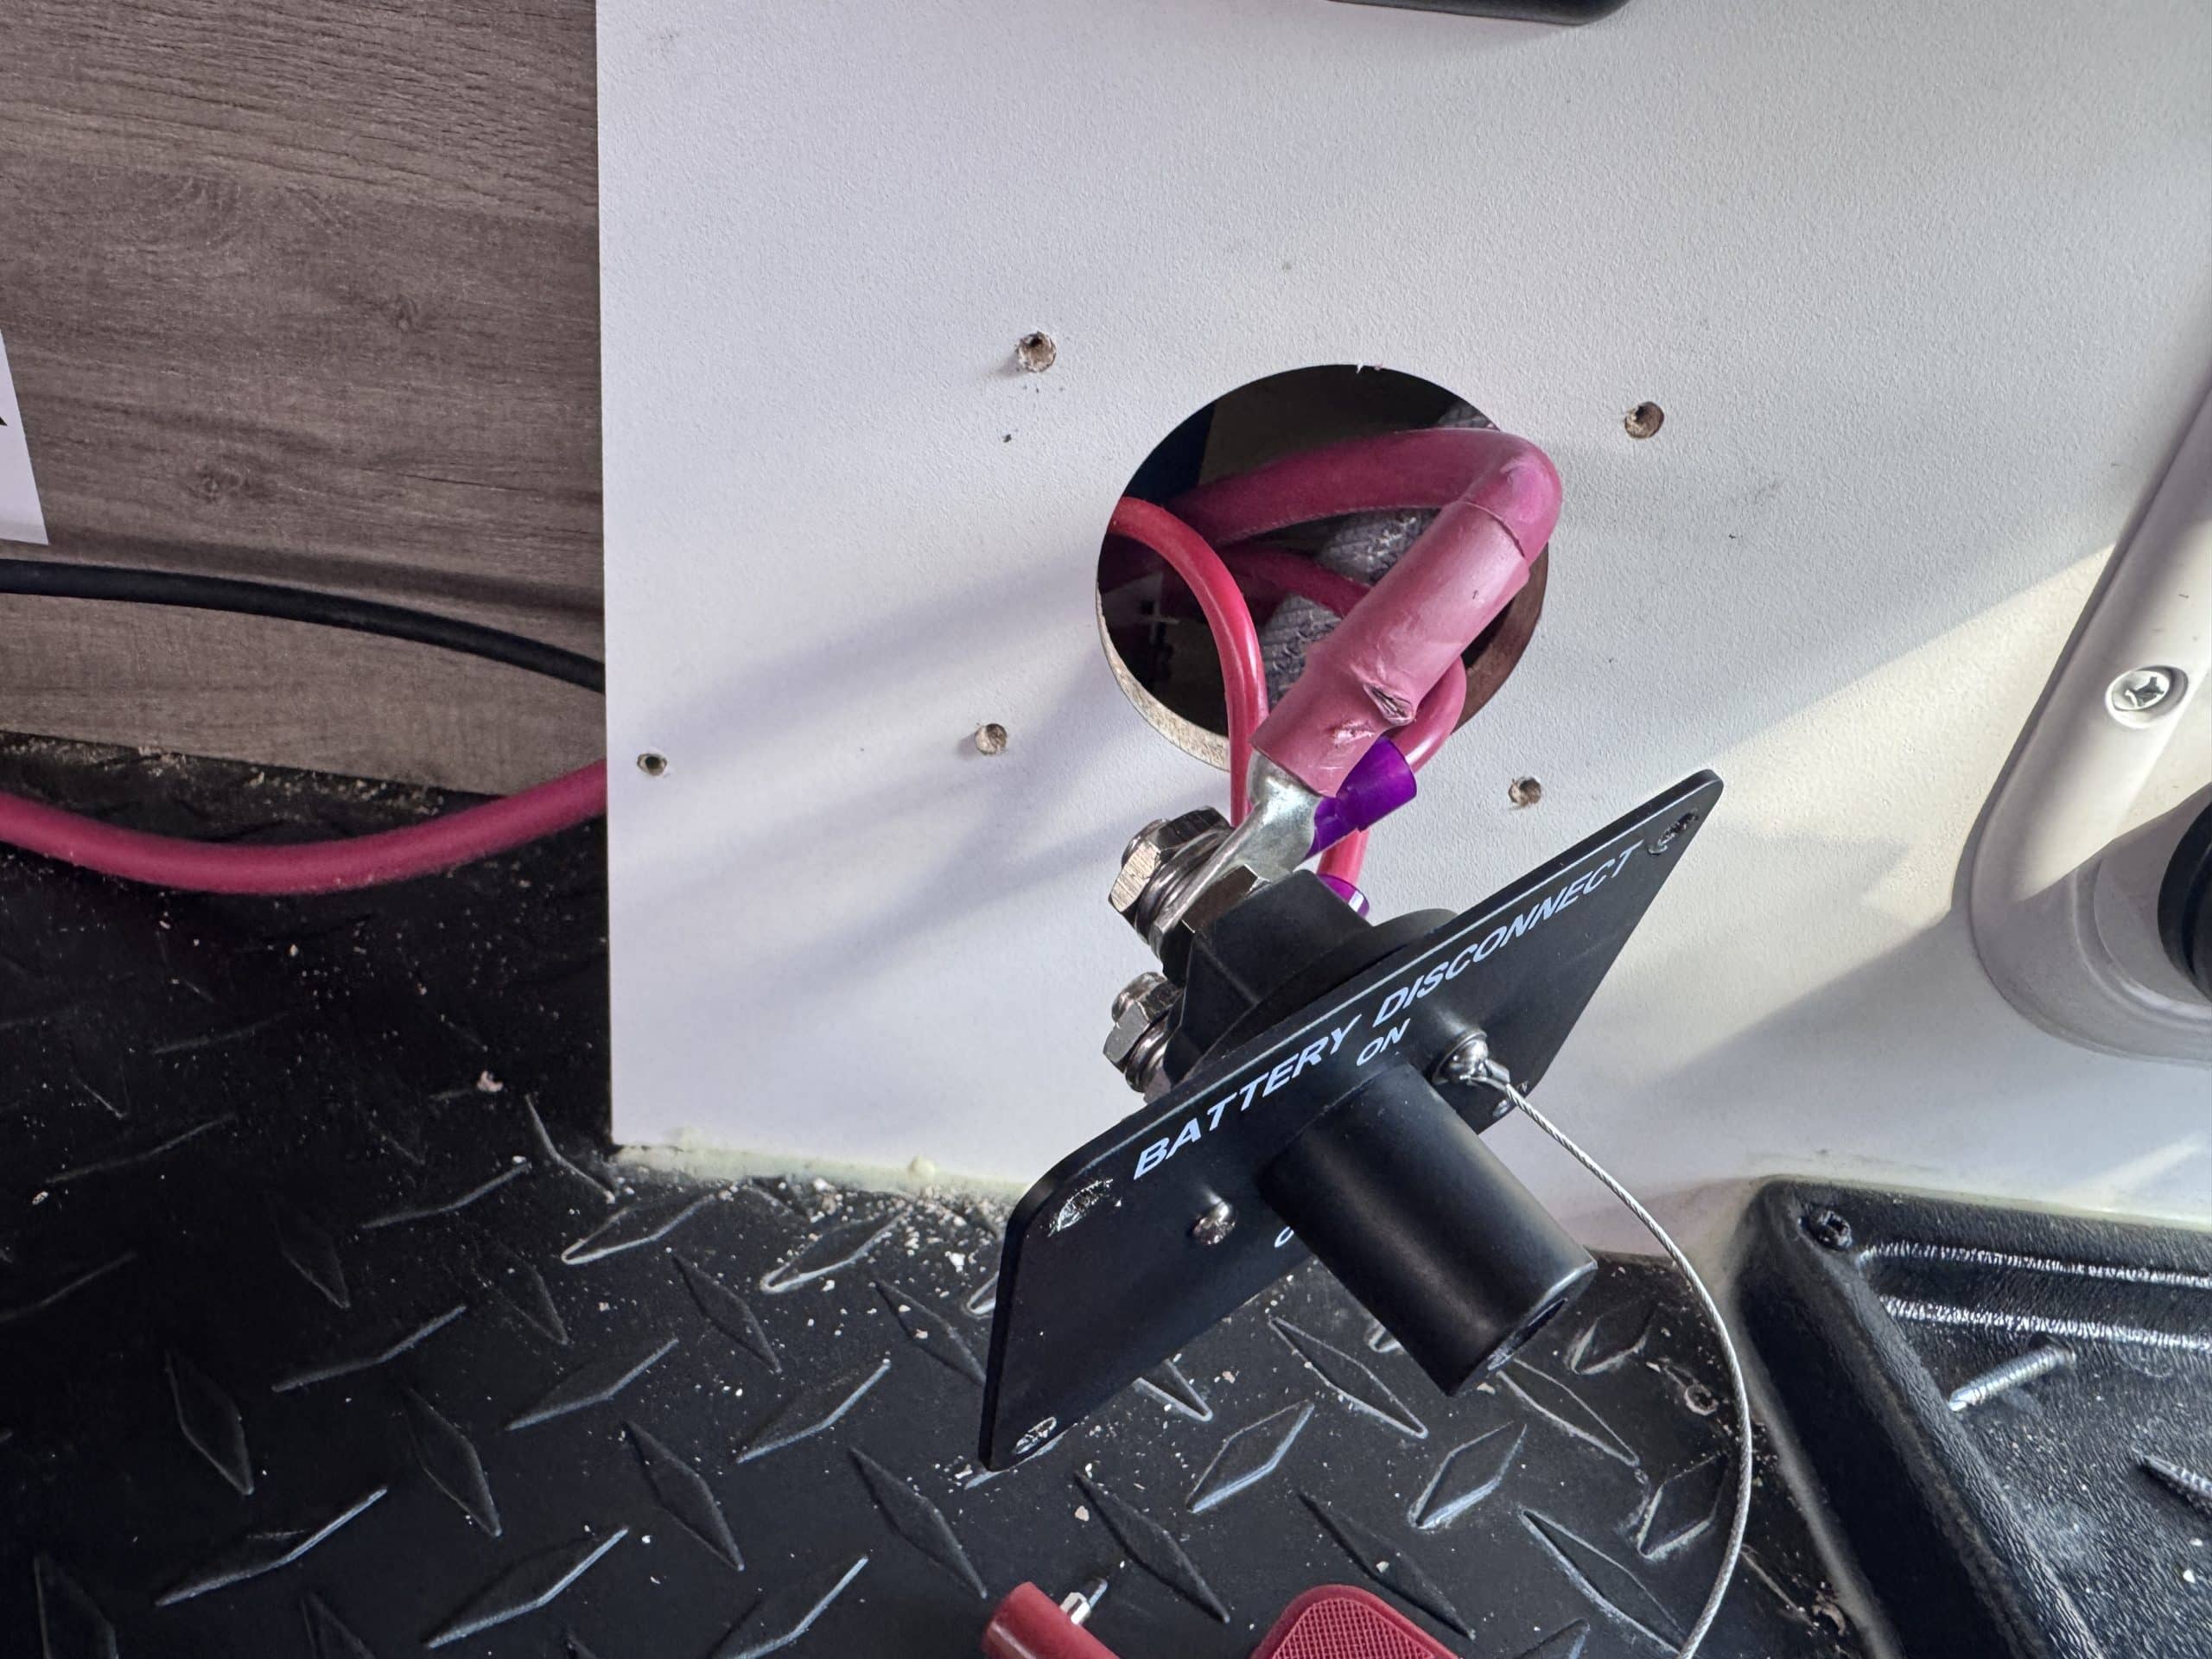
- Blue Sea 3000 Battery Switch HD On/Off
- Midnite Solar Babybox with 15 amp MNEPV Breaker
- Red Dual Wall Shrink Tubing
- Black Dual Wall Shrink Tubing
- Various 4/0 Tinned Copper Lugs
- Various 2 AWG Tinned Copper Lugs
- MC4 Male/Female Solar Panel Cable Connectors
- 15 Feet 10 AWG Red cable
- 15 Feet 10 AWG Black cable
- Miscellaneous parts, sealants, breakers, and connectors
Installation Notes
This installation was completed in October of 2026. The owner of this travel trailer contacted me regarding upgrading its off grid capabilities. We had discussions about possible upgrades and eventually settled on a modest system to meet the customers basic needs. I put together a detailed estimate based on our conversations and sent it to the customer for final approval. Once the customer agreed to the estimate, we scheduled an installation time and the customer brought the RV to me.
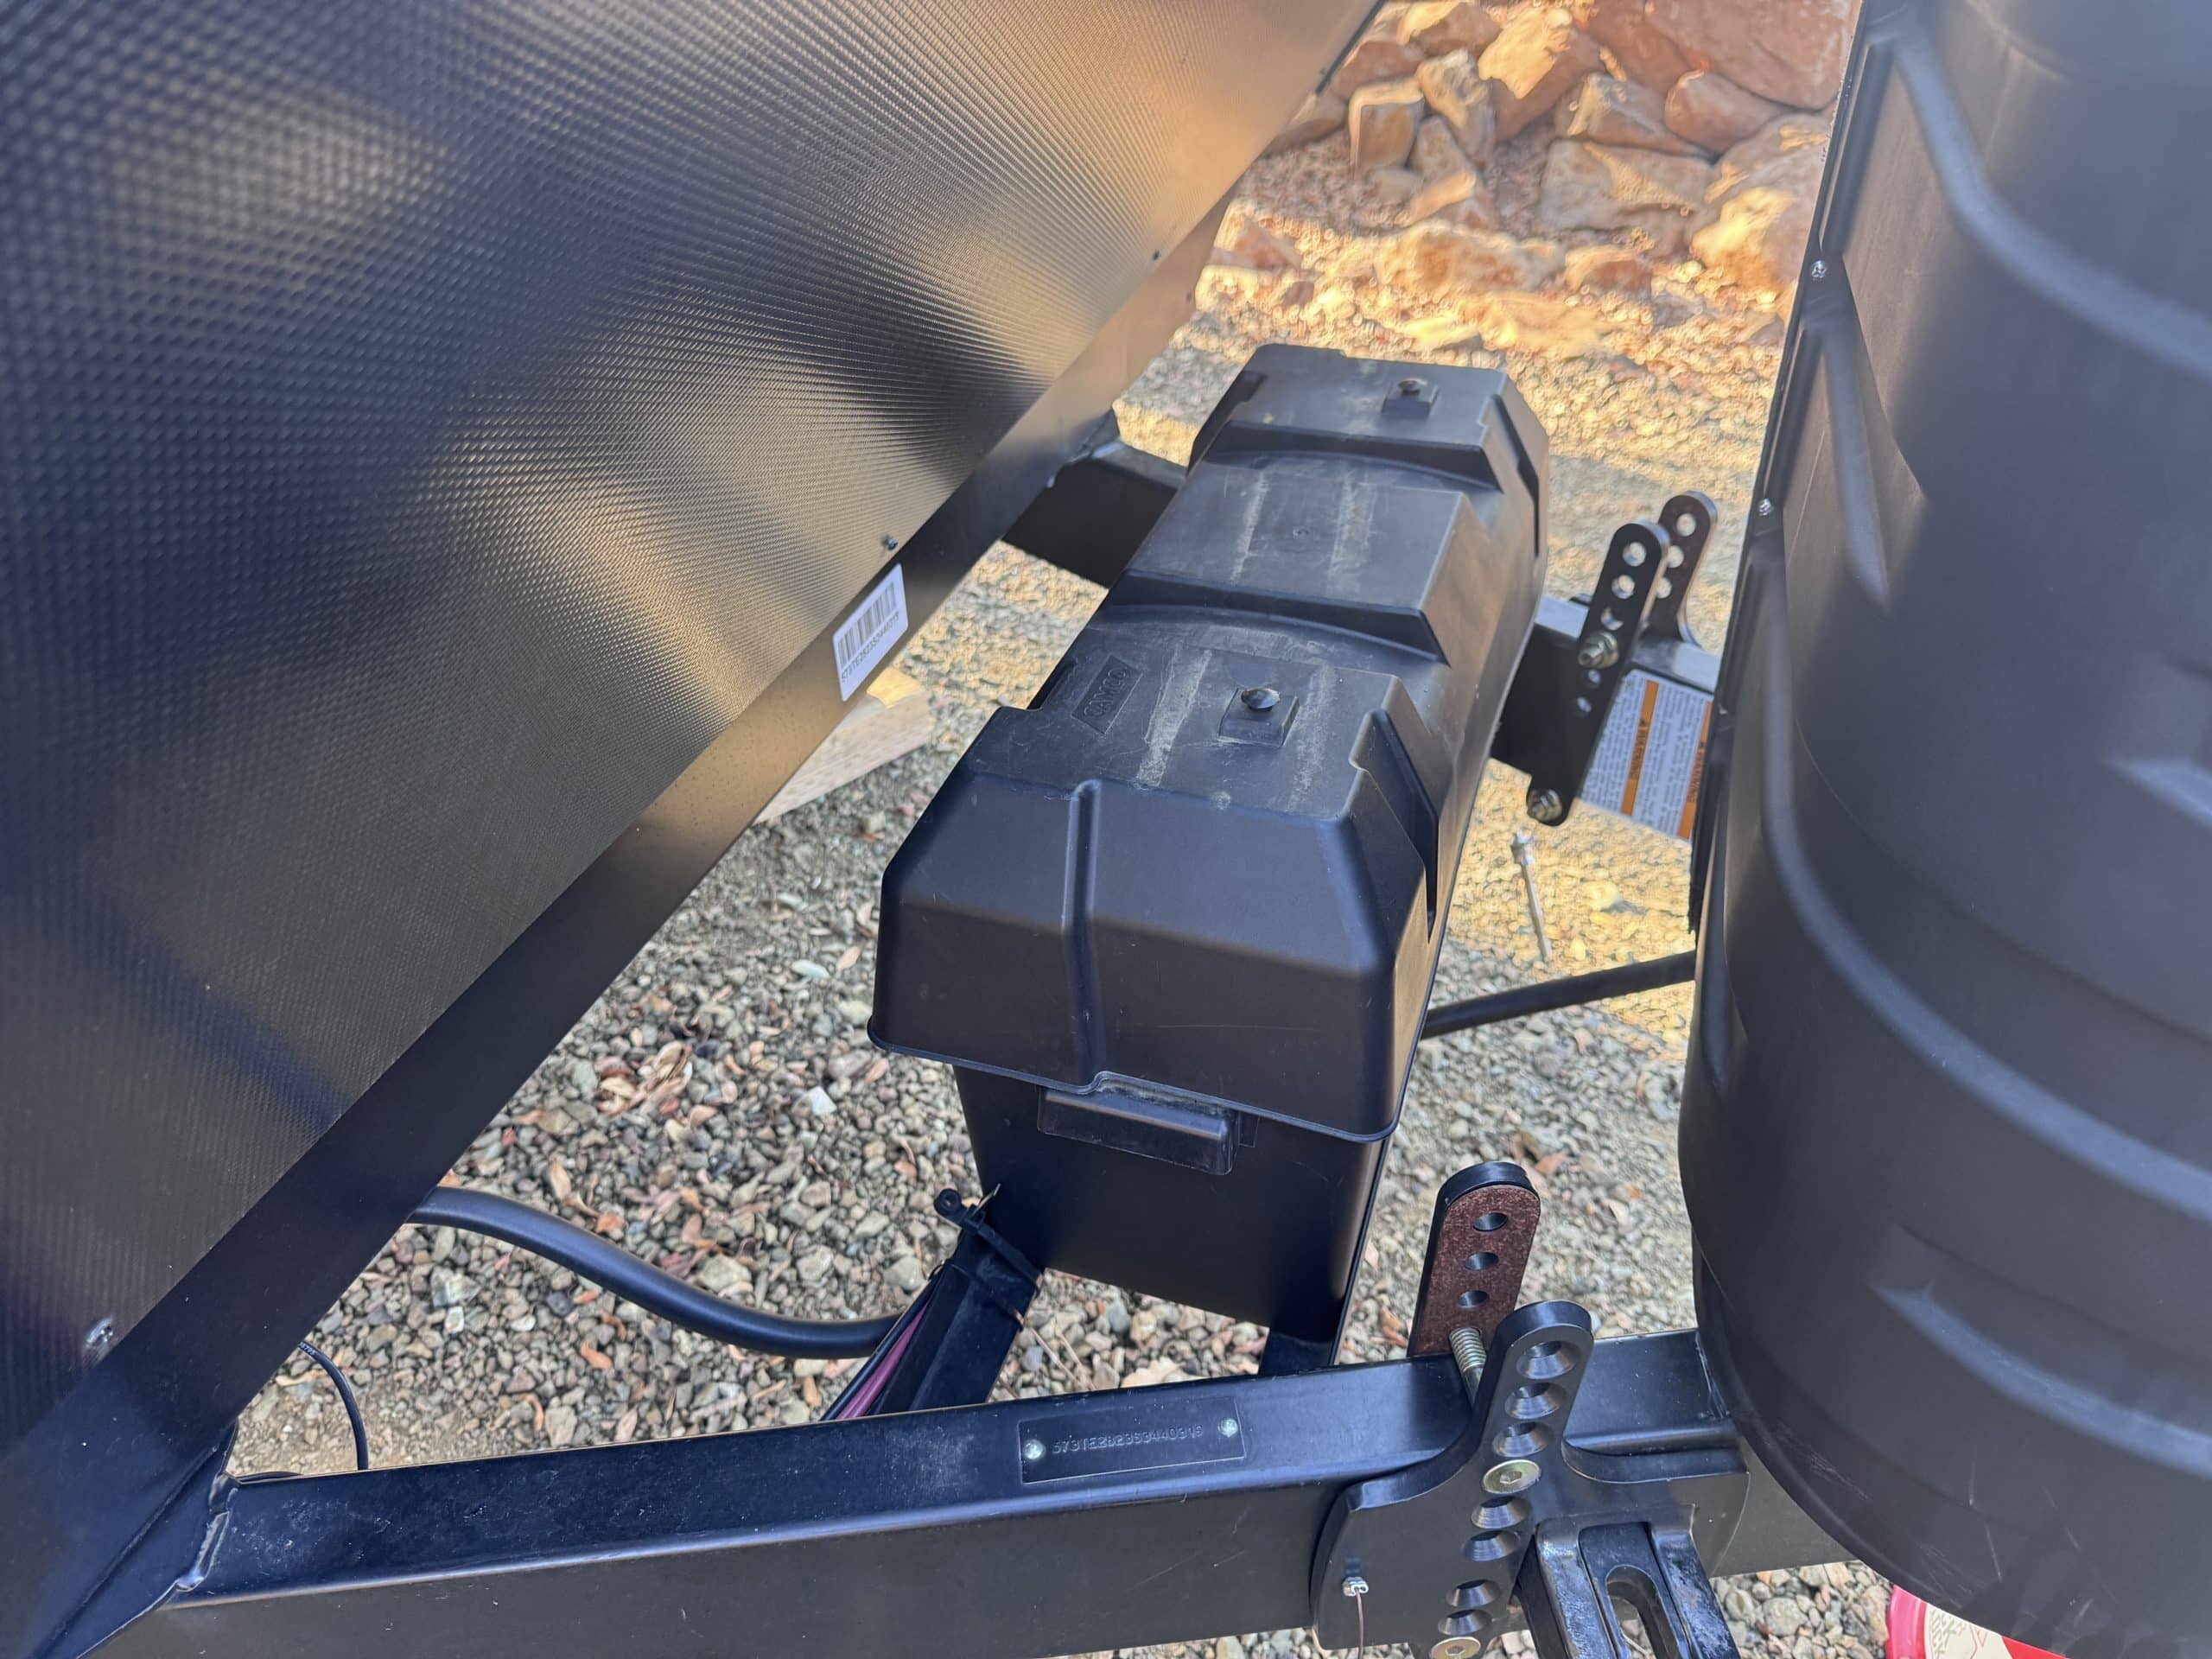
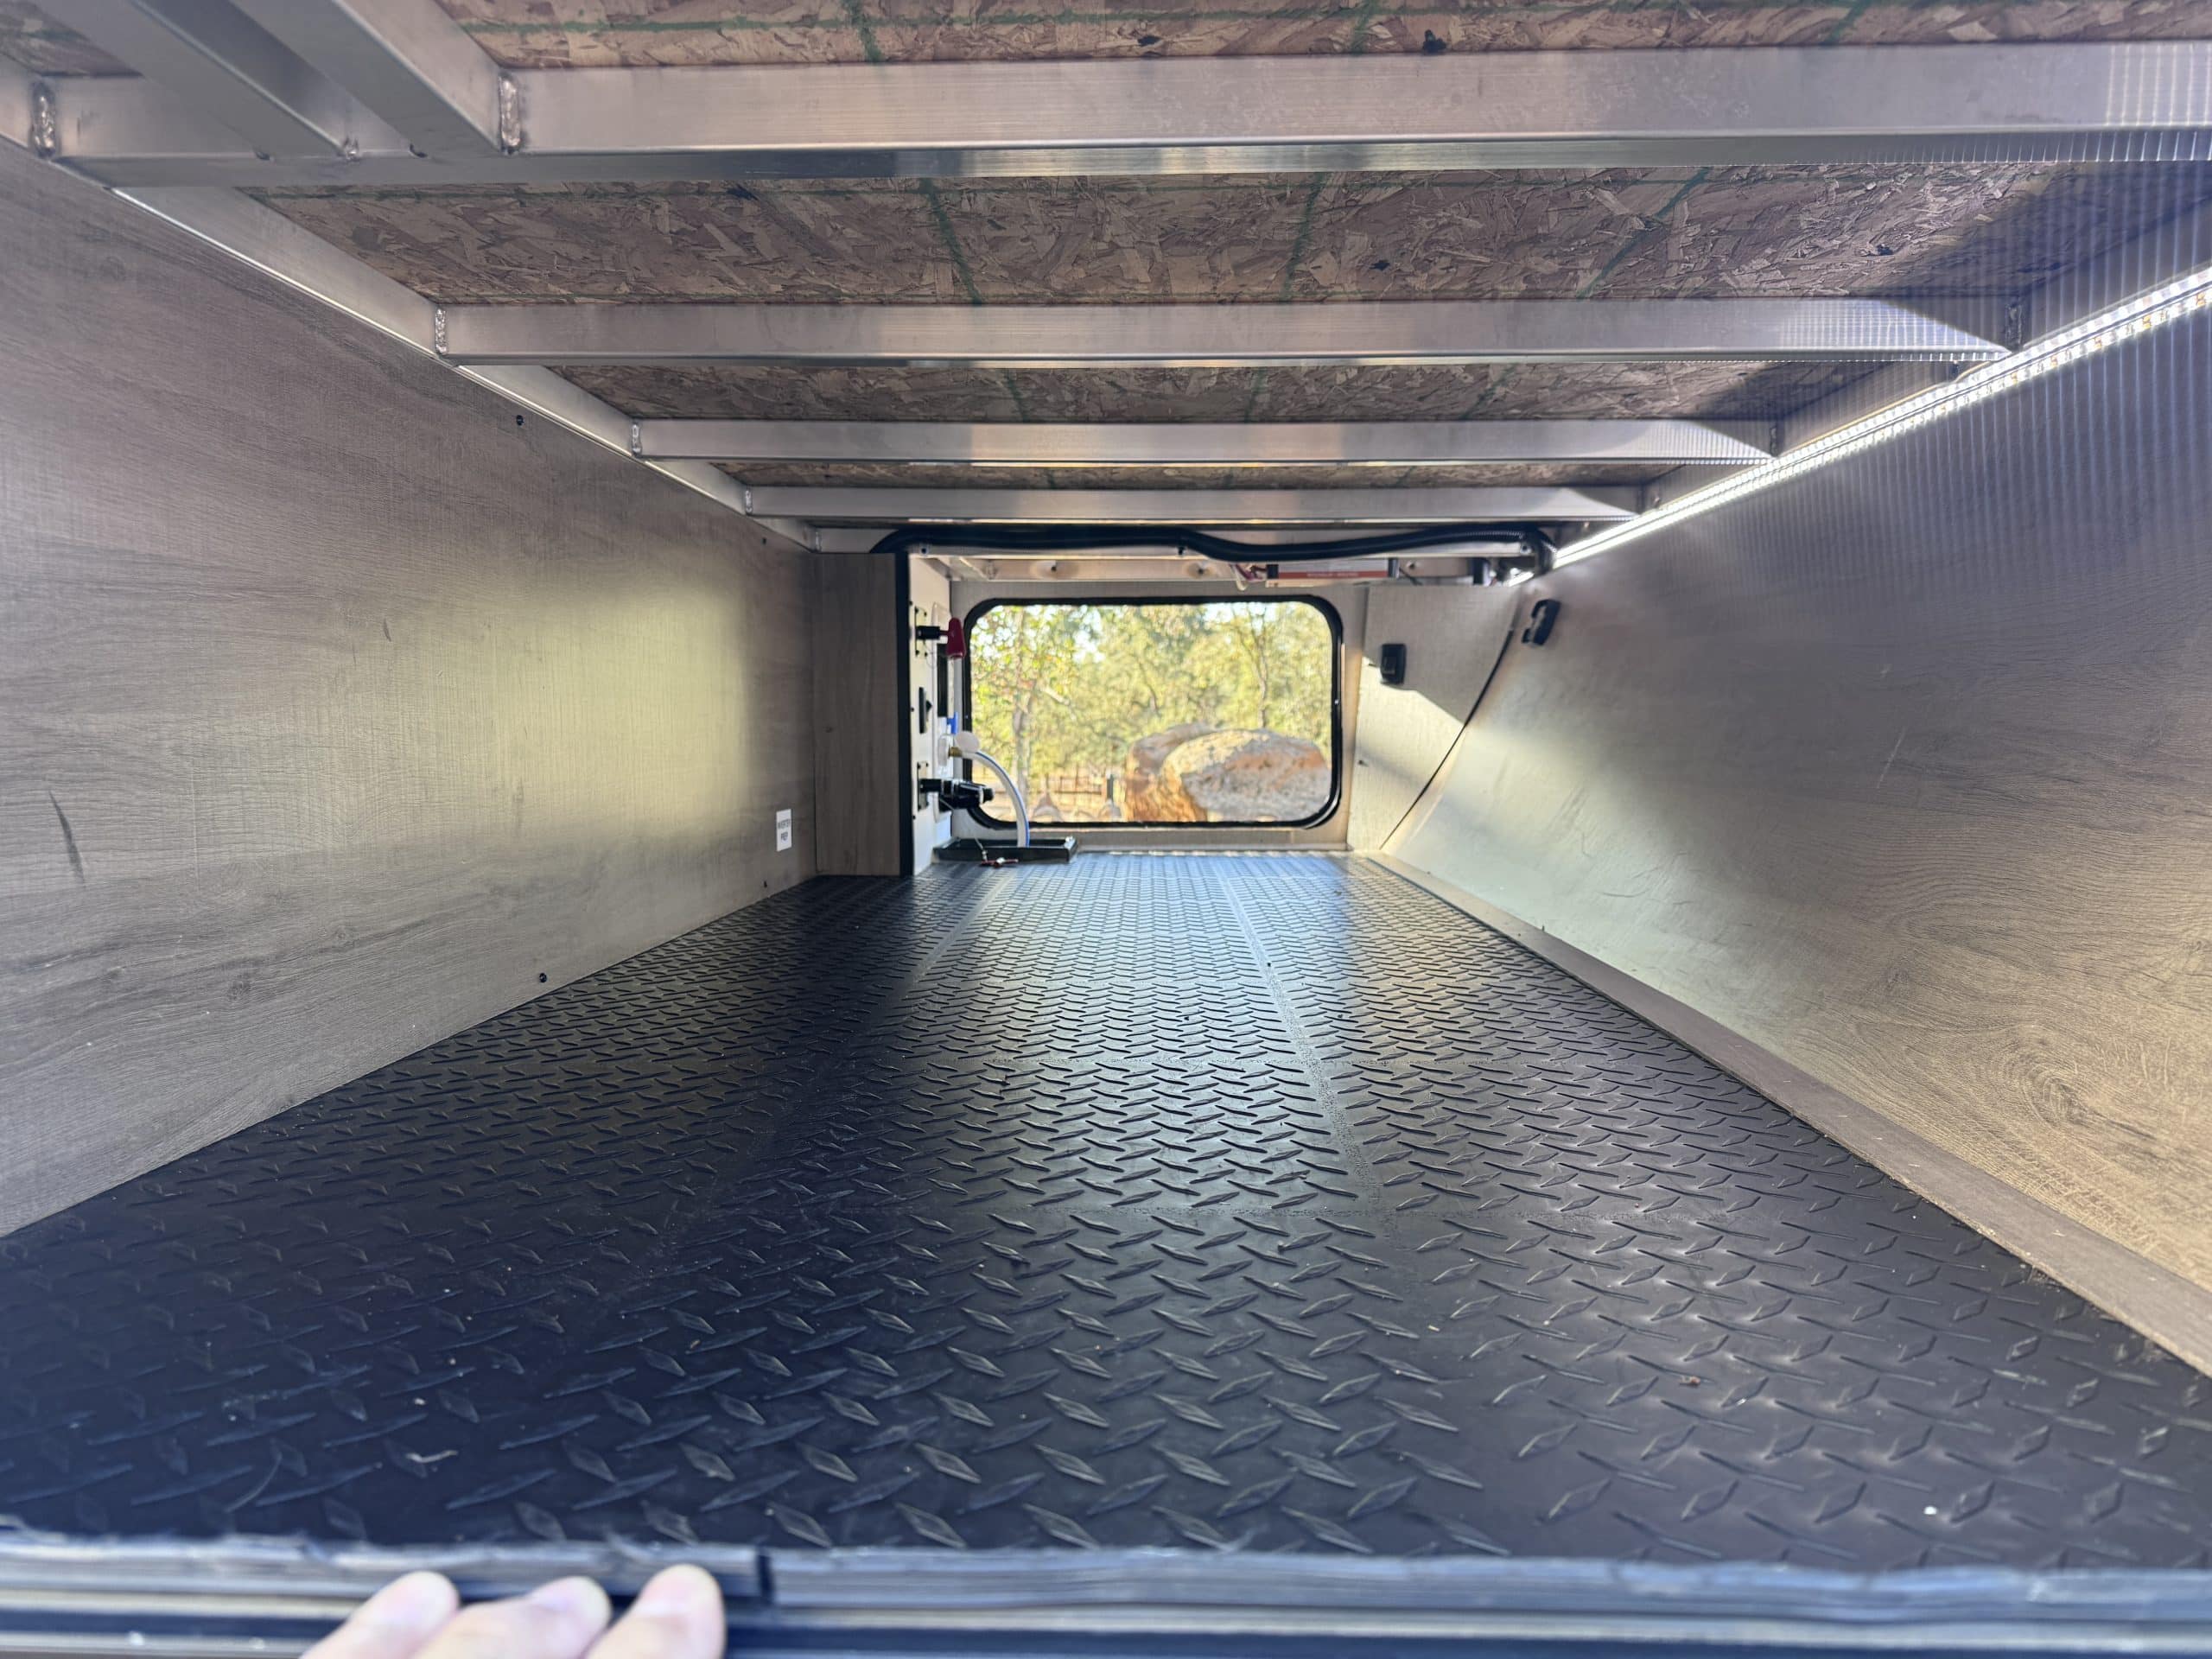
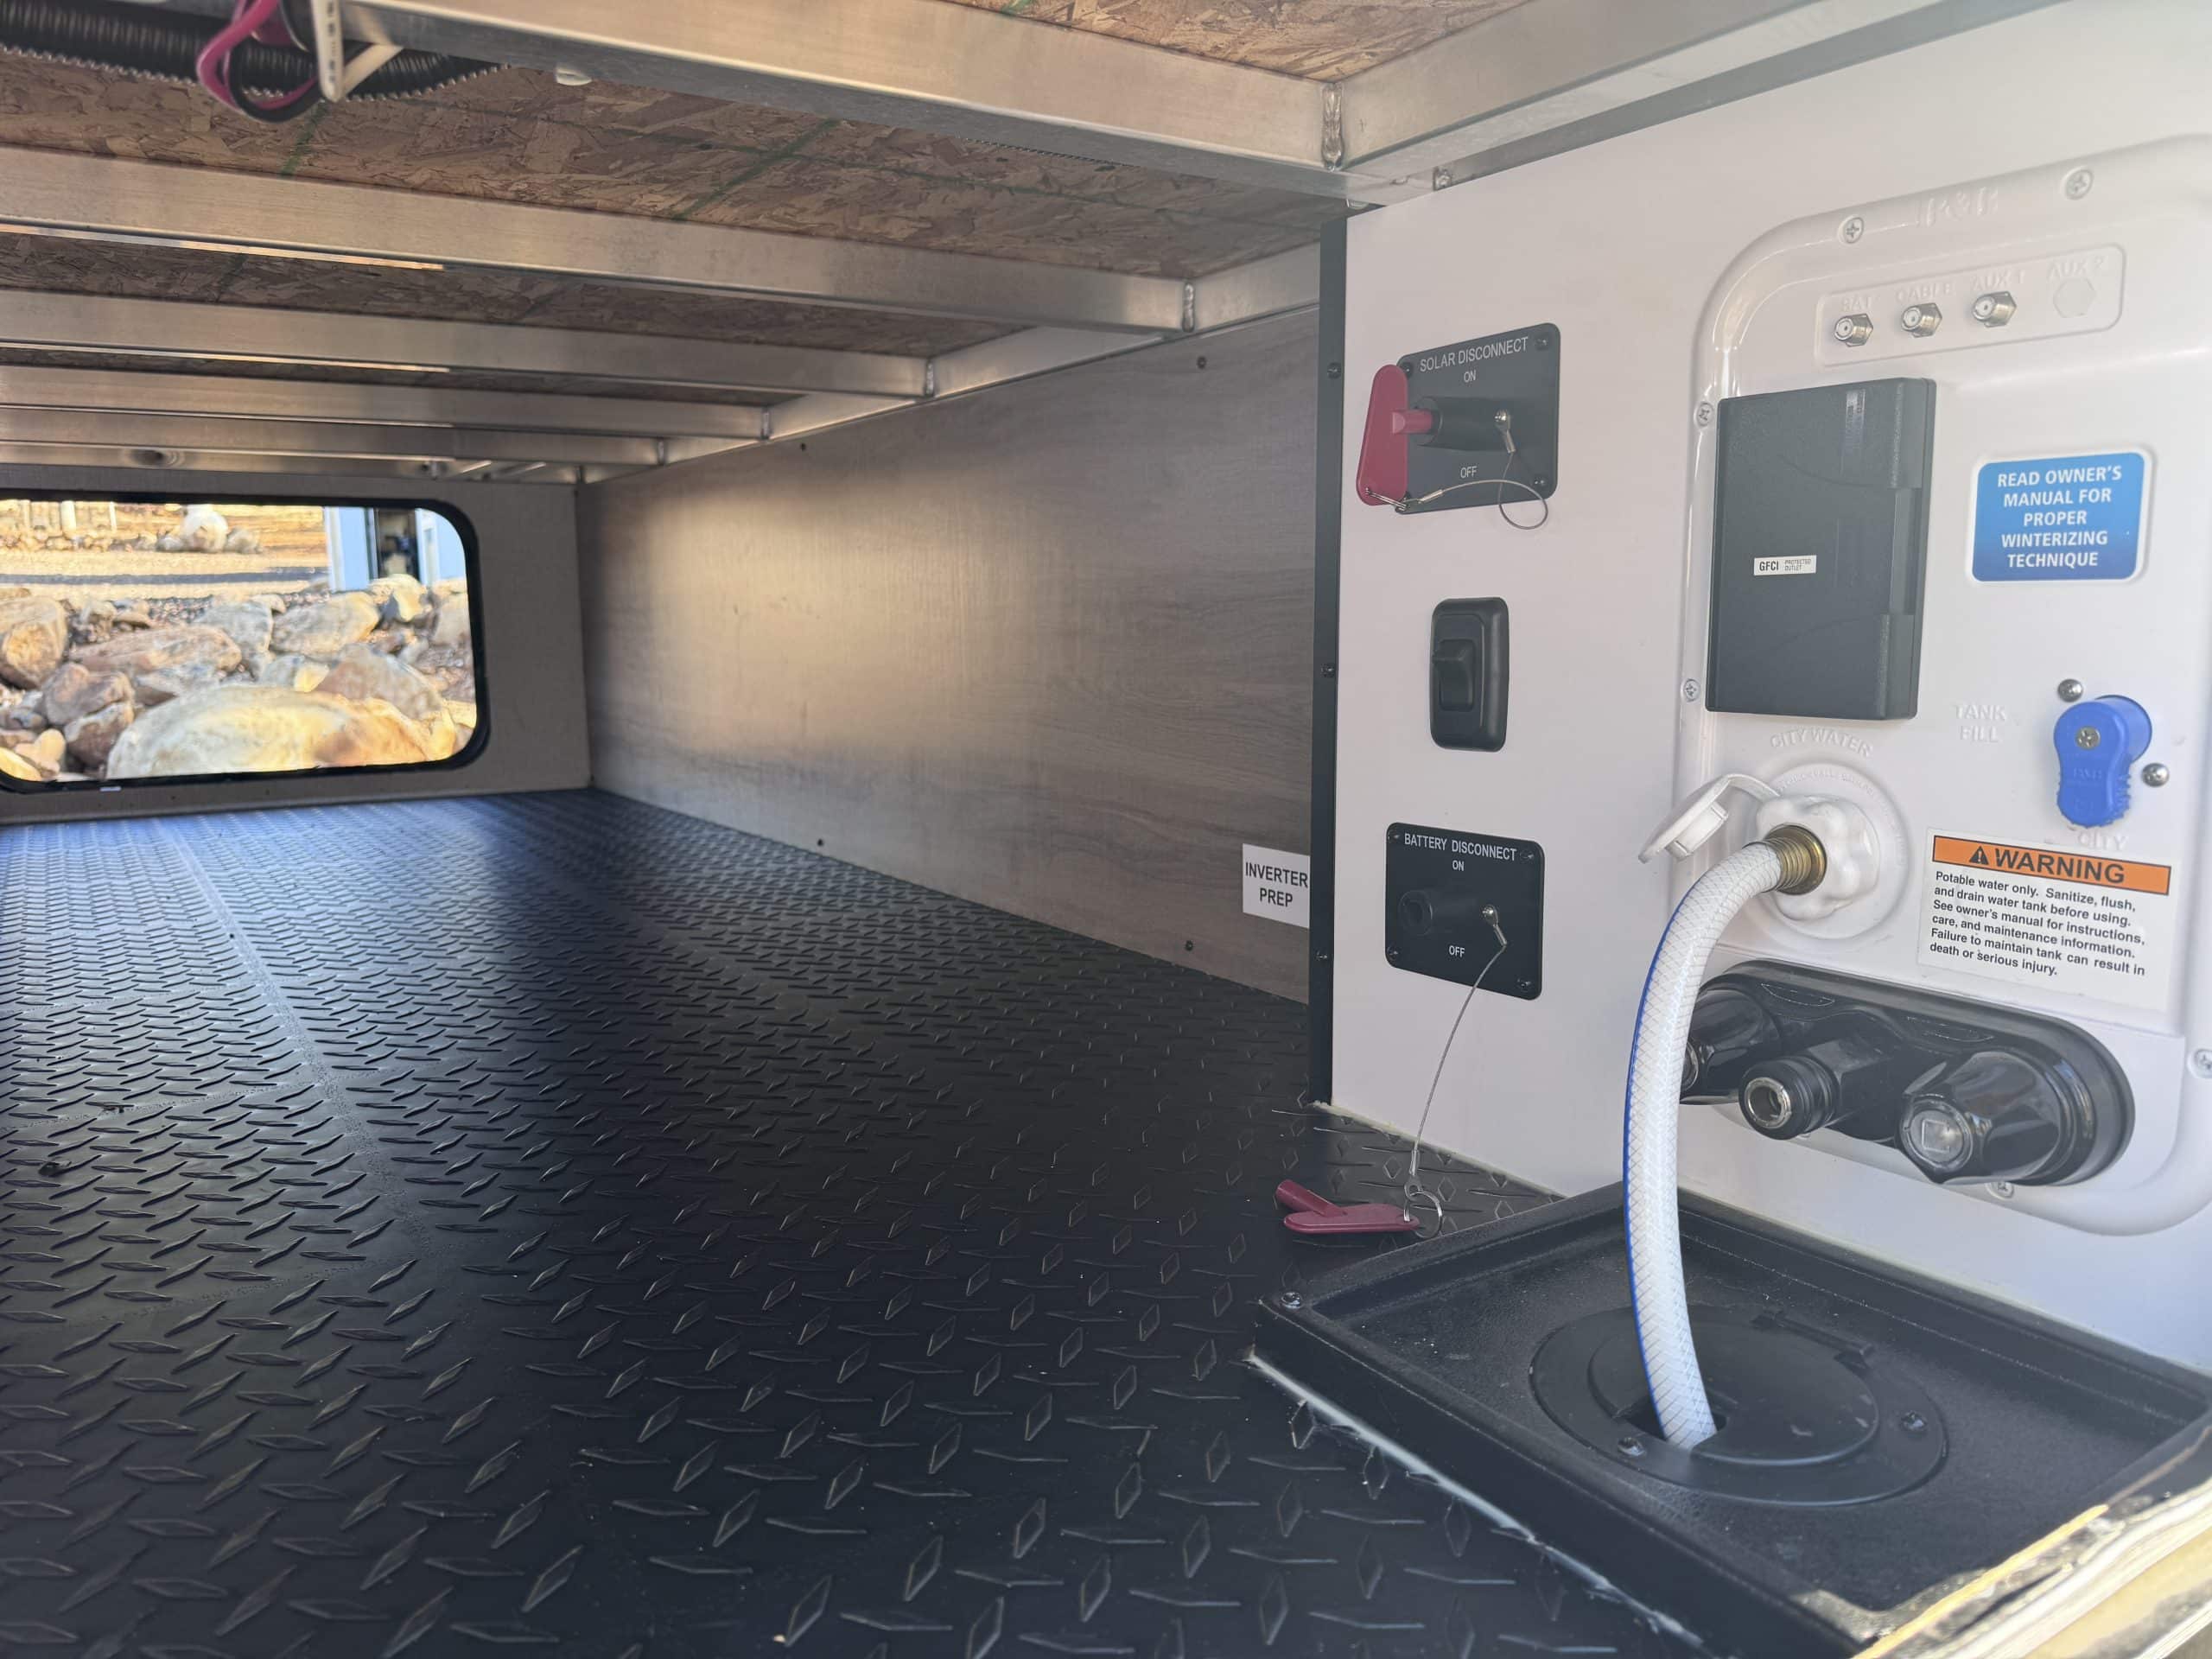
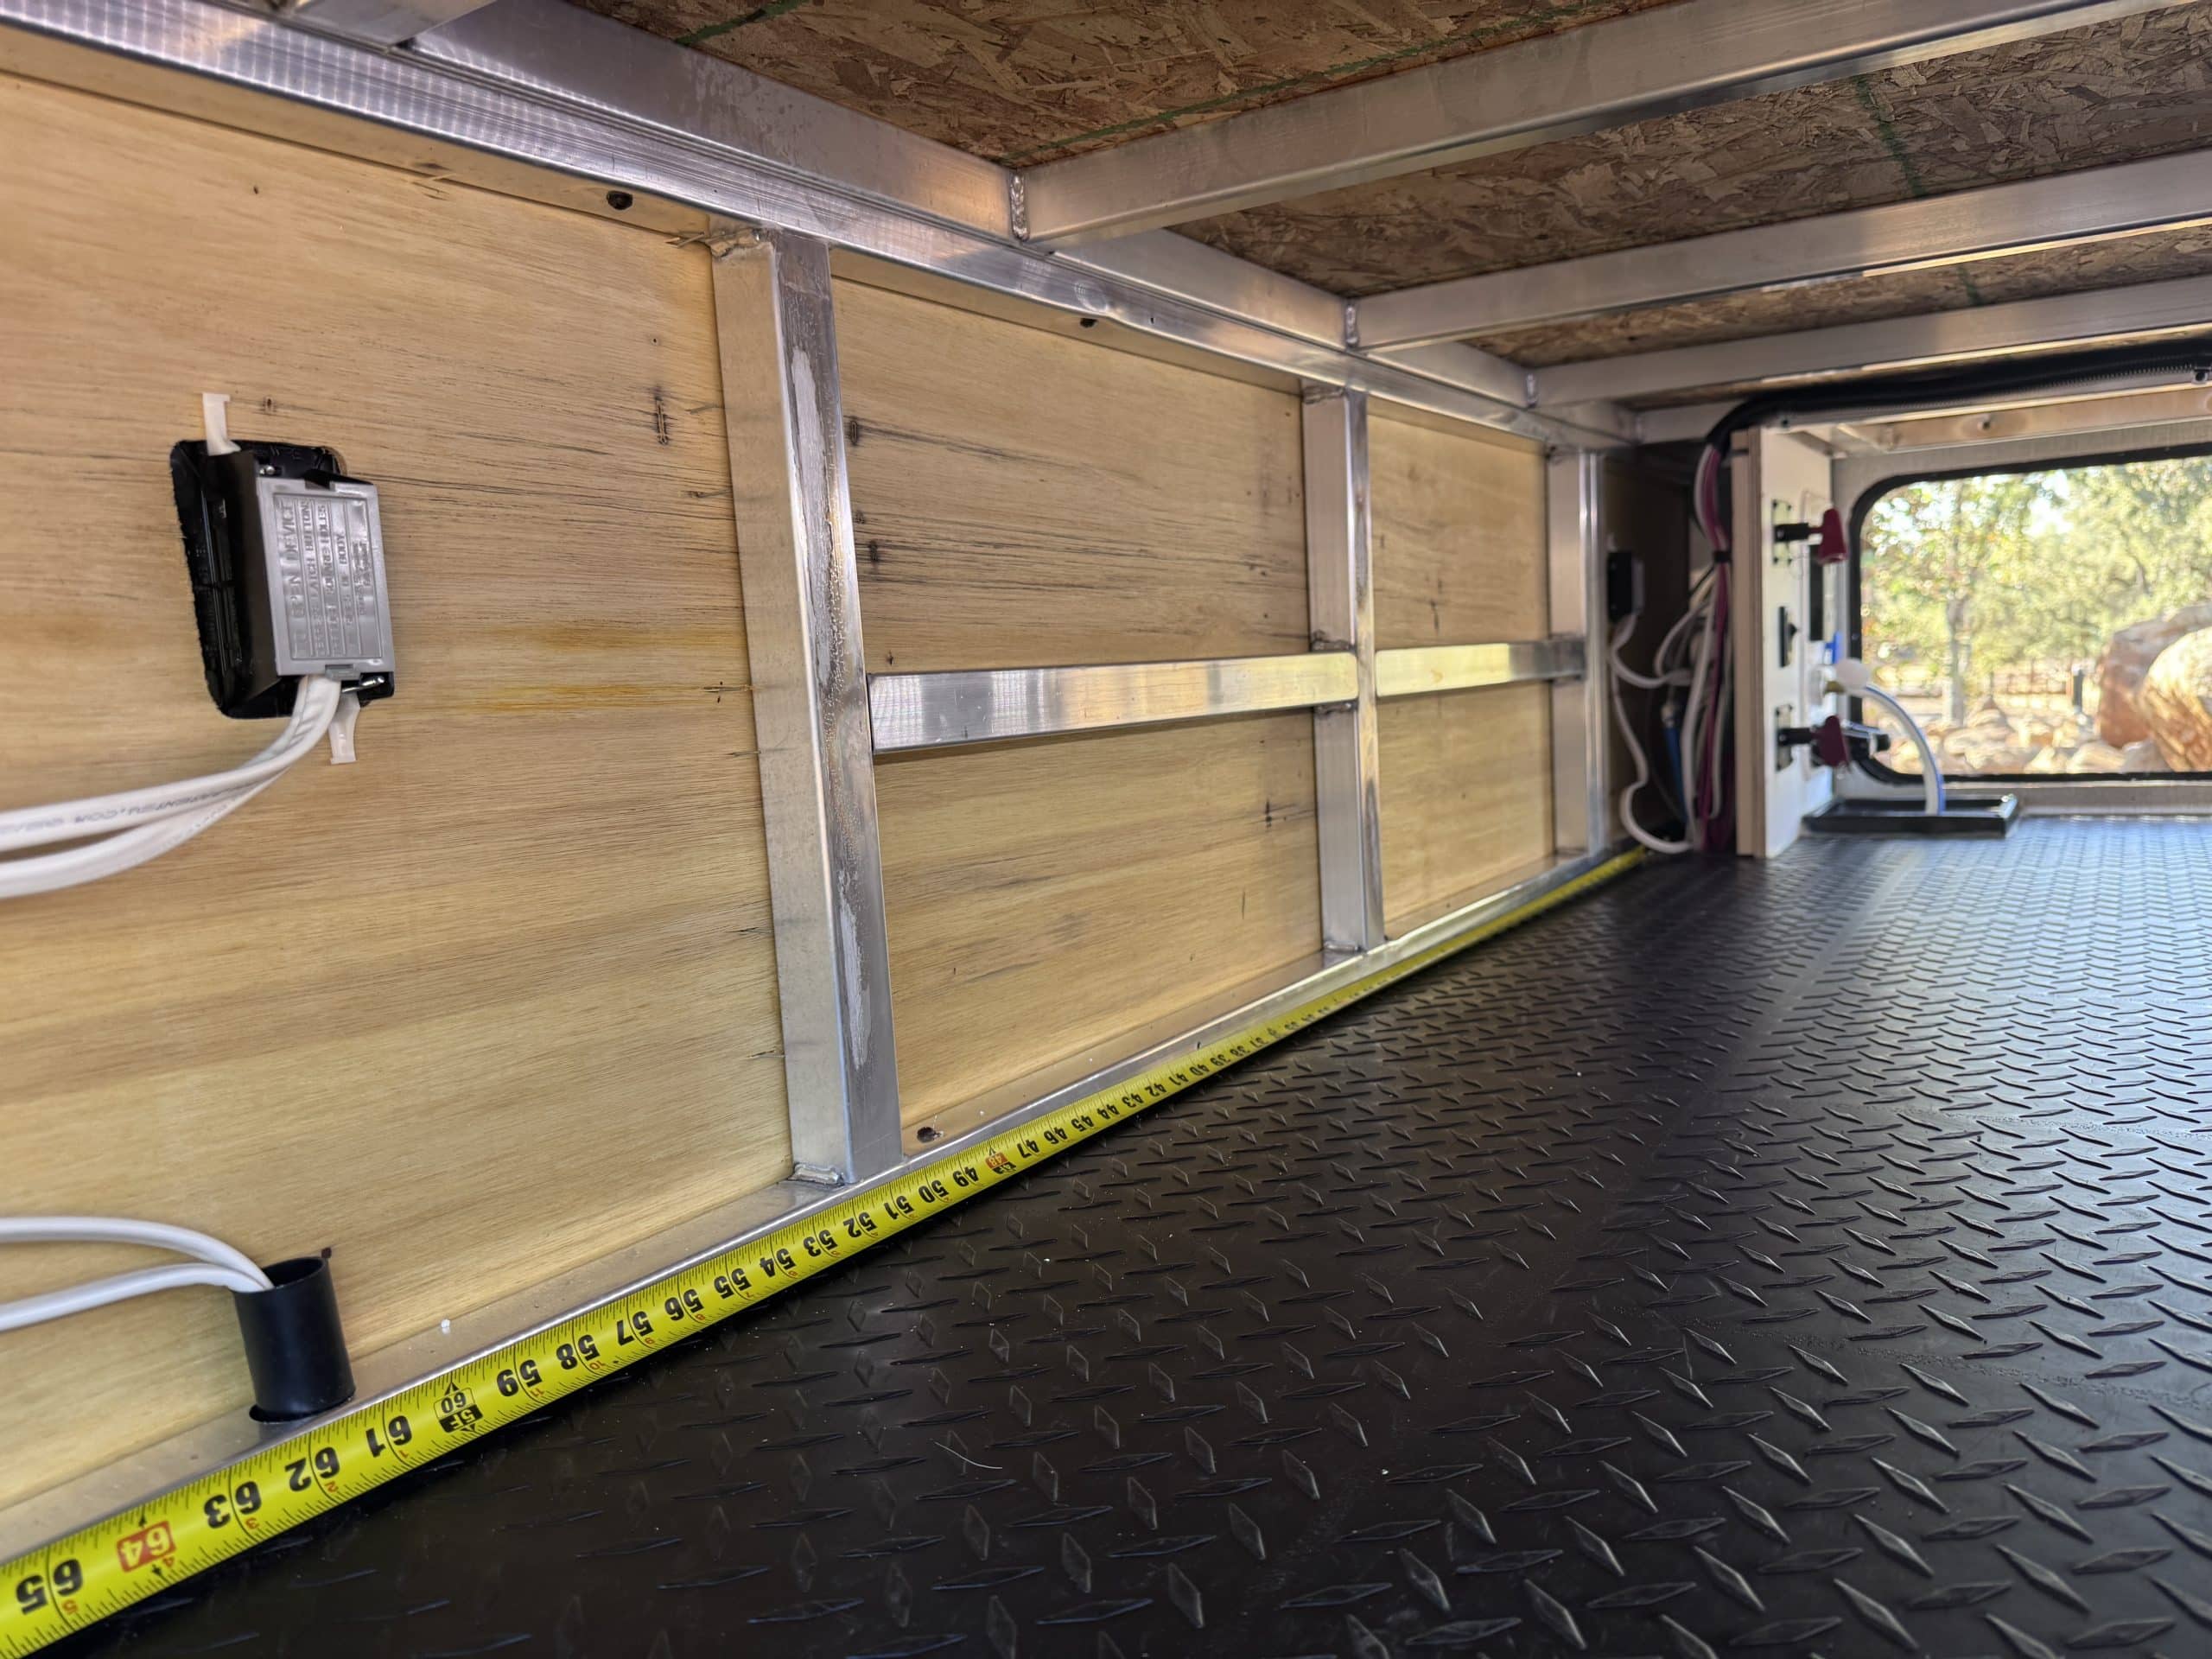
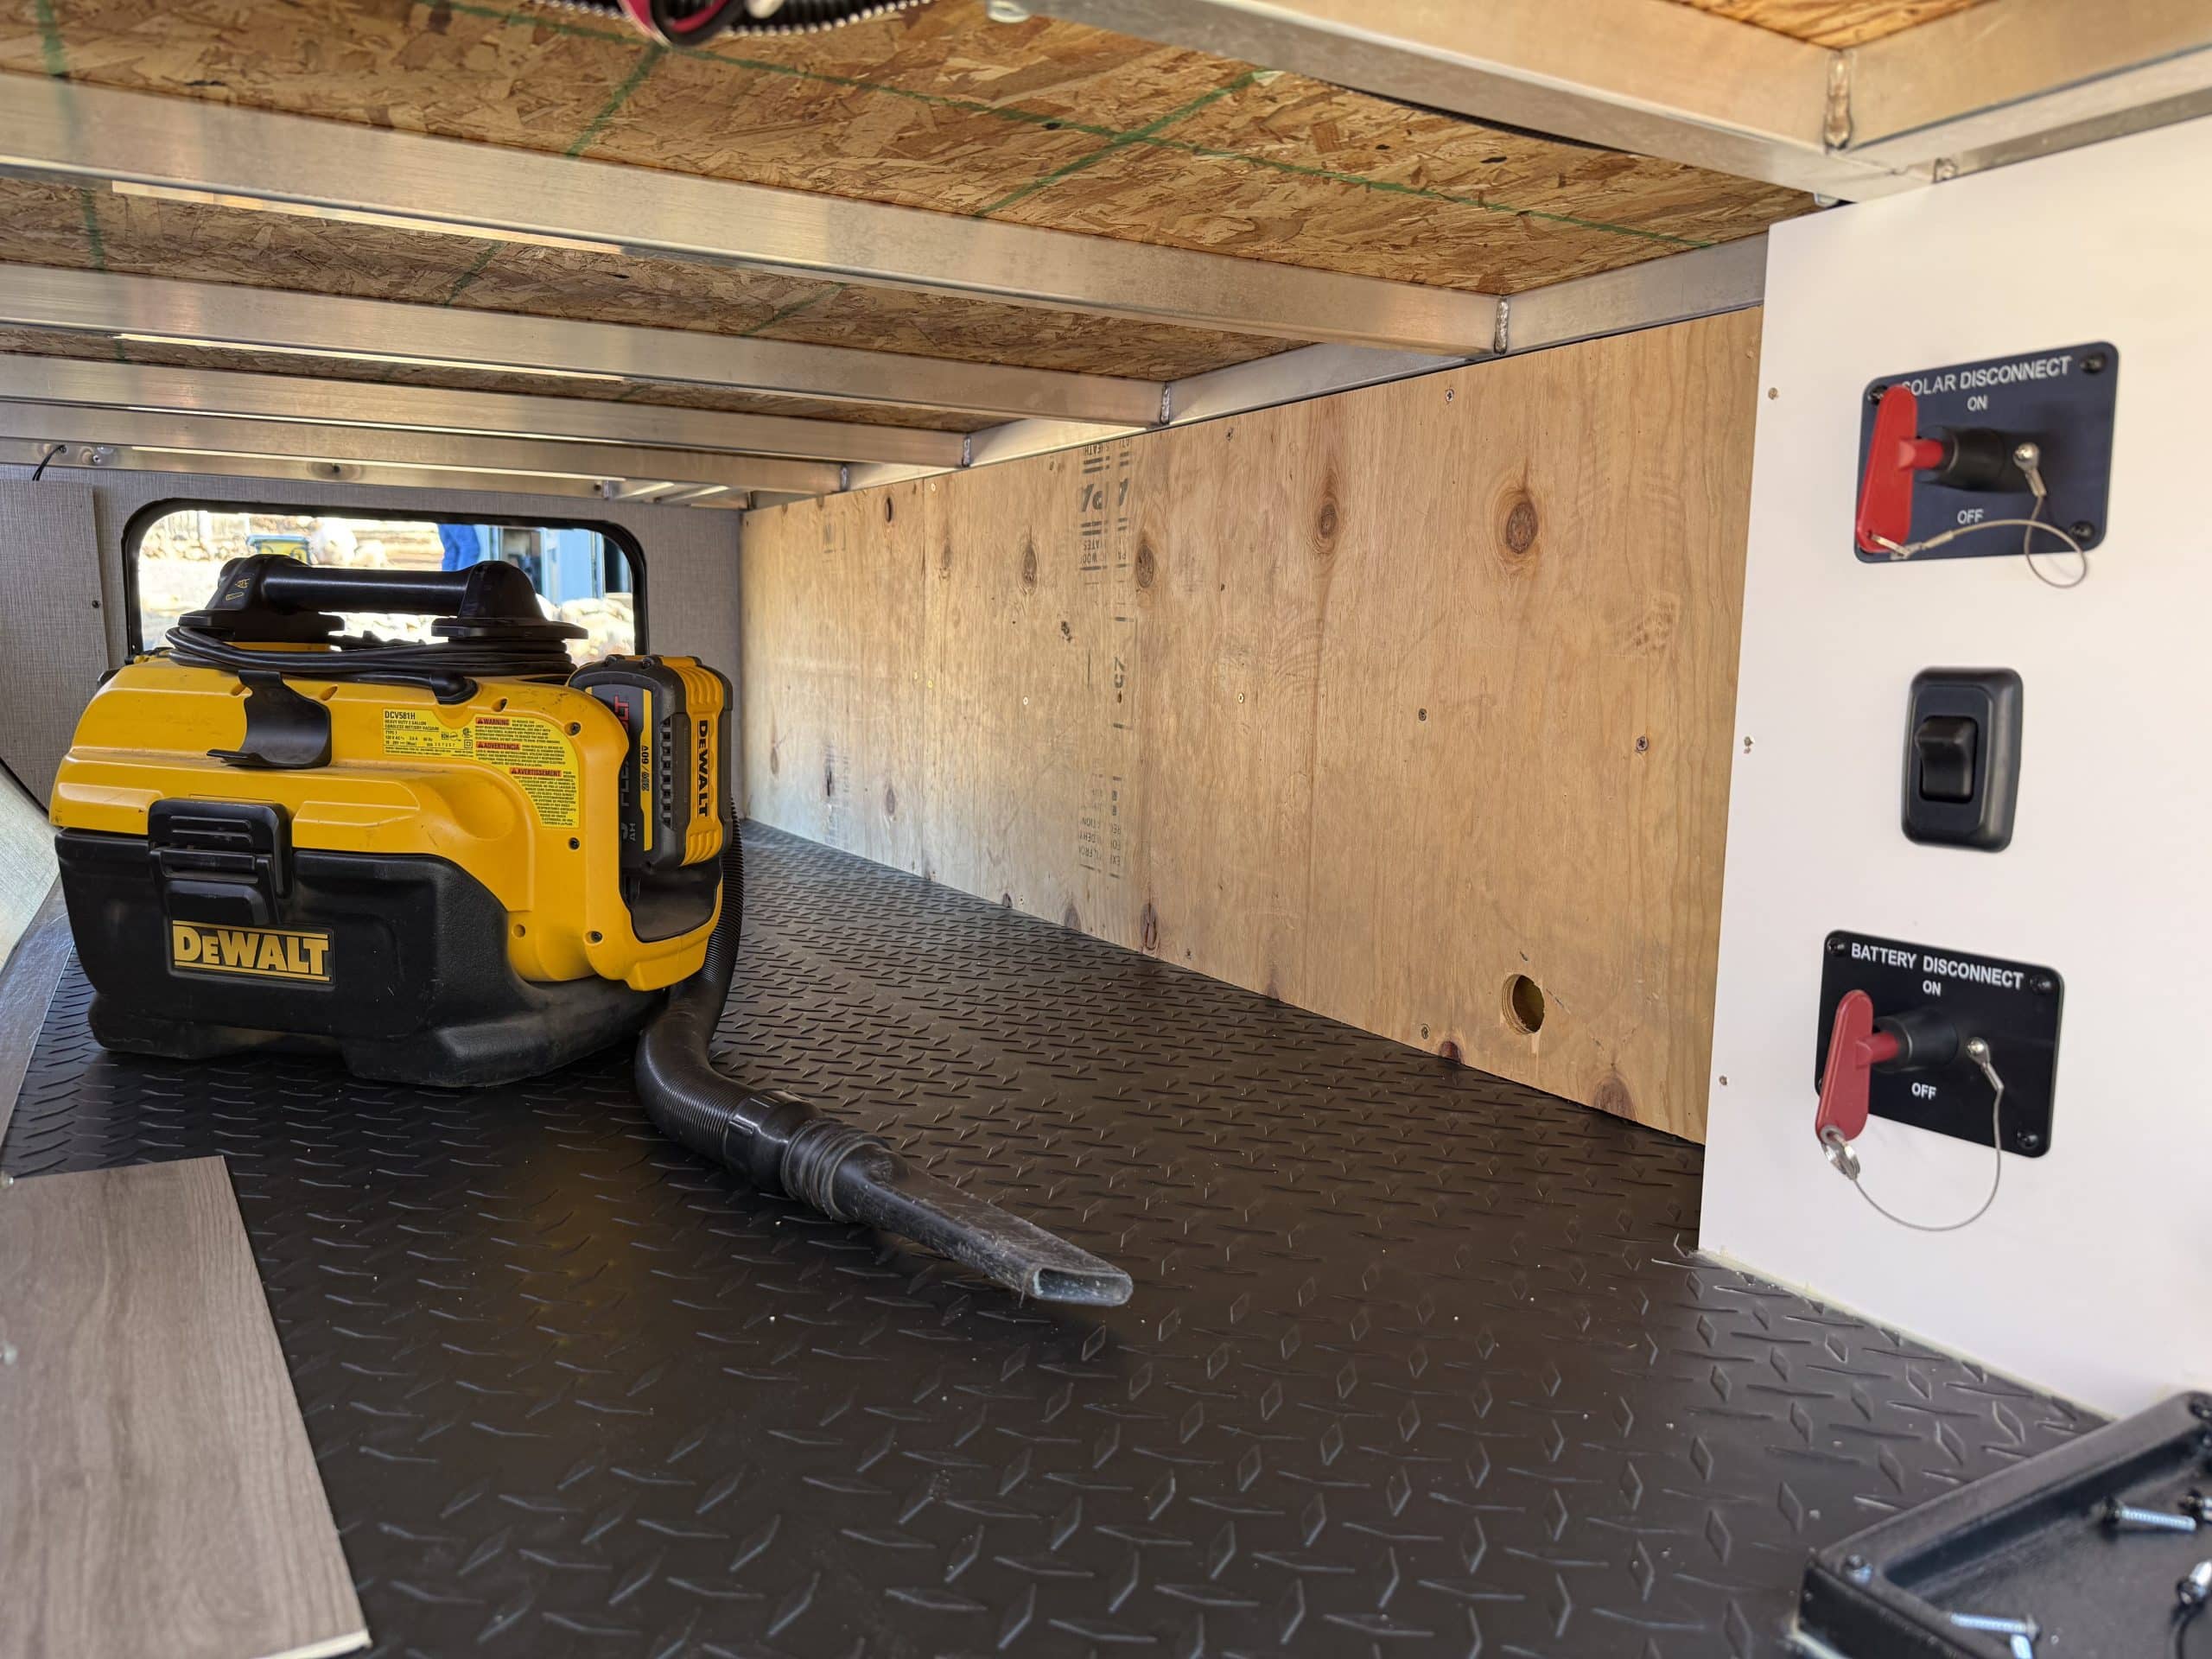
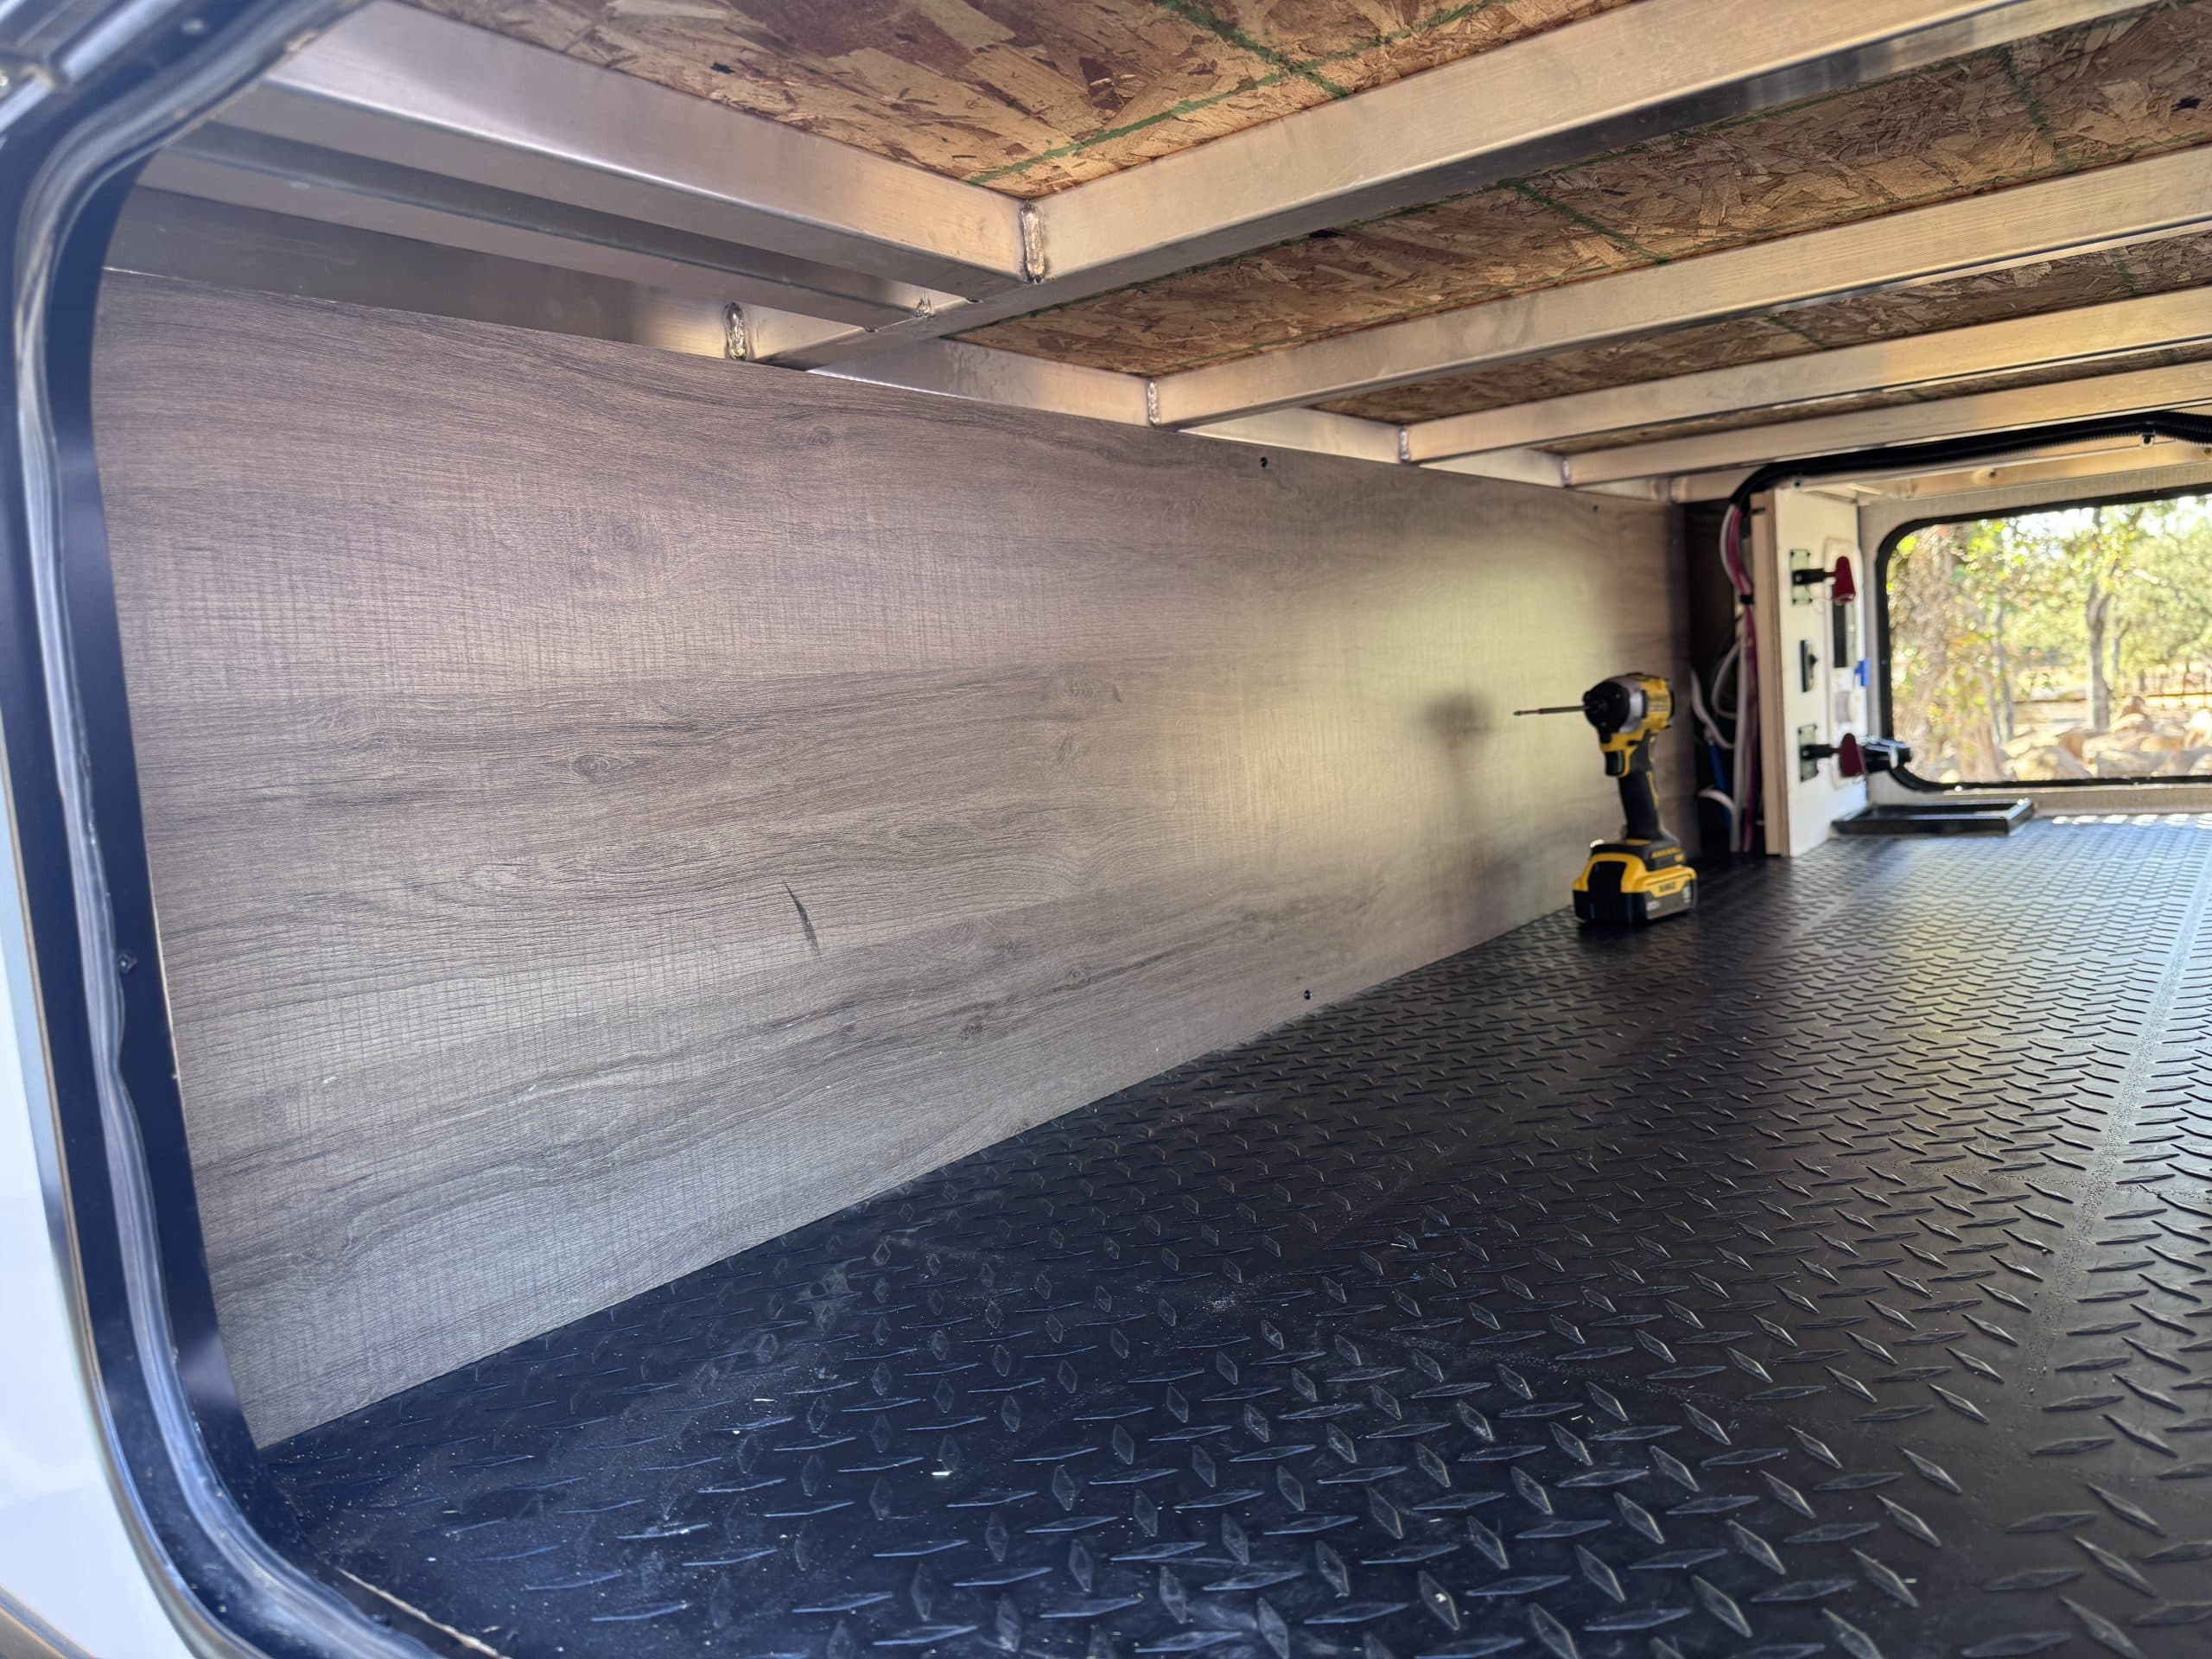
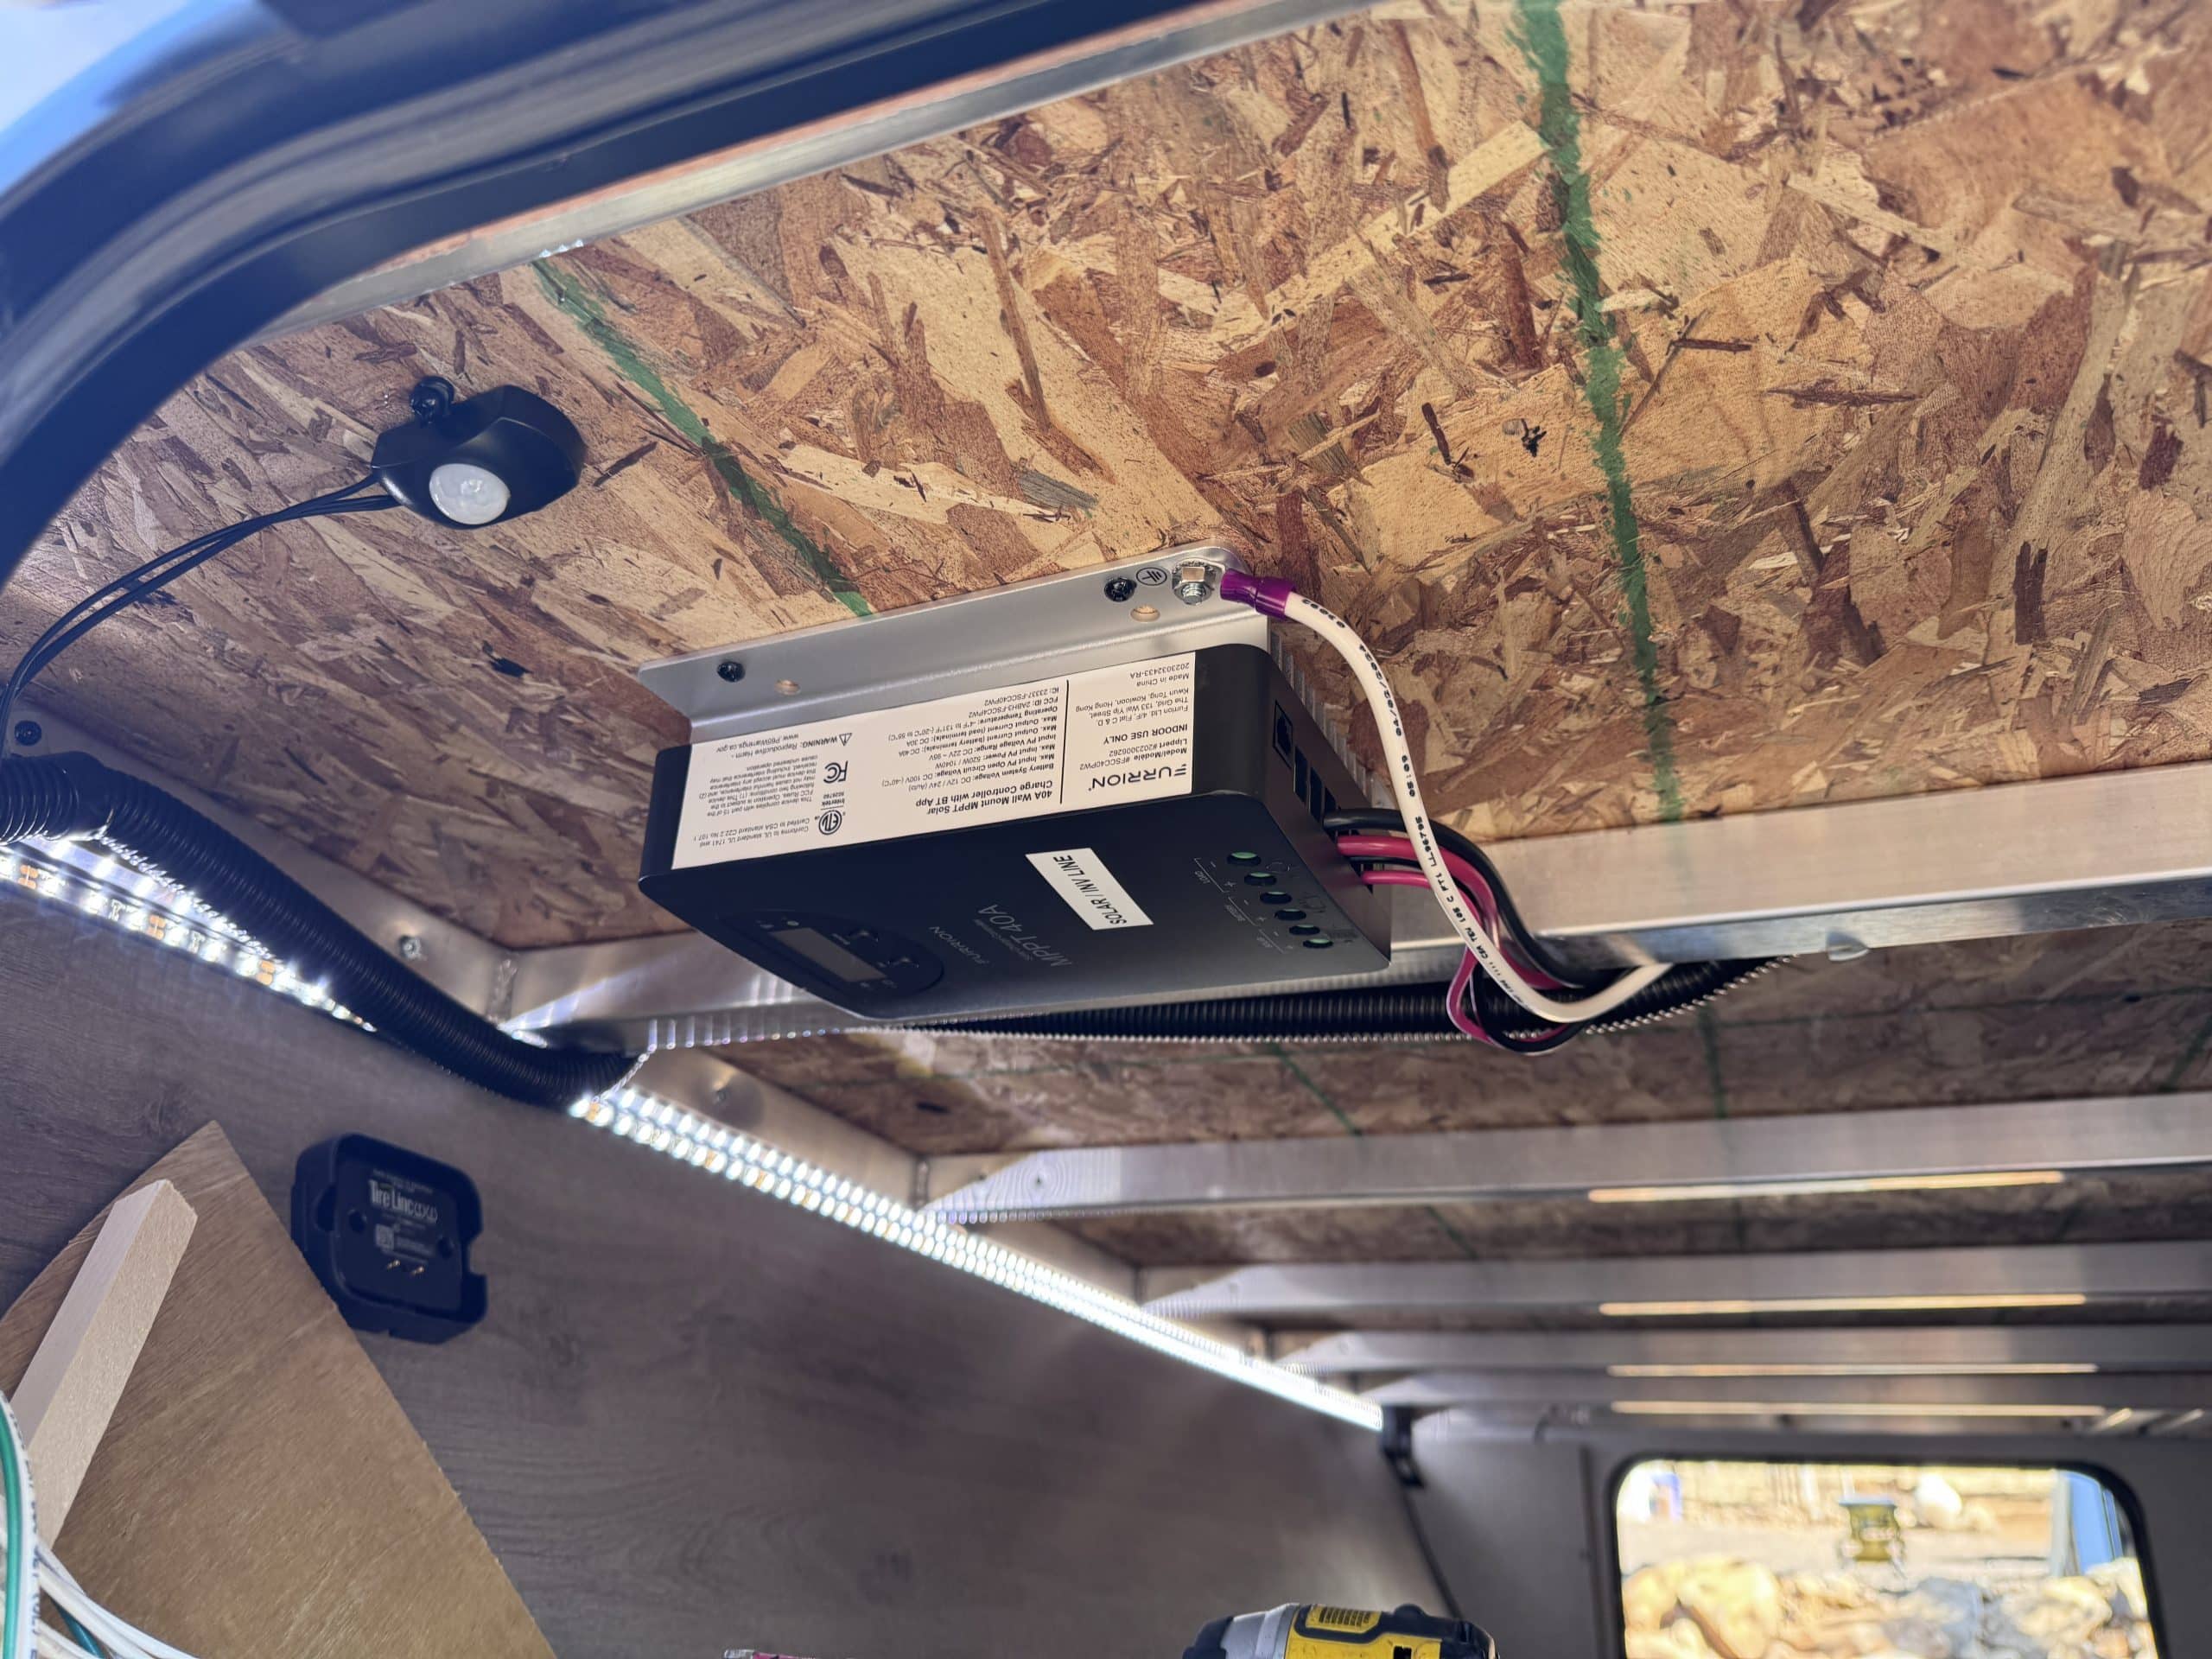
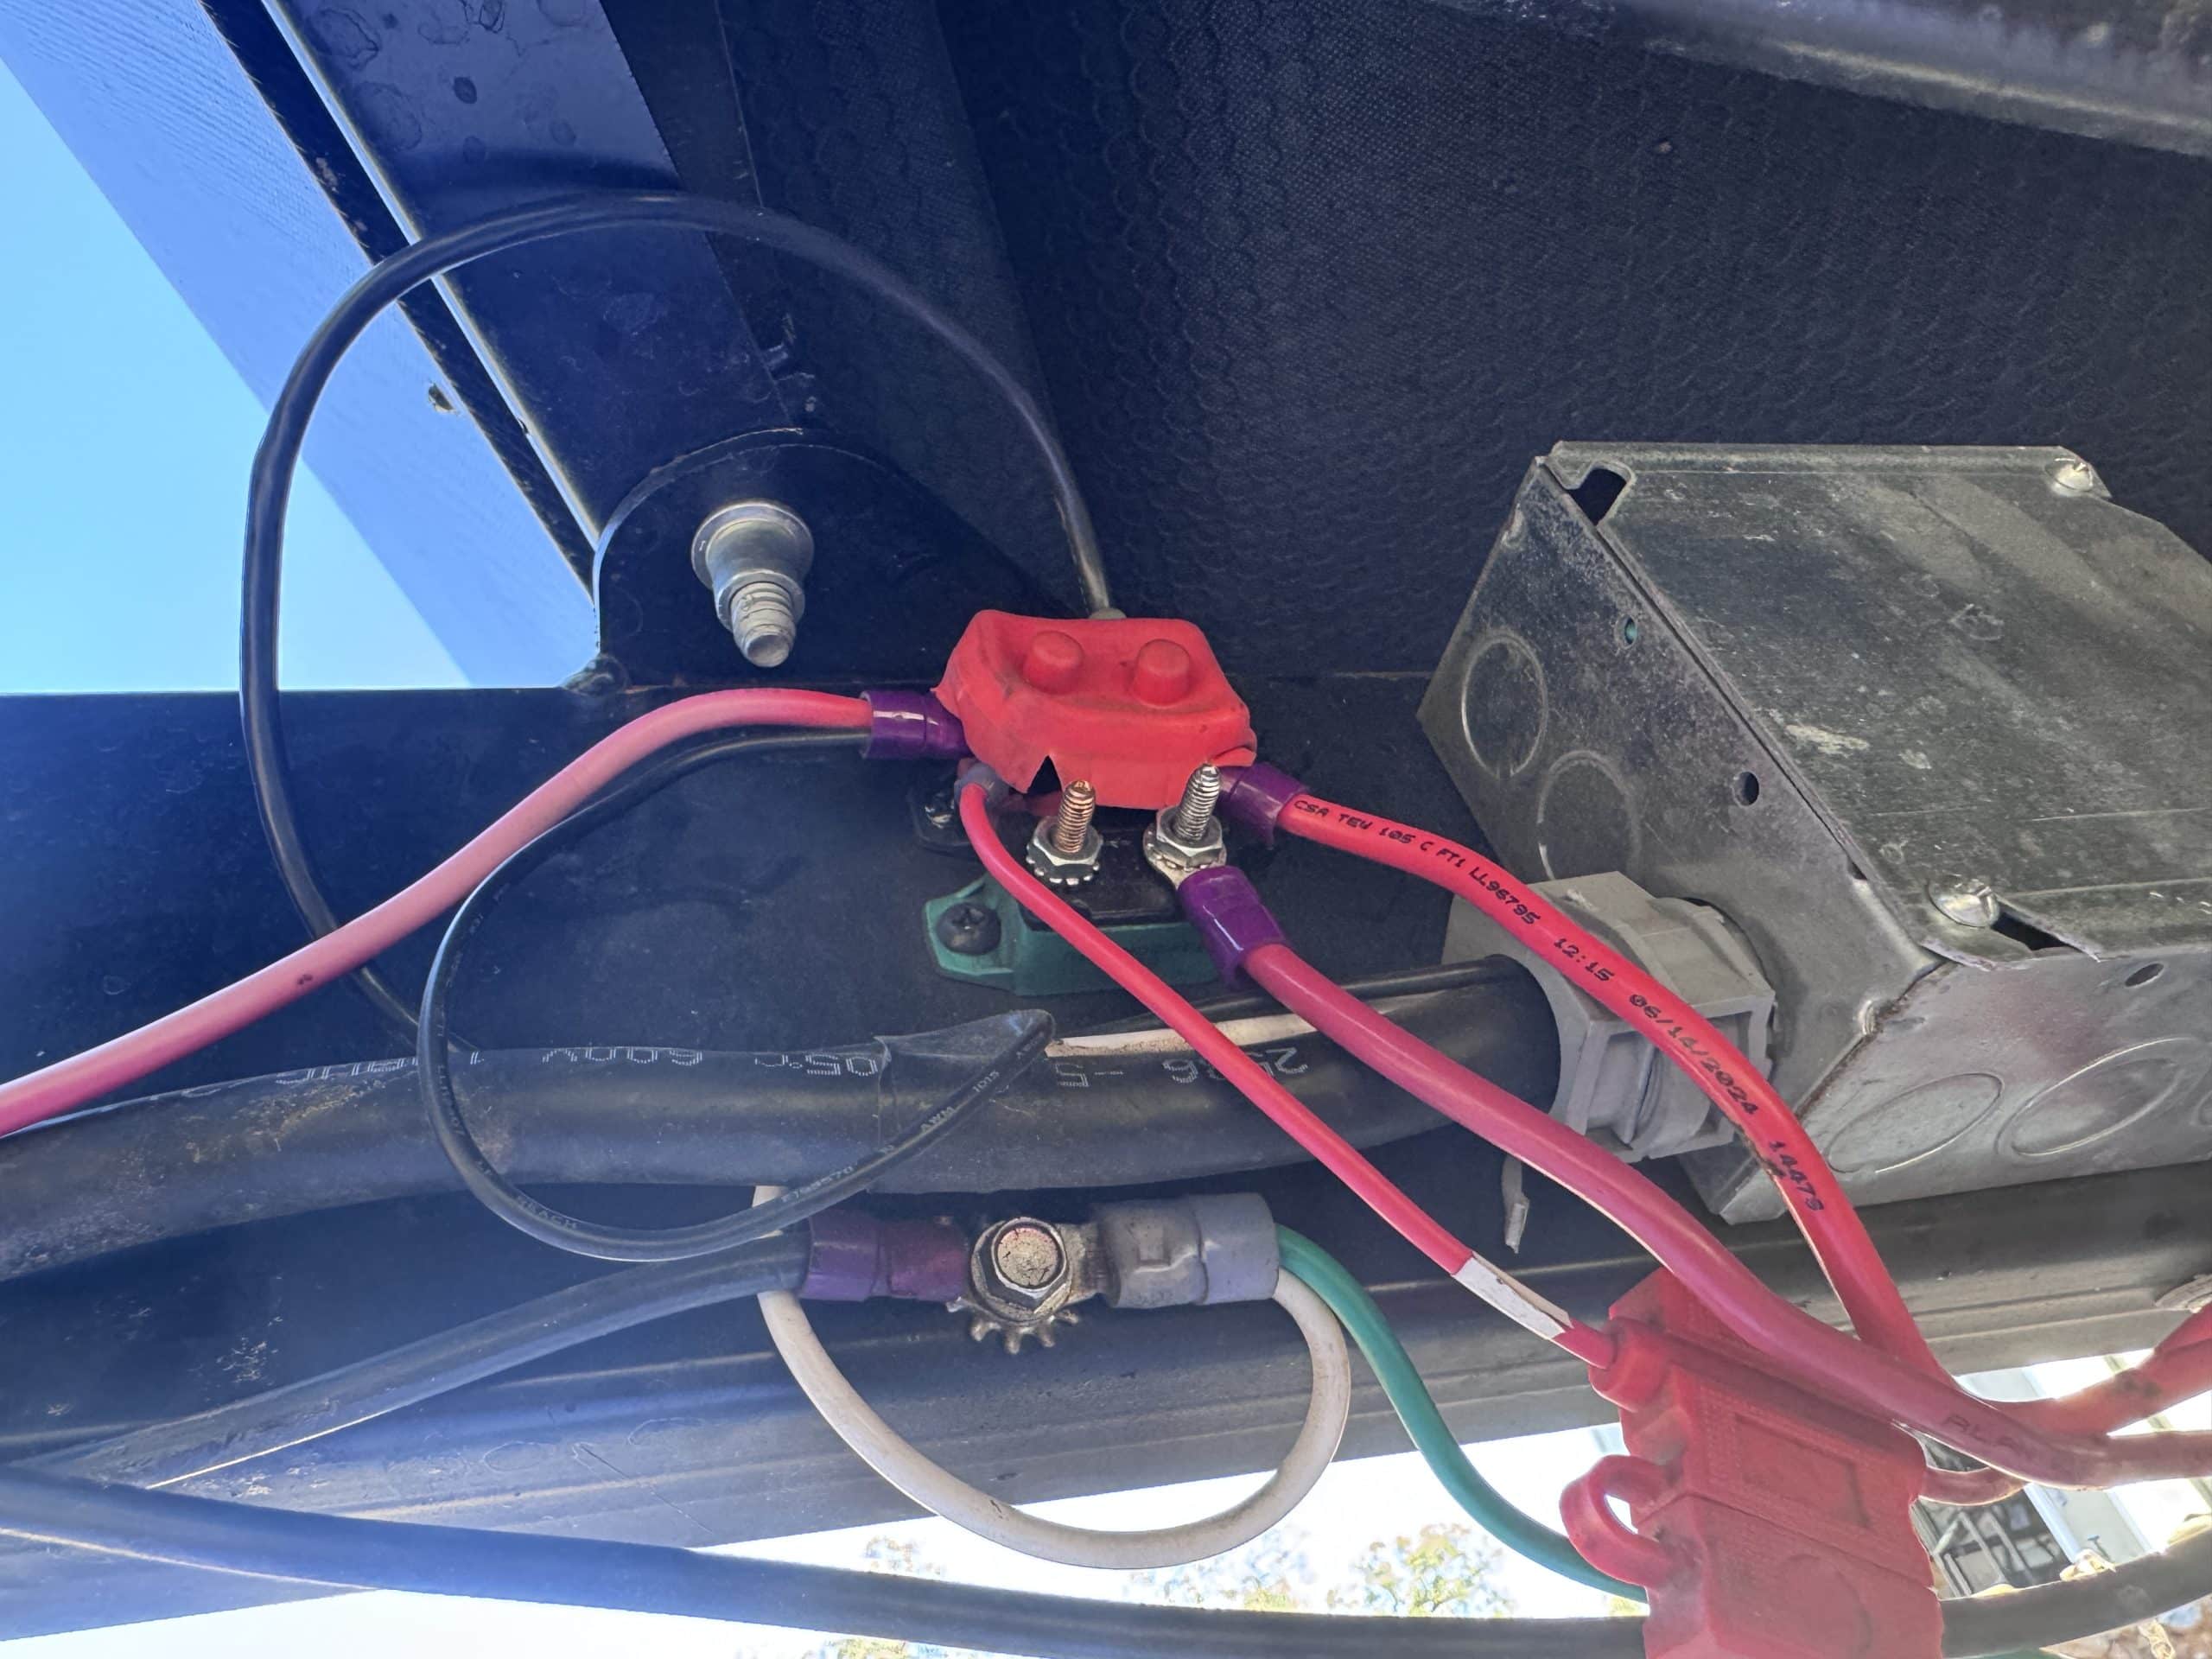
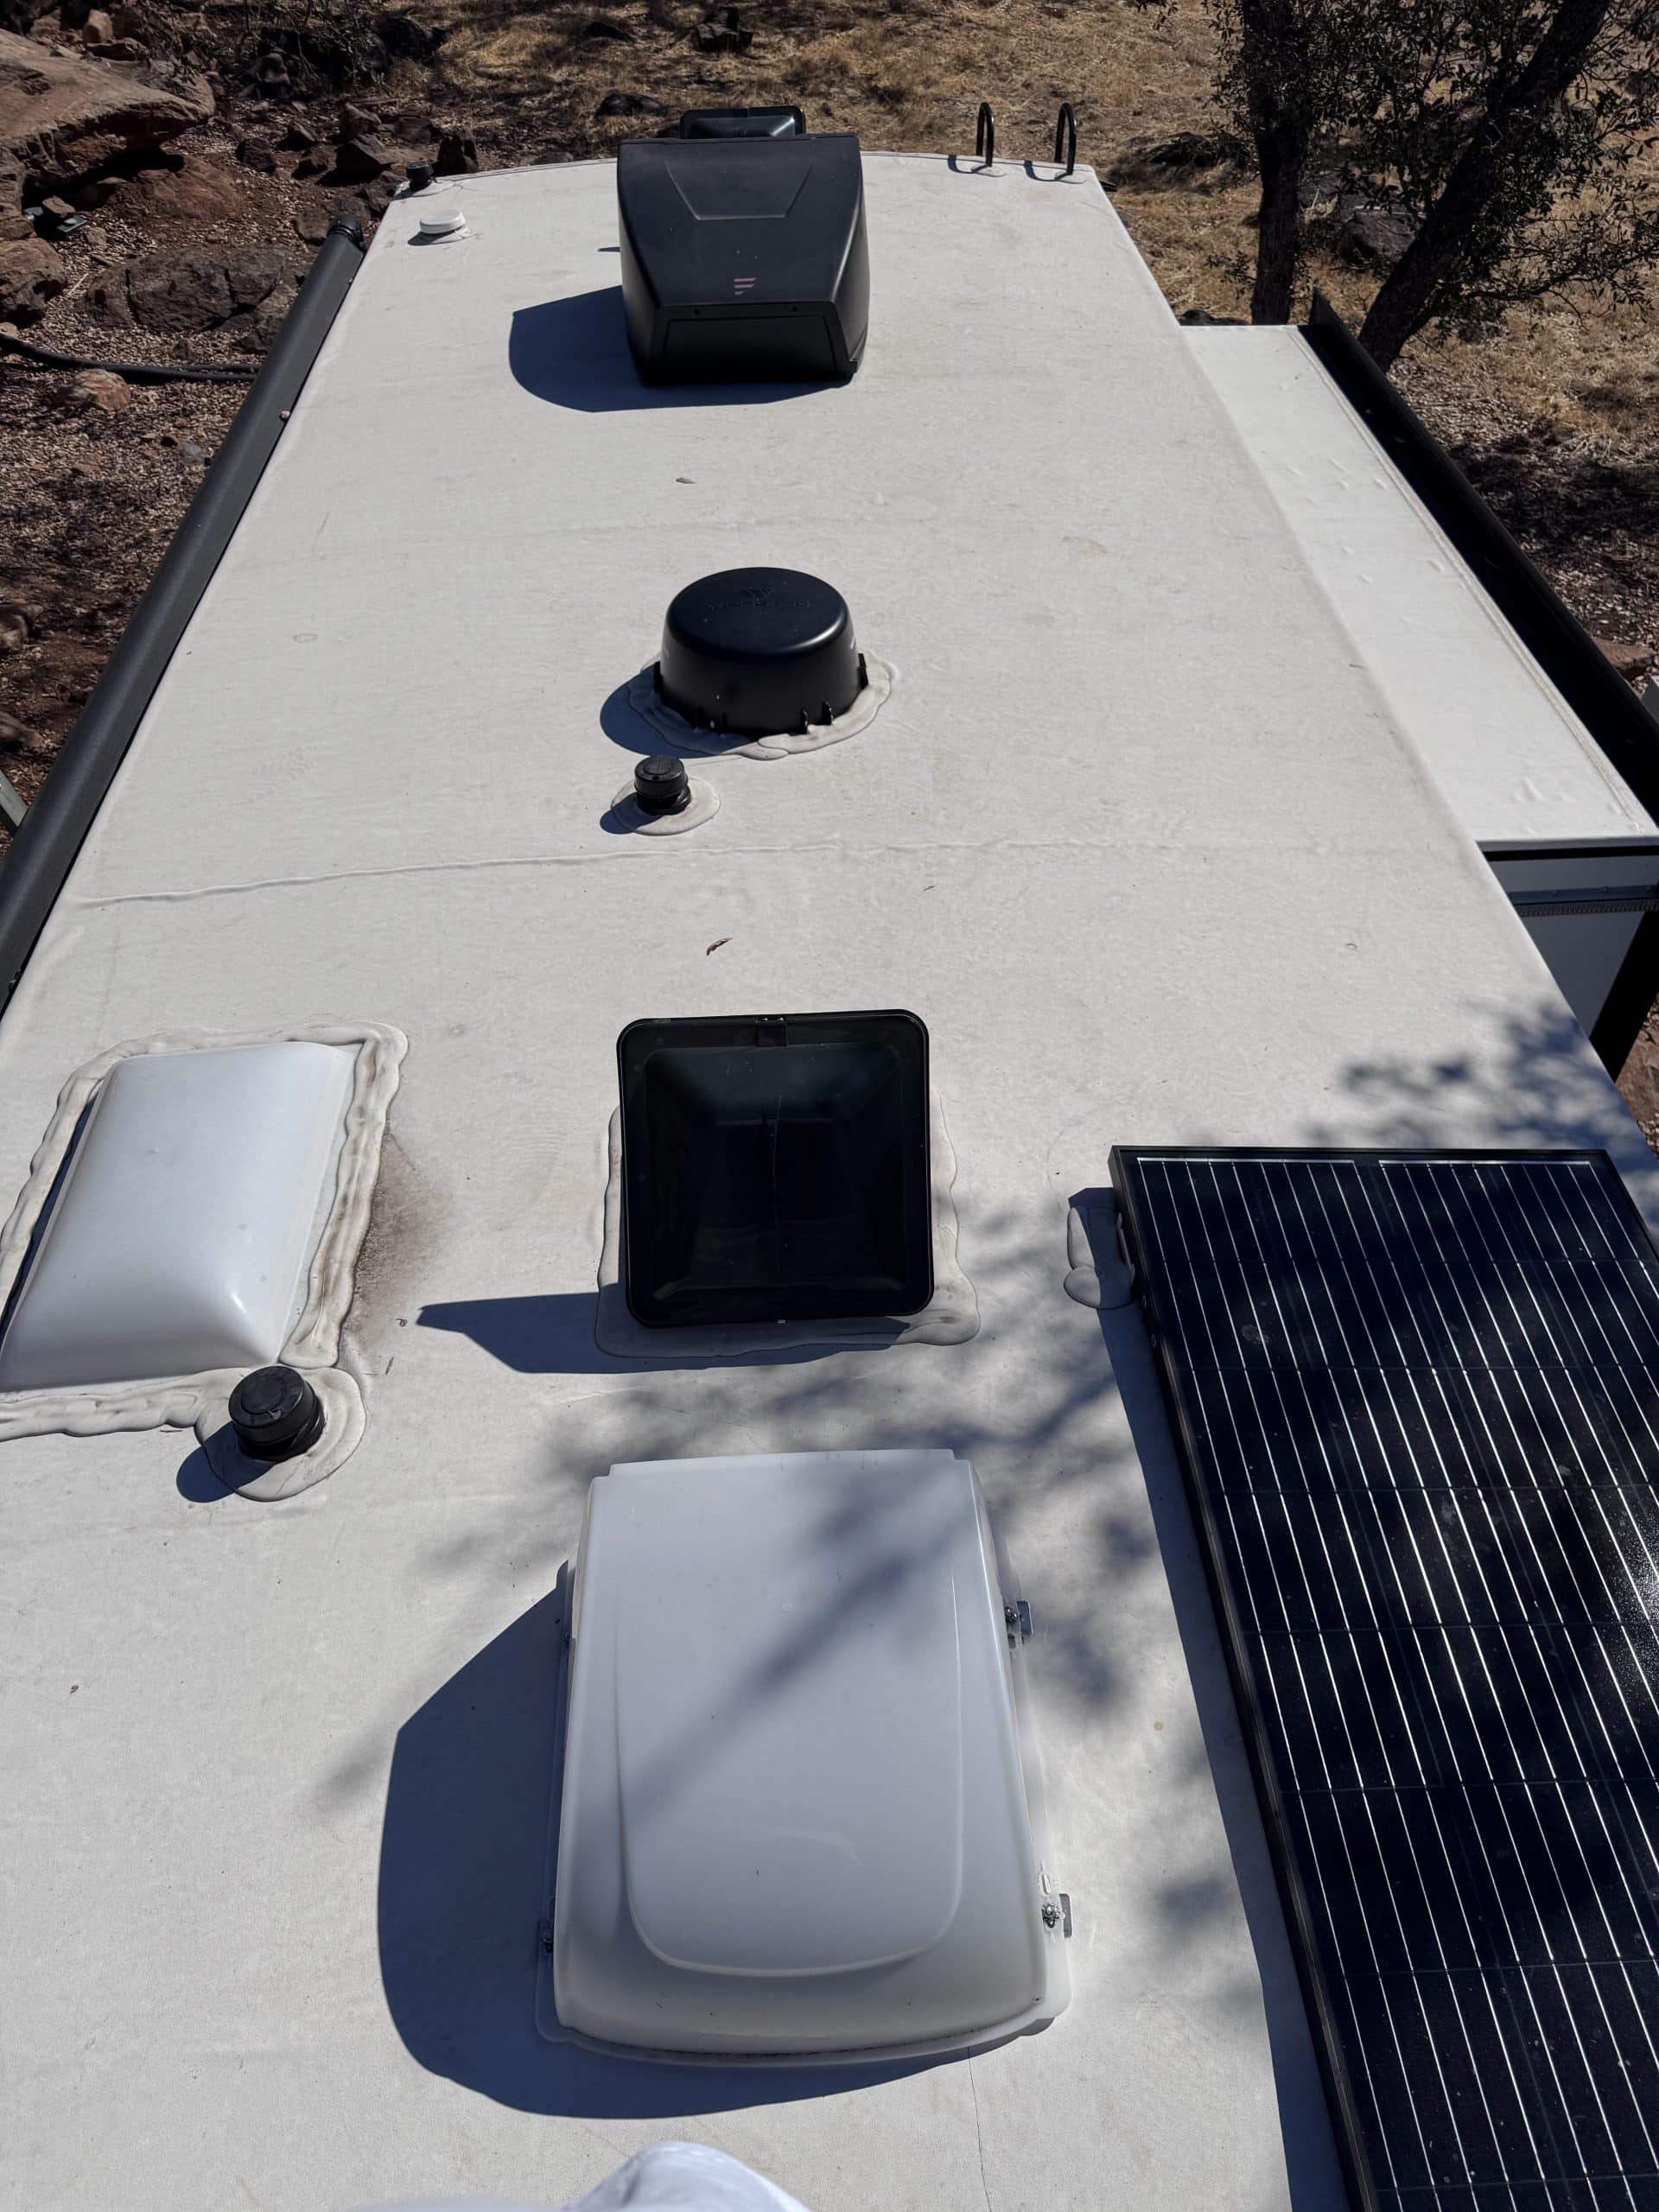
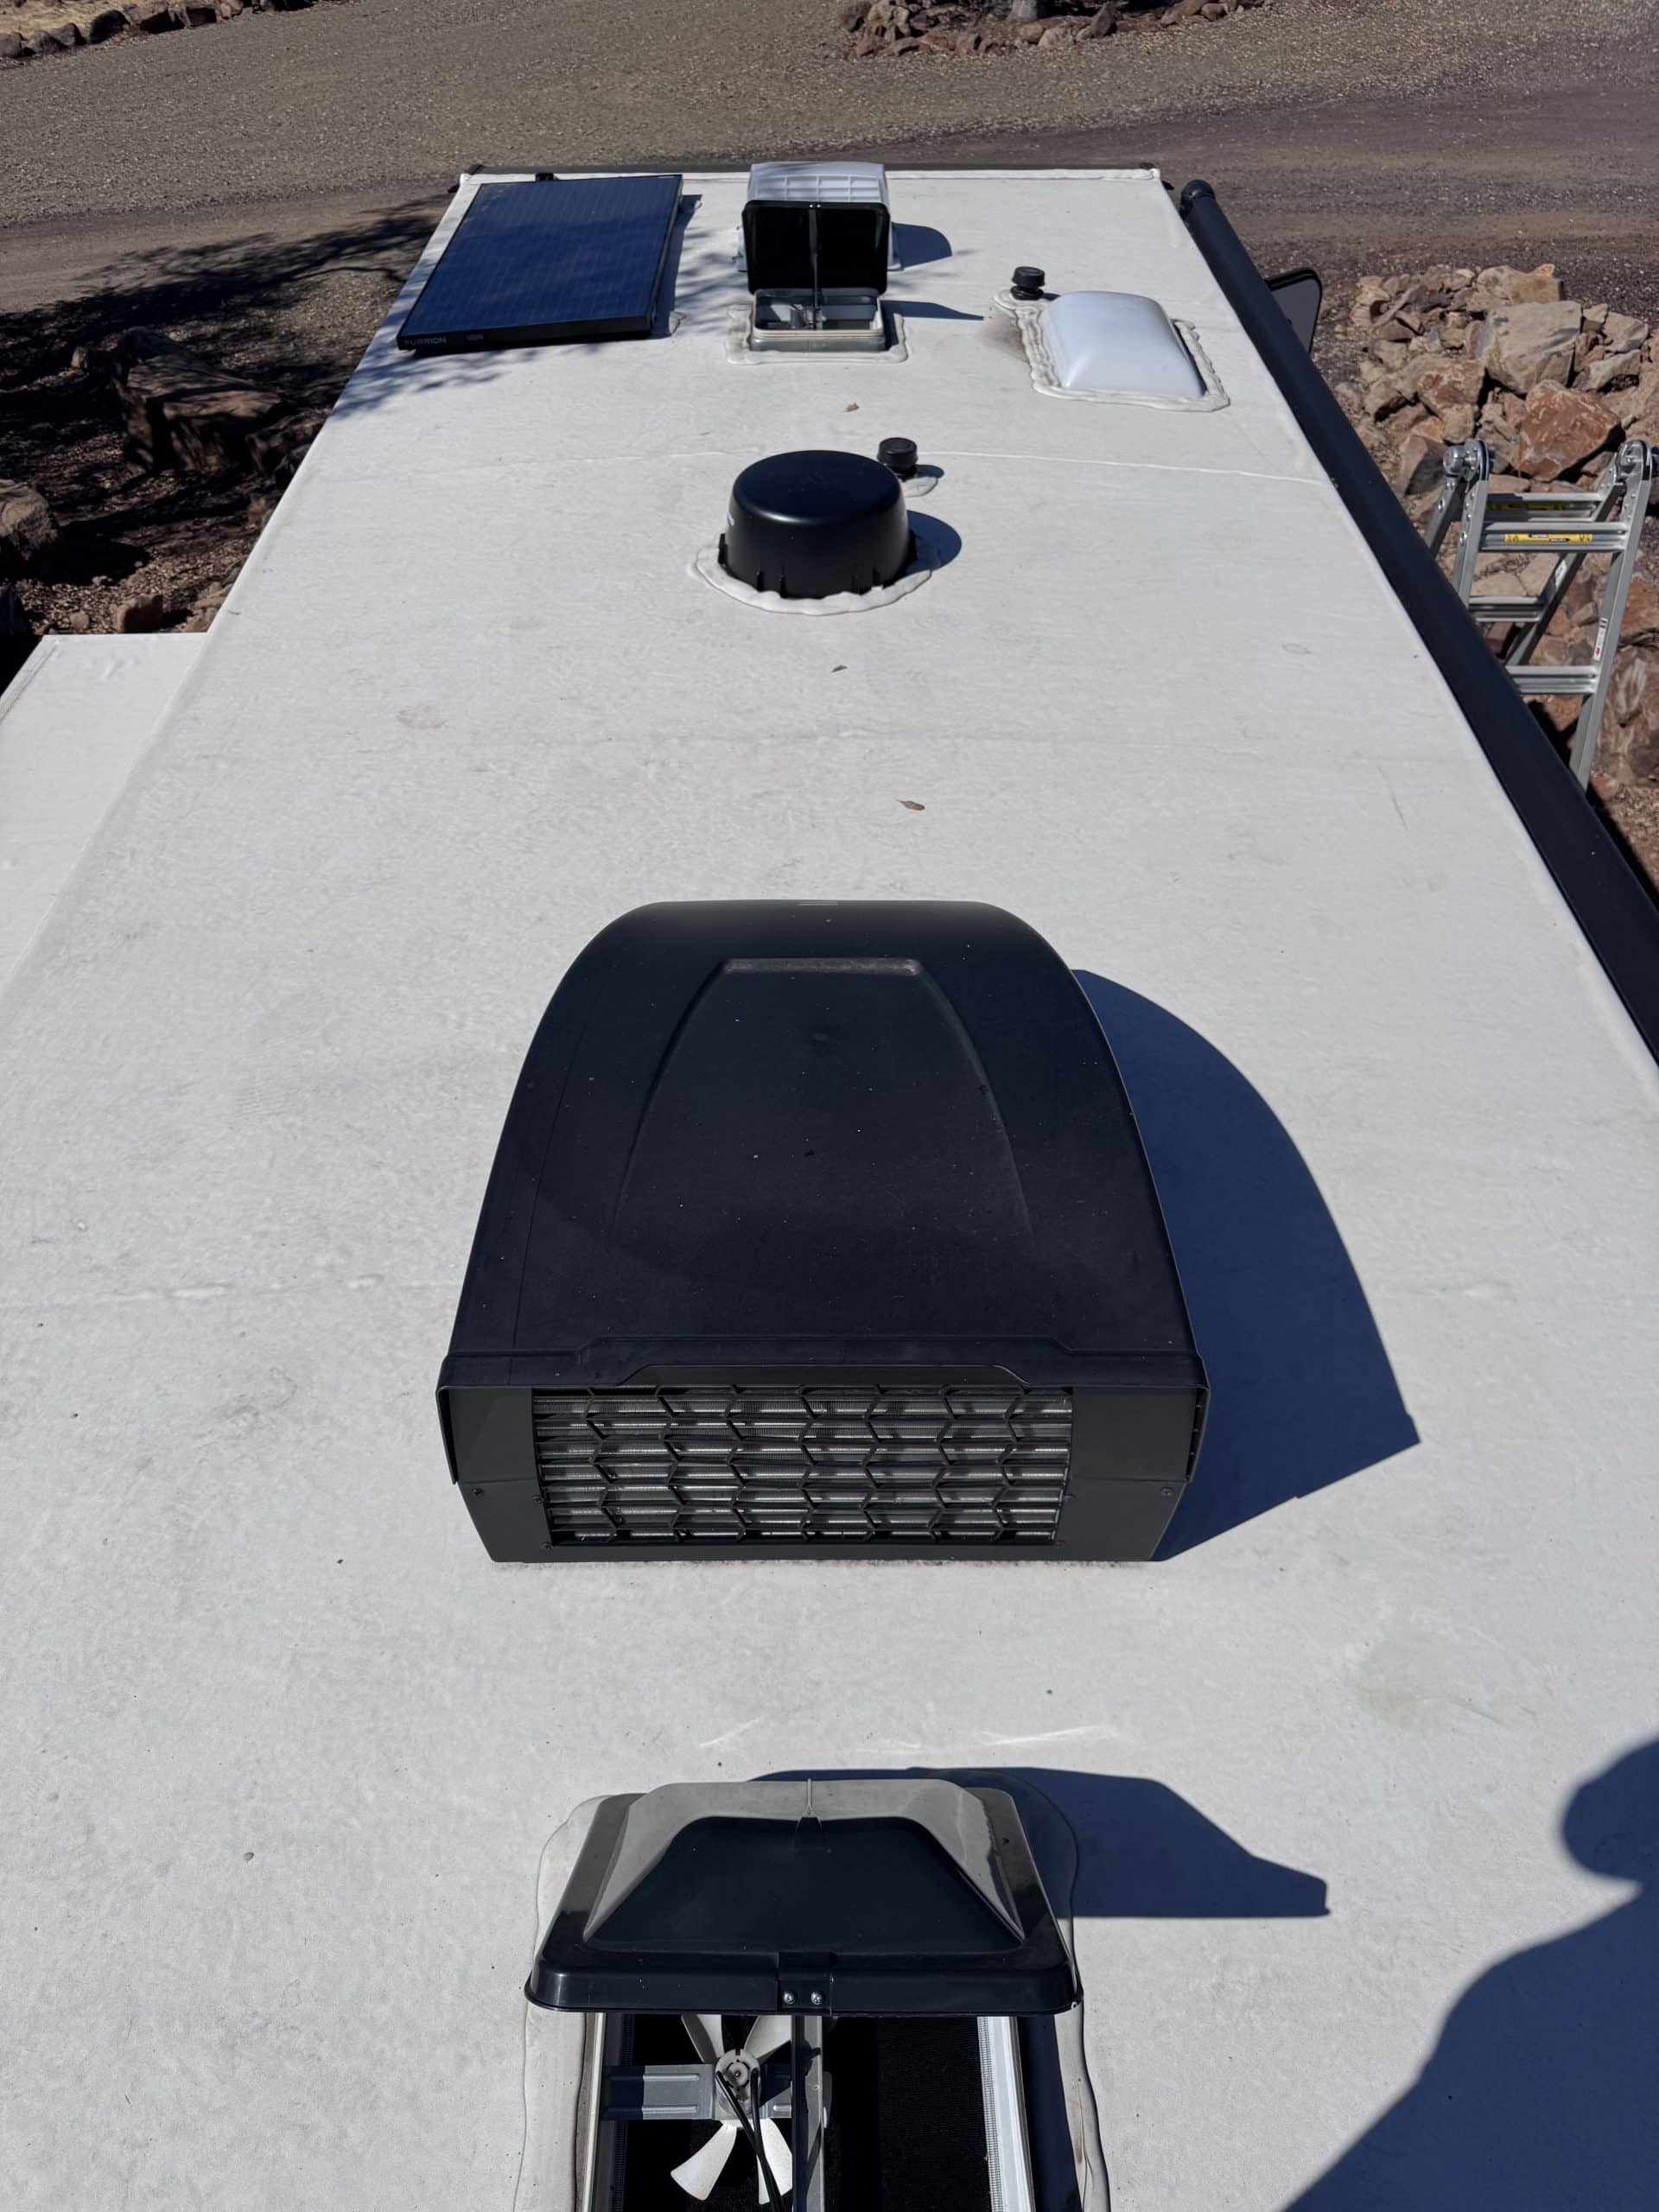
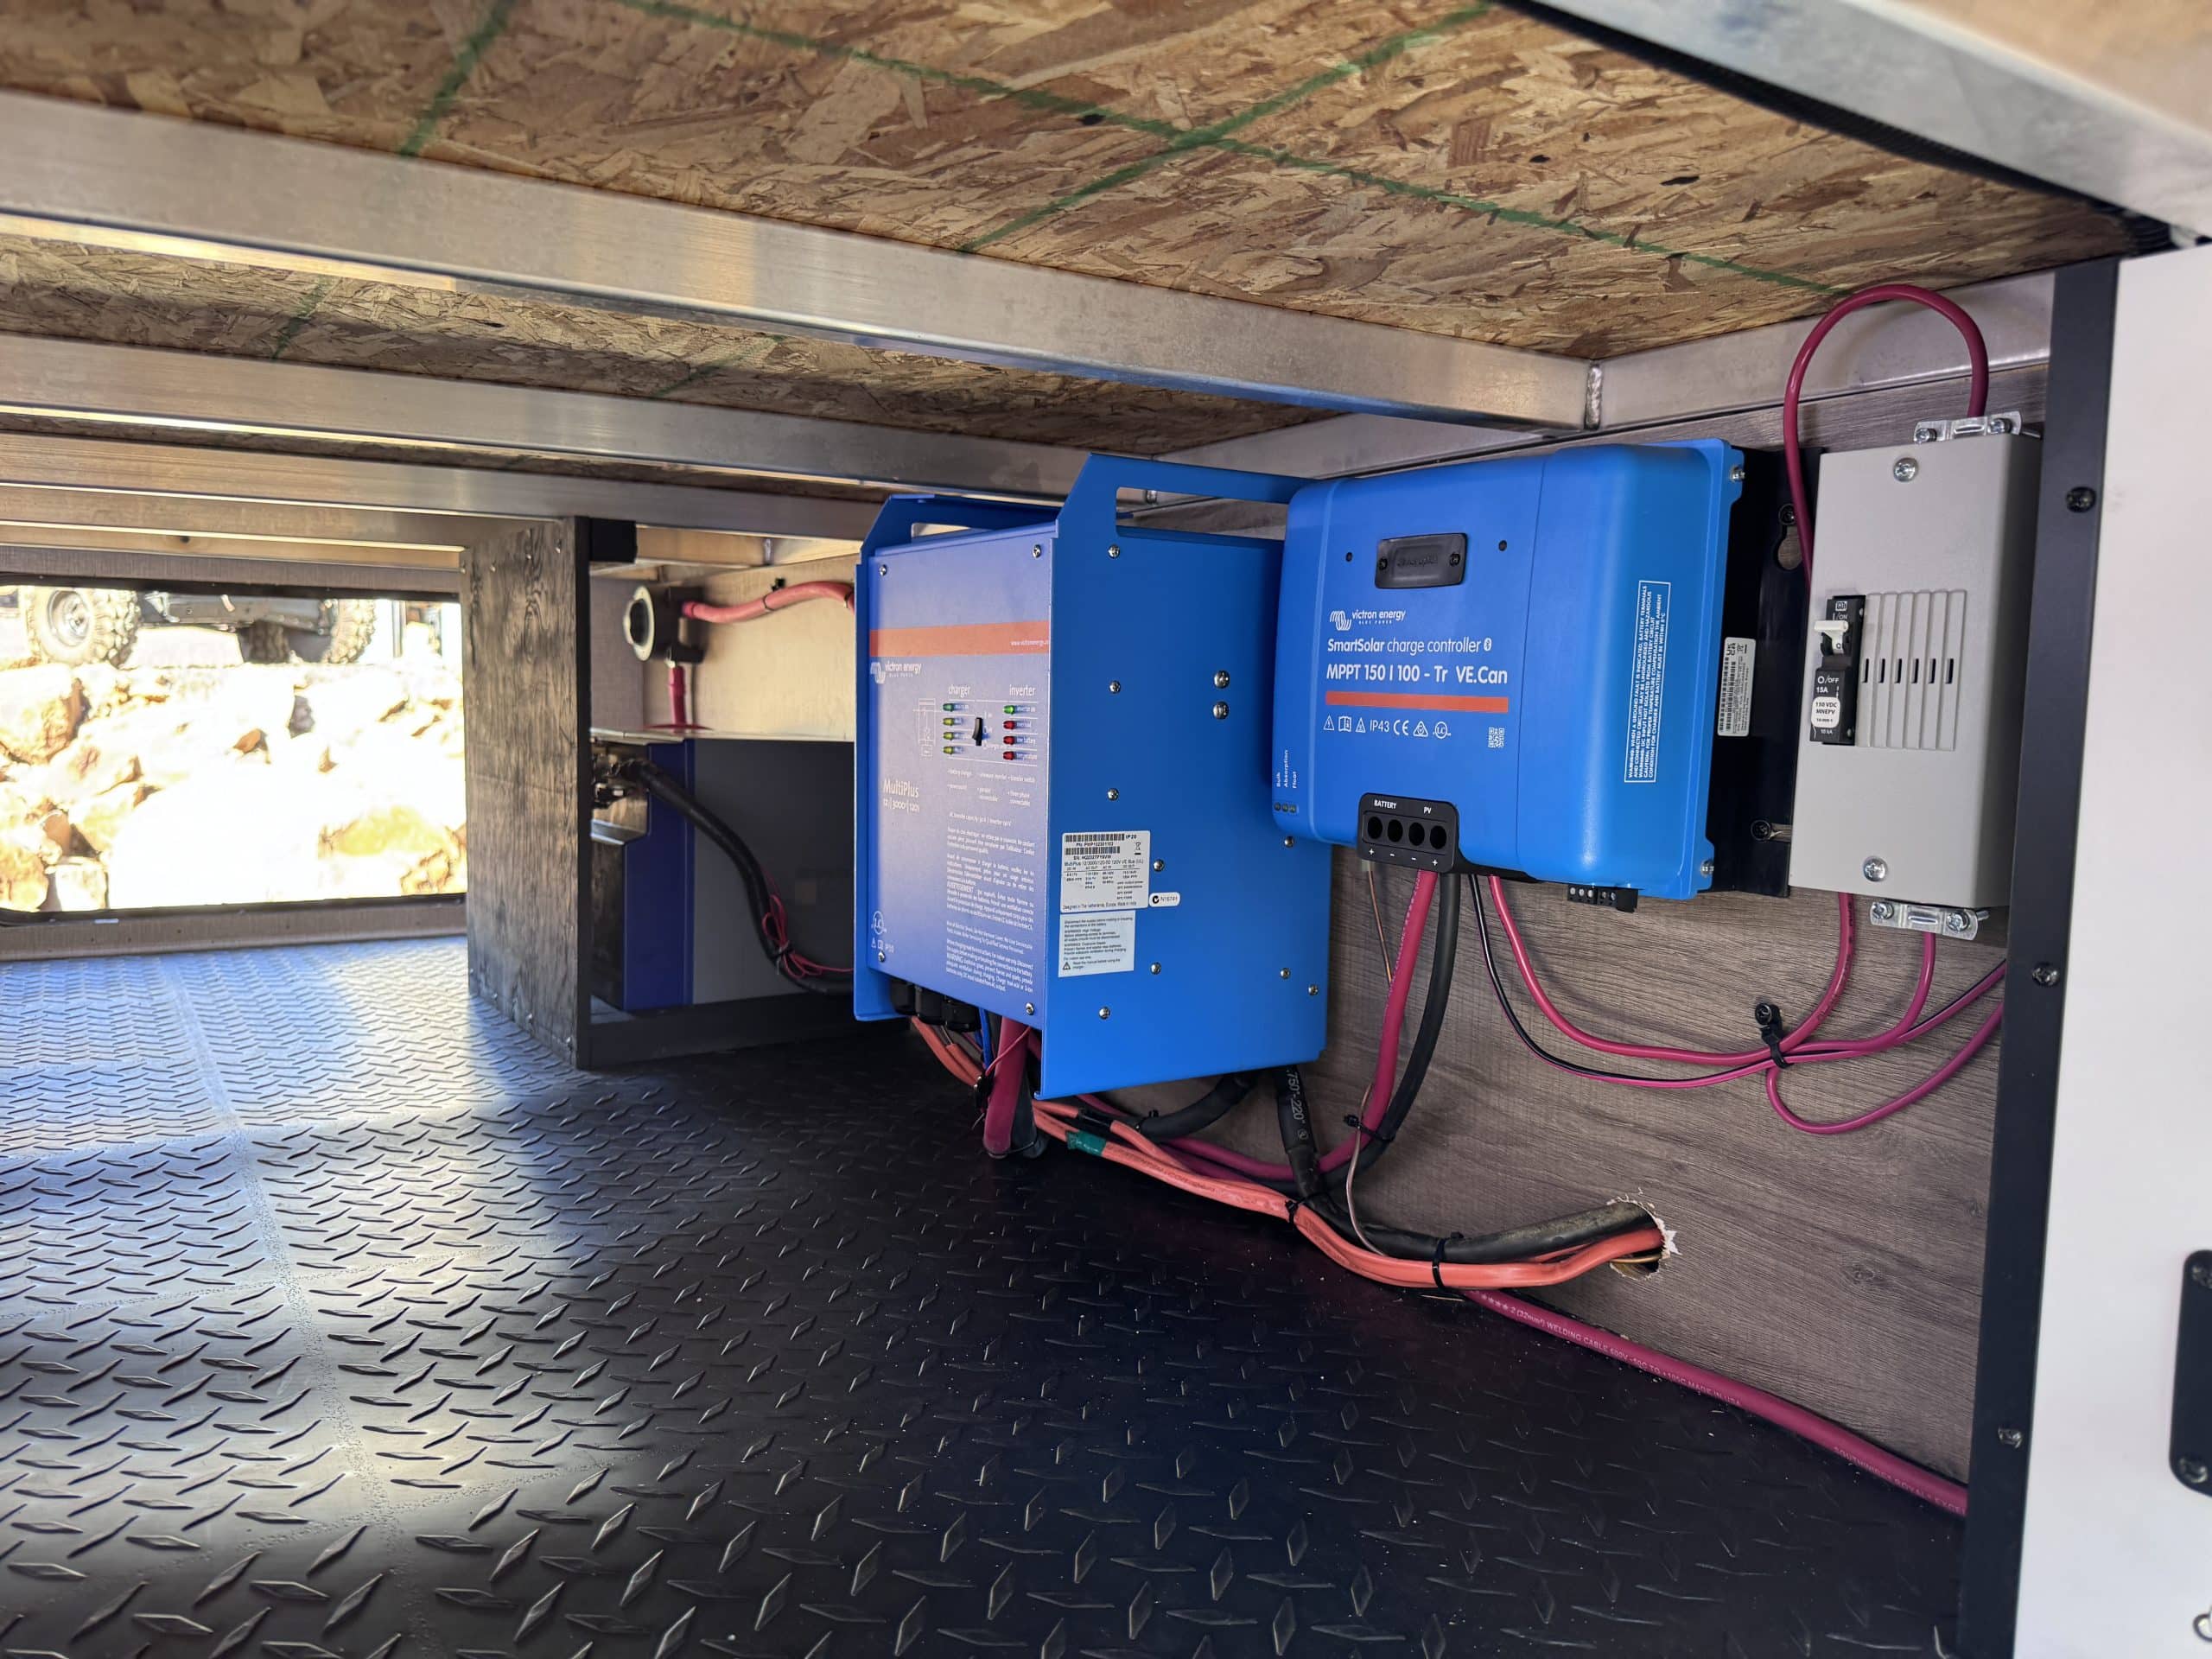
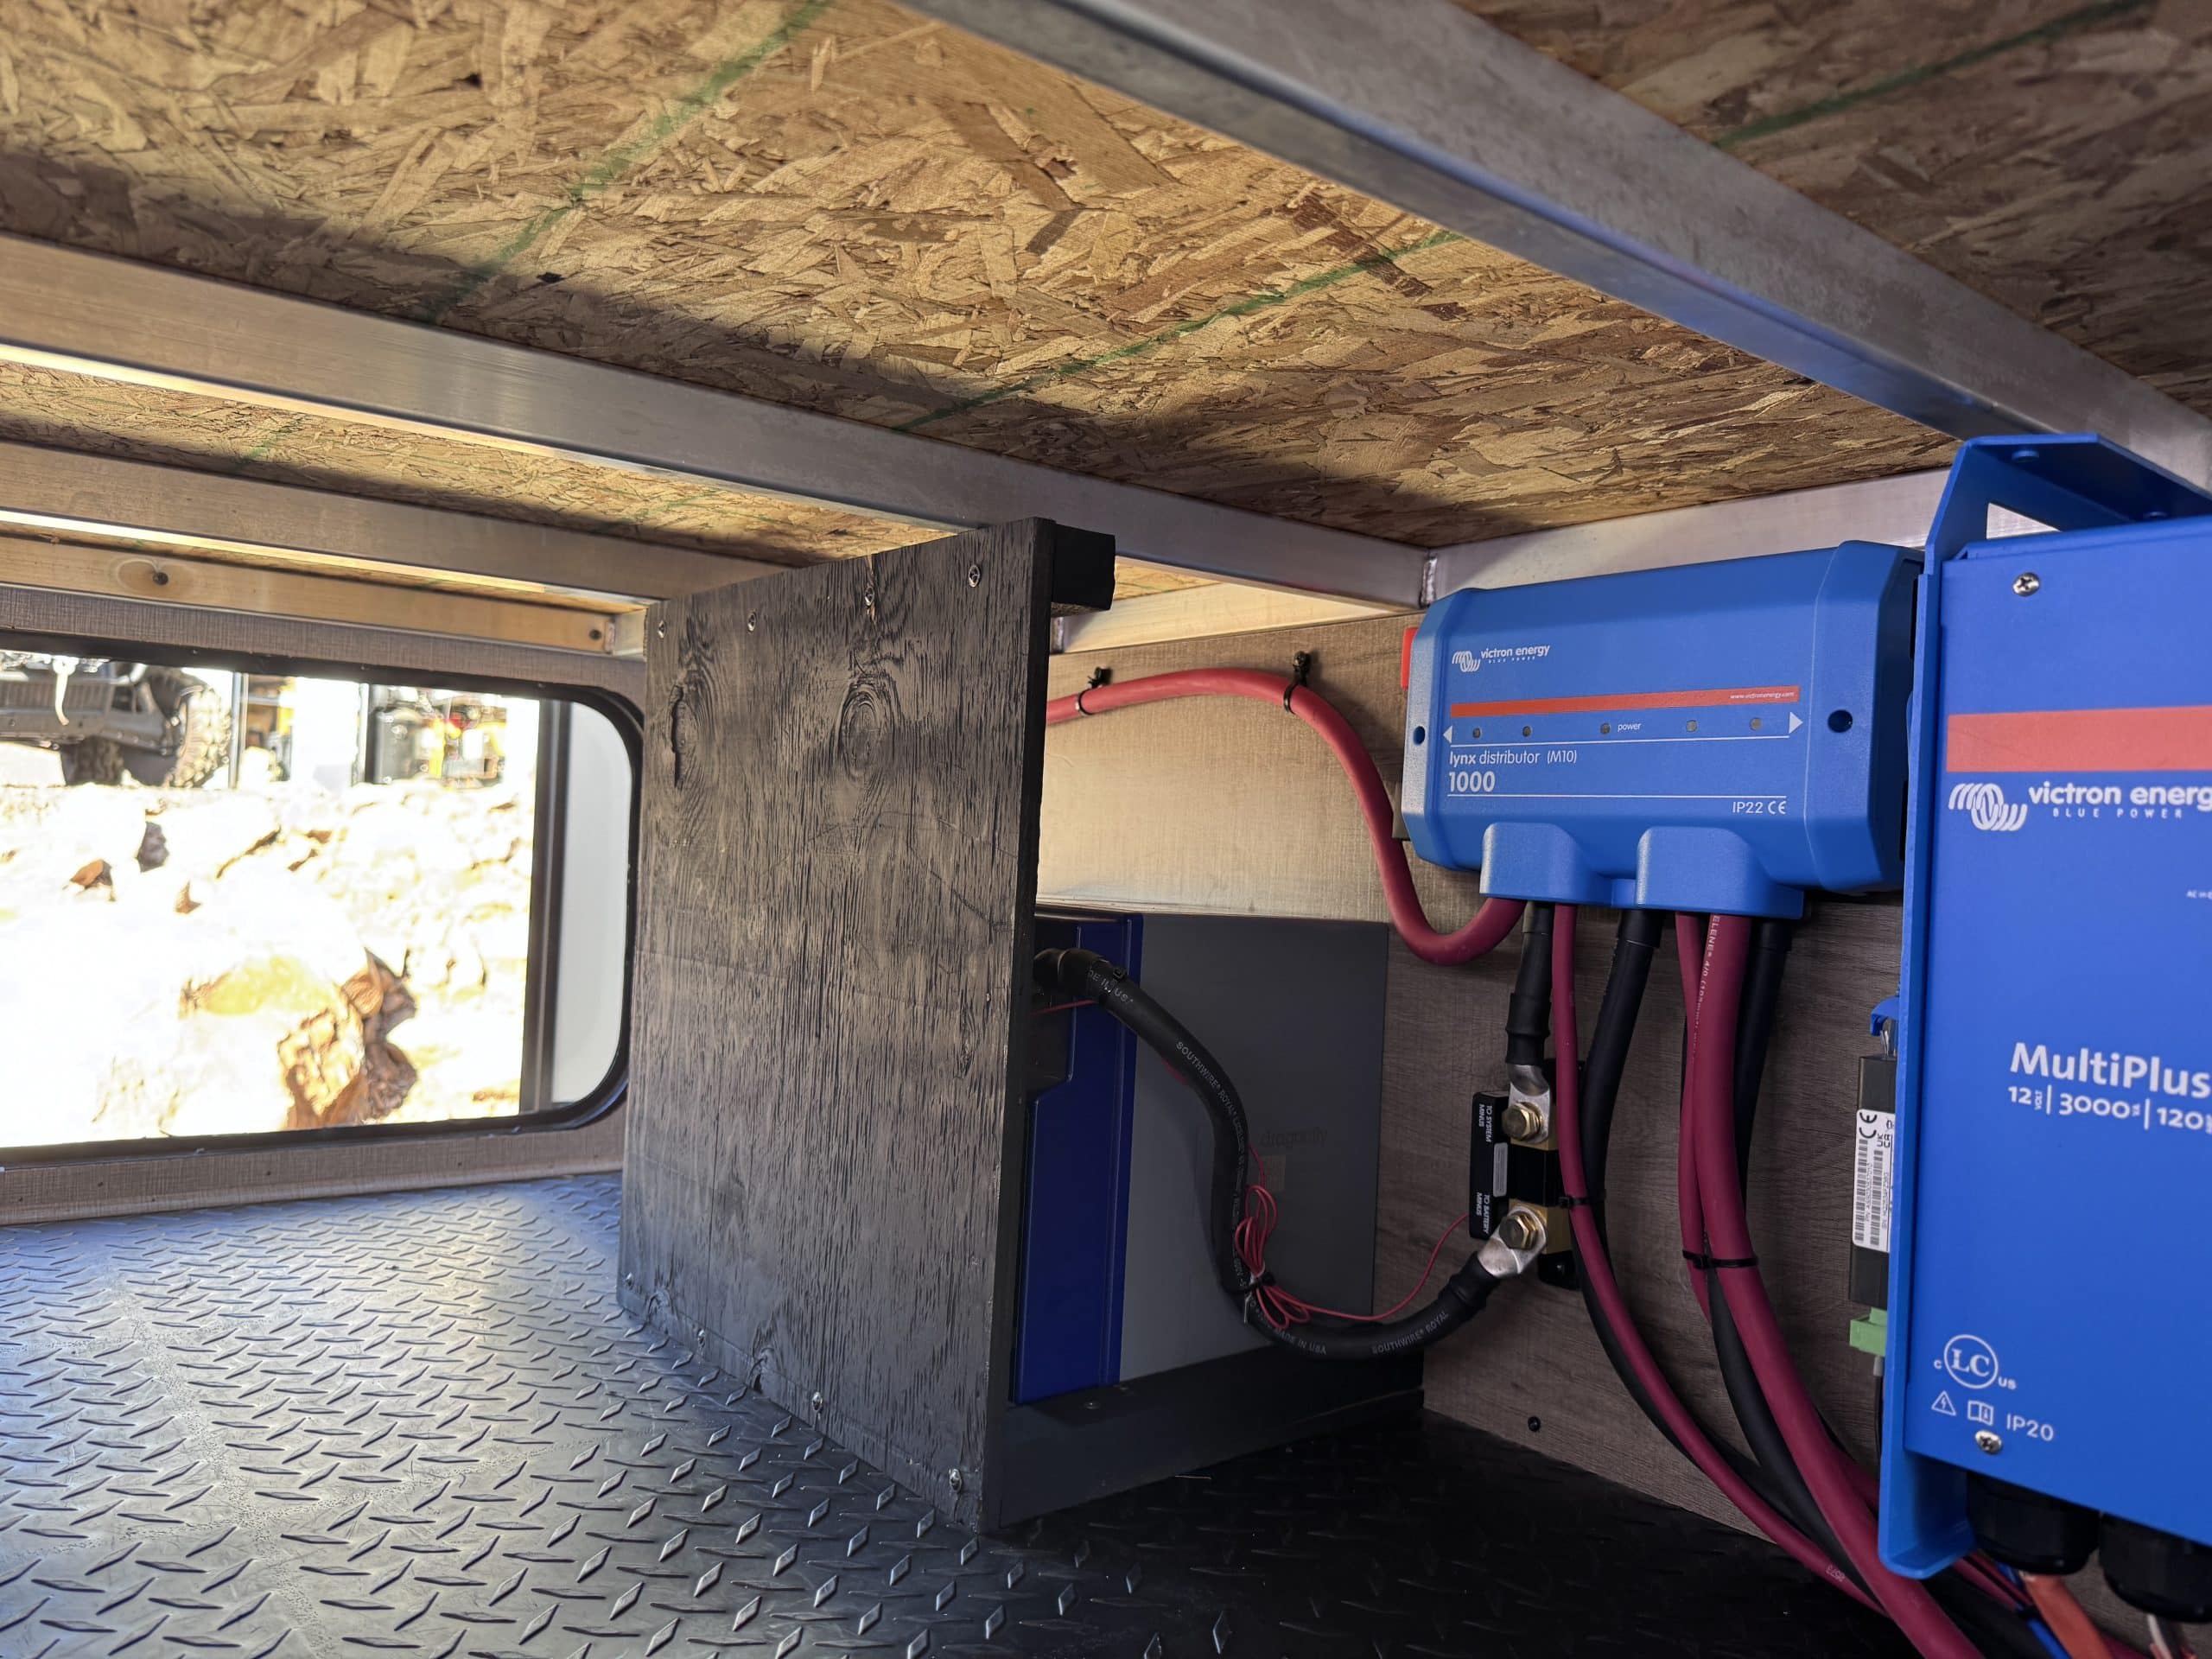
The installation took two days to complete. The customer had two existing Battle Born GC2 batteries he wanted to use in the system. He also wanted me to make additional battery cables so he could add additional batteries at a later time. I was able to install the batteries and all the Victron equipment in the basement pass through storage compartment. The customer lost some storage space in this compartment, but gained available storage on the trailer A-frame where the OEM batteries were originally installed. The installation was pretty straight forward because all the equipment was located in the same compartment. I was able to utilize the factory solar wiring when I added the new solar panels to the system. There was an OEM solar panel on the roof as well. I left this panel in place, but disconnected. The customer may utilize it in the future.
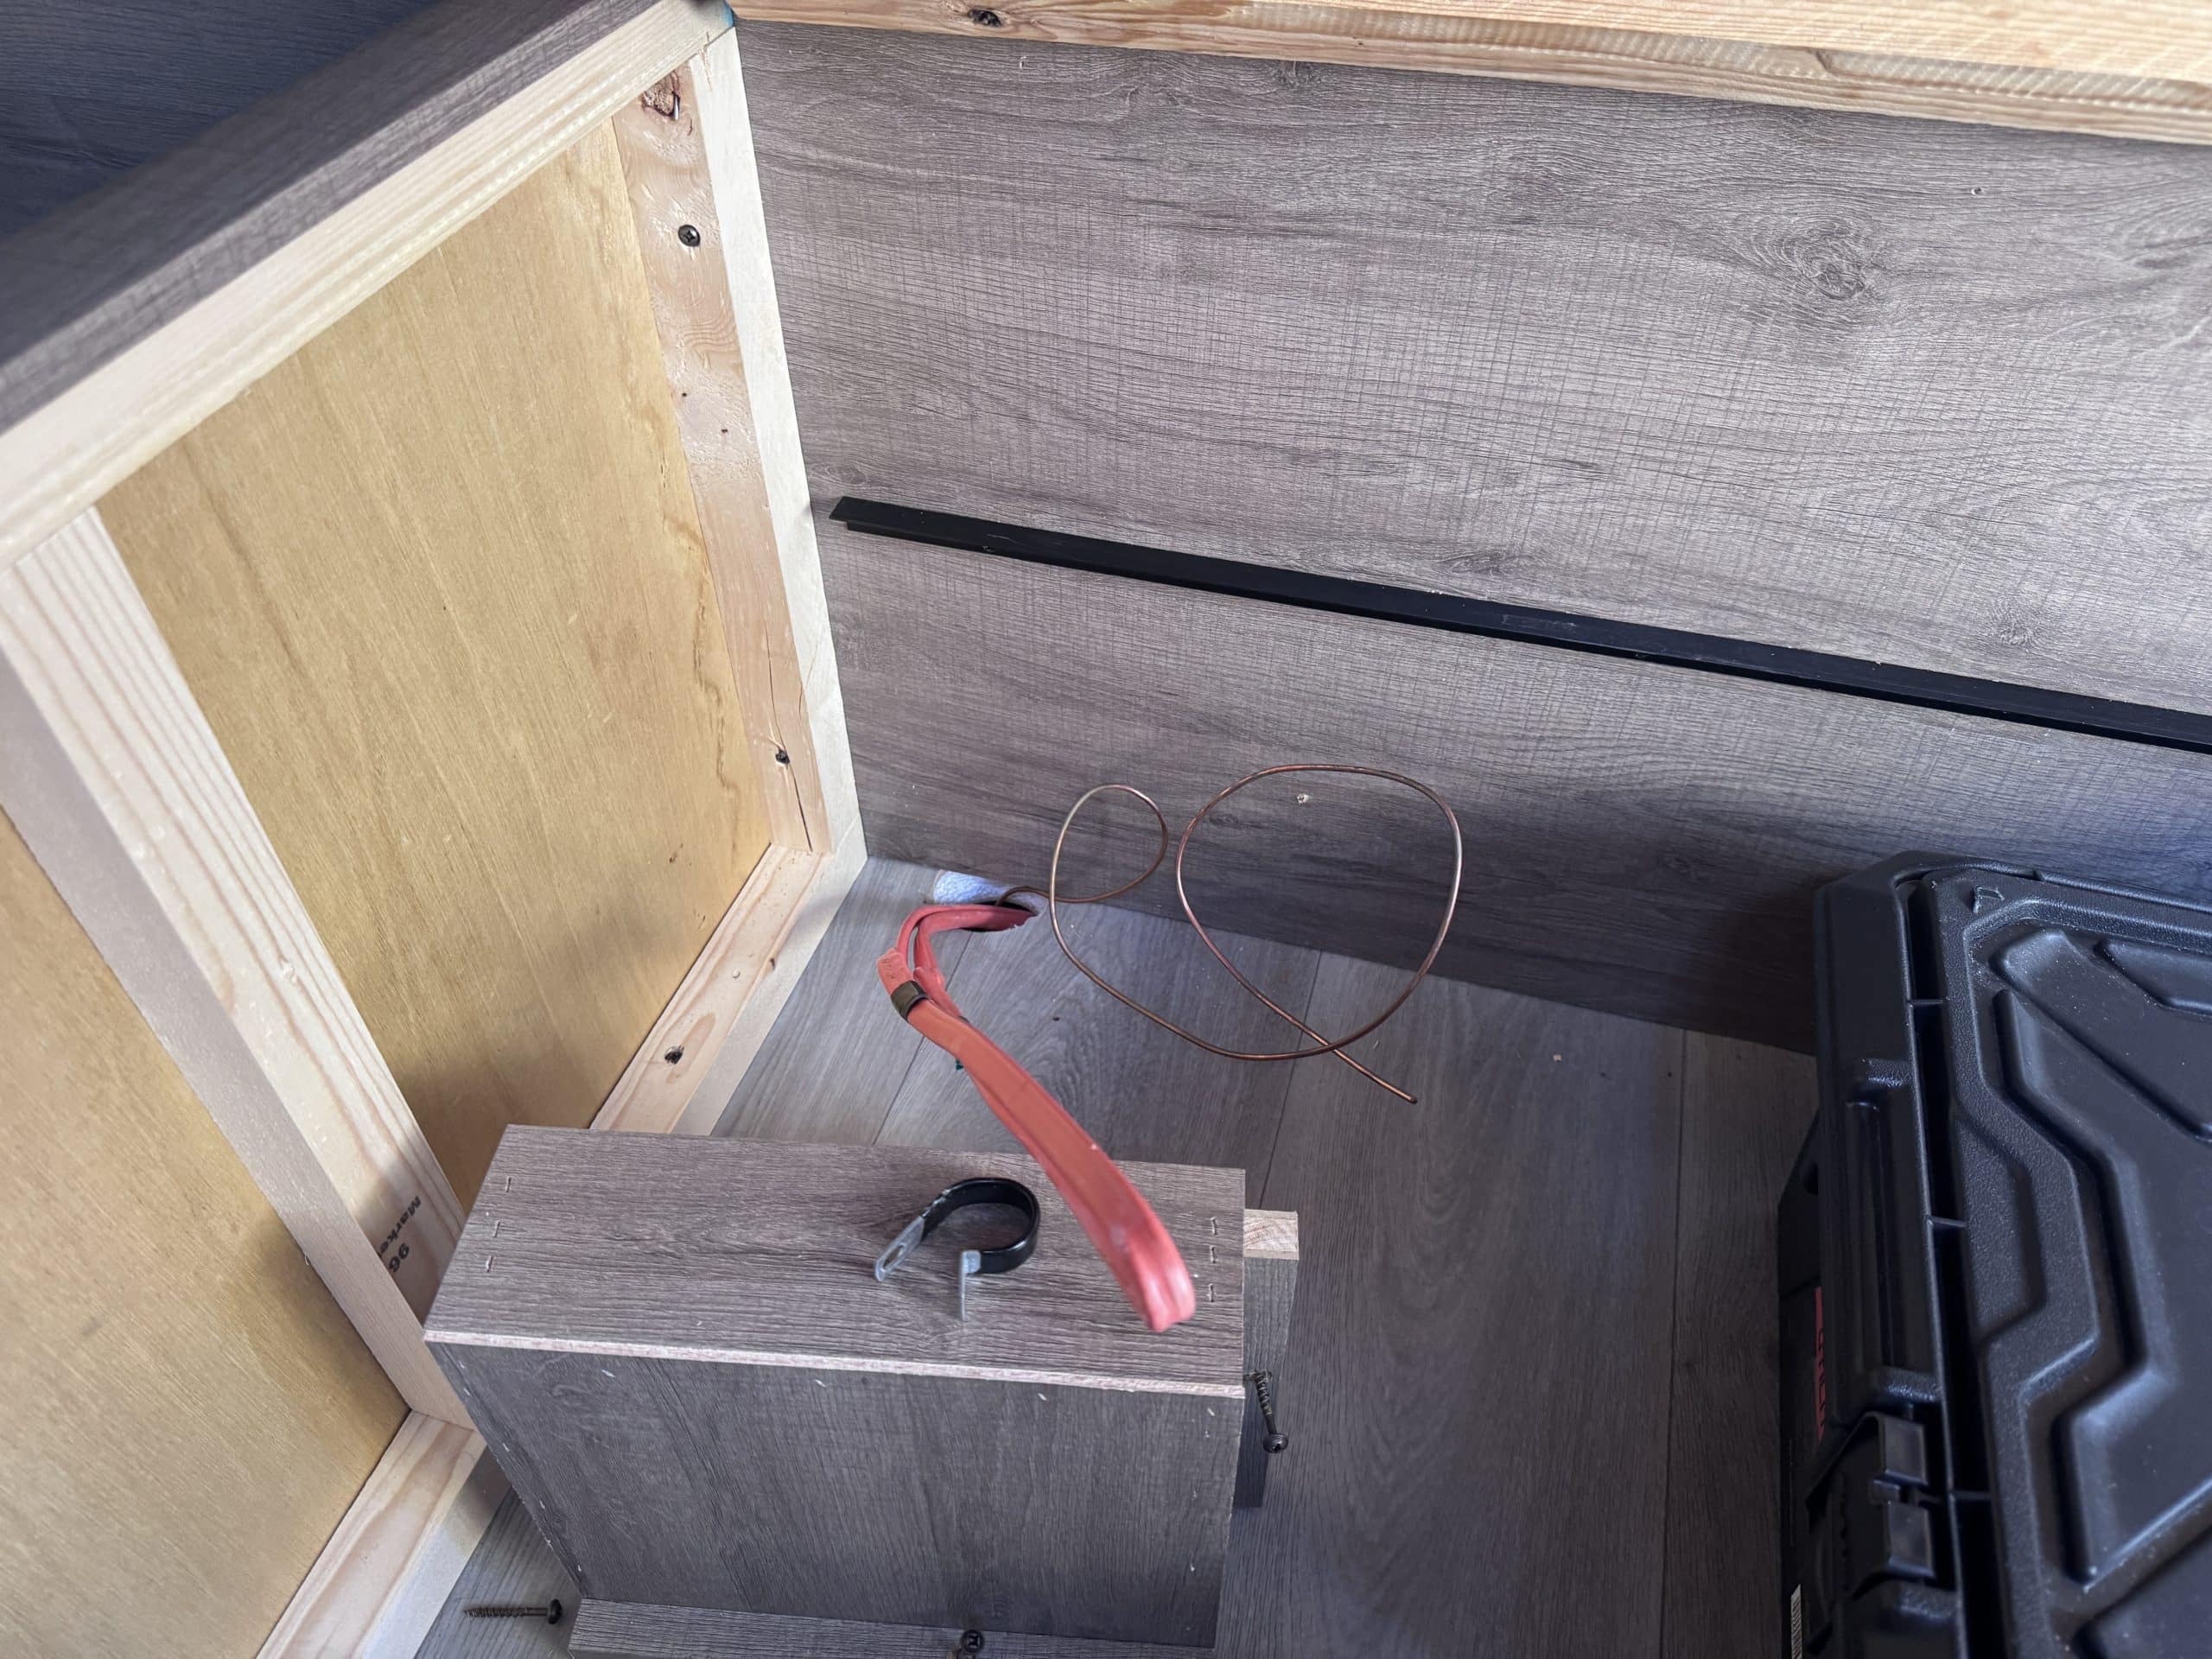
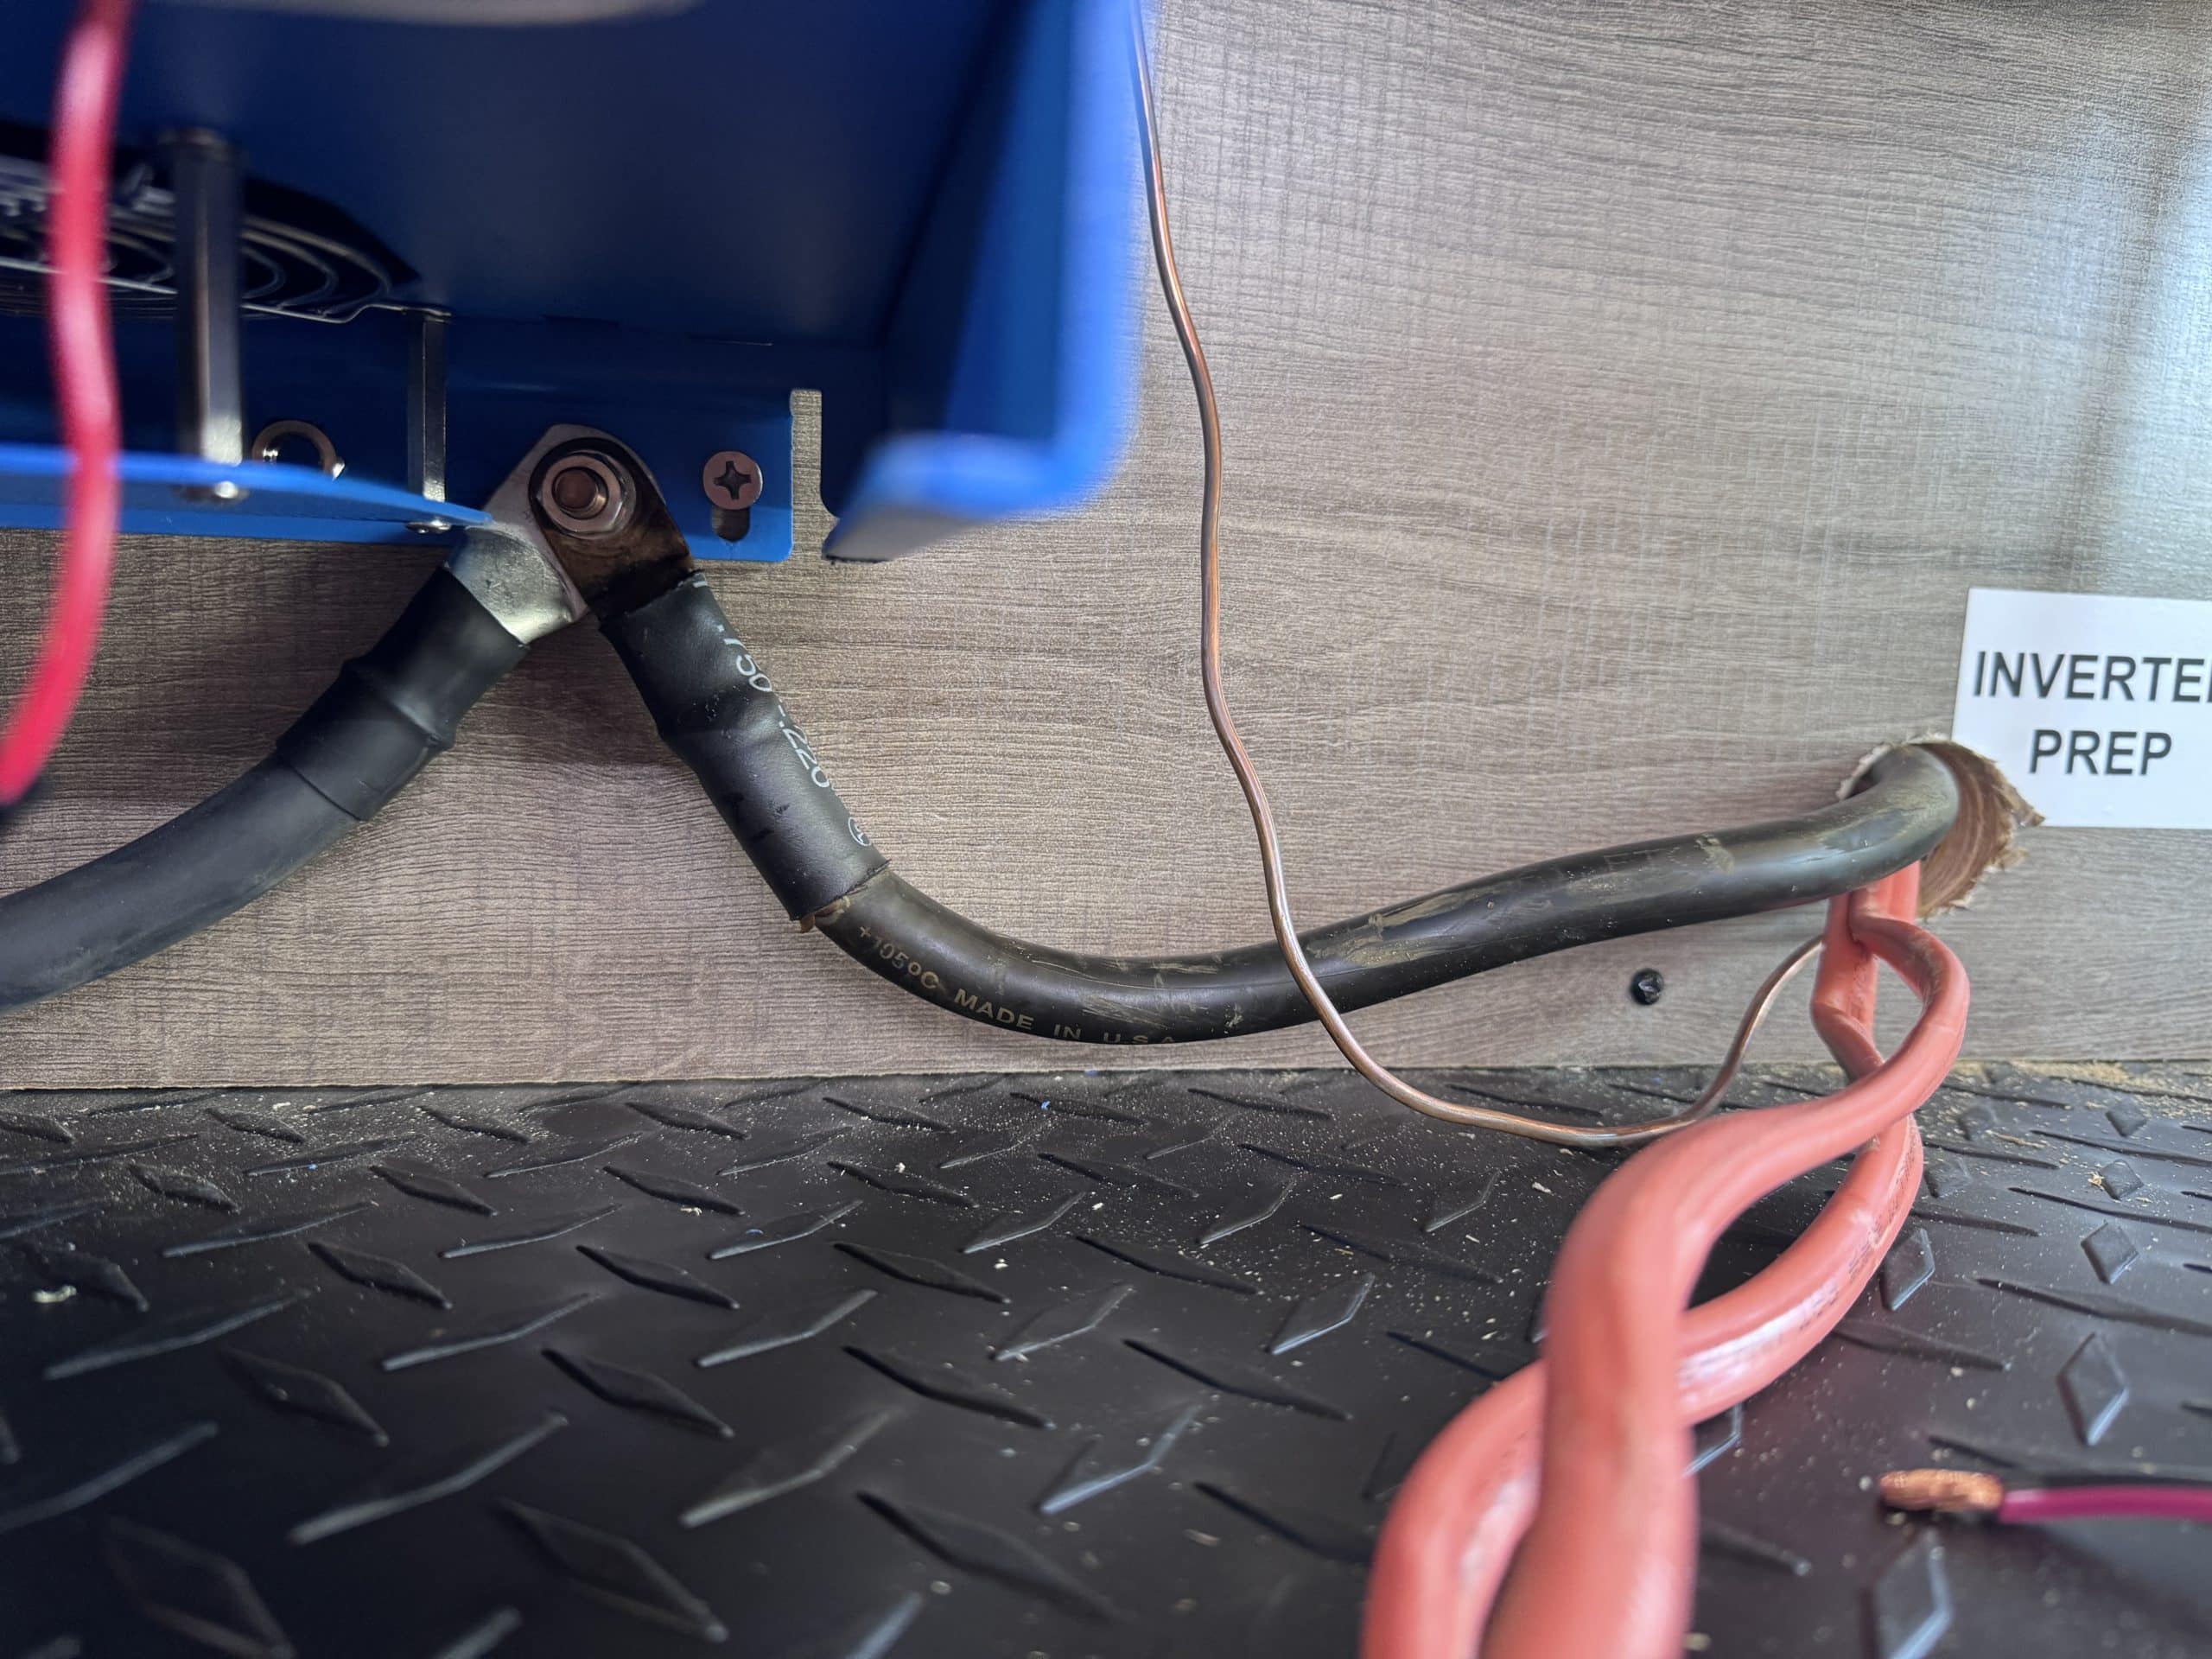
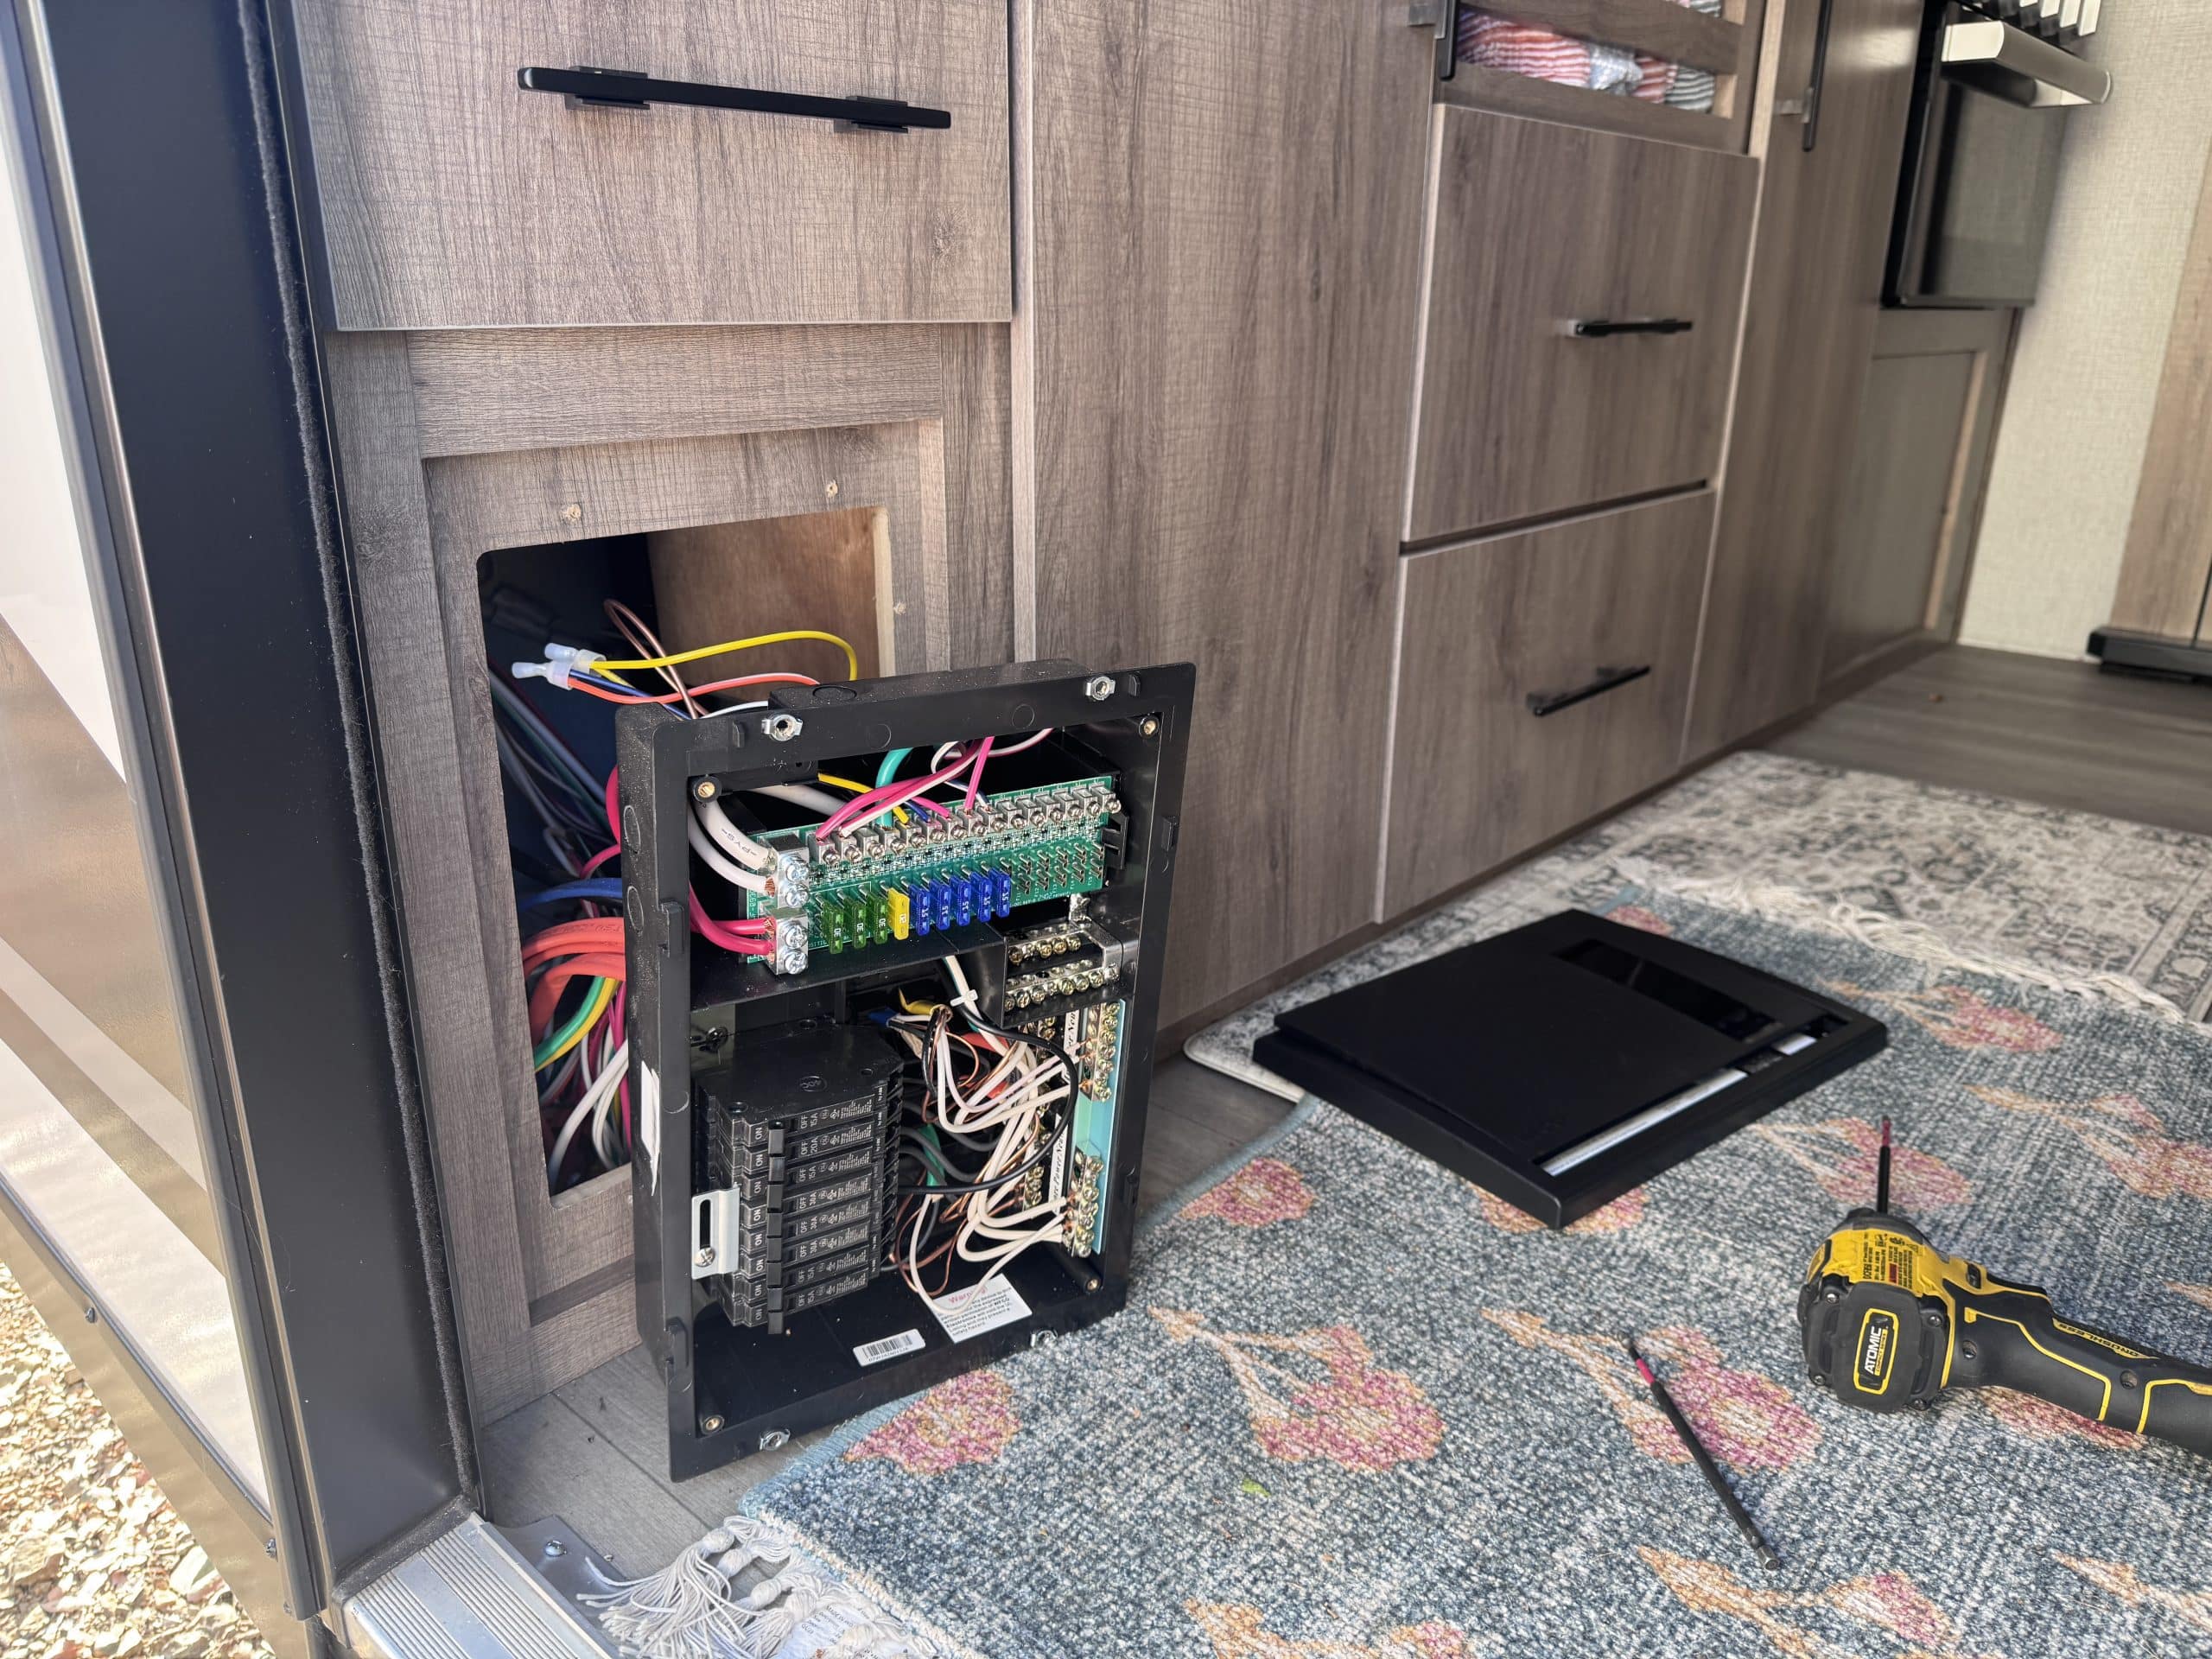
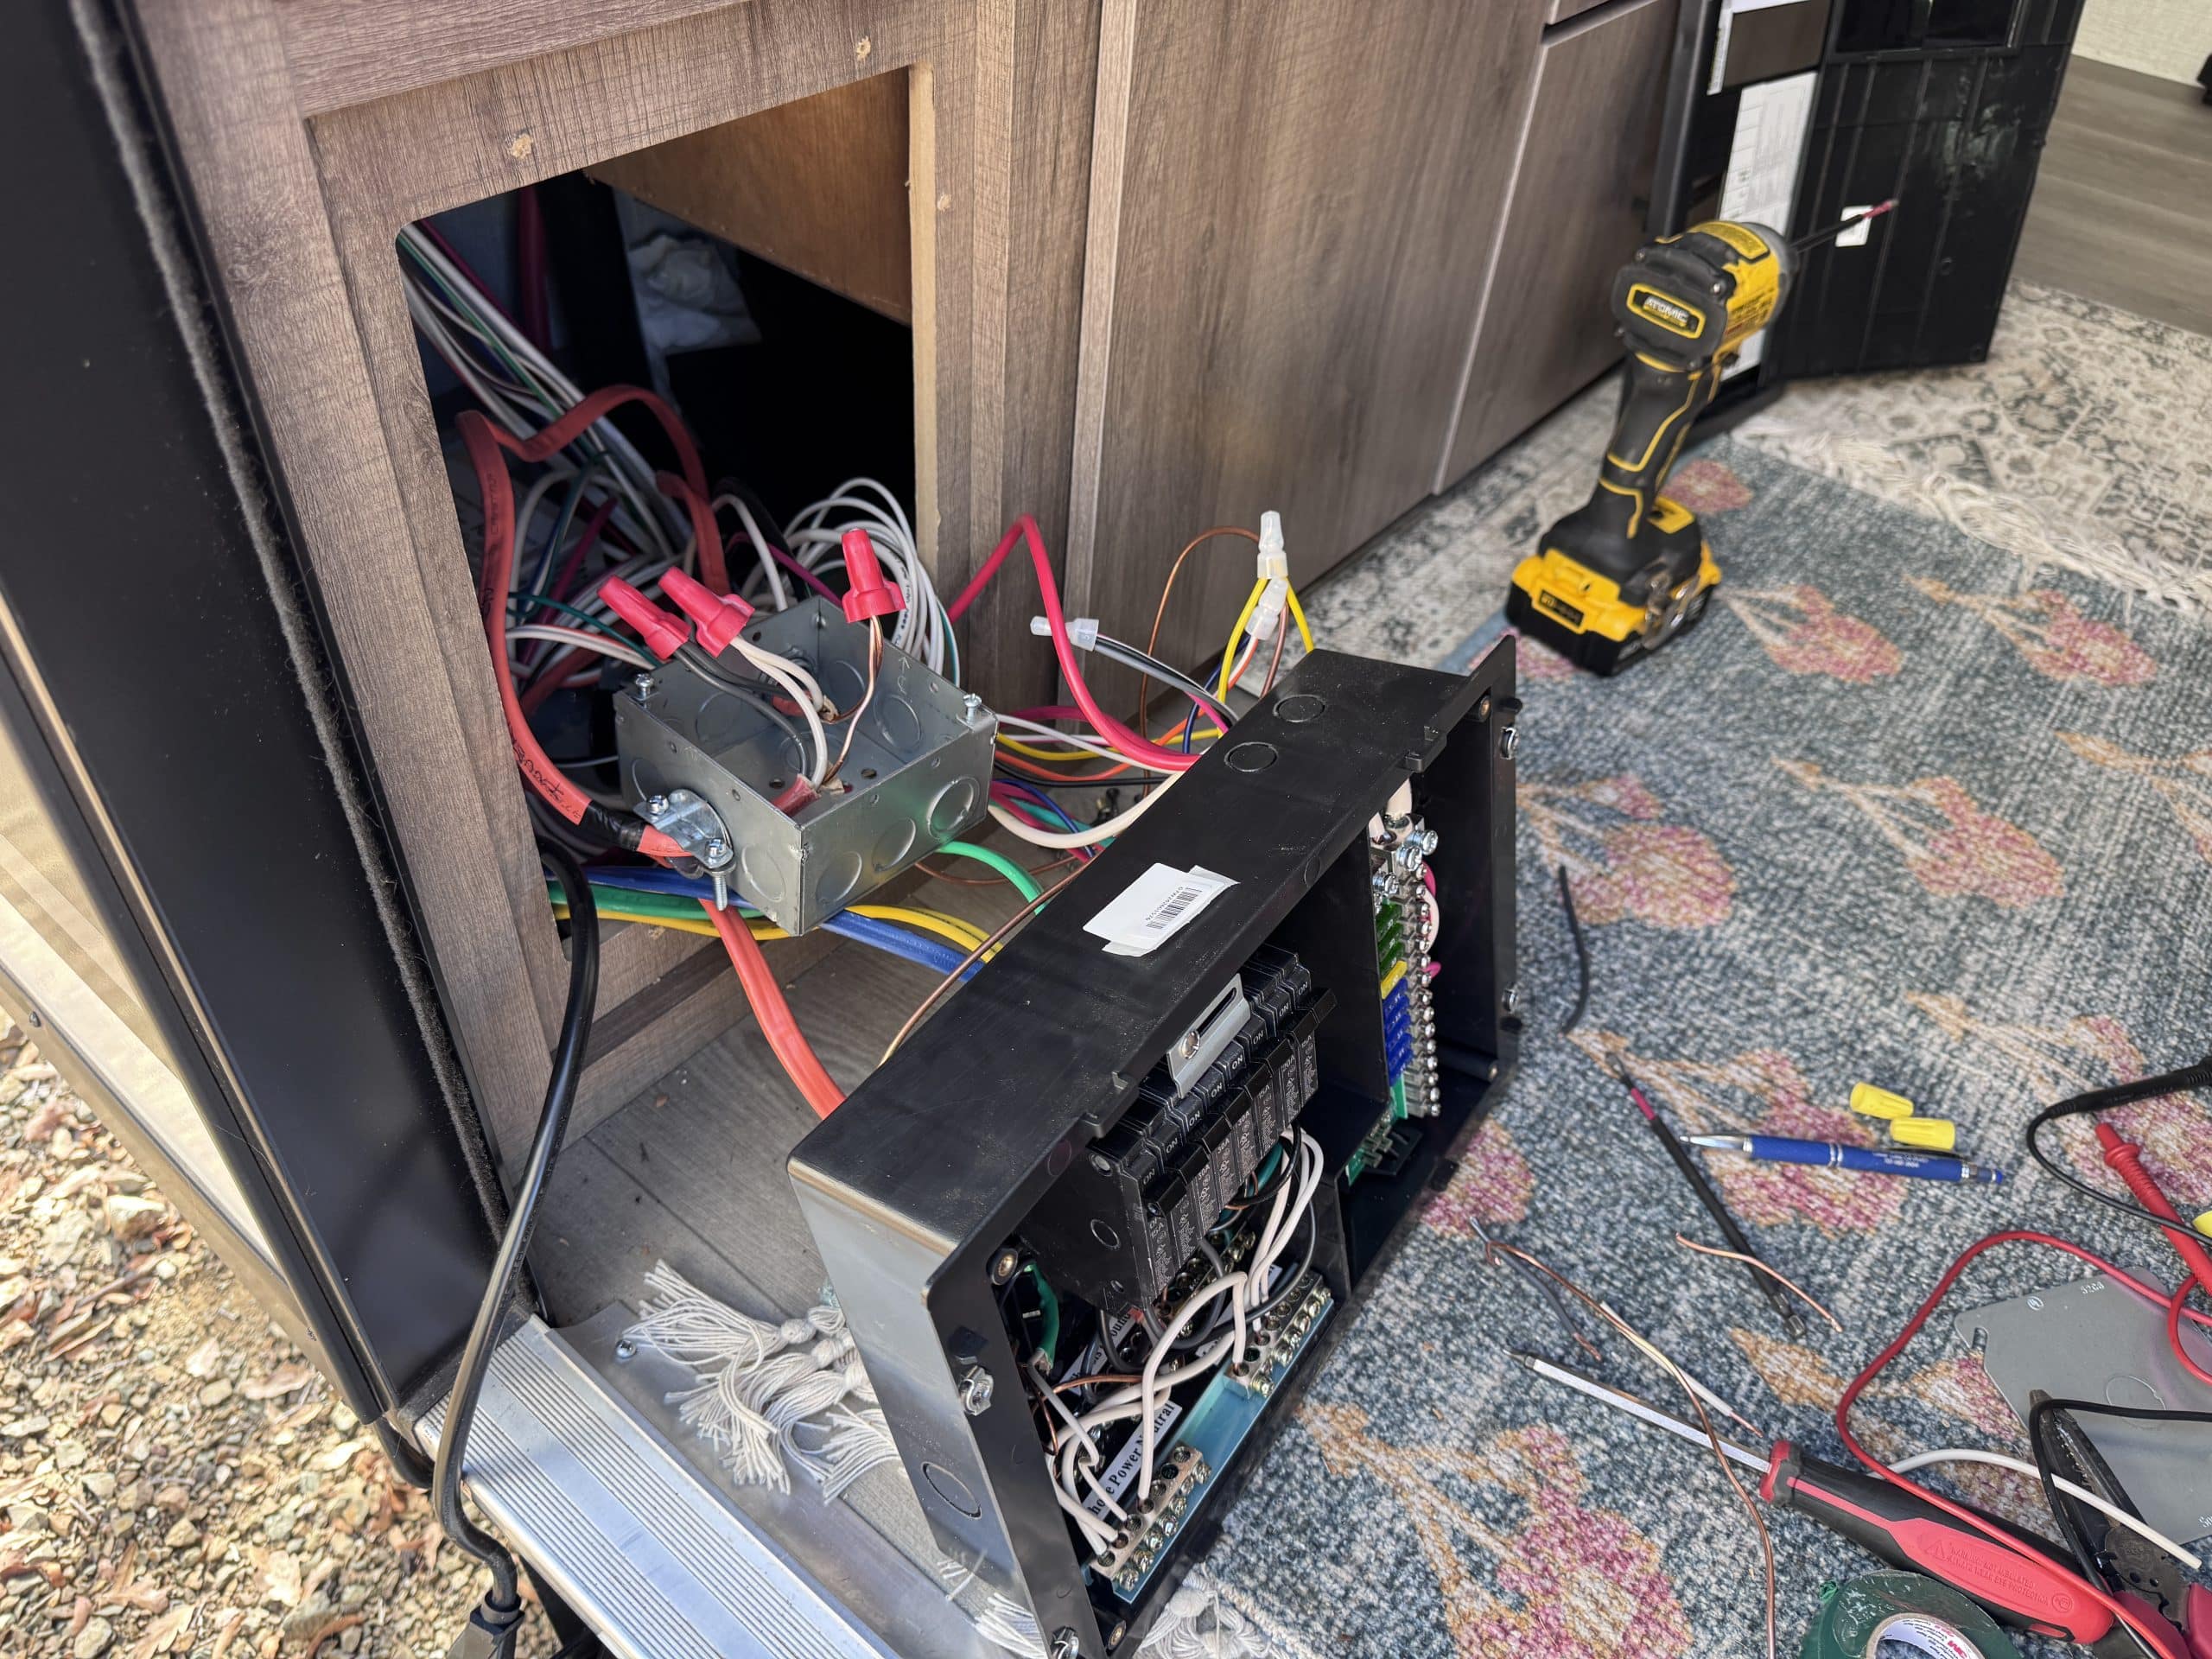
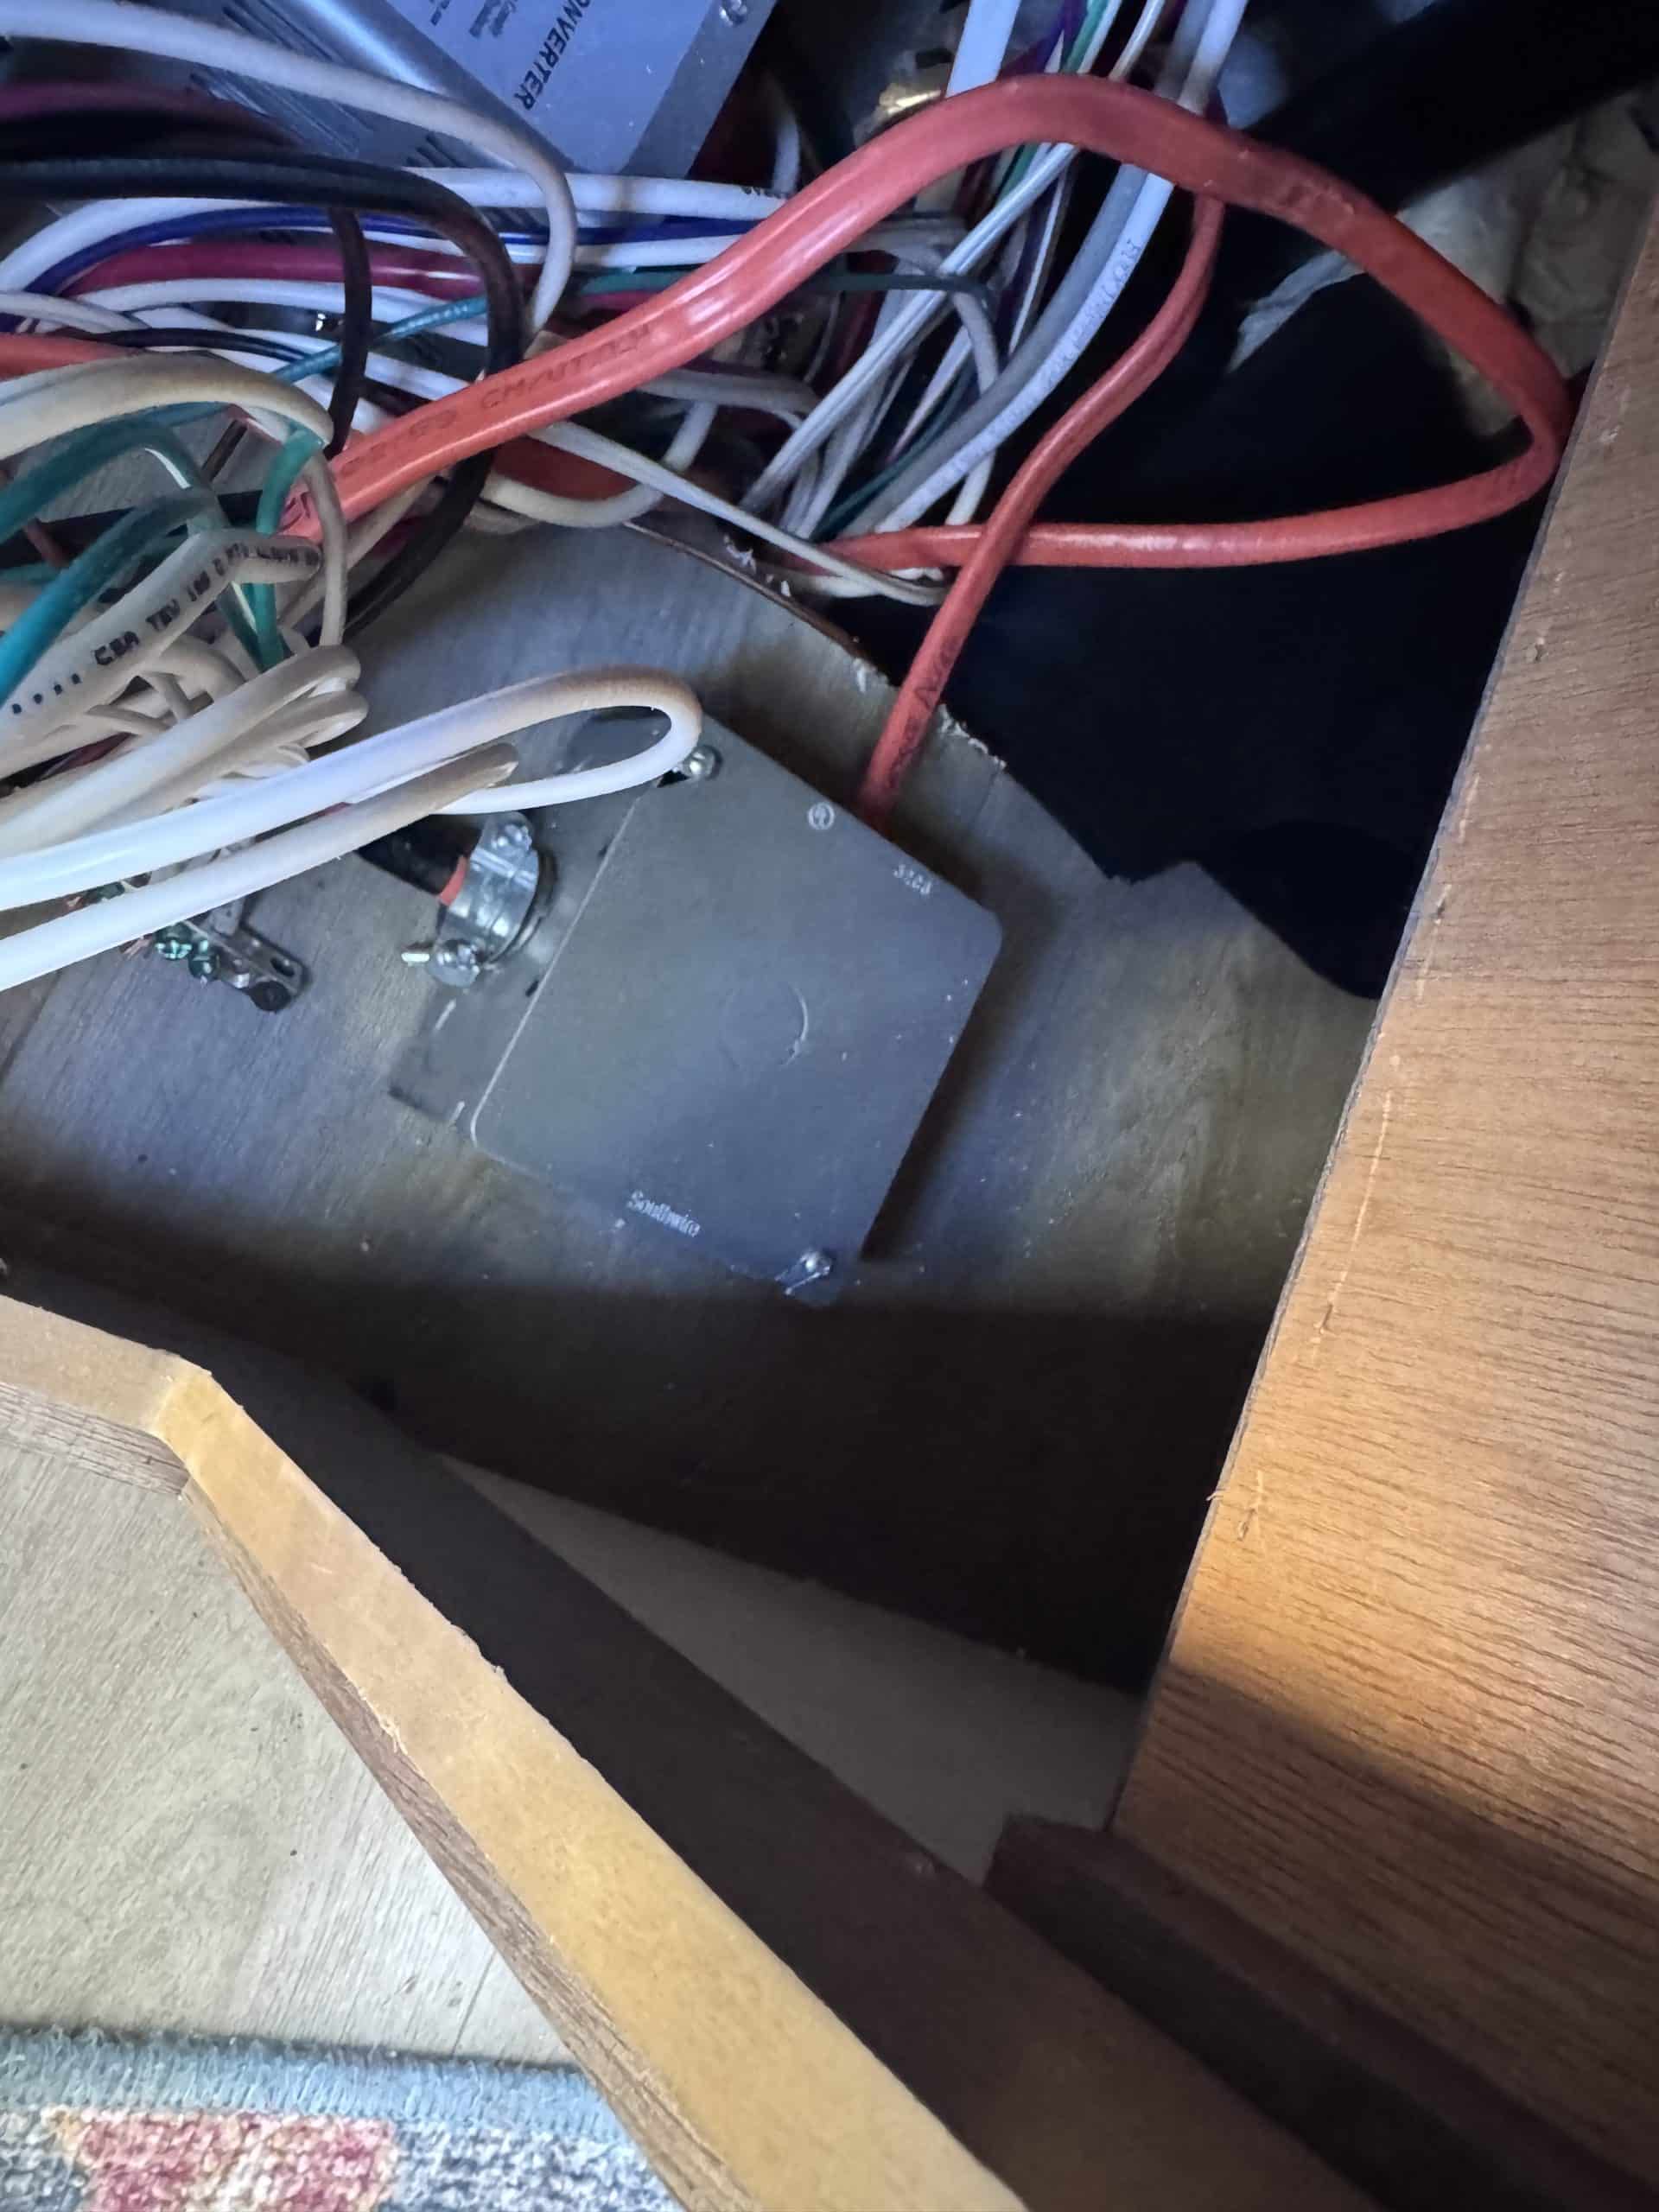
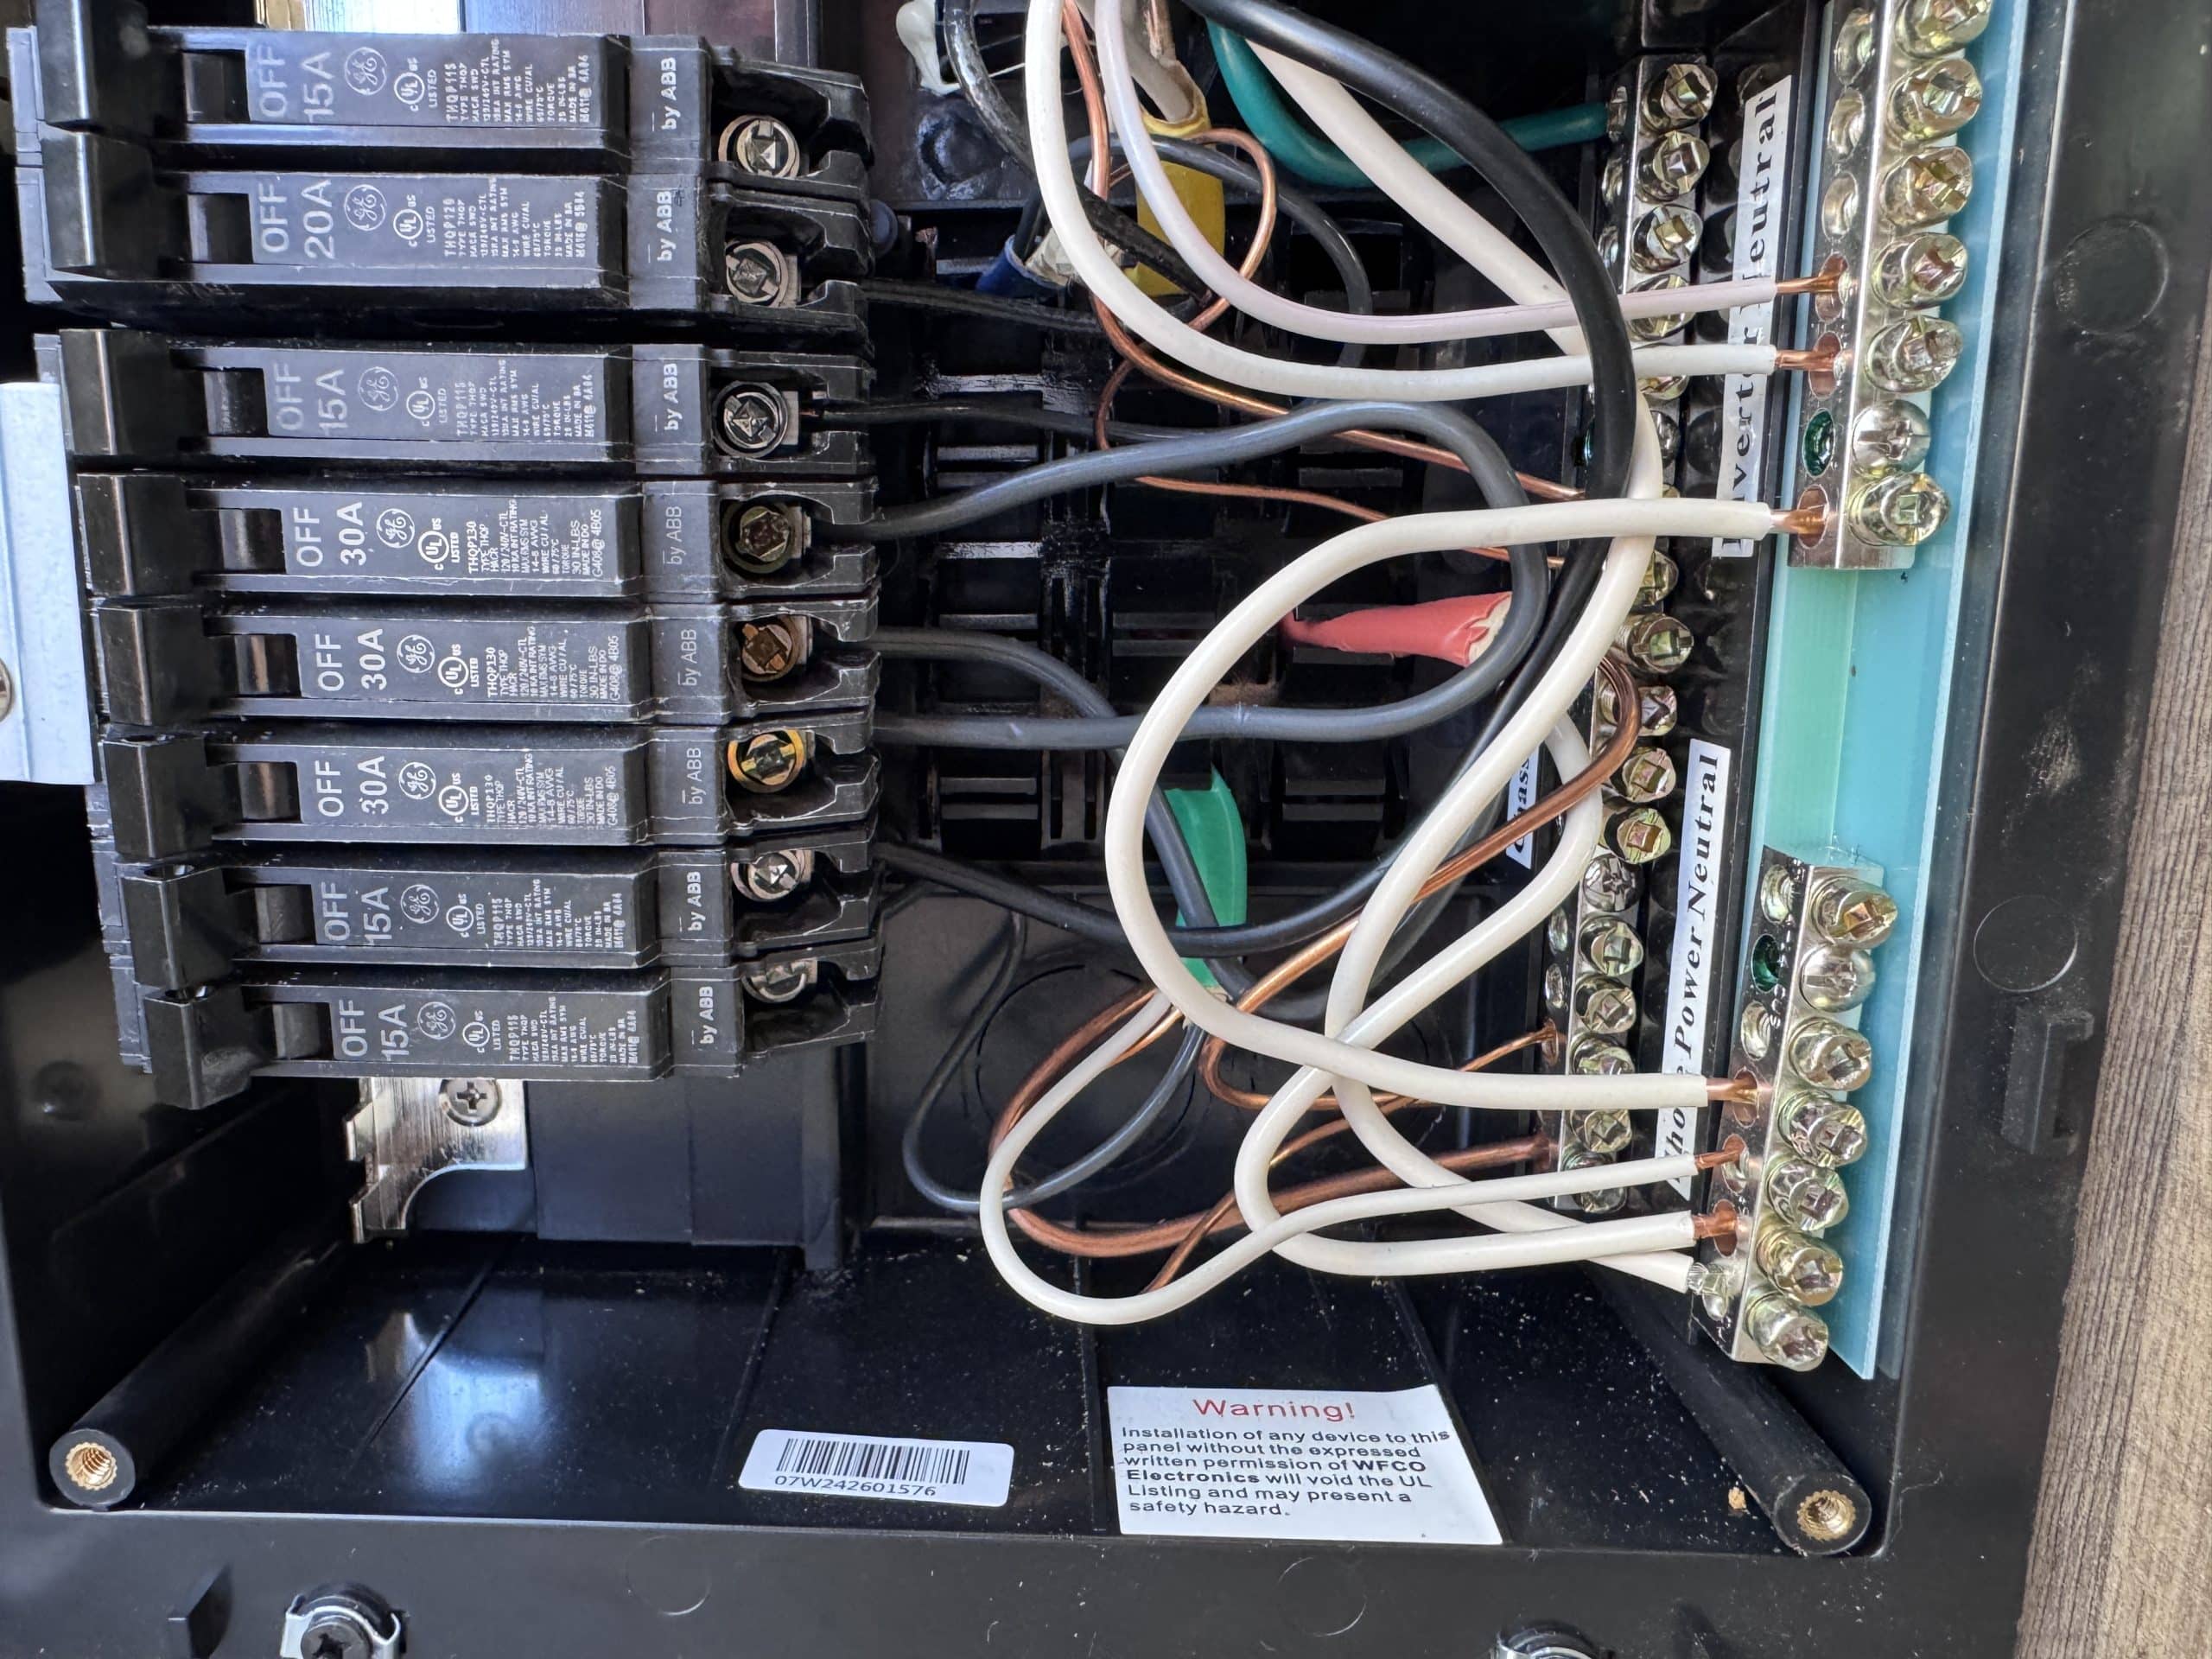
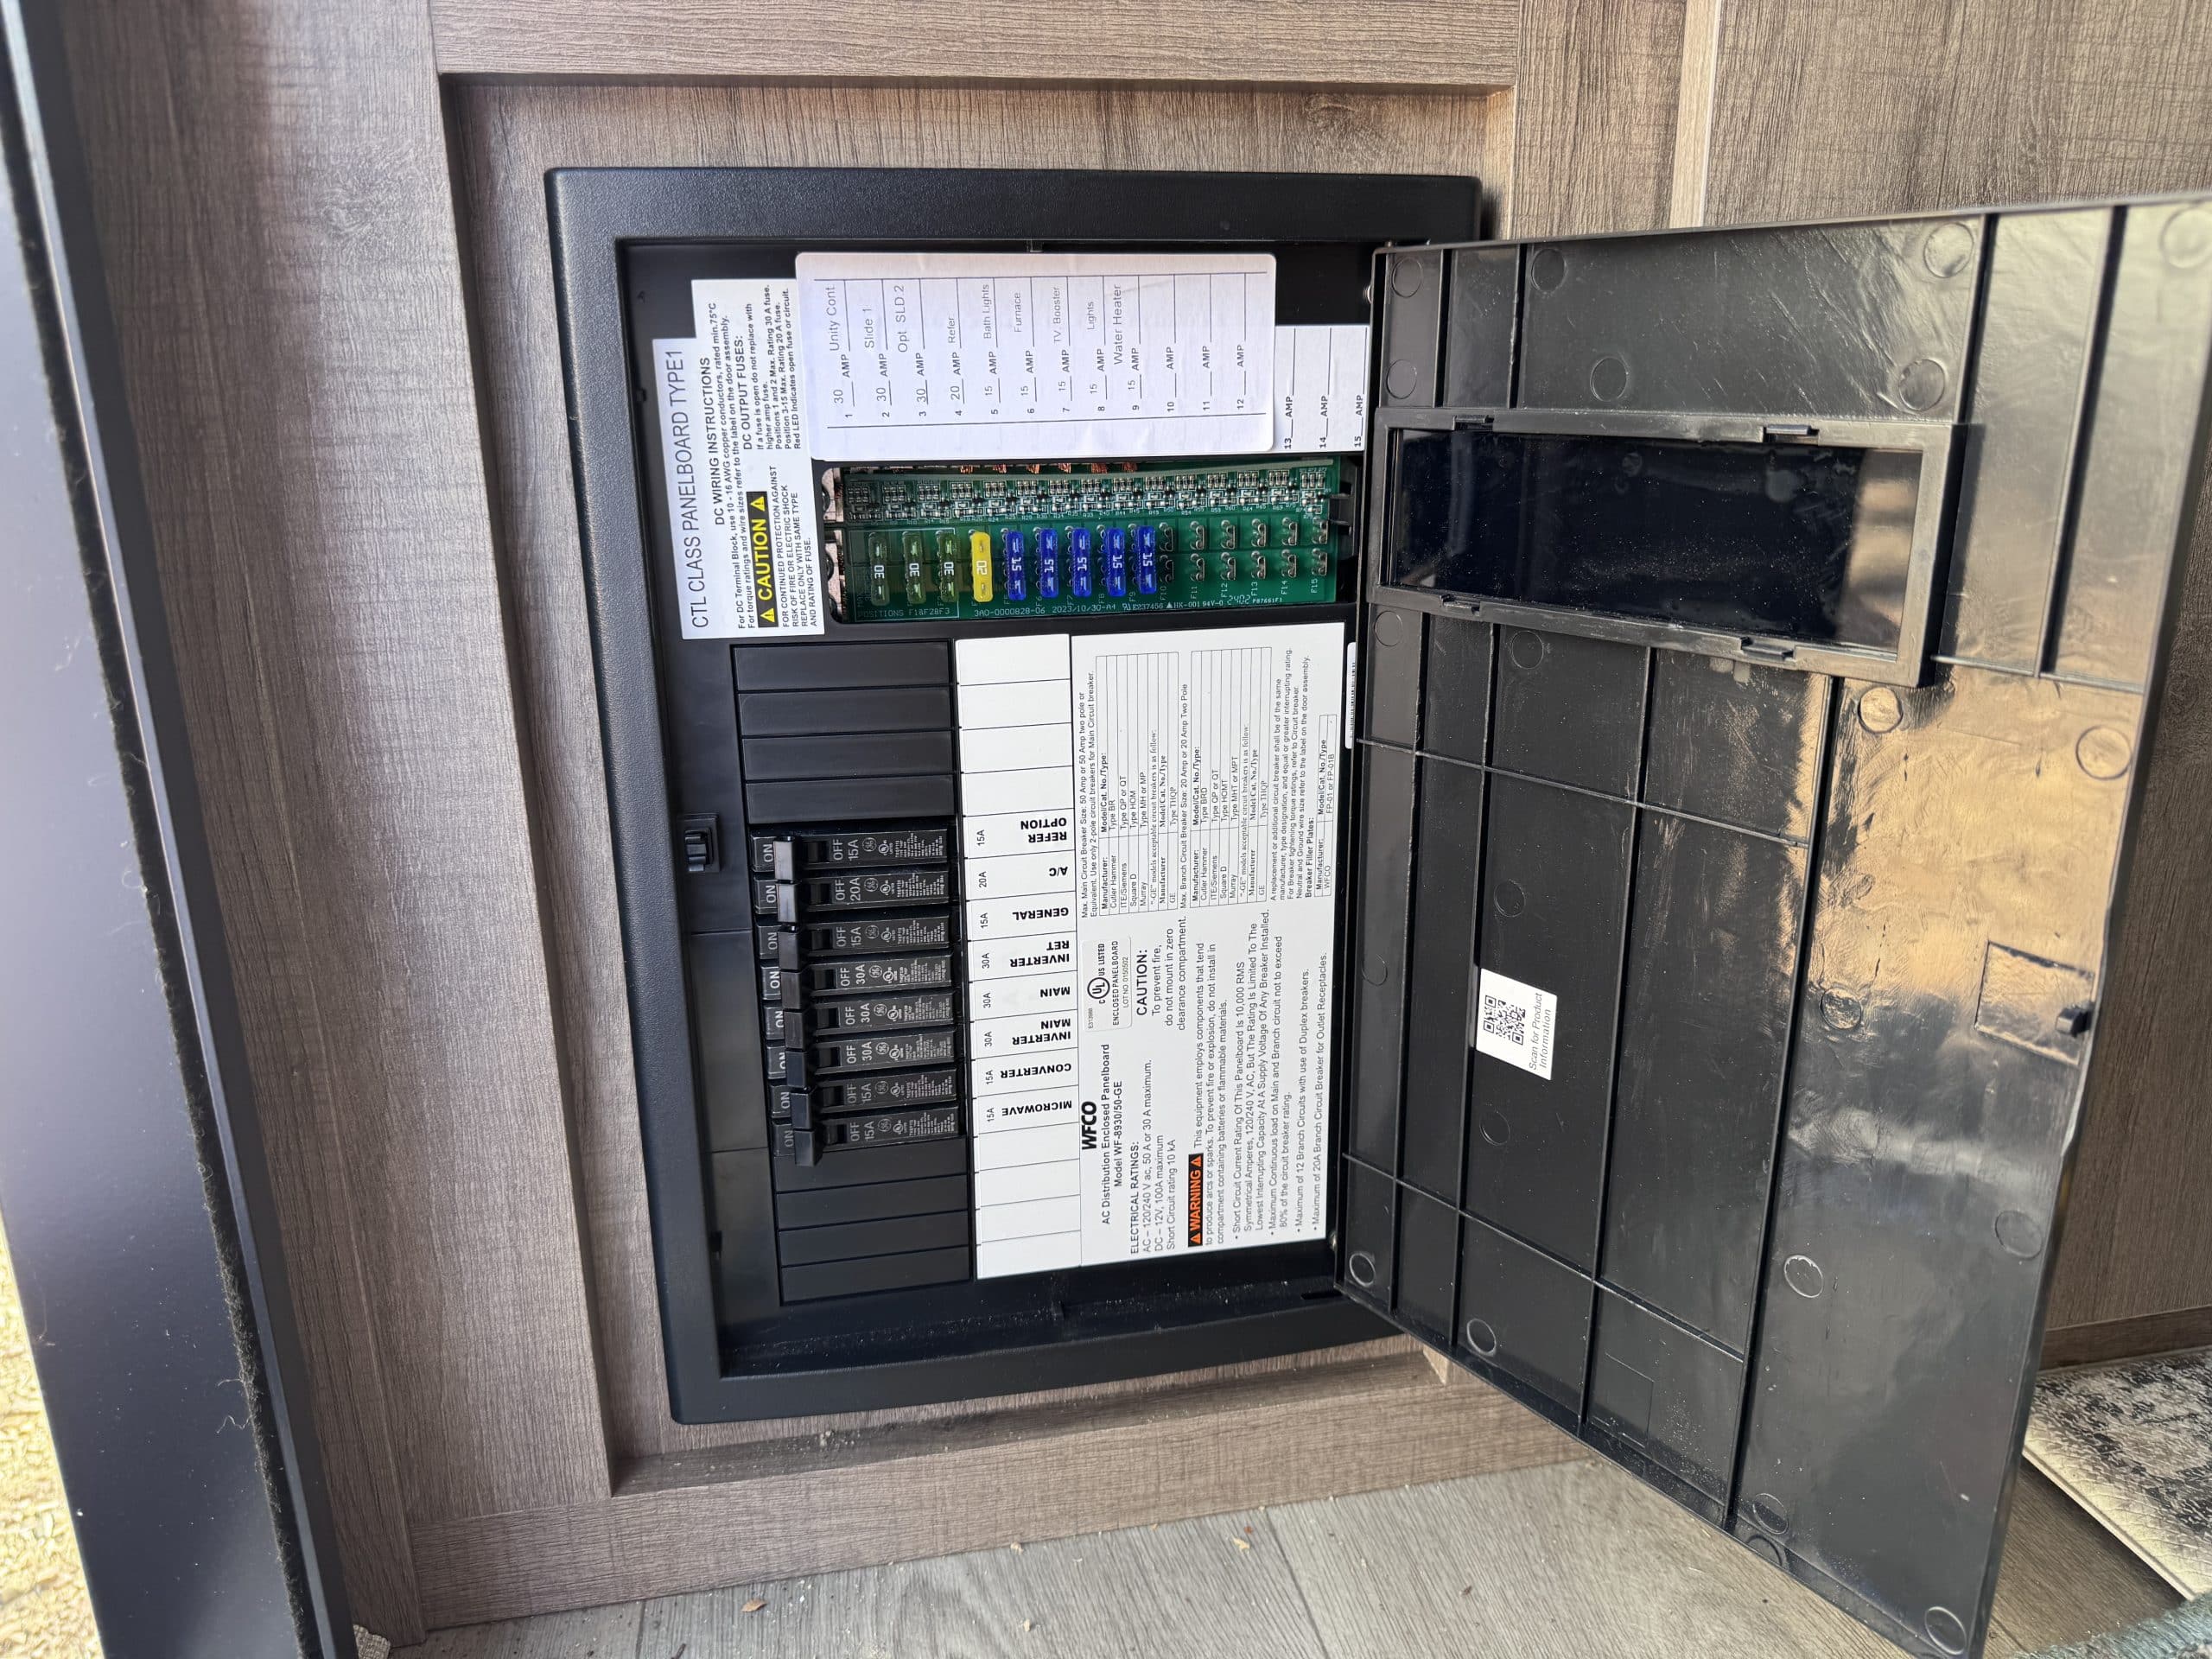
The RV came with “Inverter Prep” wiring. This consisted of 10/2 Romex wire run in a loop from two 30 amp breakers in the main breaker panel (one in the main panel and one in an integrated sub-panel) to under the bed at the front of the trailer (just behind the basement wall). I was able to repurpose this wire by removing it from the main breaker panel and integrated sub panel breakers. I connected one end of the loop to the shore input wire (which I also removed from the main breaker panel) in a junction box I installed behind the main breaker panel. I ran this wire to the AC Input connections within the Multiplus. I then connected the remainer of the looped wire to the AC Output 1 of the Multiplus and connected the other end to the main breaker in the breaker panel. I installed a jumper wire between the two 30 amp inverter prep breakers to link the main panel and sub panel into one continuous panel of breakers. By using this existing wire, I did not have to run any new AC wiring in the RV.
The customer lived approximately 10 hours away from me, so he stayed in the rig while I completed the installation. Once the installation was complete, I spent some time with the customer going over the installation. I made sure the customer had the appropriate app on his phone to interact with the equipment and spent time going over how to interact with each piece of equipment.