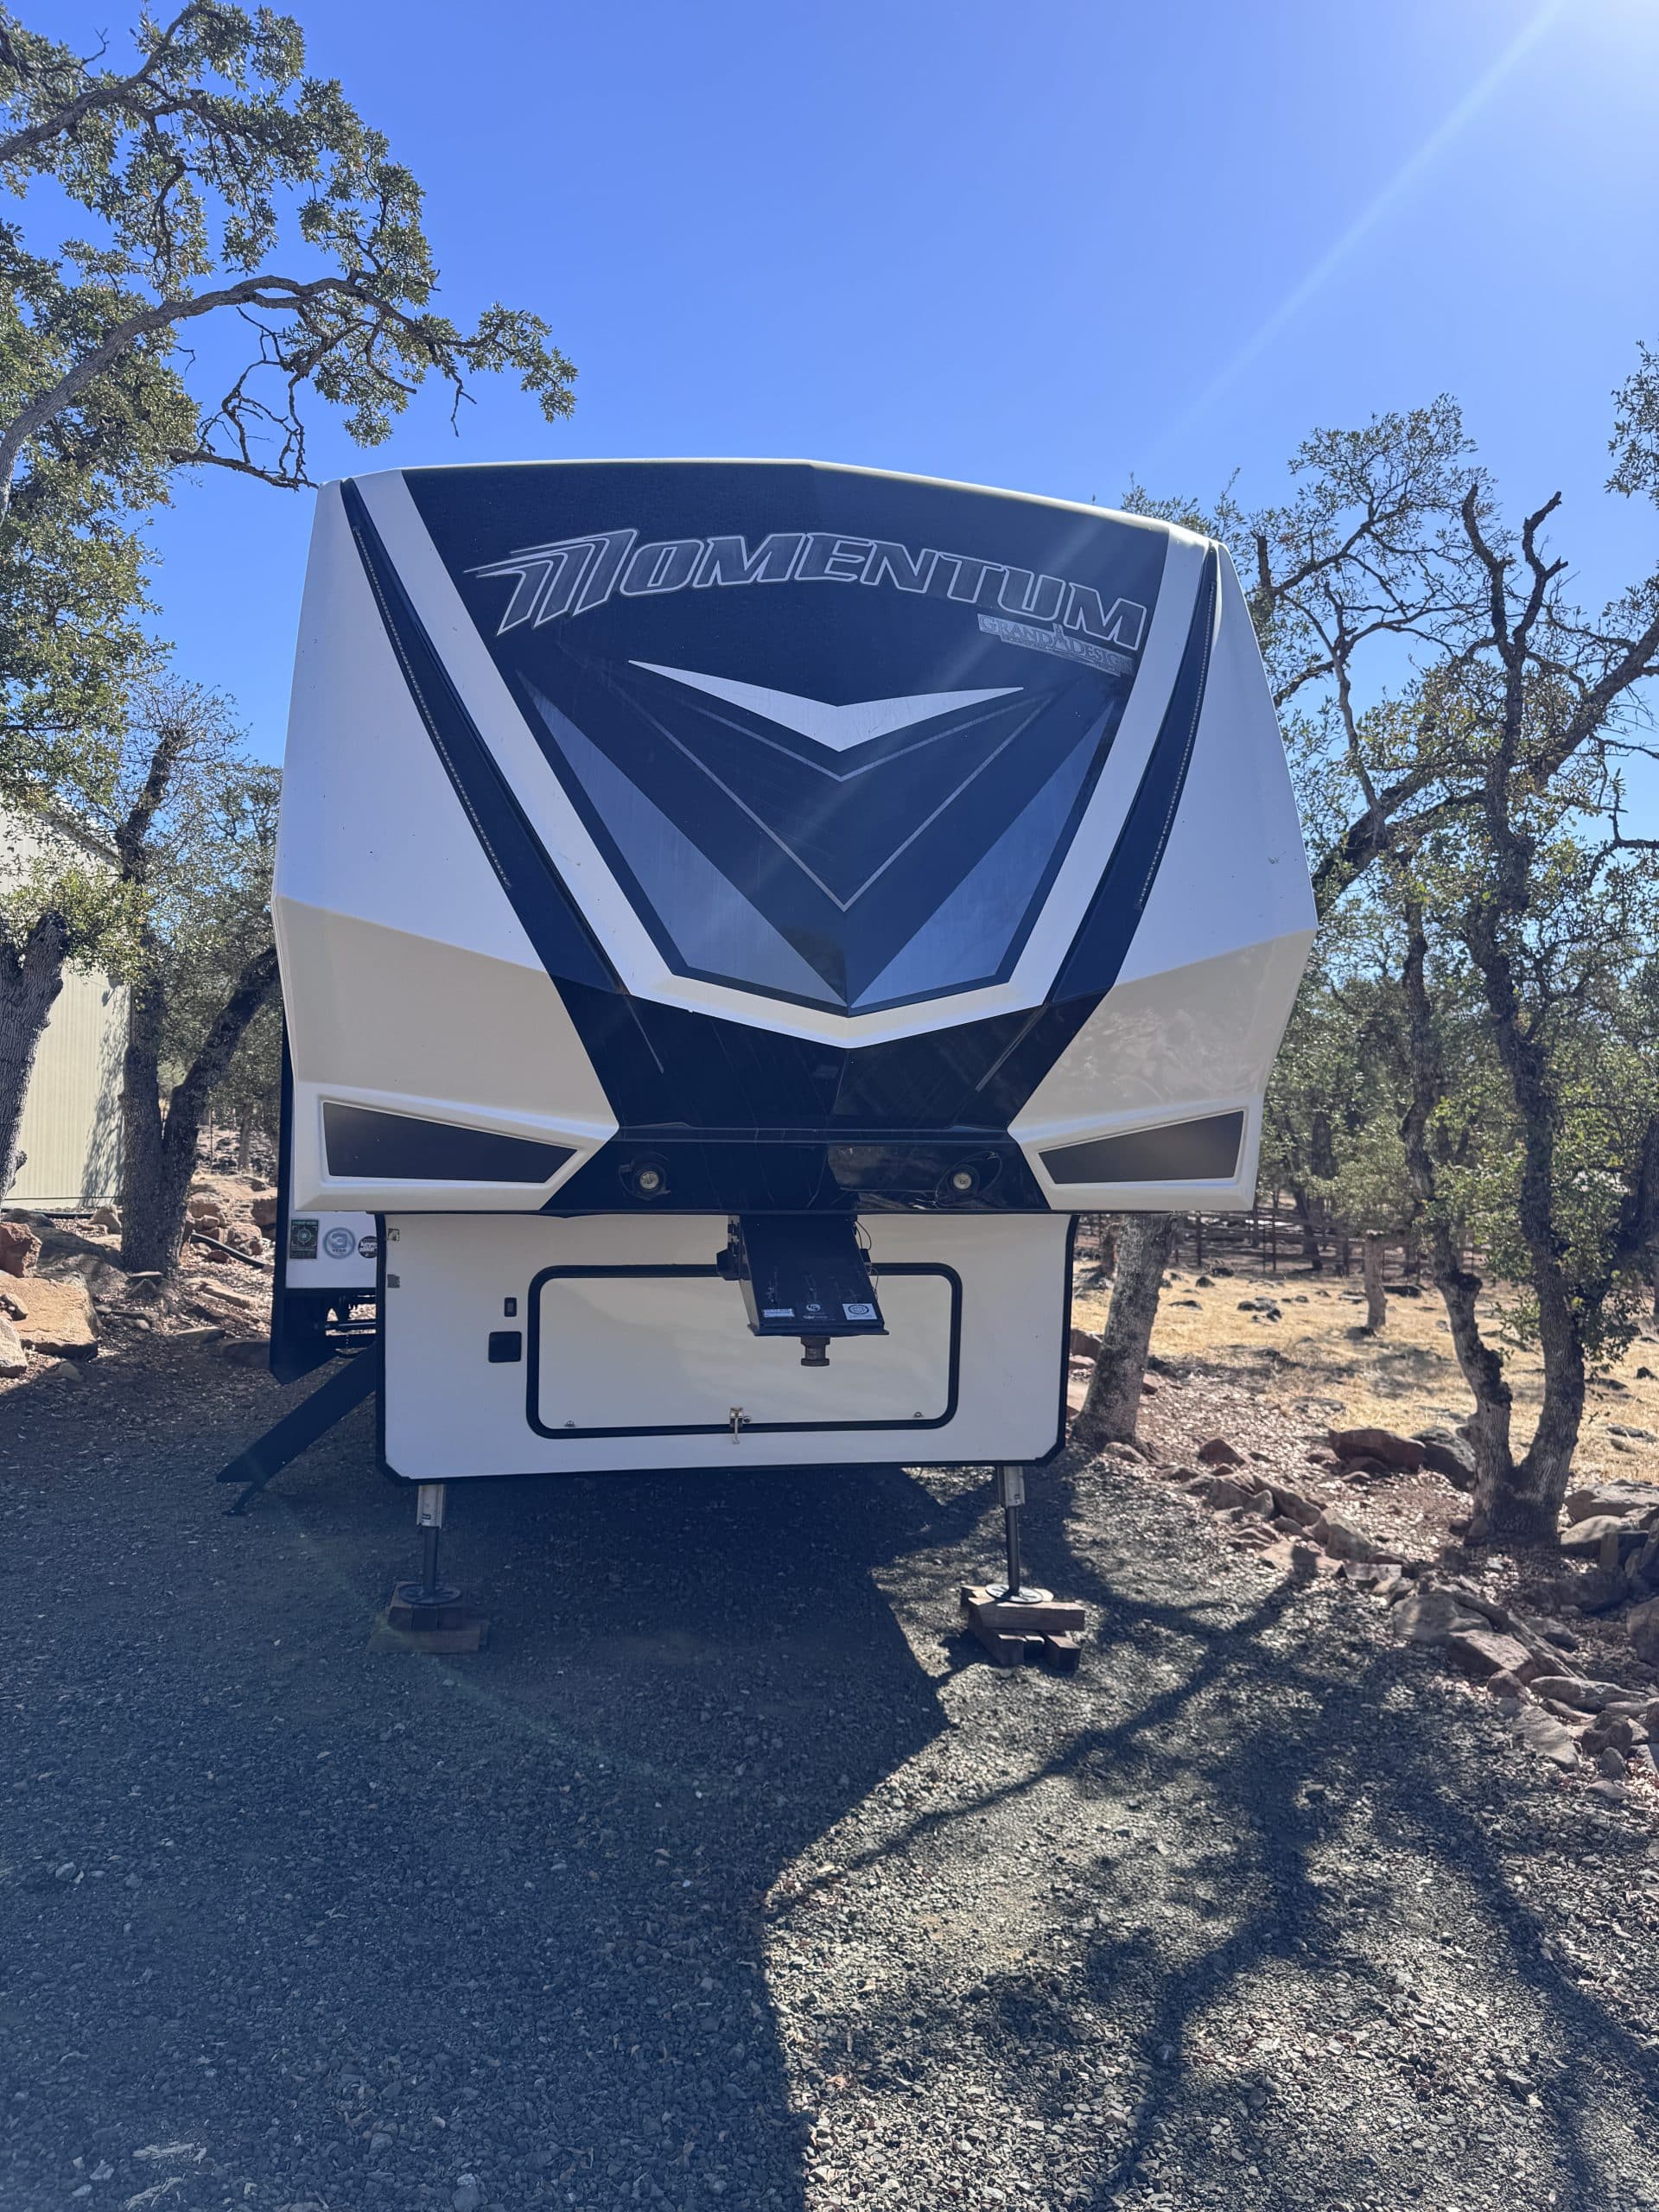
Grand Design Momentum 381M
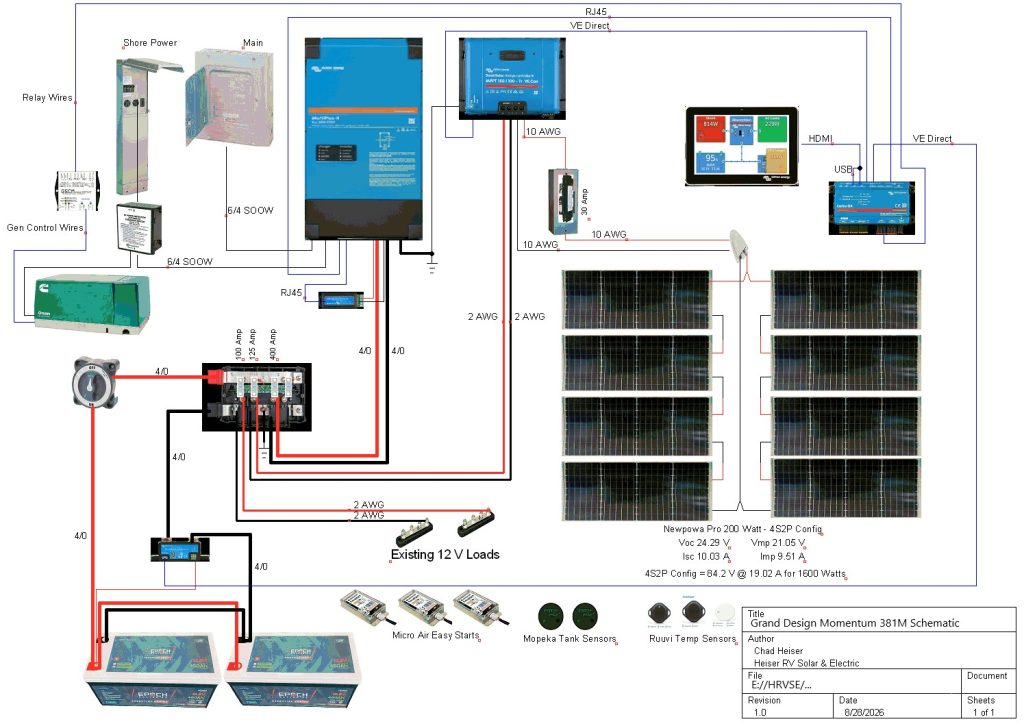
System Schematic
Basic Parts List
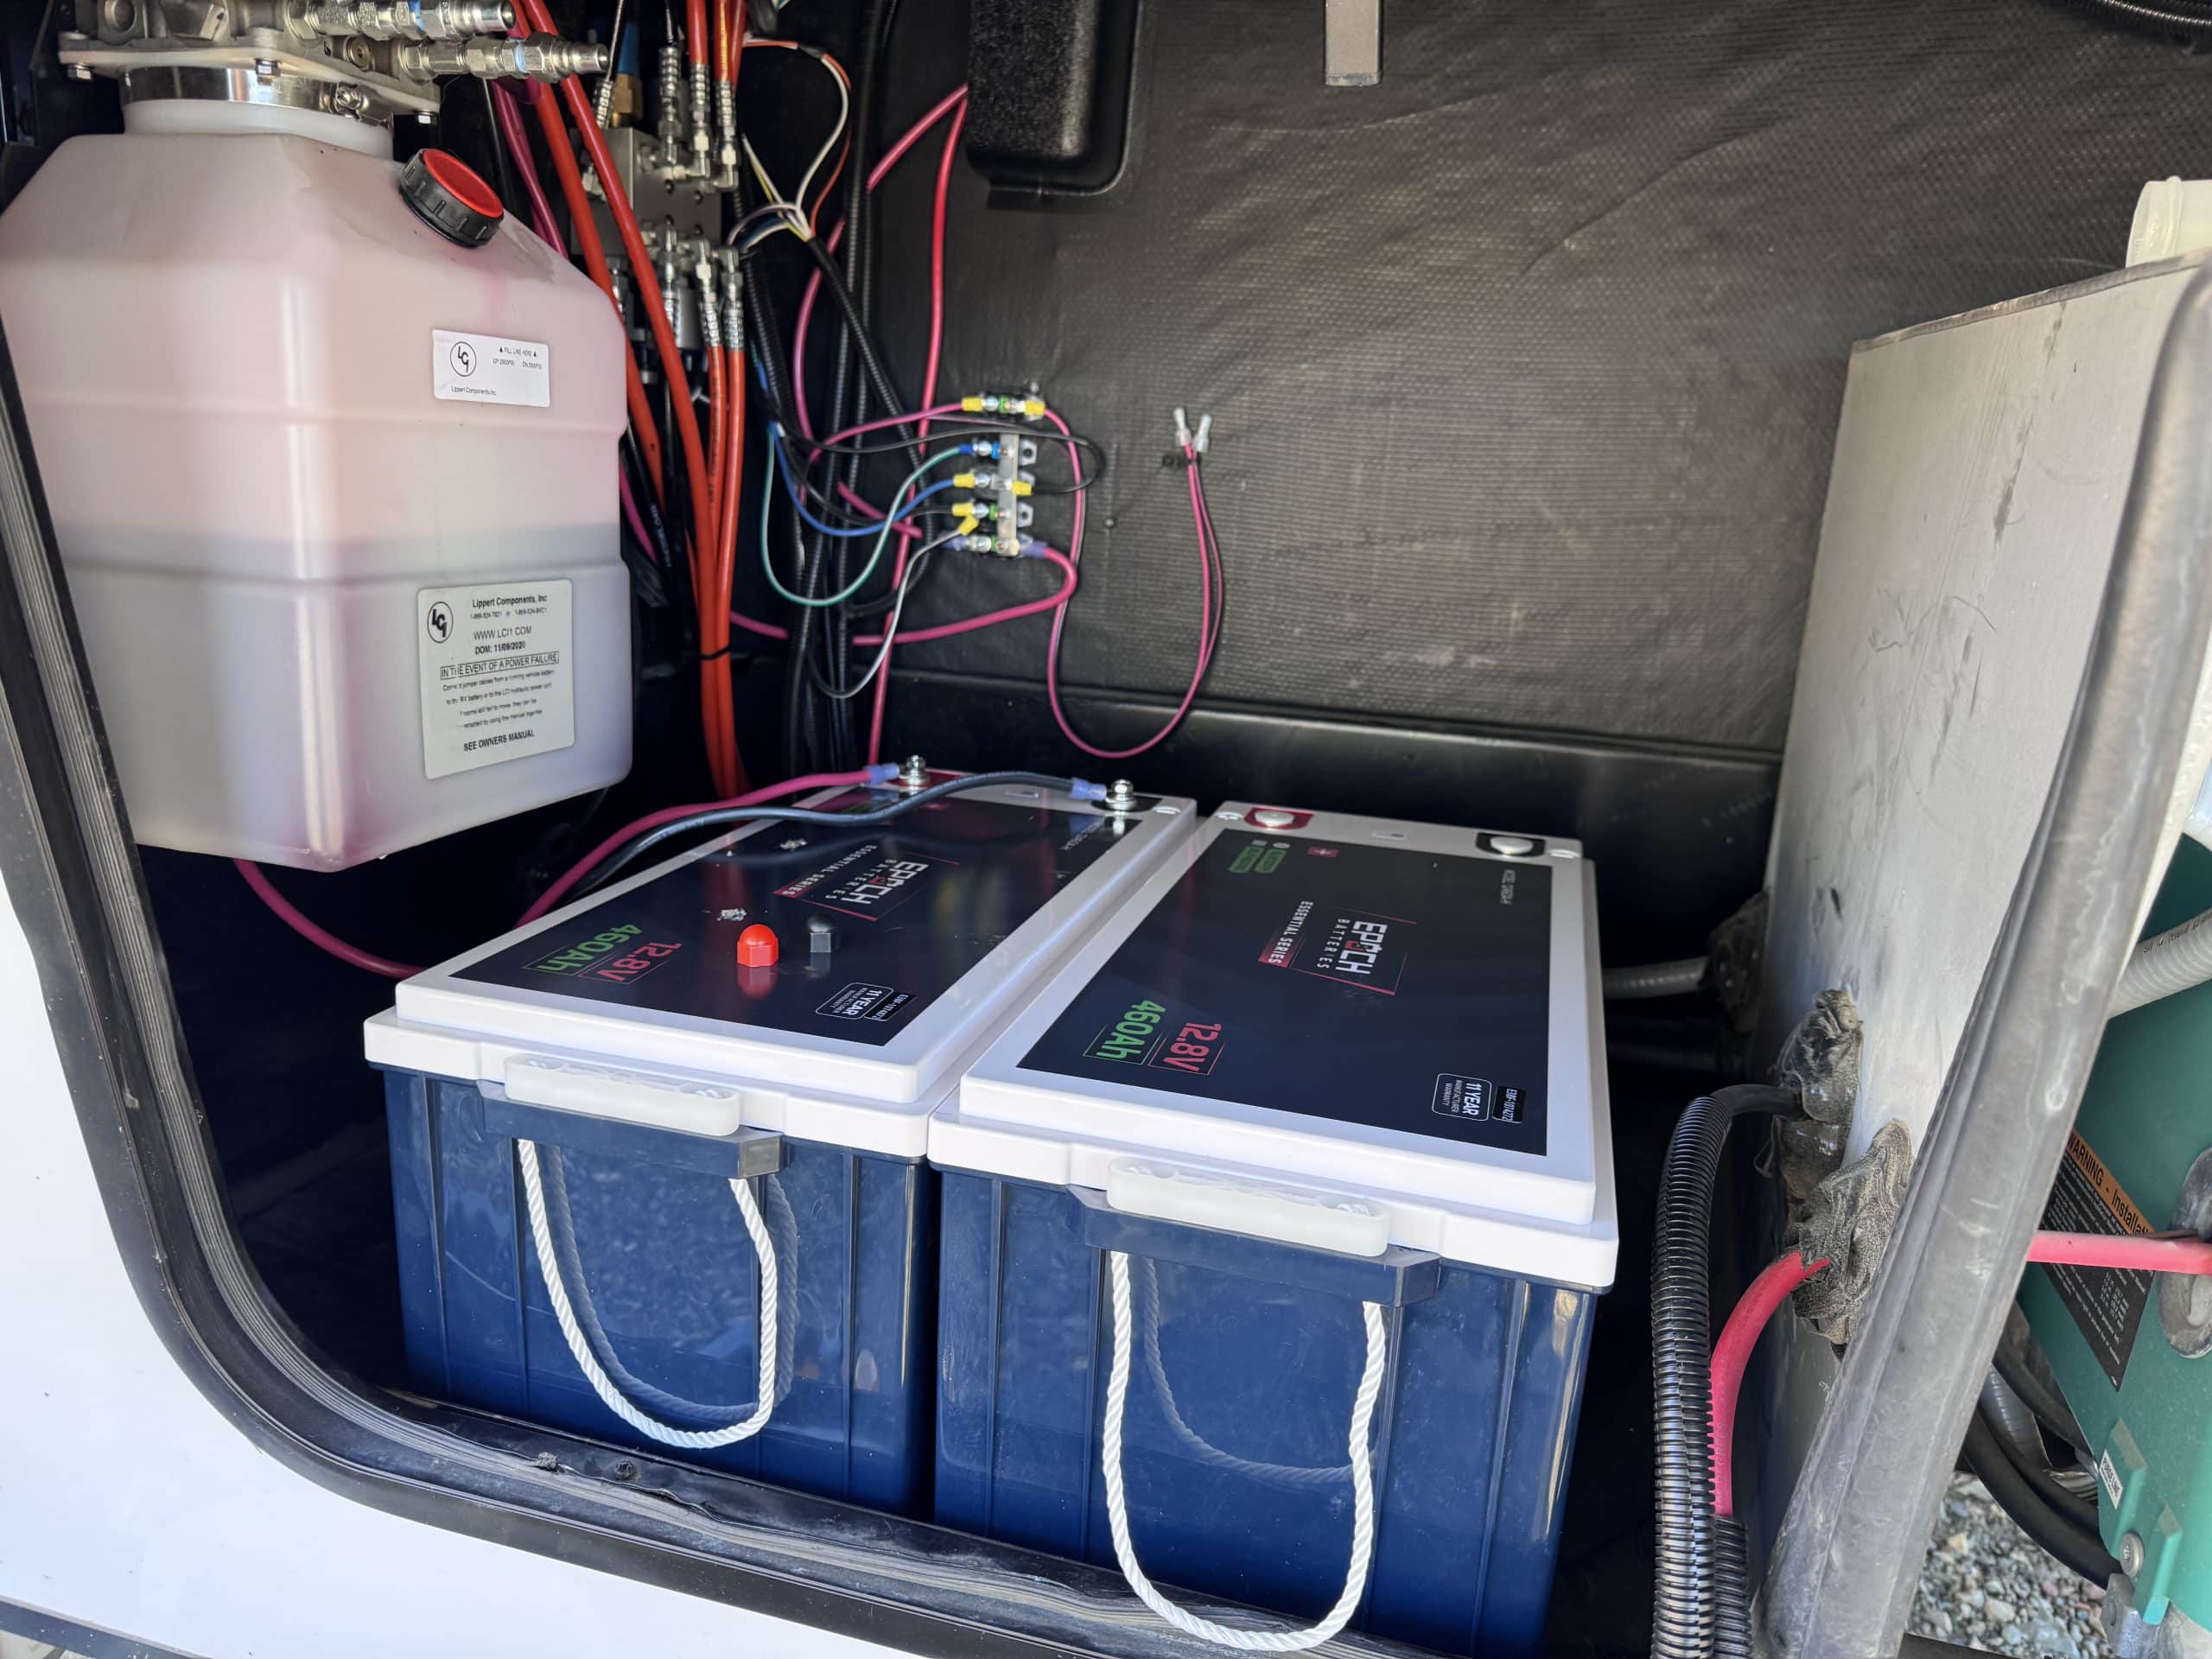
- 2 - EPOCH Essential Series 460 AH lithium batteries
- Victron Multiplus II 12/3000/120-50 2x120 inverter charger
- Victron VE.Bus Smart Dongle
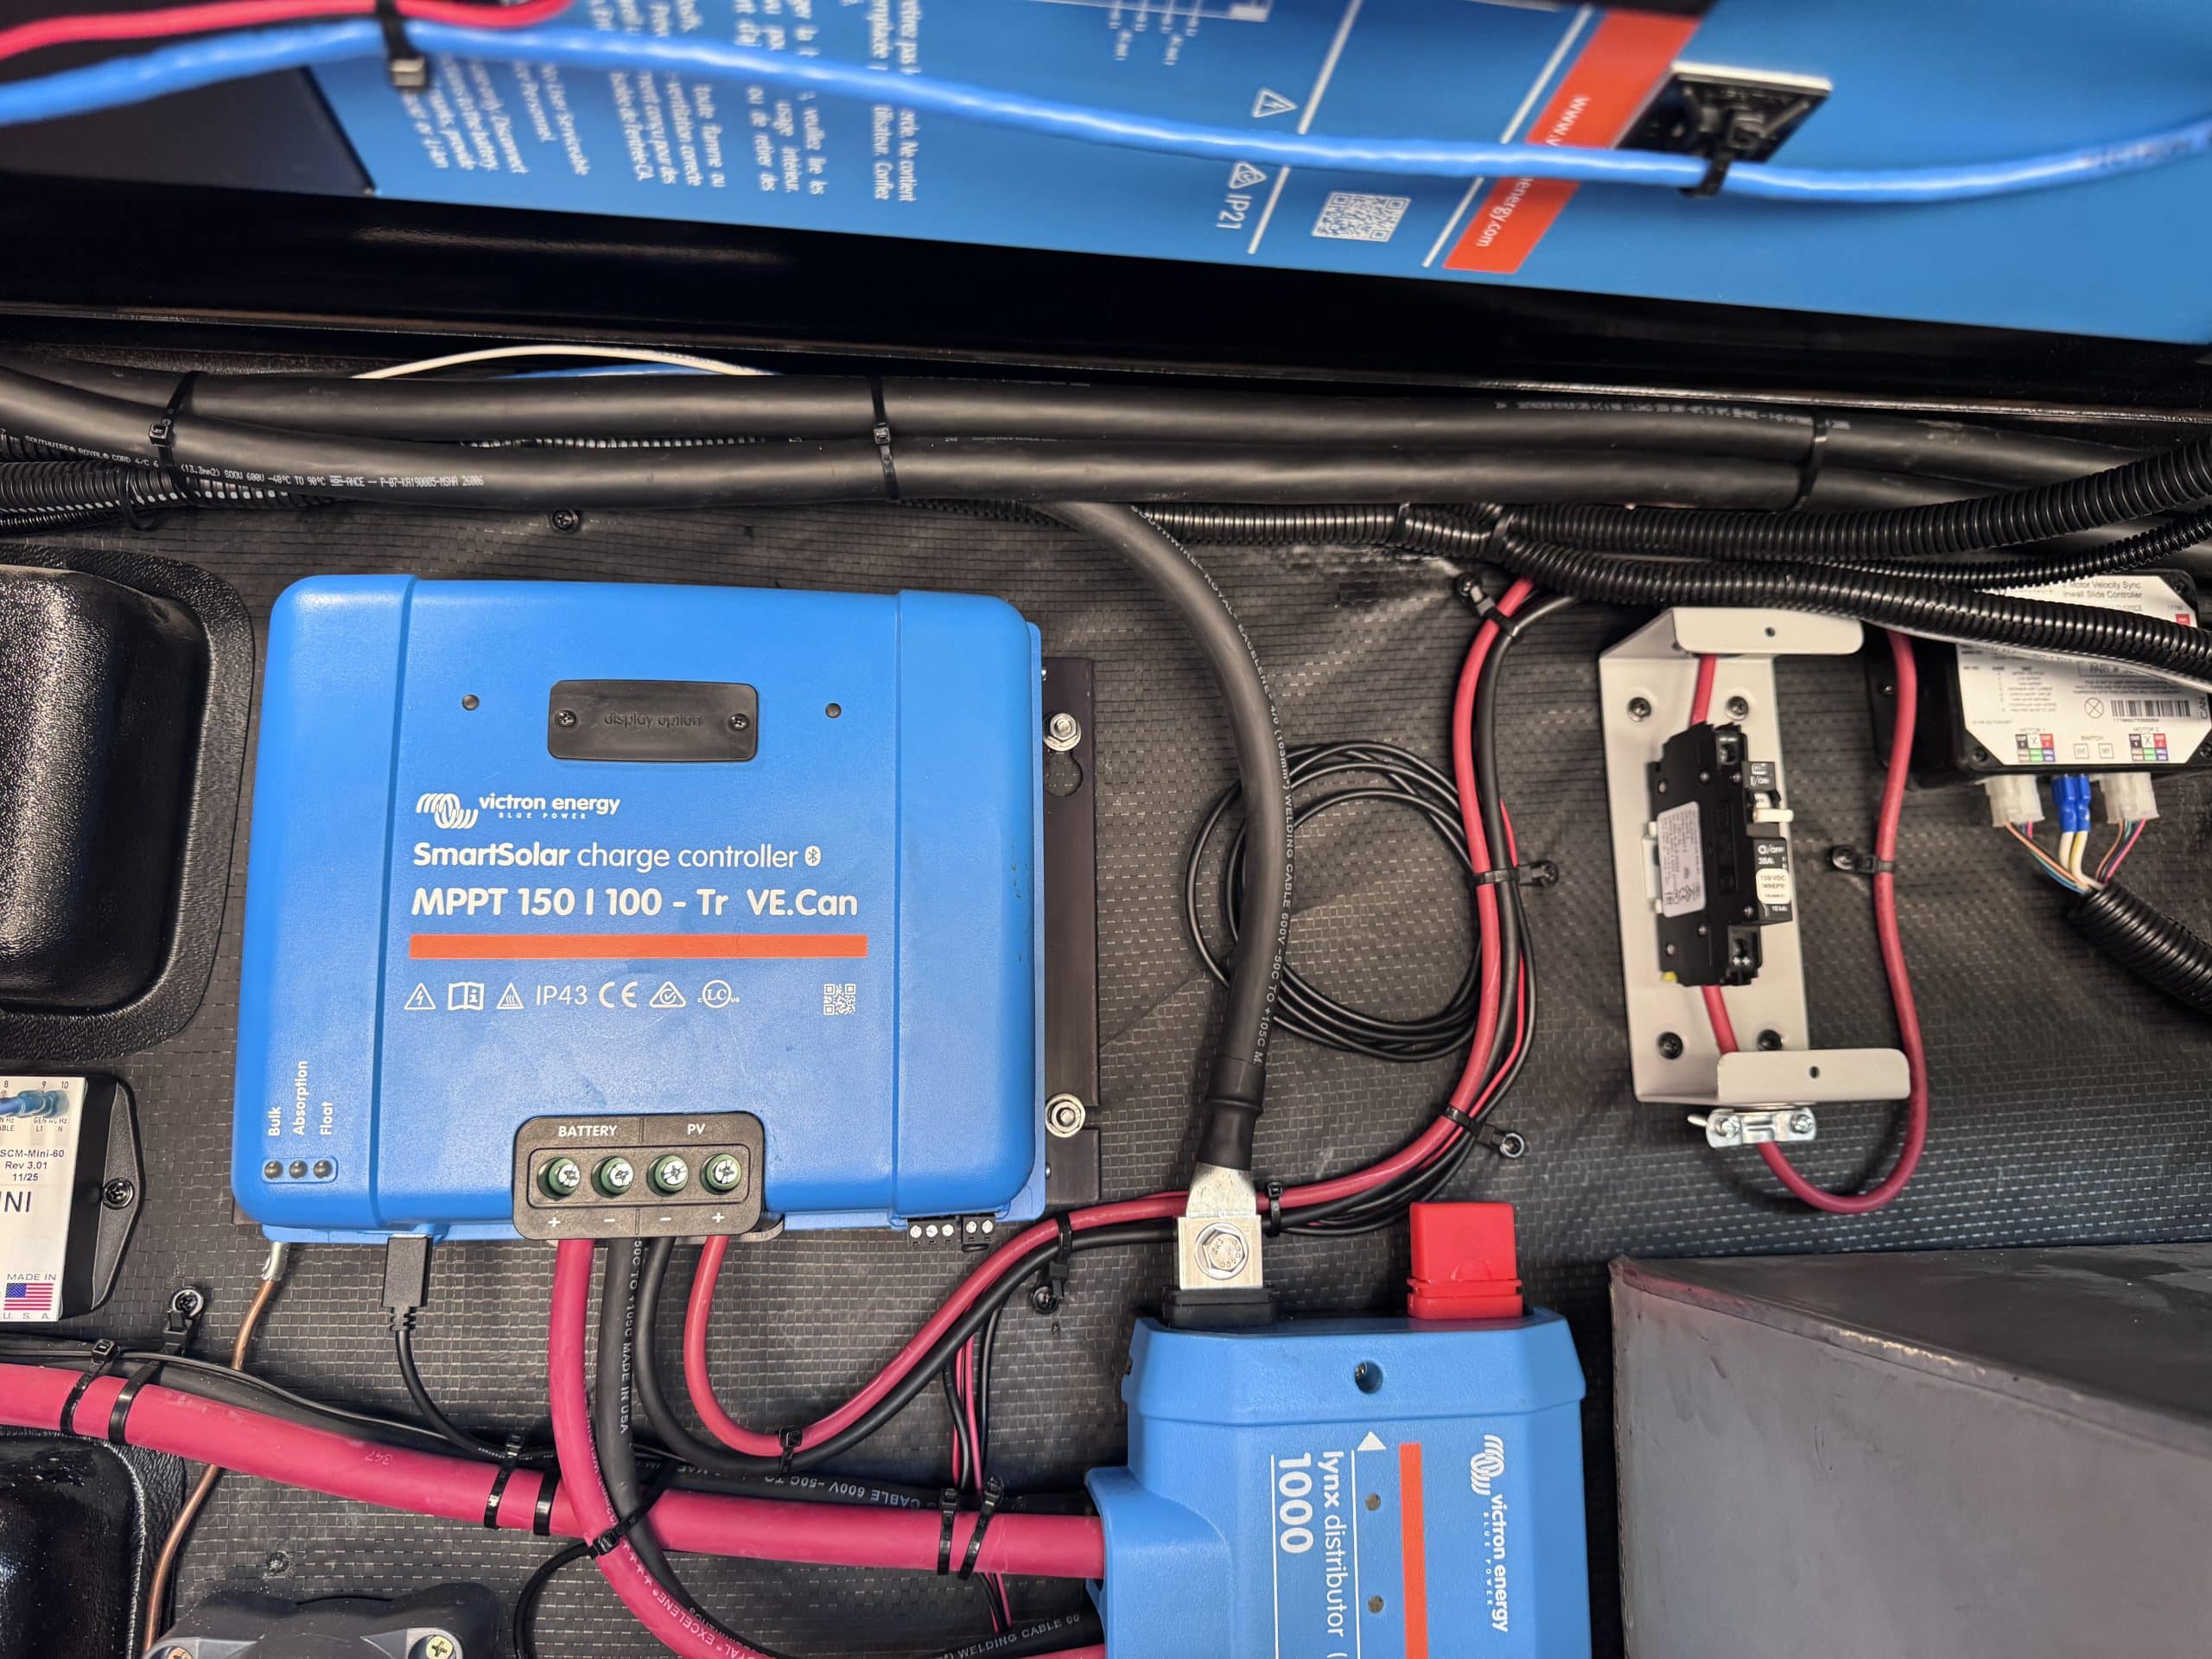
- Victron MPPT 150/100 Smart Solar charge controller with built in Bluetooth
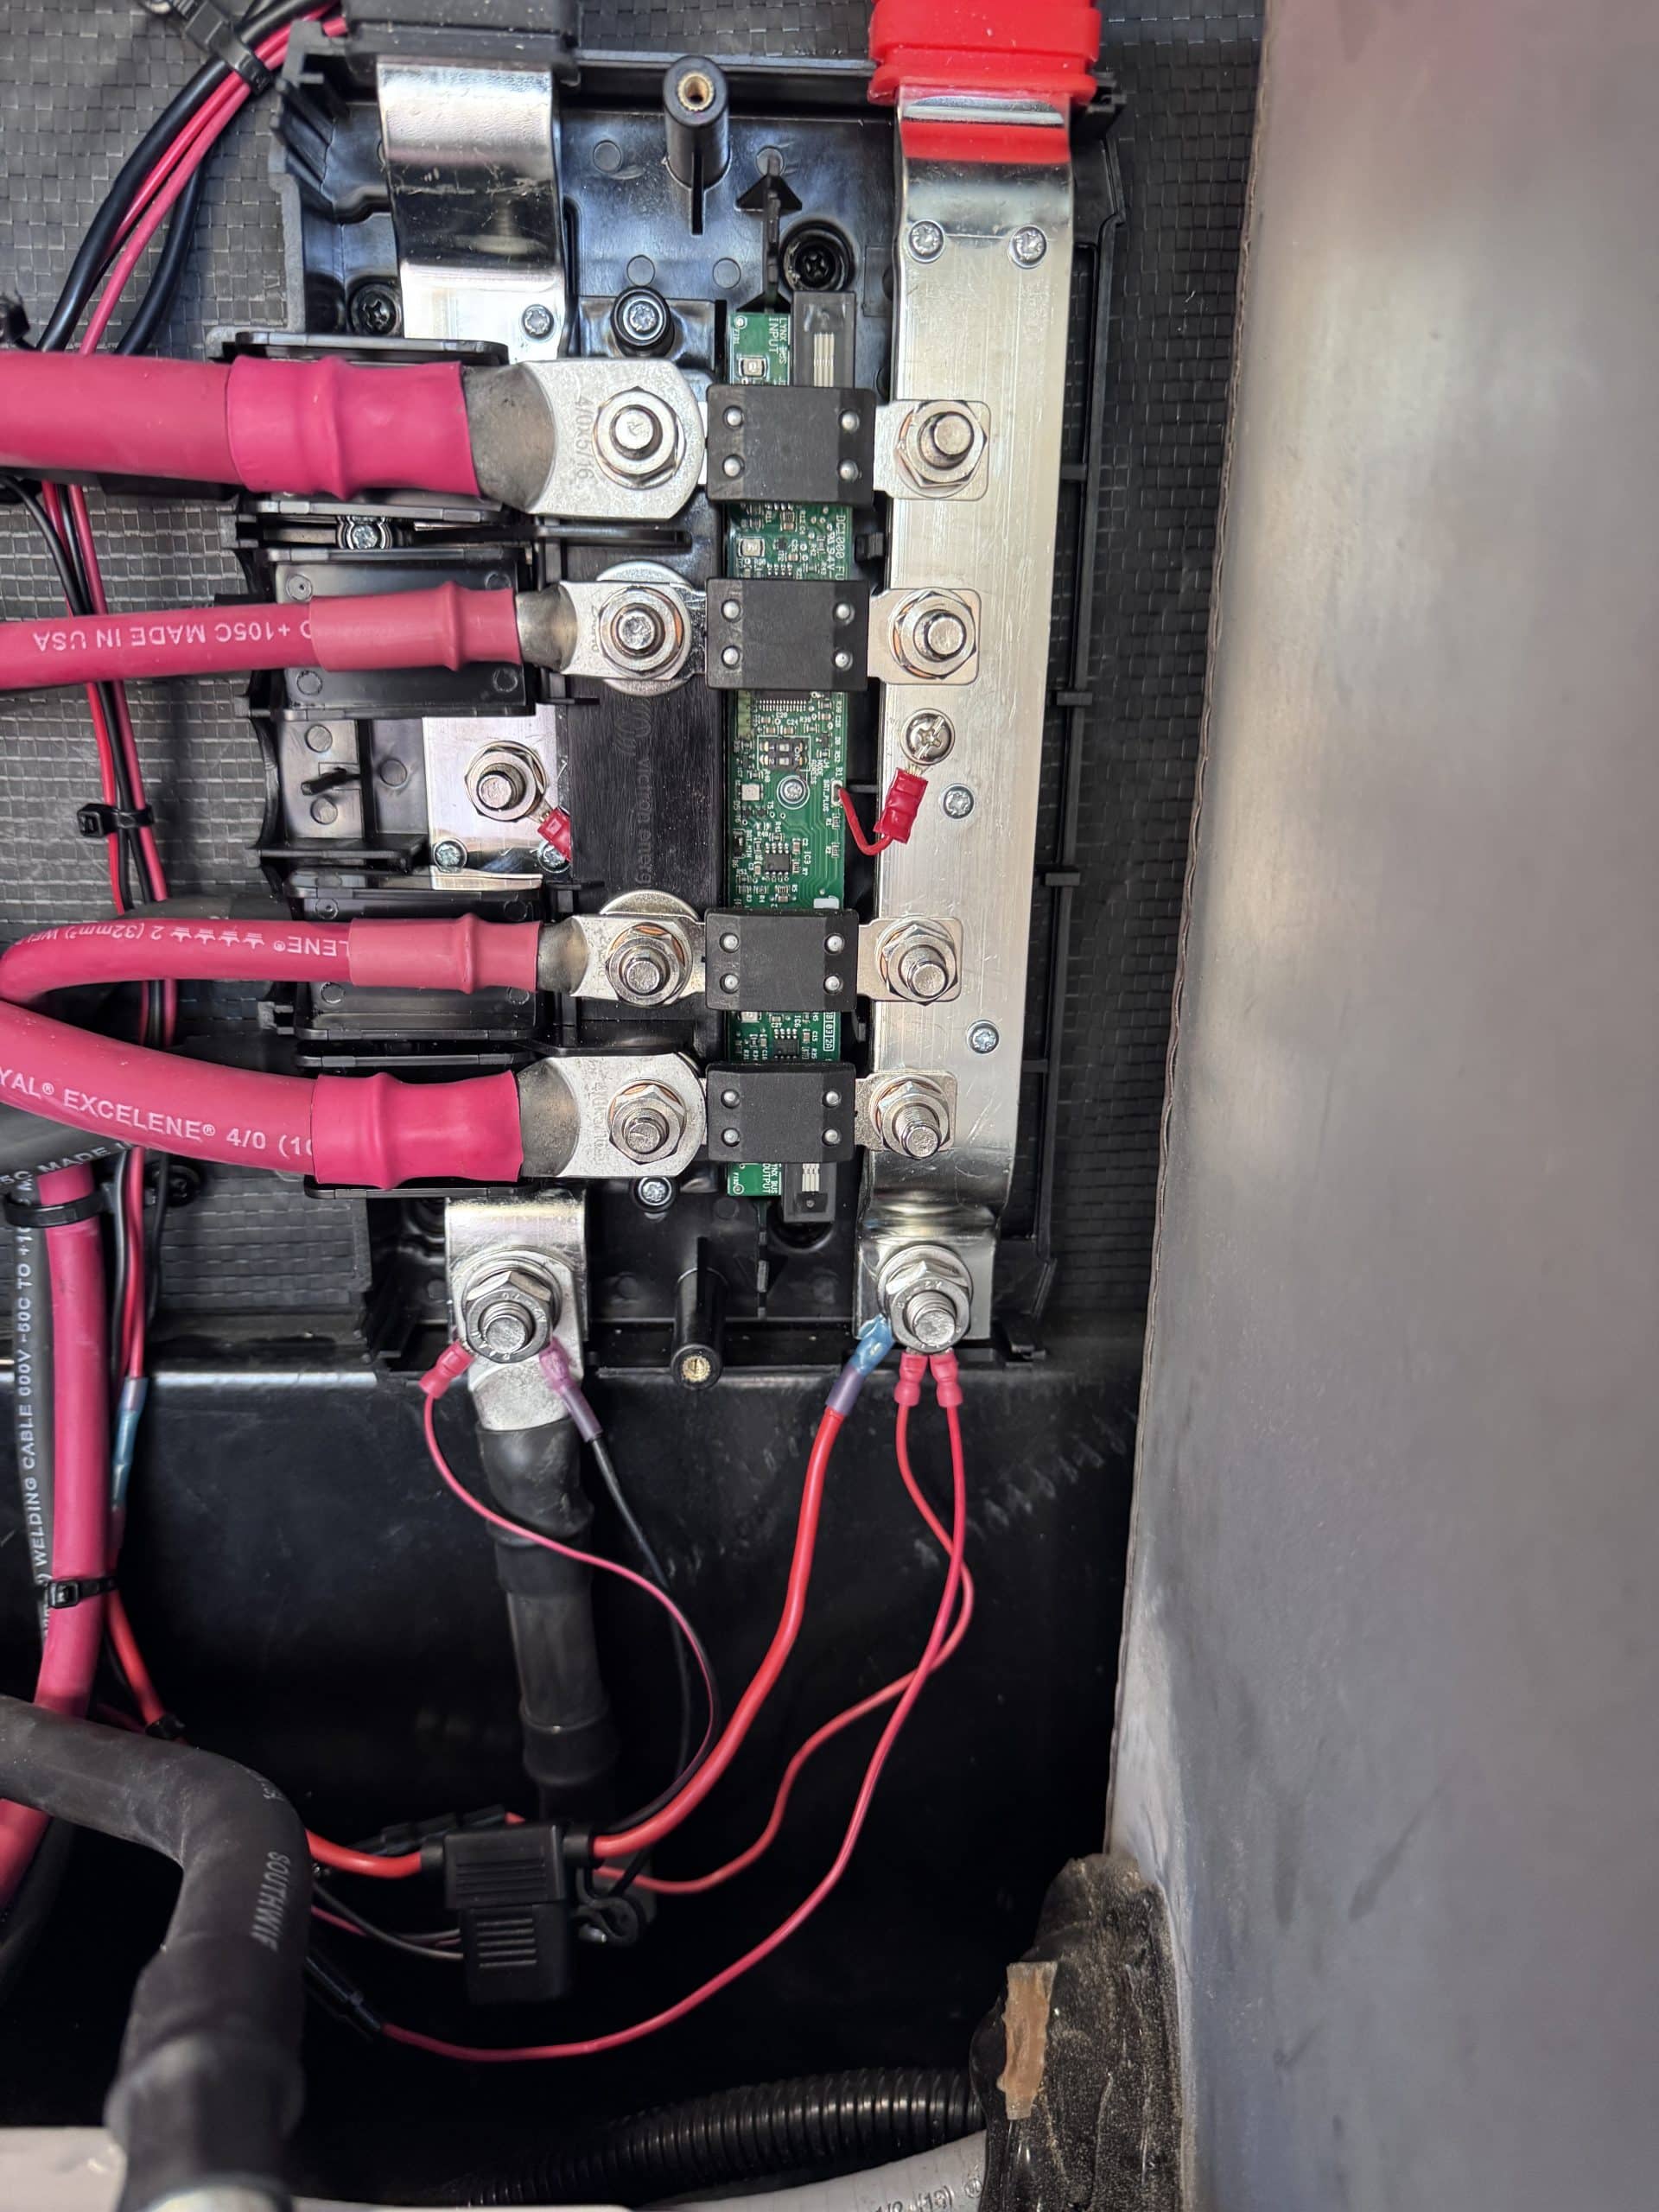
- Victron SmartShunt with built in Bluetooth
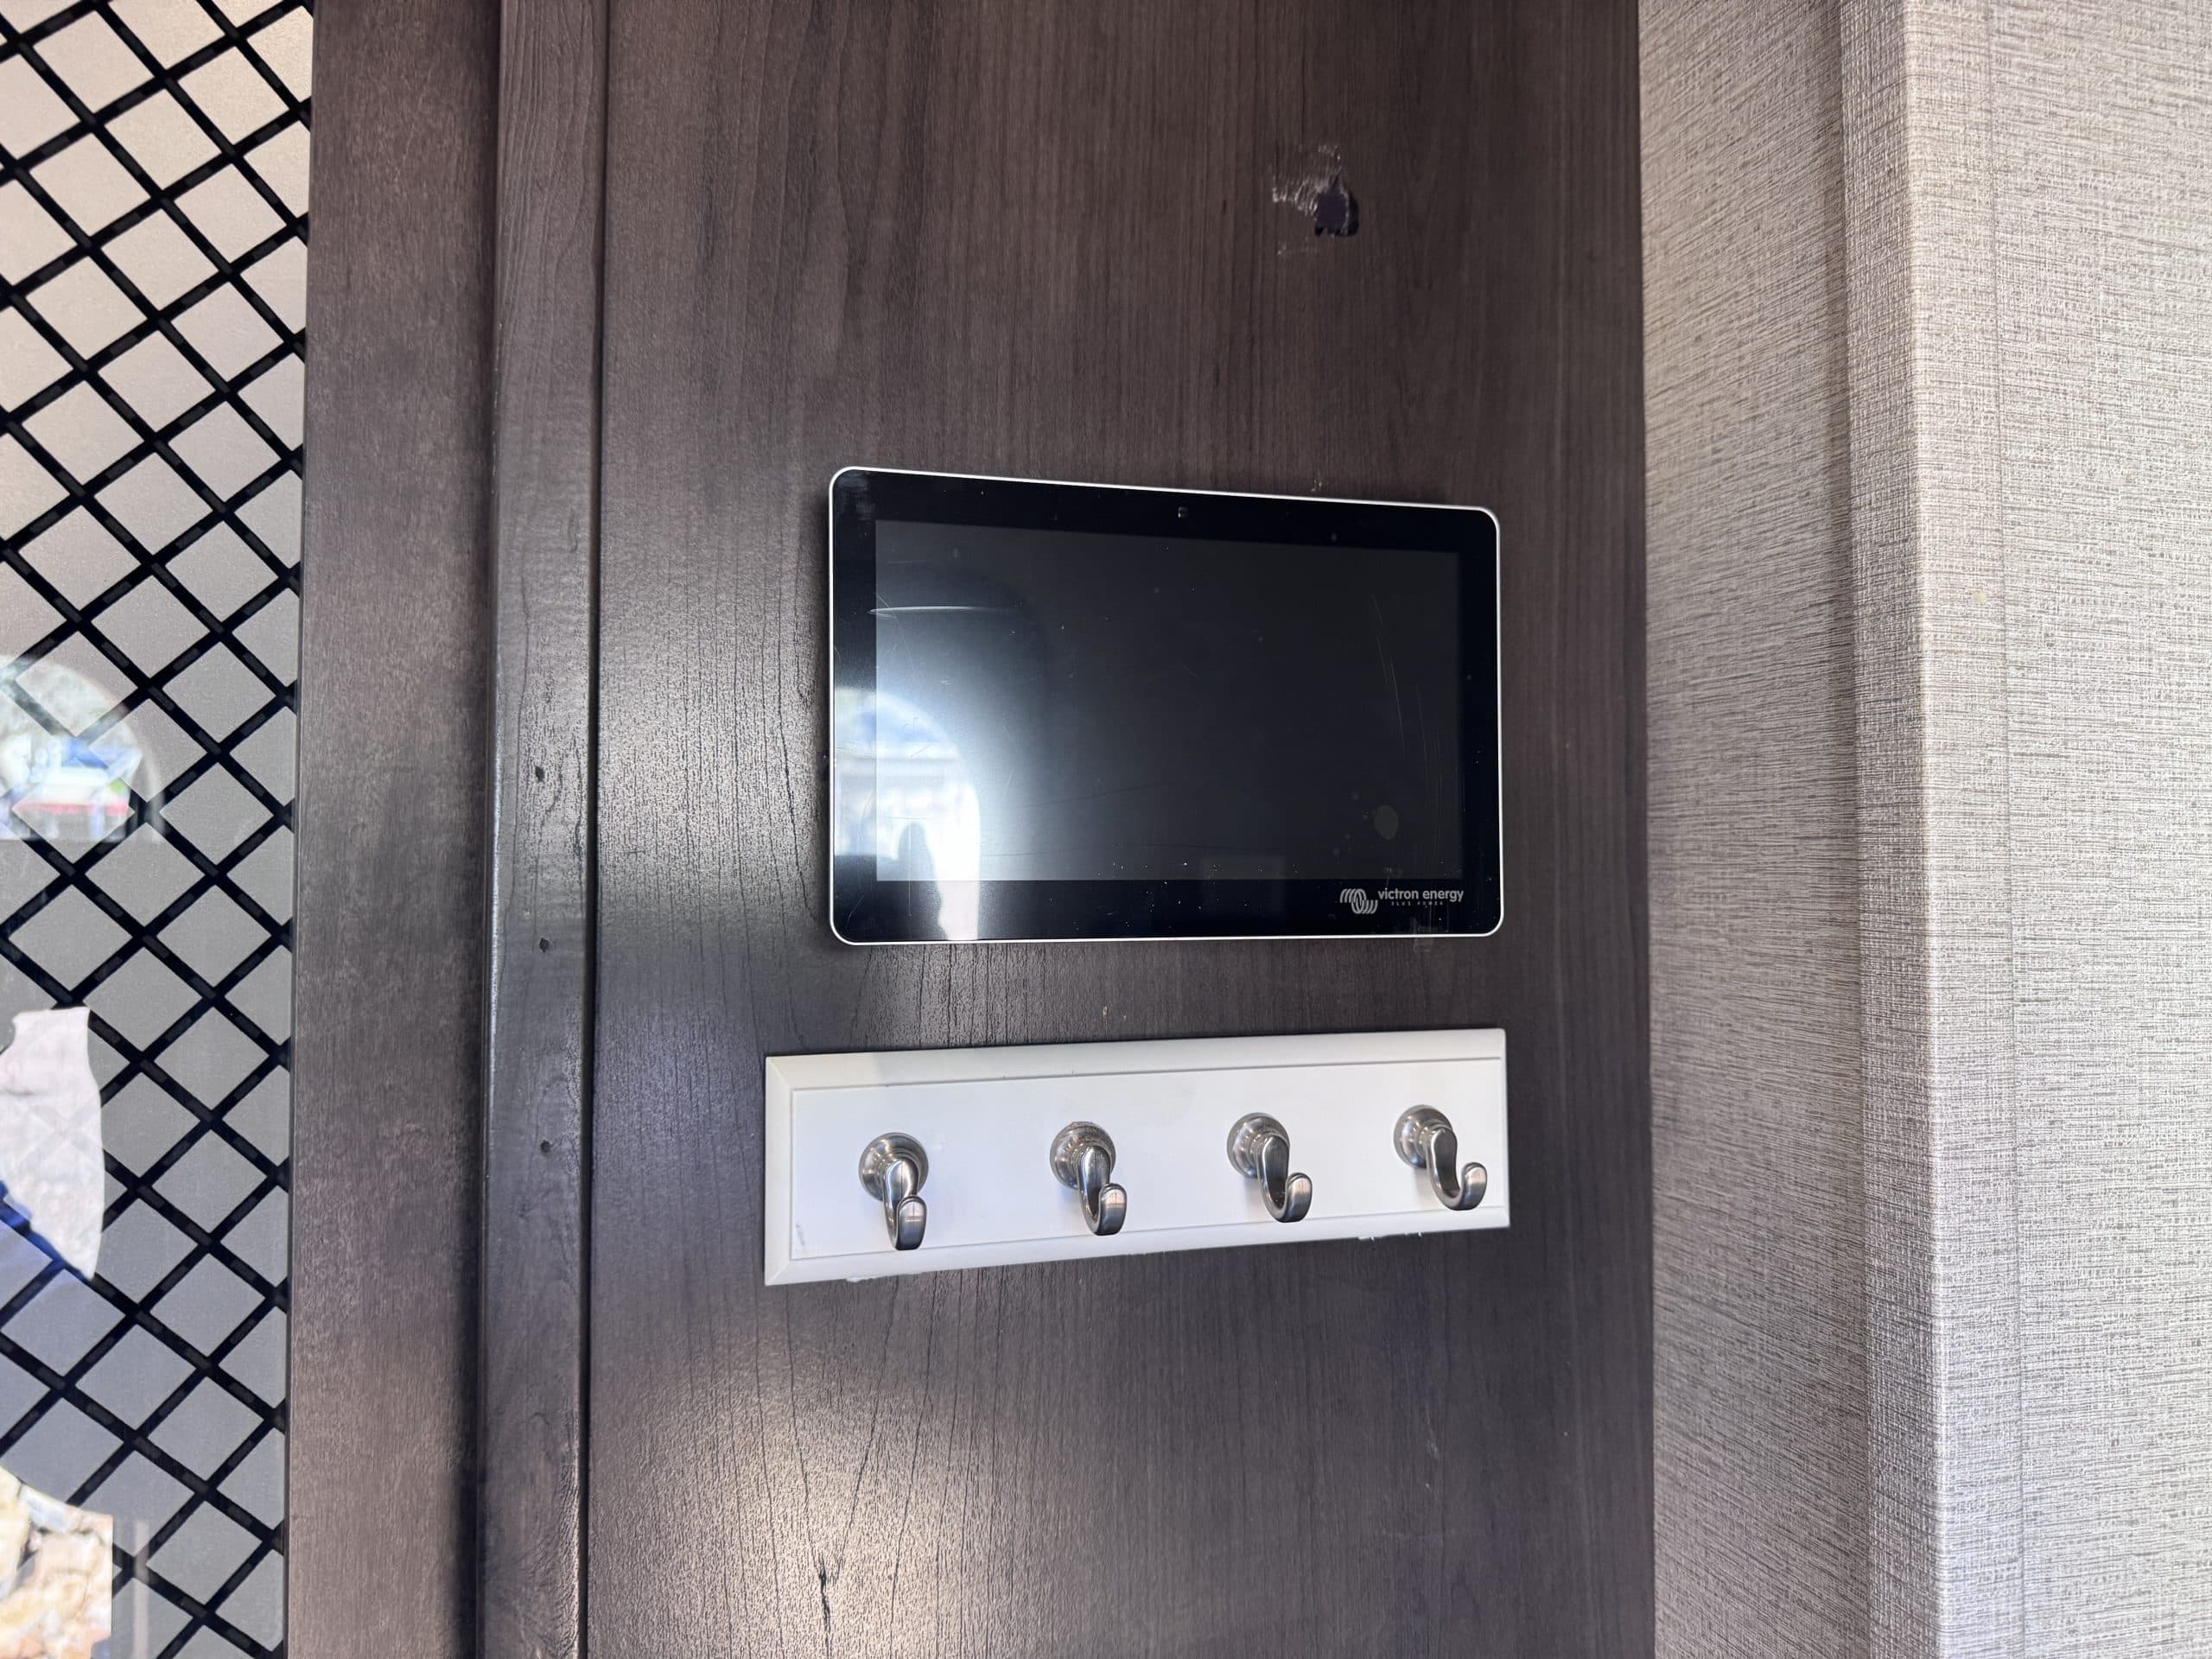
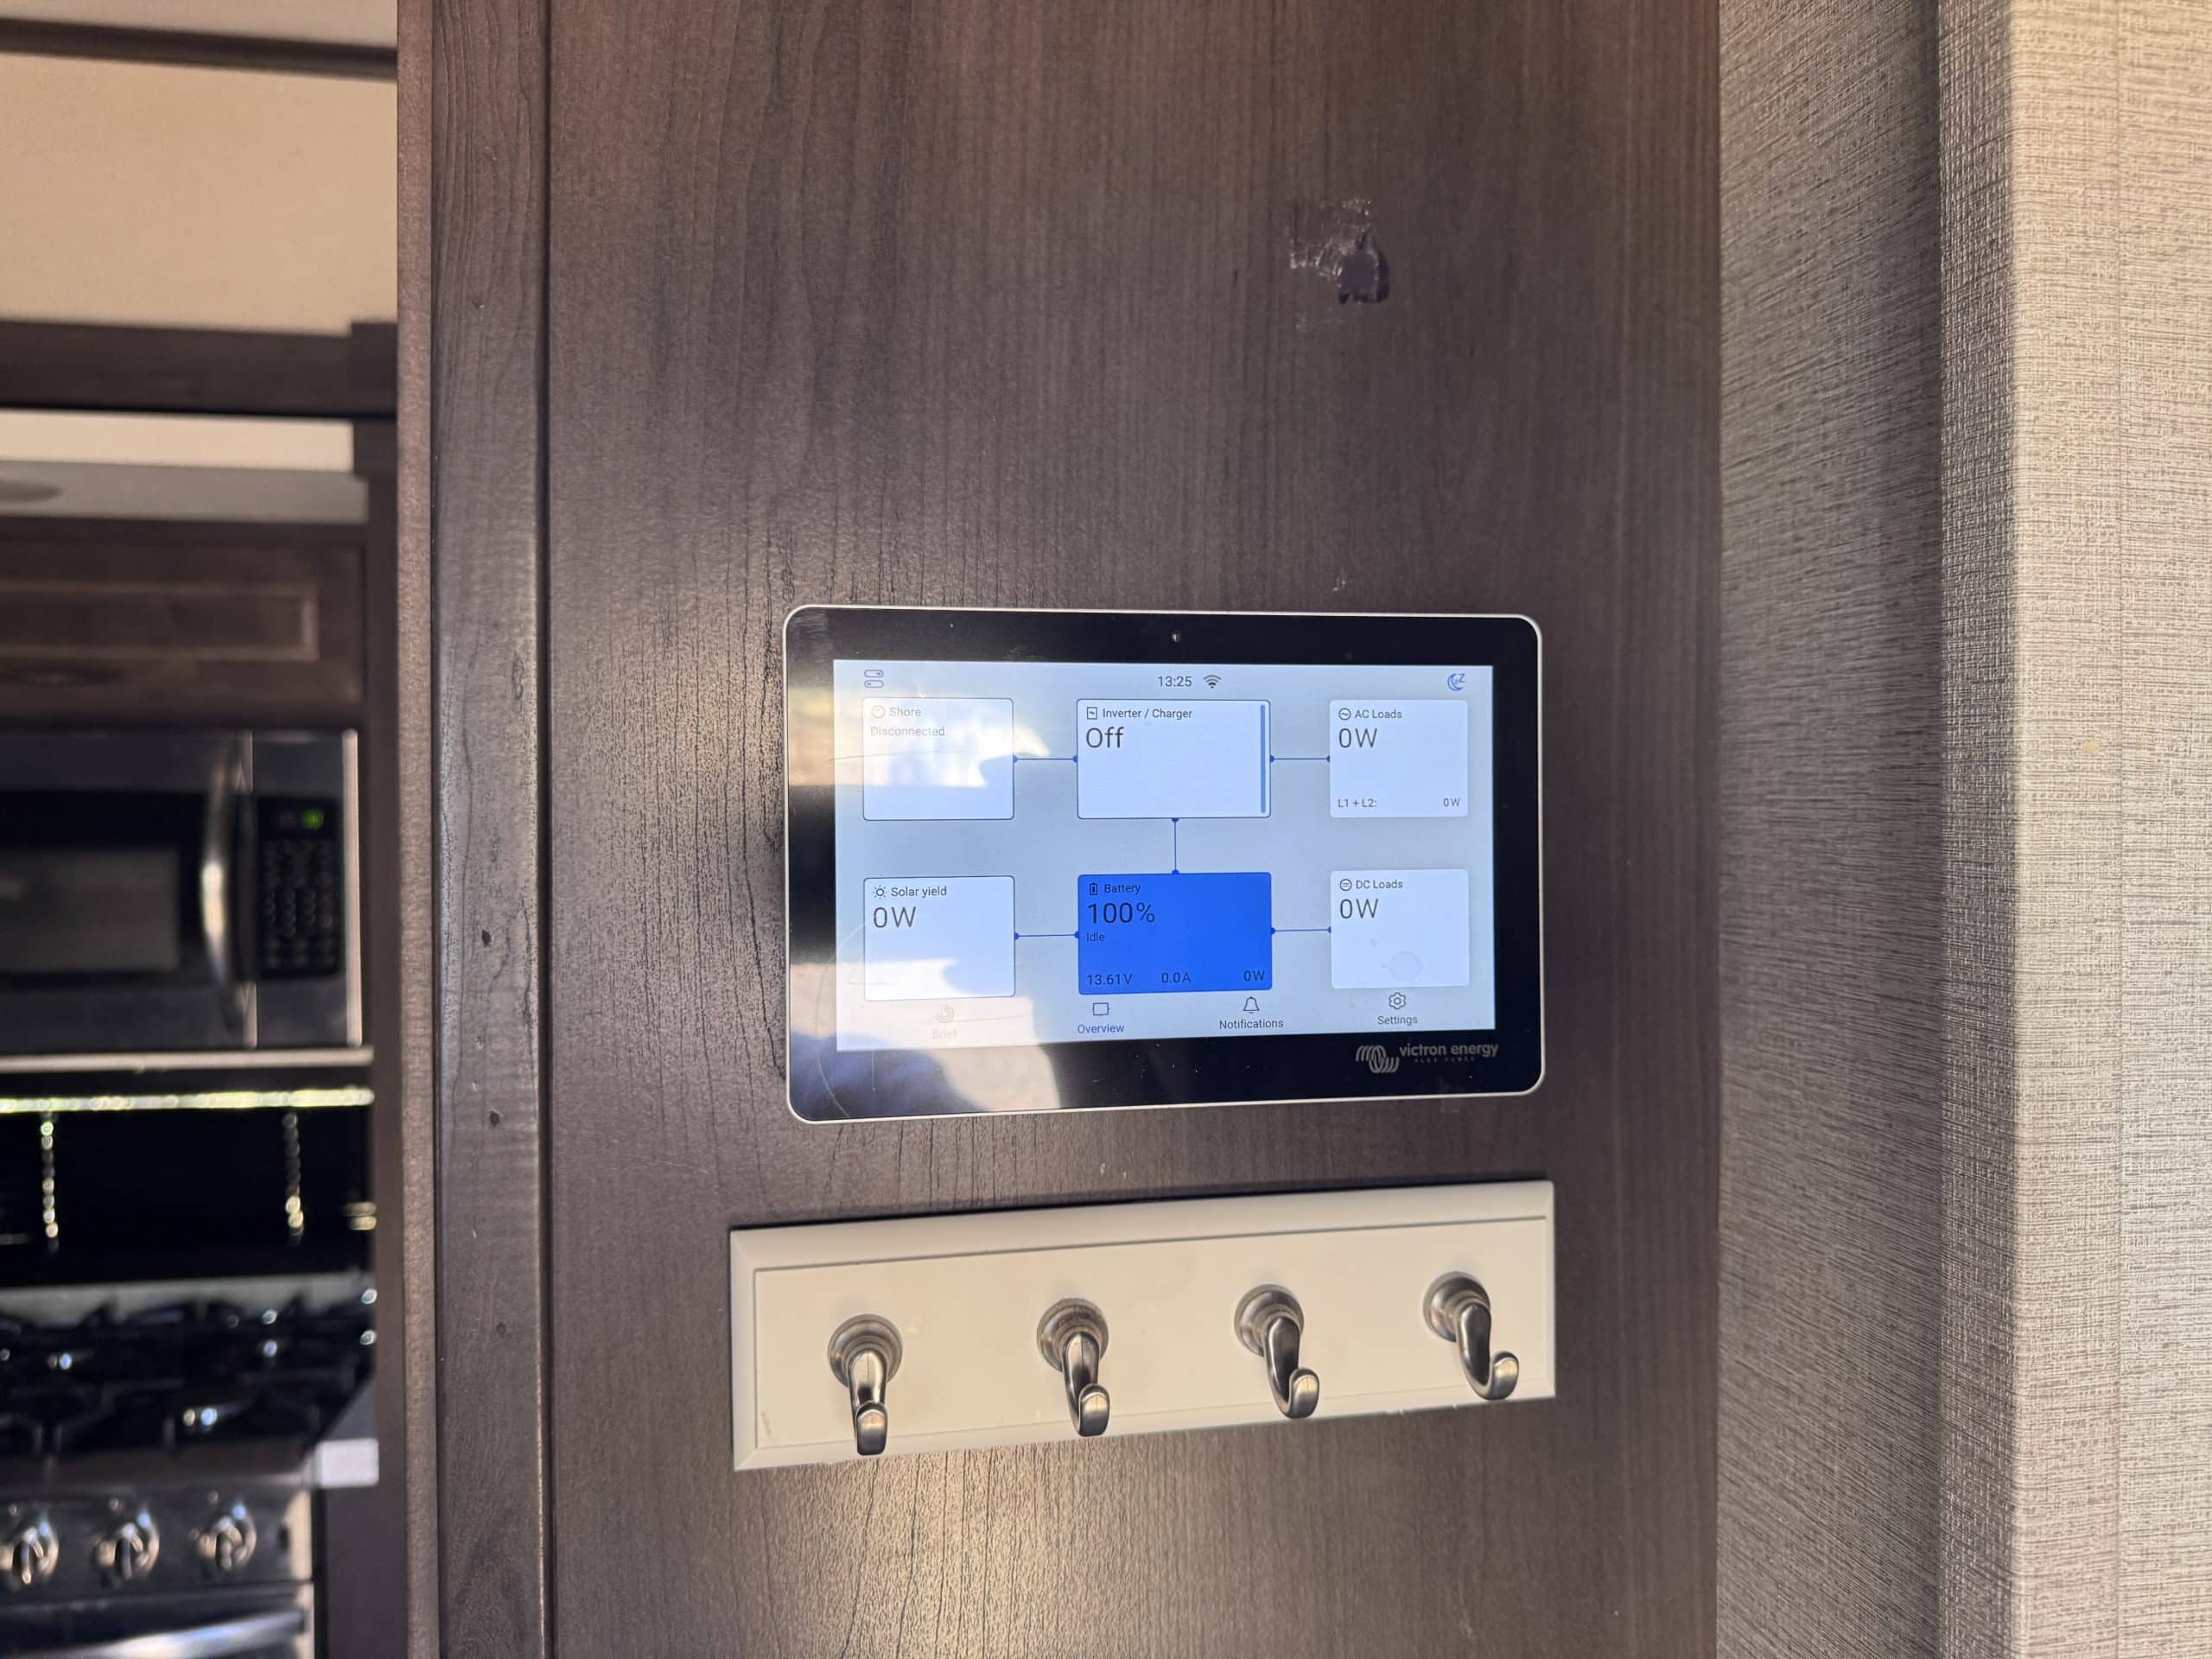
- Victron GX Touch 70 Display
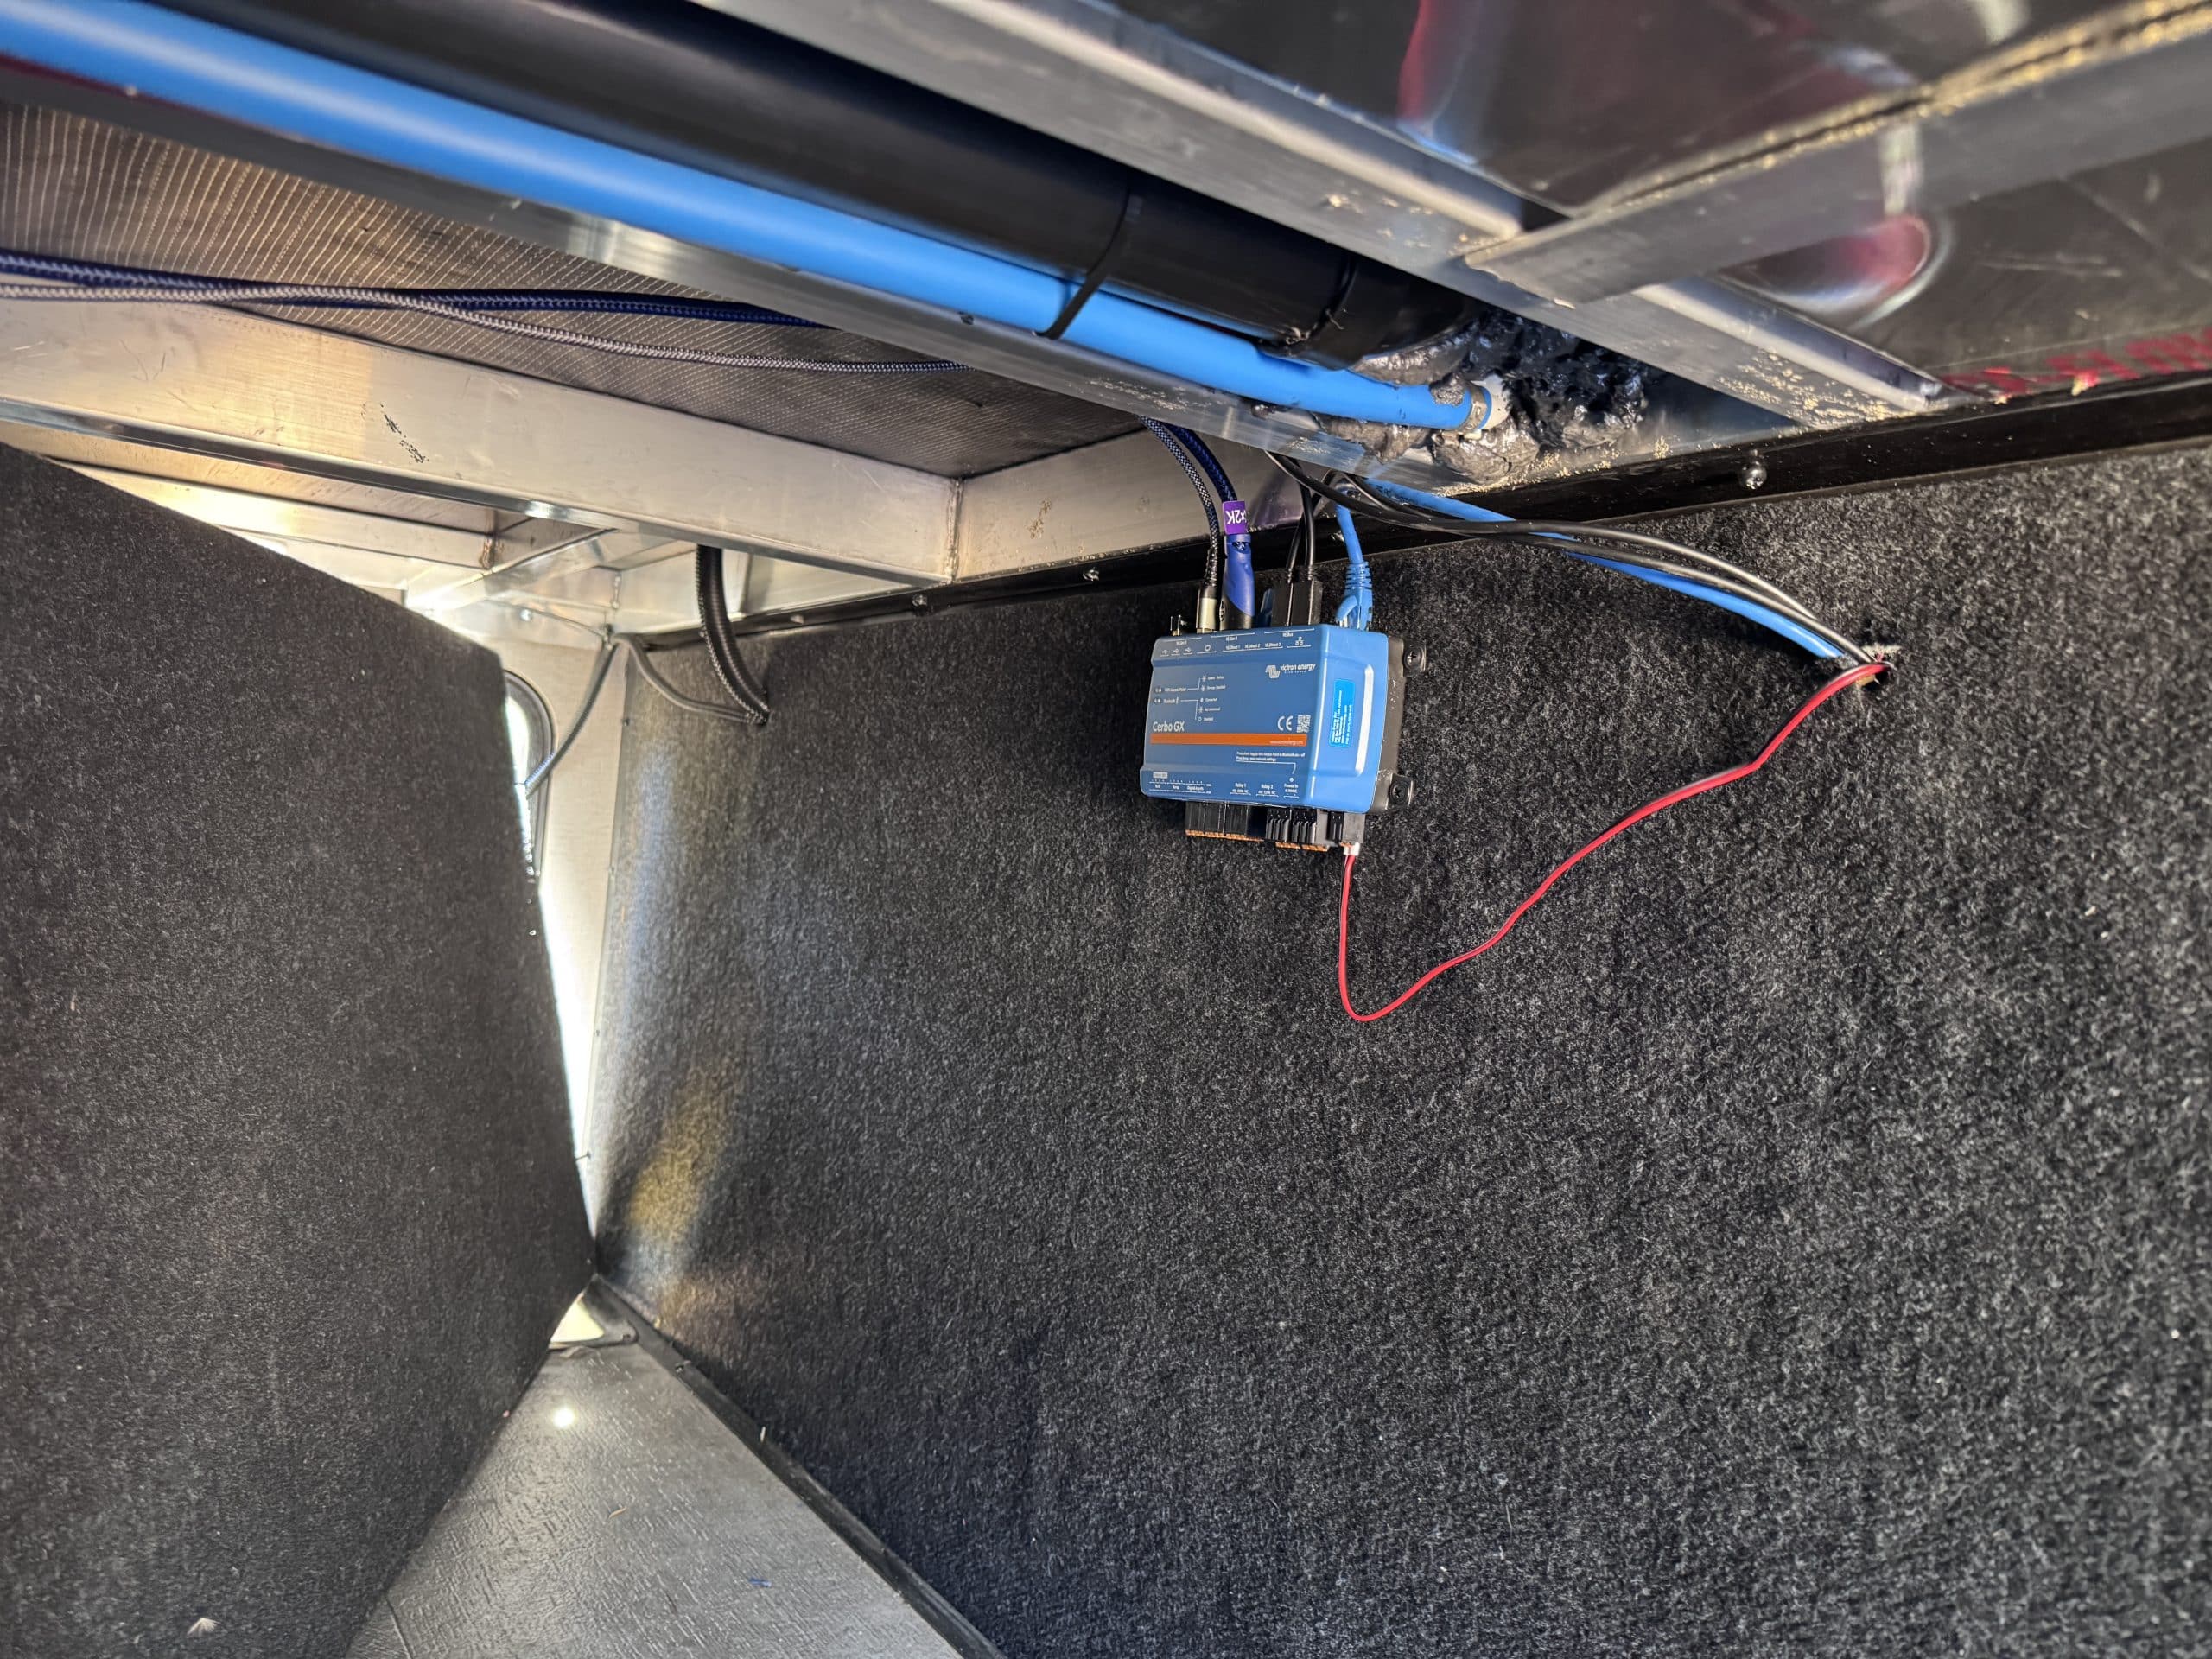
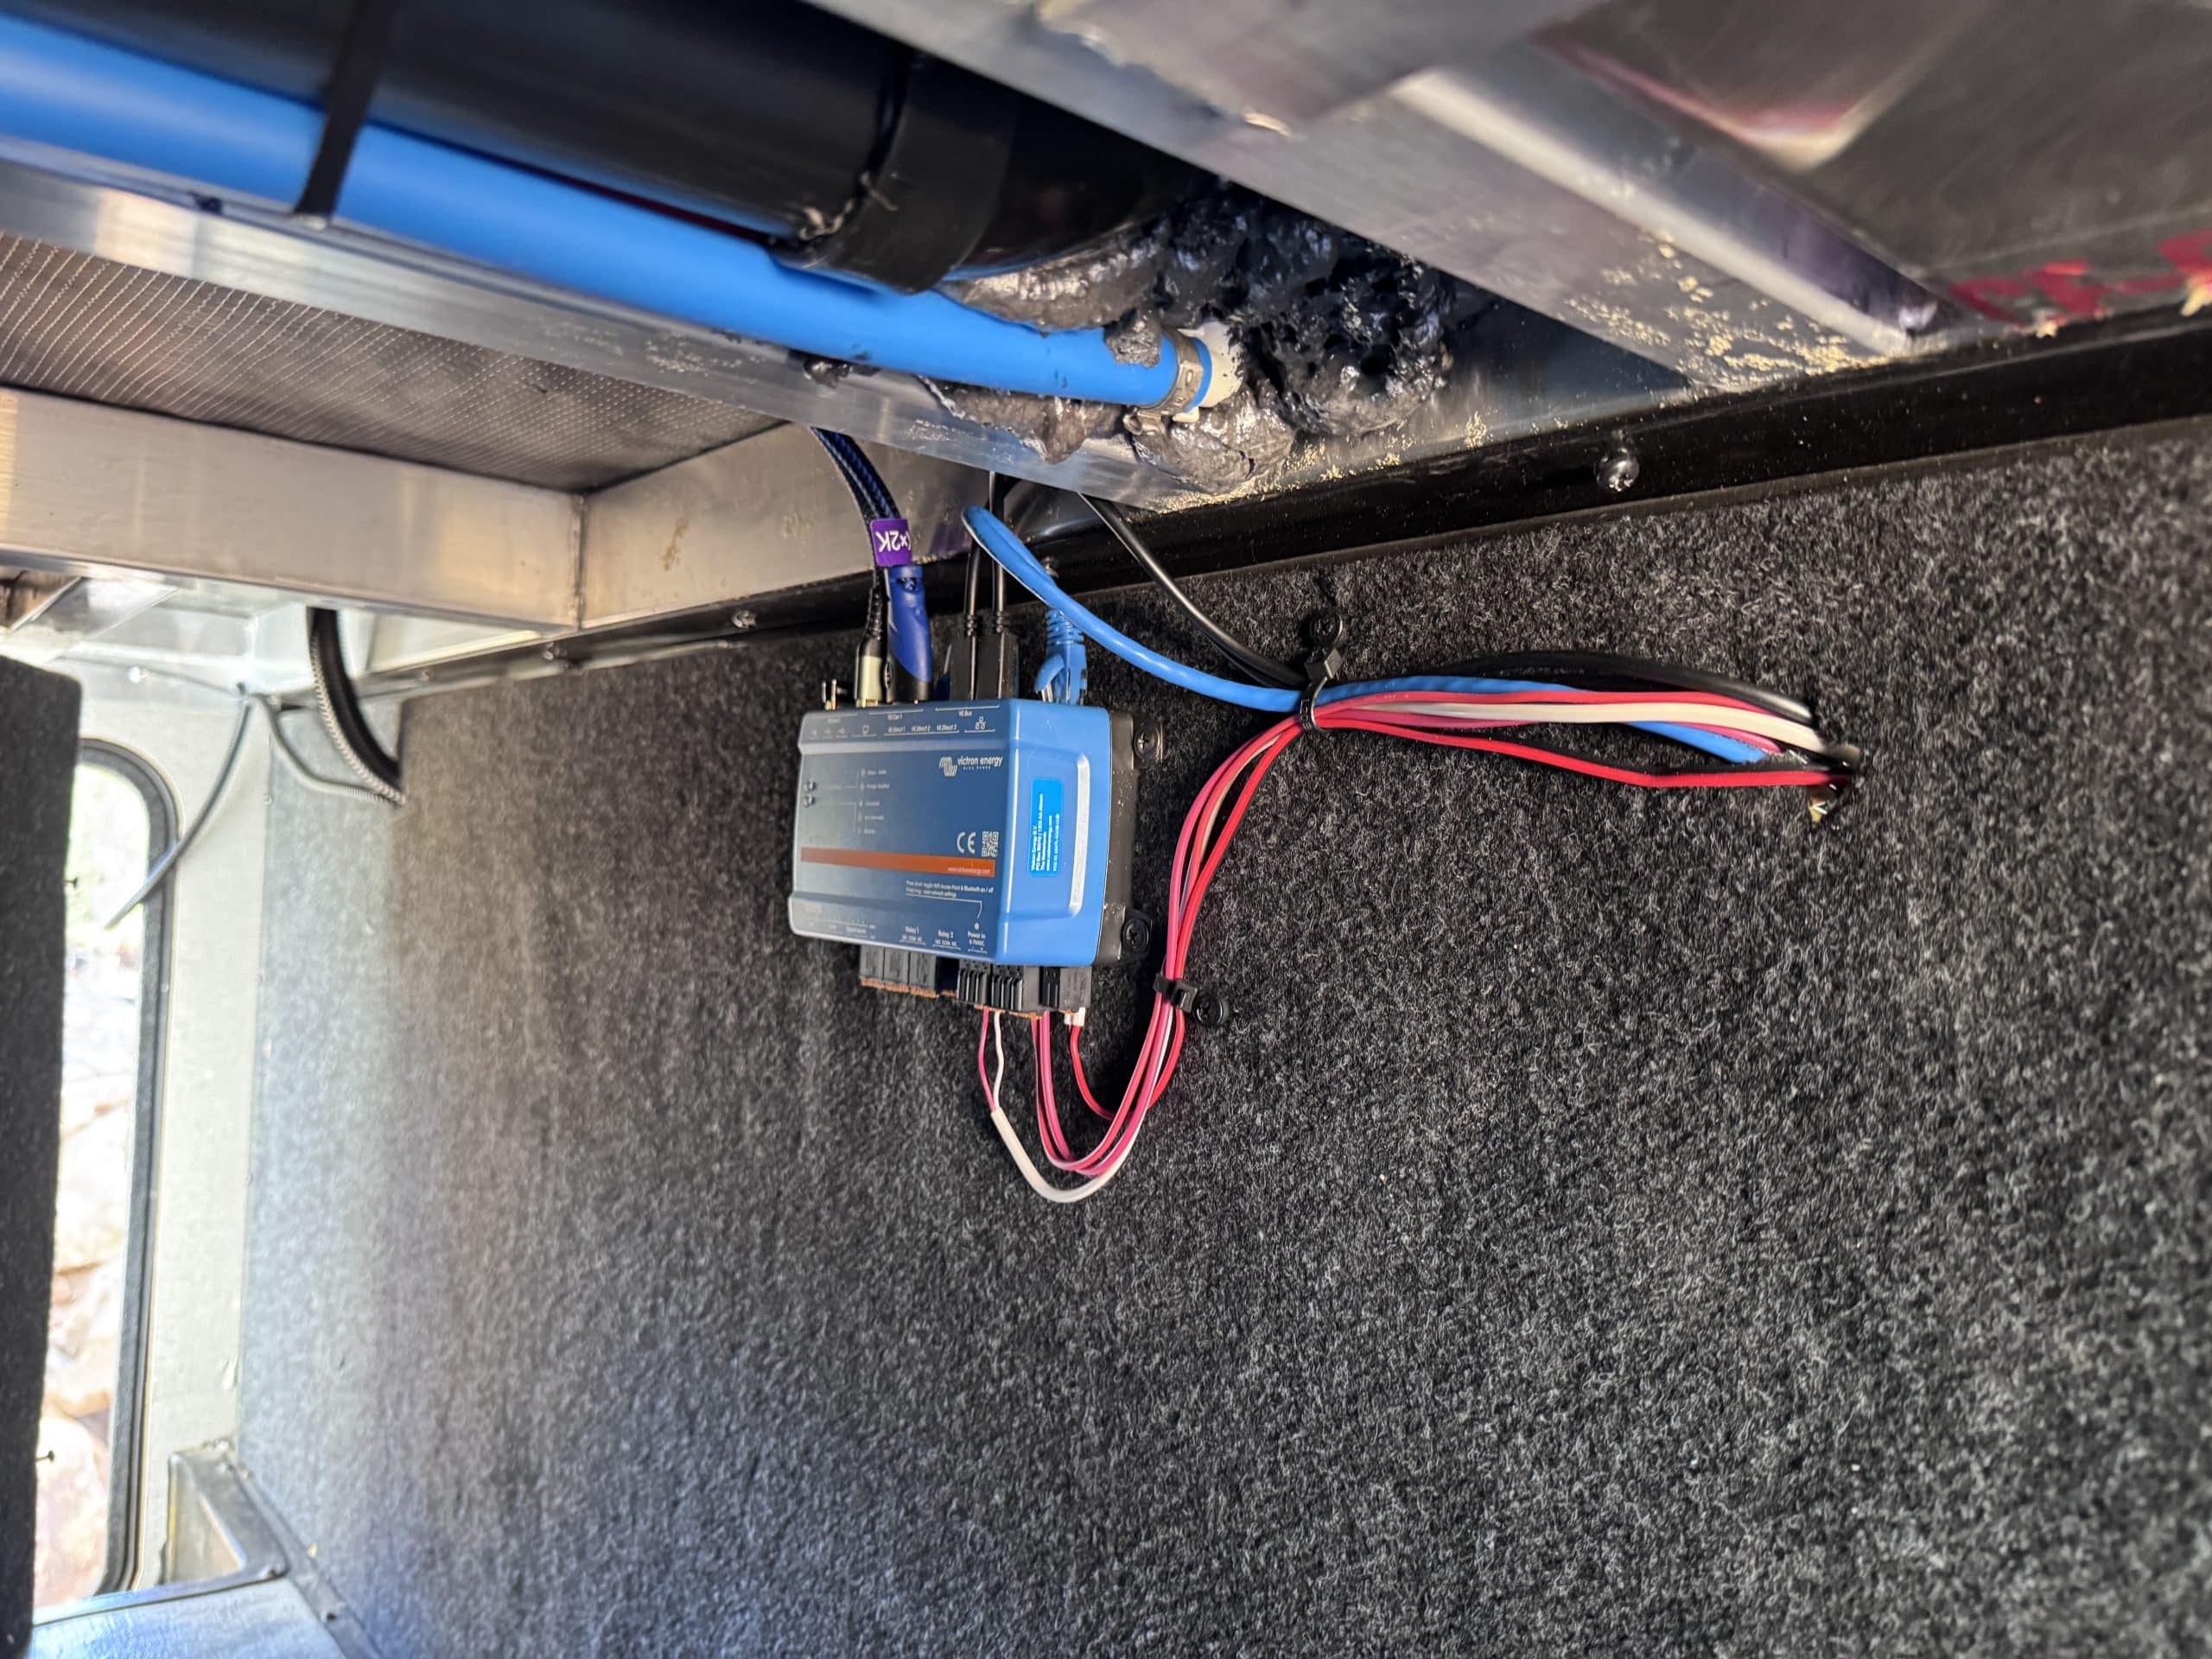
- Victron Cerbo GX MK II
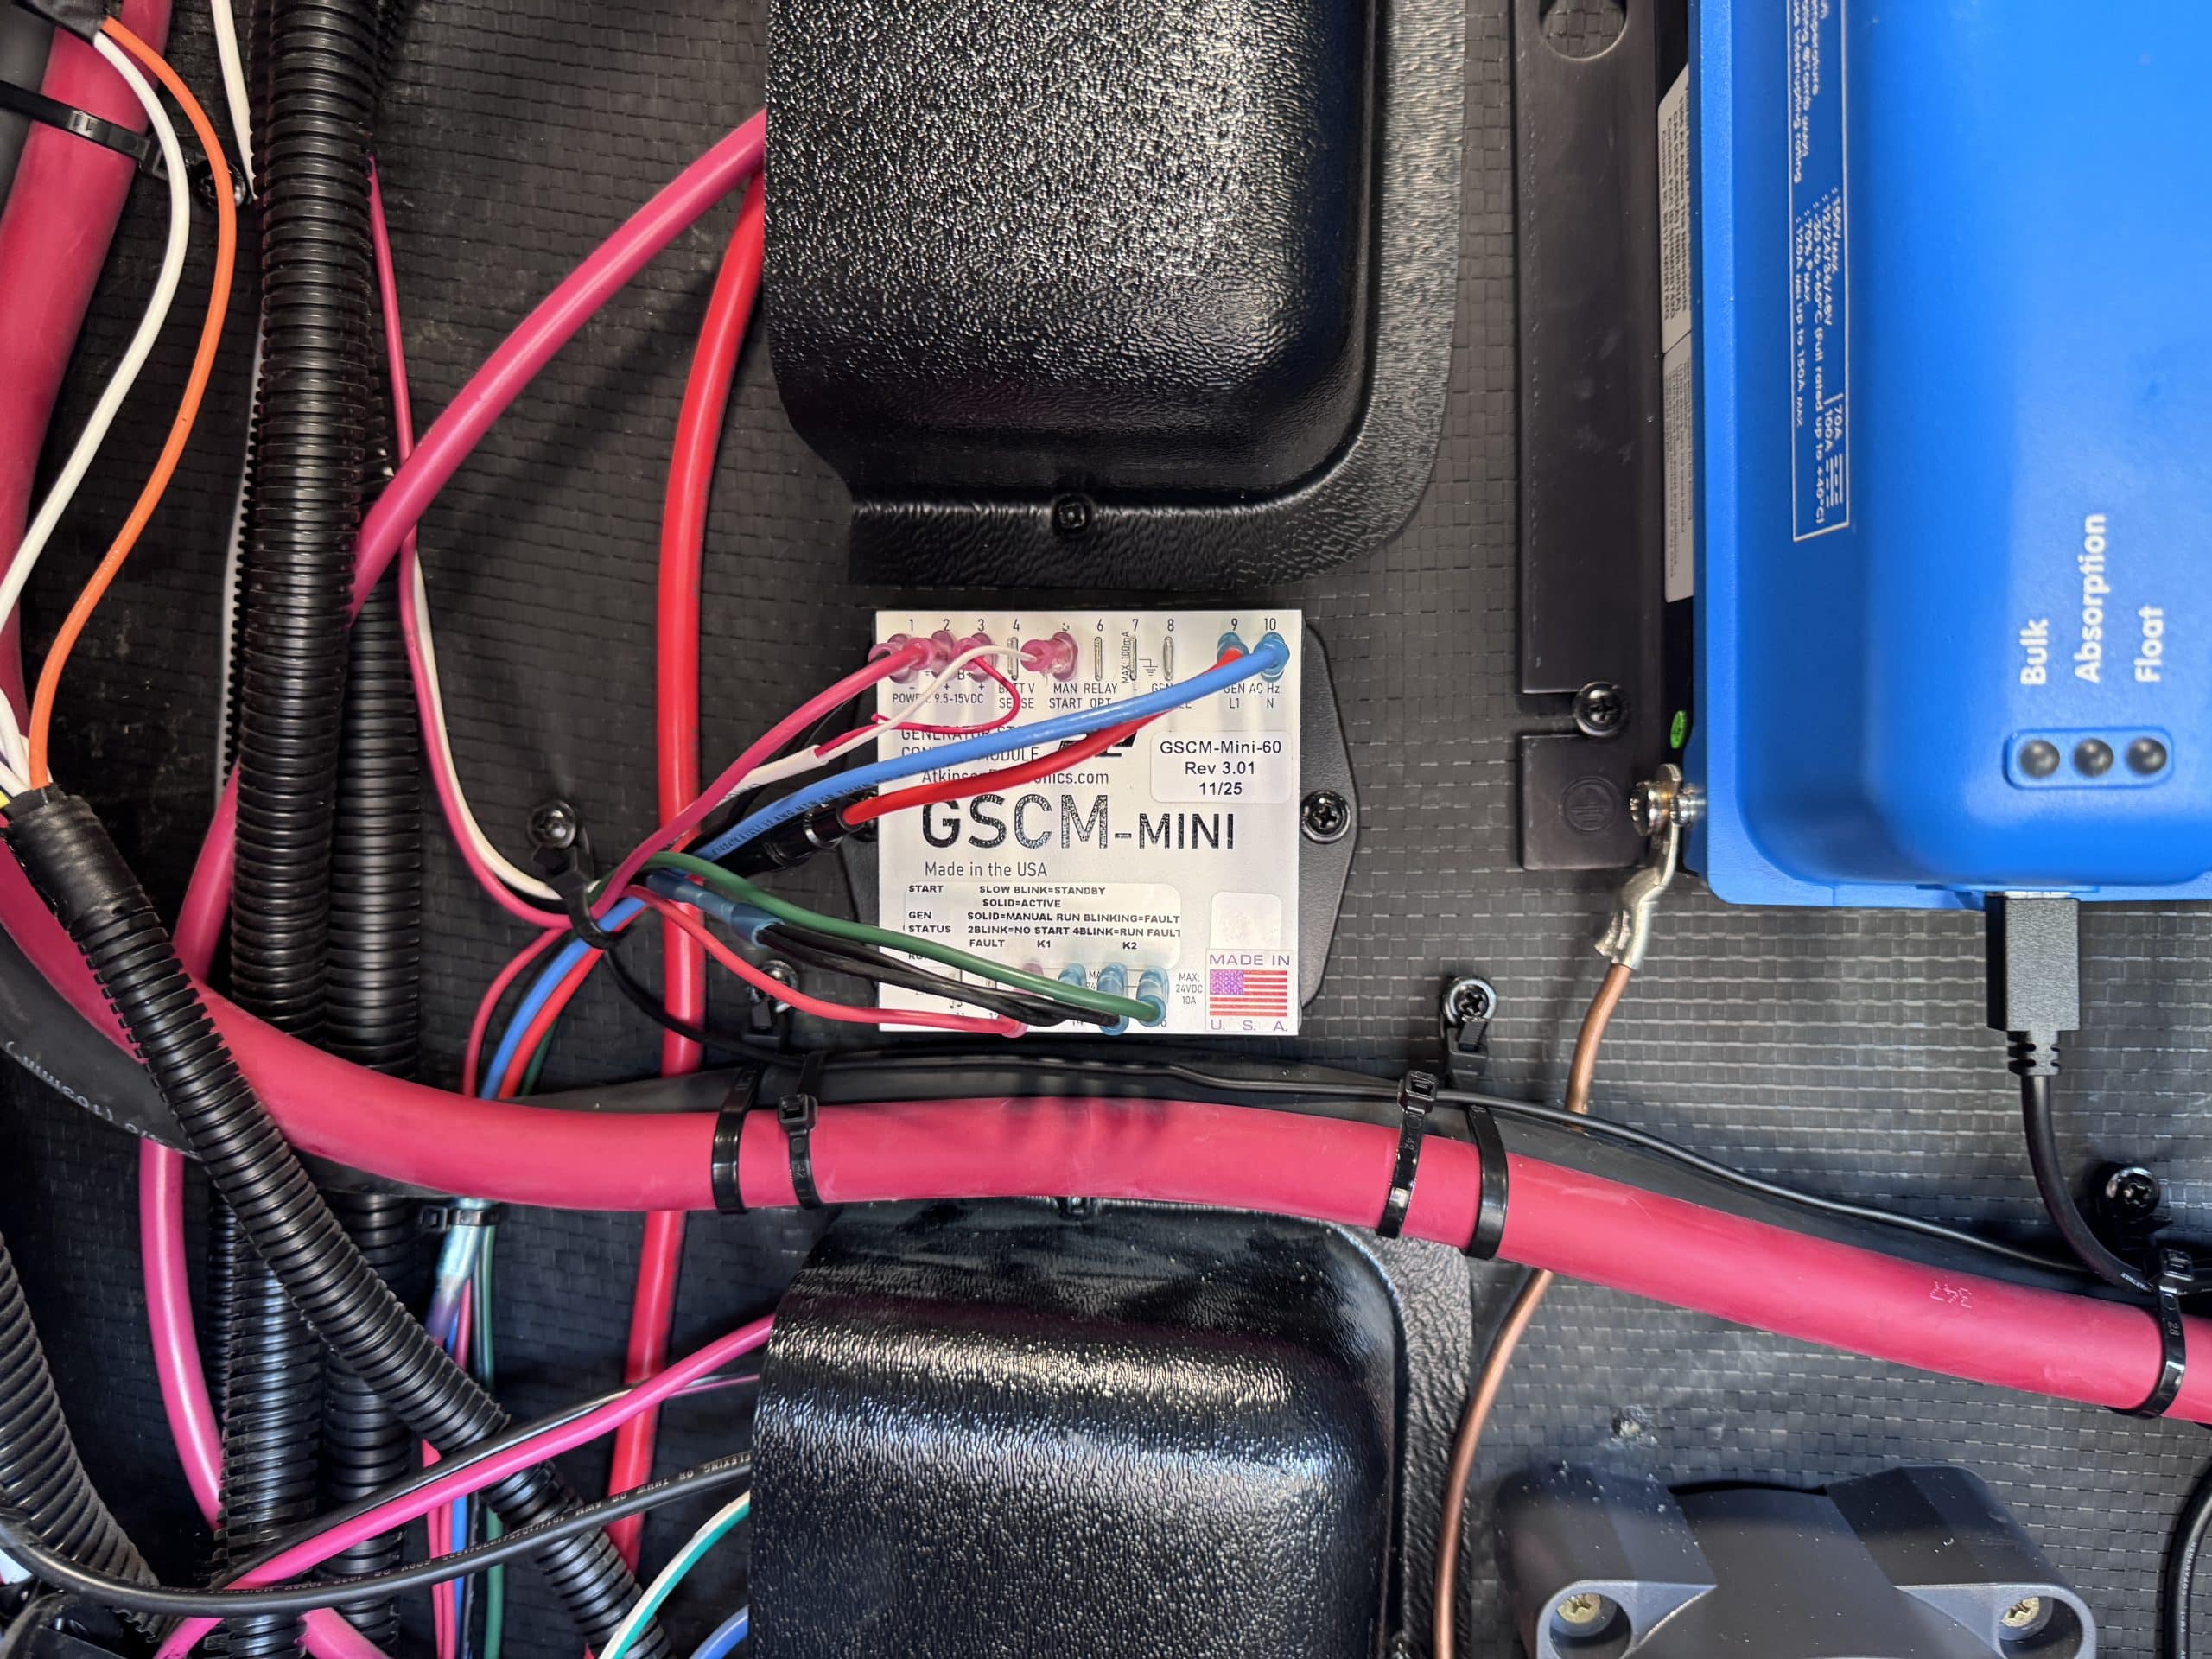
- Atkinson Electronics GSCM-Mini
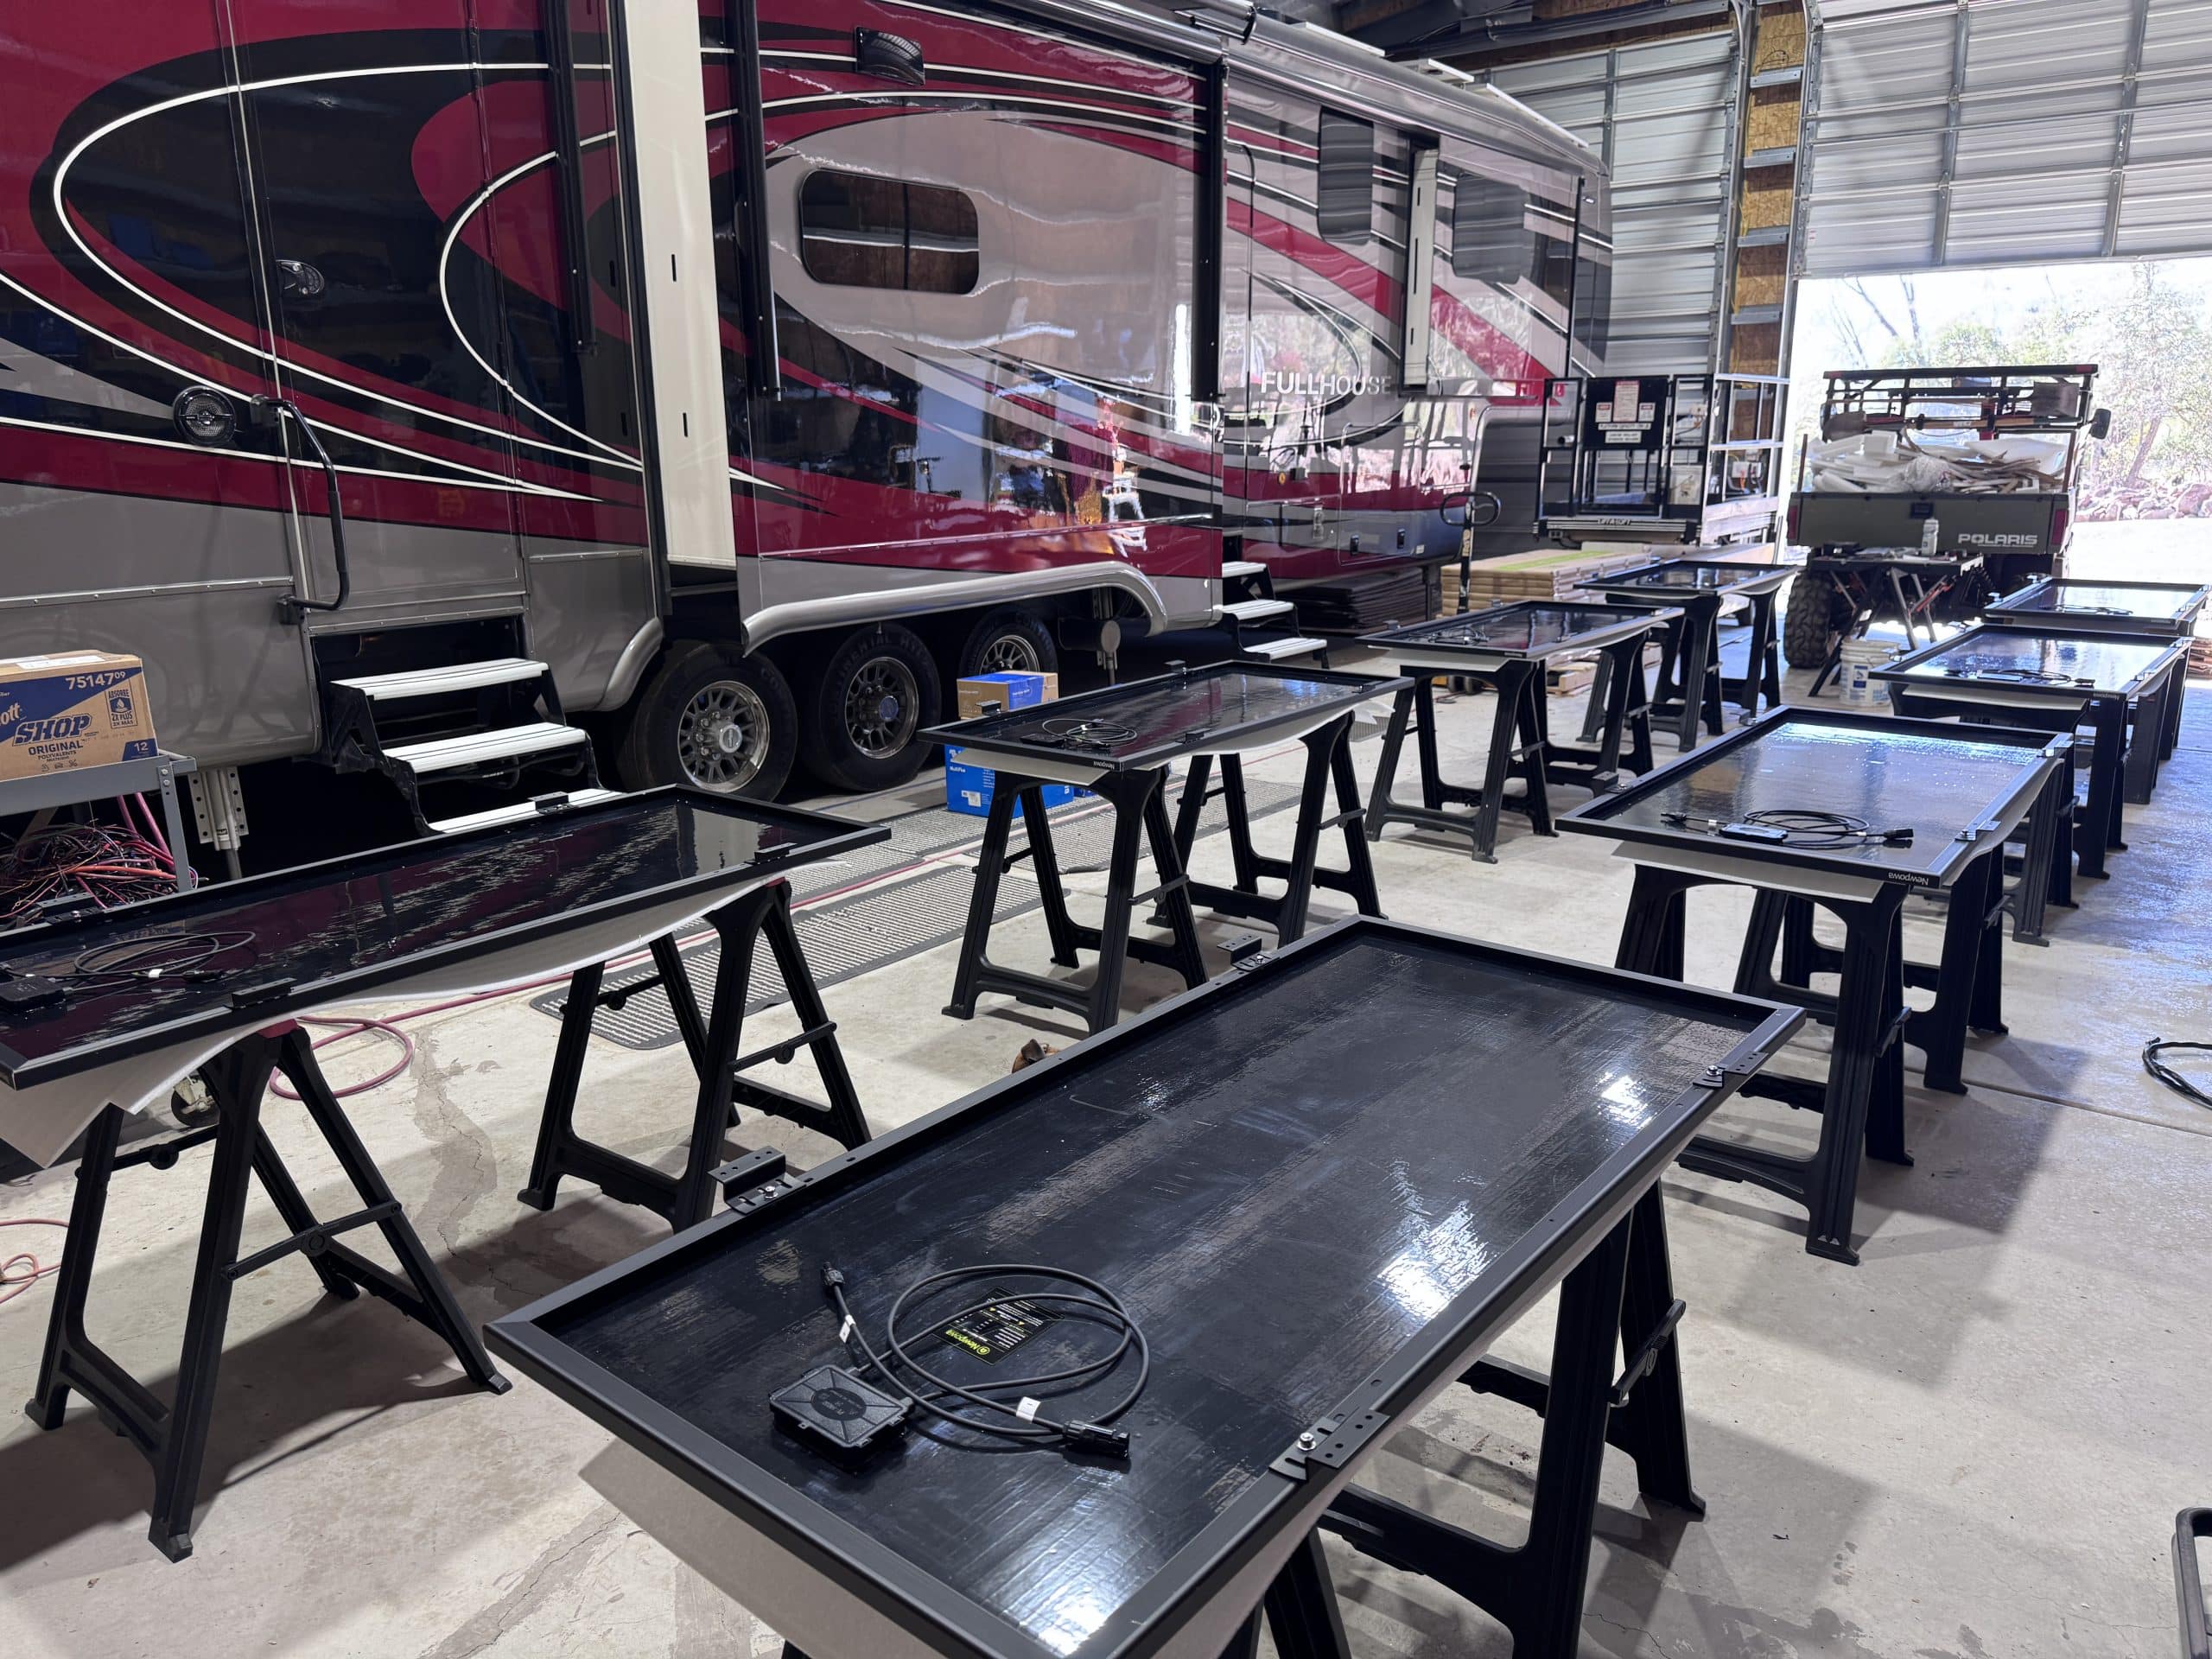
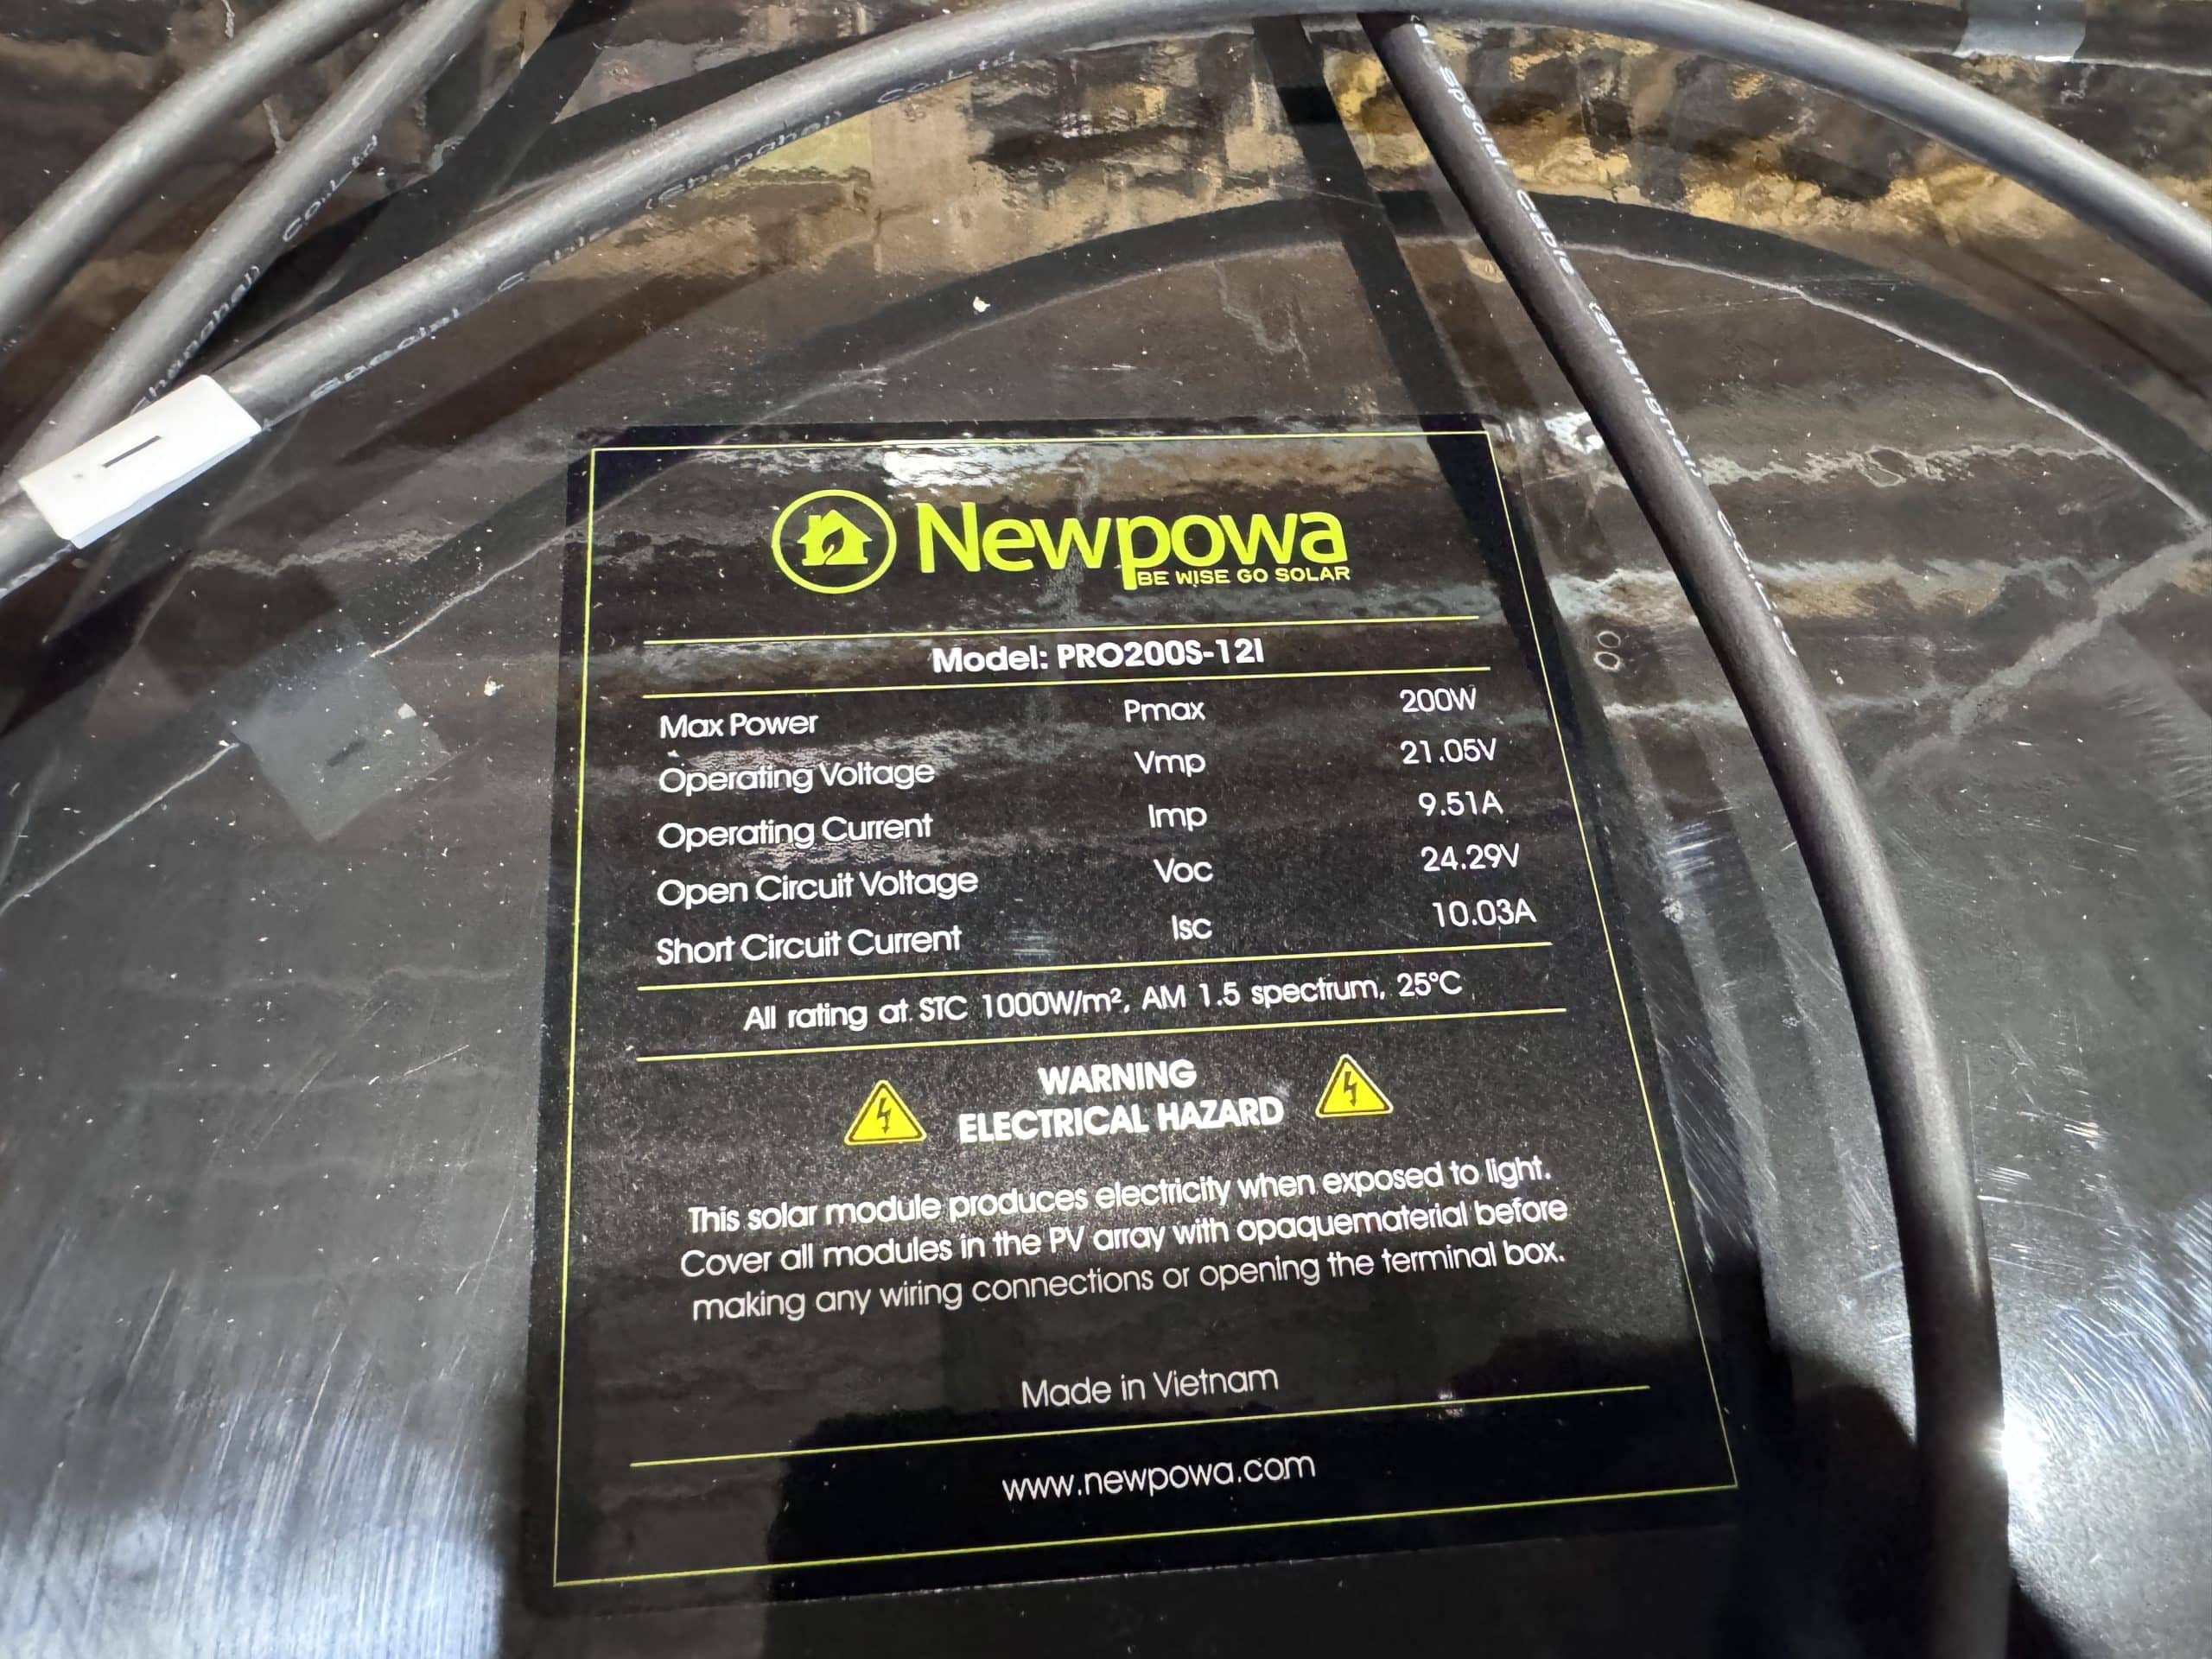
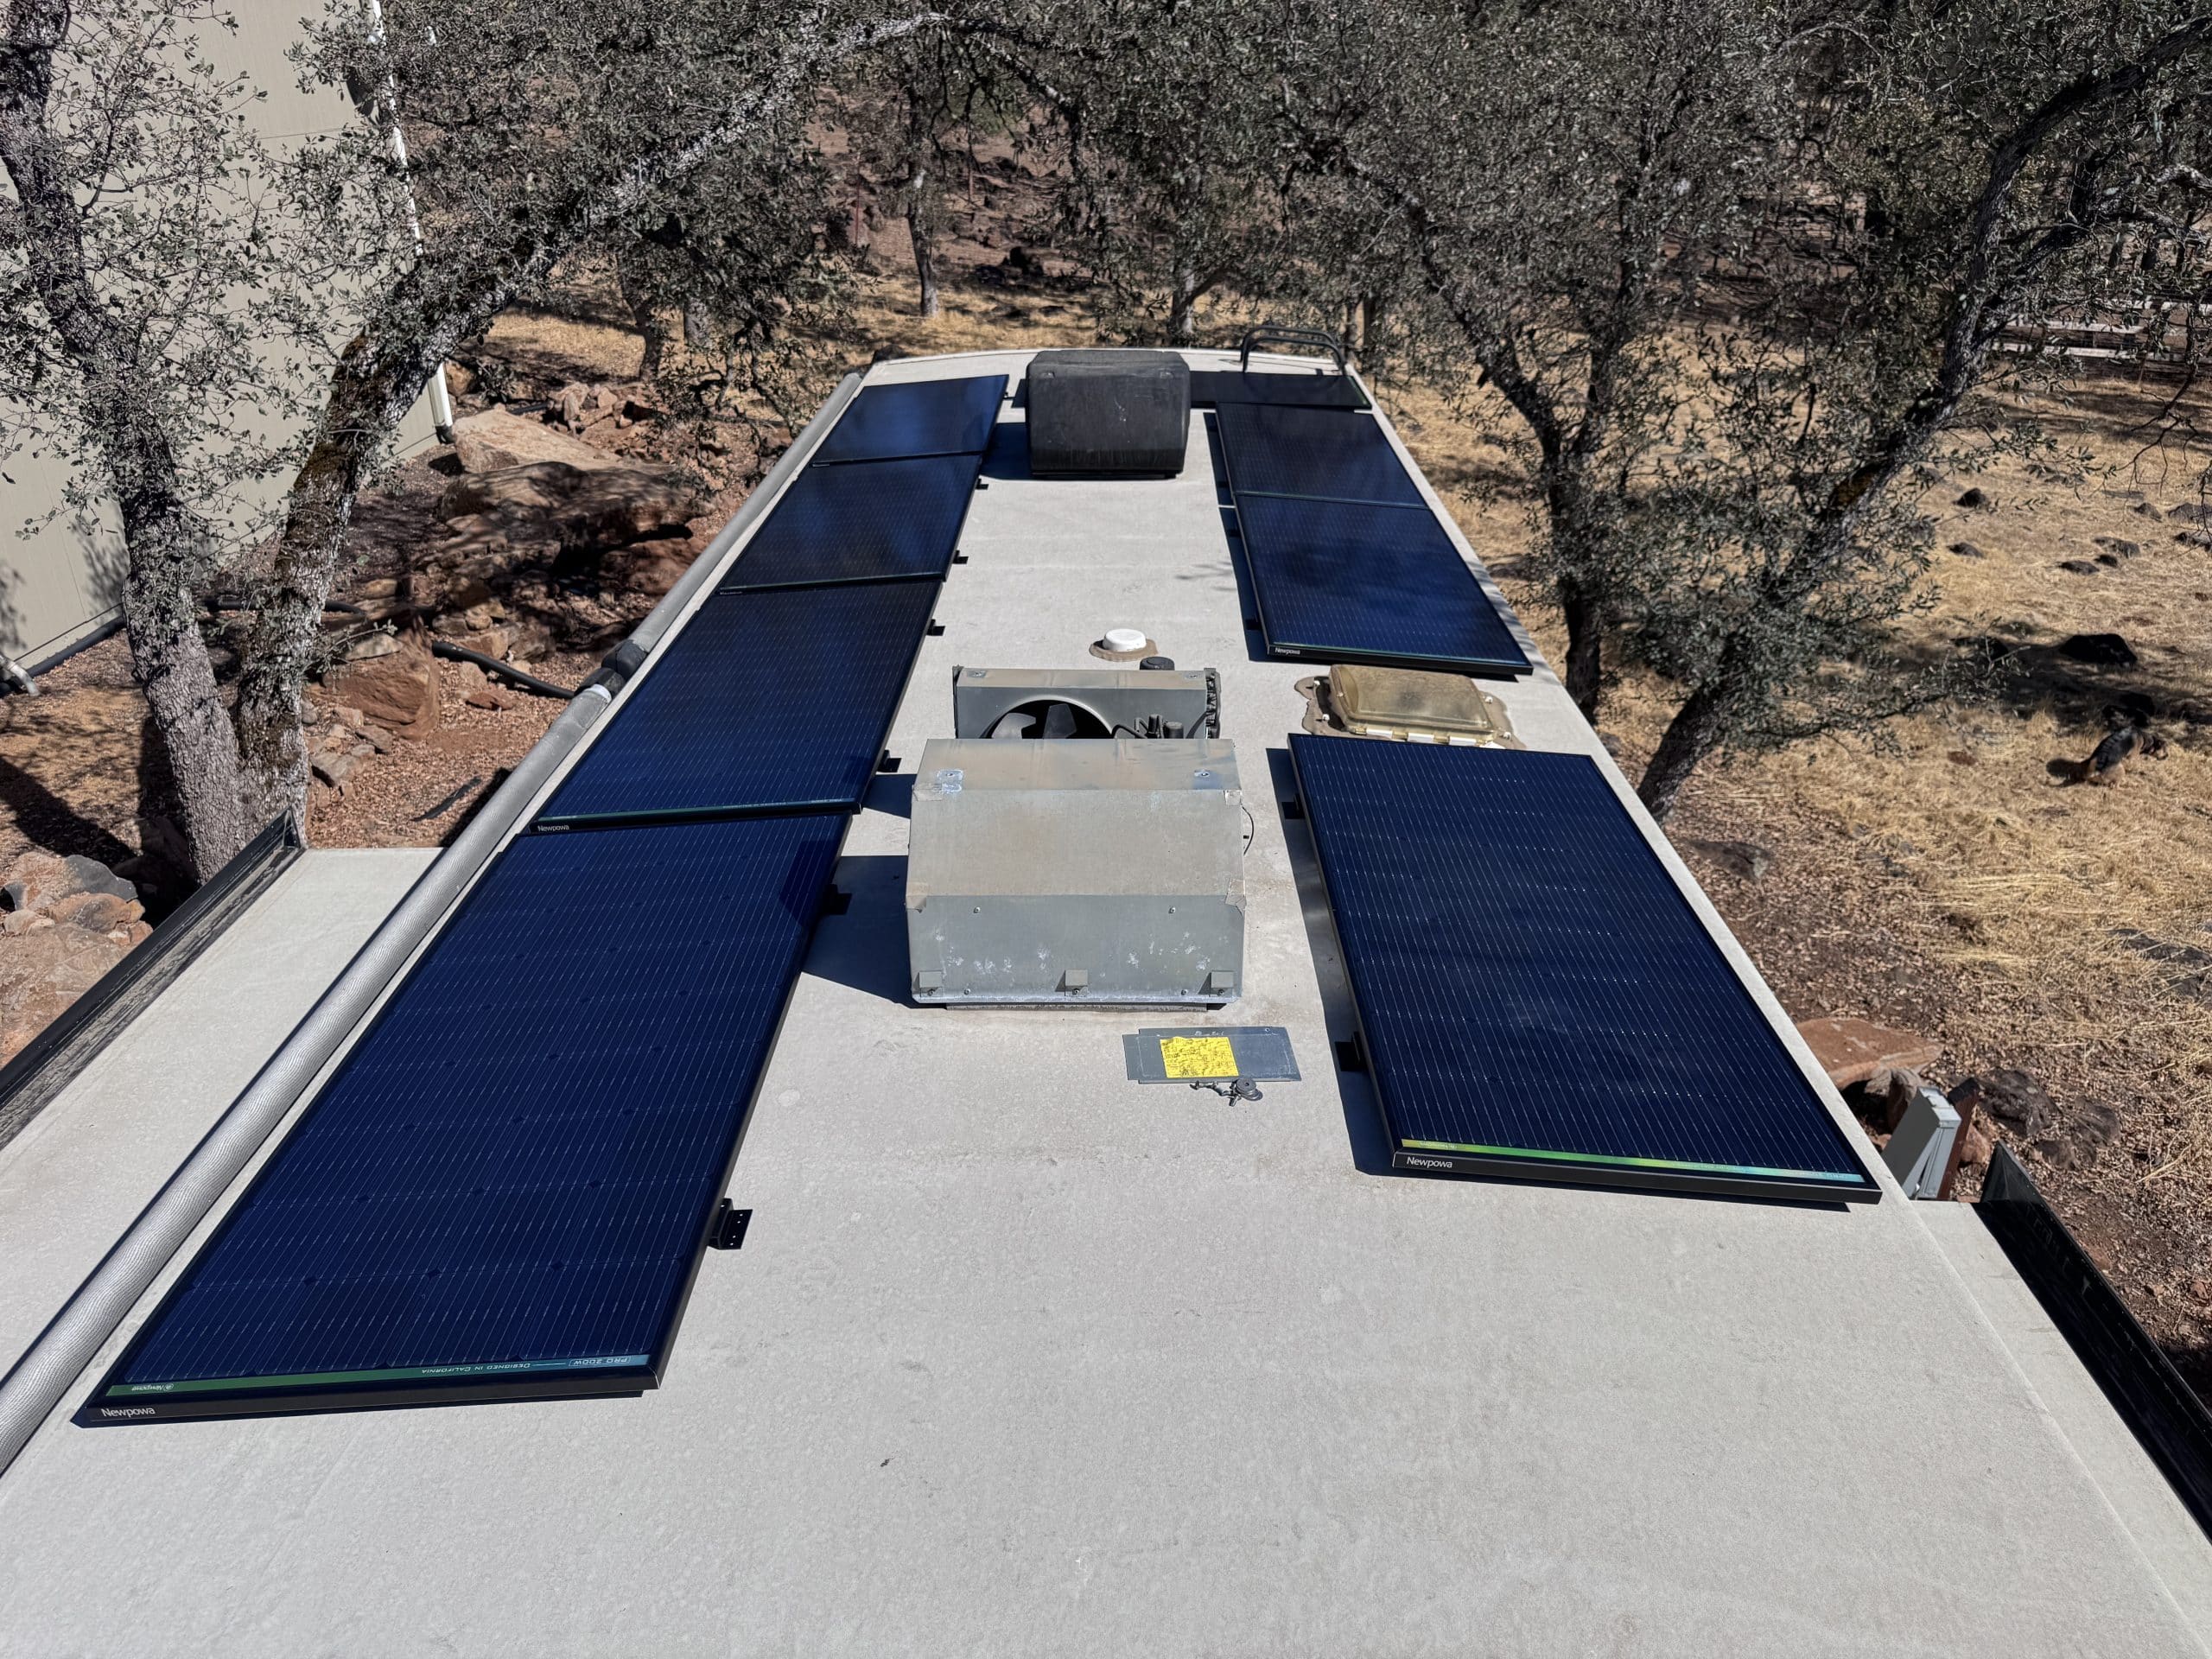
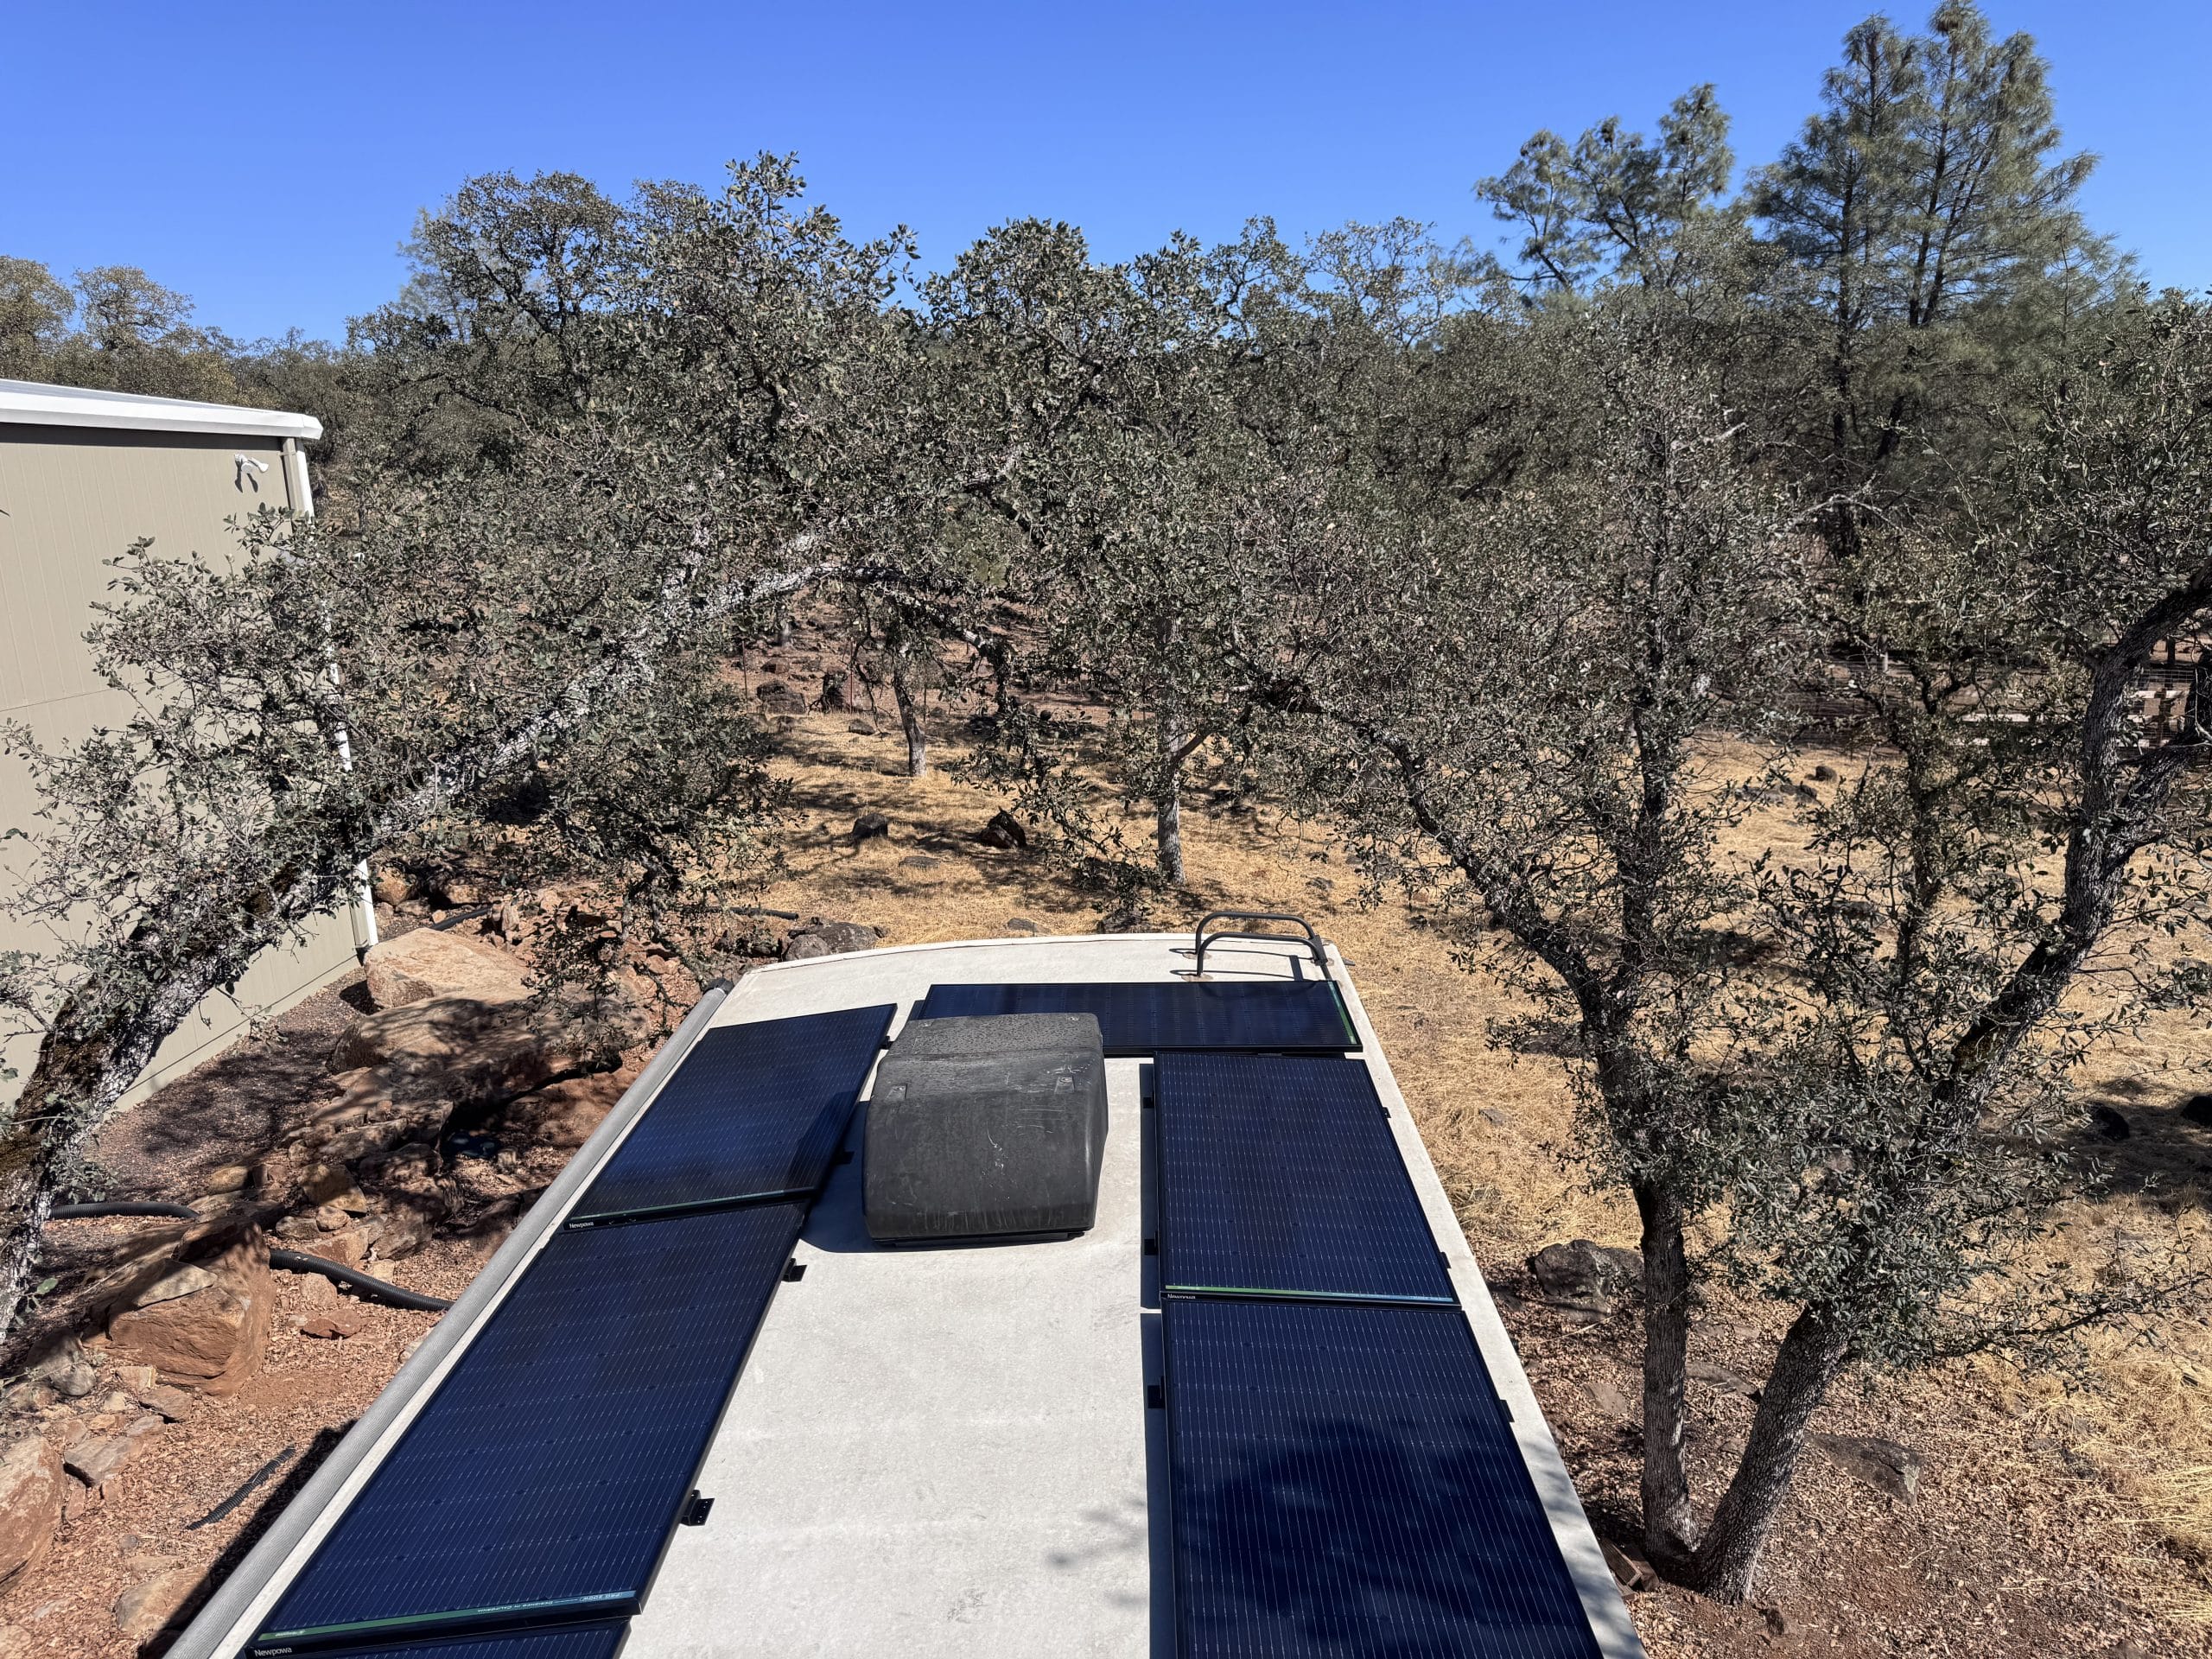
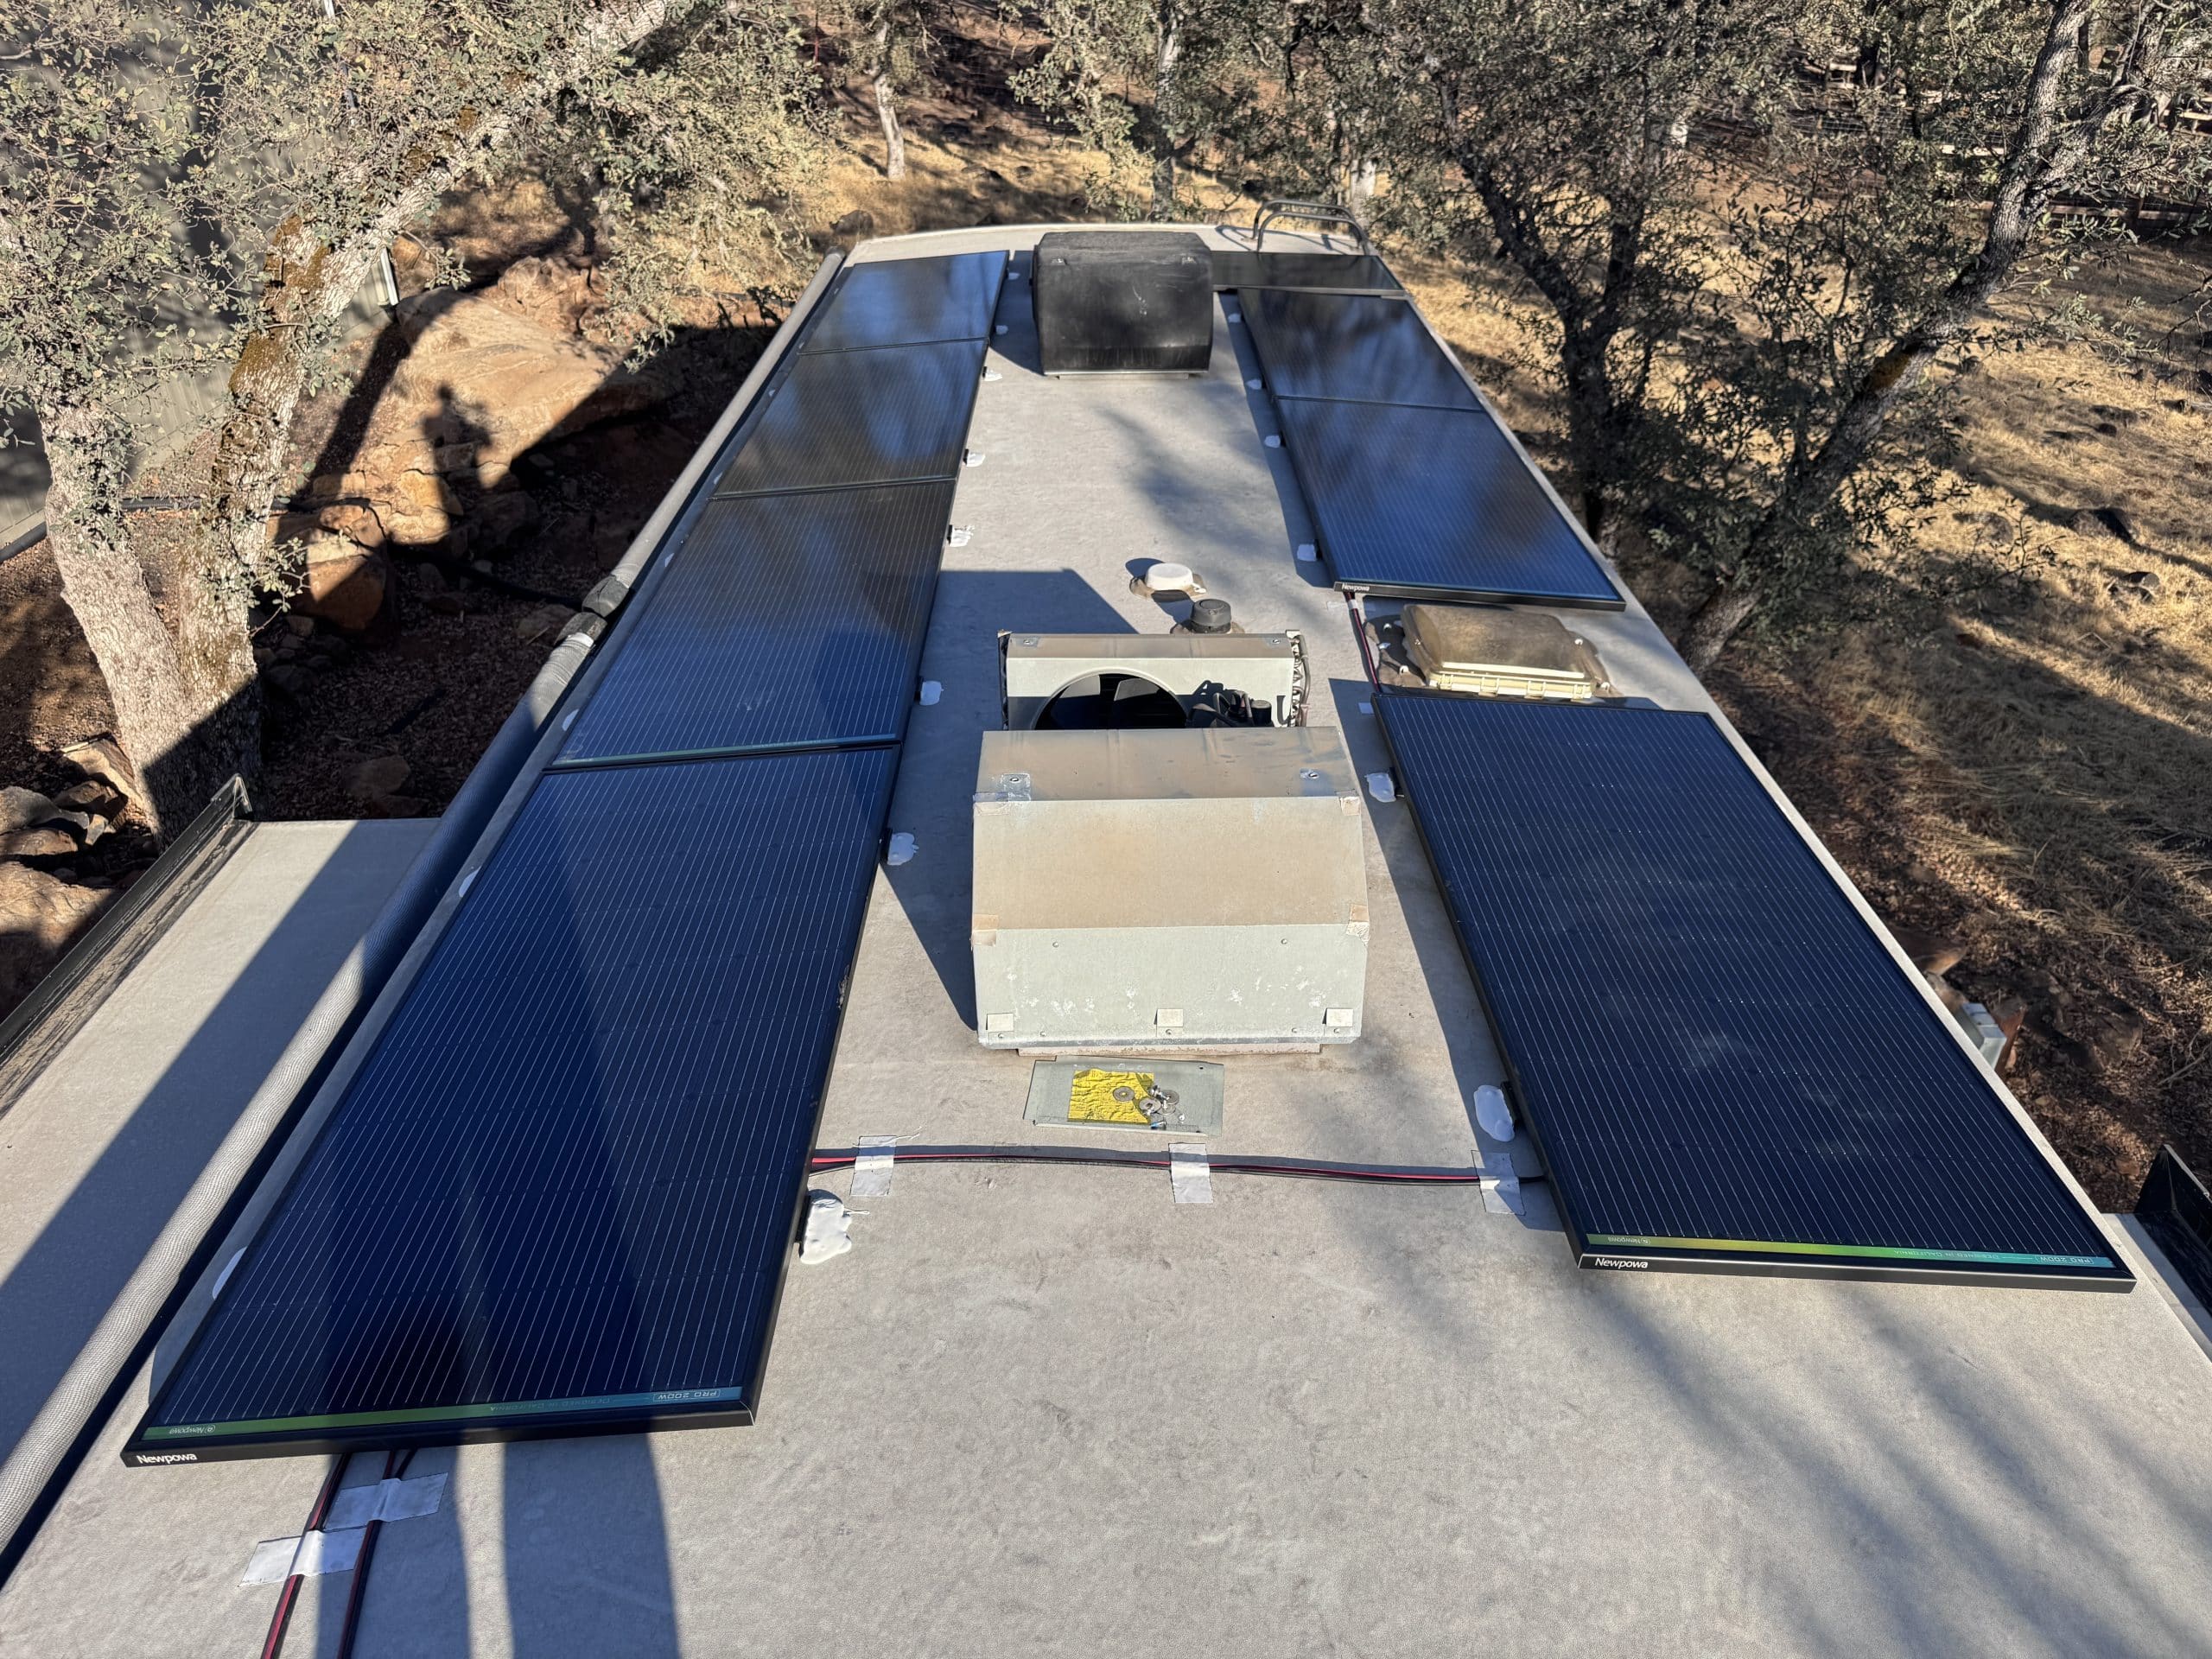
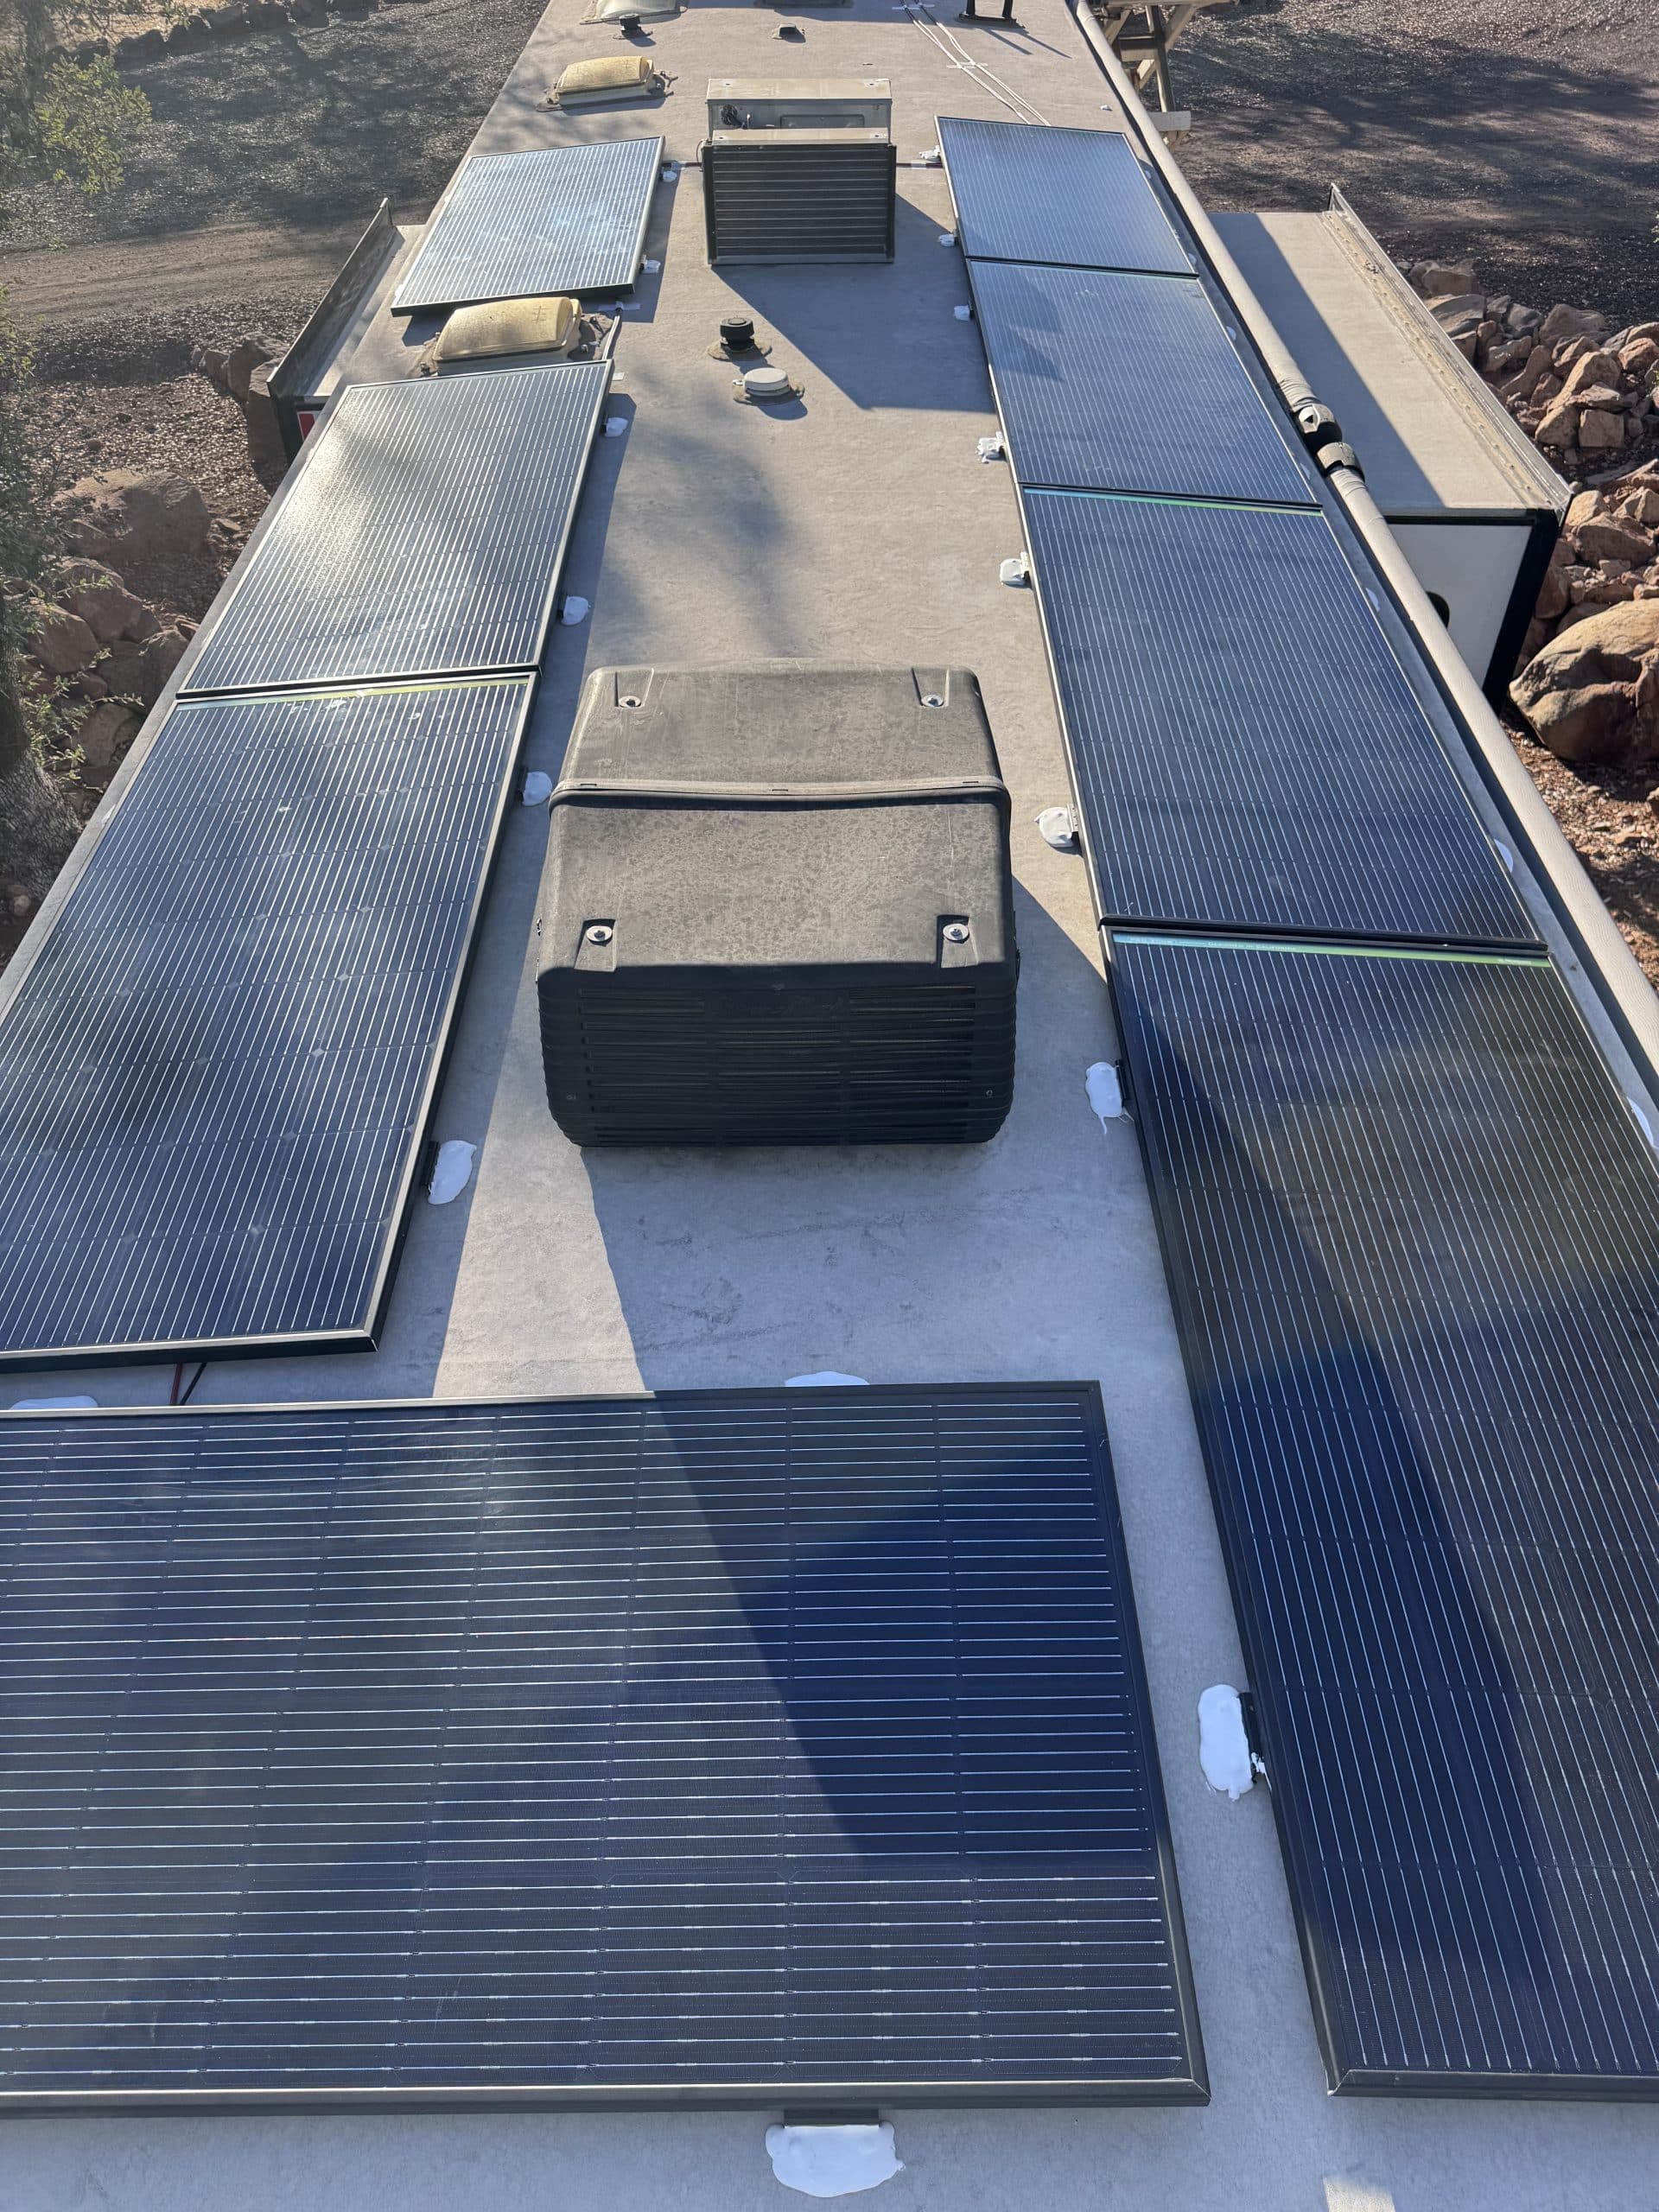
- 8 - Newpowa Solar Pro 200 Watt Solar Panels
- 32 - Aluminum Solar Panel Mounting Z Brackets with Stainless Steele Hardware
- 5' - 2 AWG Welding Cable - Red
- 5.25' - 2 AWG Welding Cable - Black
- Miscellaneous 2 AWG lugs
- Red and Black 1/2 " Heat Shrink Tuning
- 33' - 6/4 Portable Cord SOOW
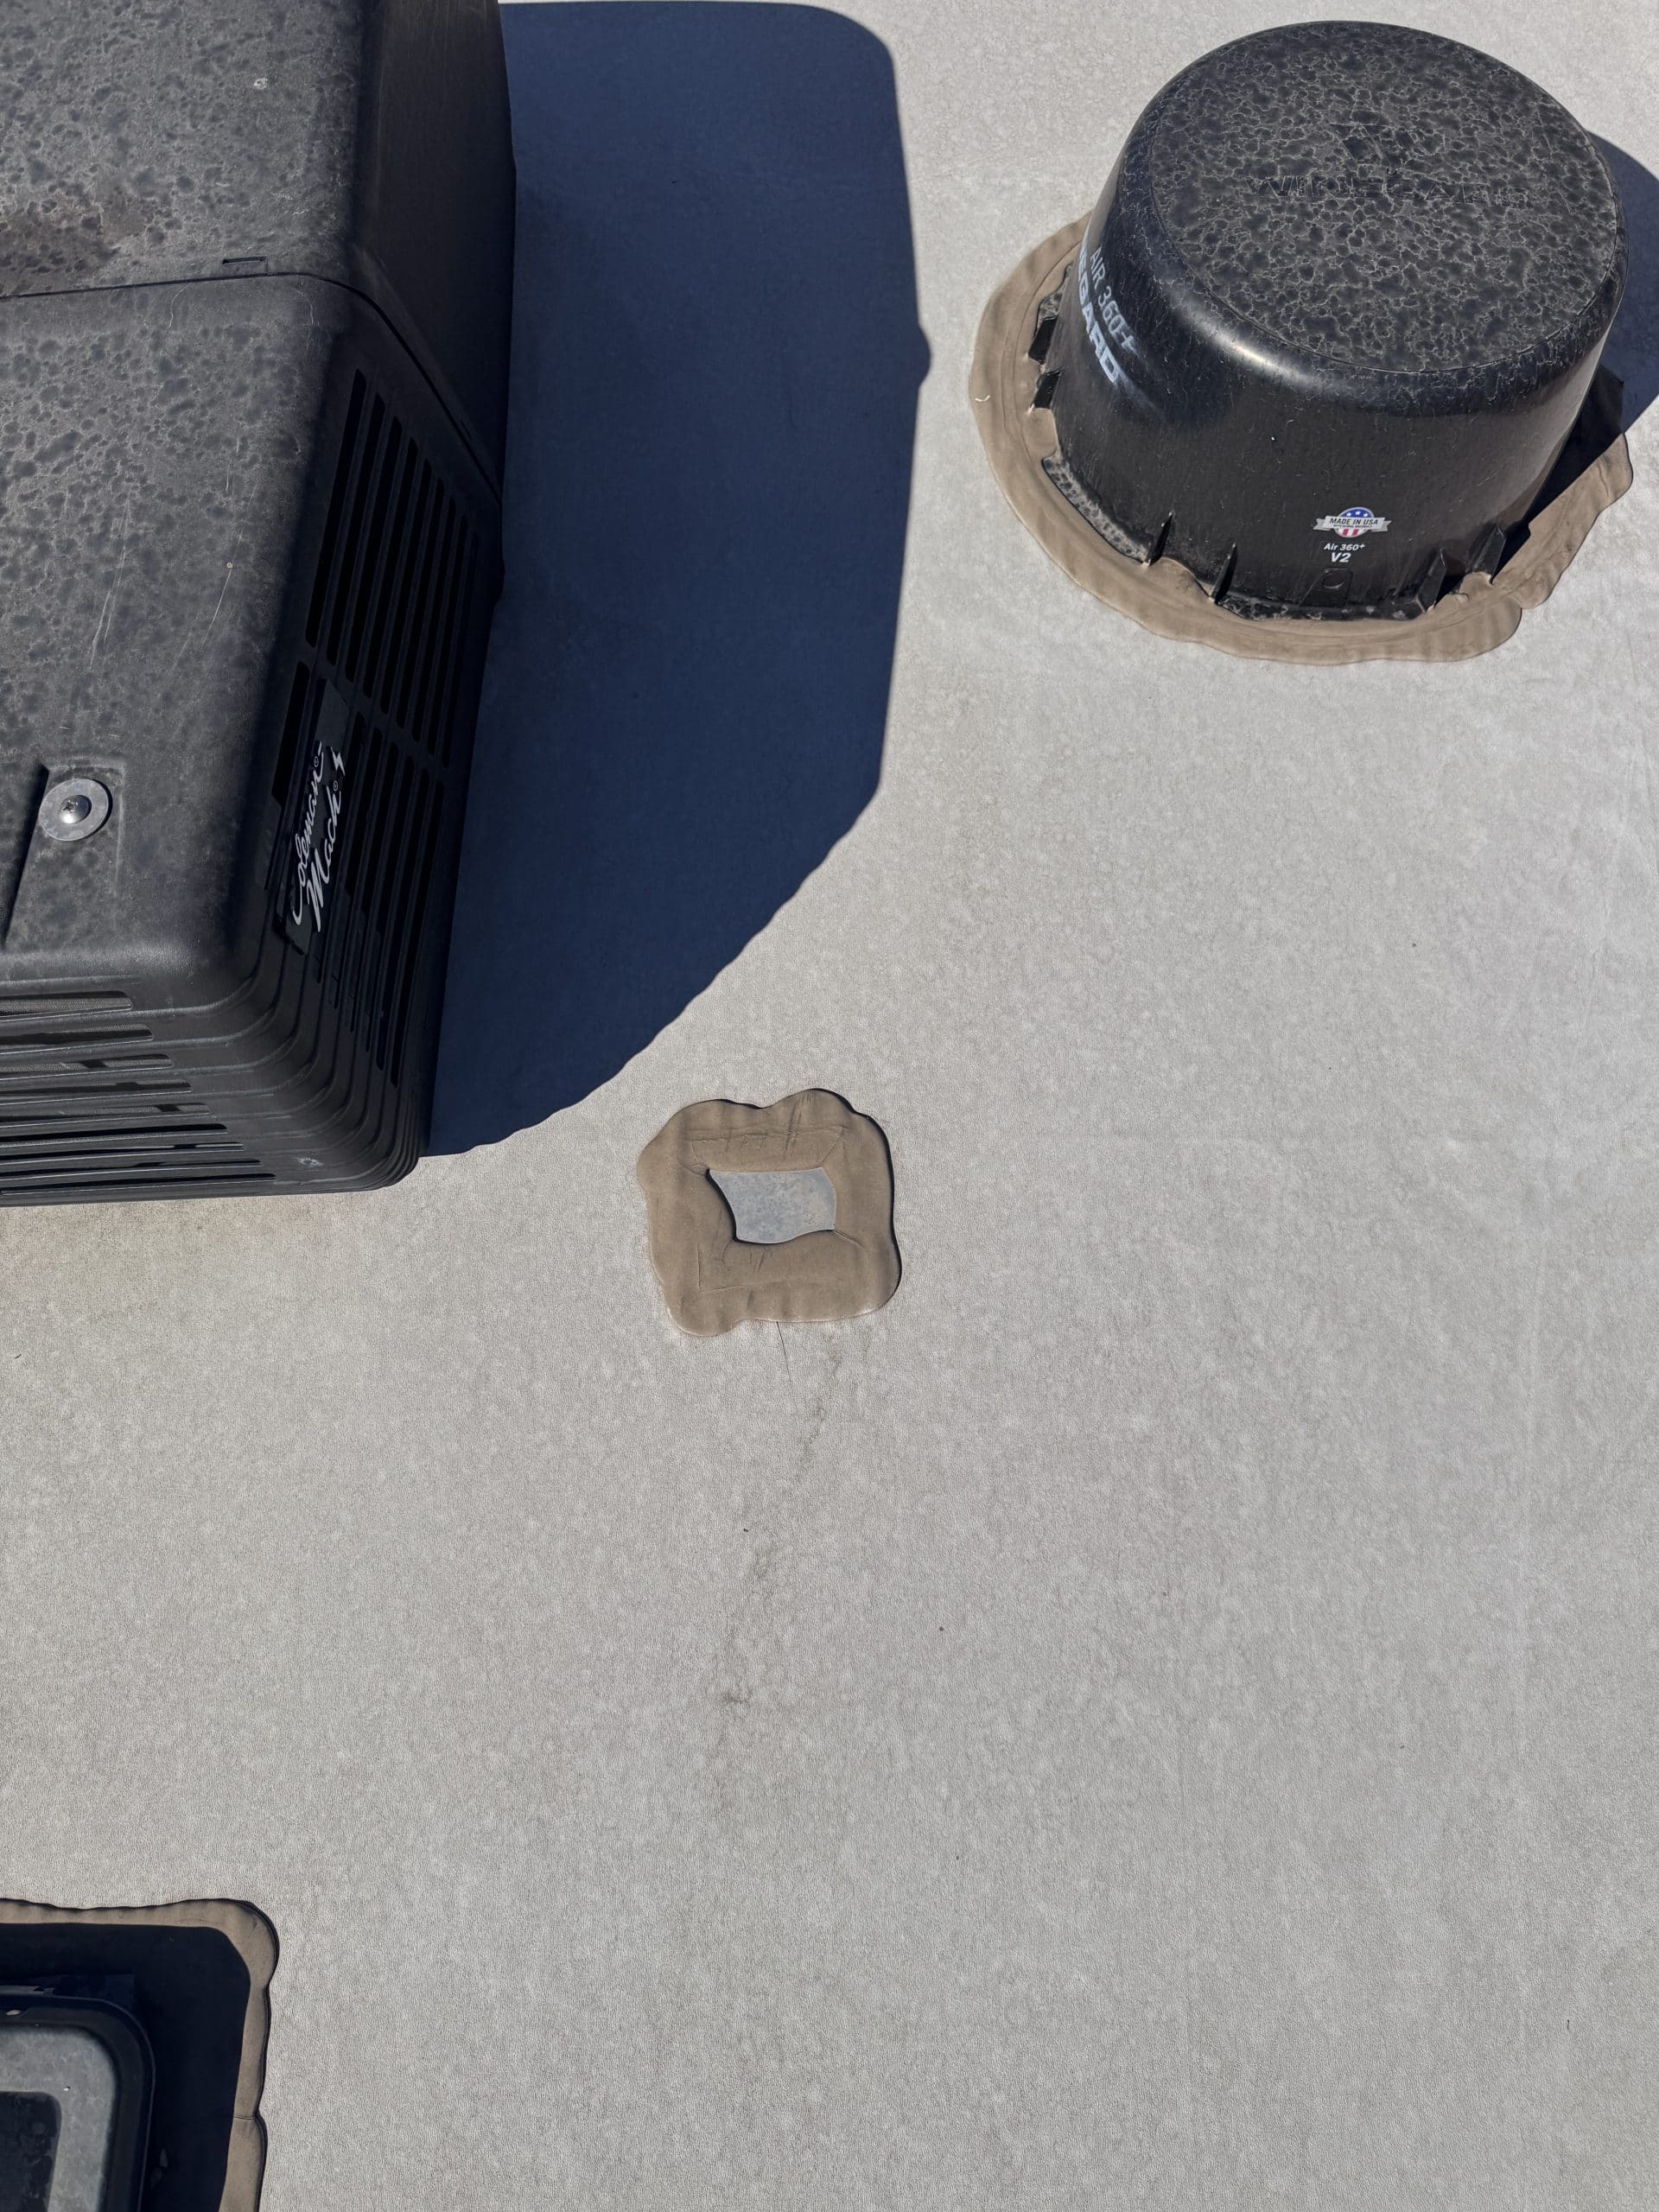
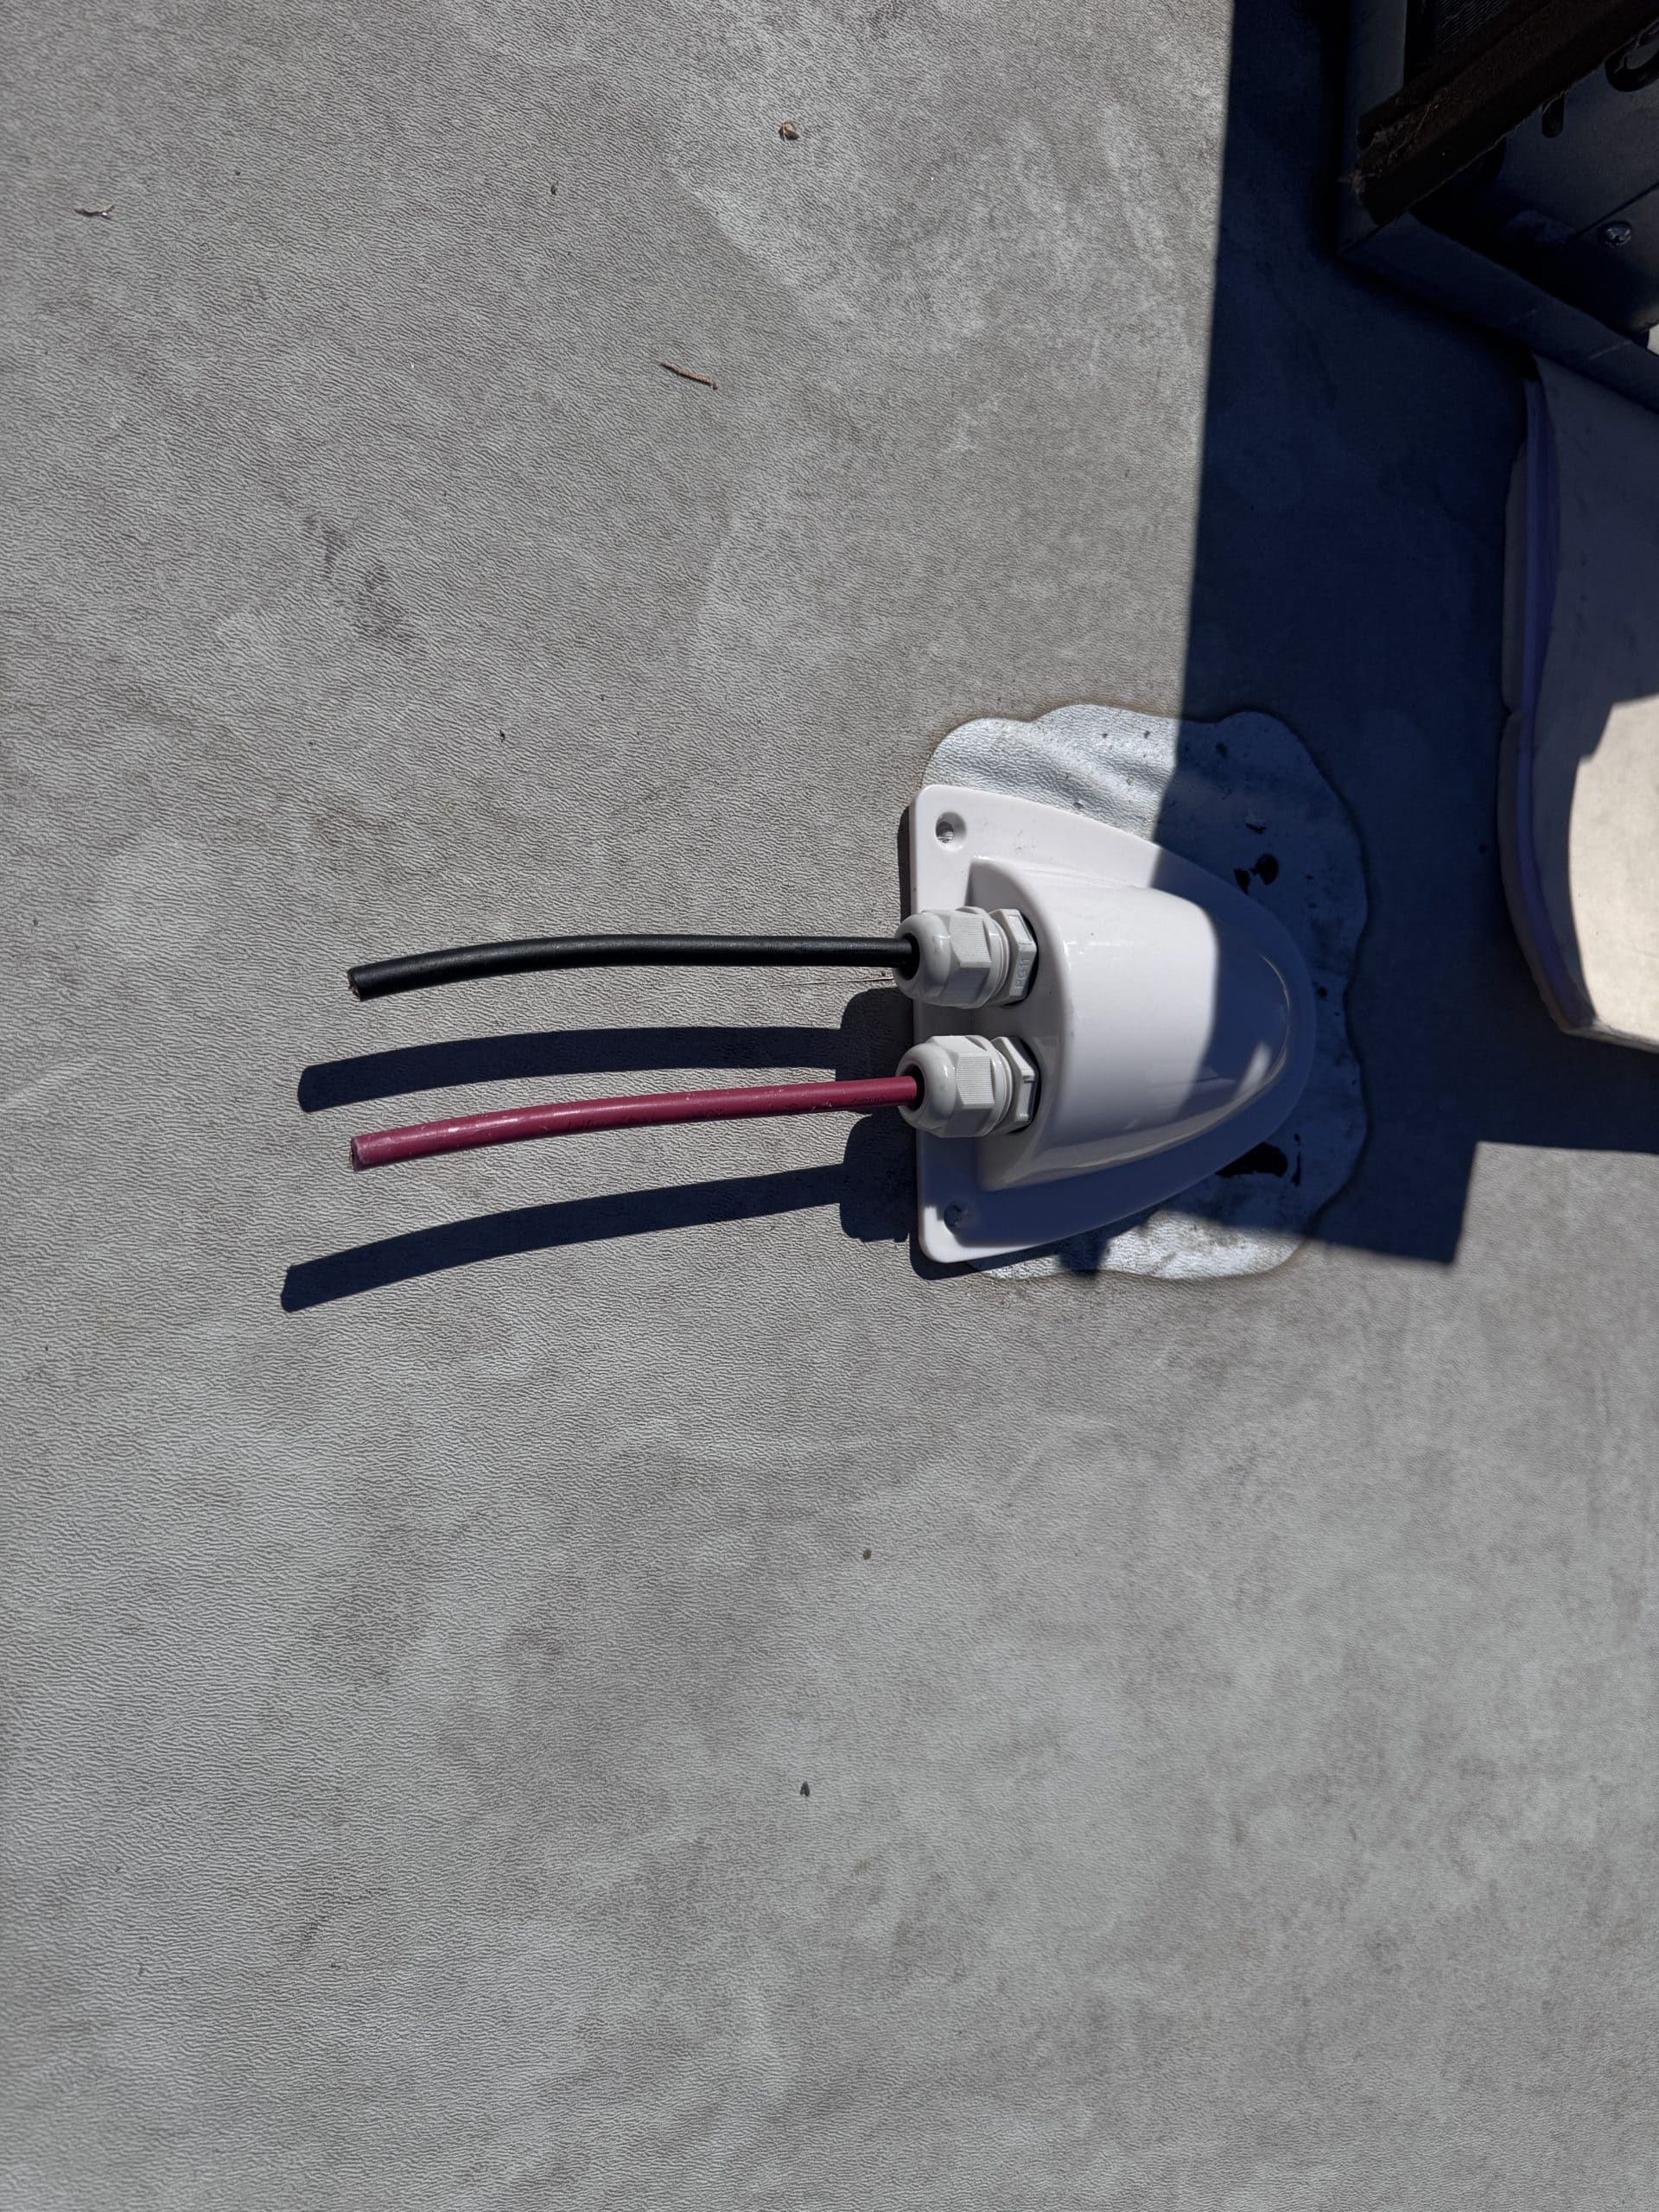
- Clamshell Roof Penetration Cover
- 8.56' - 4/0 AWG Welding Cable - Red
- 12.5' - 4/0 AWG Welding Cable - Black
- Miscellaneous 4/0 AWG Lugs
- Red and Black 1" Heat Shrink Tubing
- Midnite Solar Baby Box Enclosure
- 30 Amp MNEPV breaker for Midnite Solar Baby Box Enclosure
- MC4 Male/Female Solar Panel Cable Connectors
- MC4 Y Solar Panel Cable Connectors
- 126' - 10 AWG PV cable
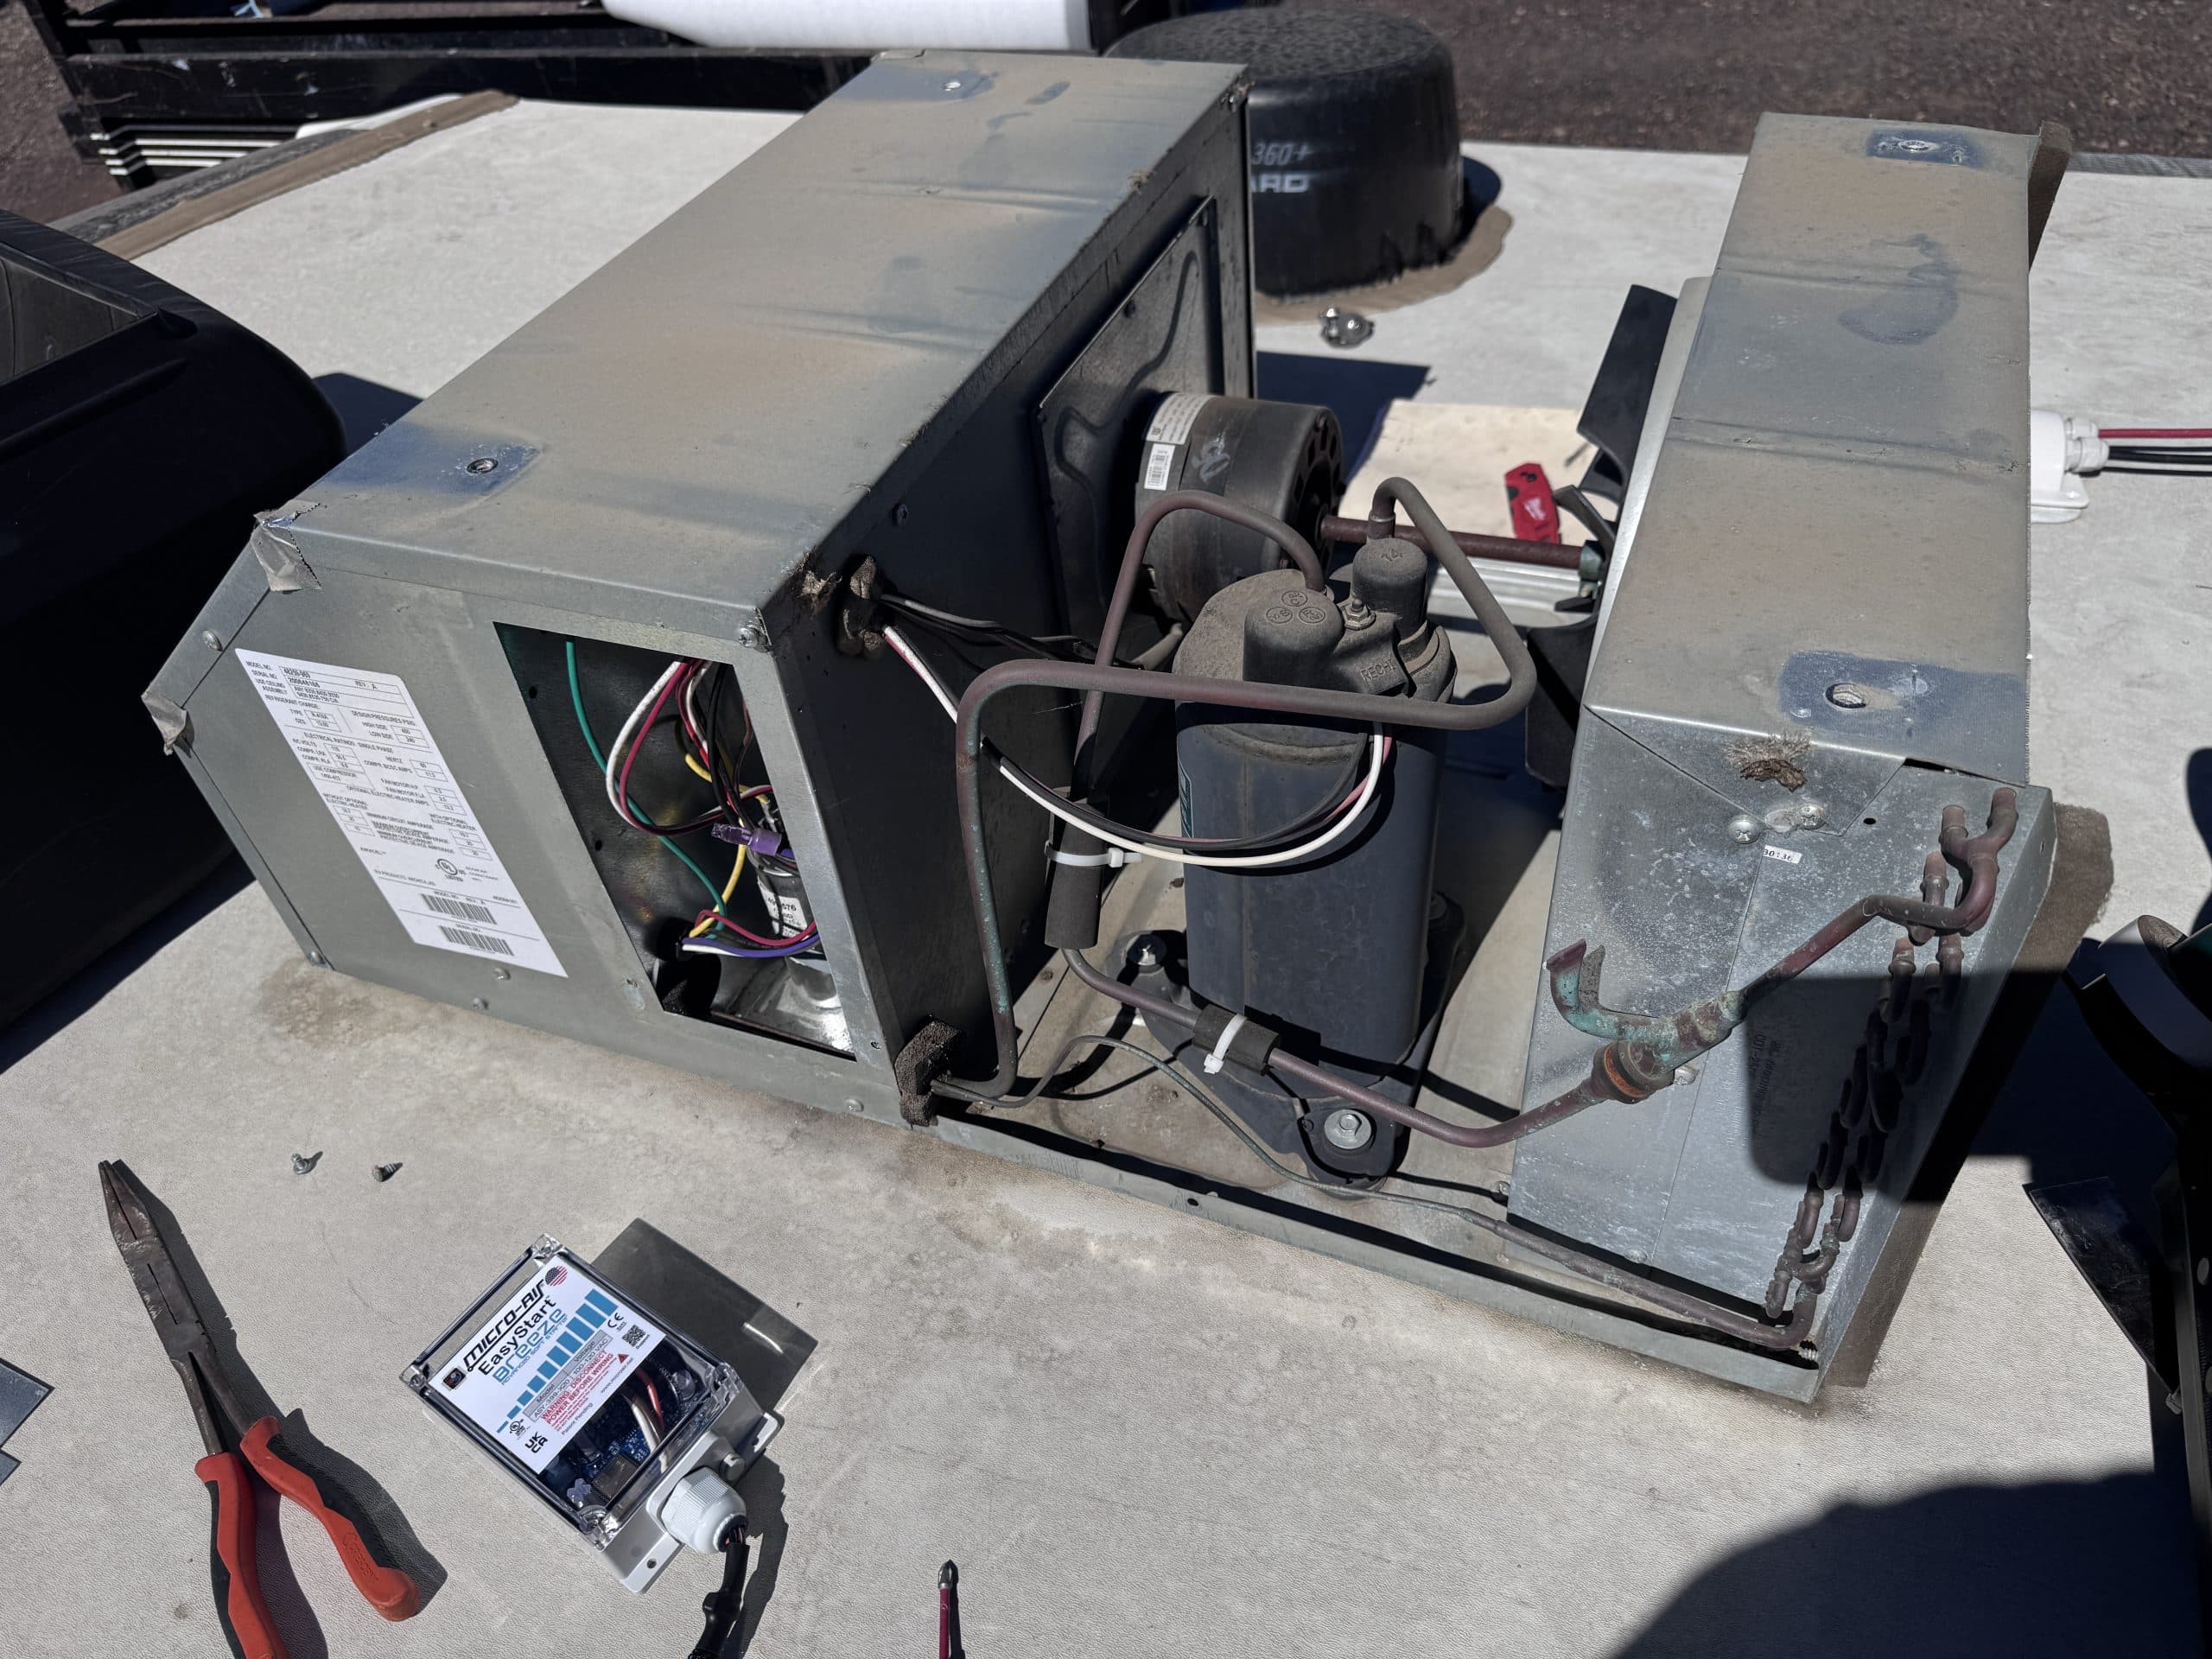
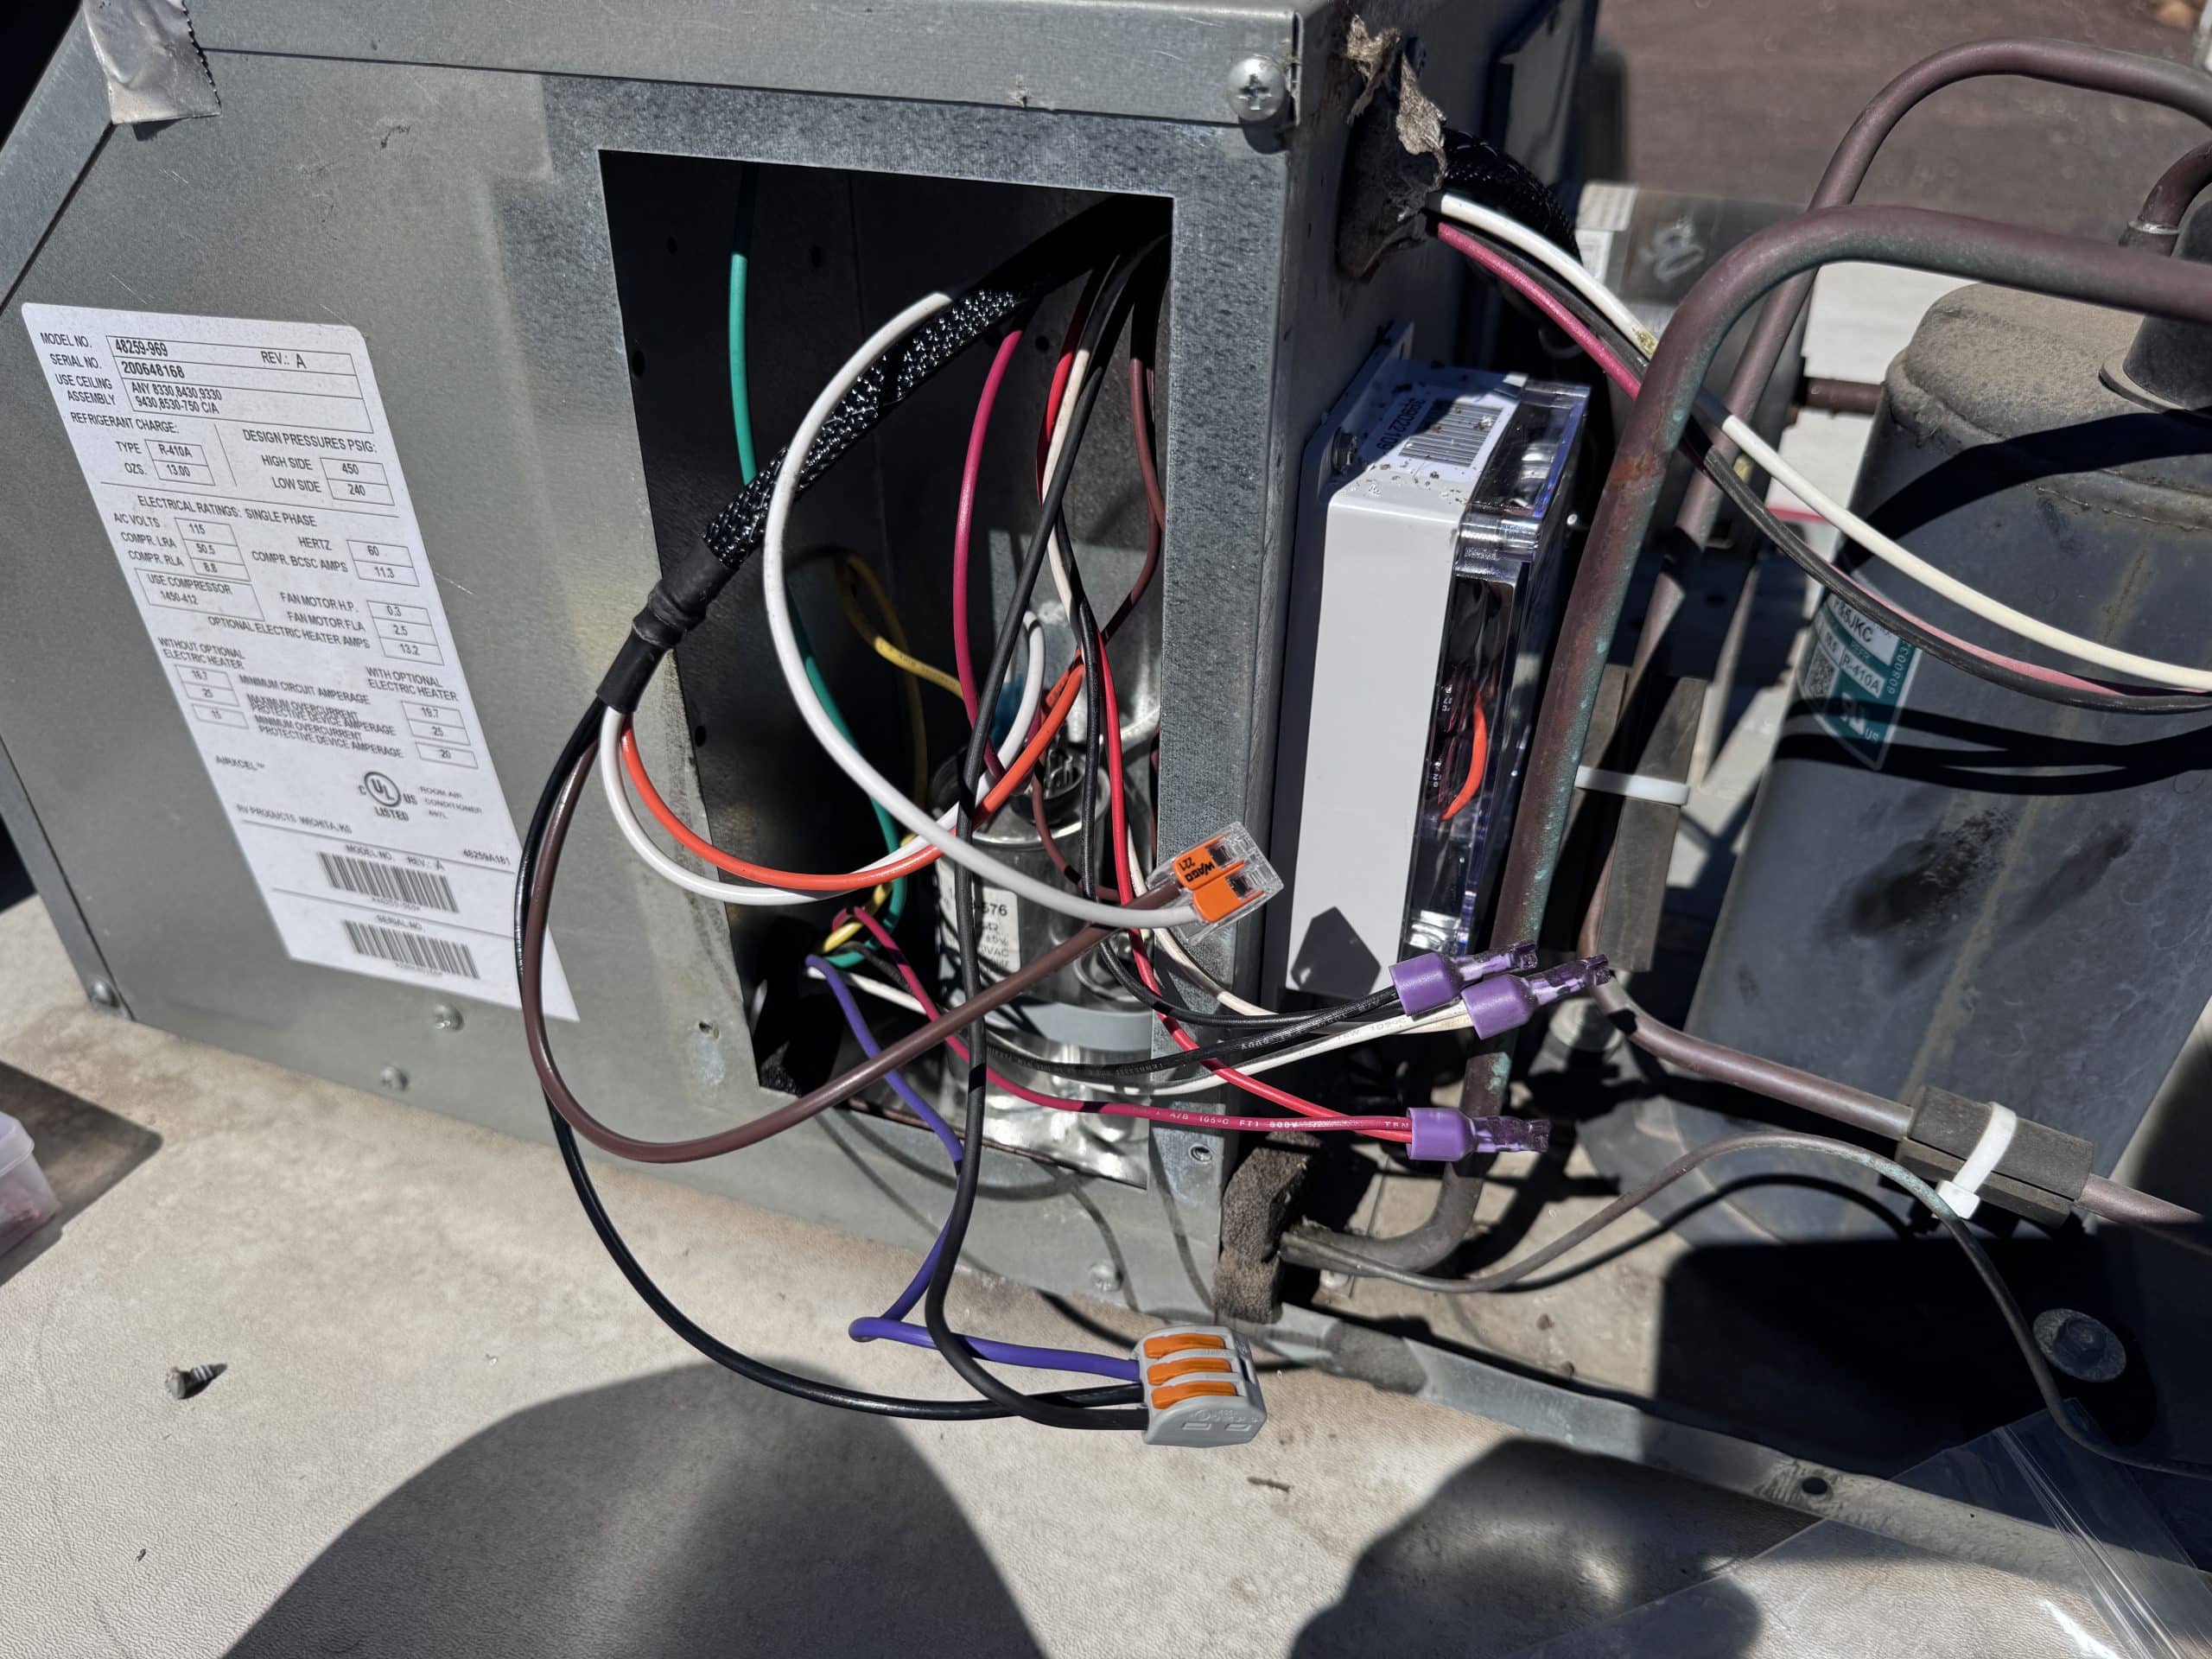
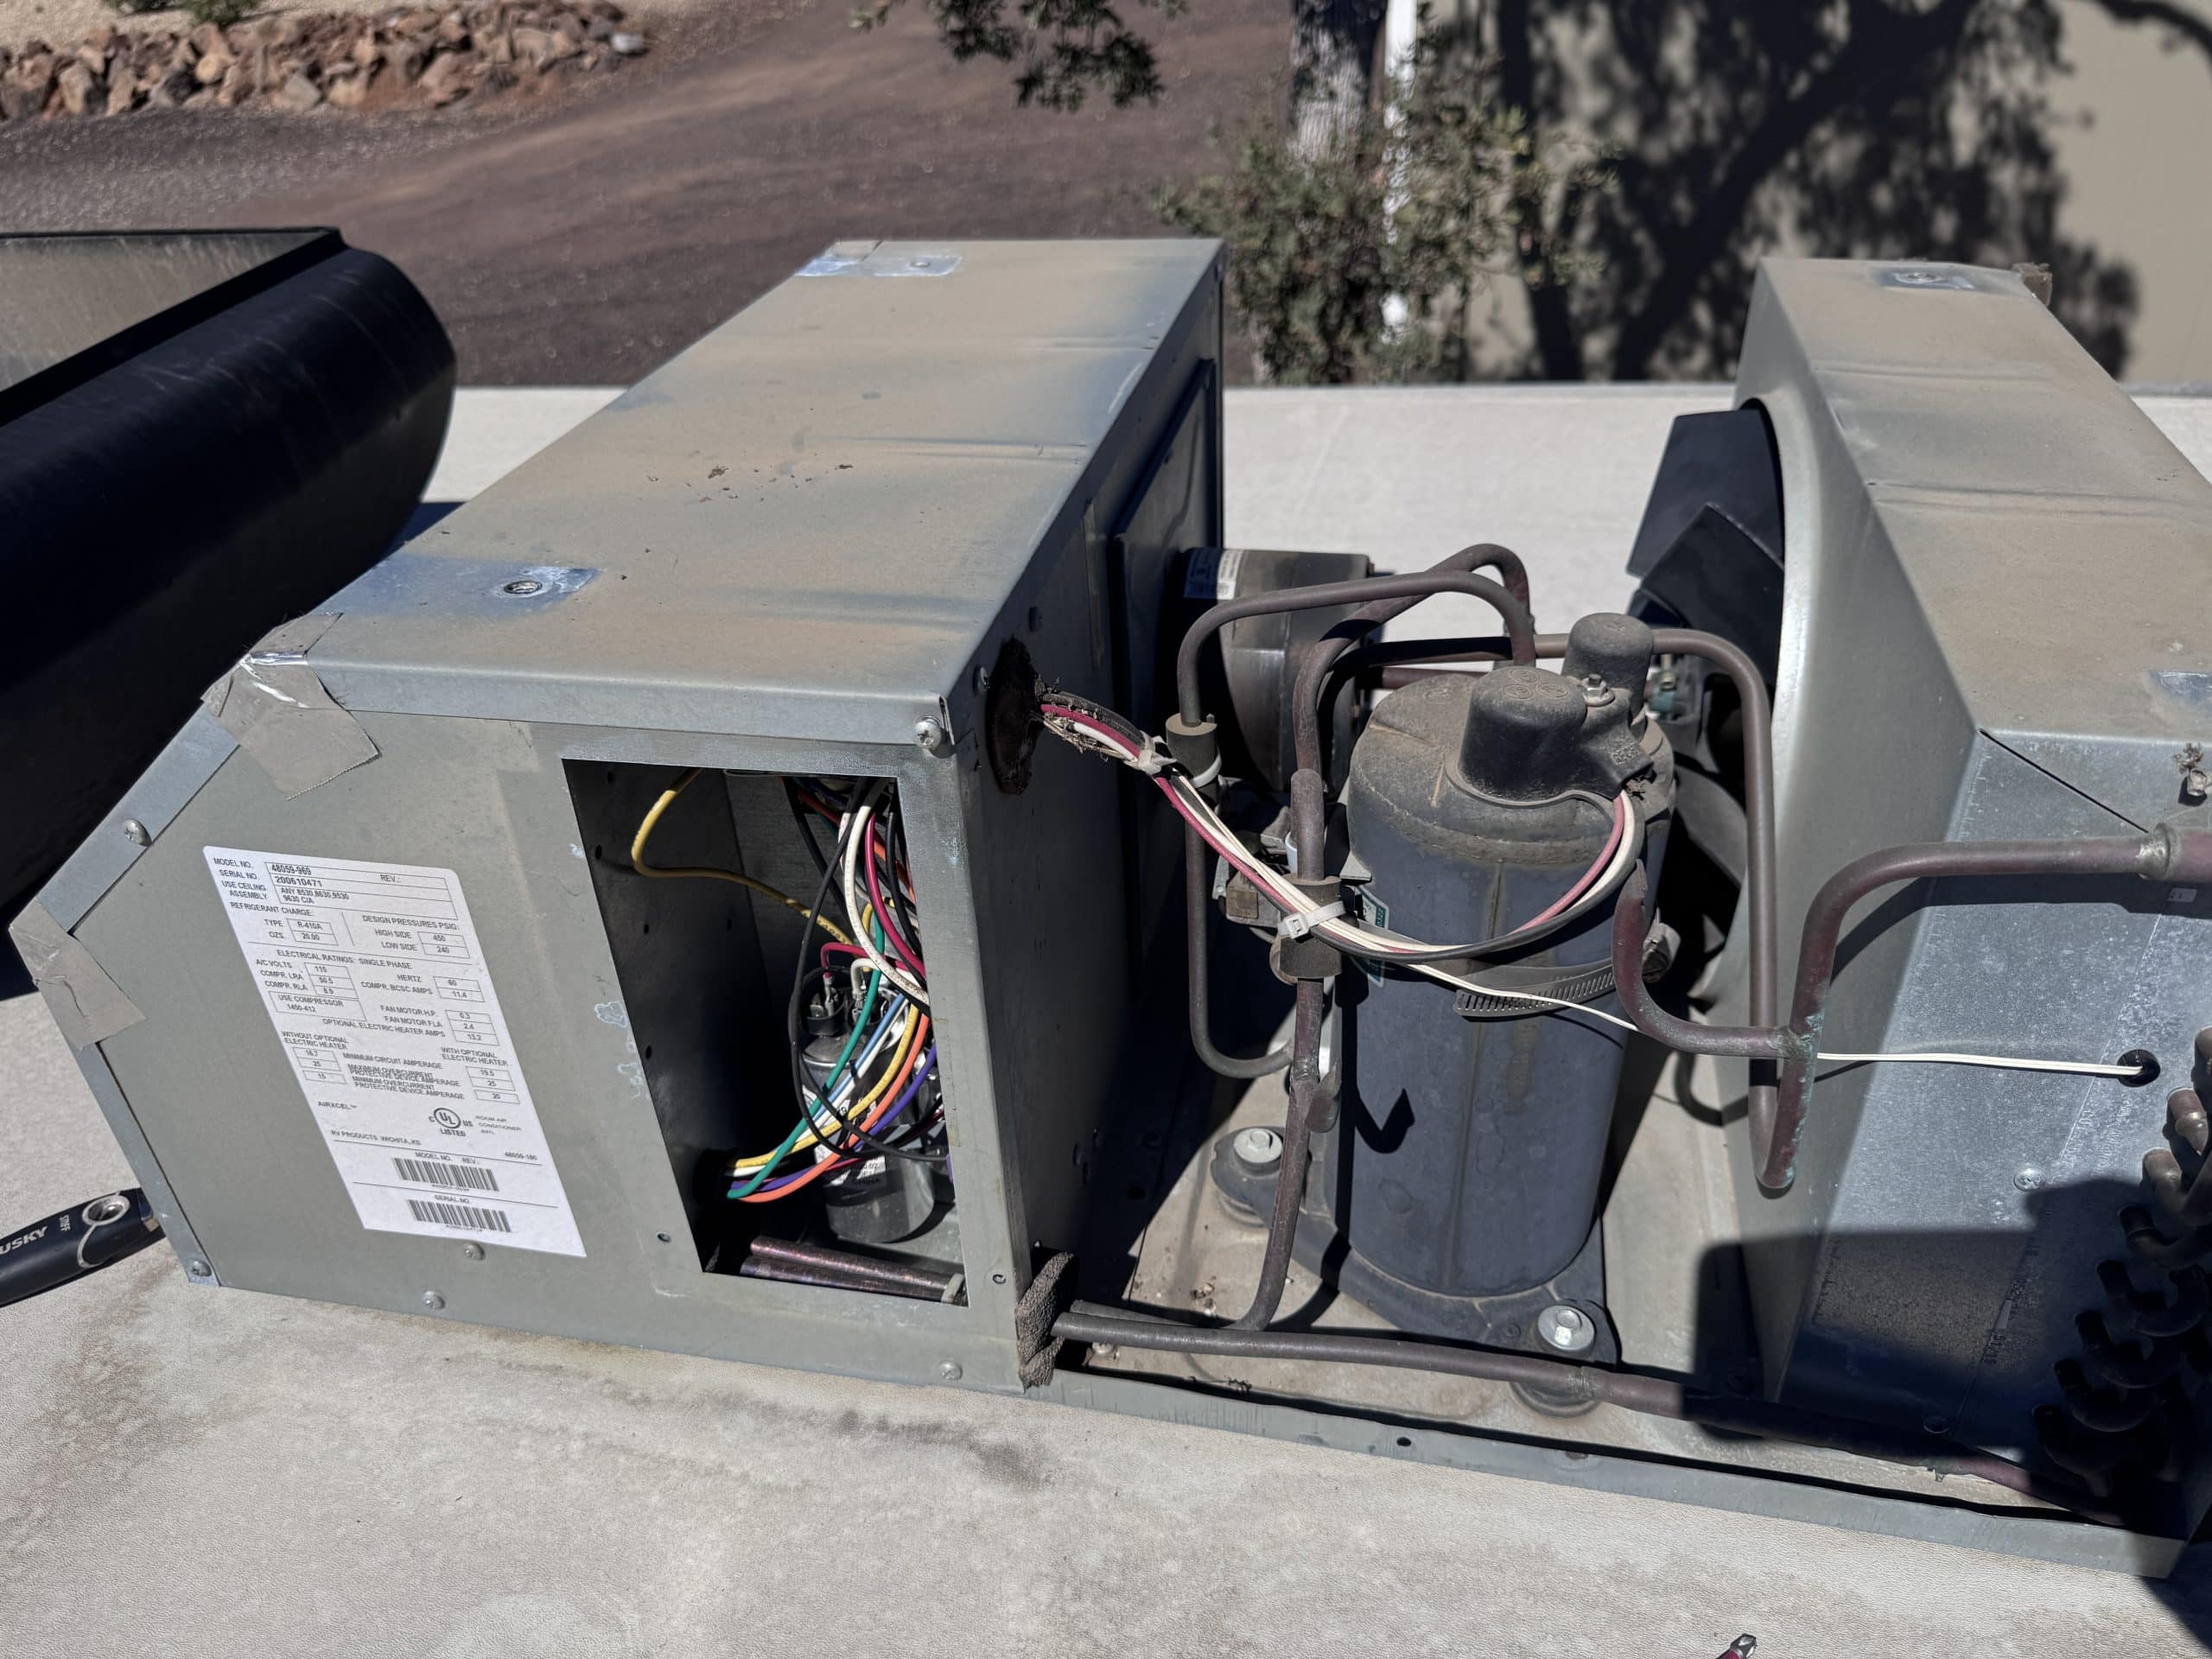
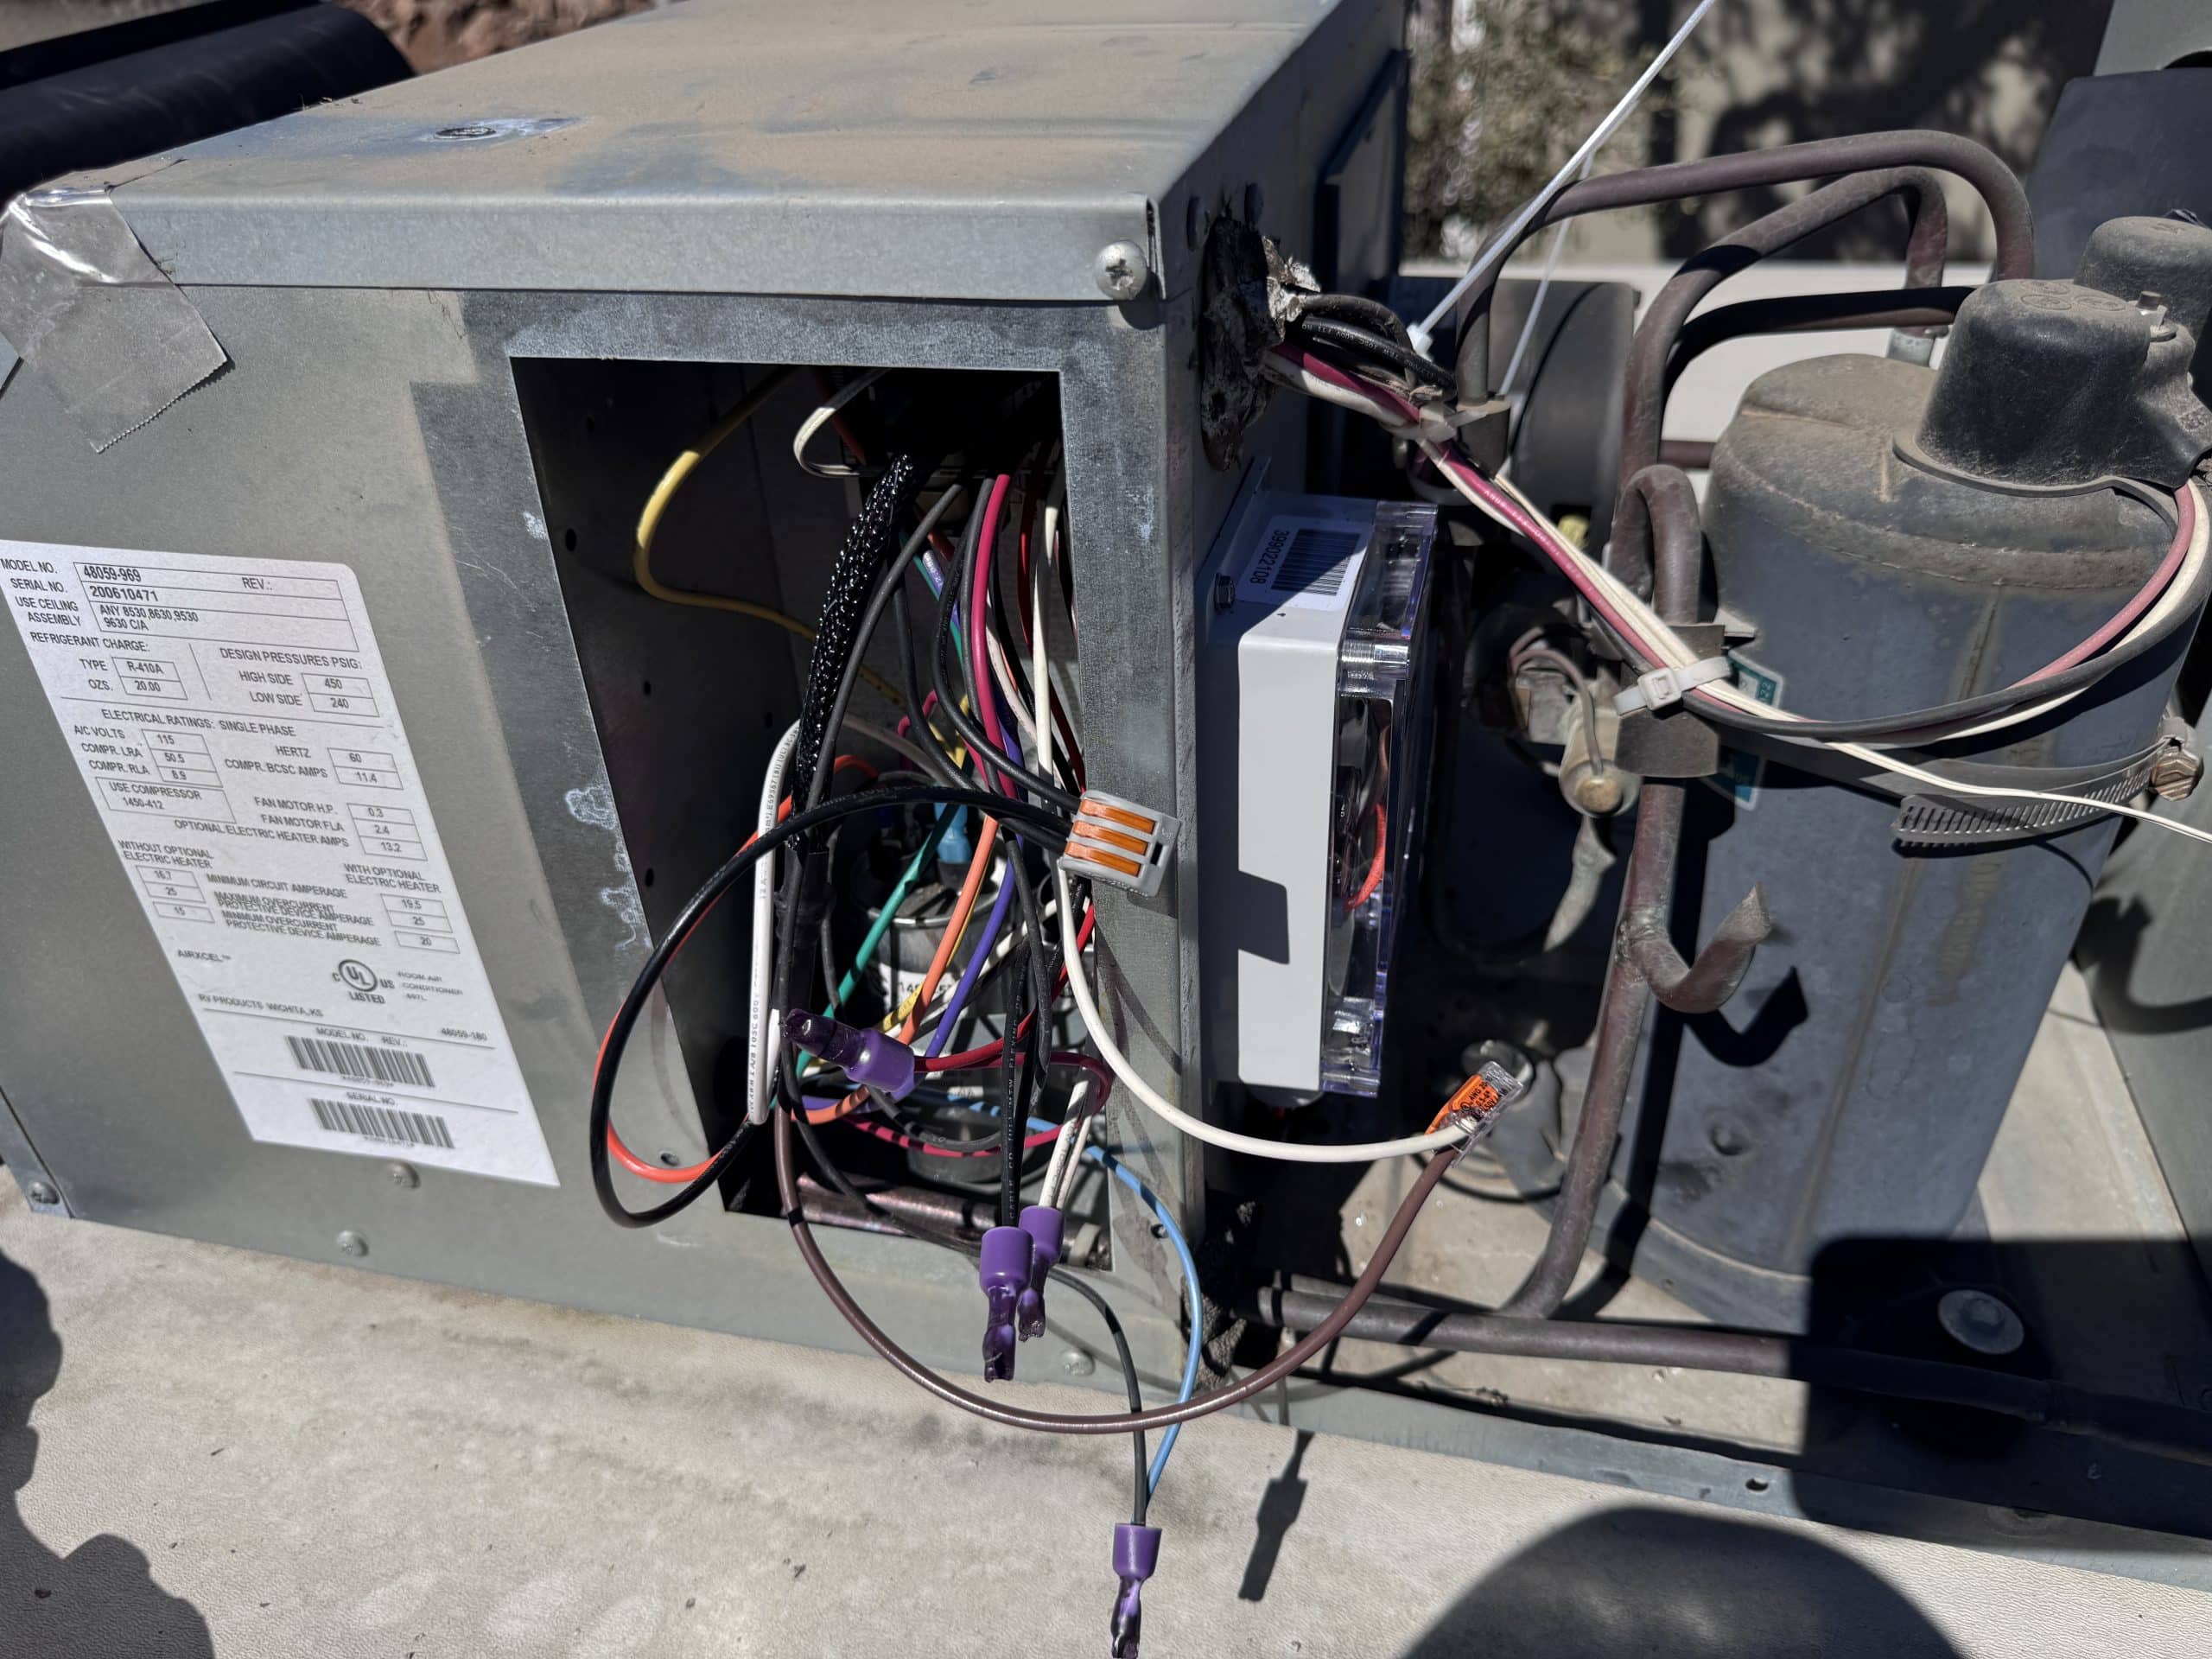
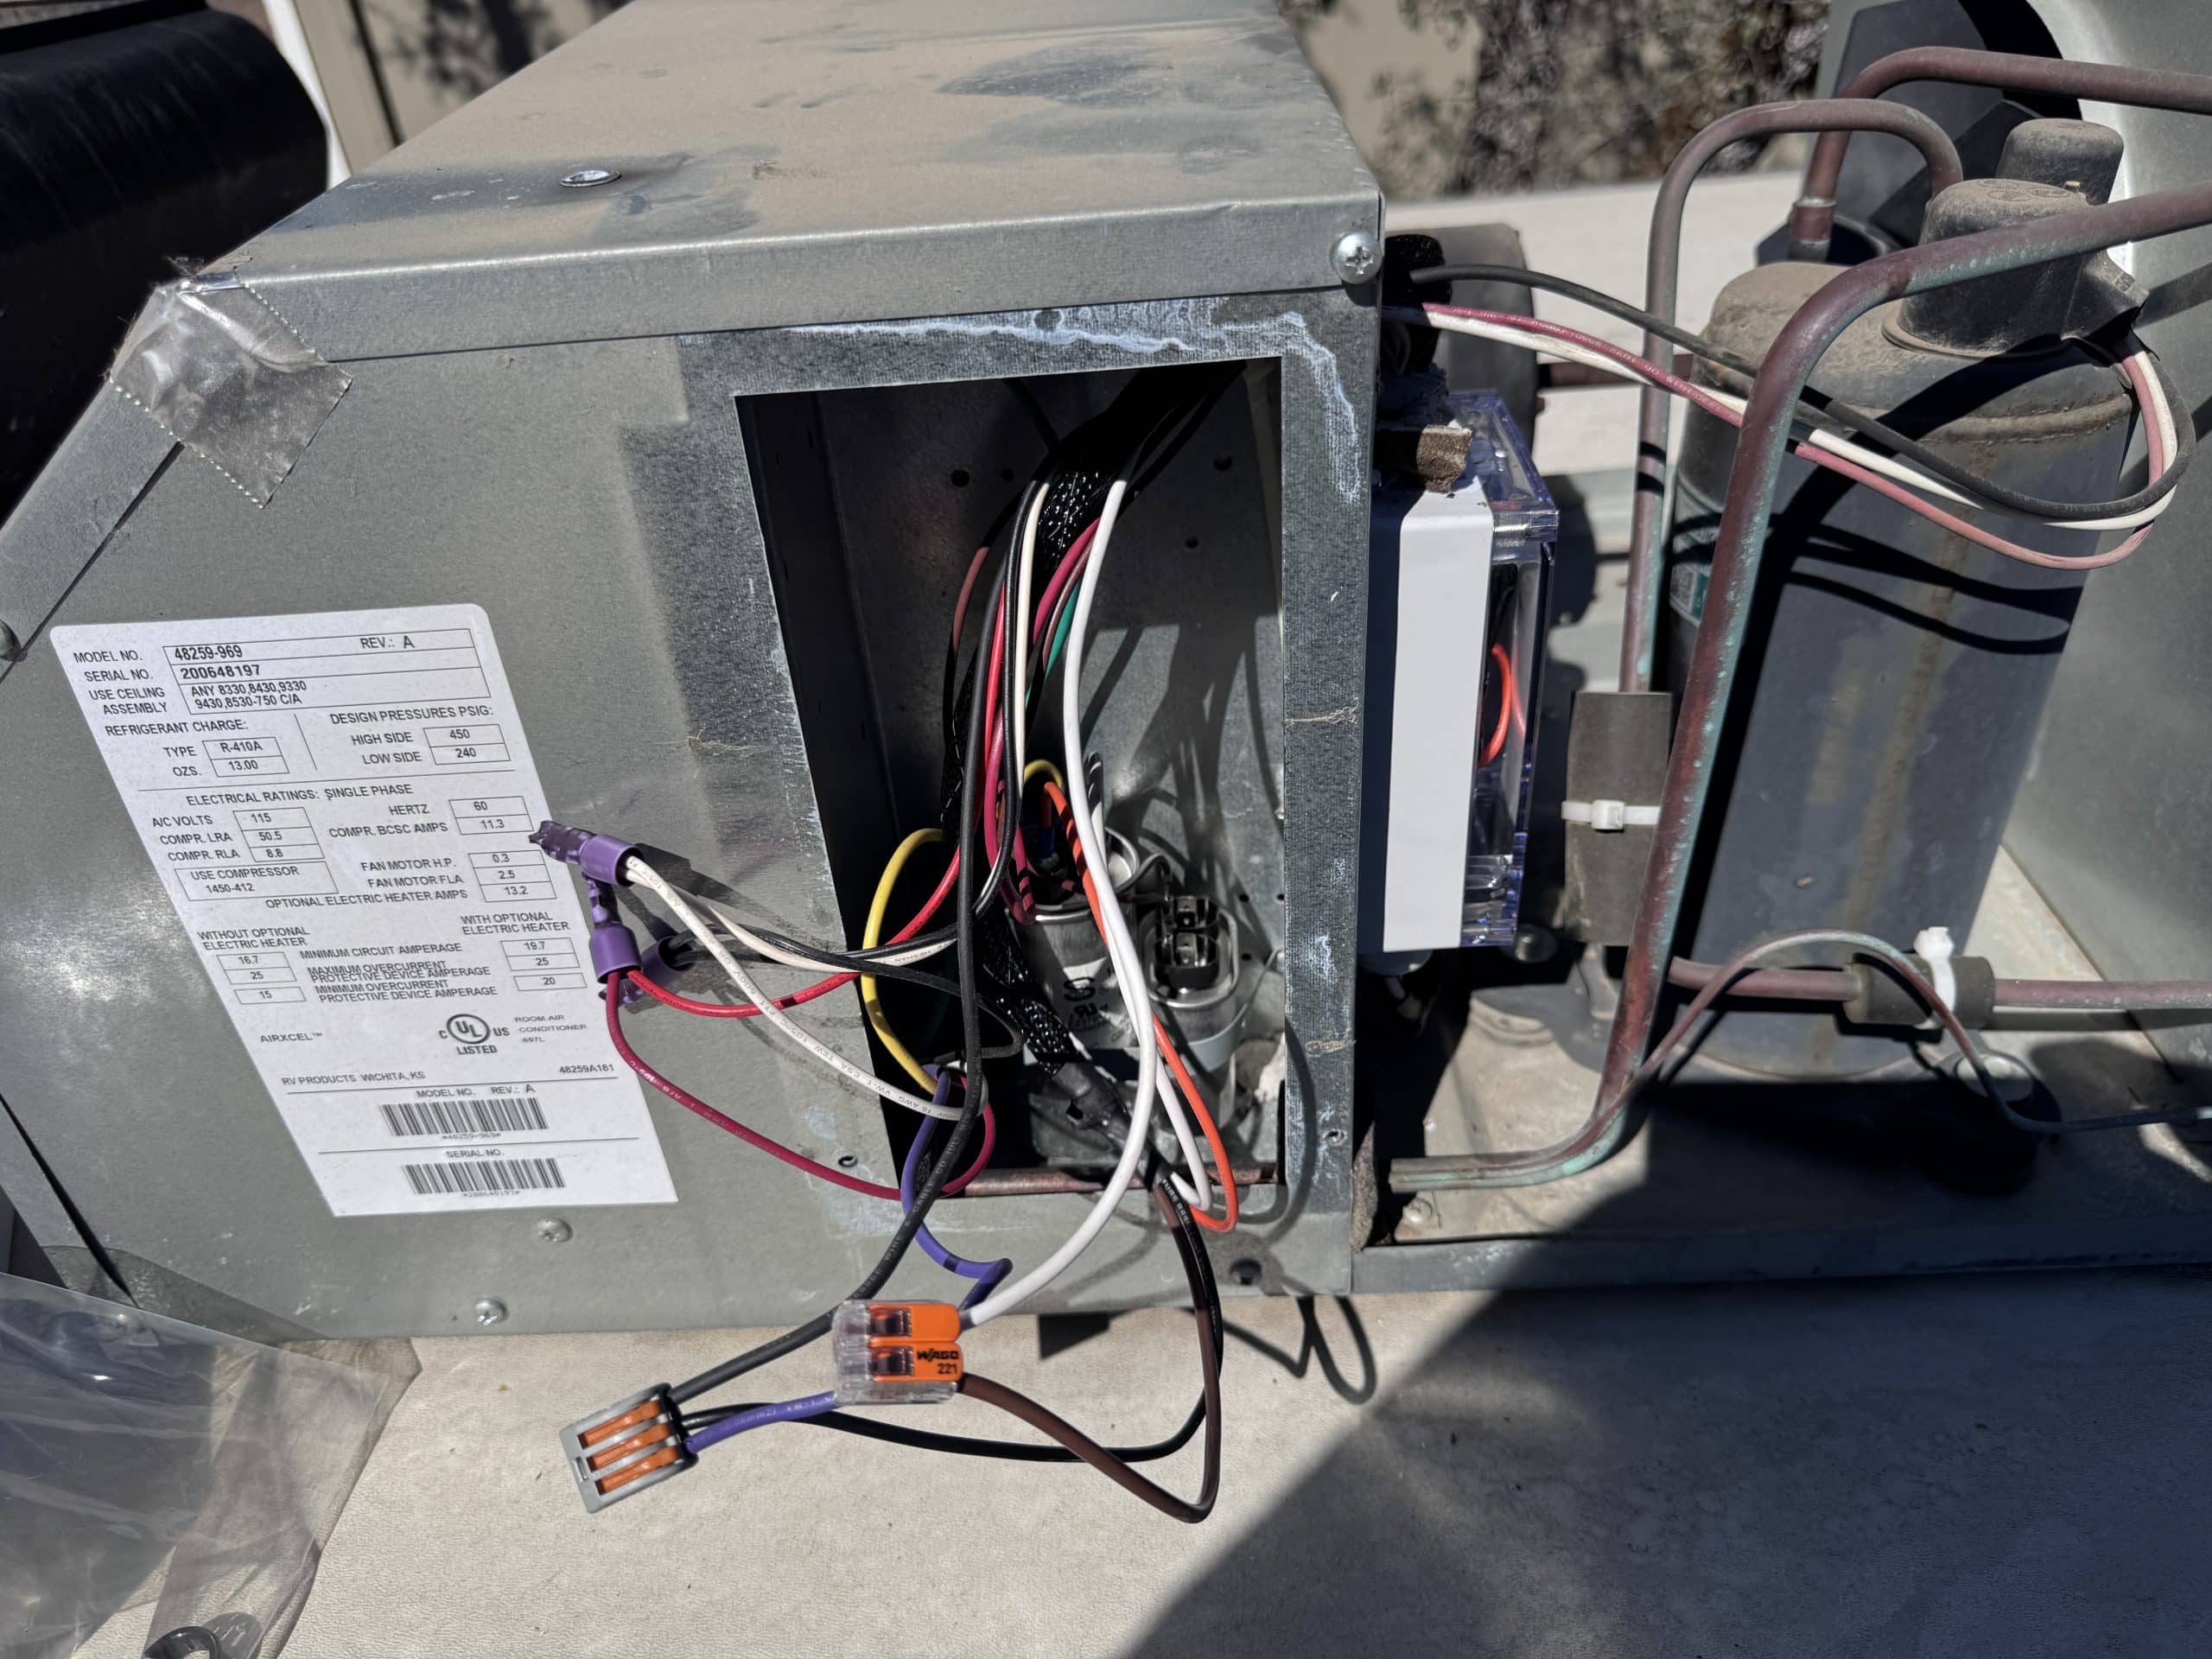
- 3- Micro Air Easy Starts
- Atkinson Electronics GSCM-Mini
- Ruuvi wireless Bluetooth temperature sensors
- Mopeka wireless Bluetooth tank sensors
- Miscellaneous parts, sealants, and connectors
Installation Notes
This installation was completed in October of 2026. The owner of this toyhauler was referred to me by another one of my customers. The owner wanted to add off grid capabilities to his rig. We discussed options and based on his feedback, I came up with a system proposal. The customer accepted the proposal and we set an installation date. The customer had the rig dropped off for the installation and I got to work.
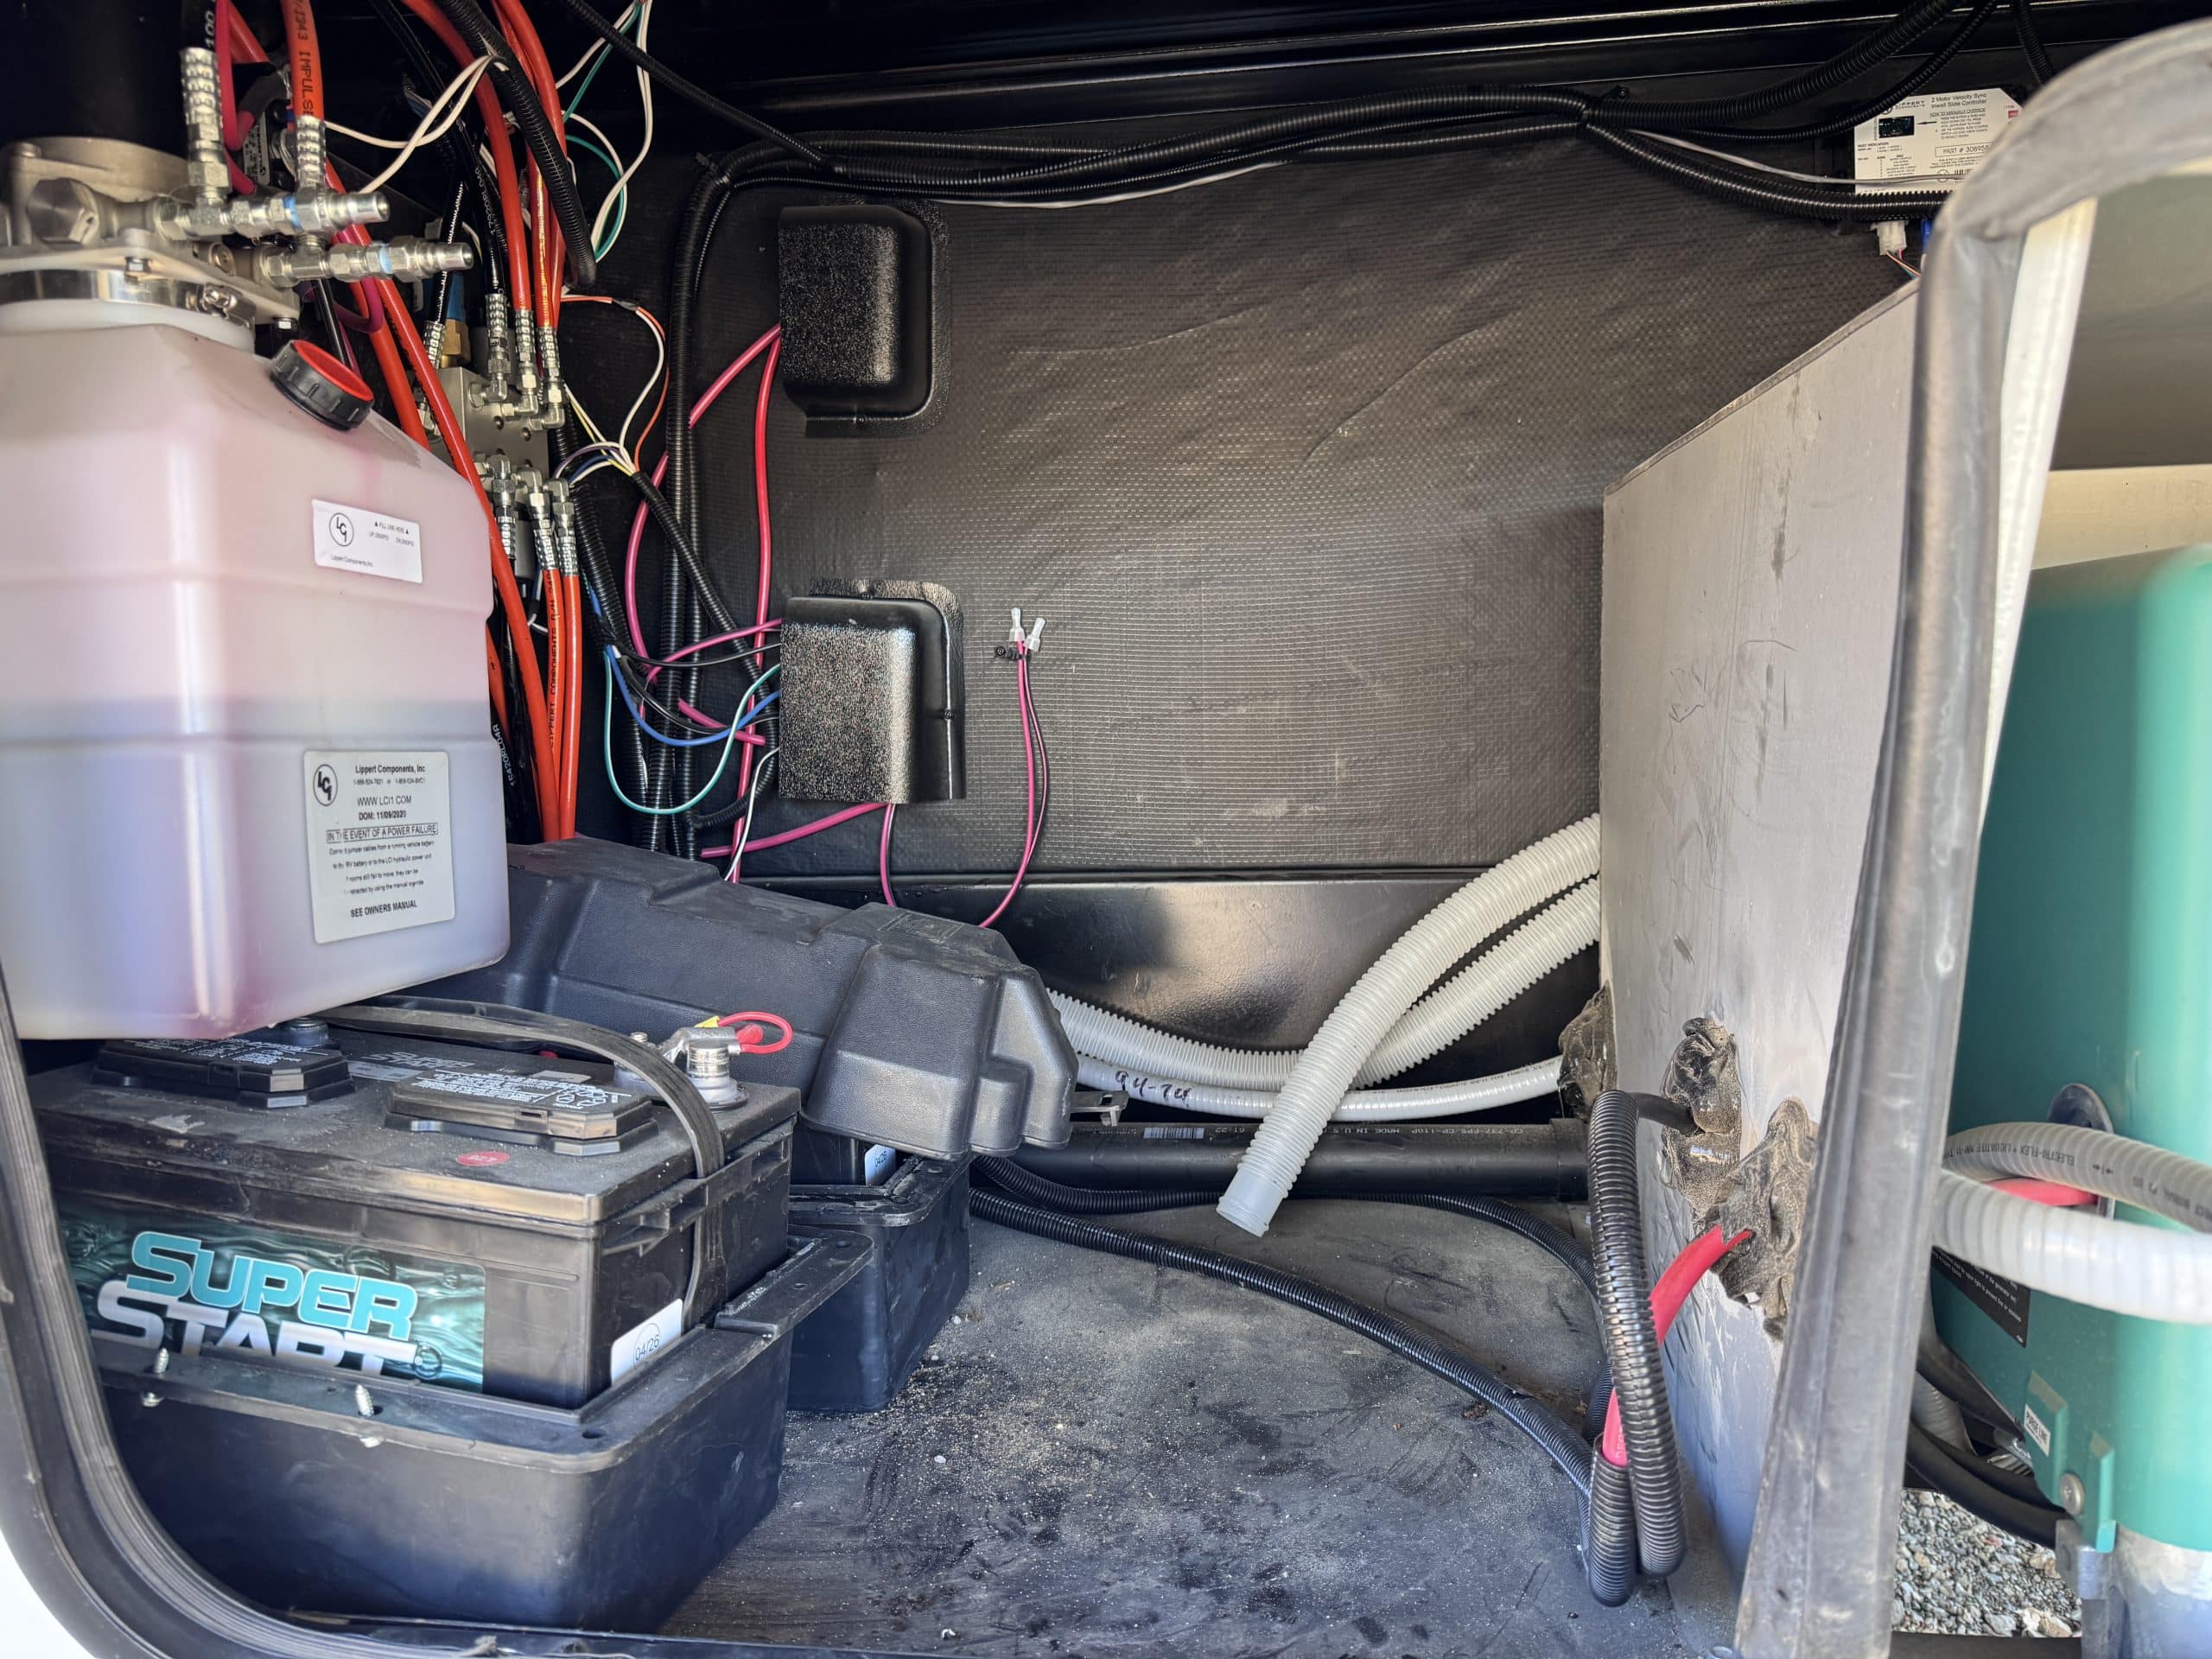
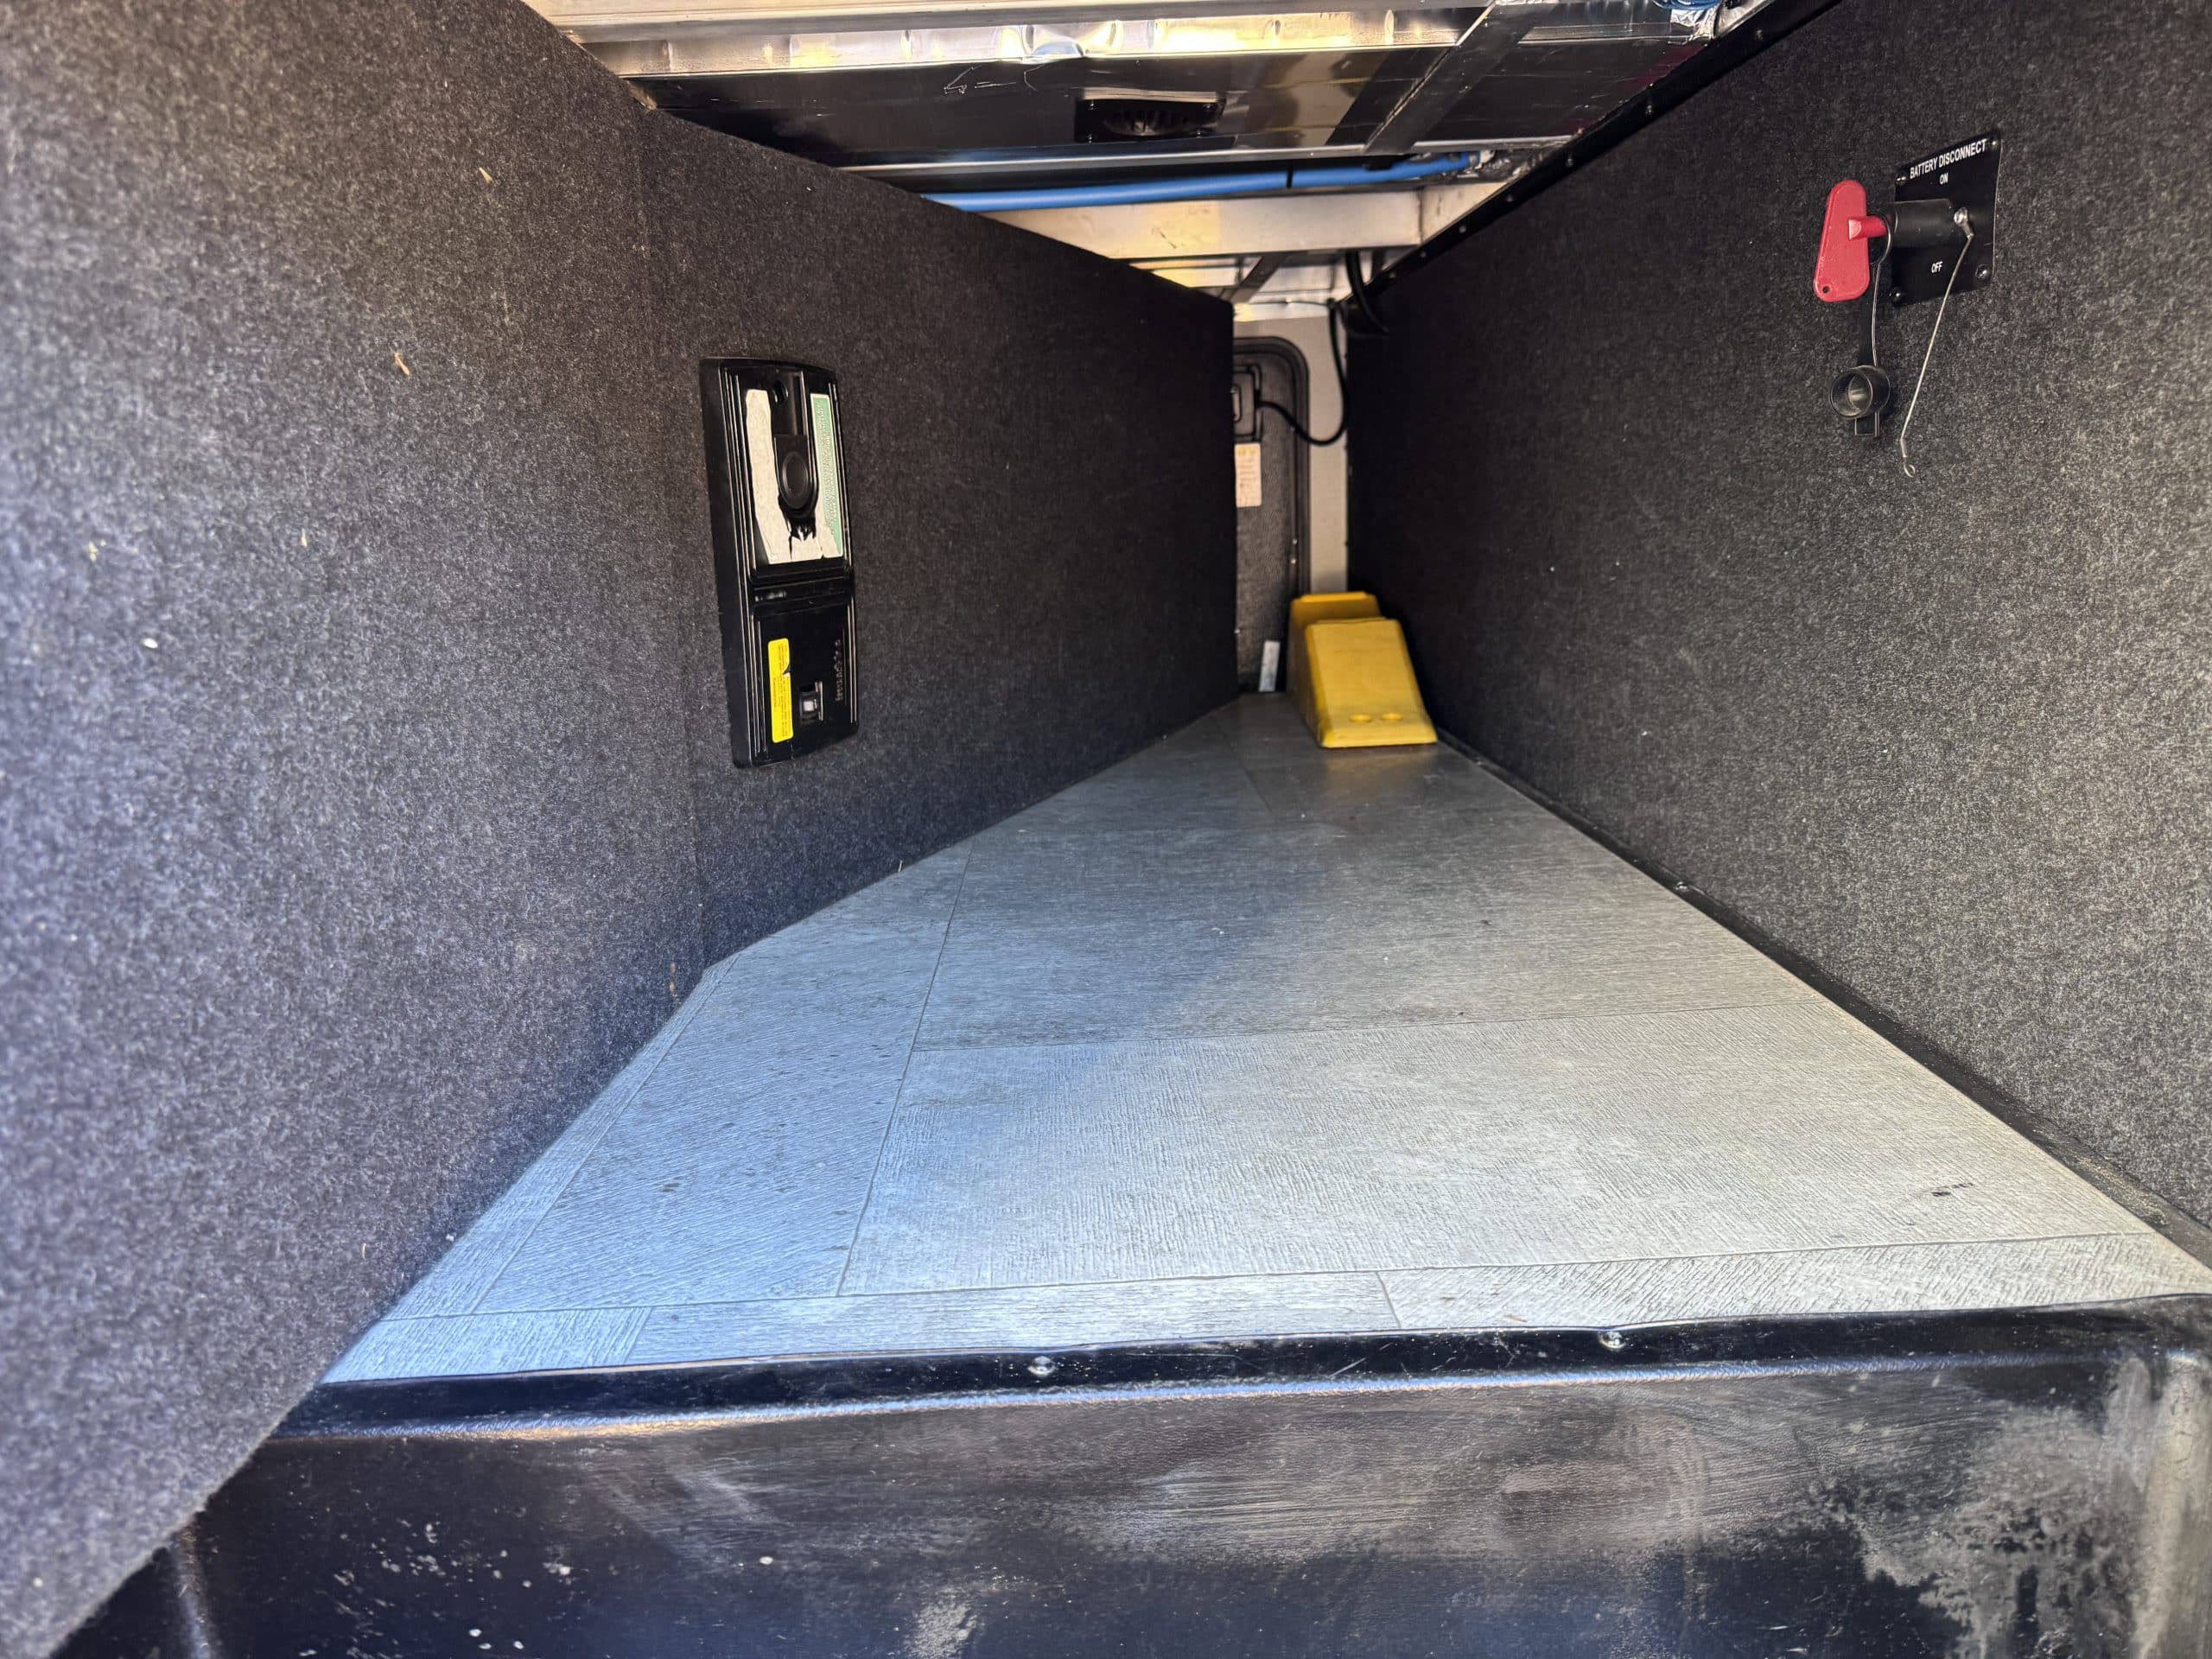
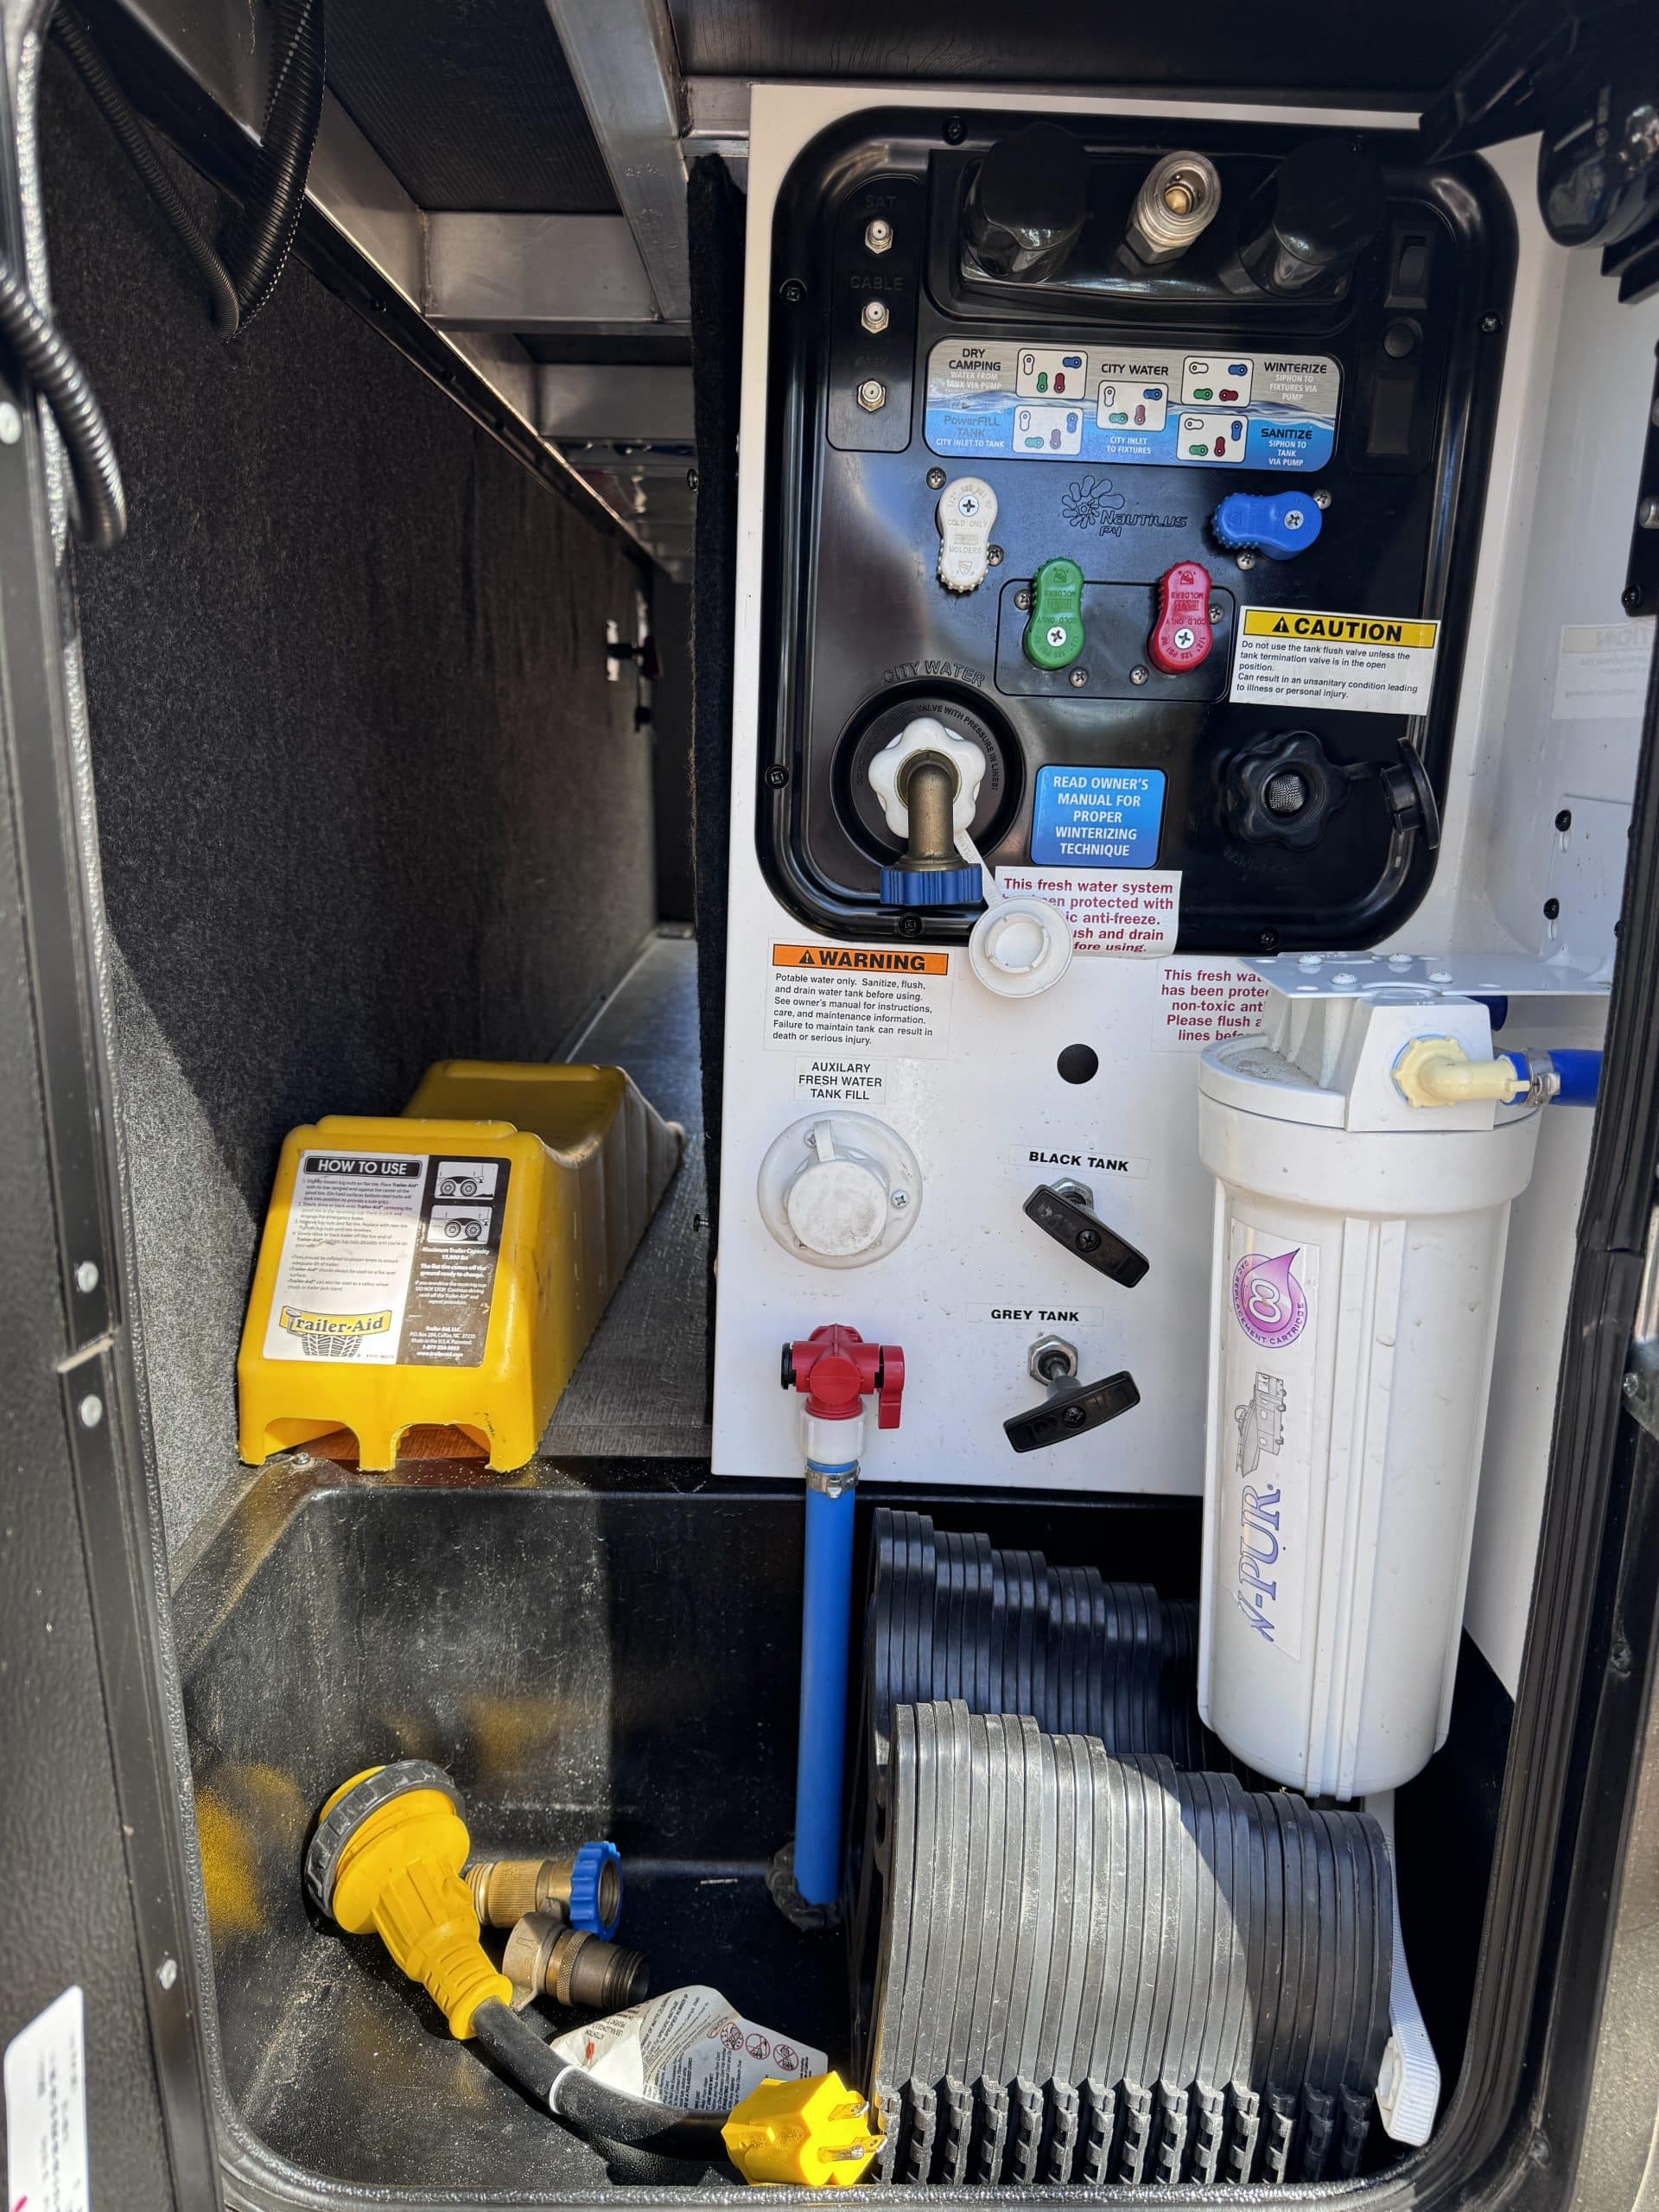
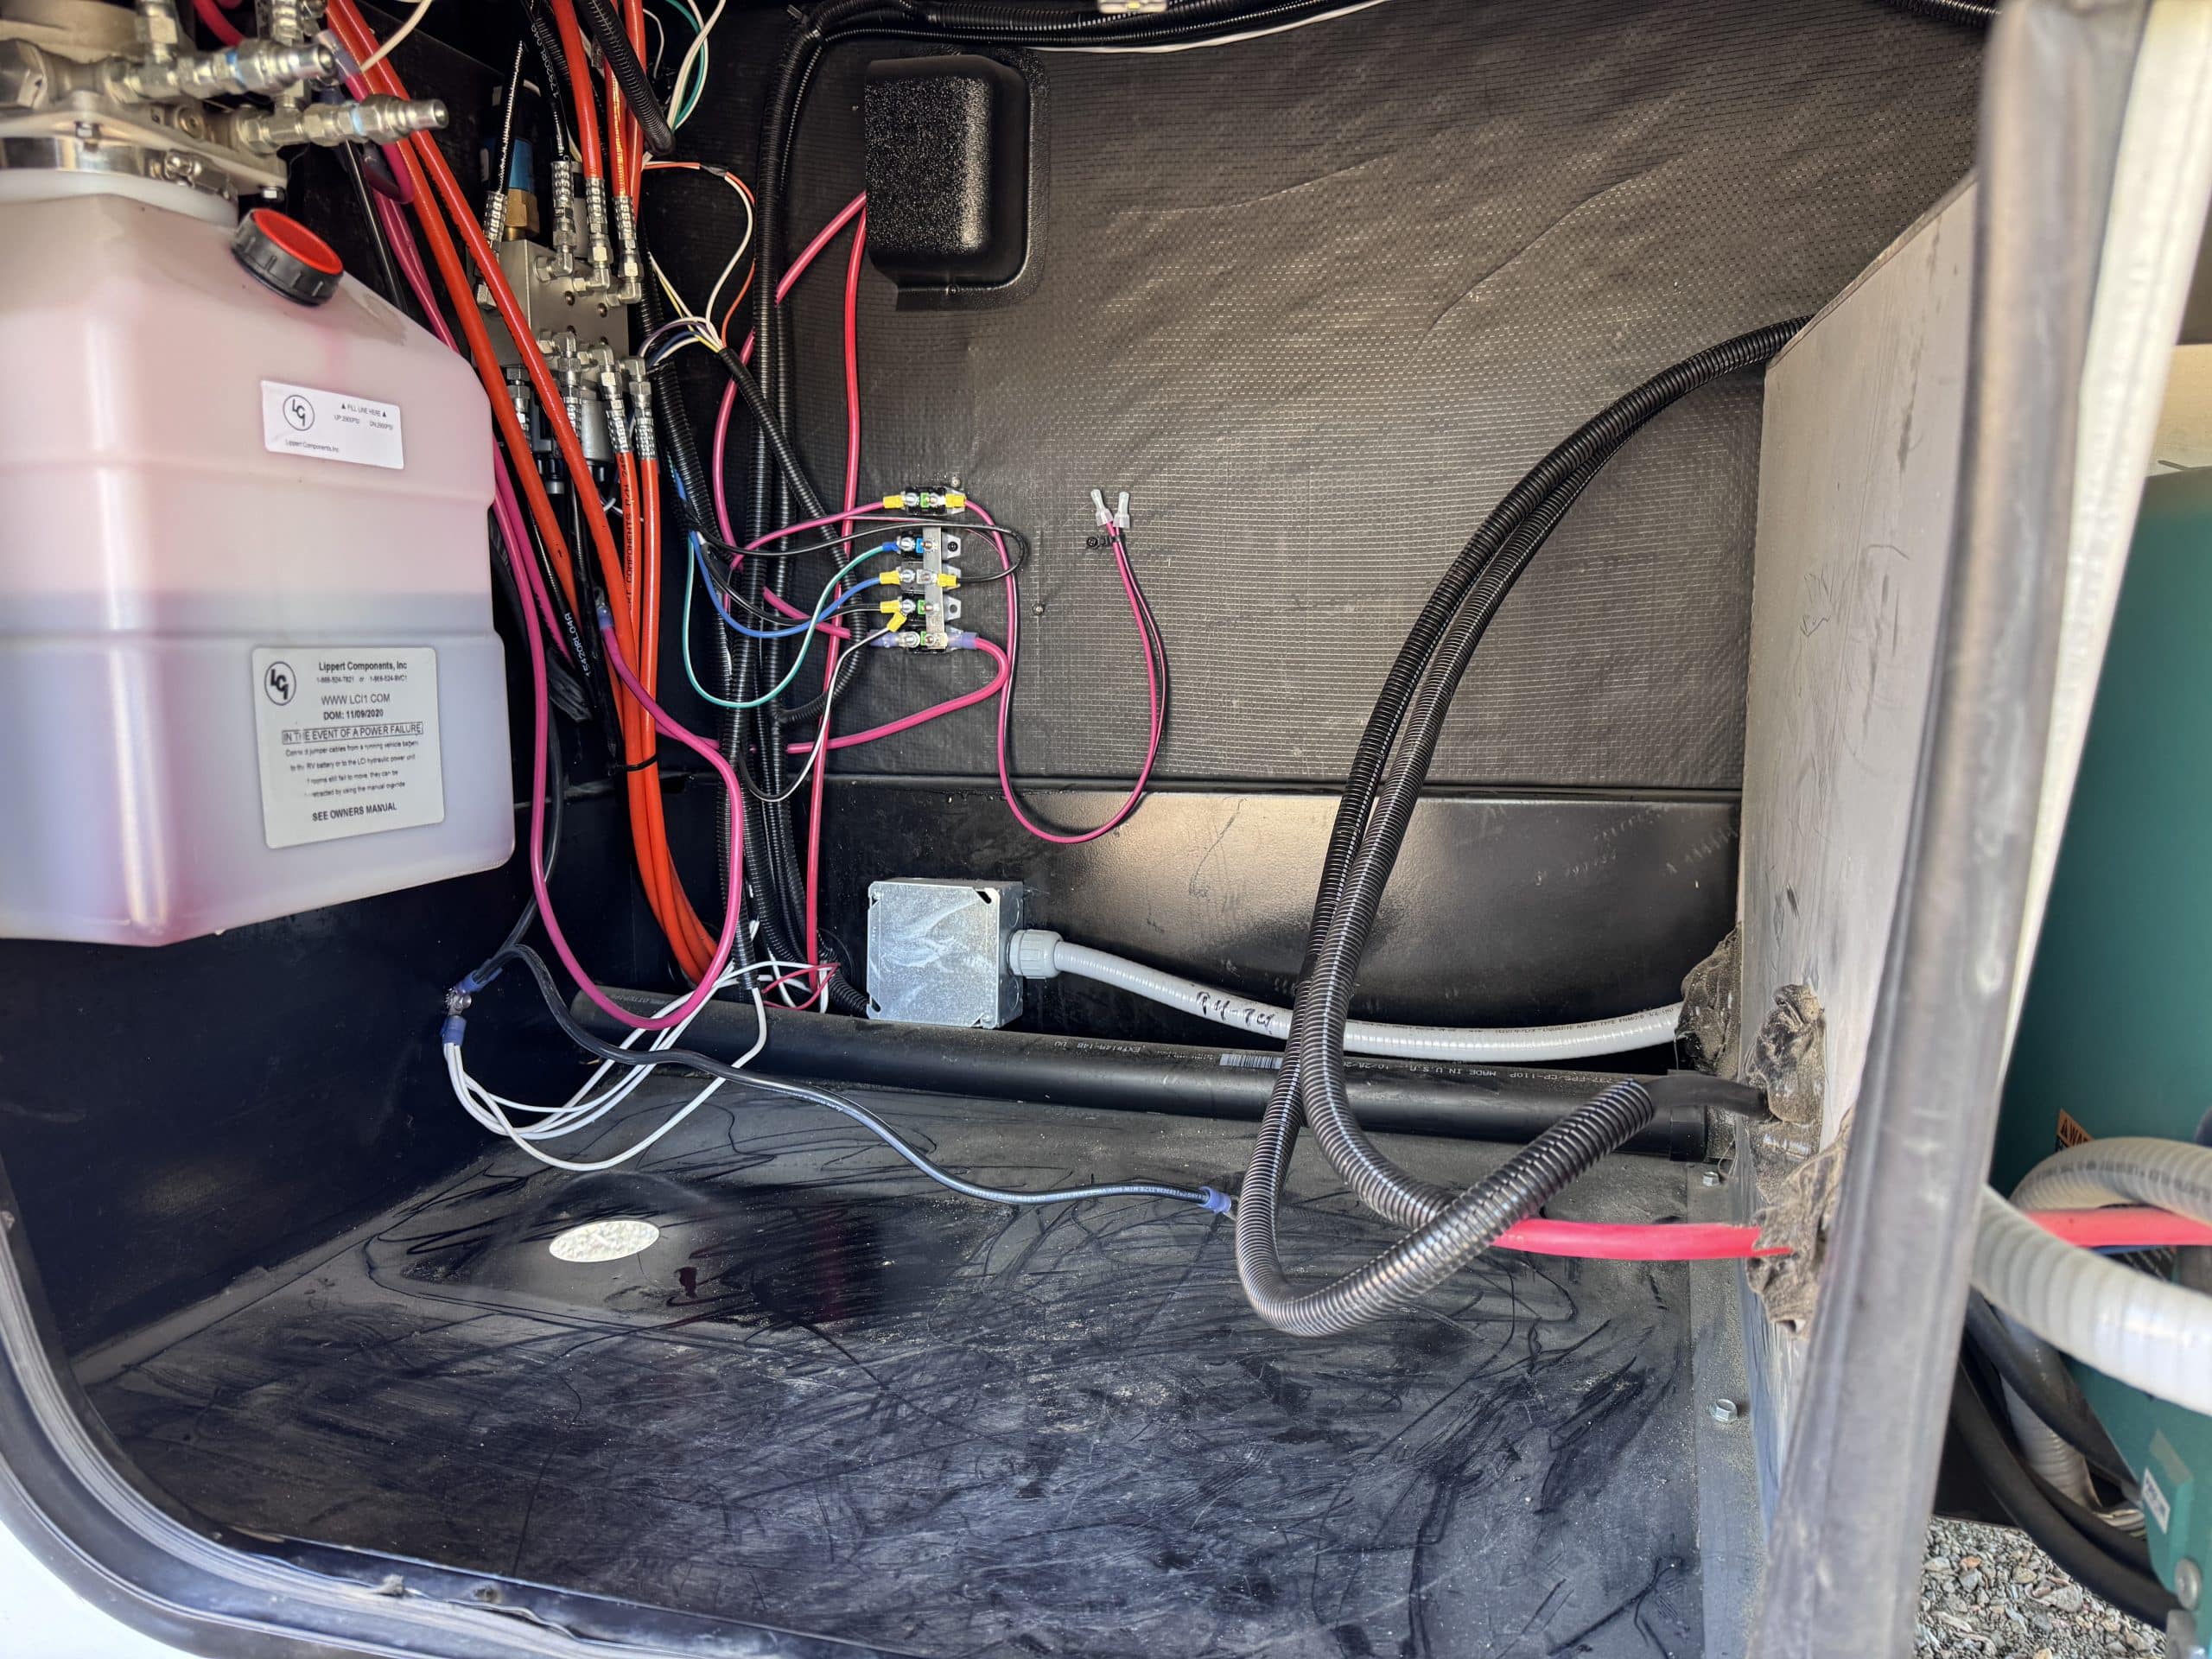
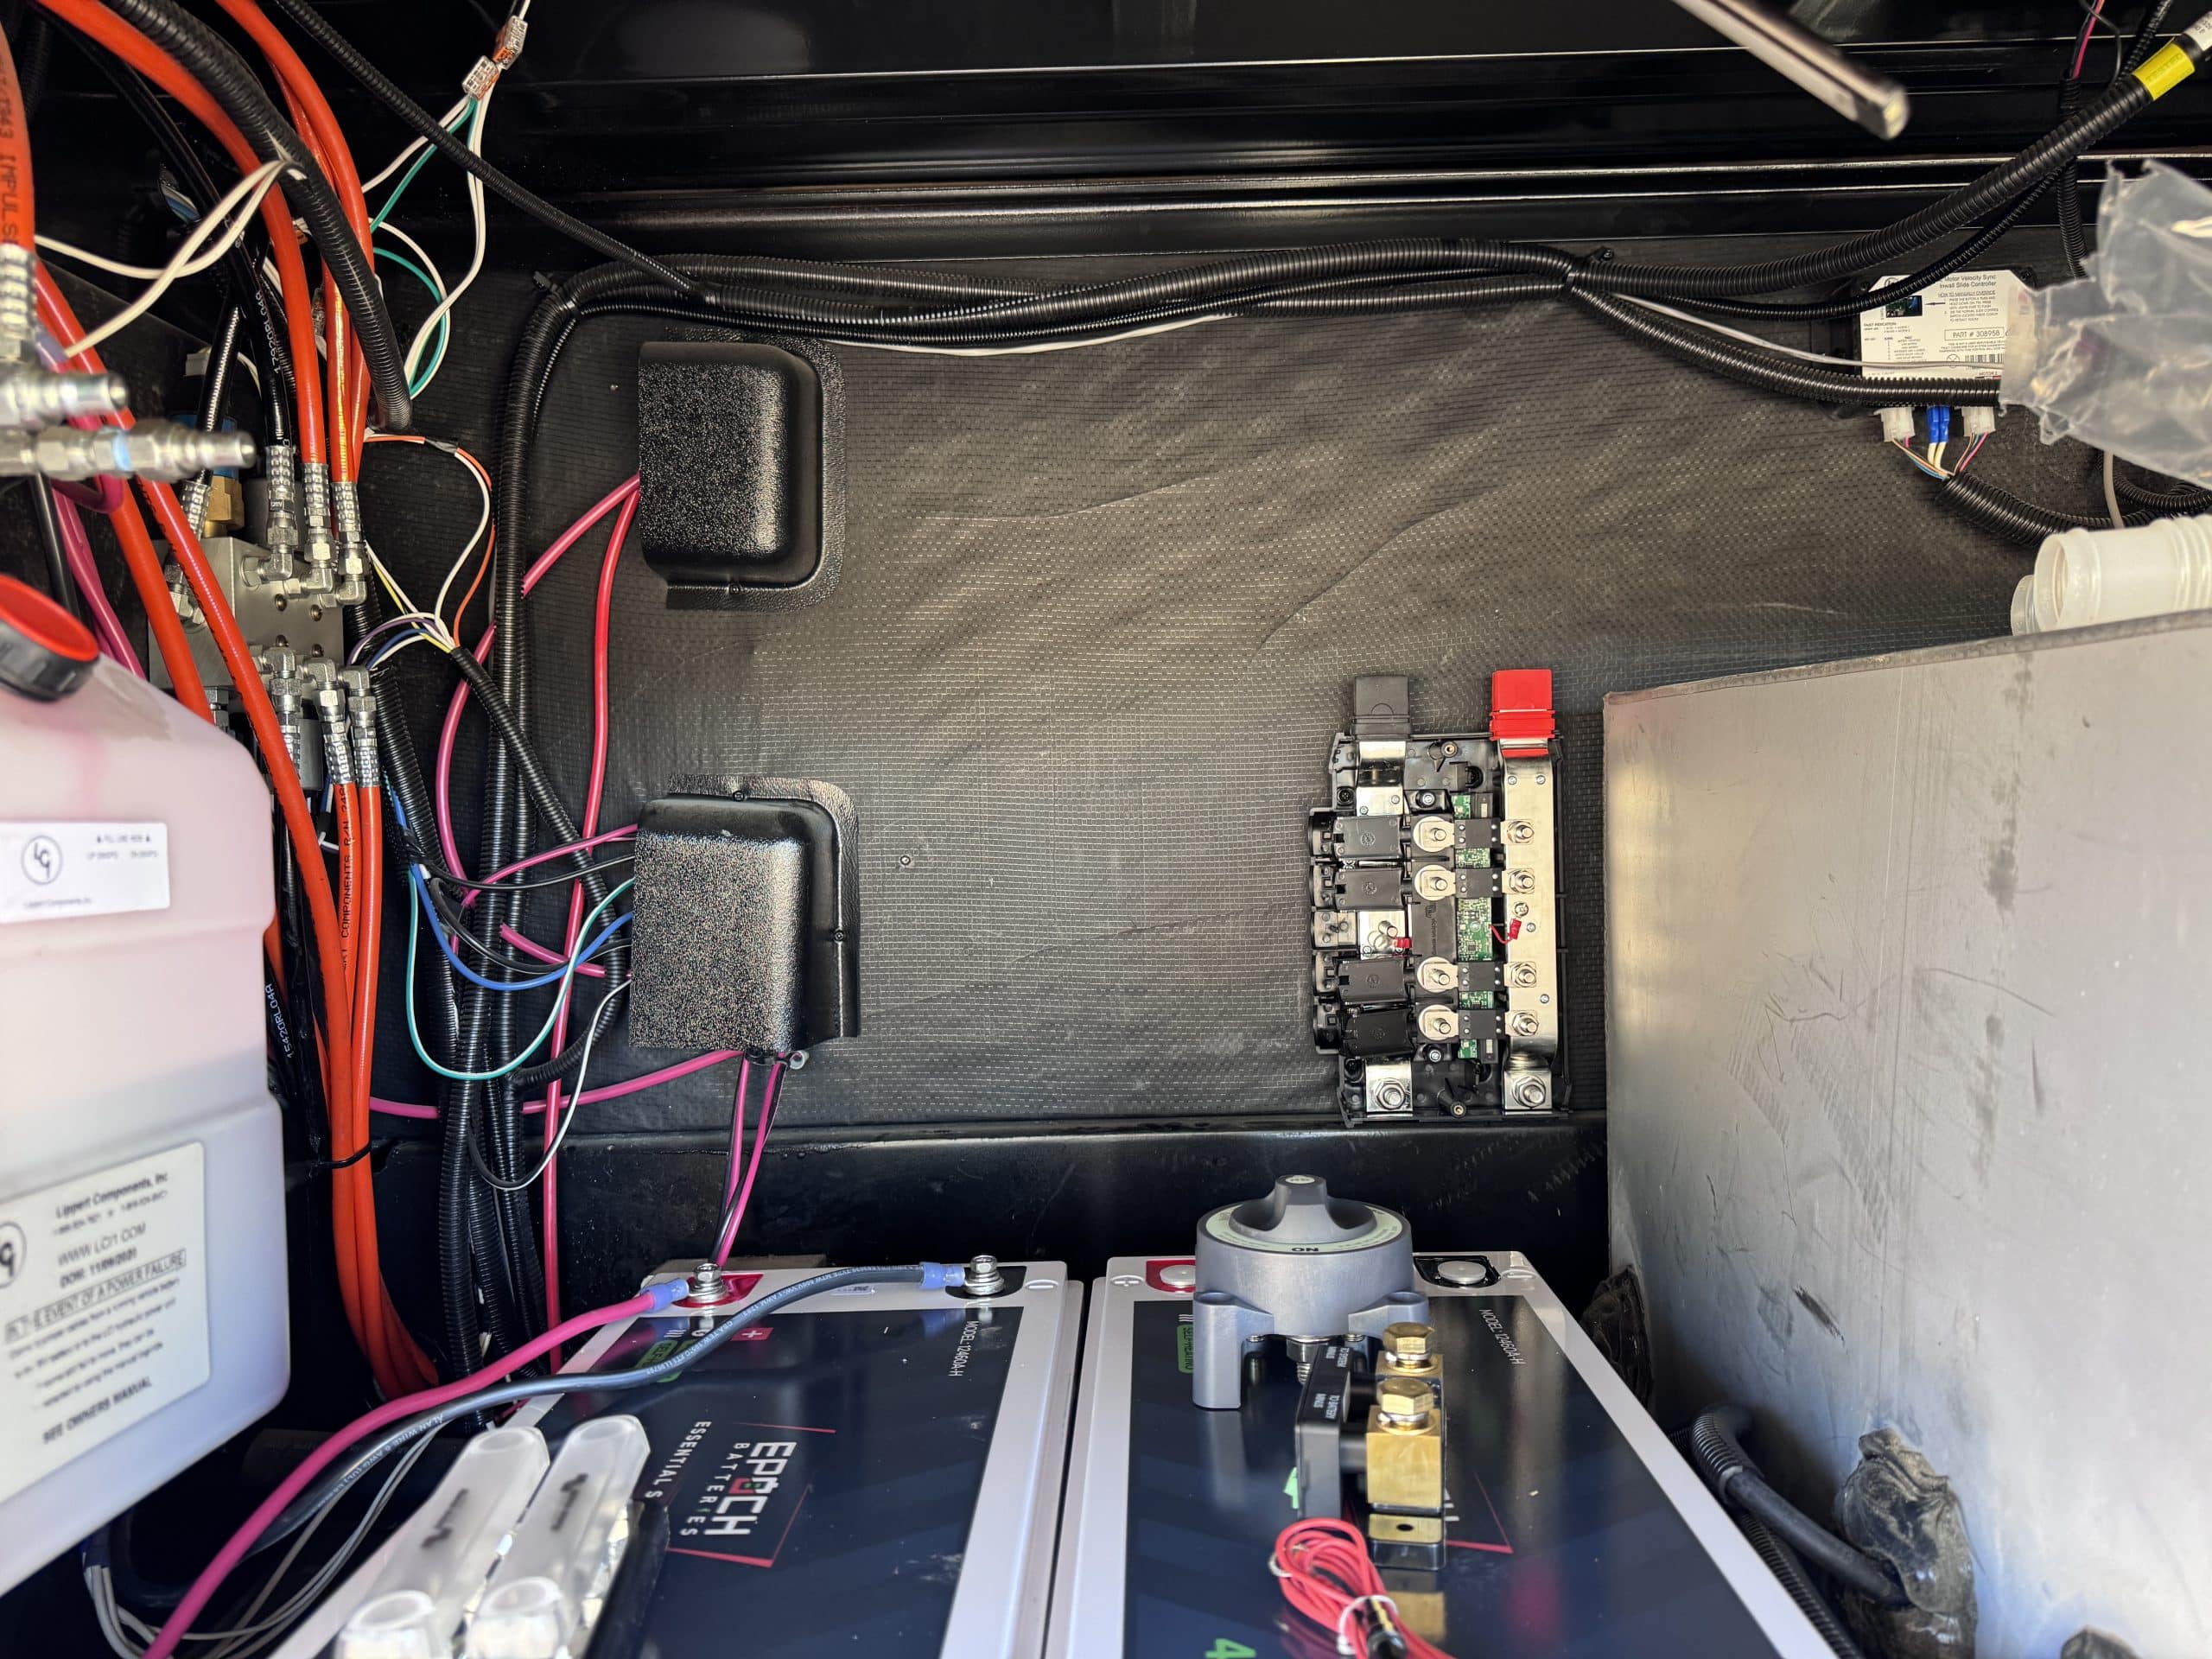
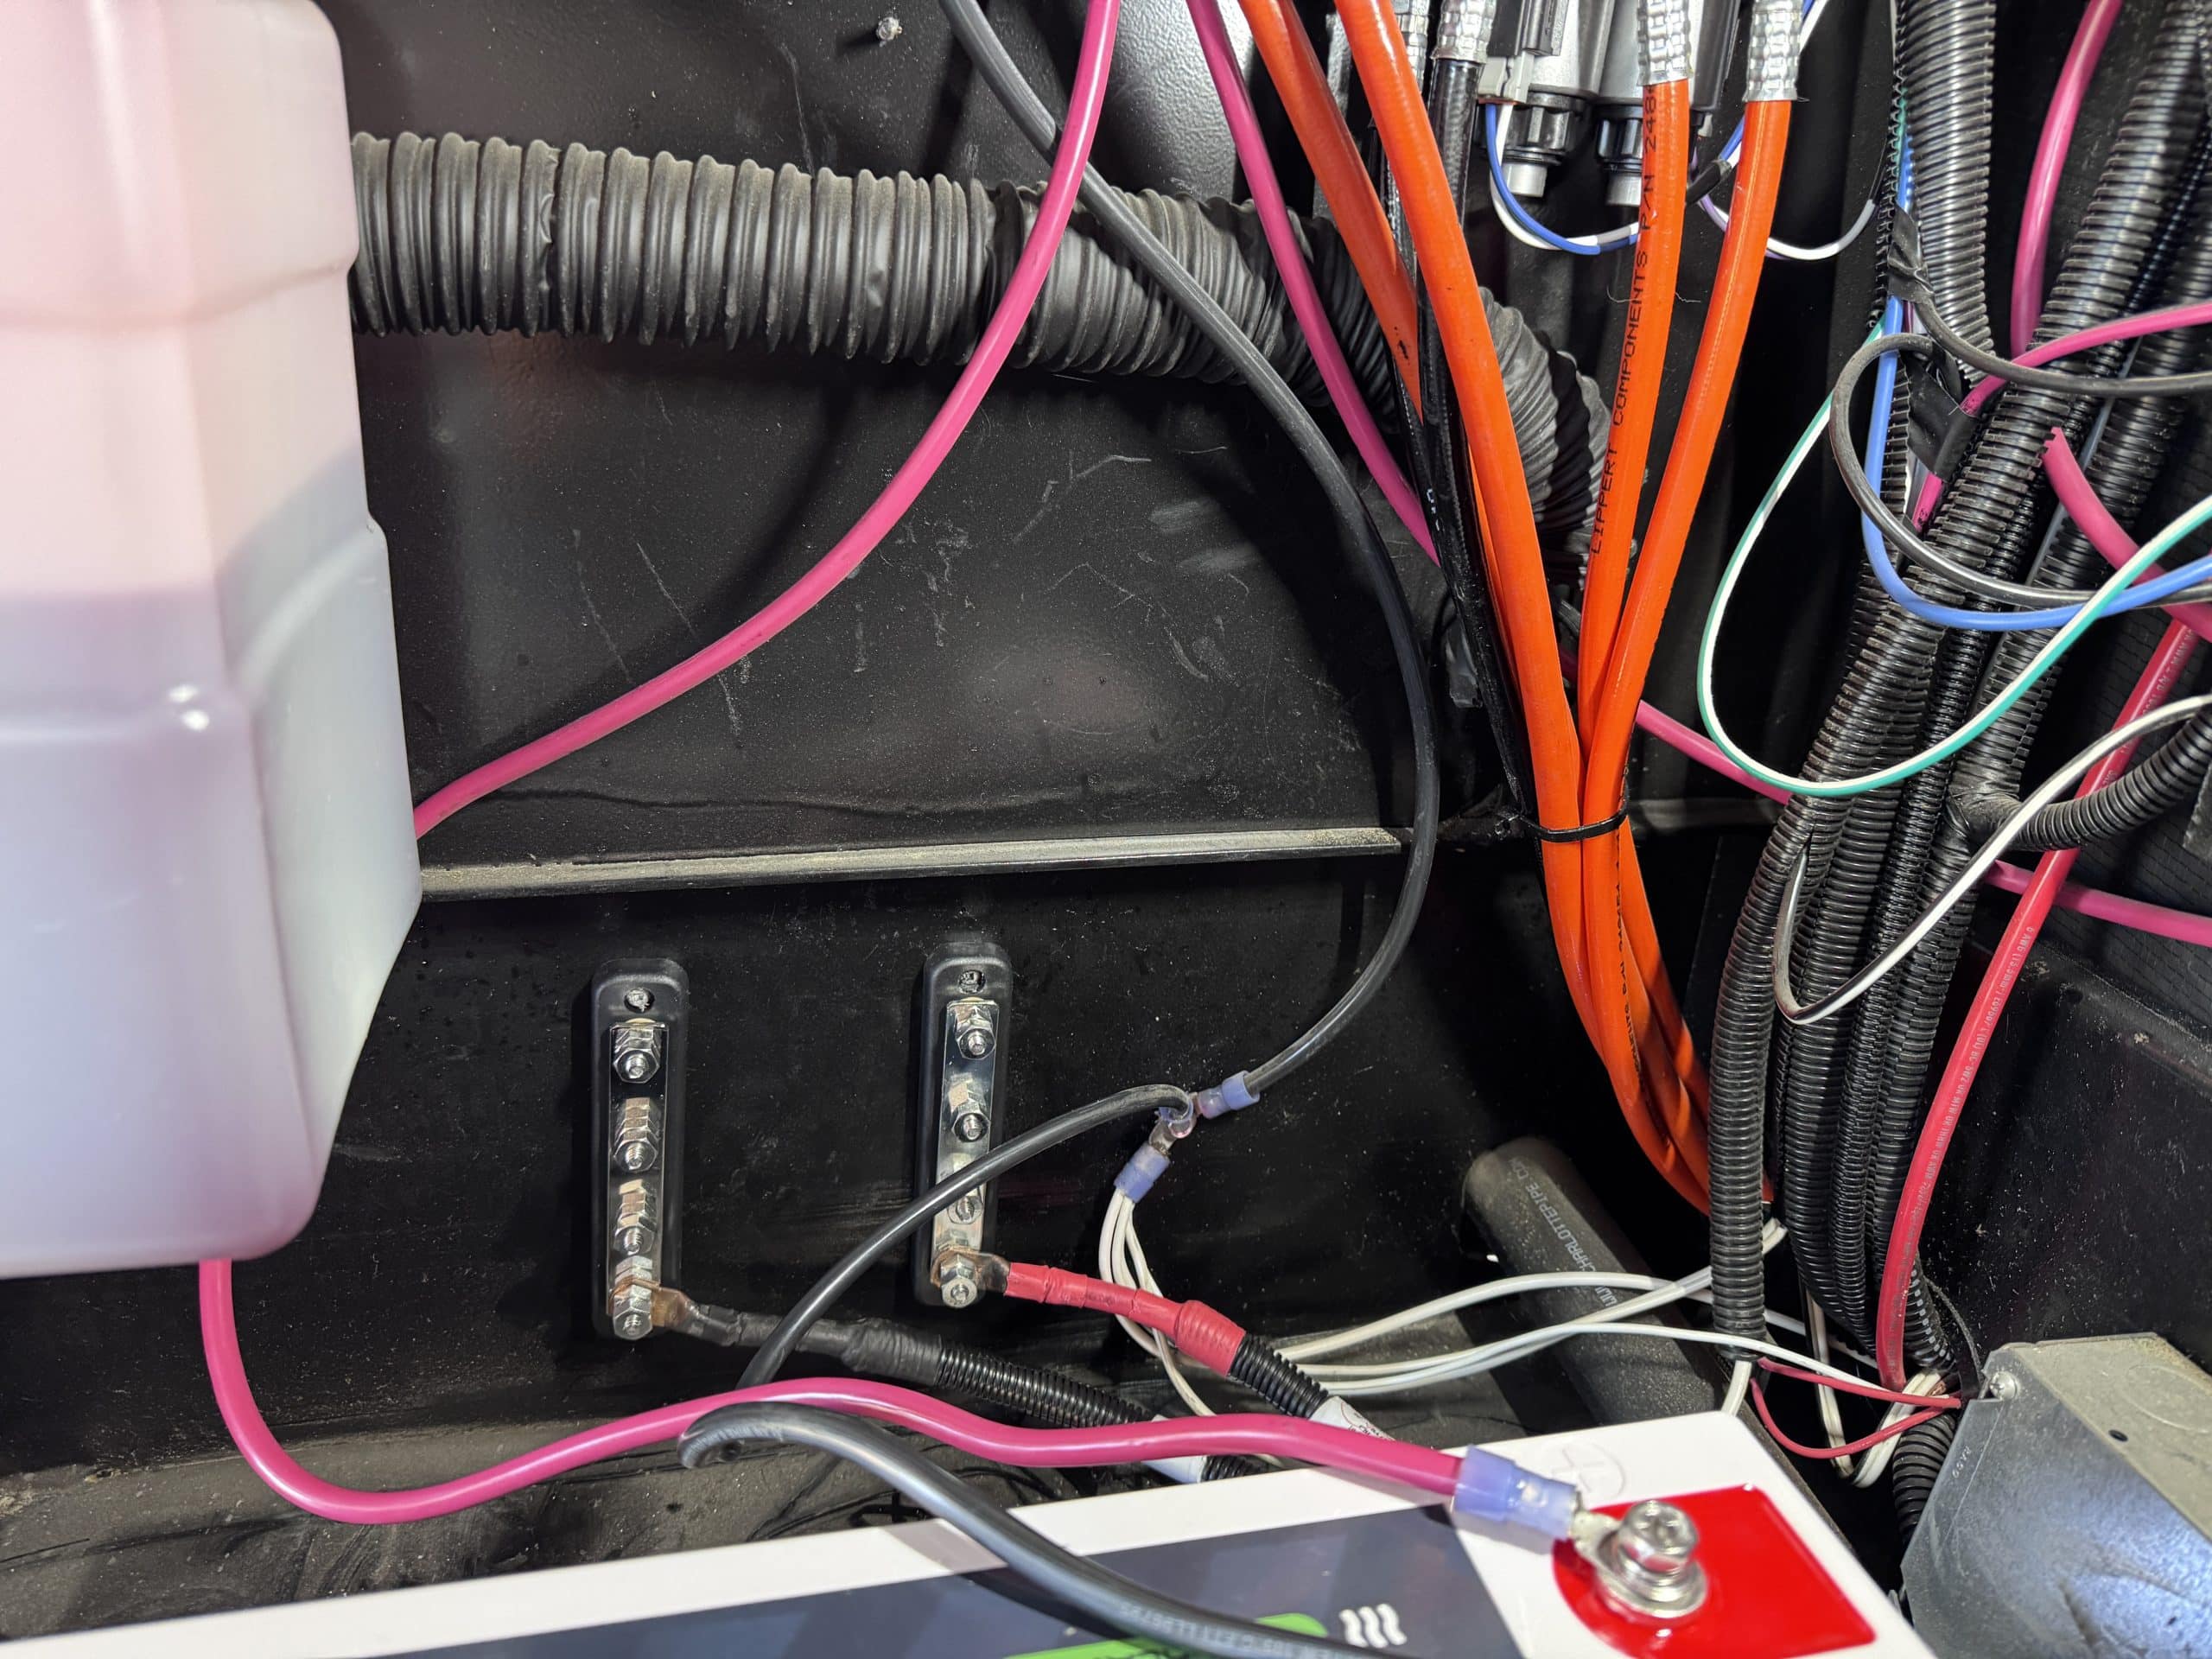
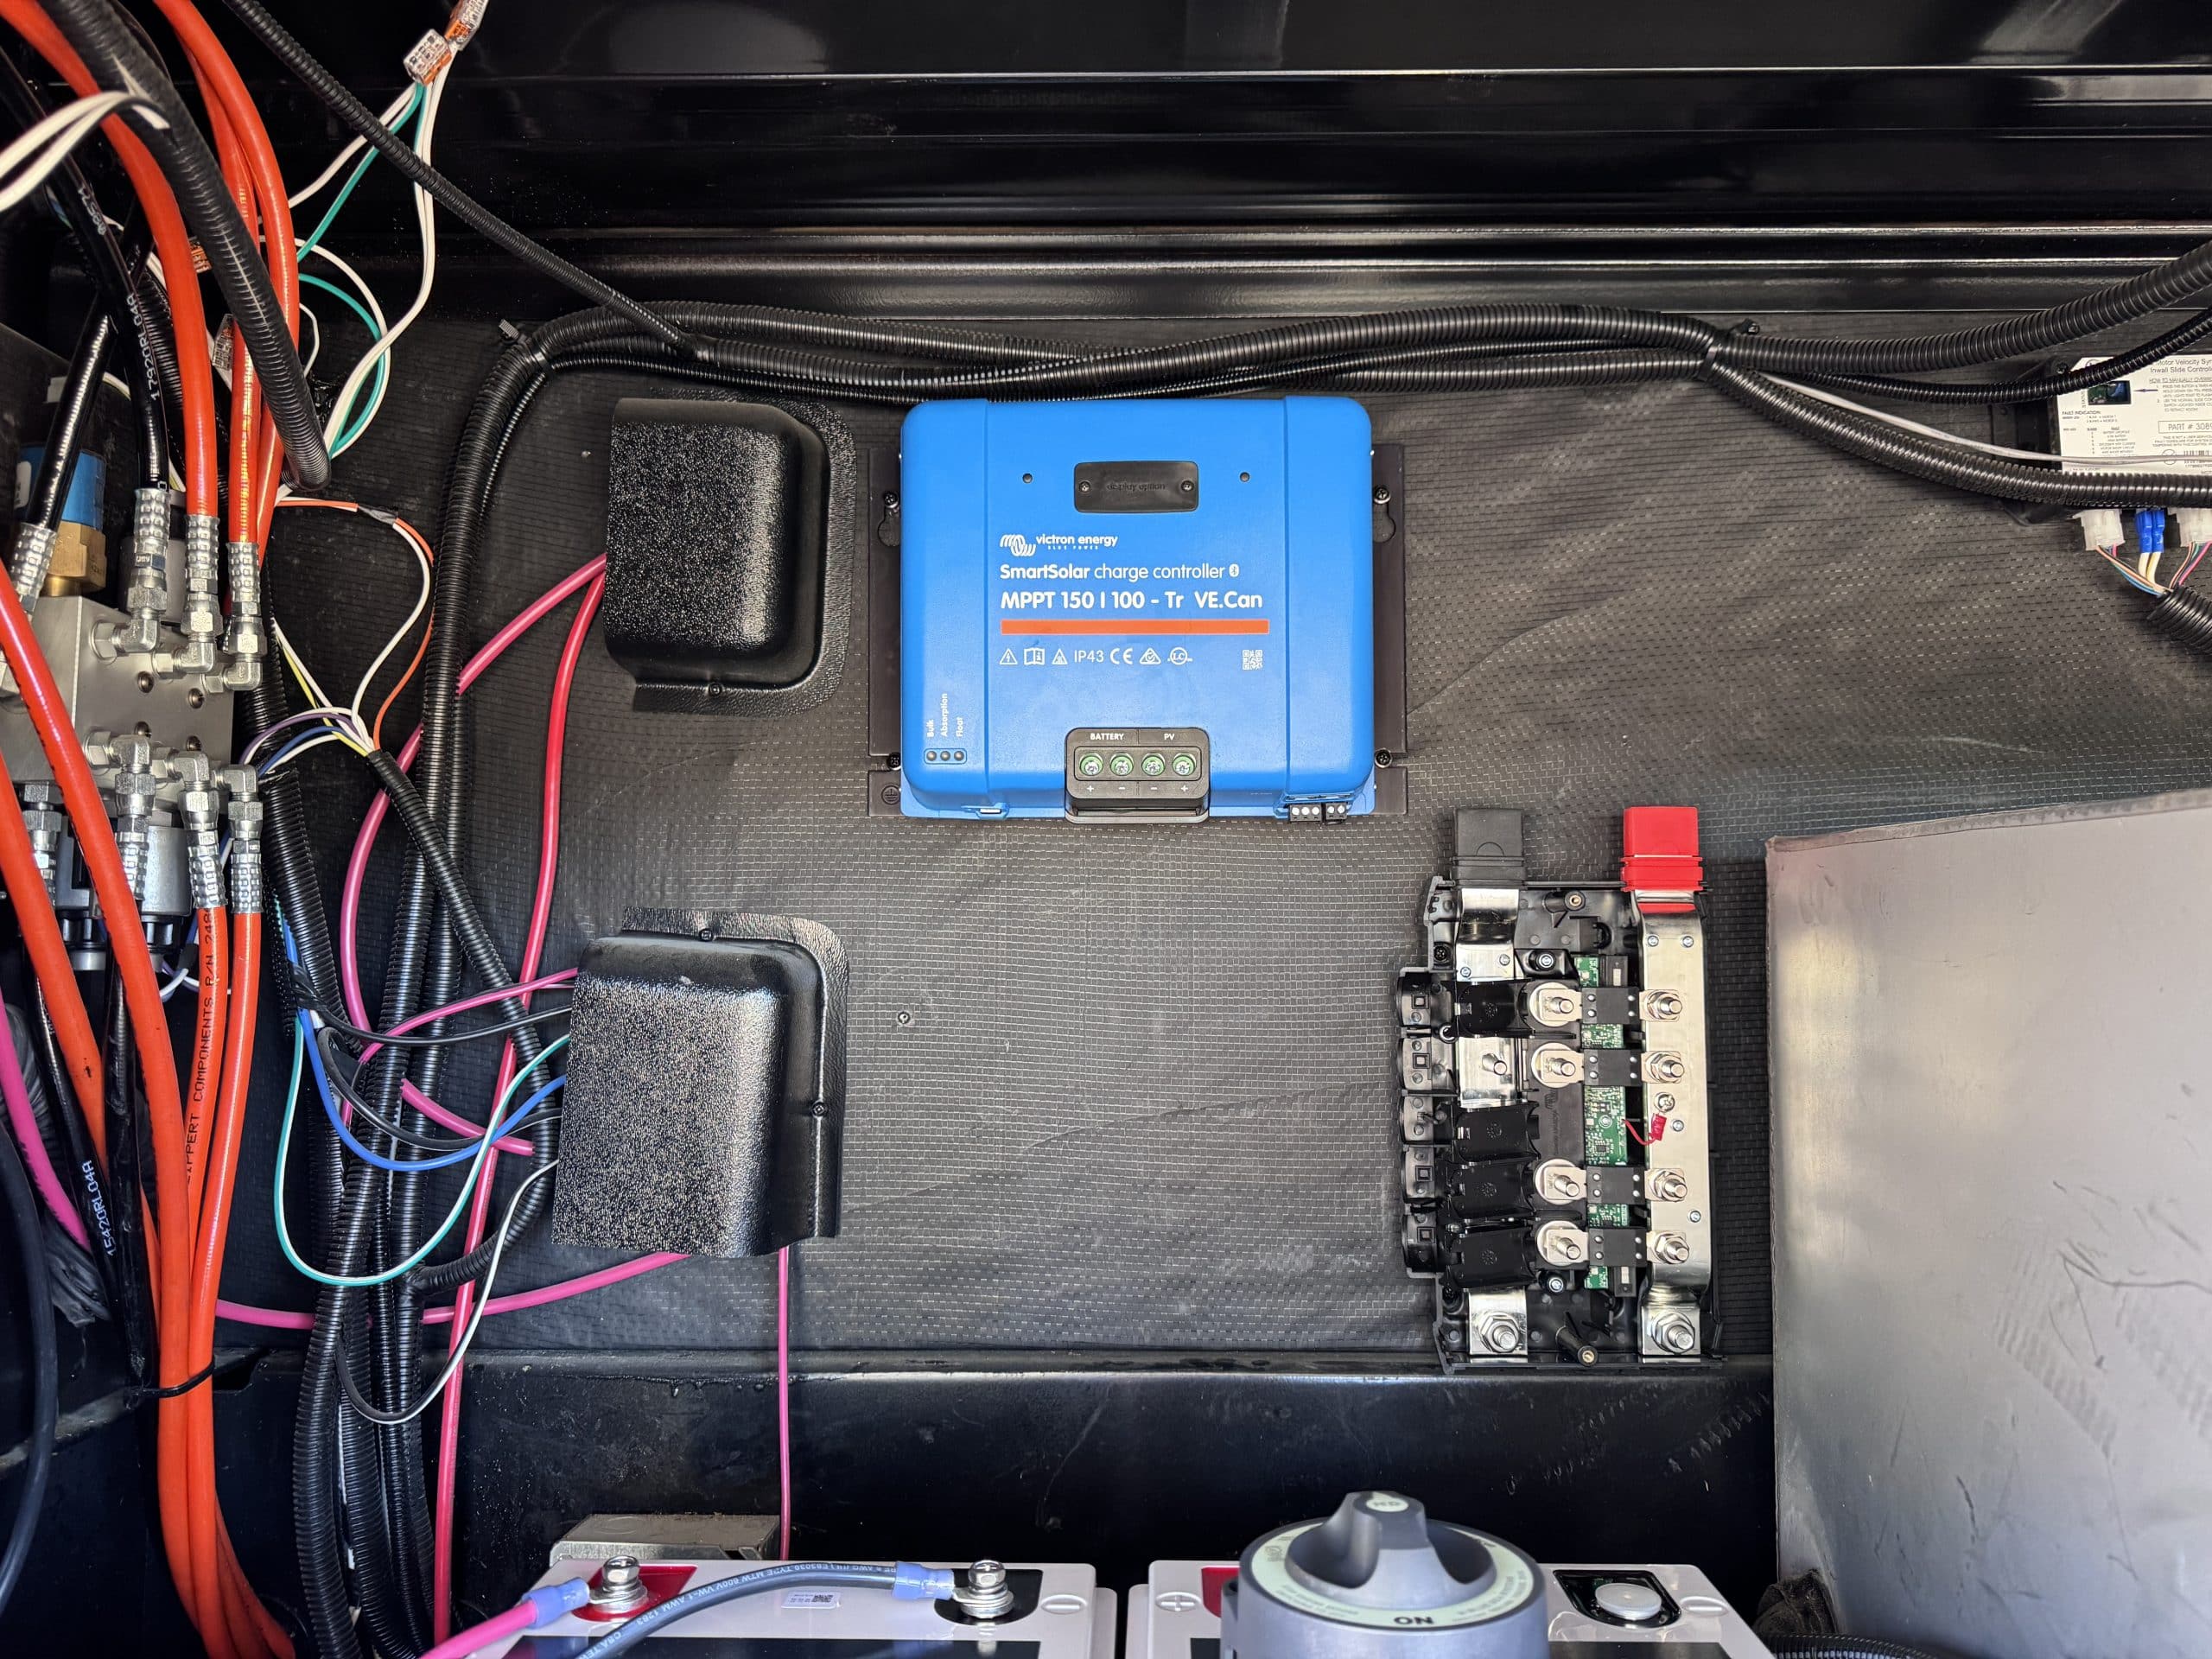
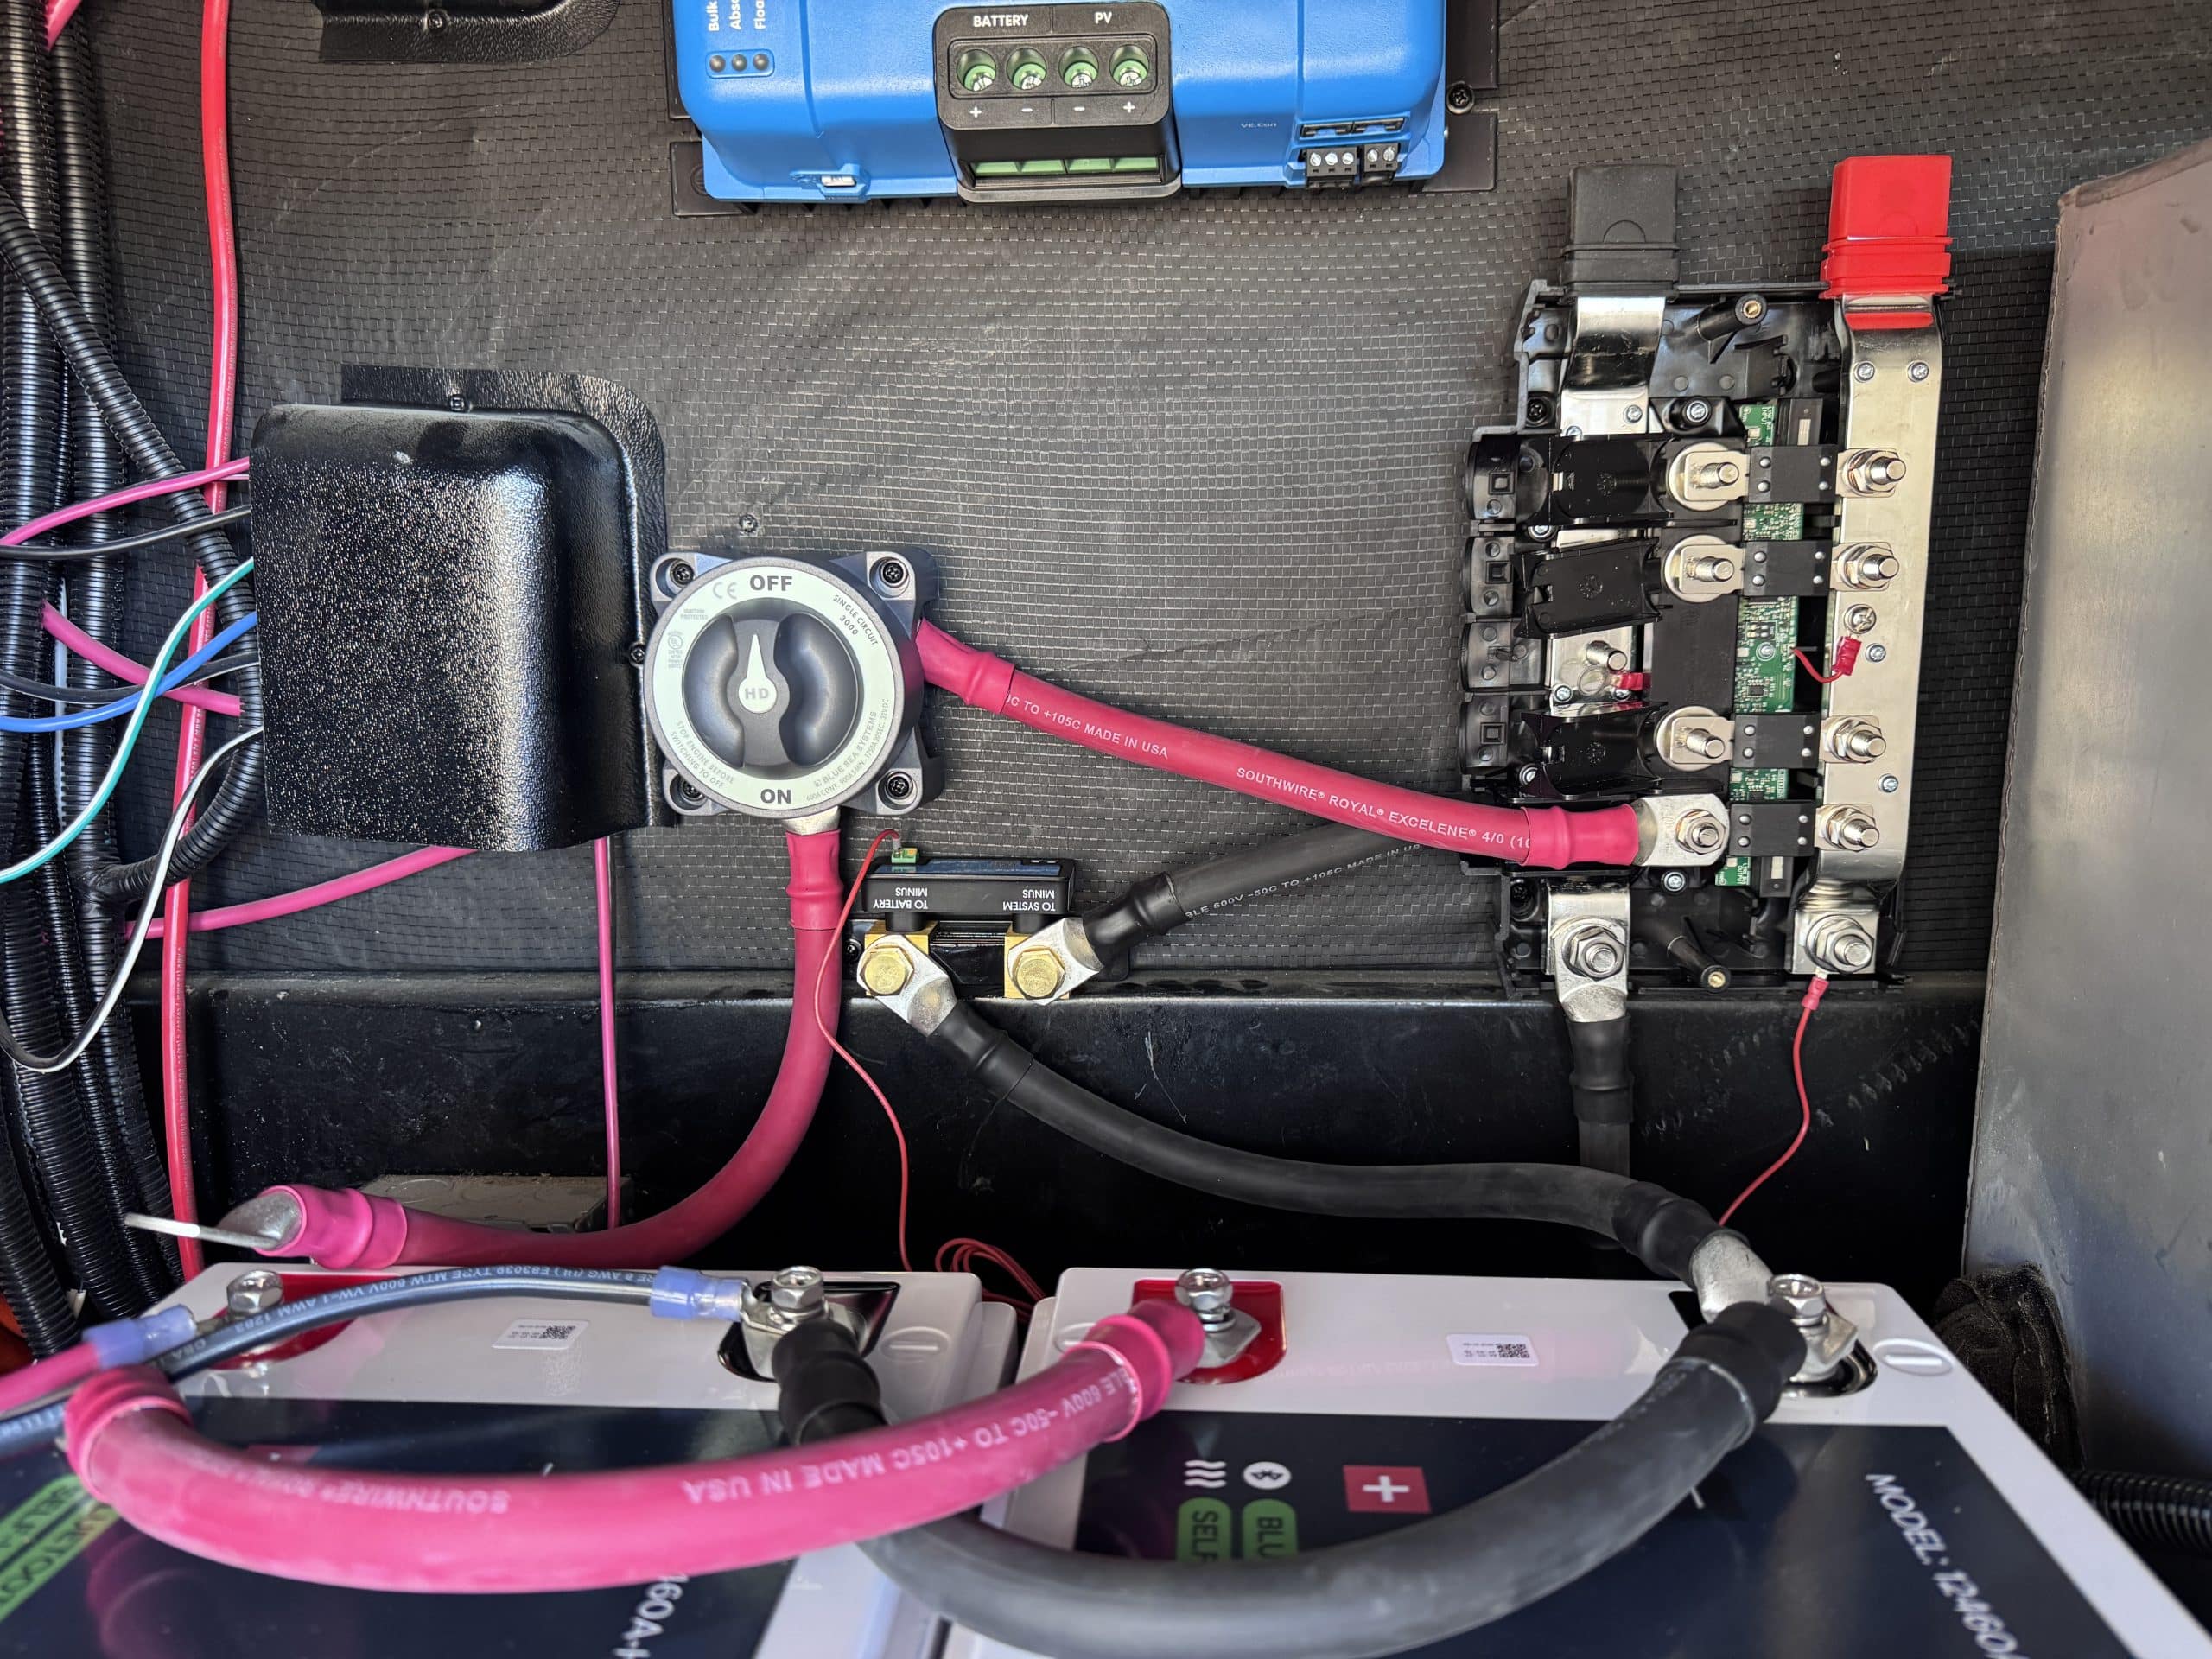
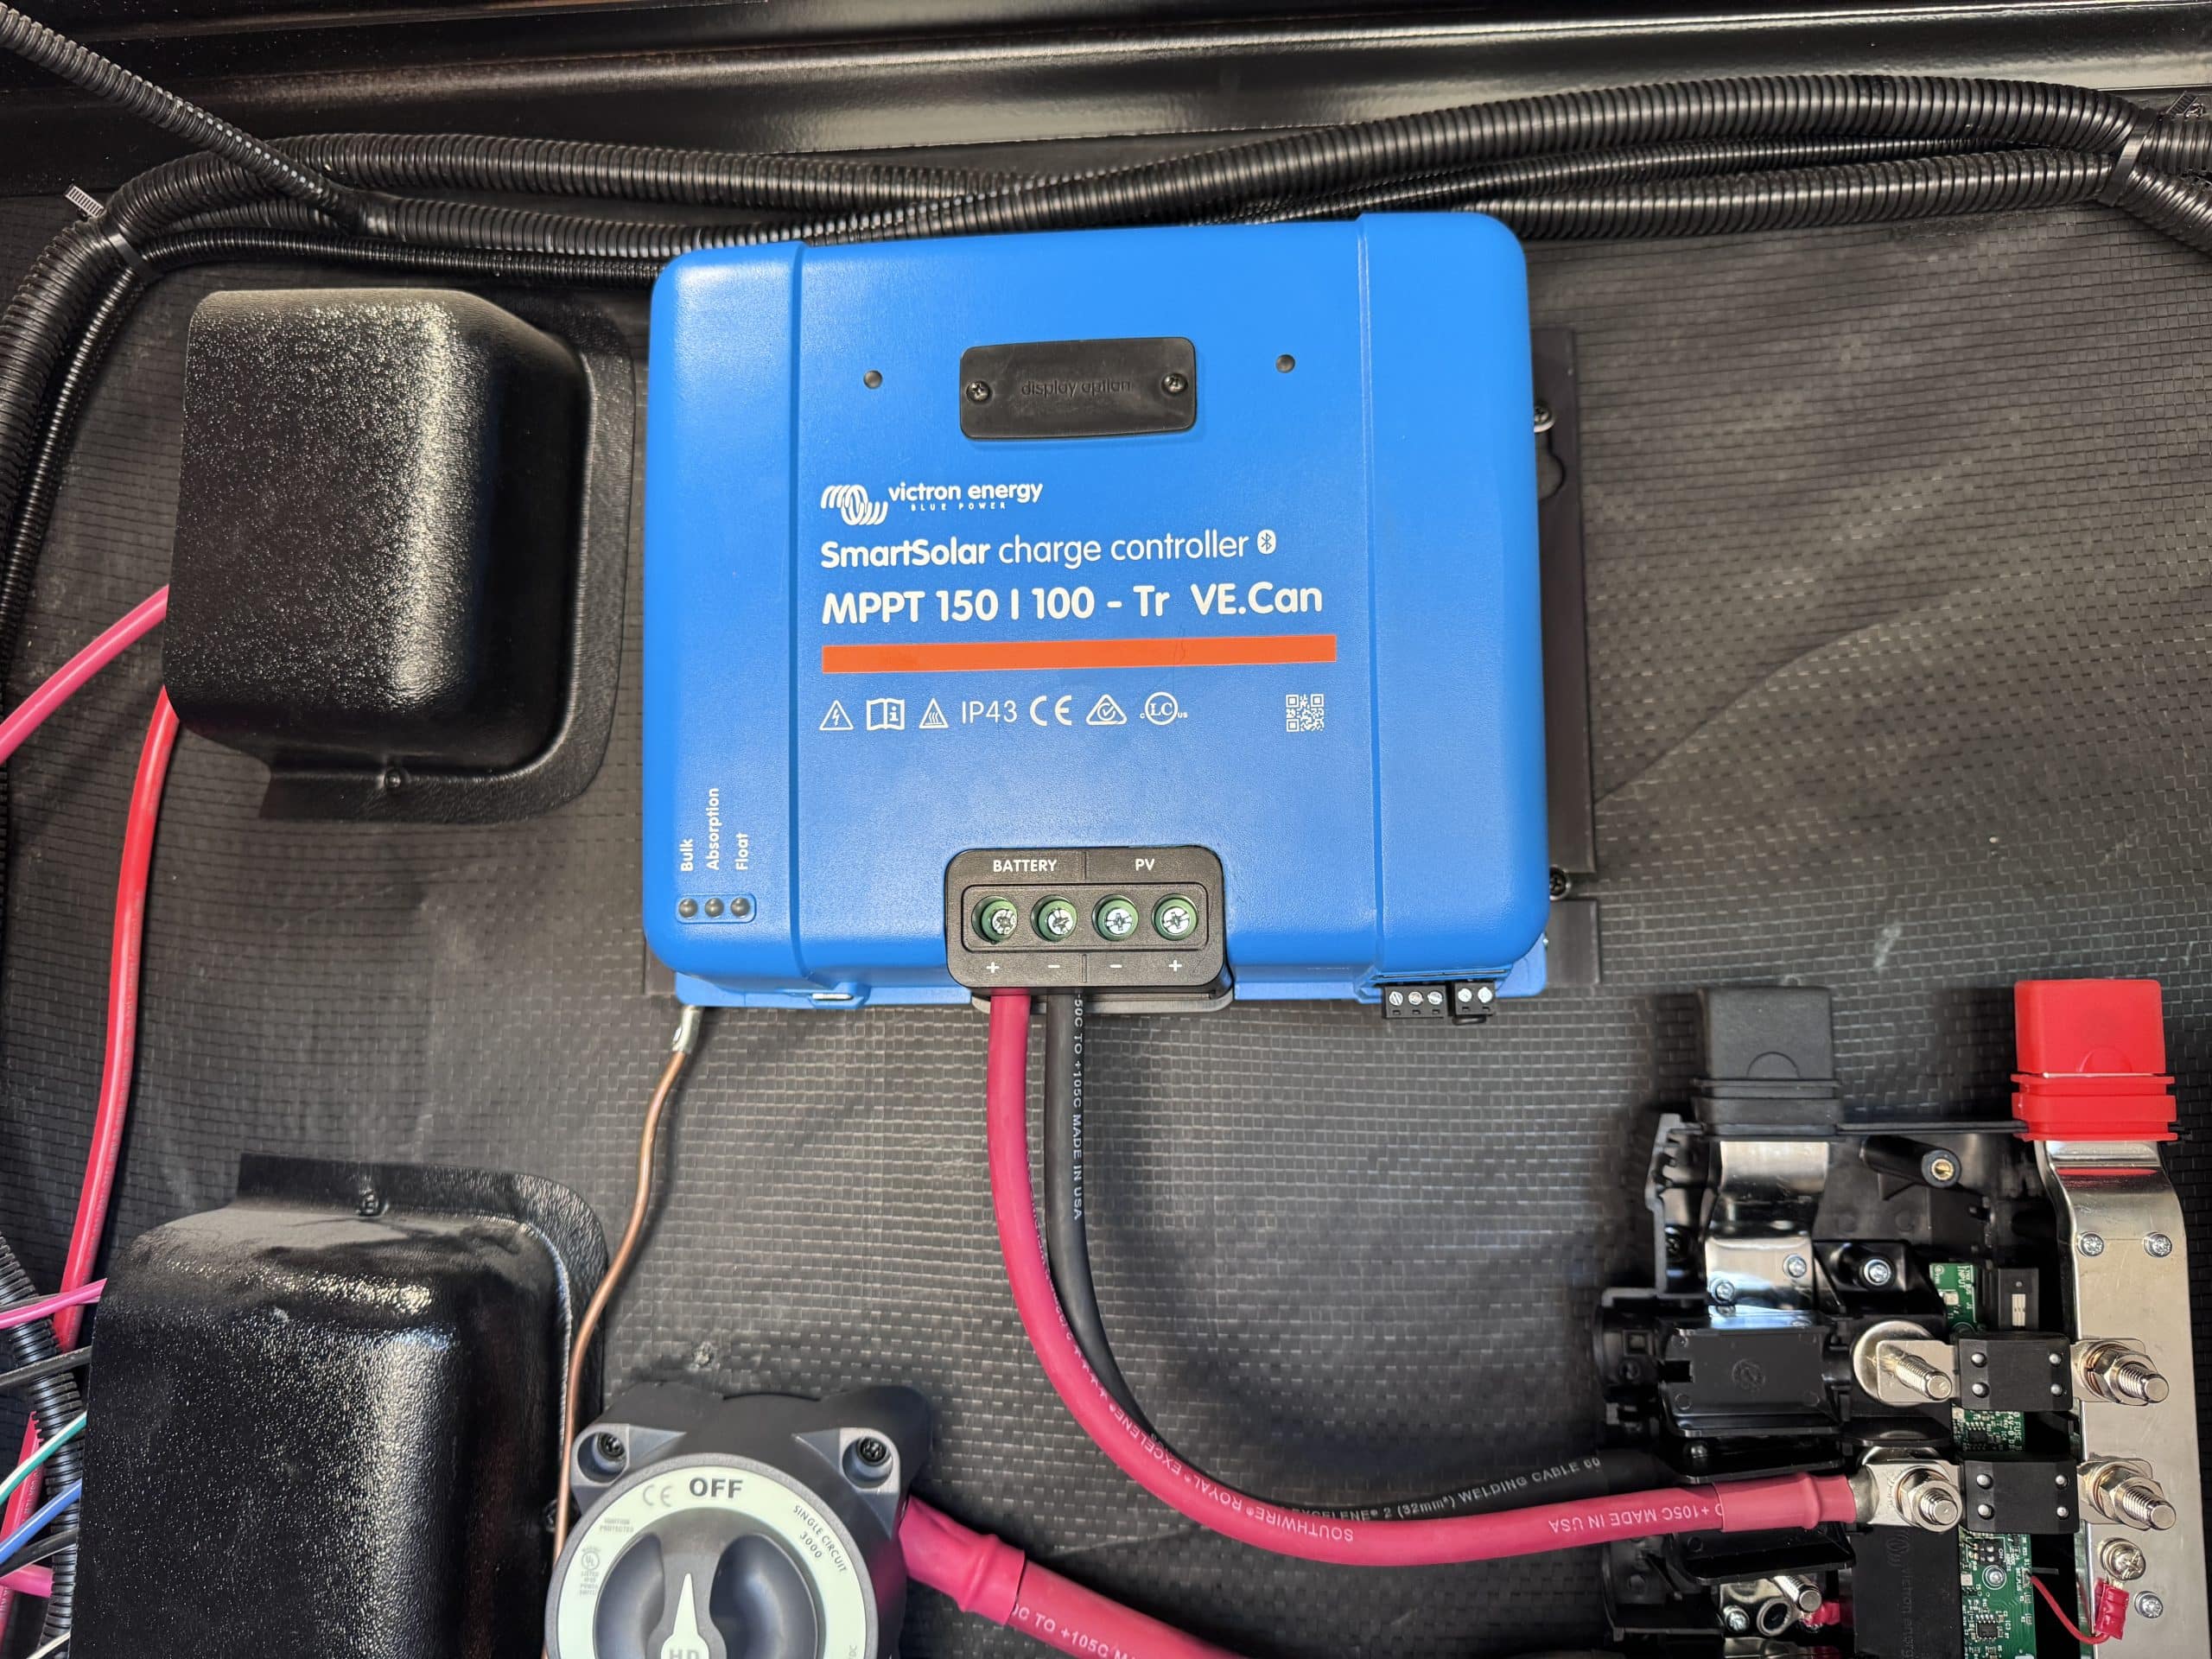
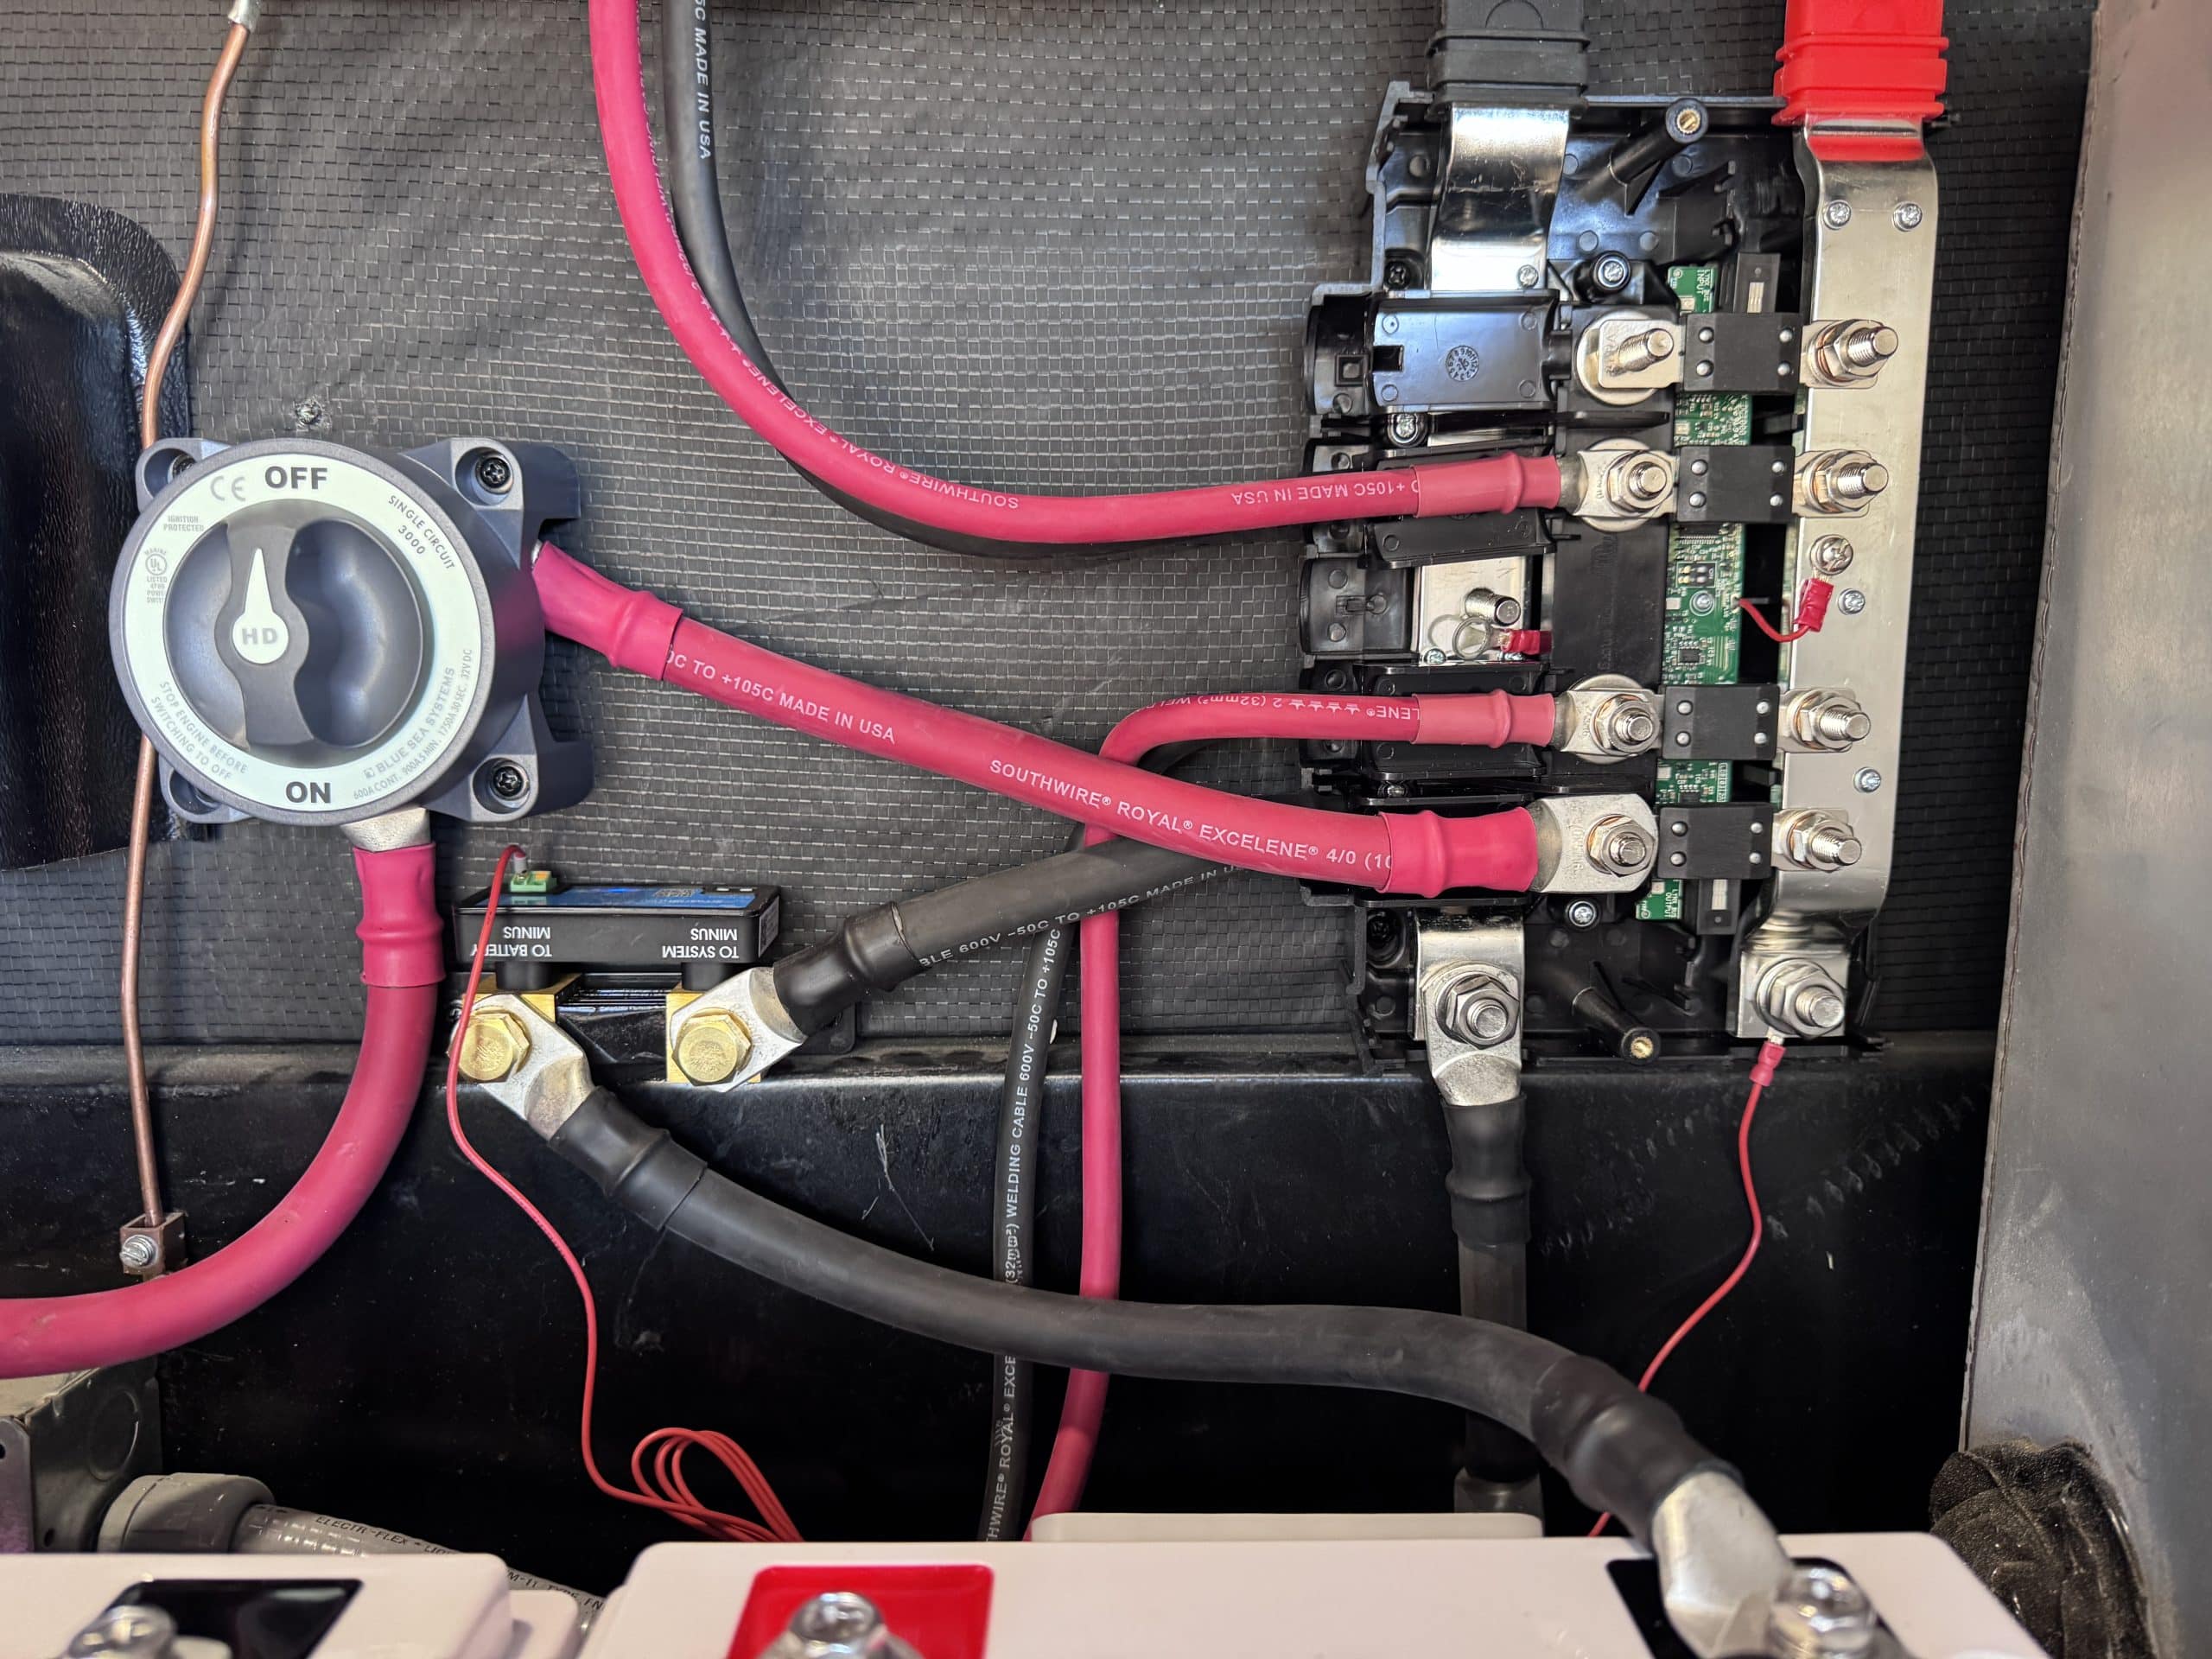
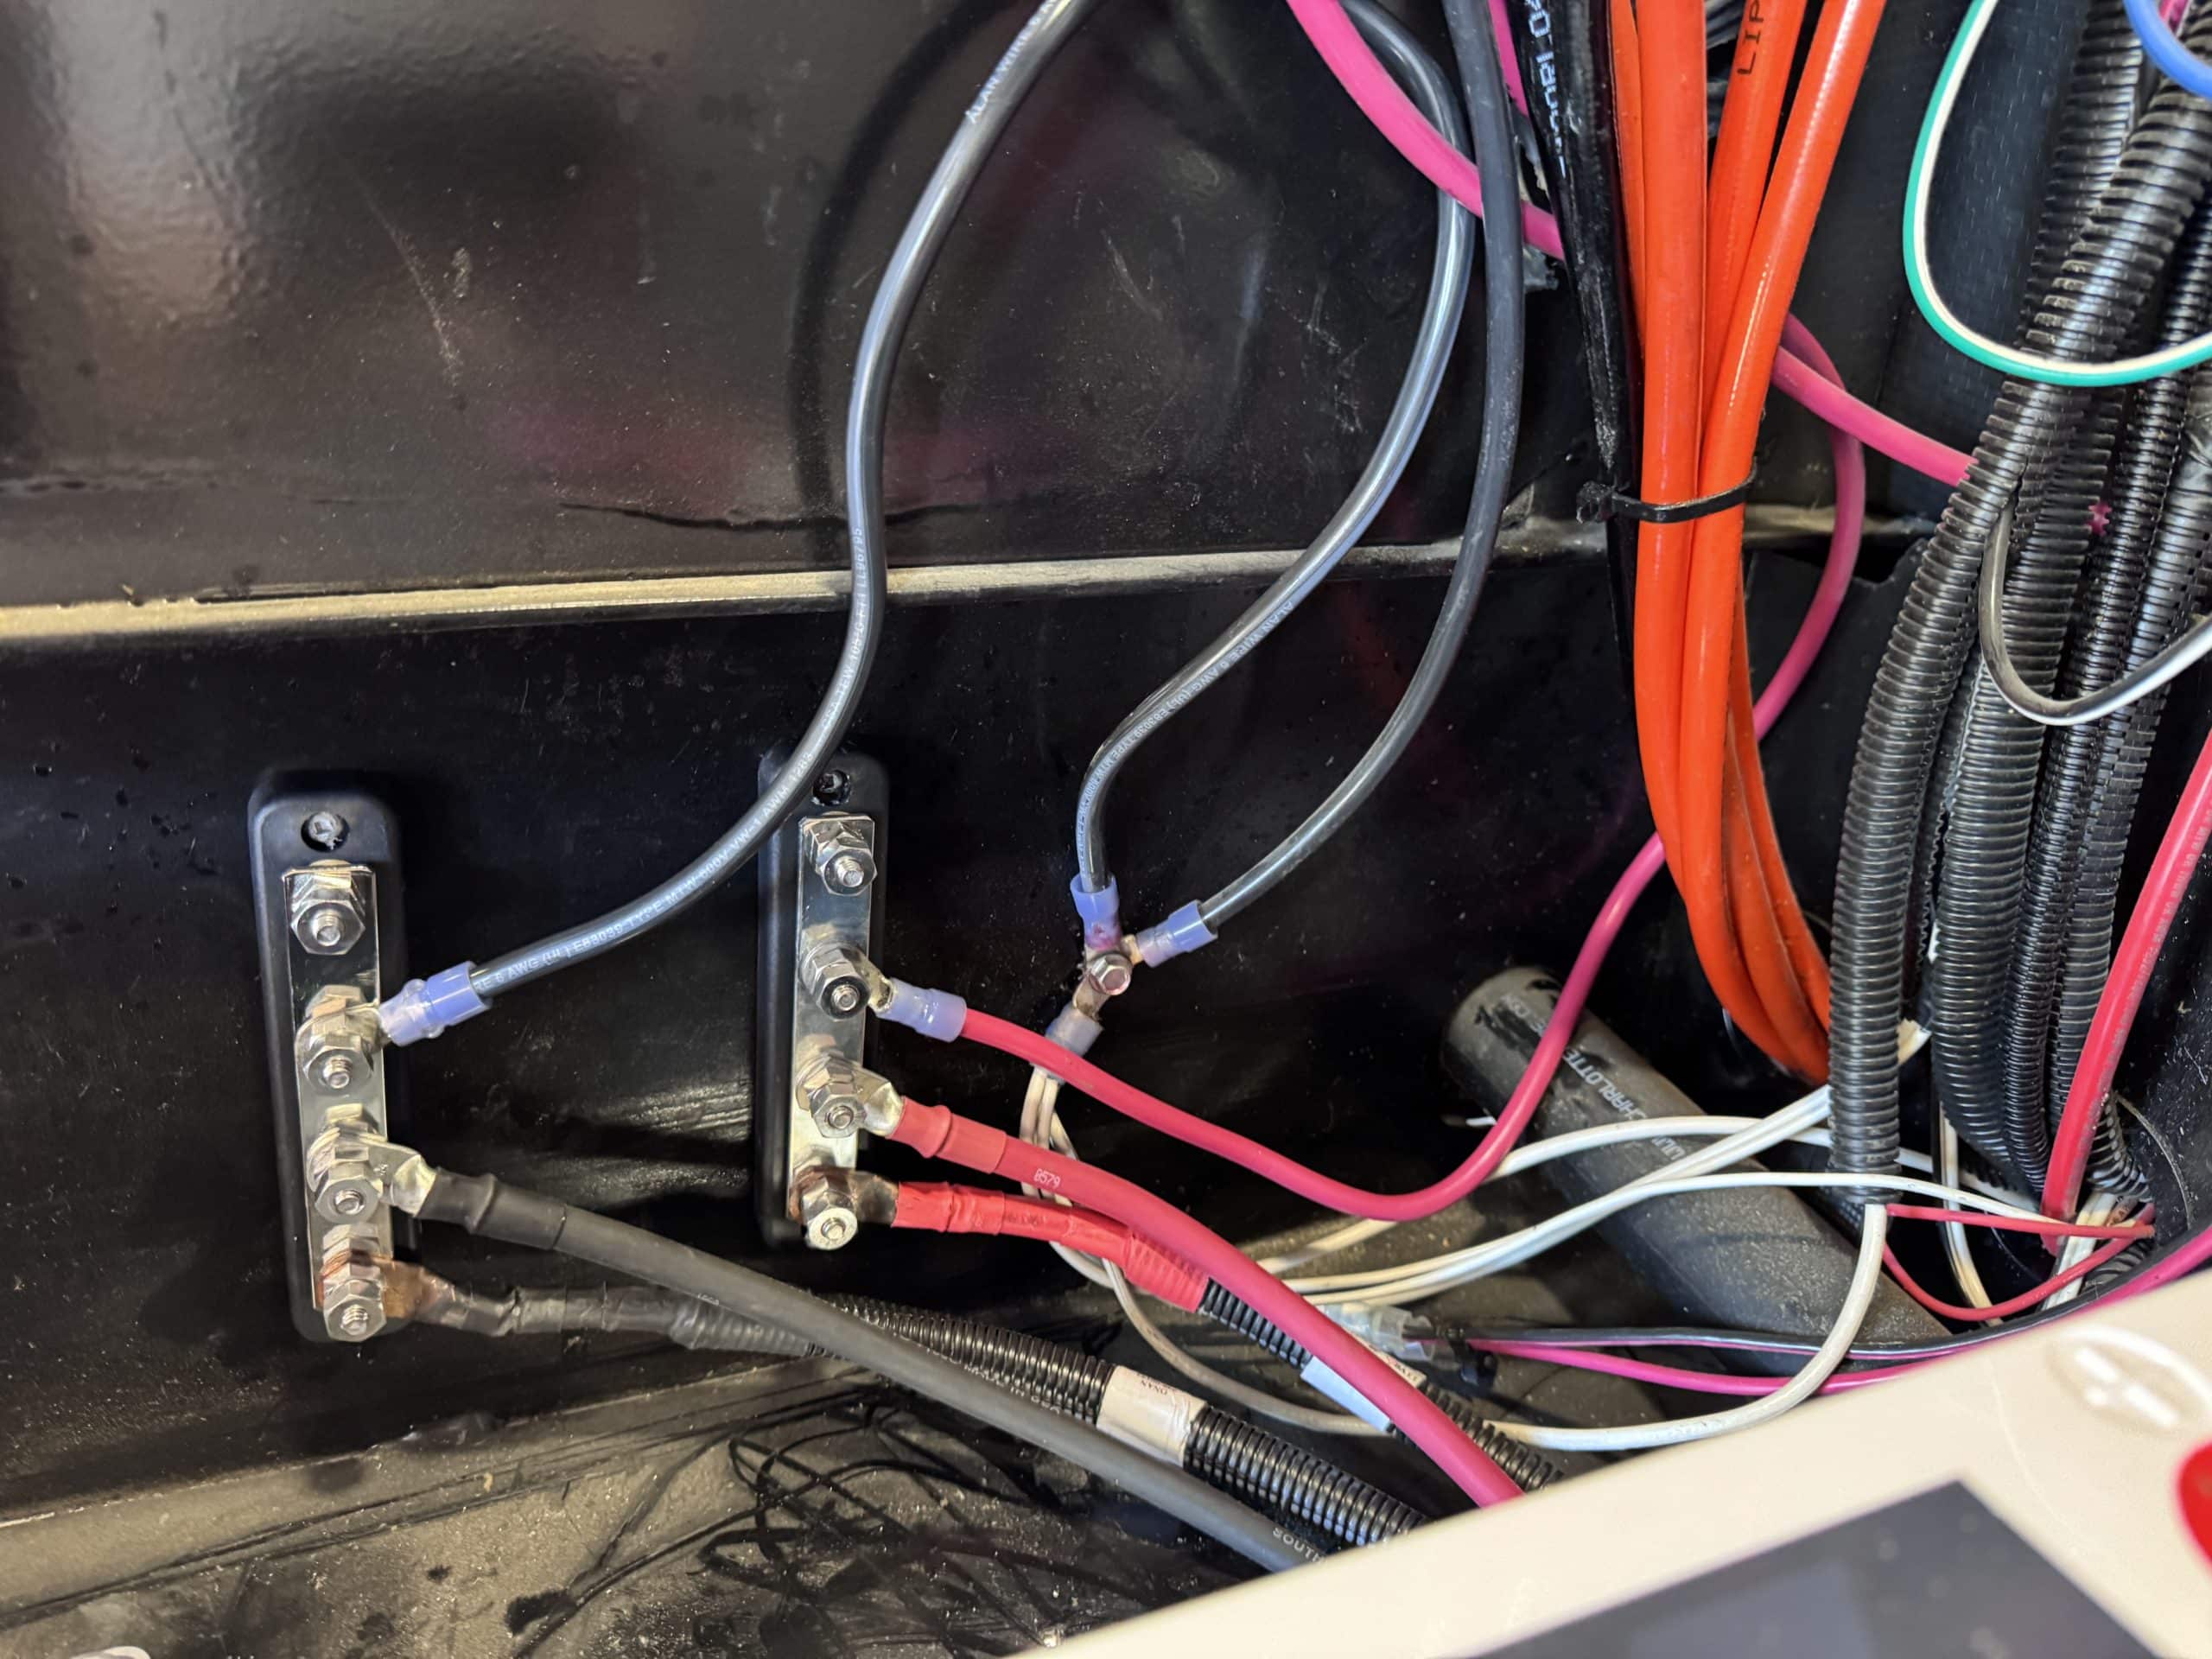
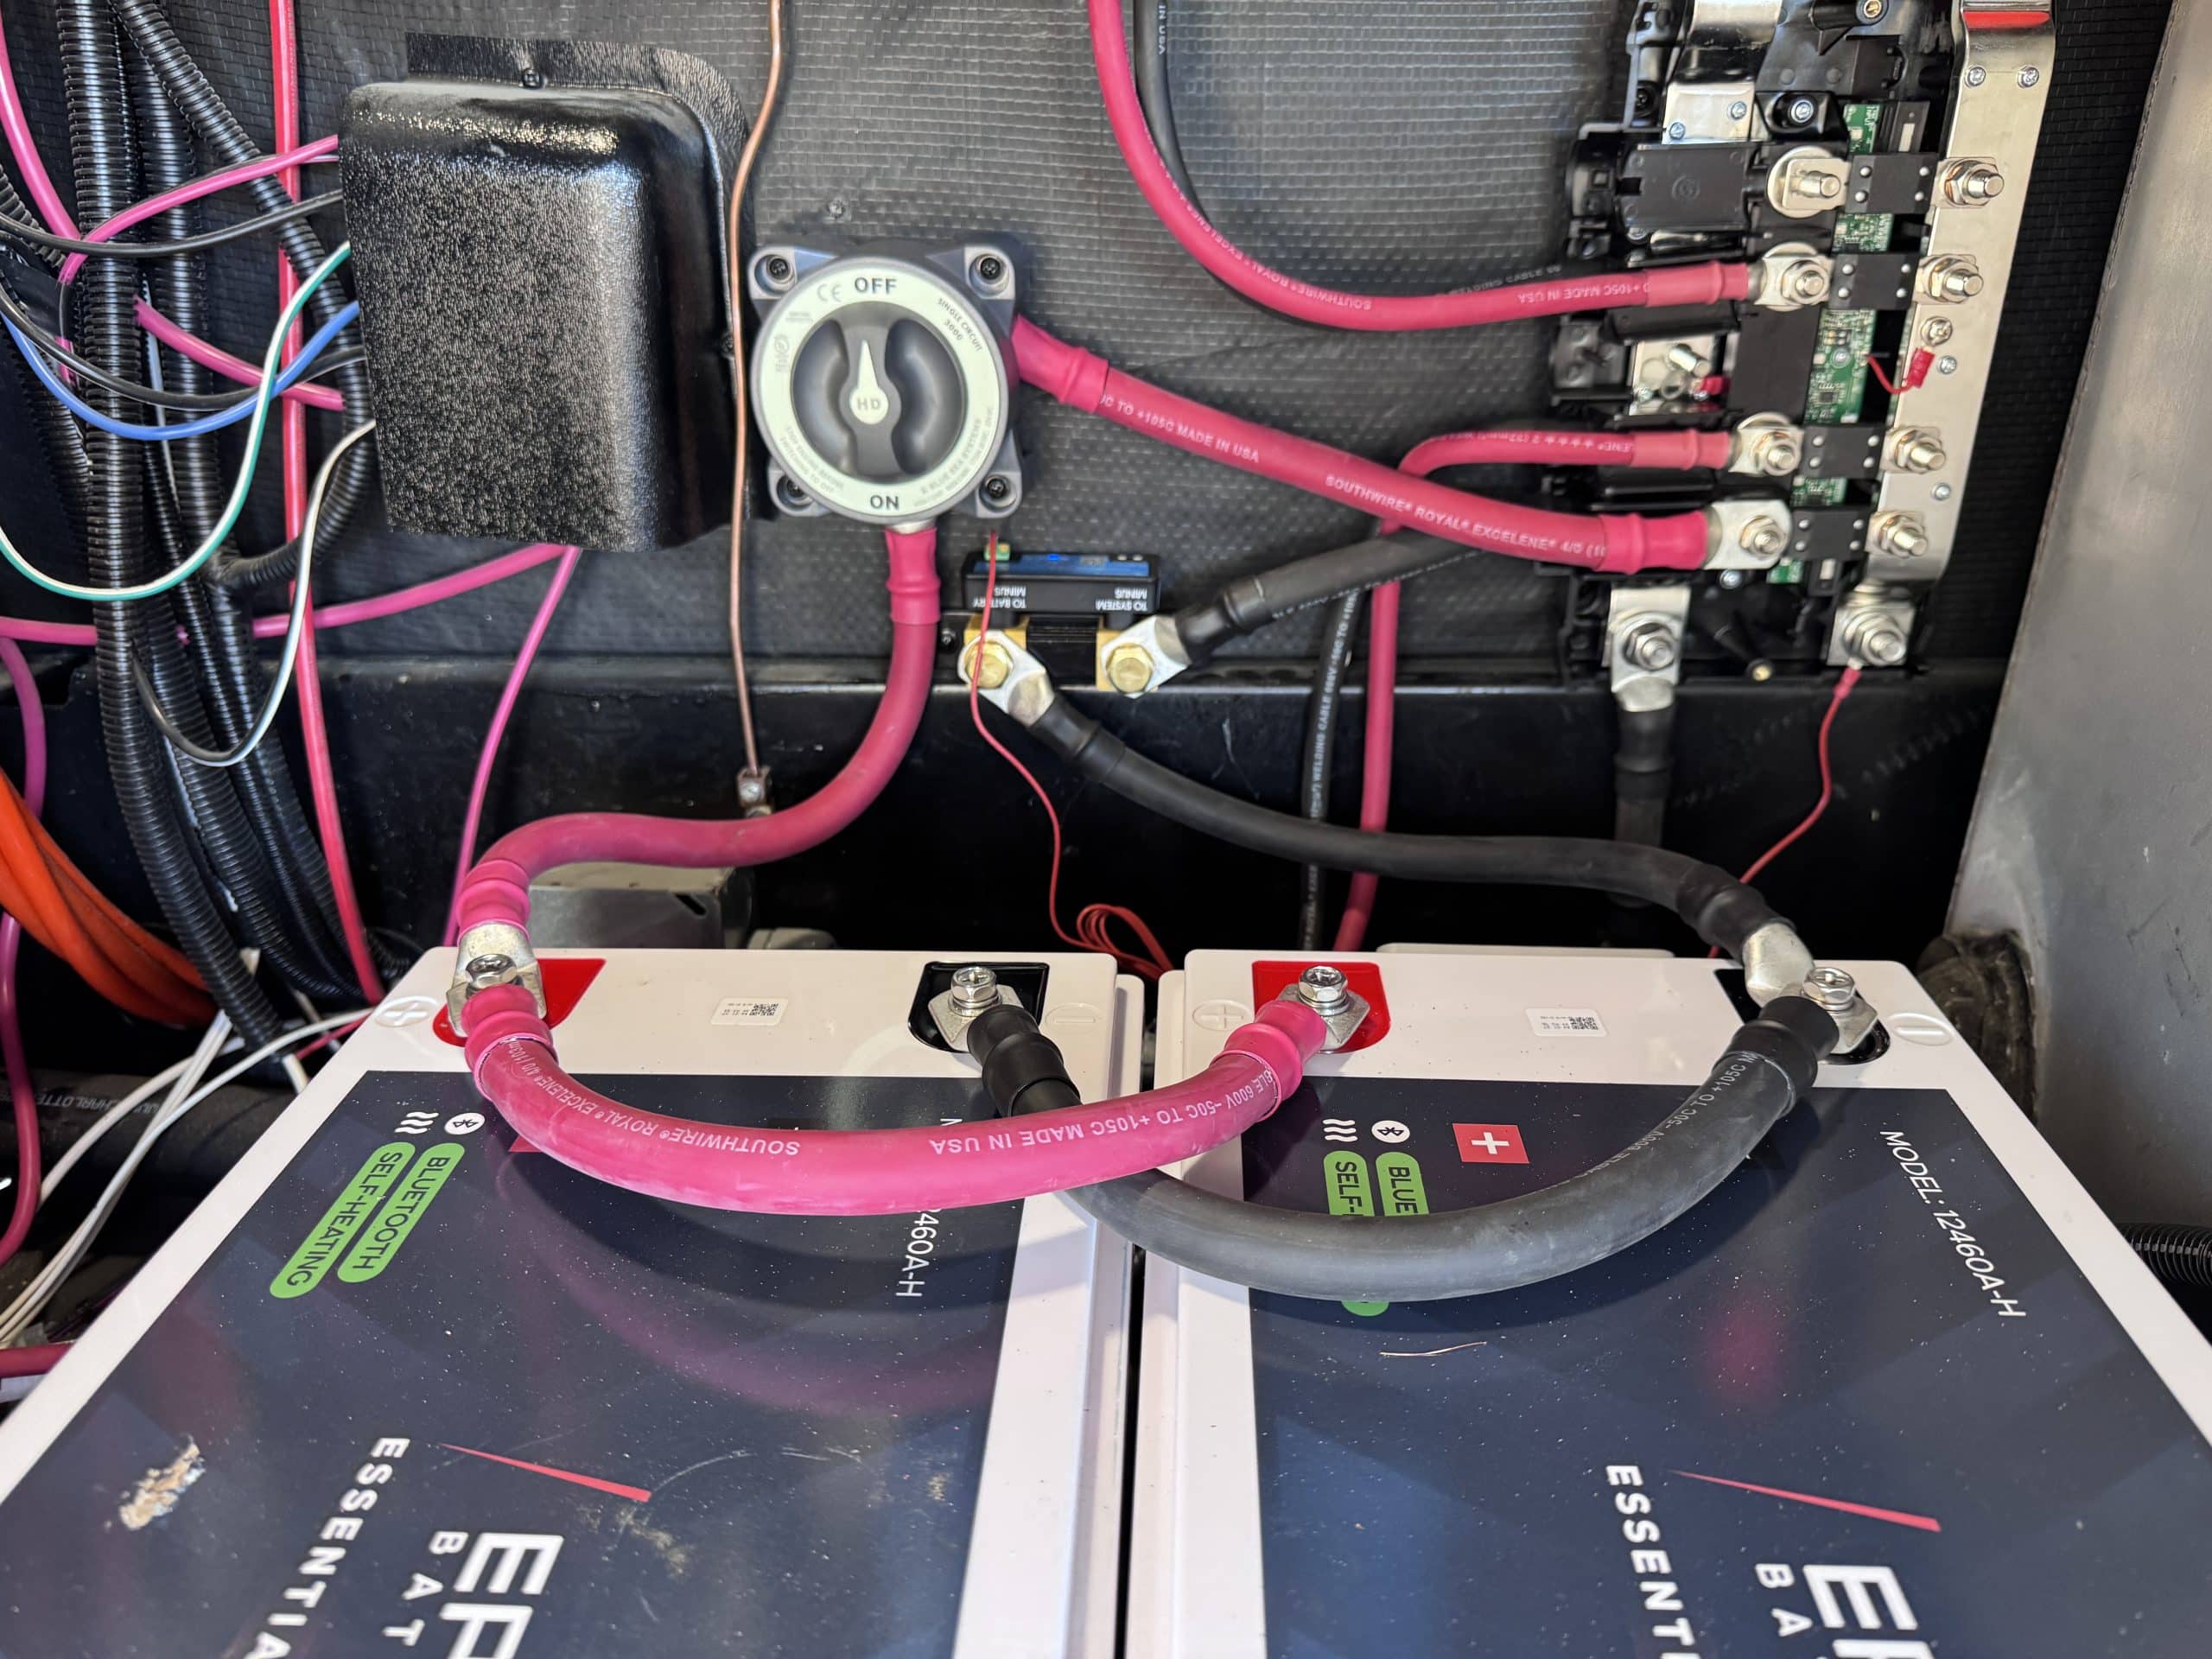
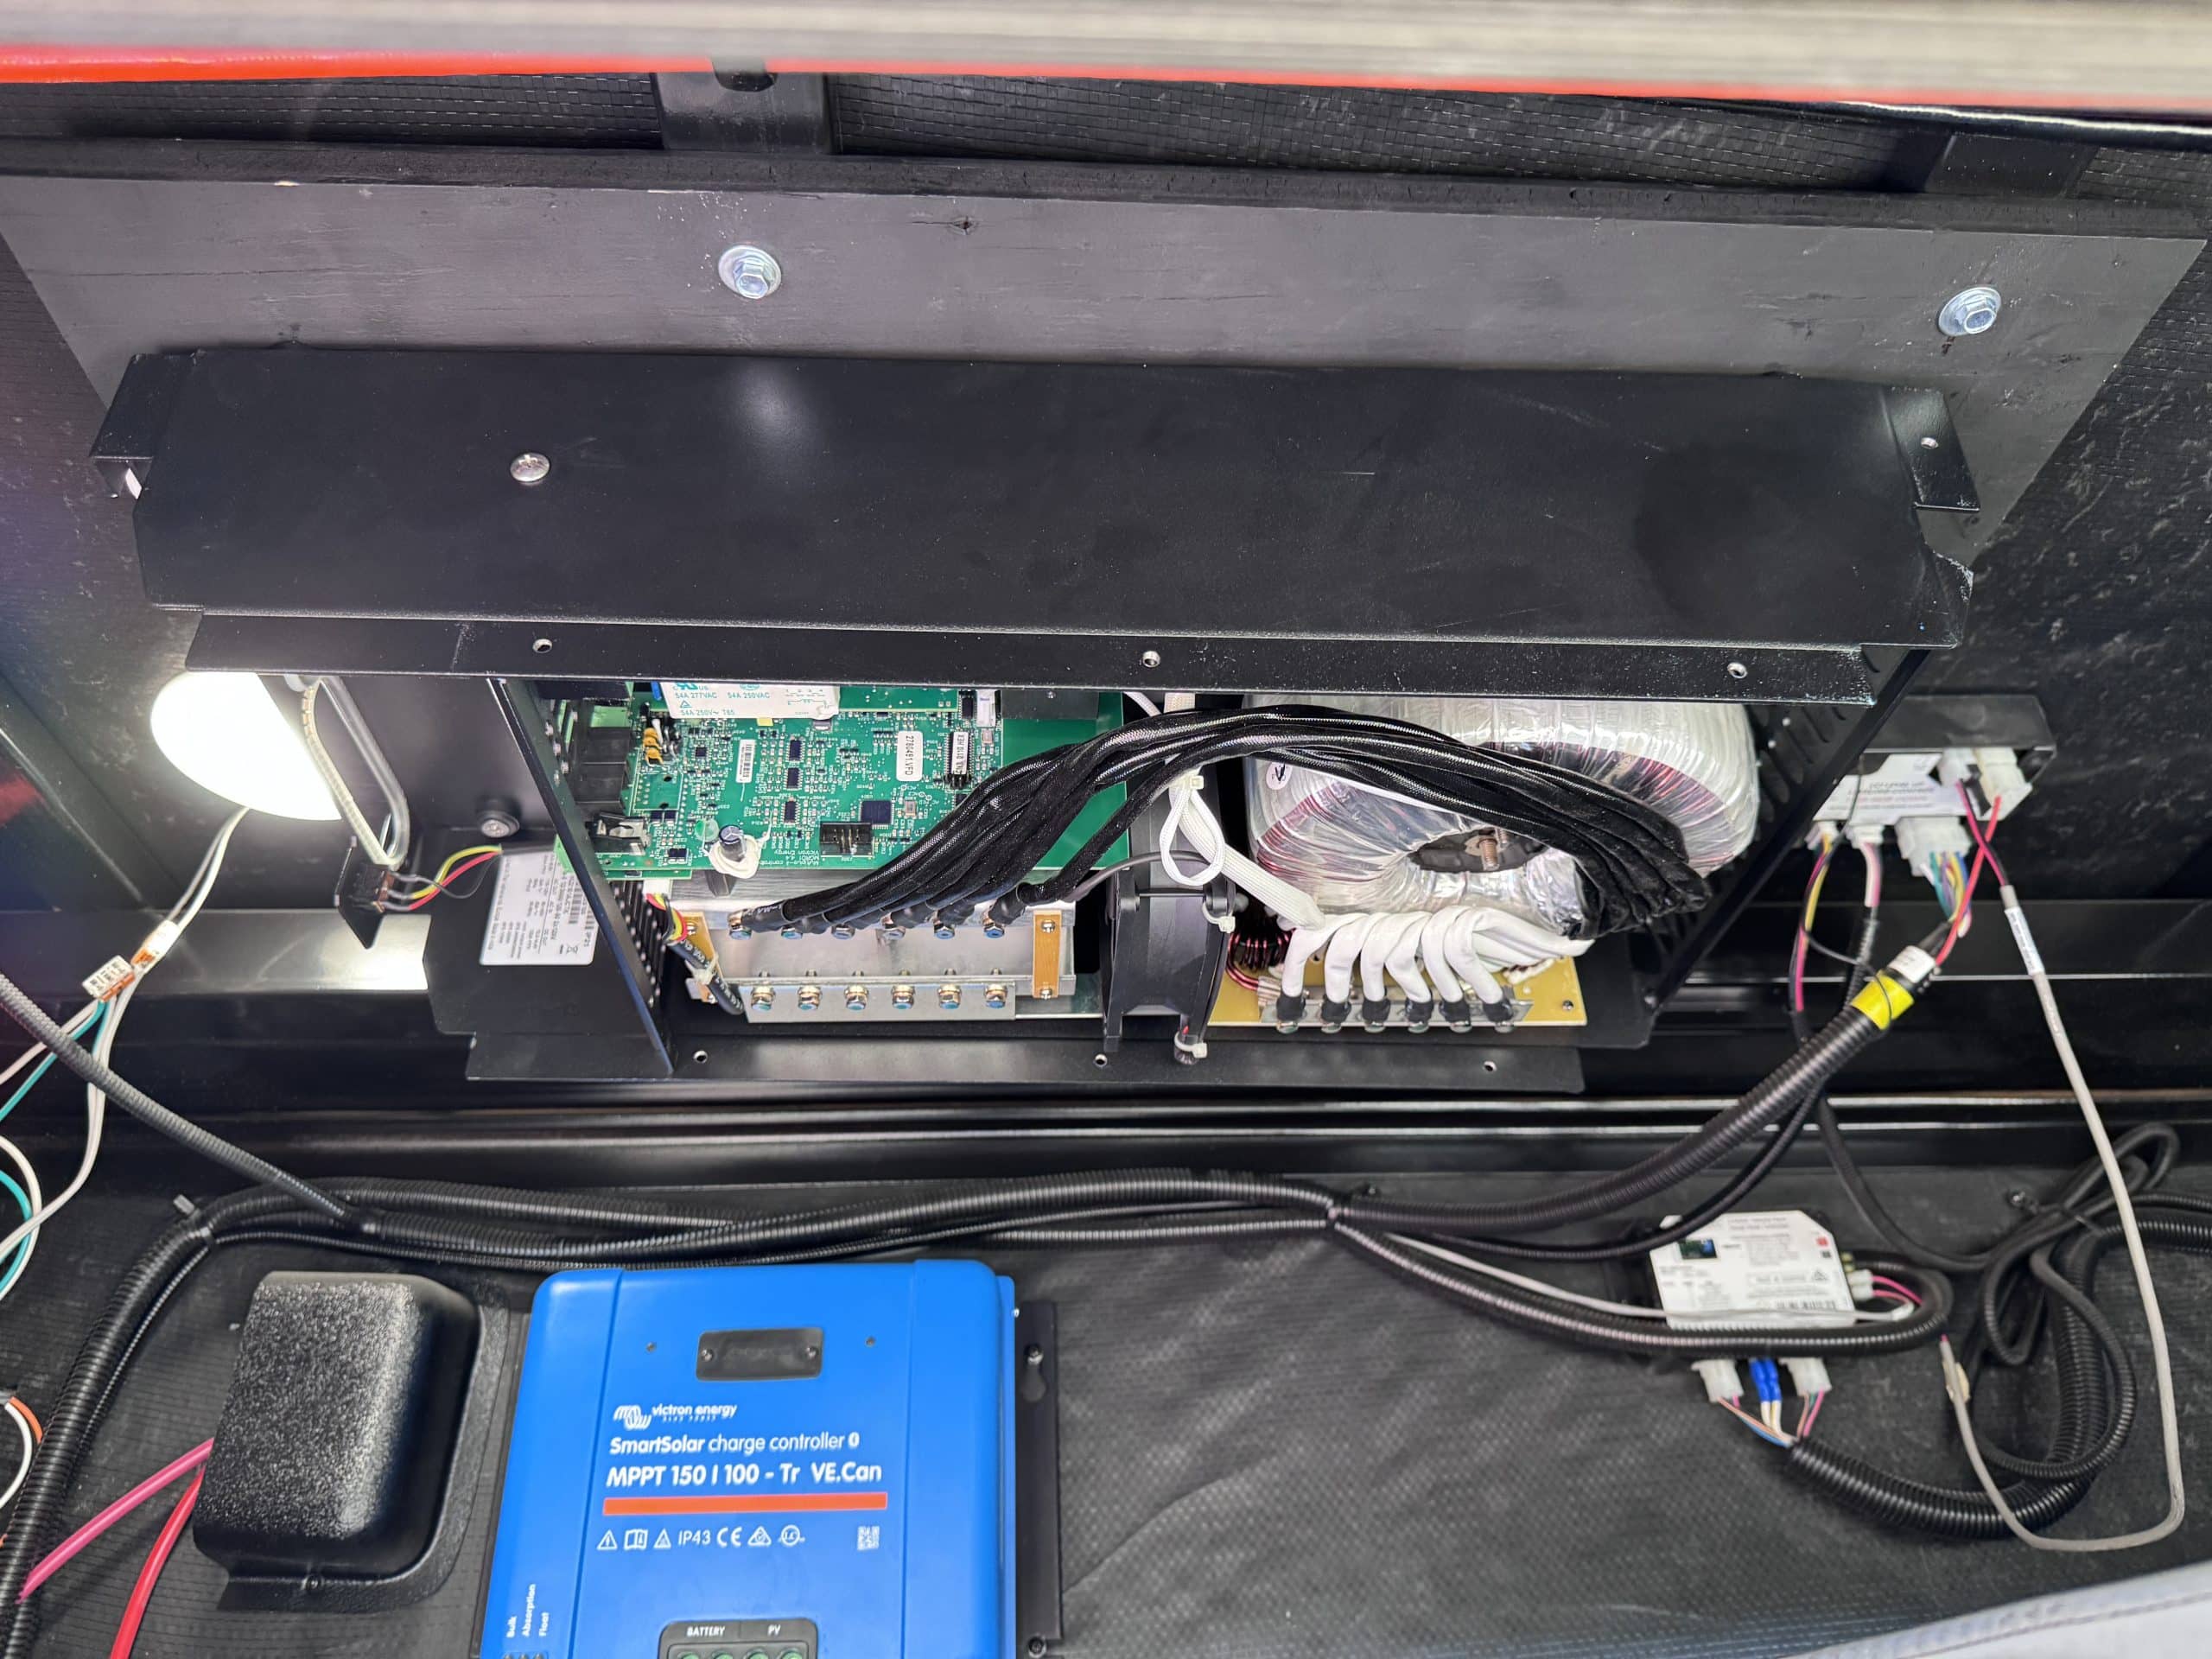
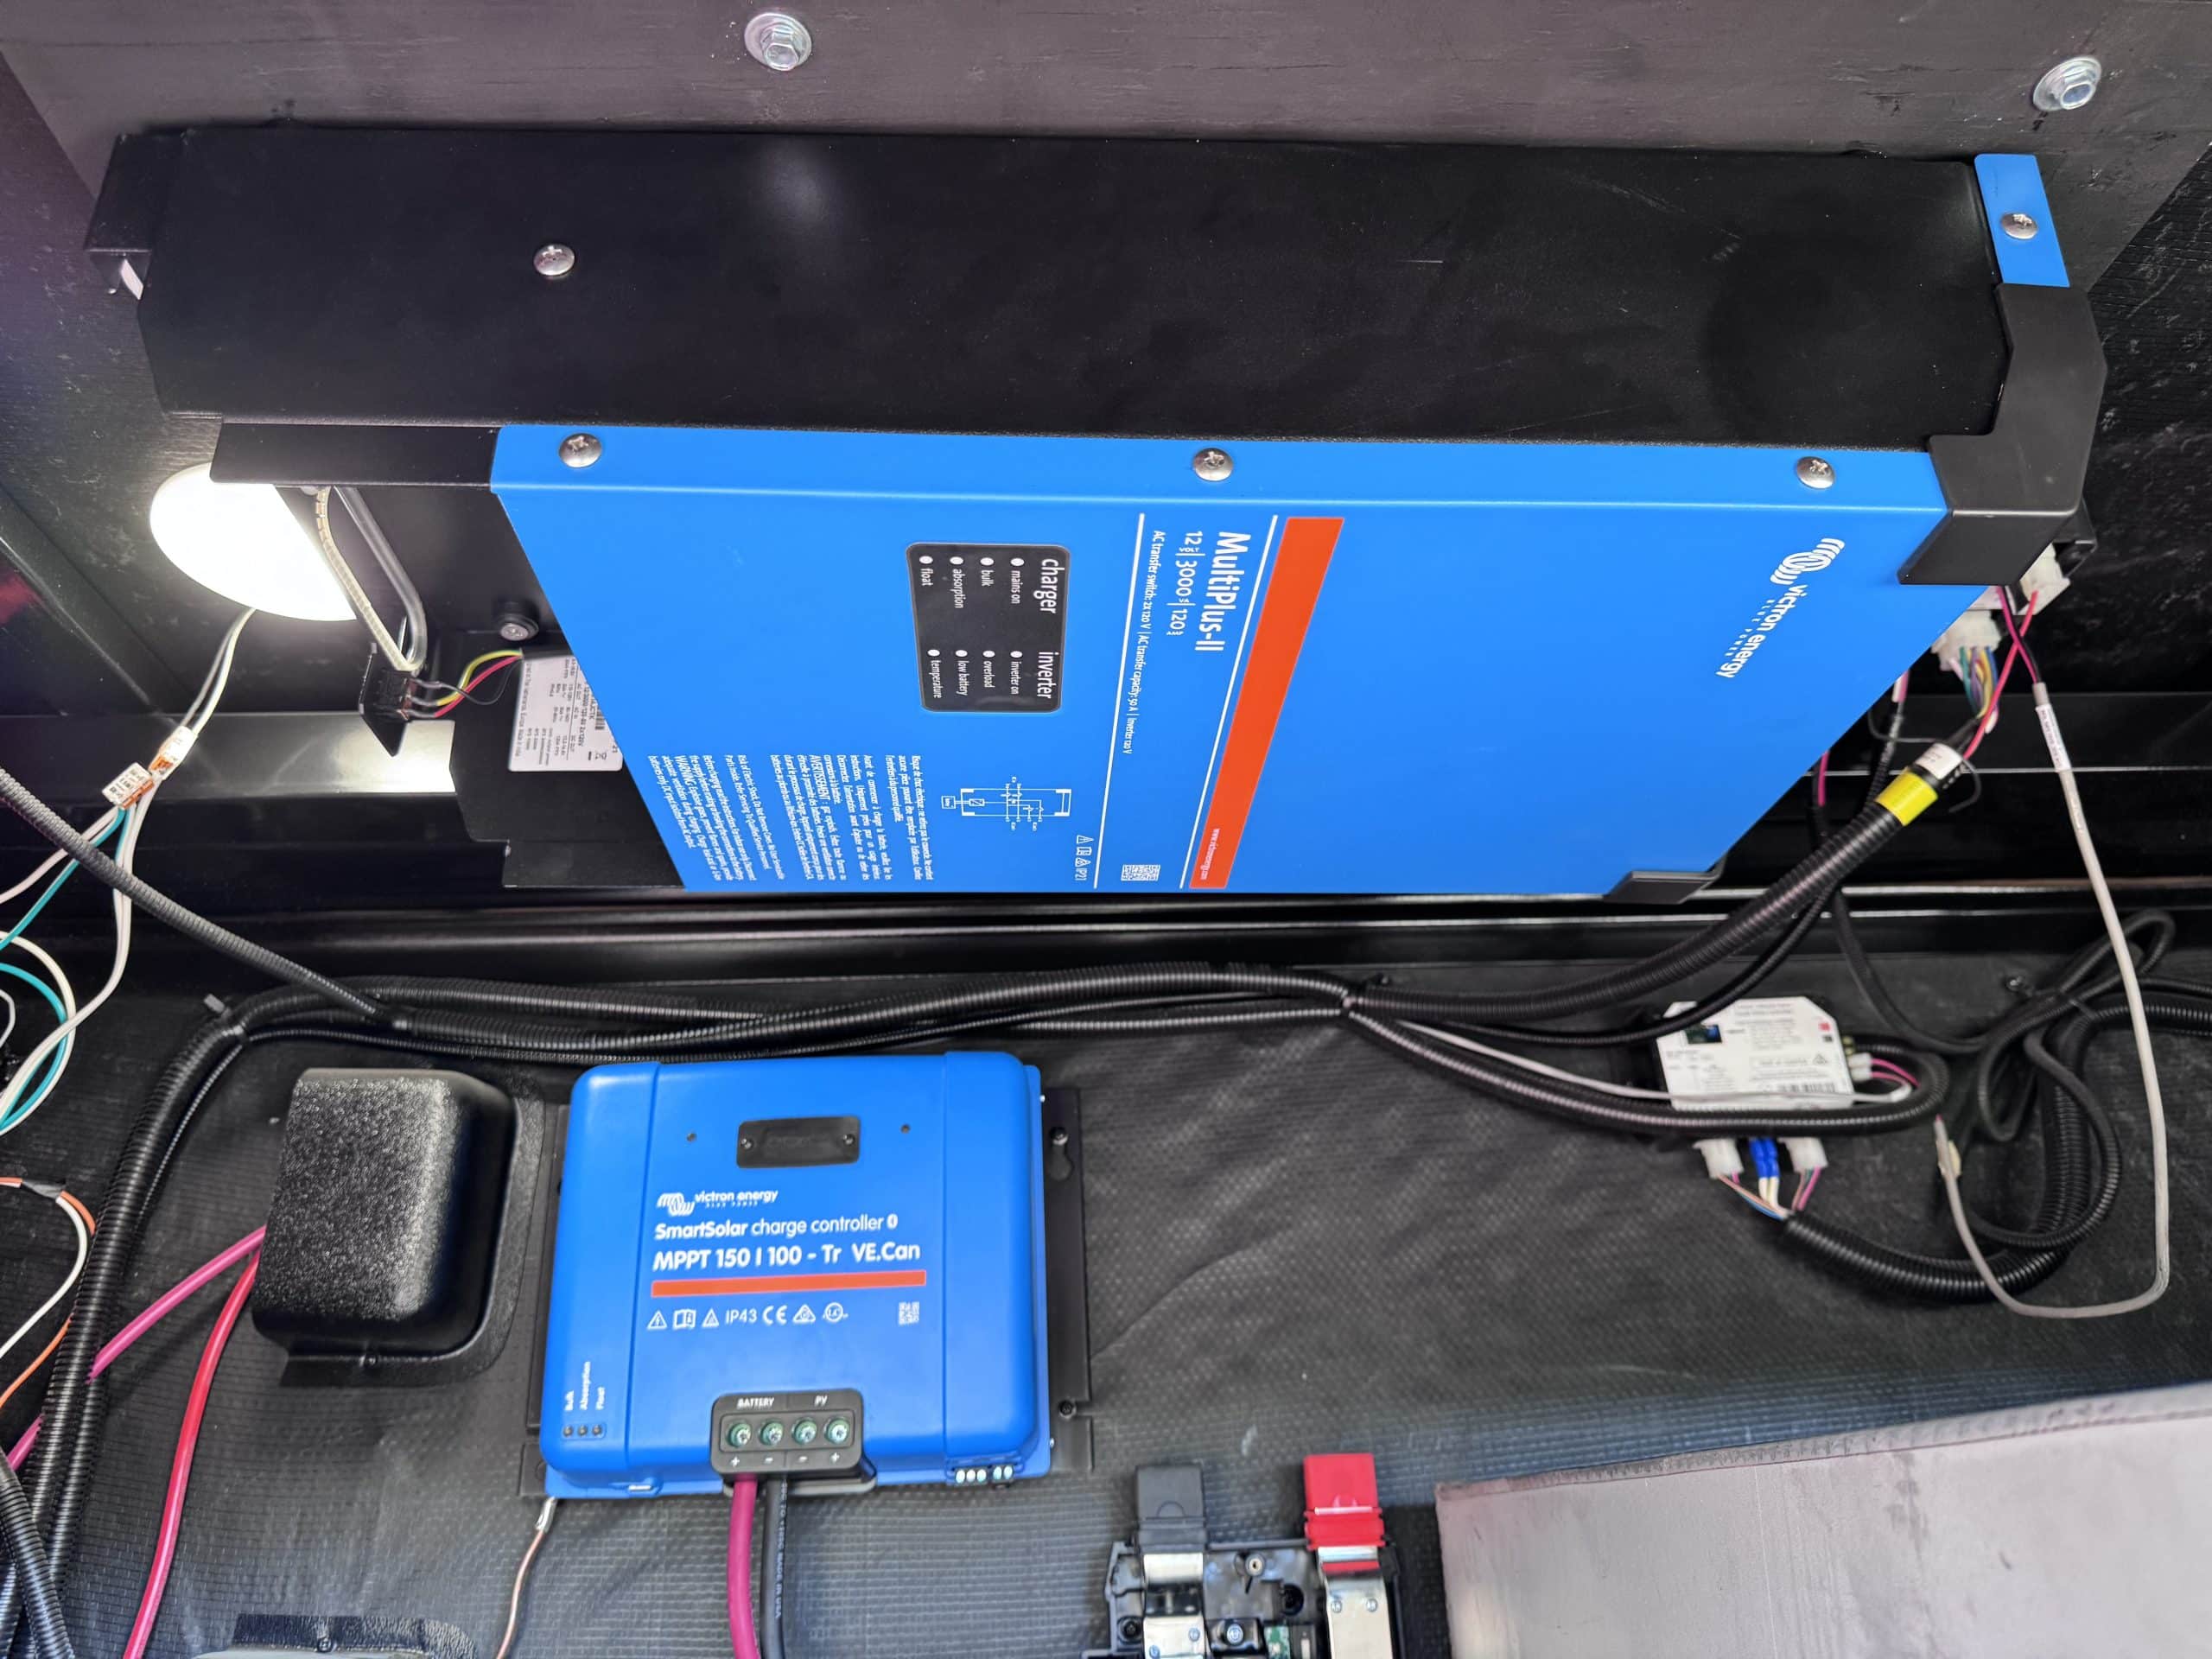
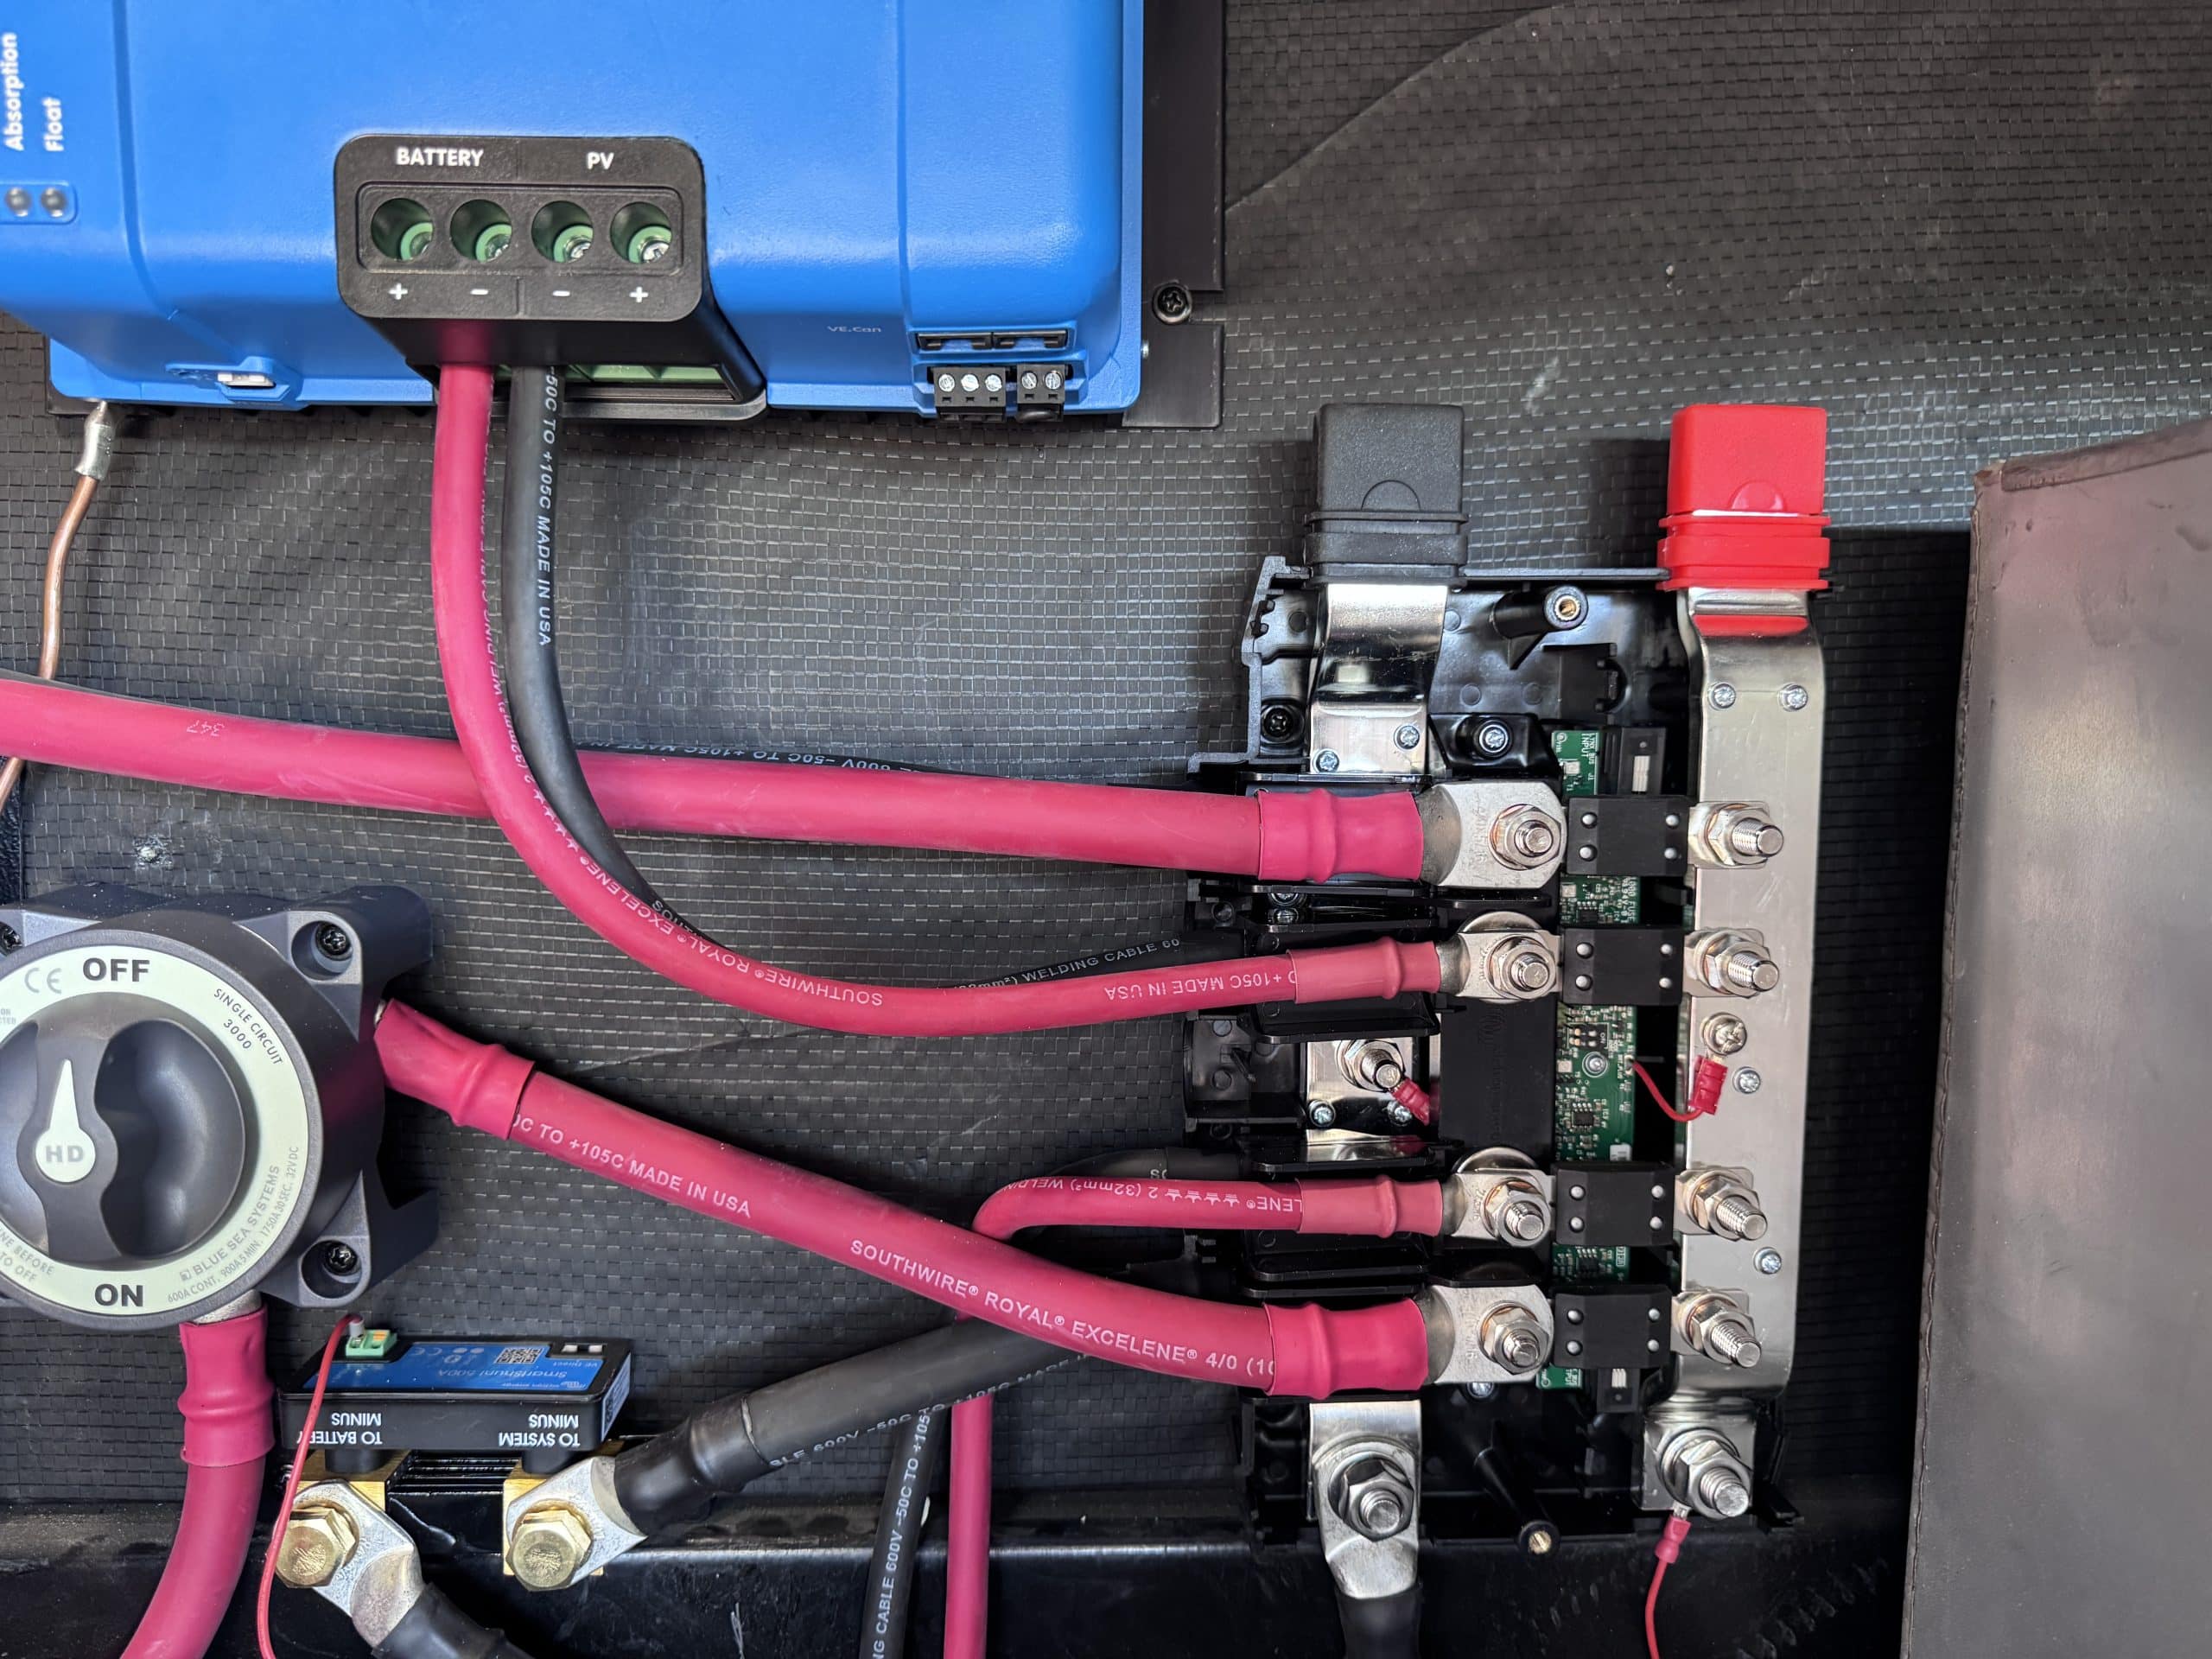
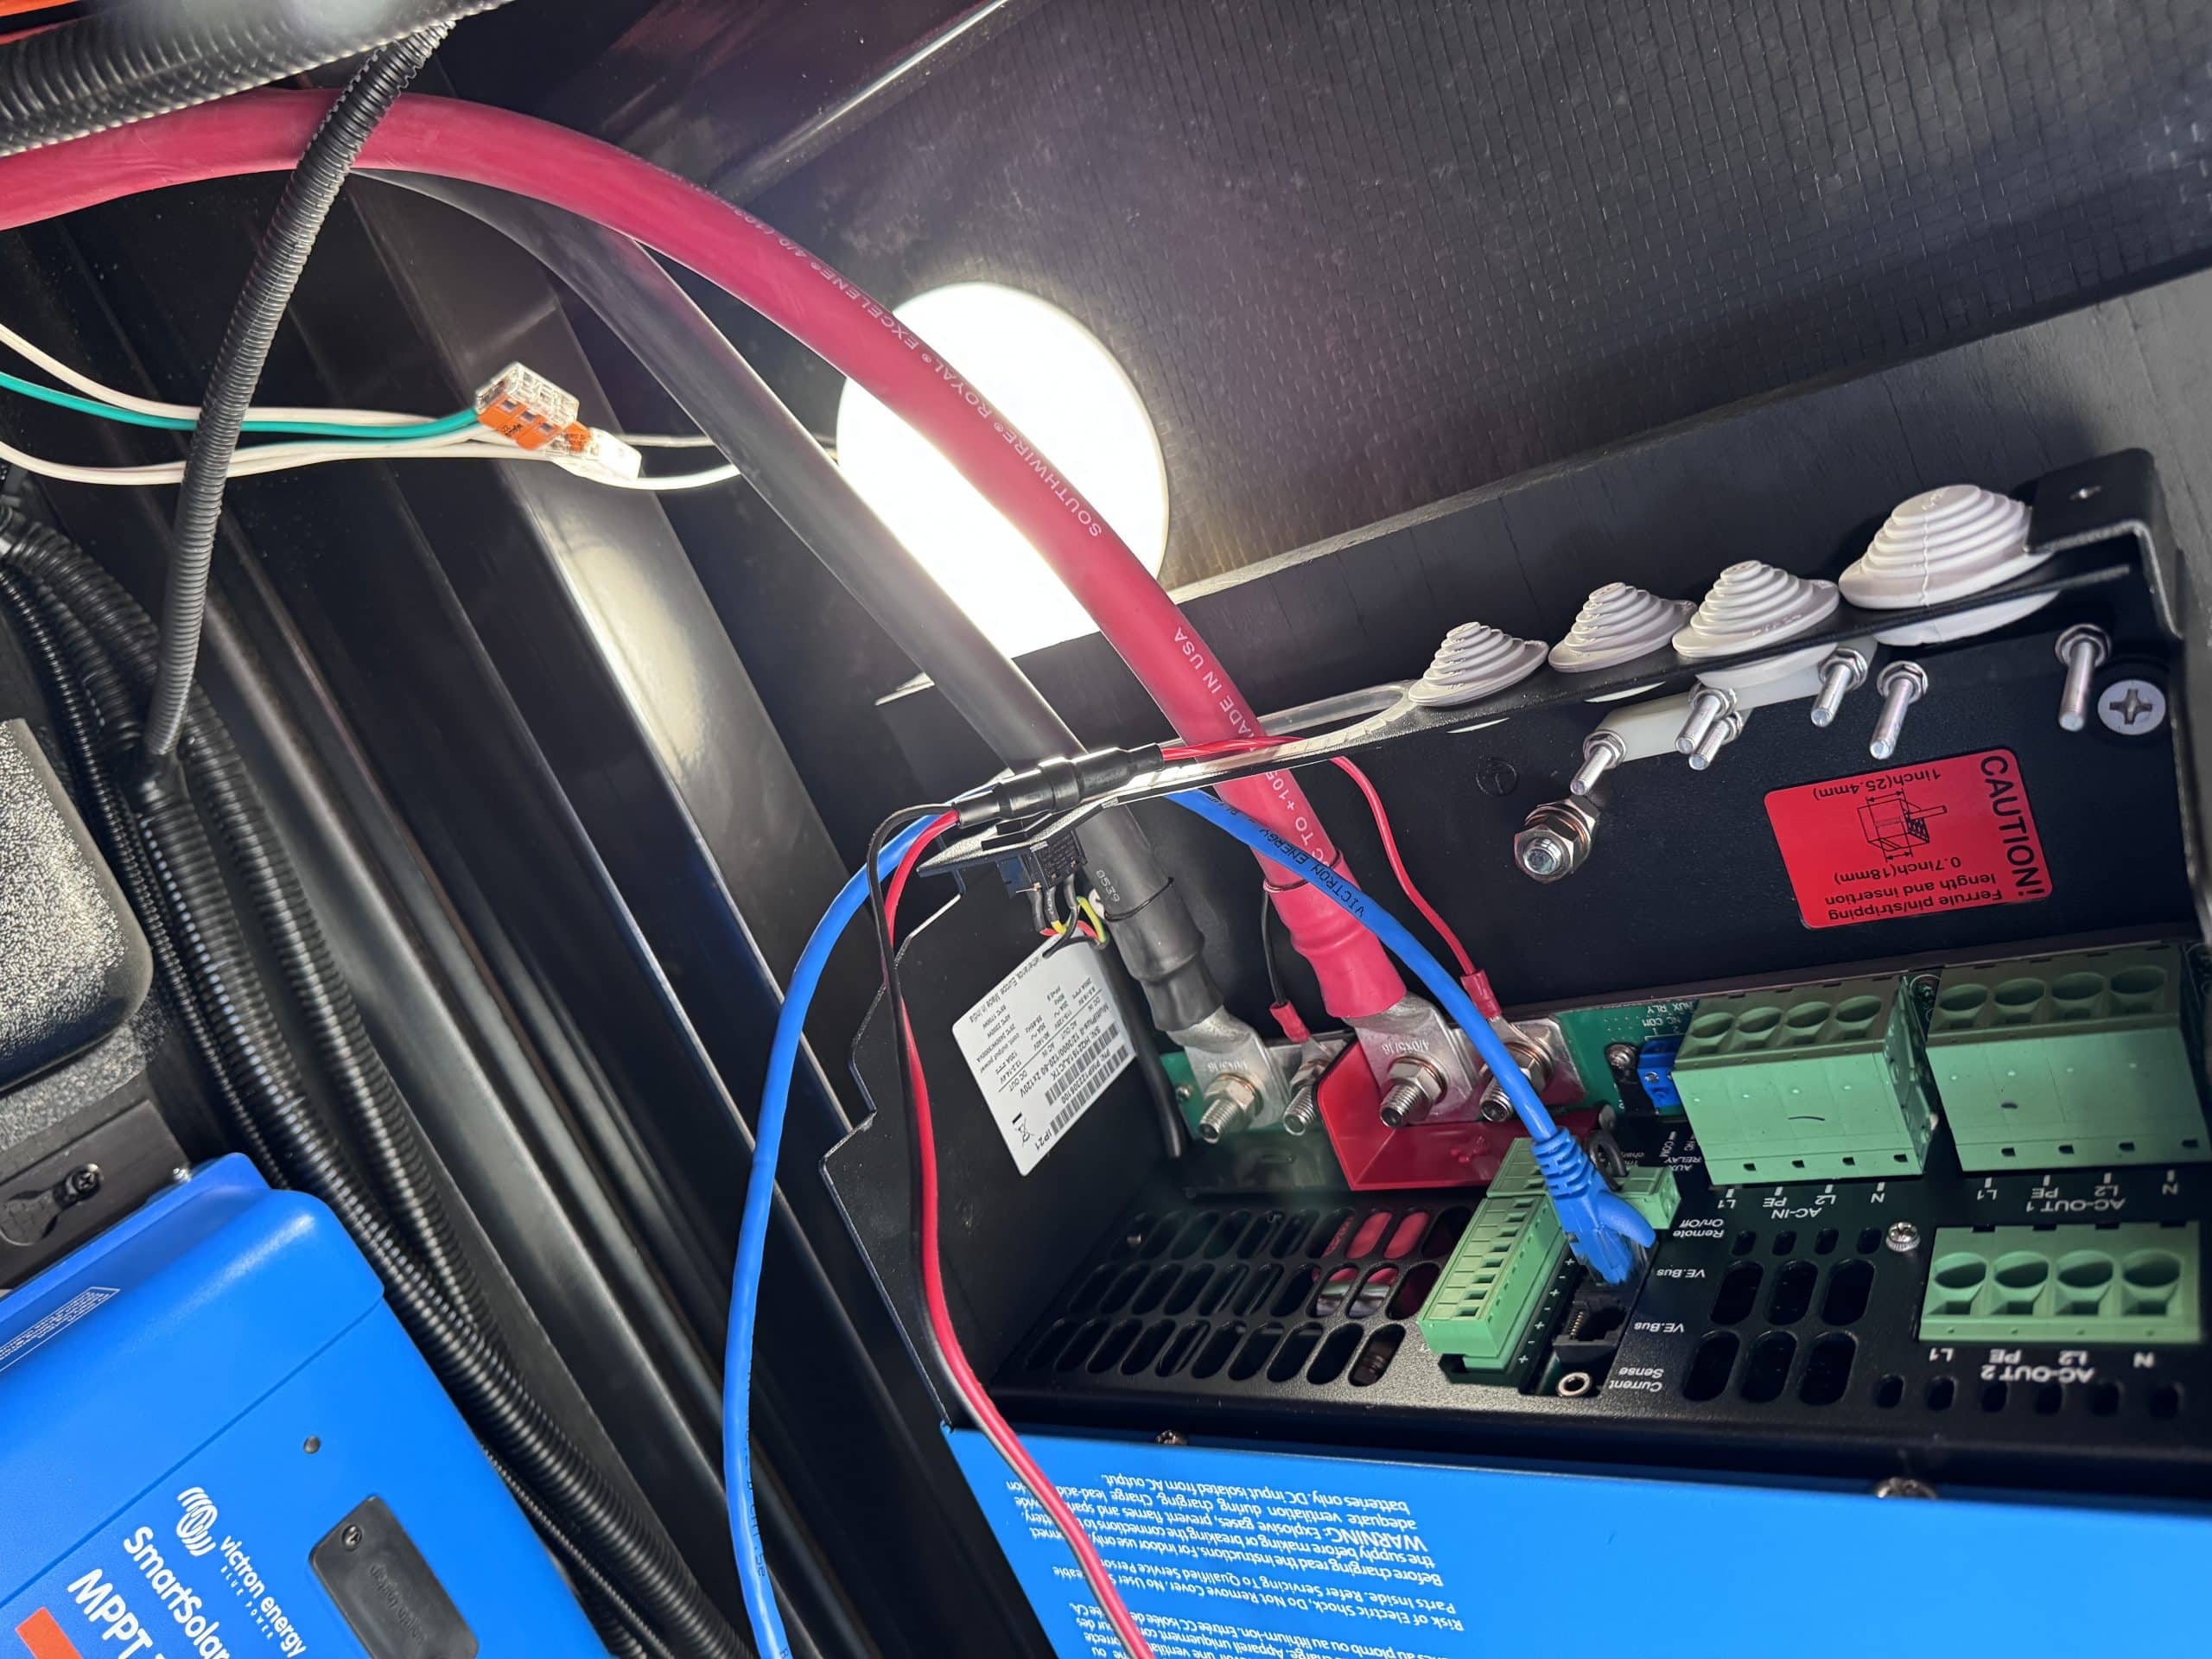
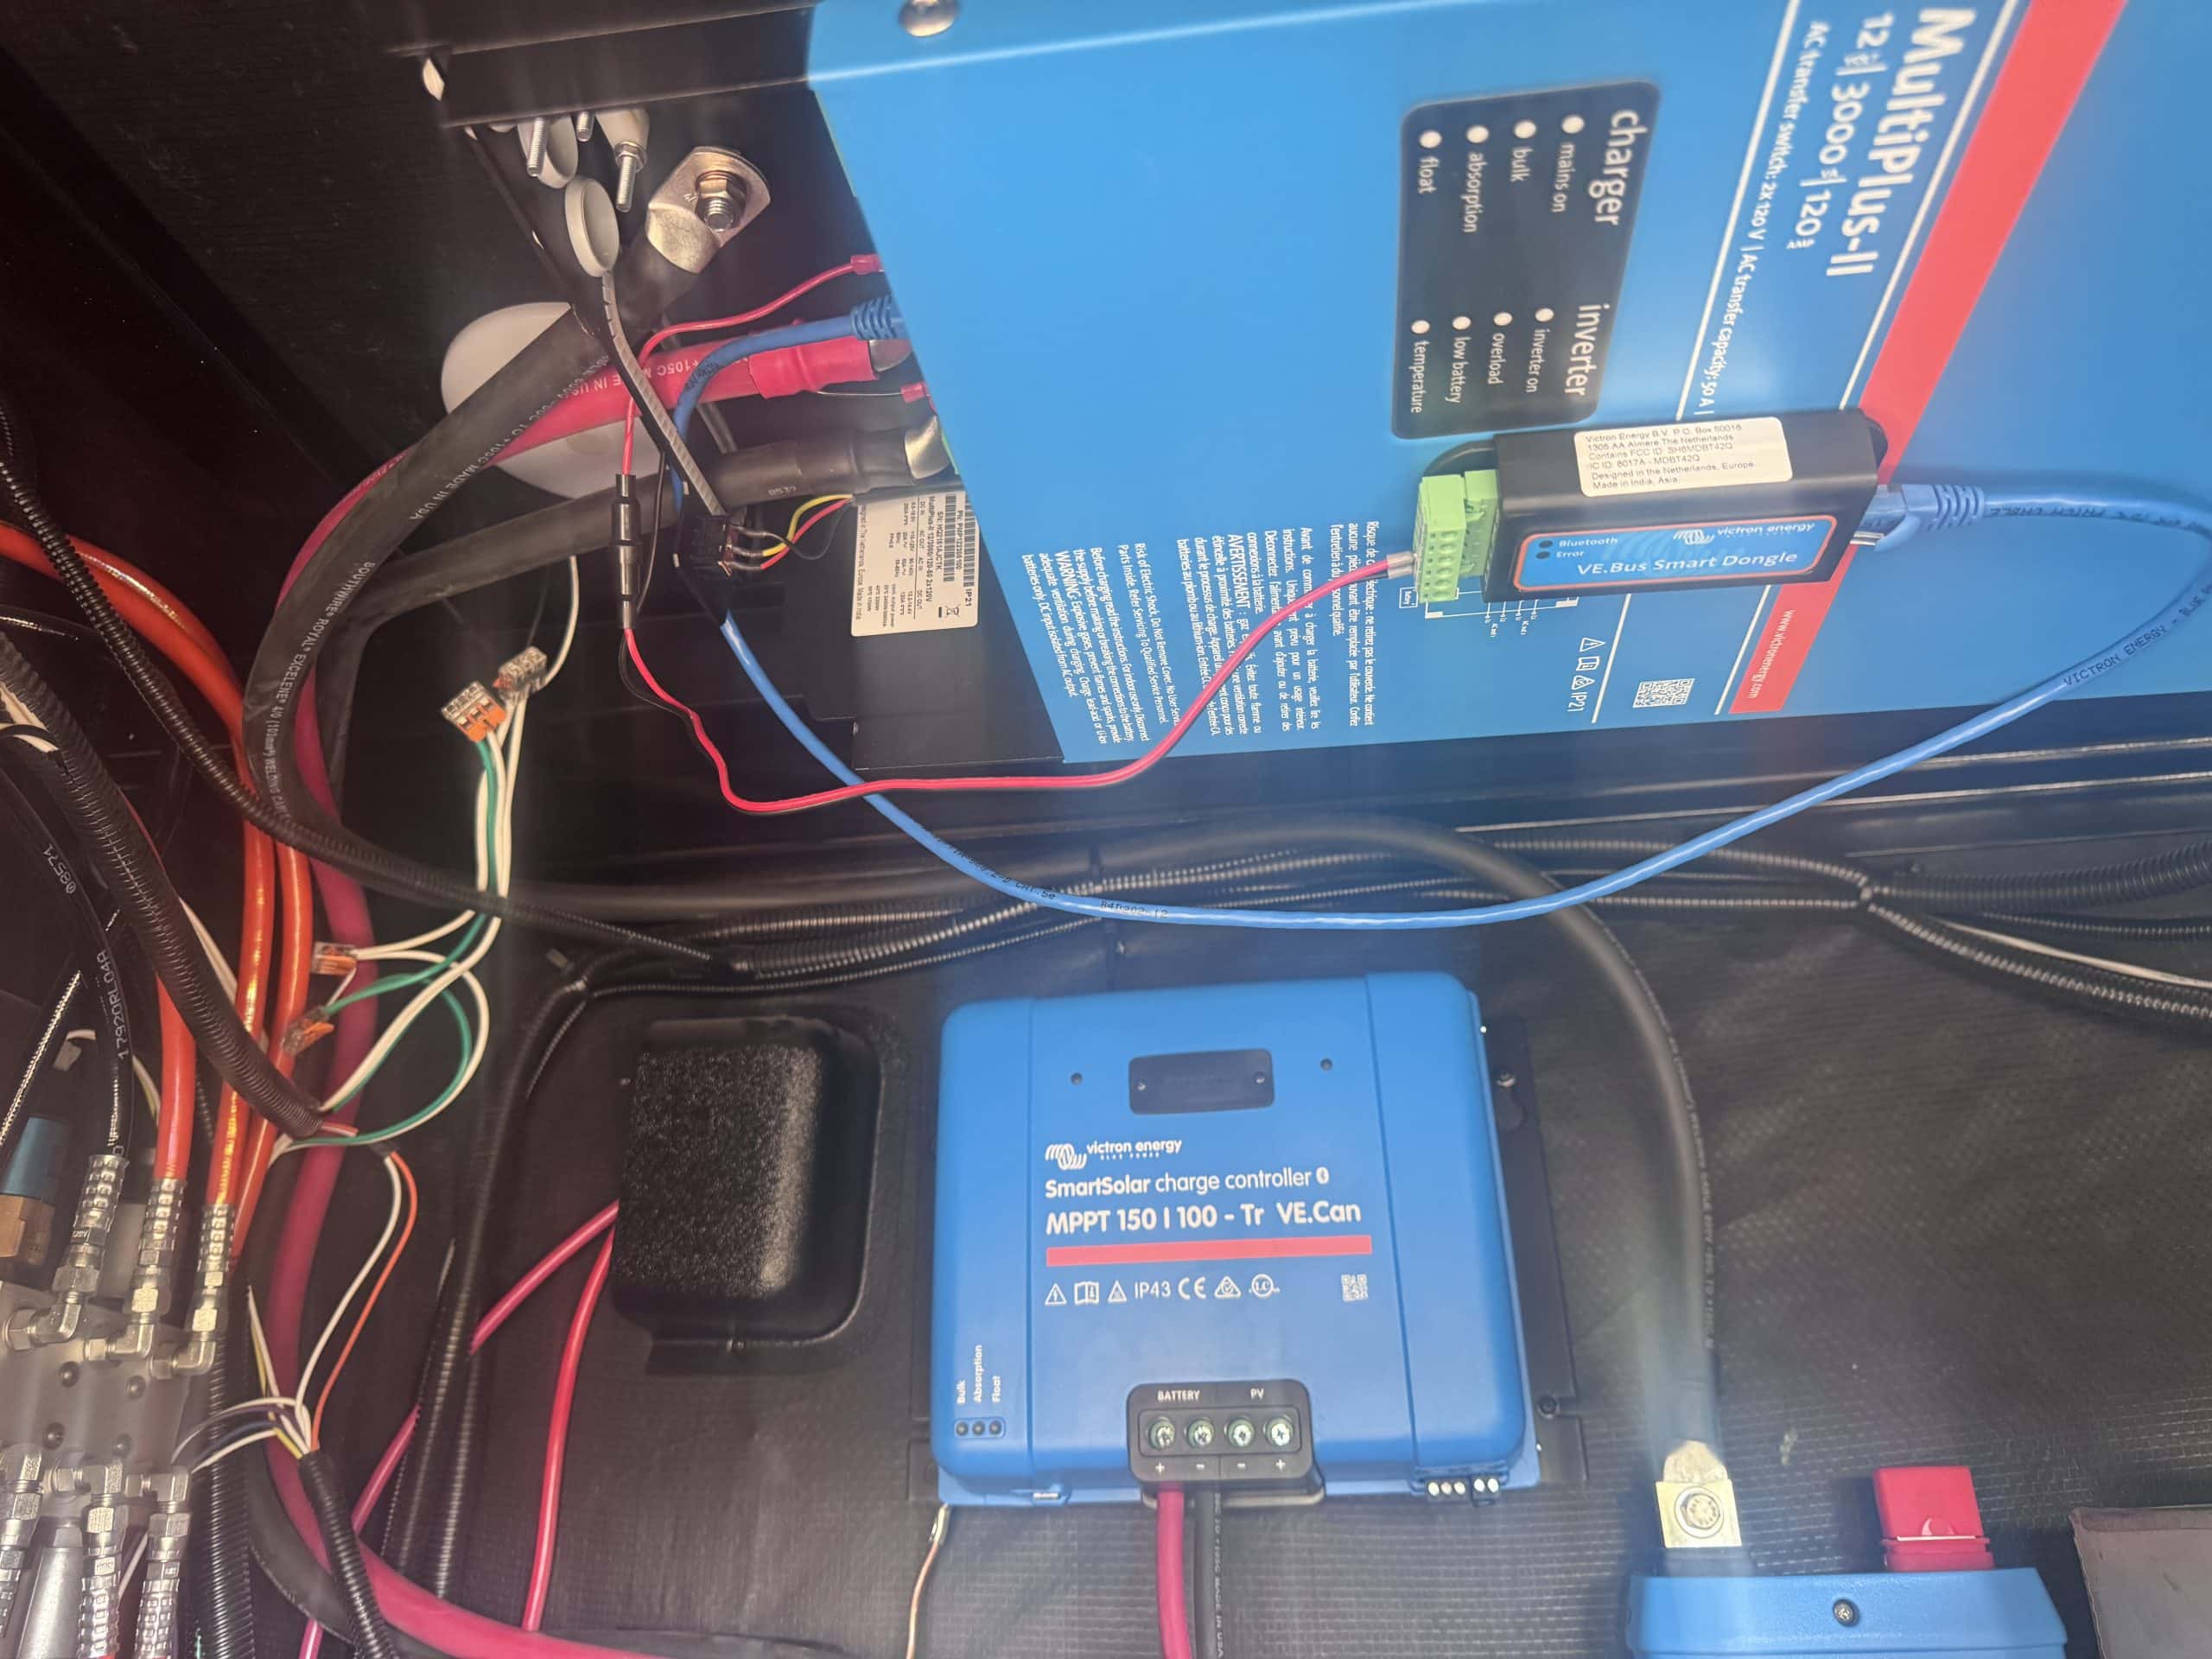
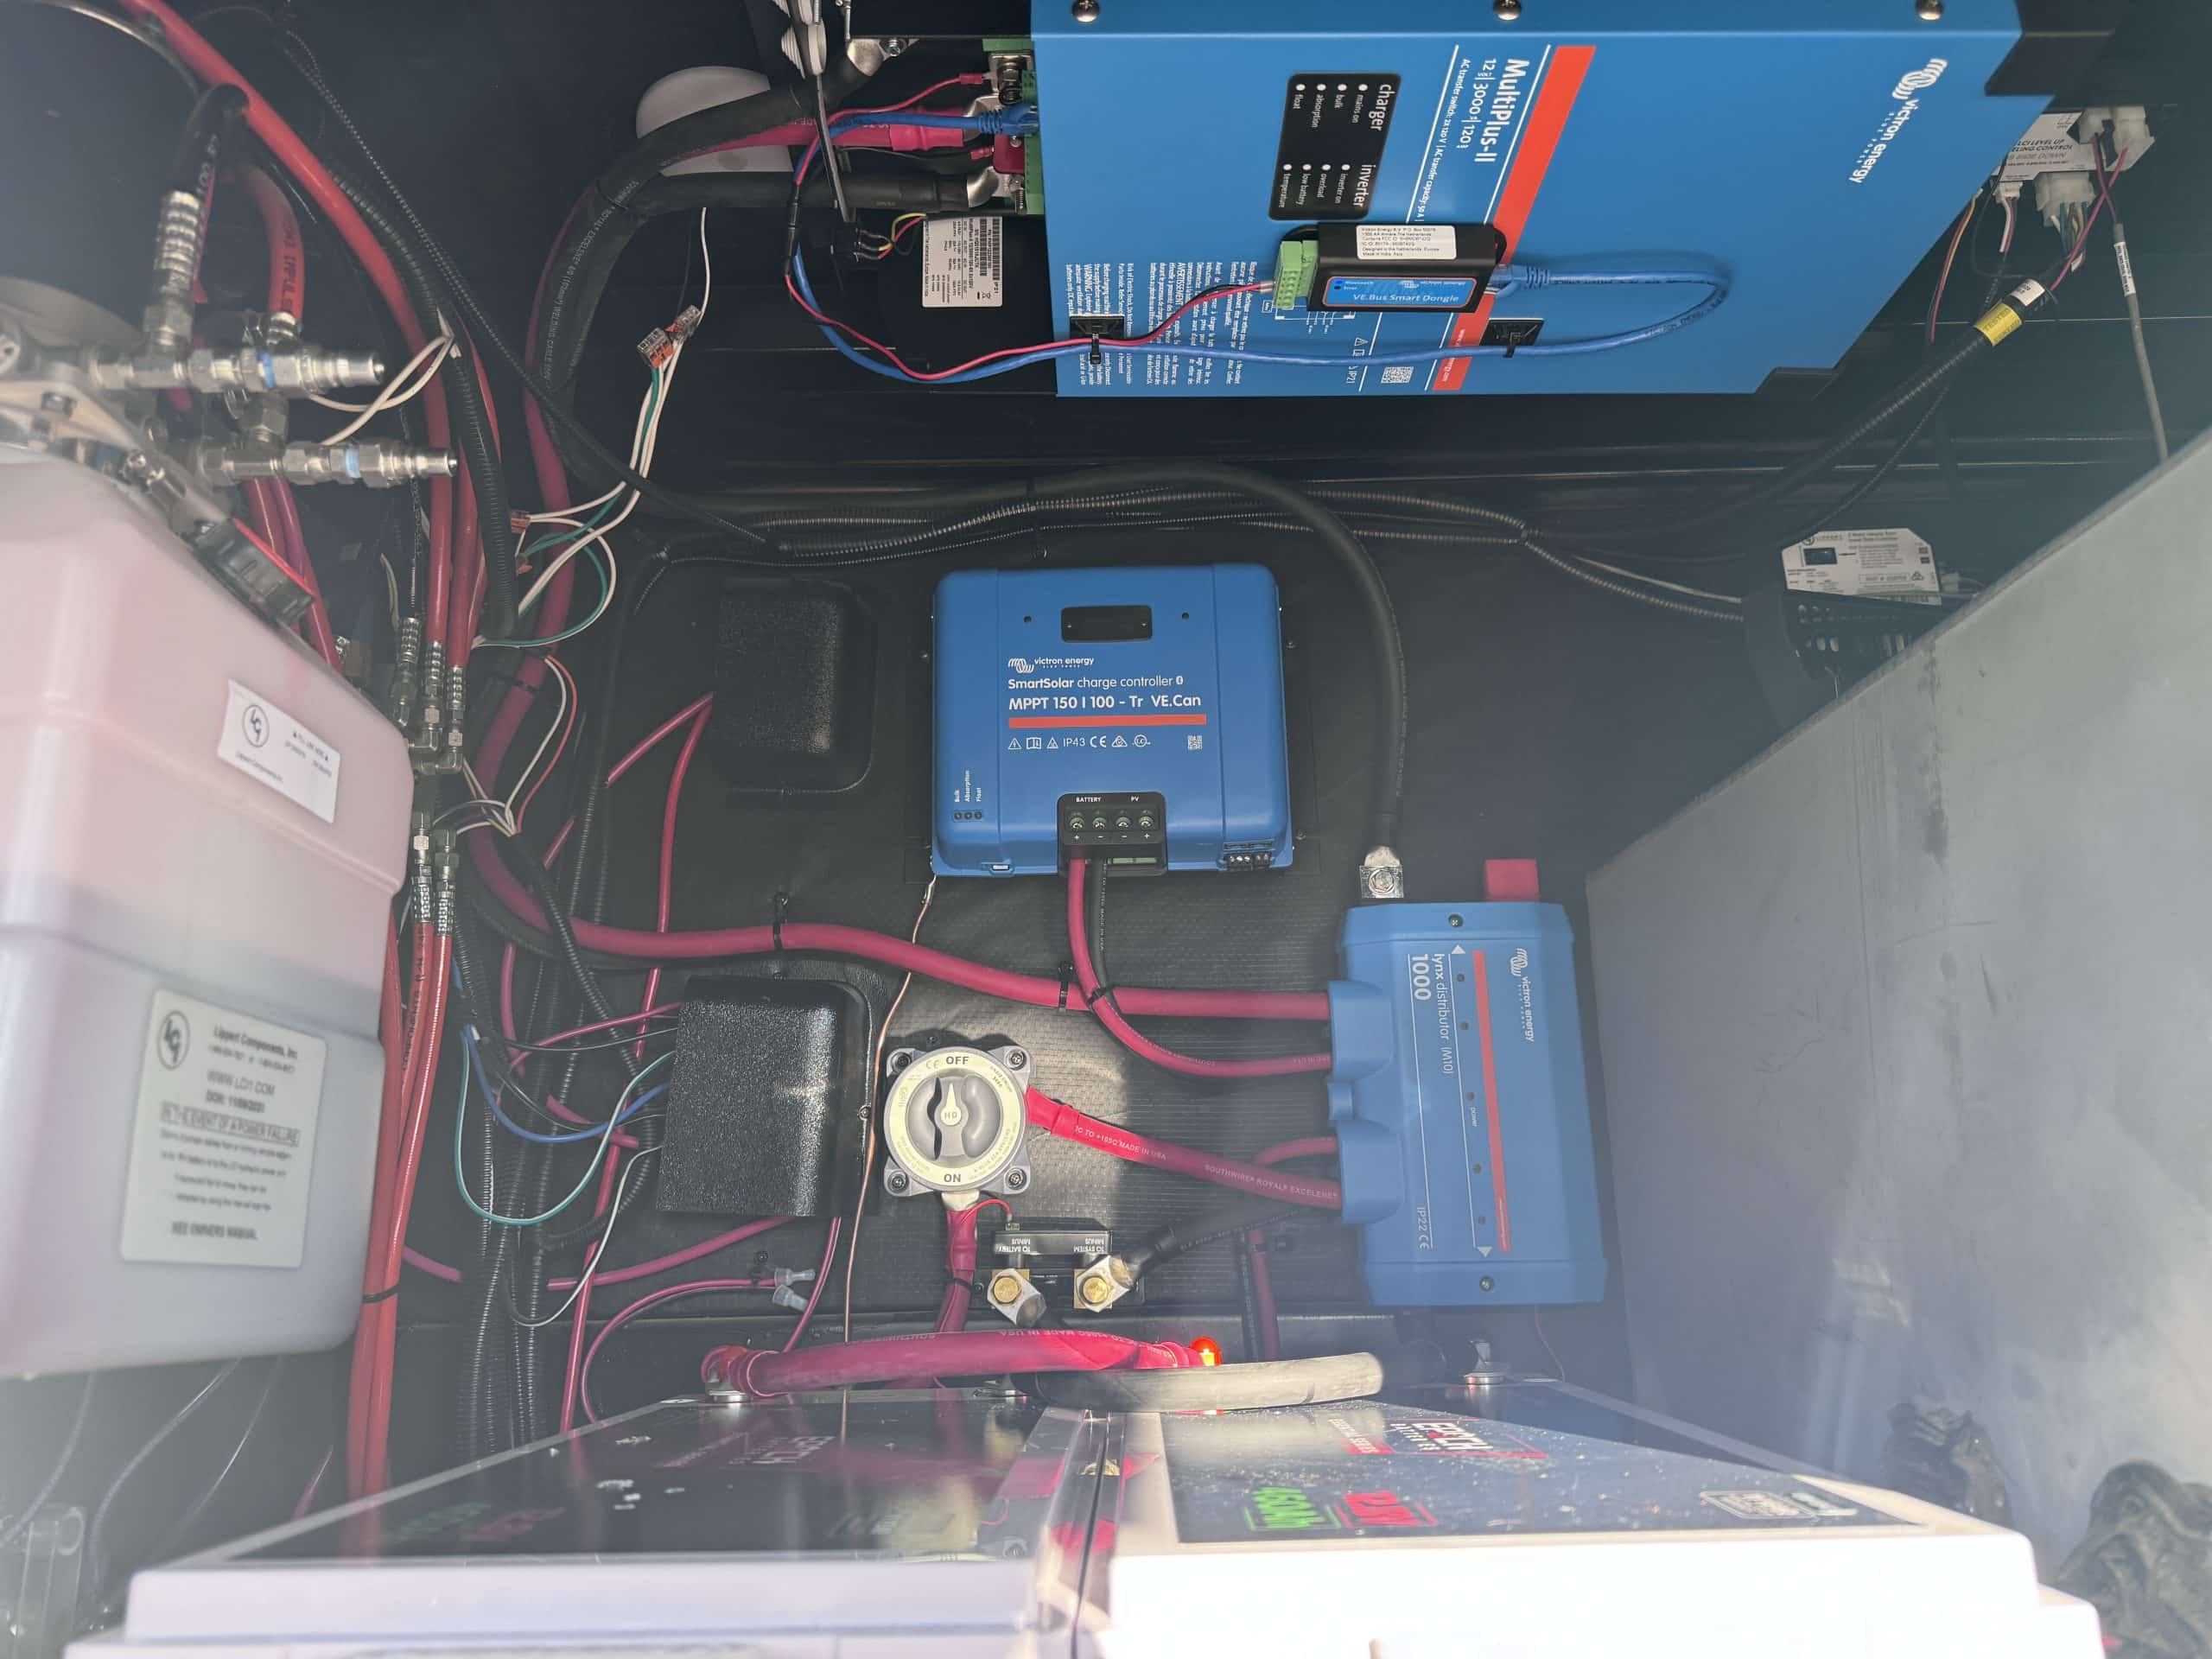
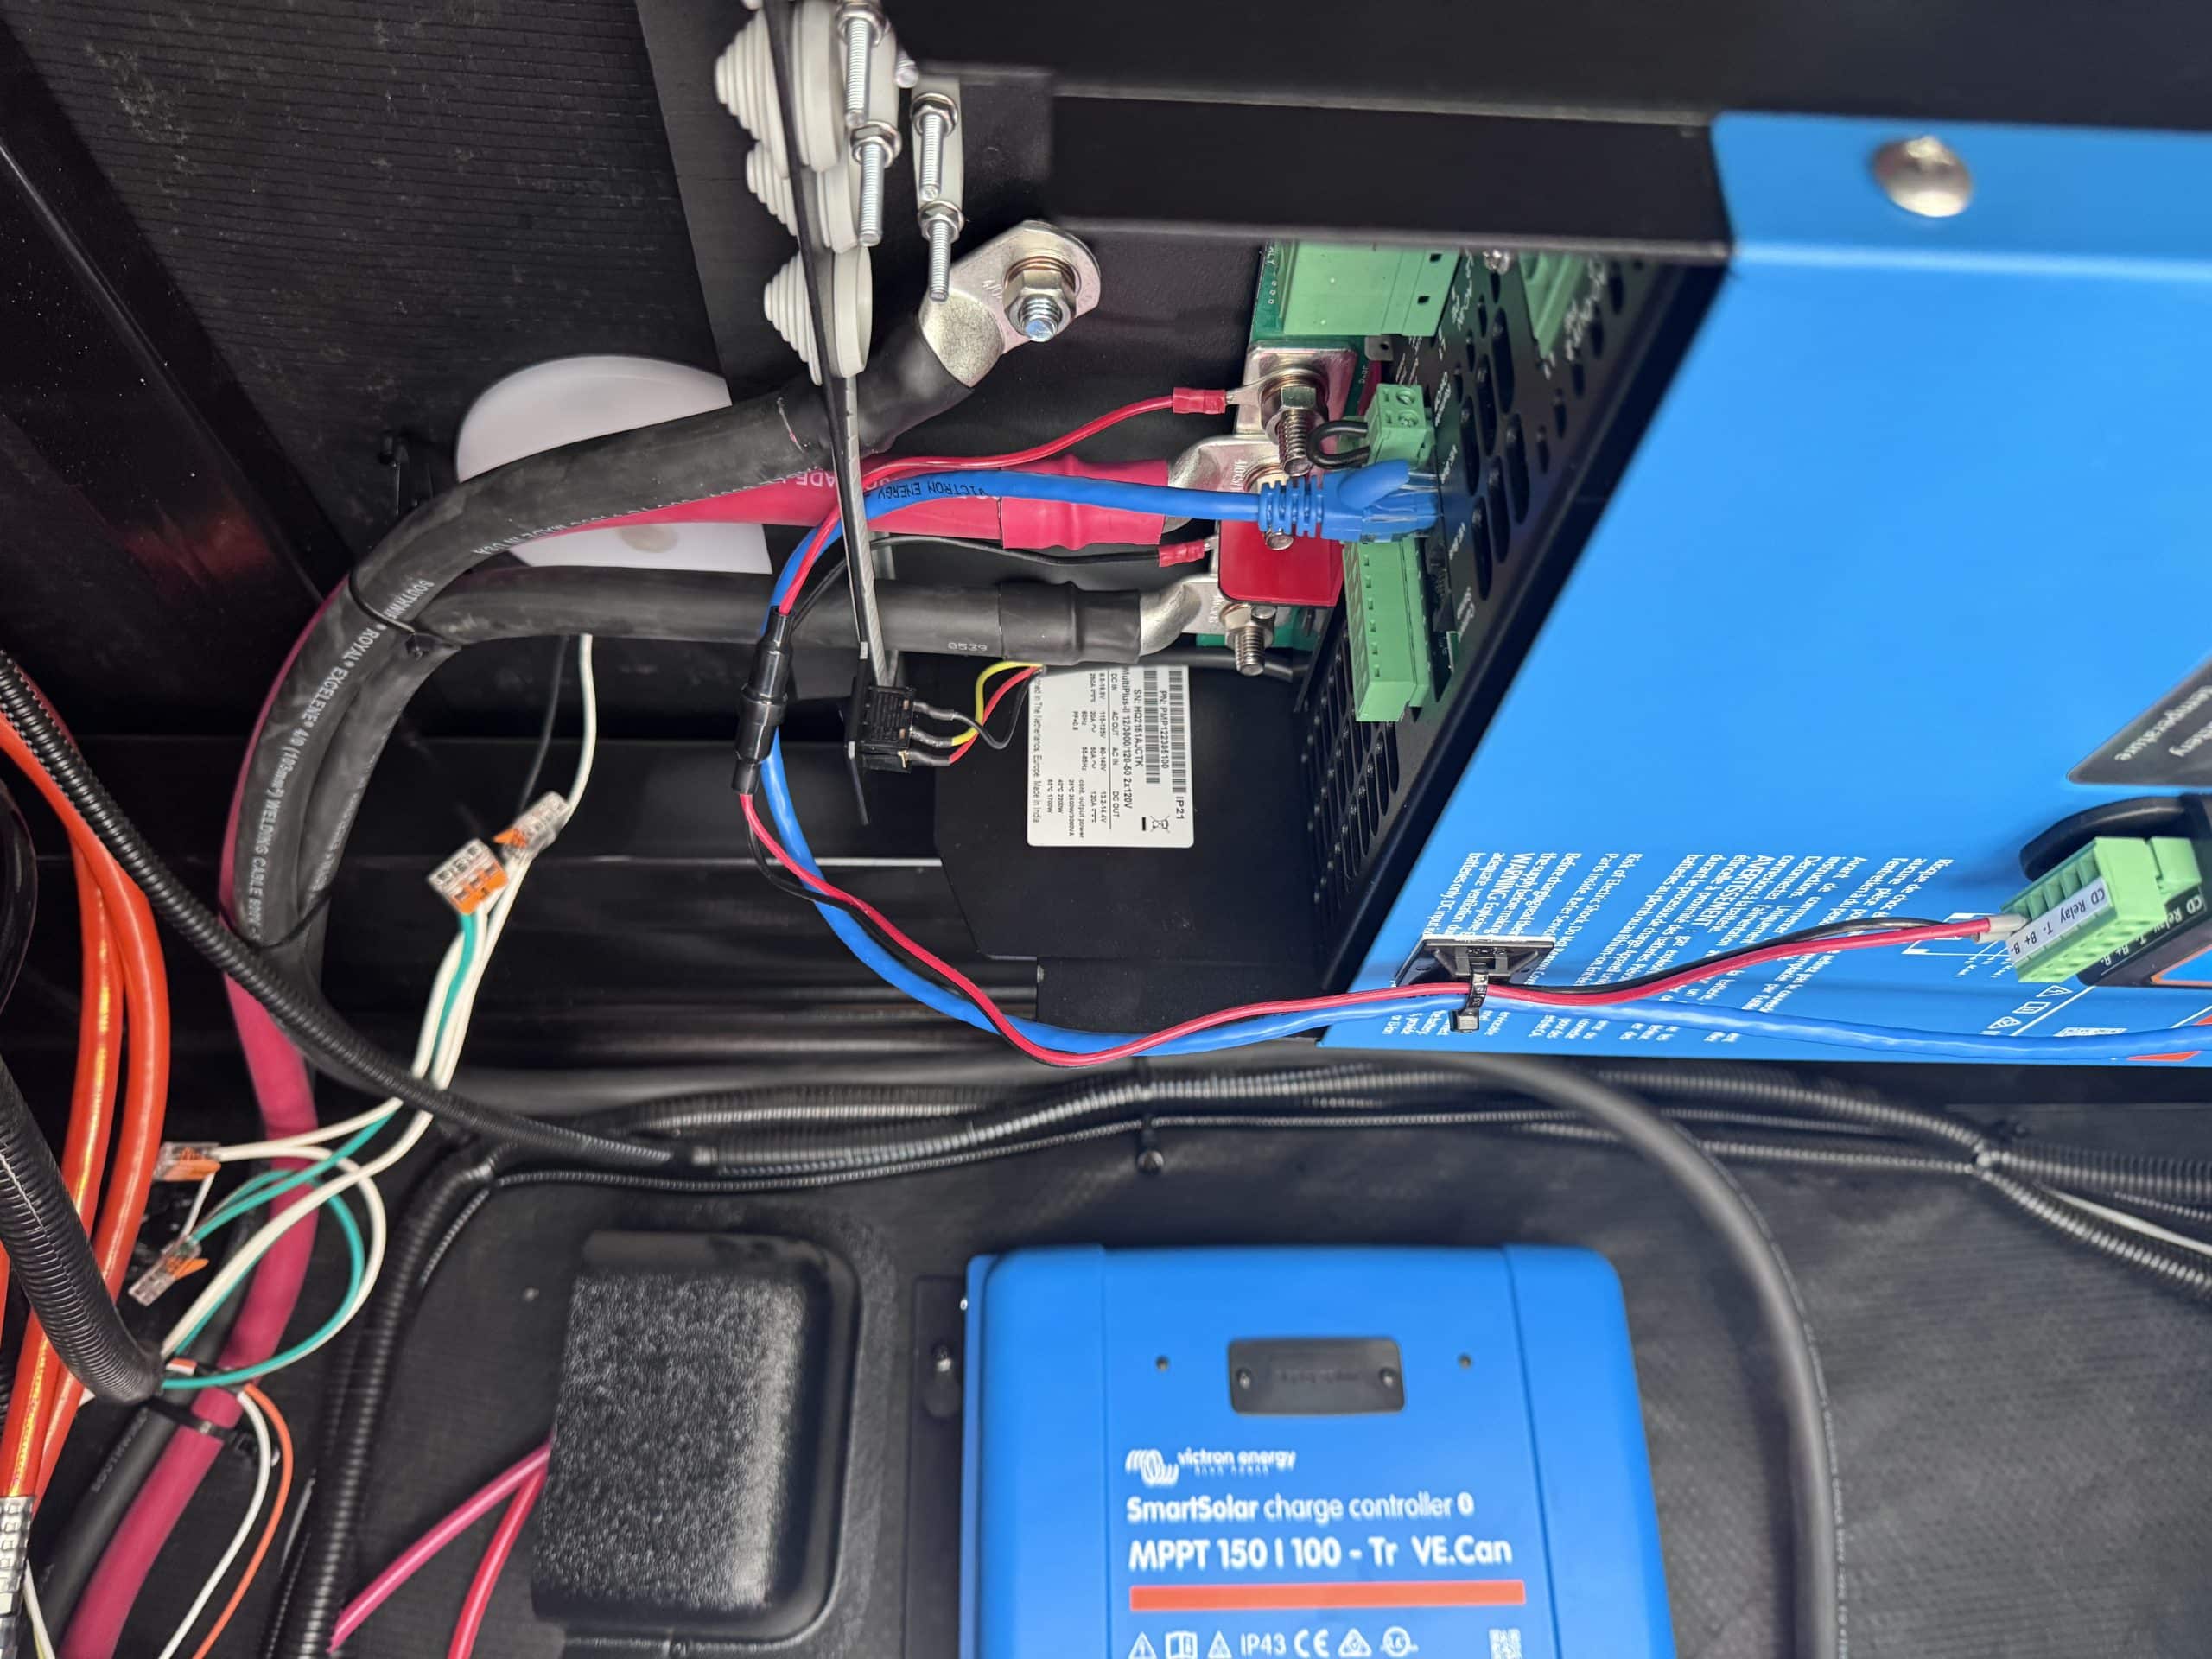
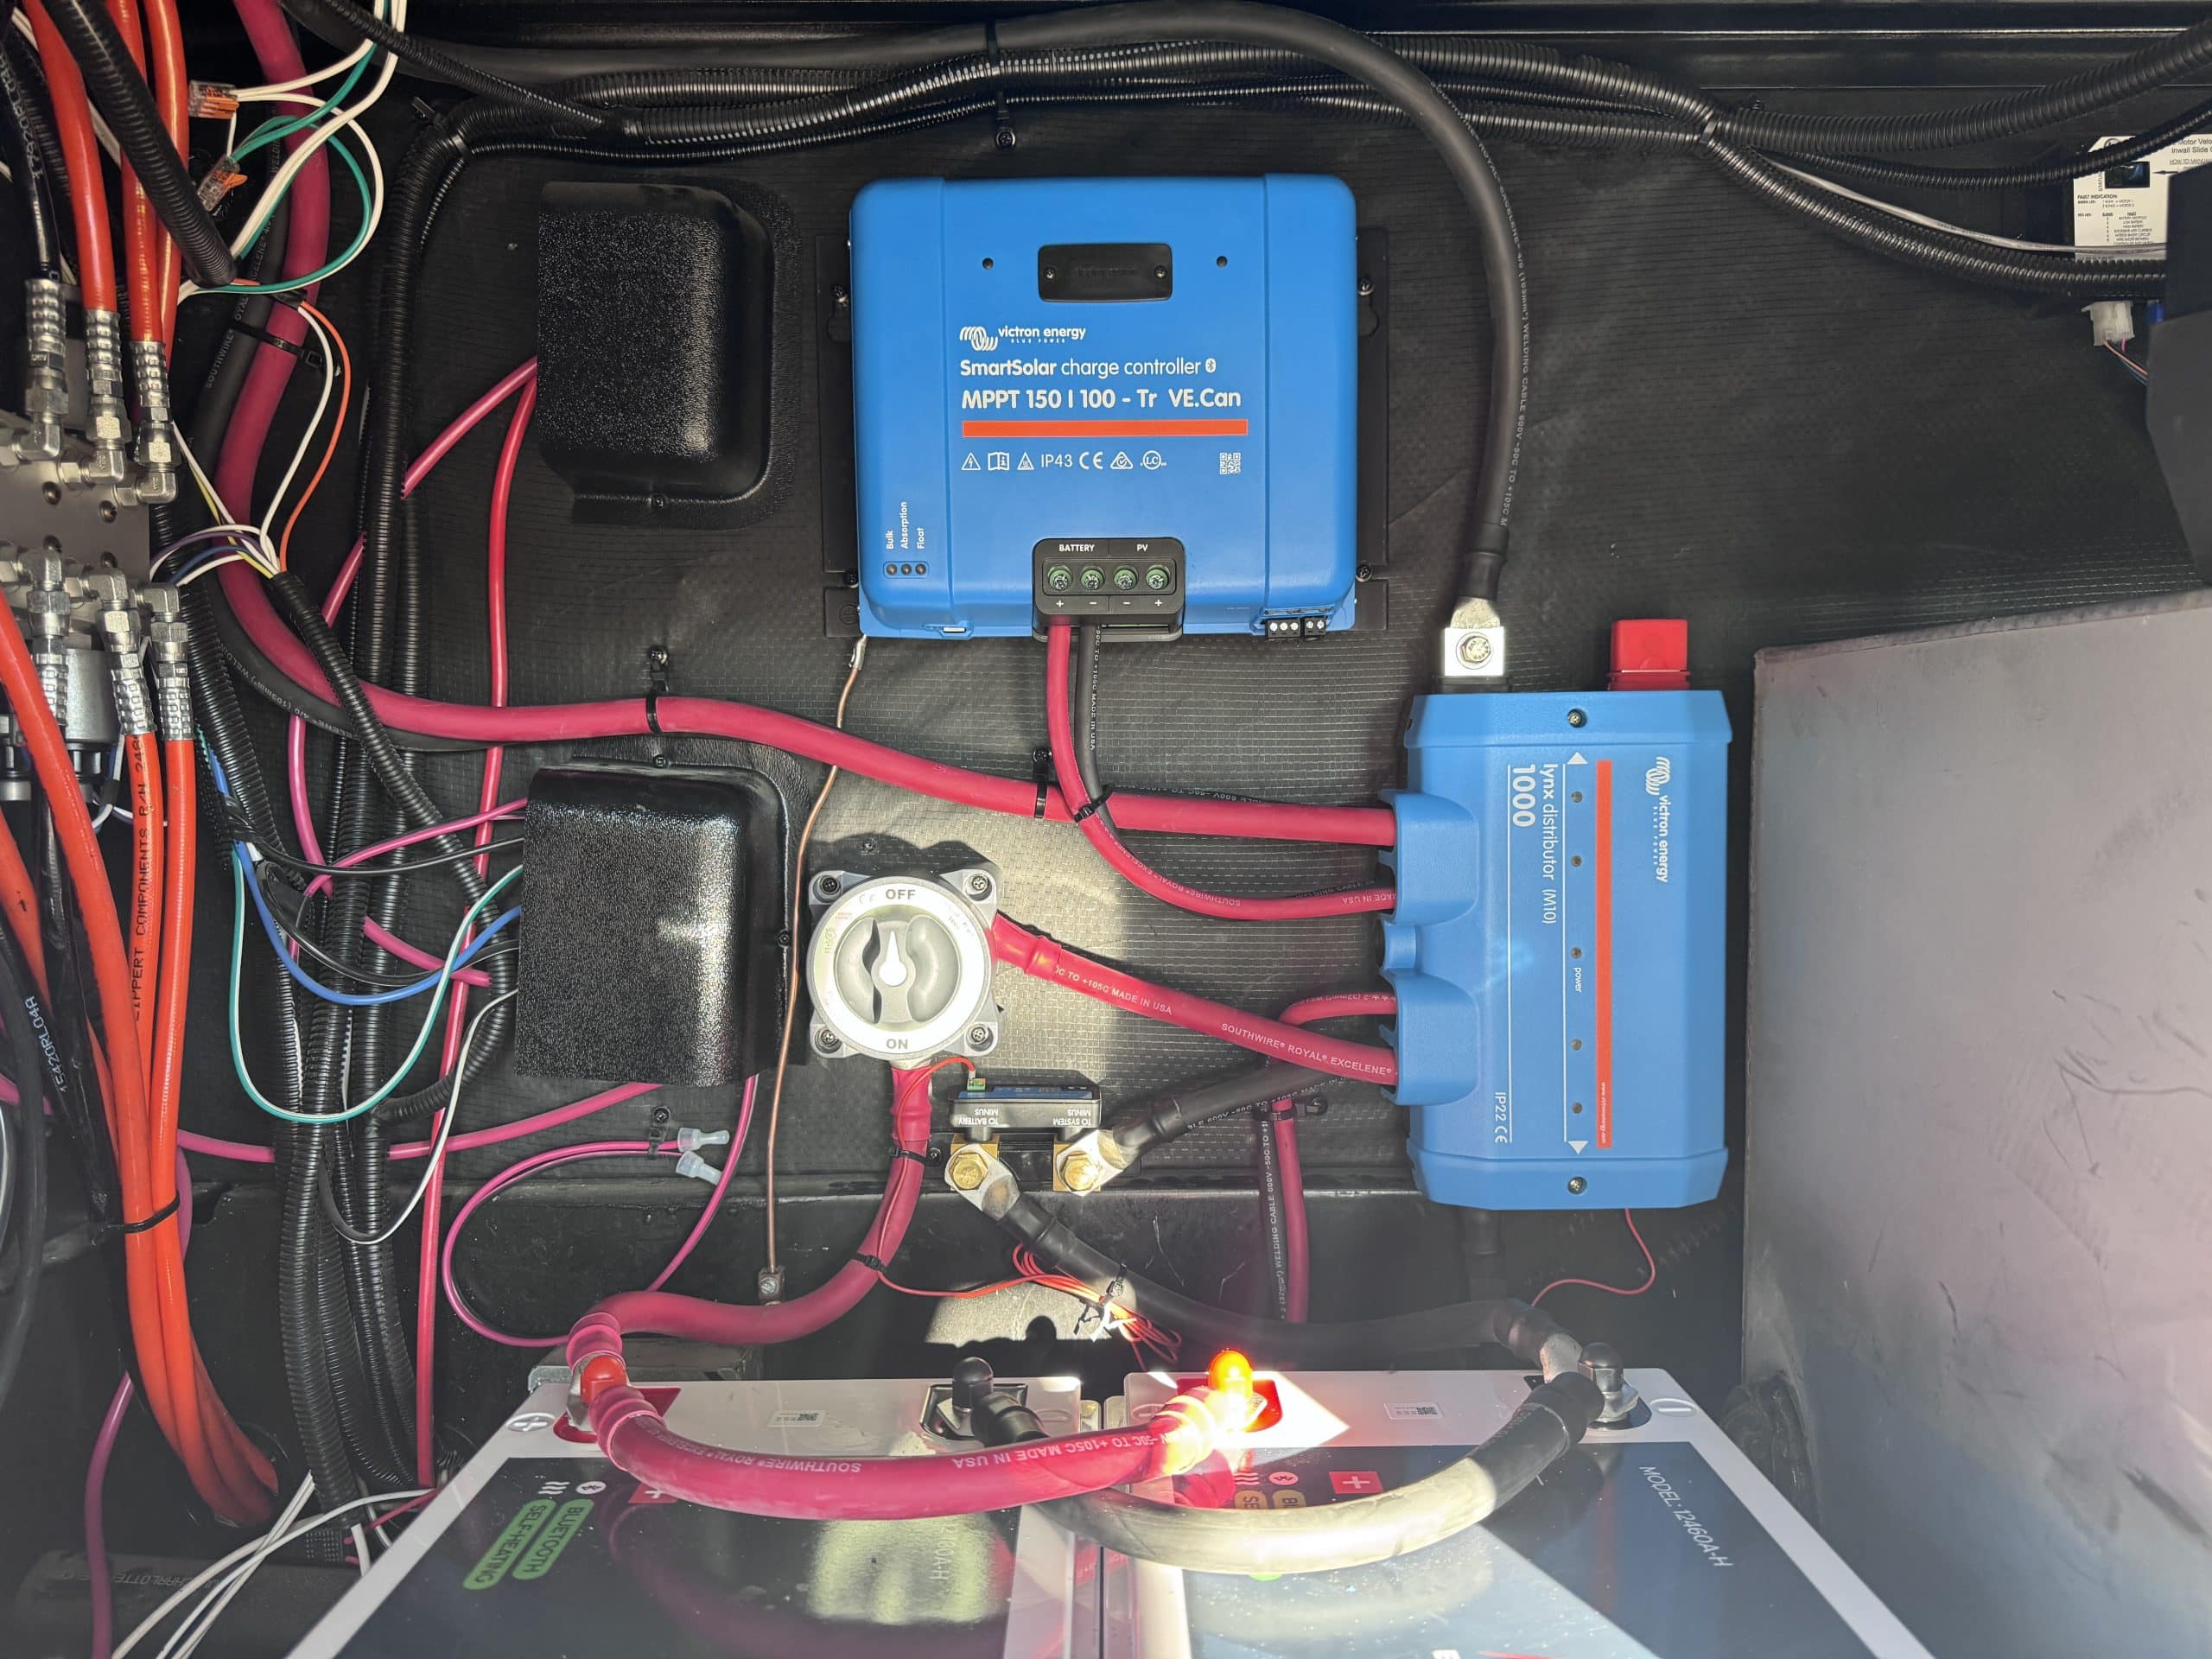
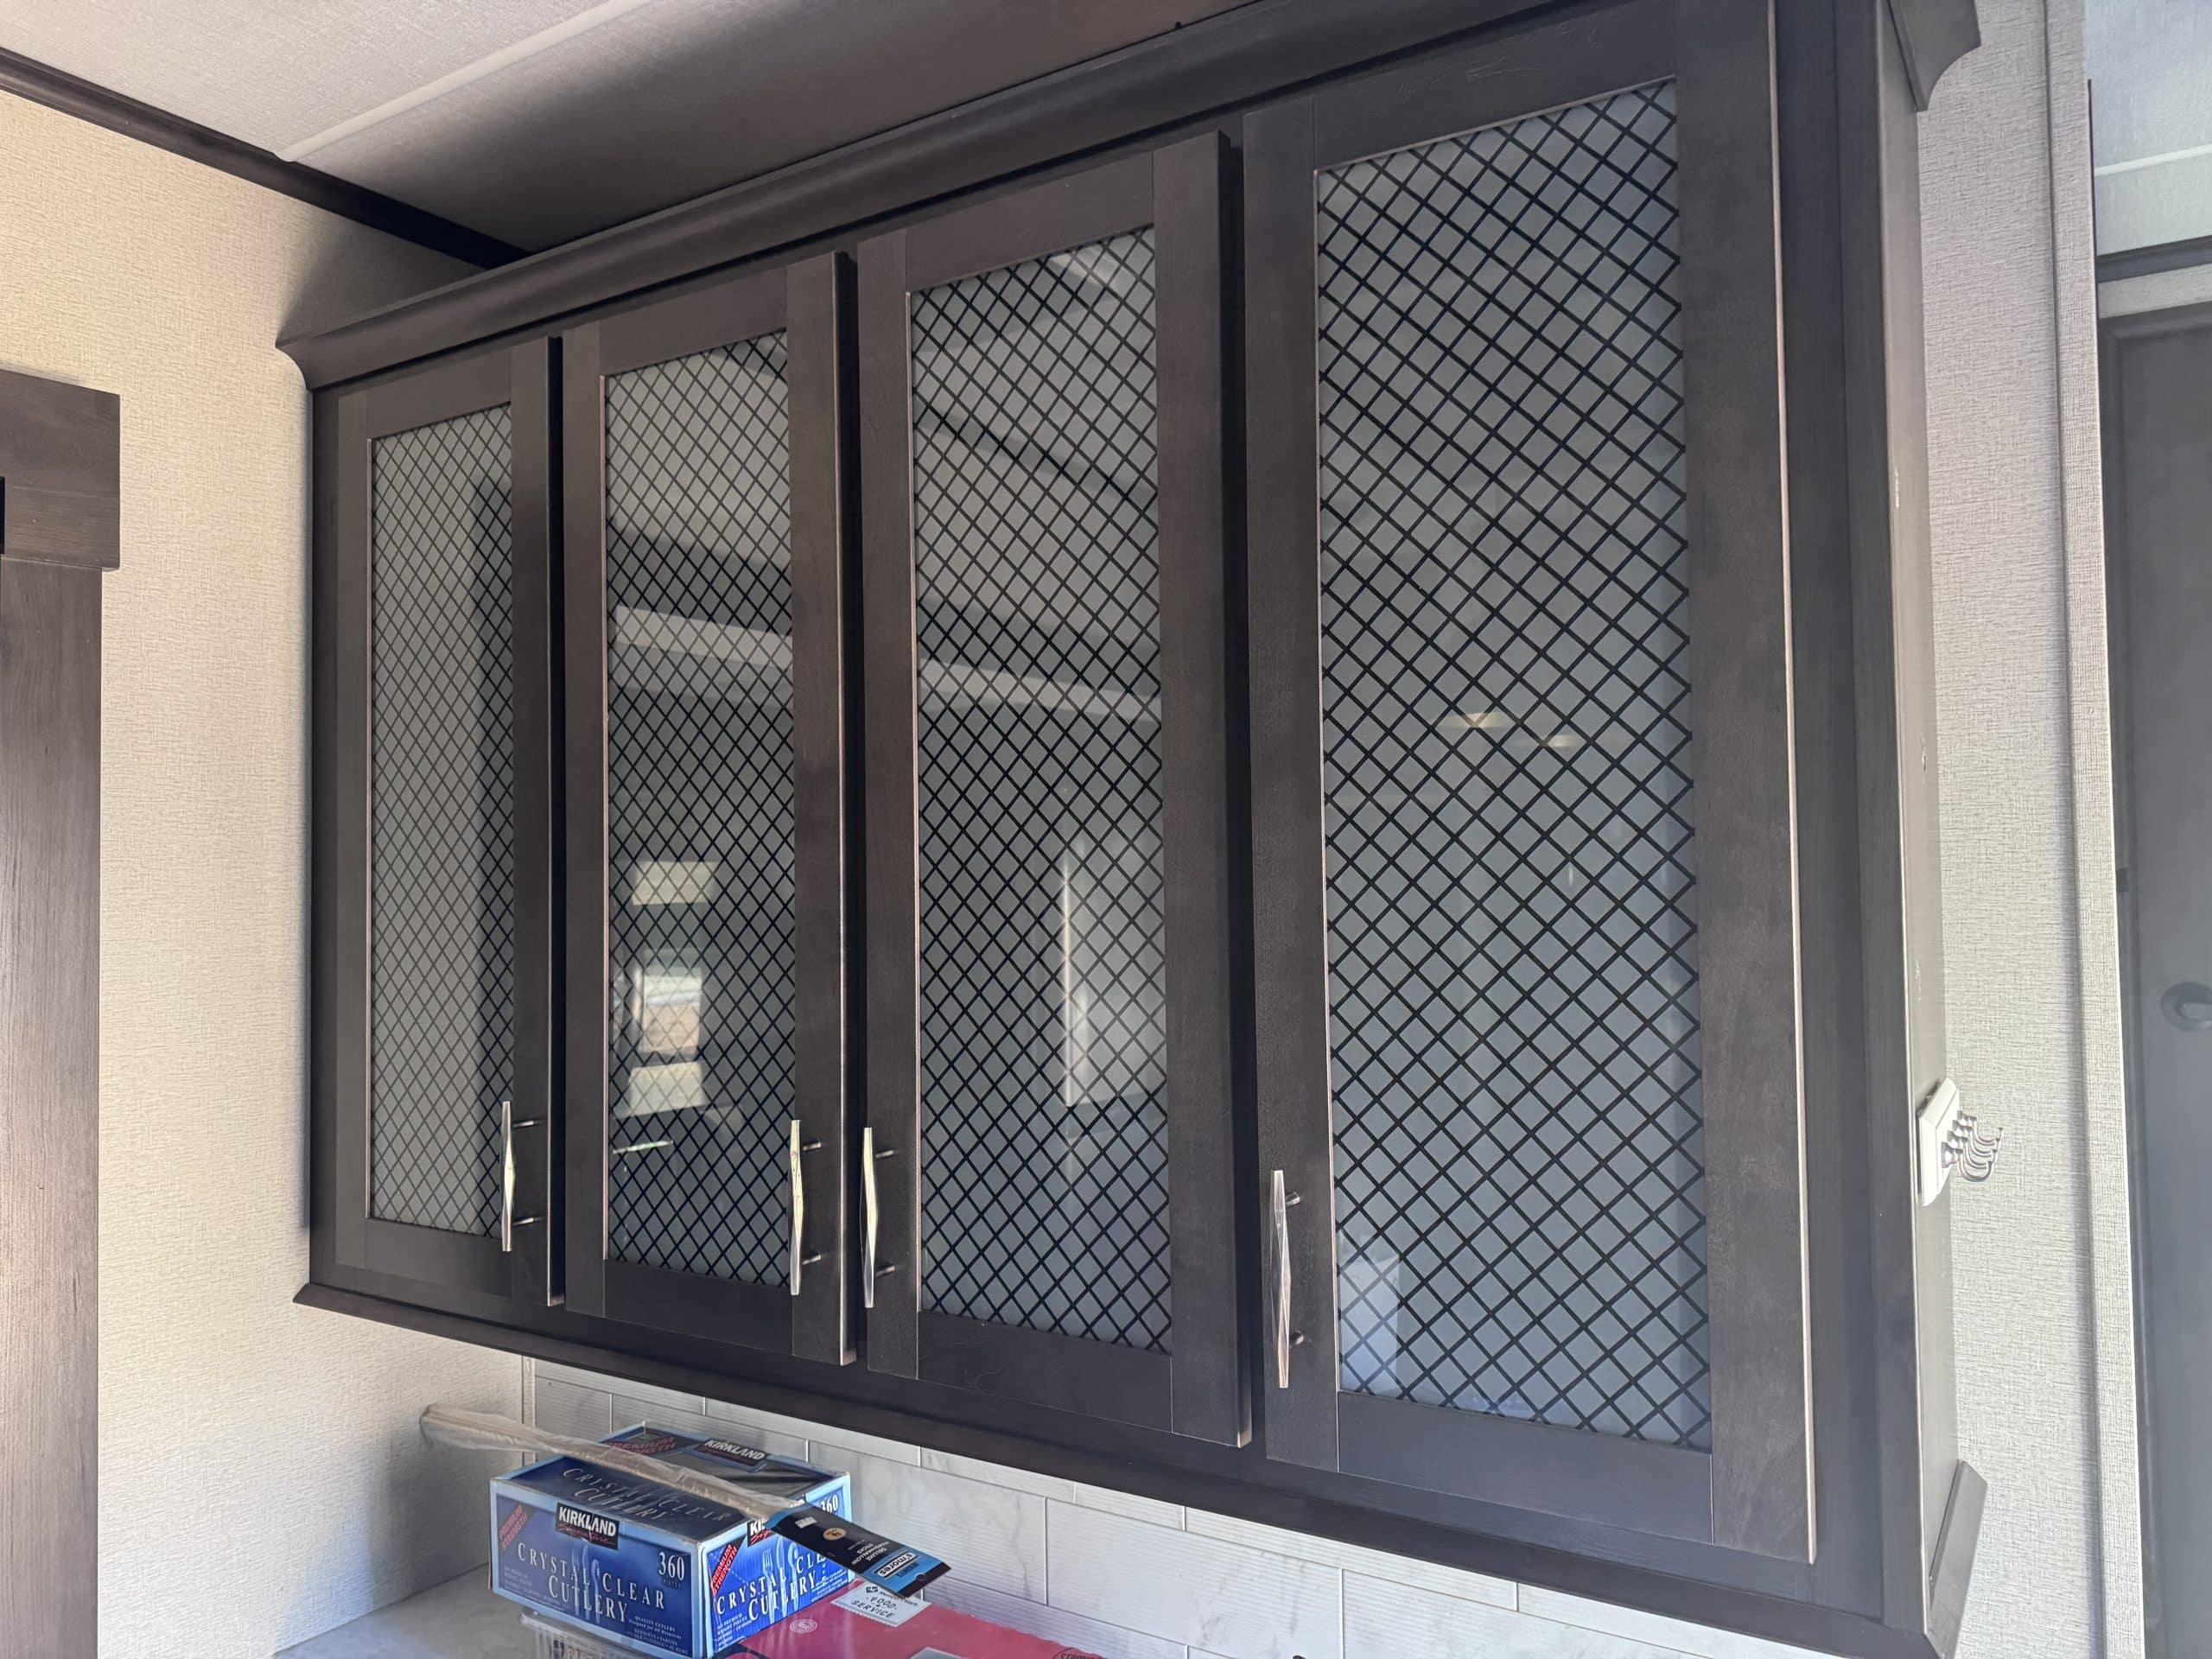
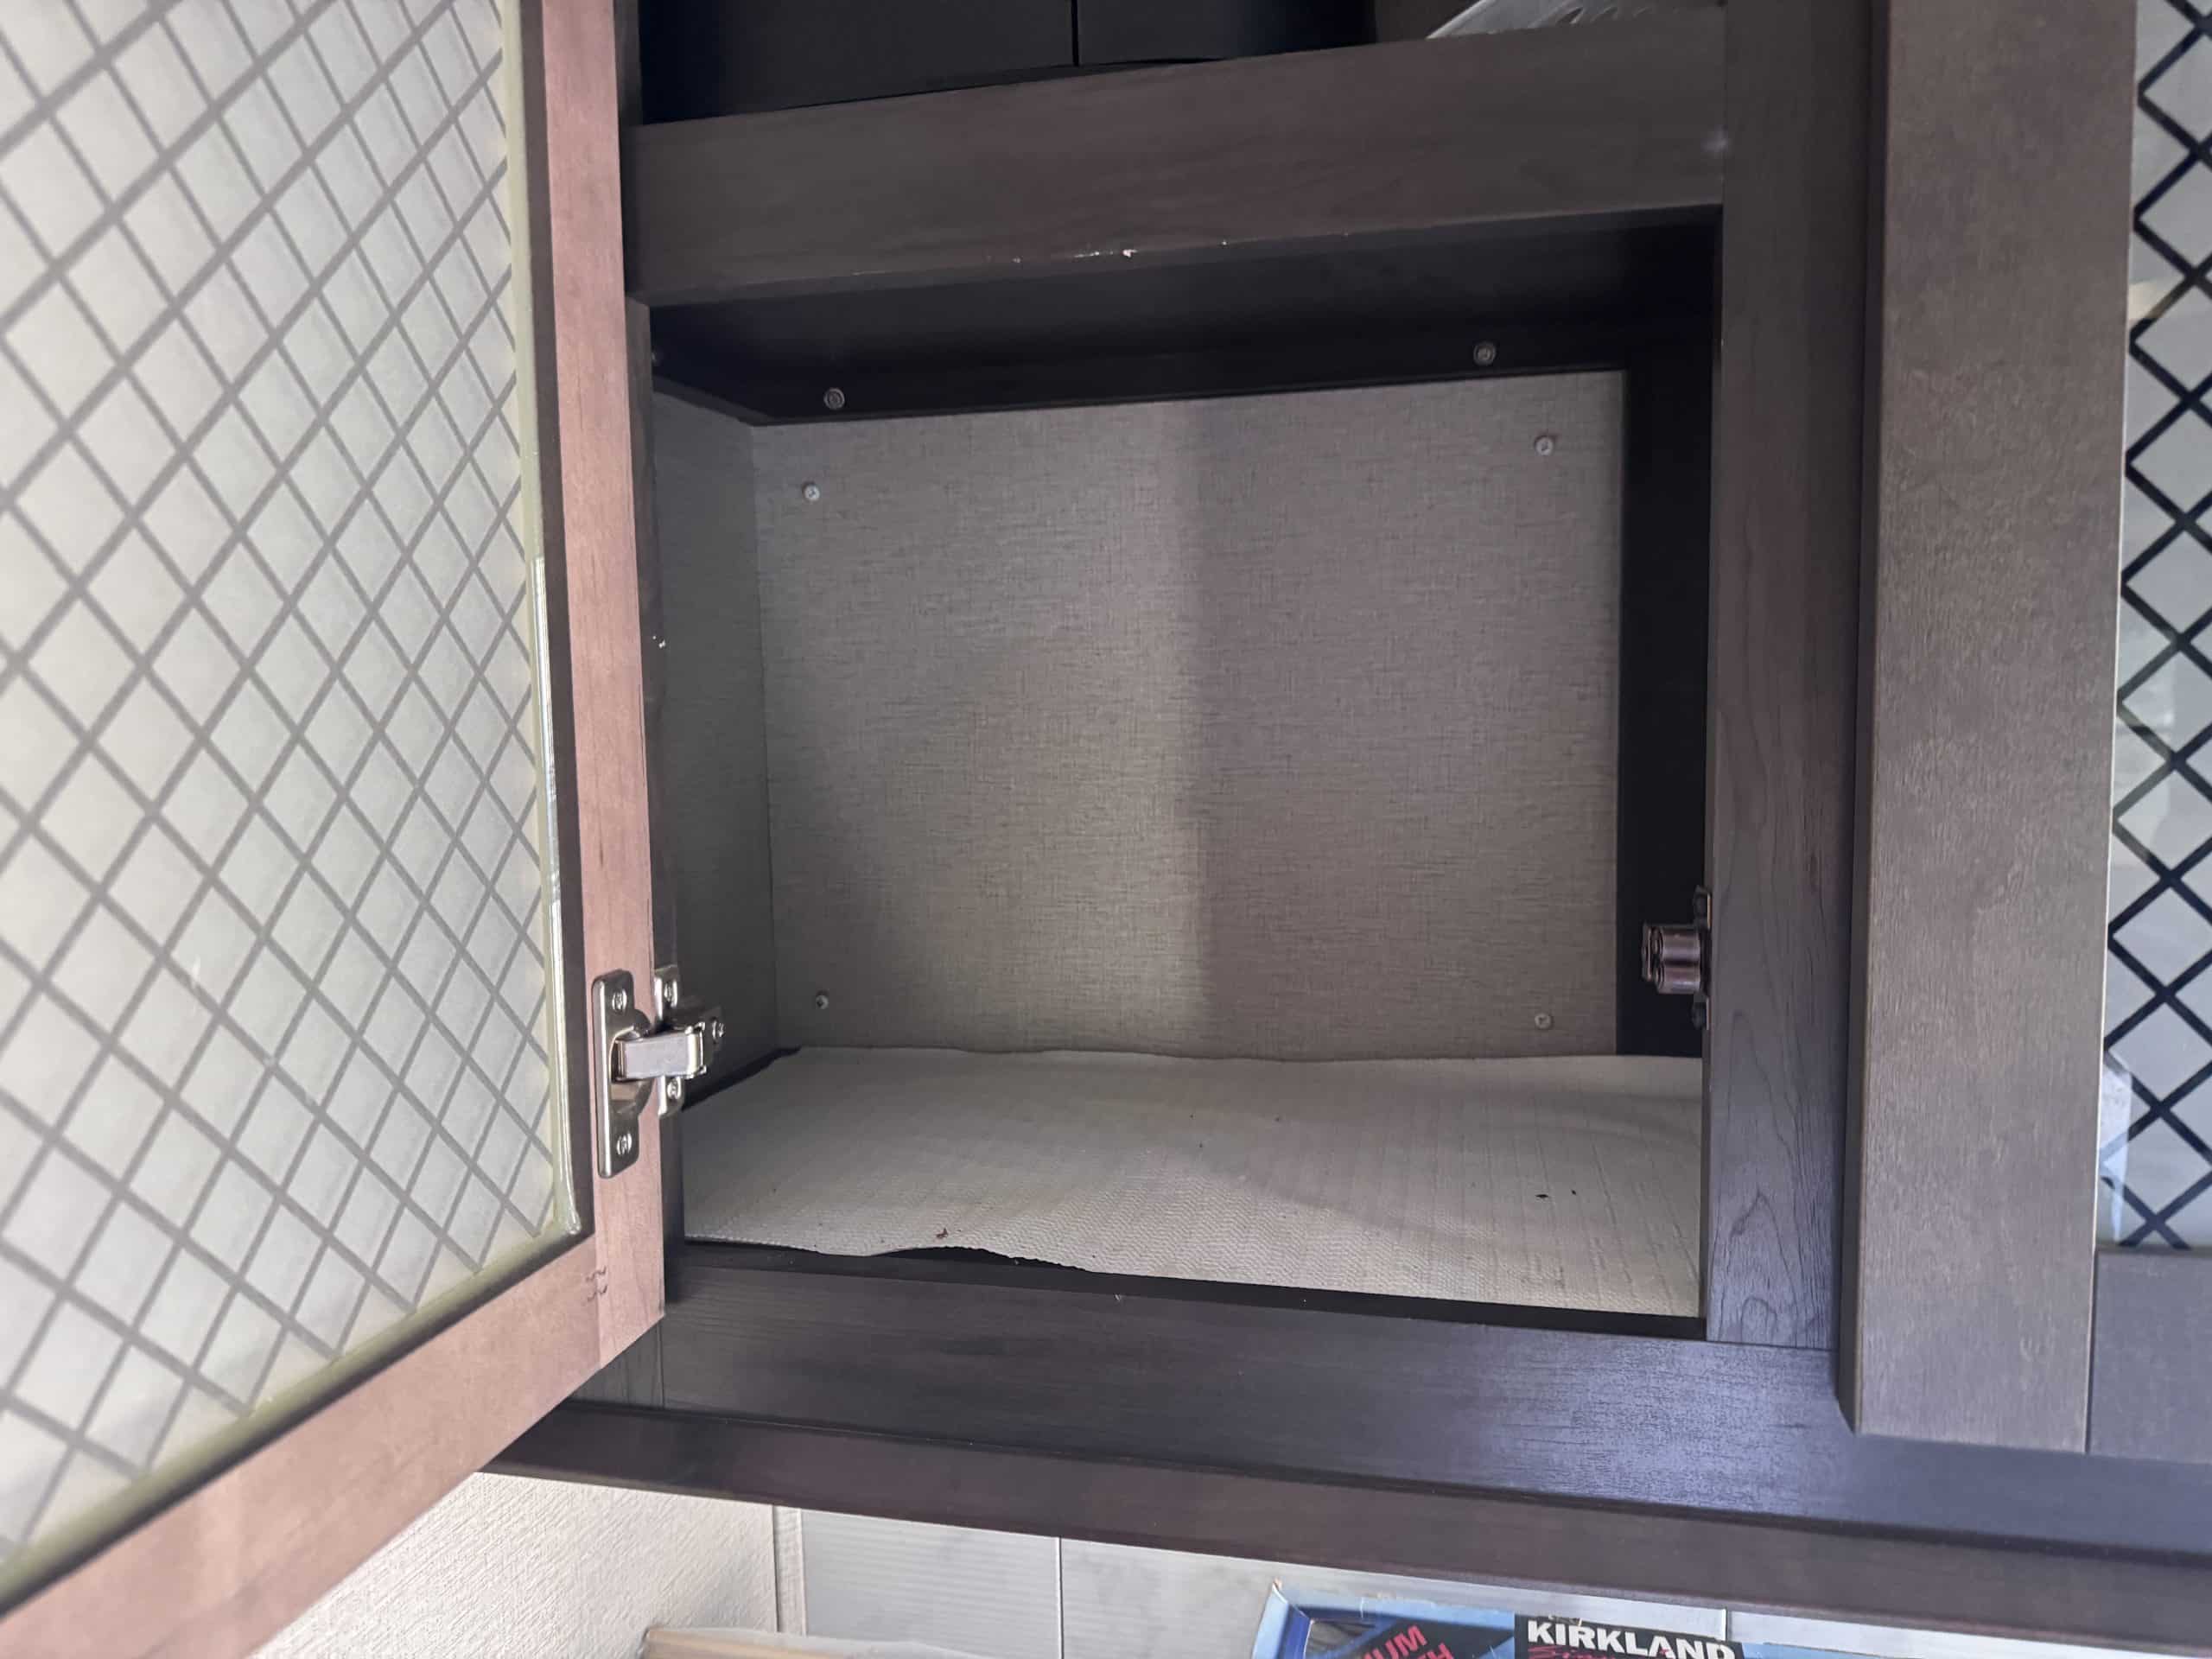
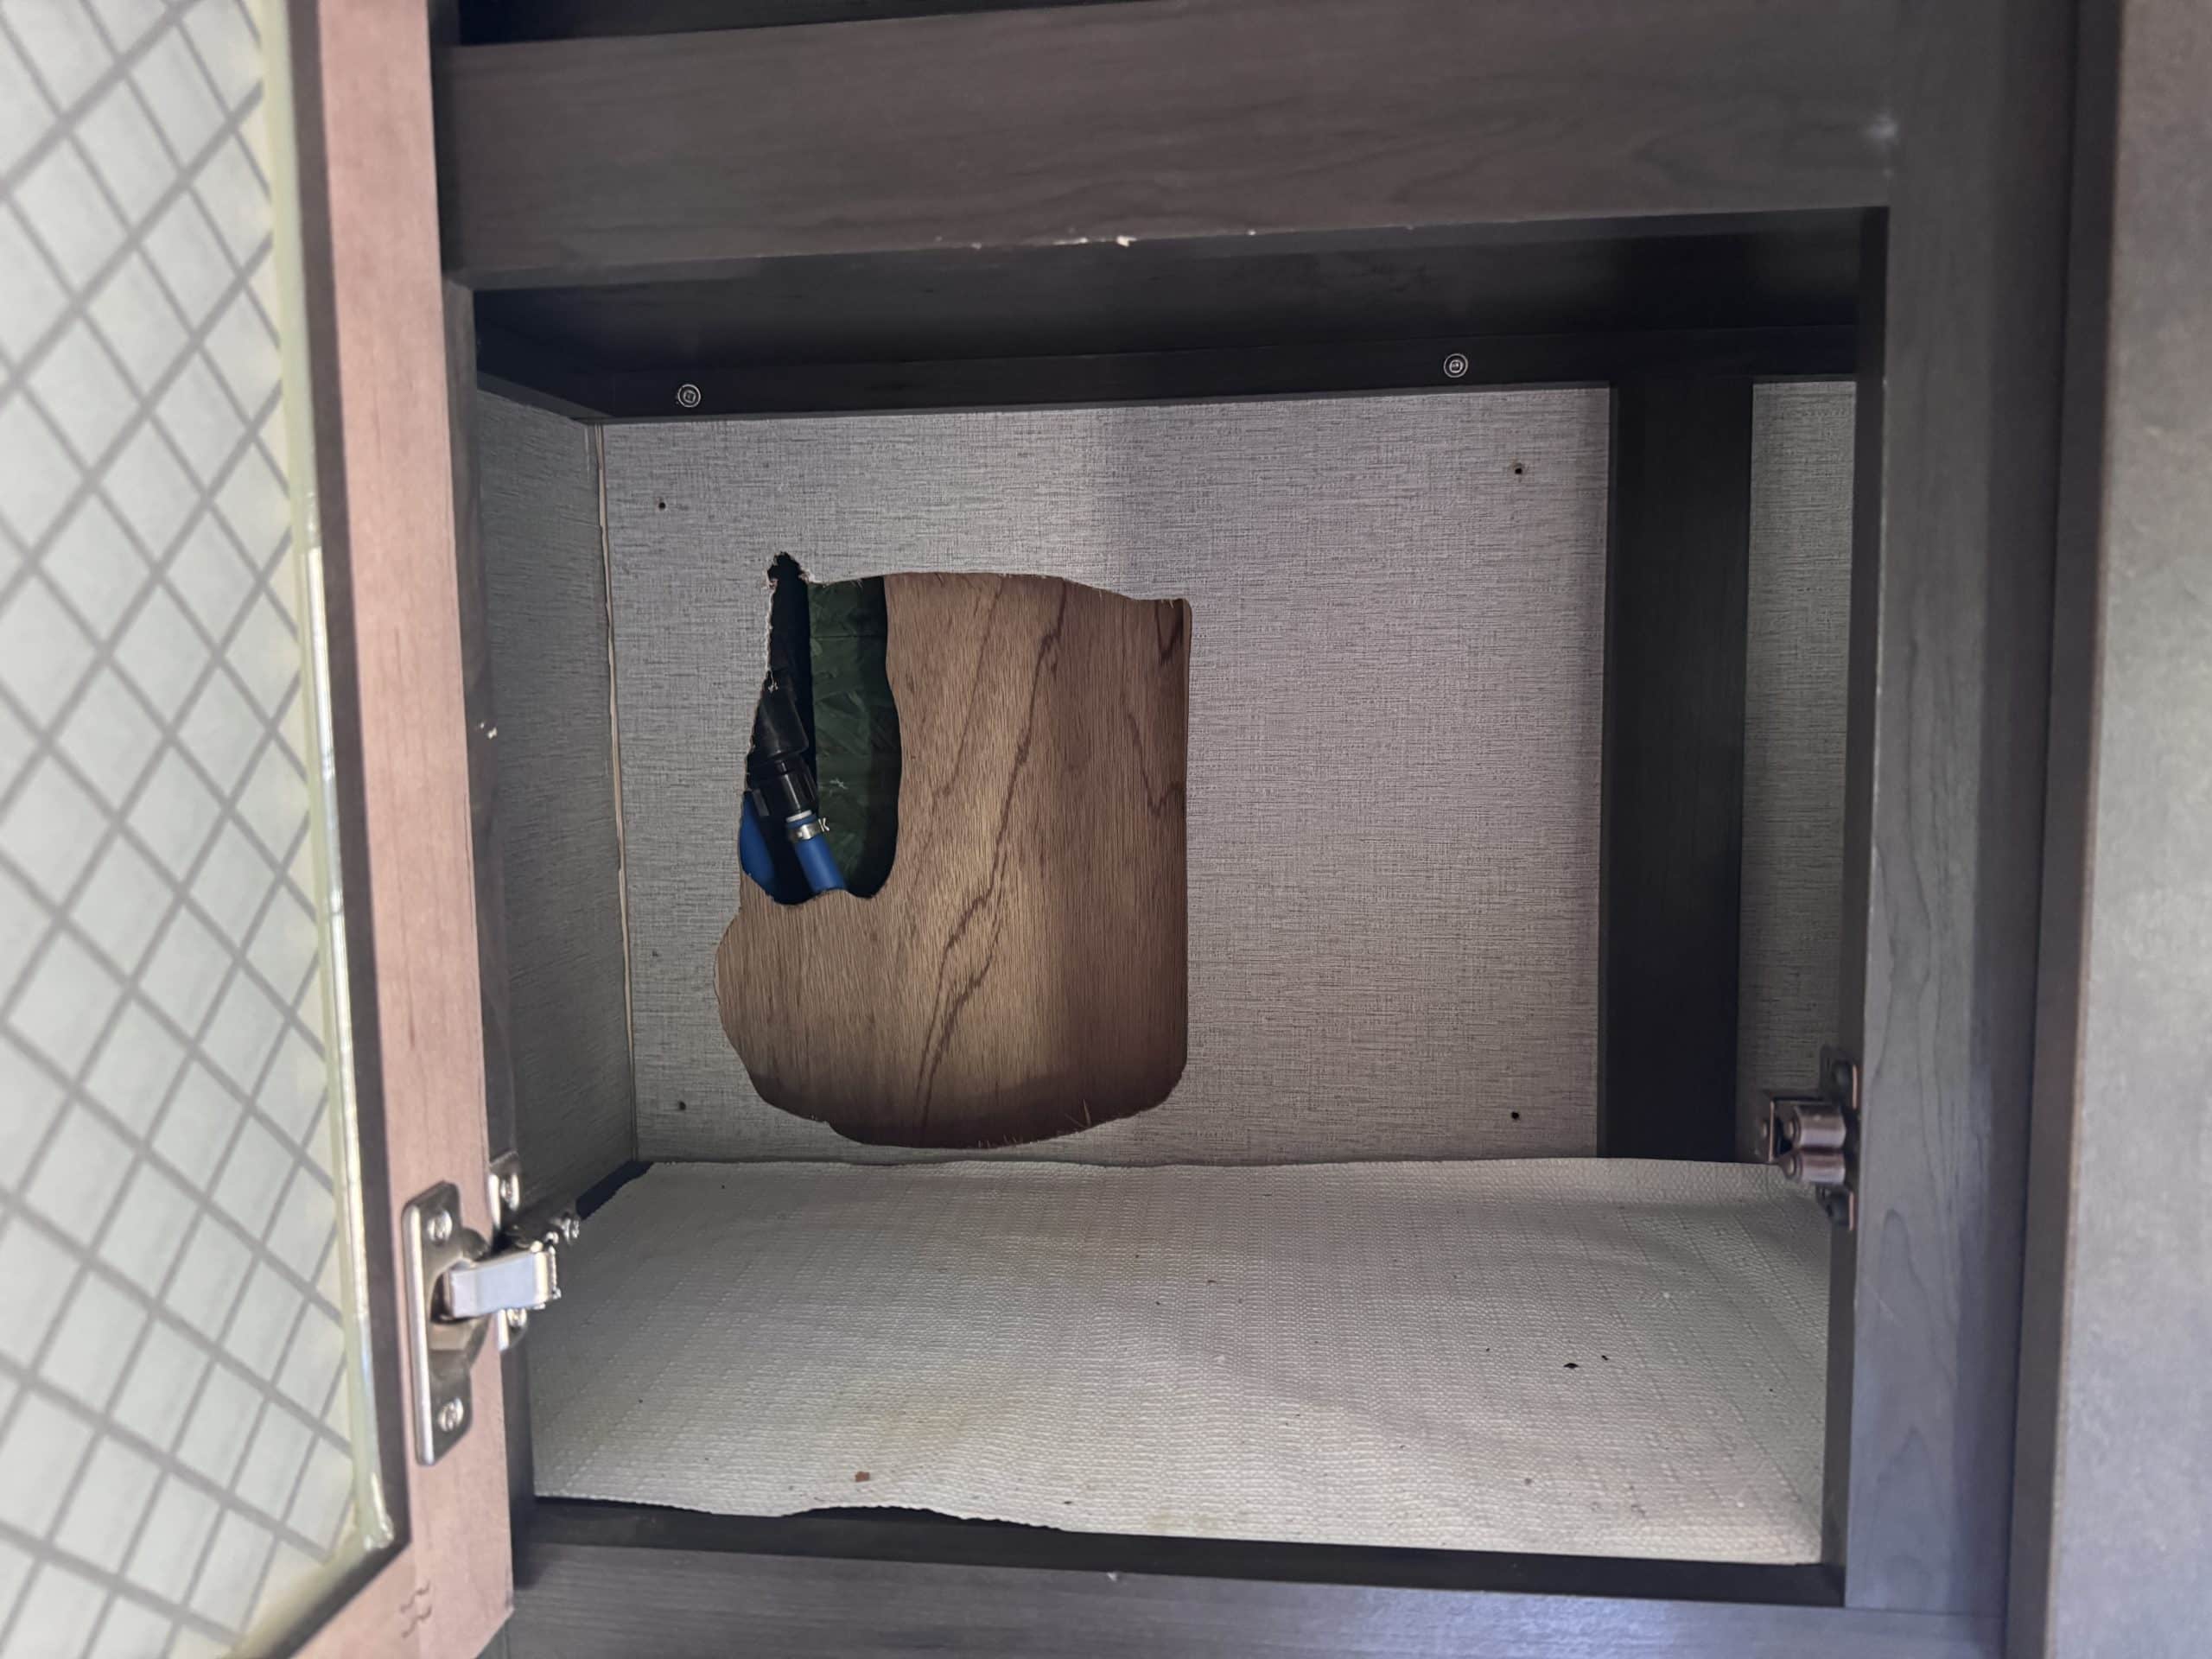
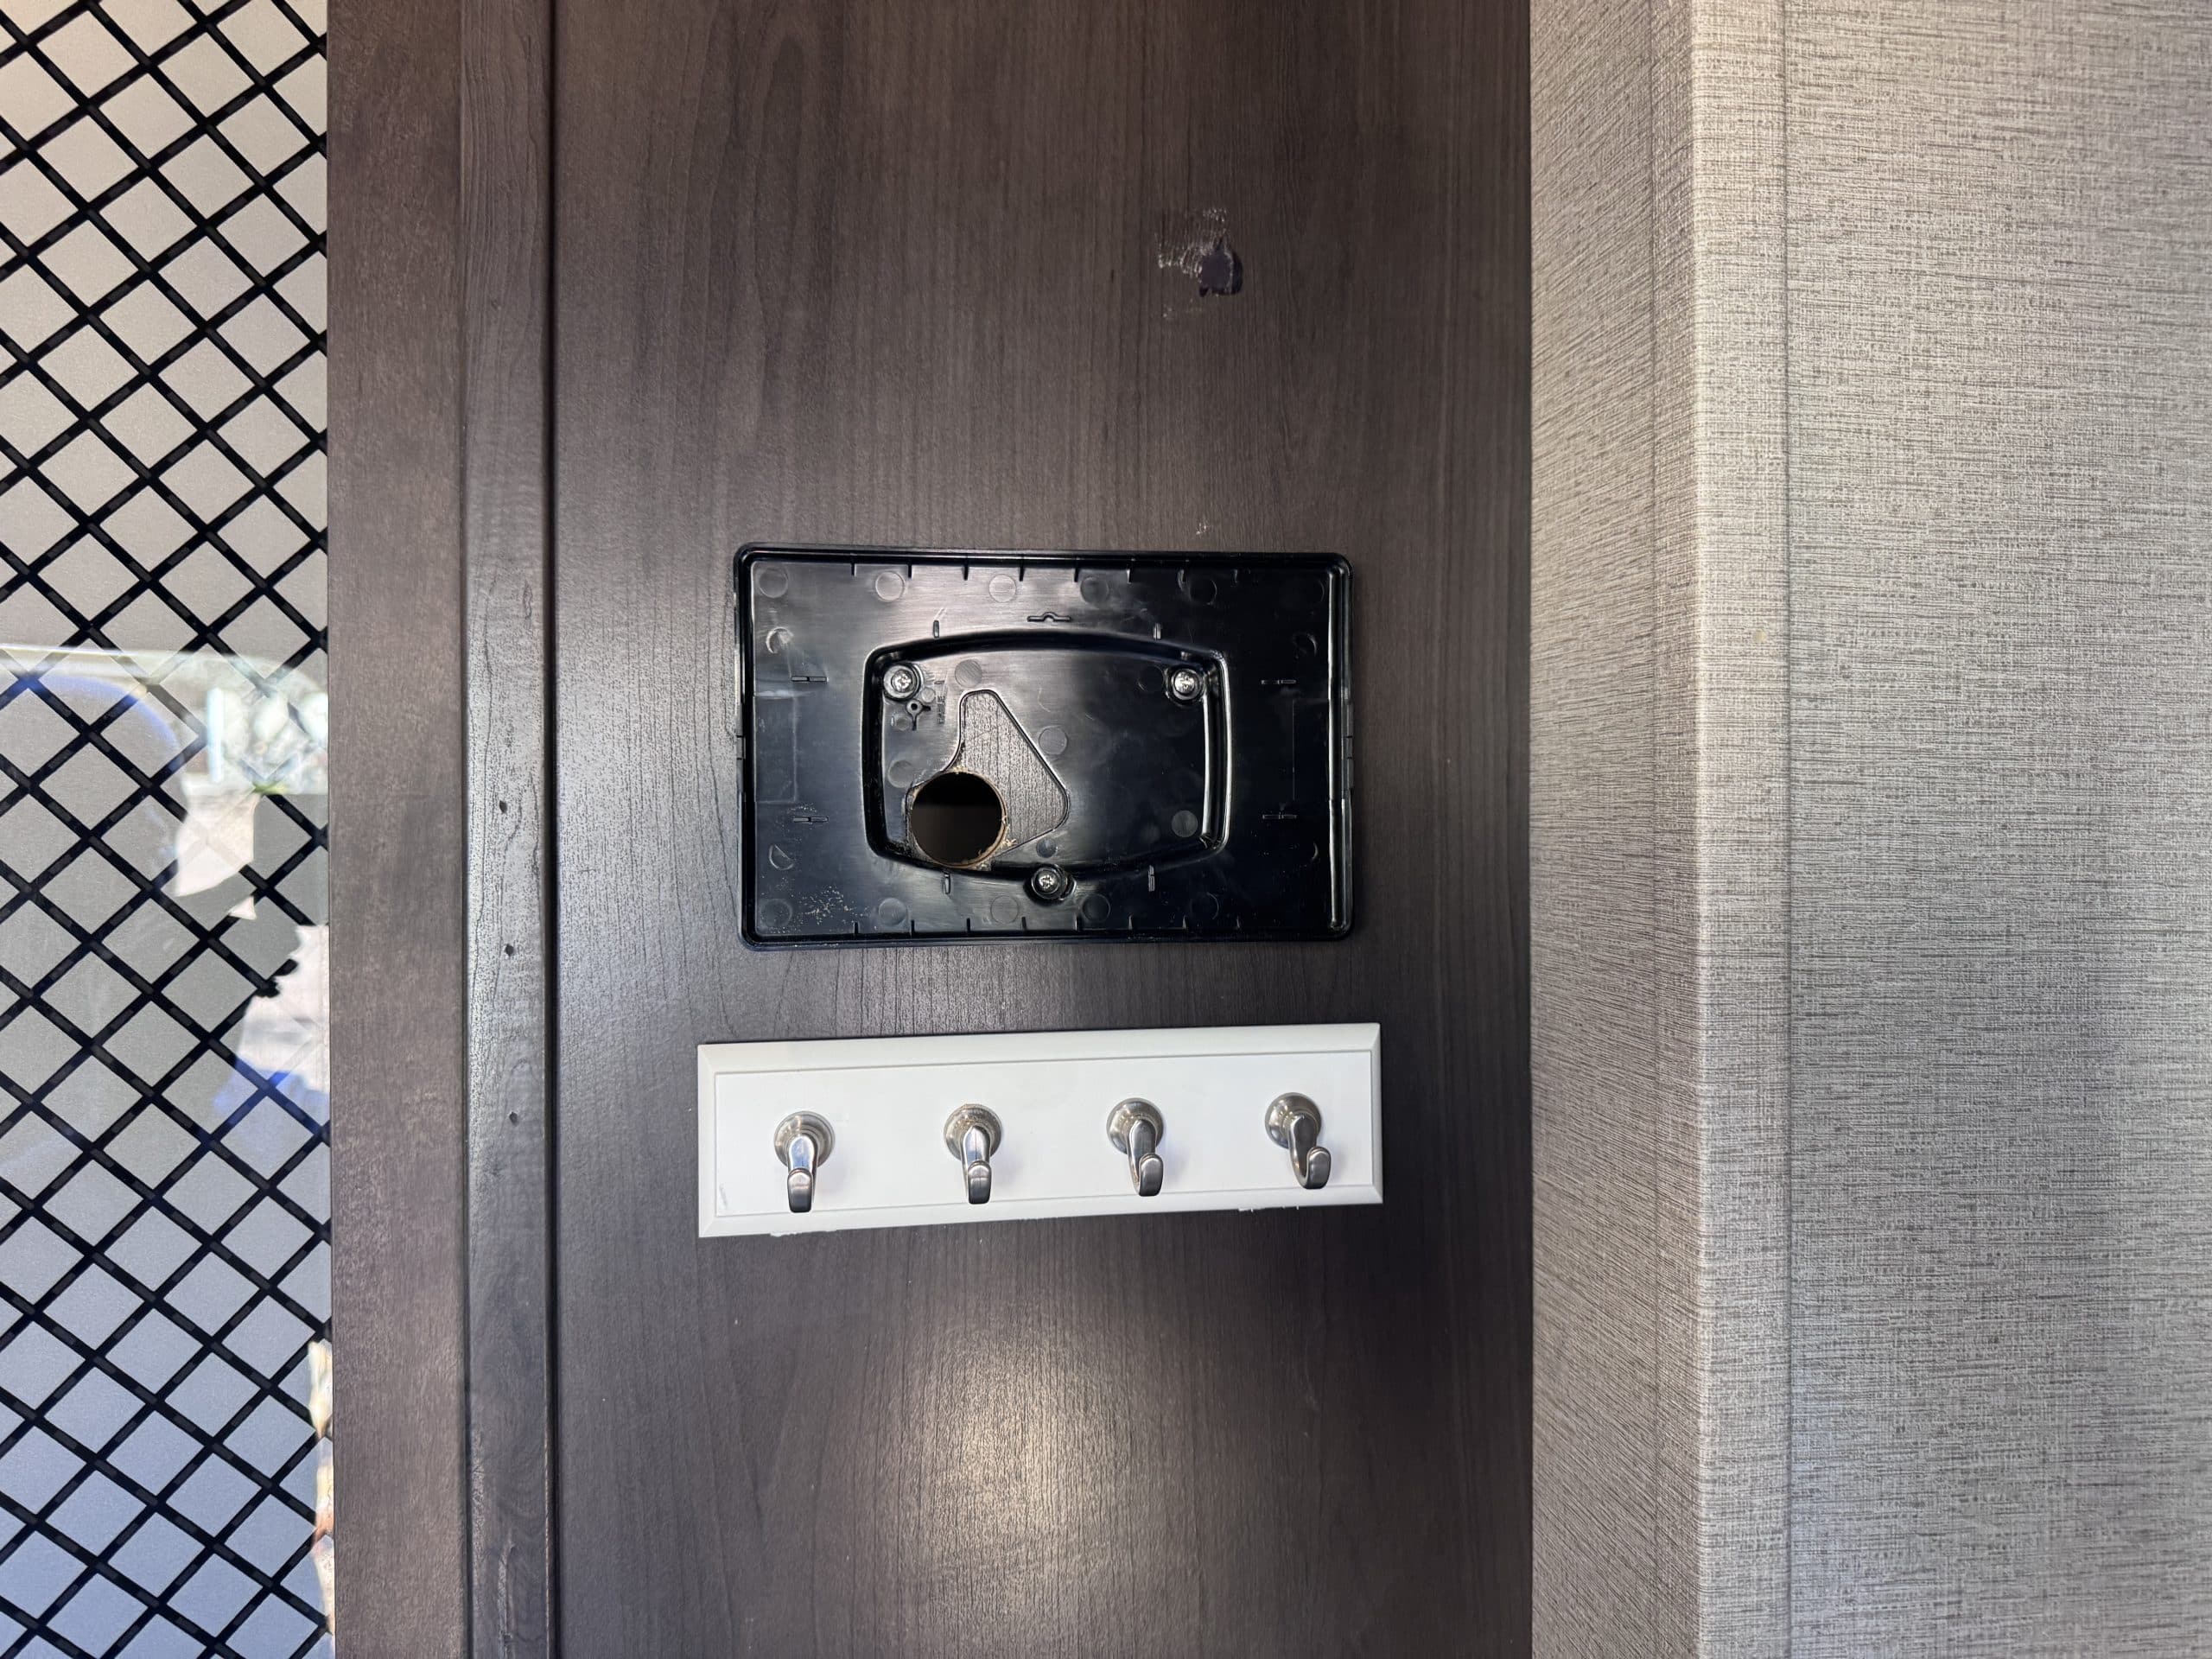
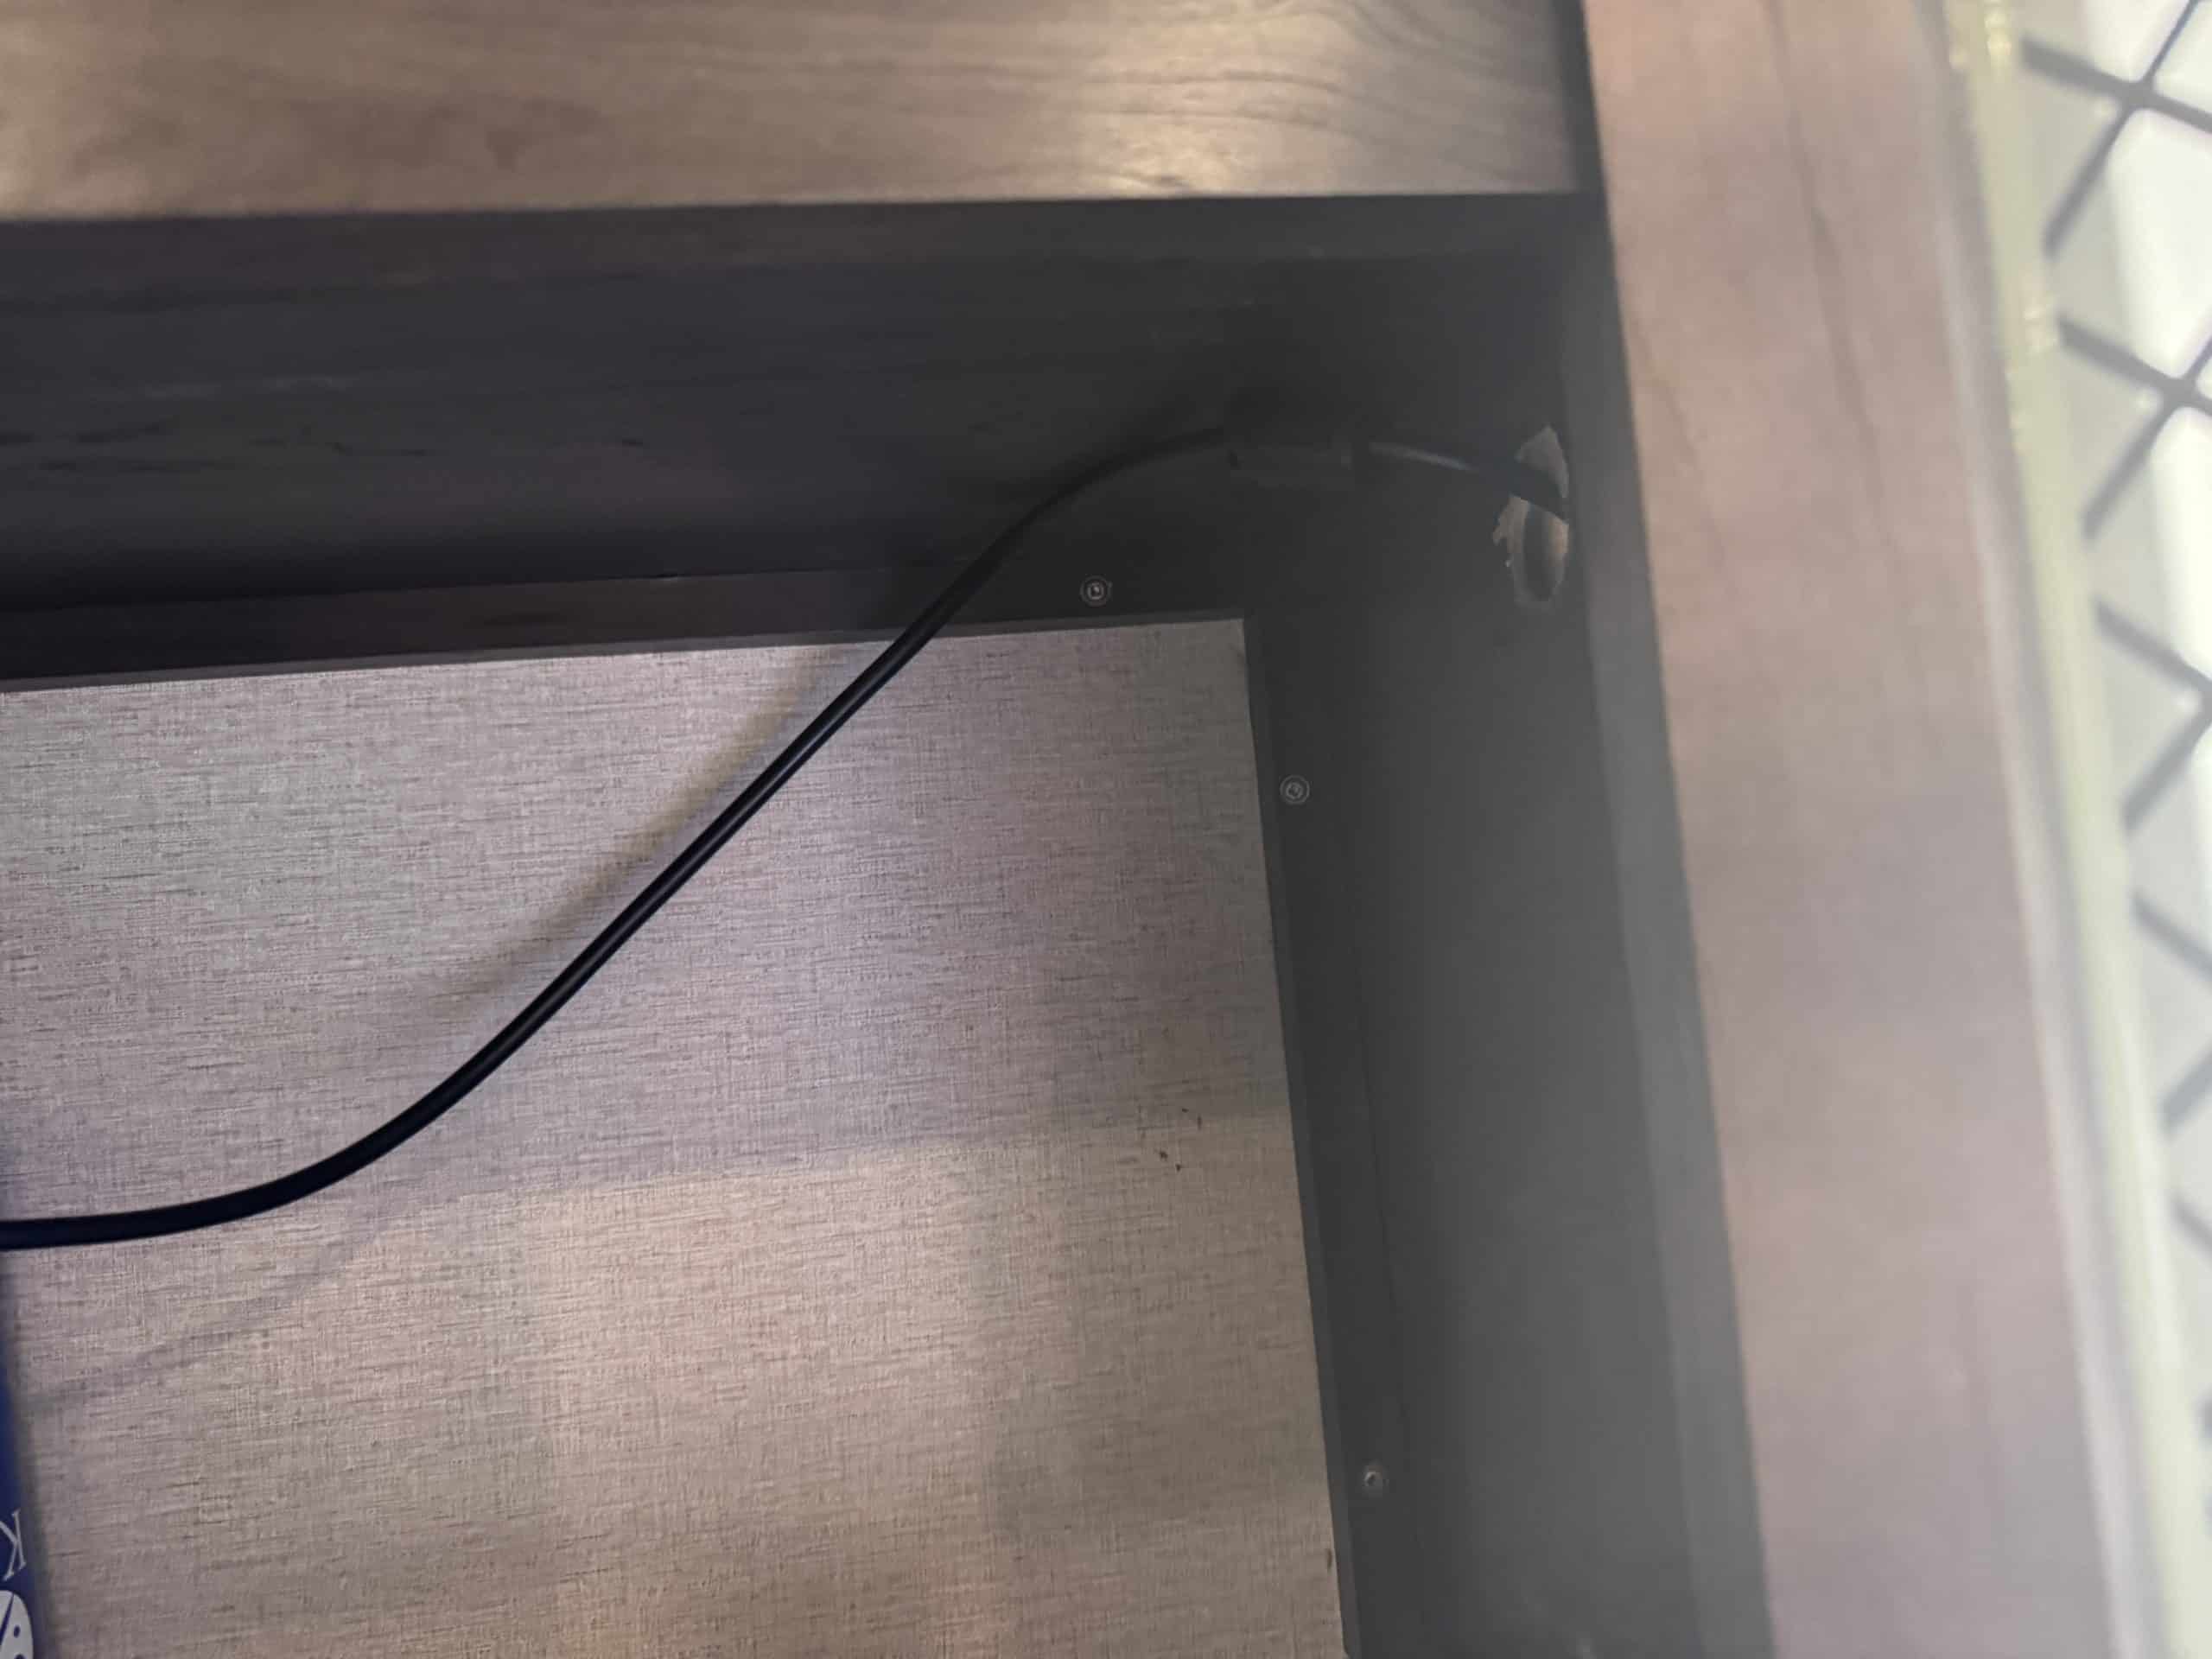
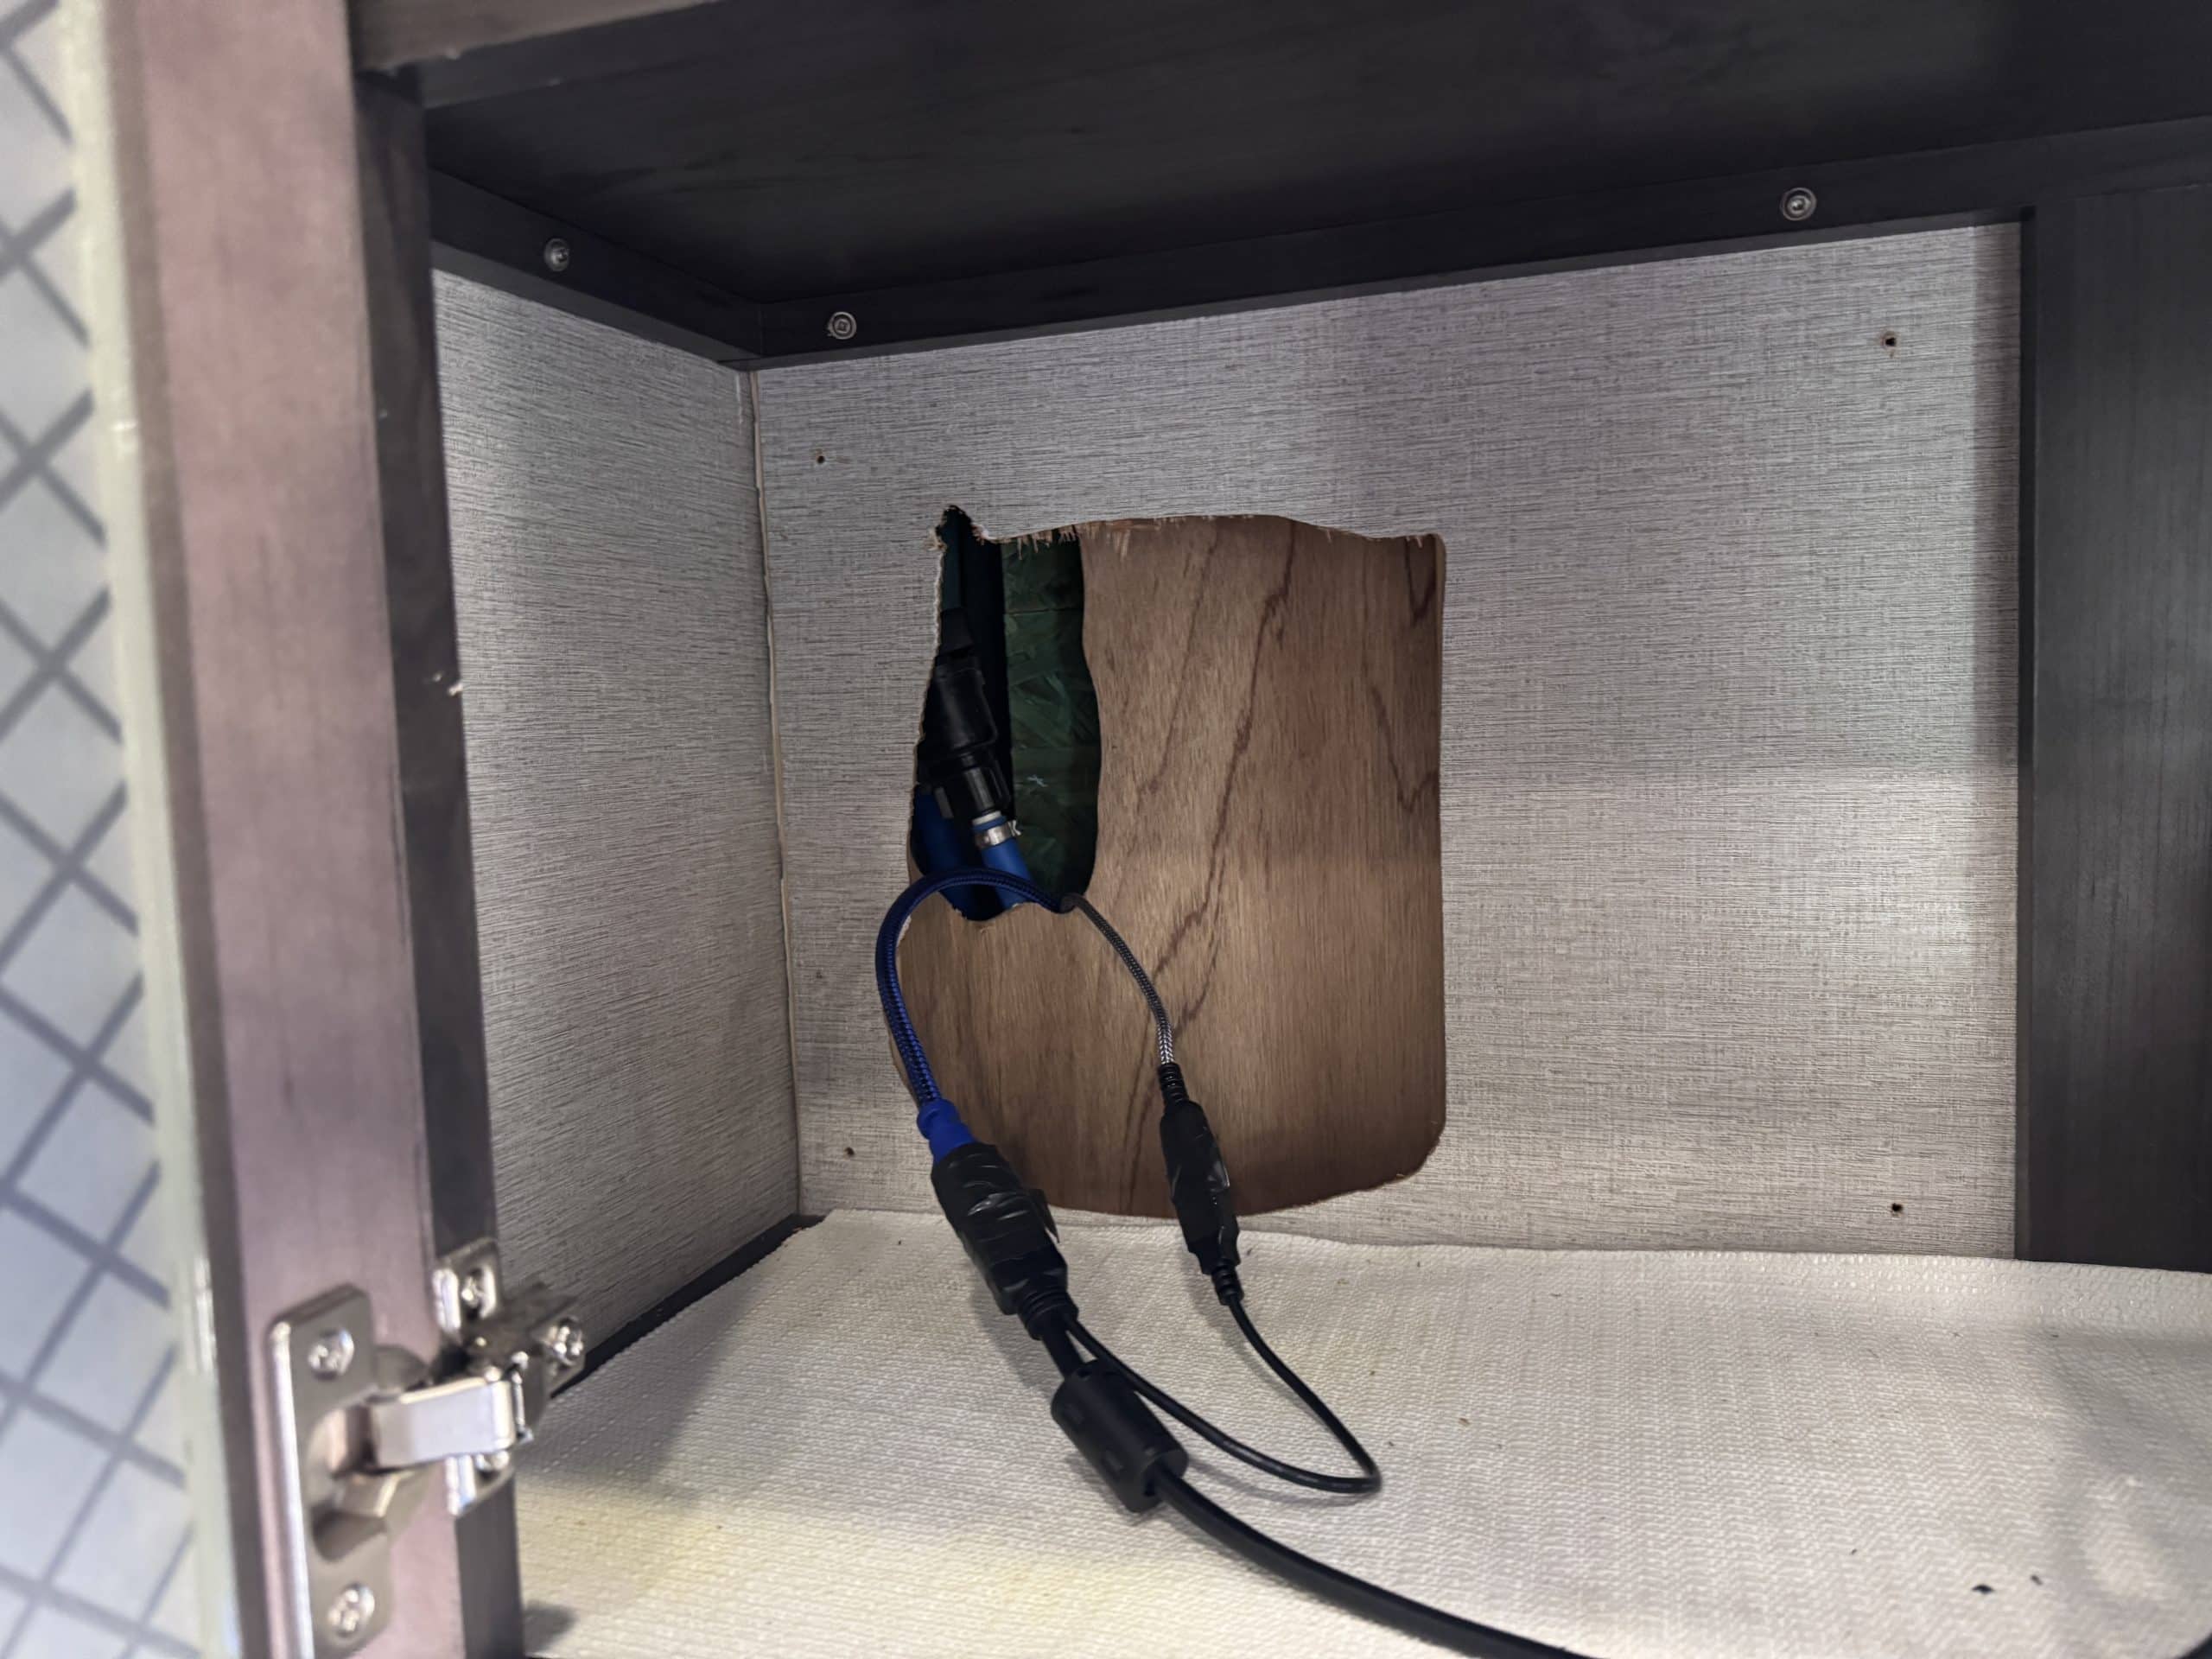
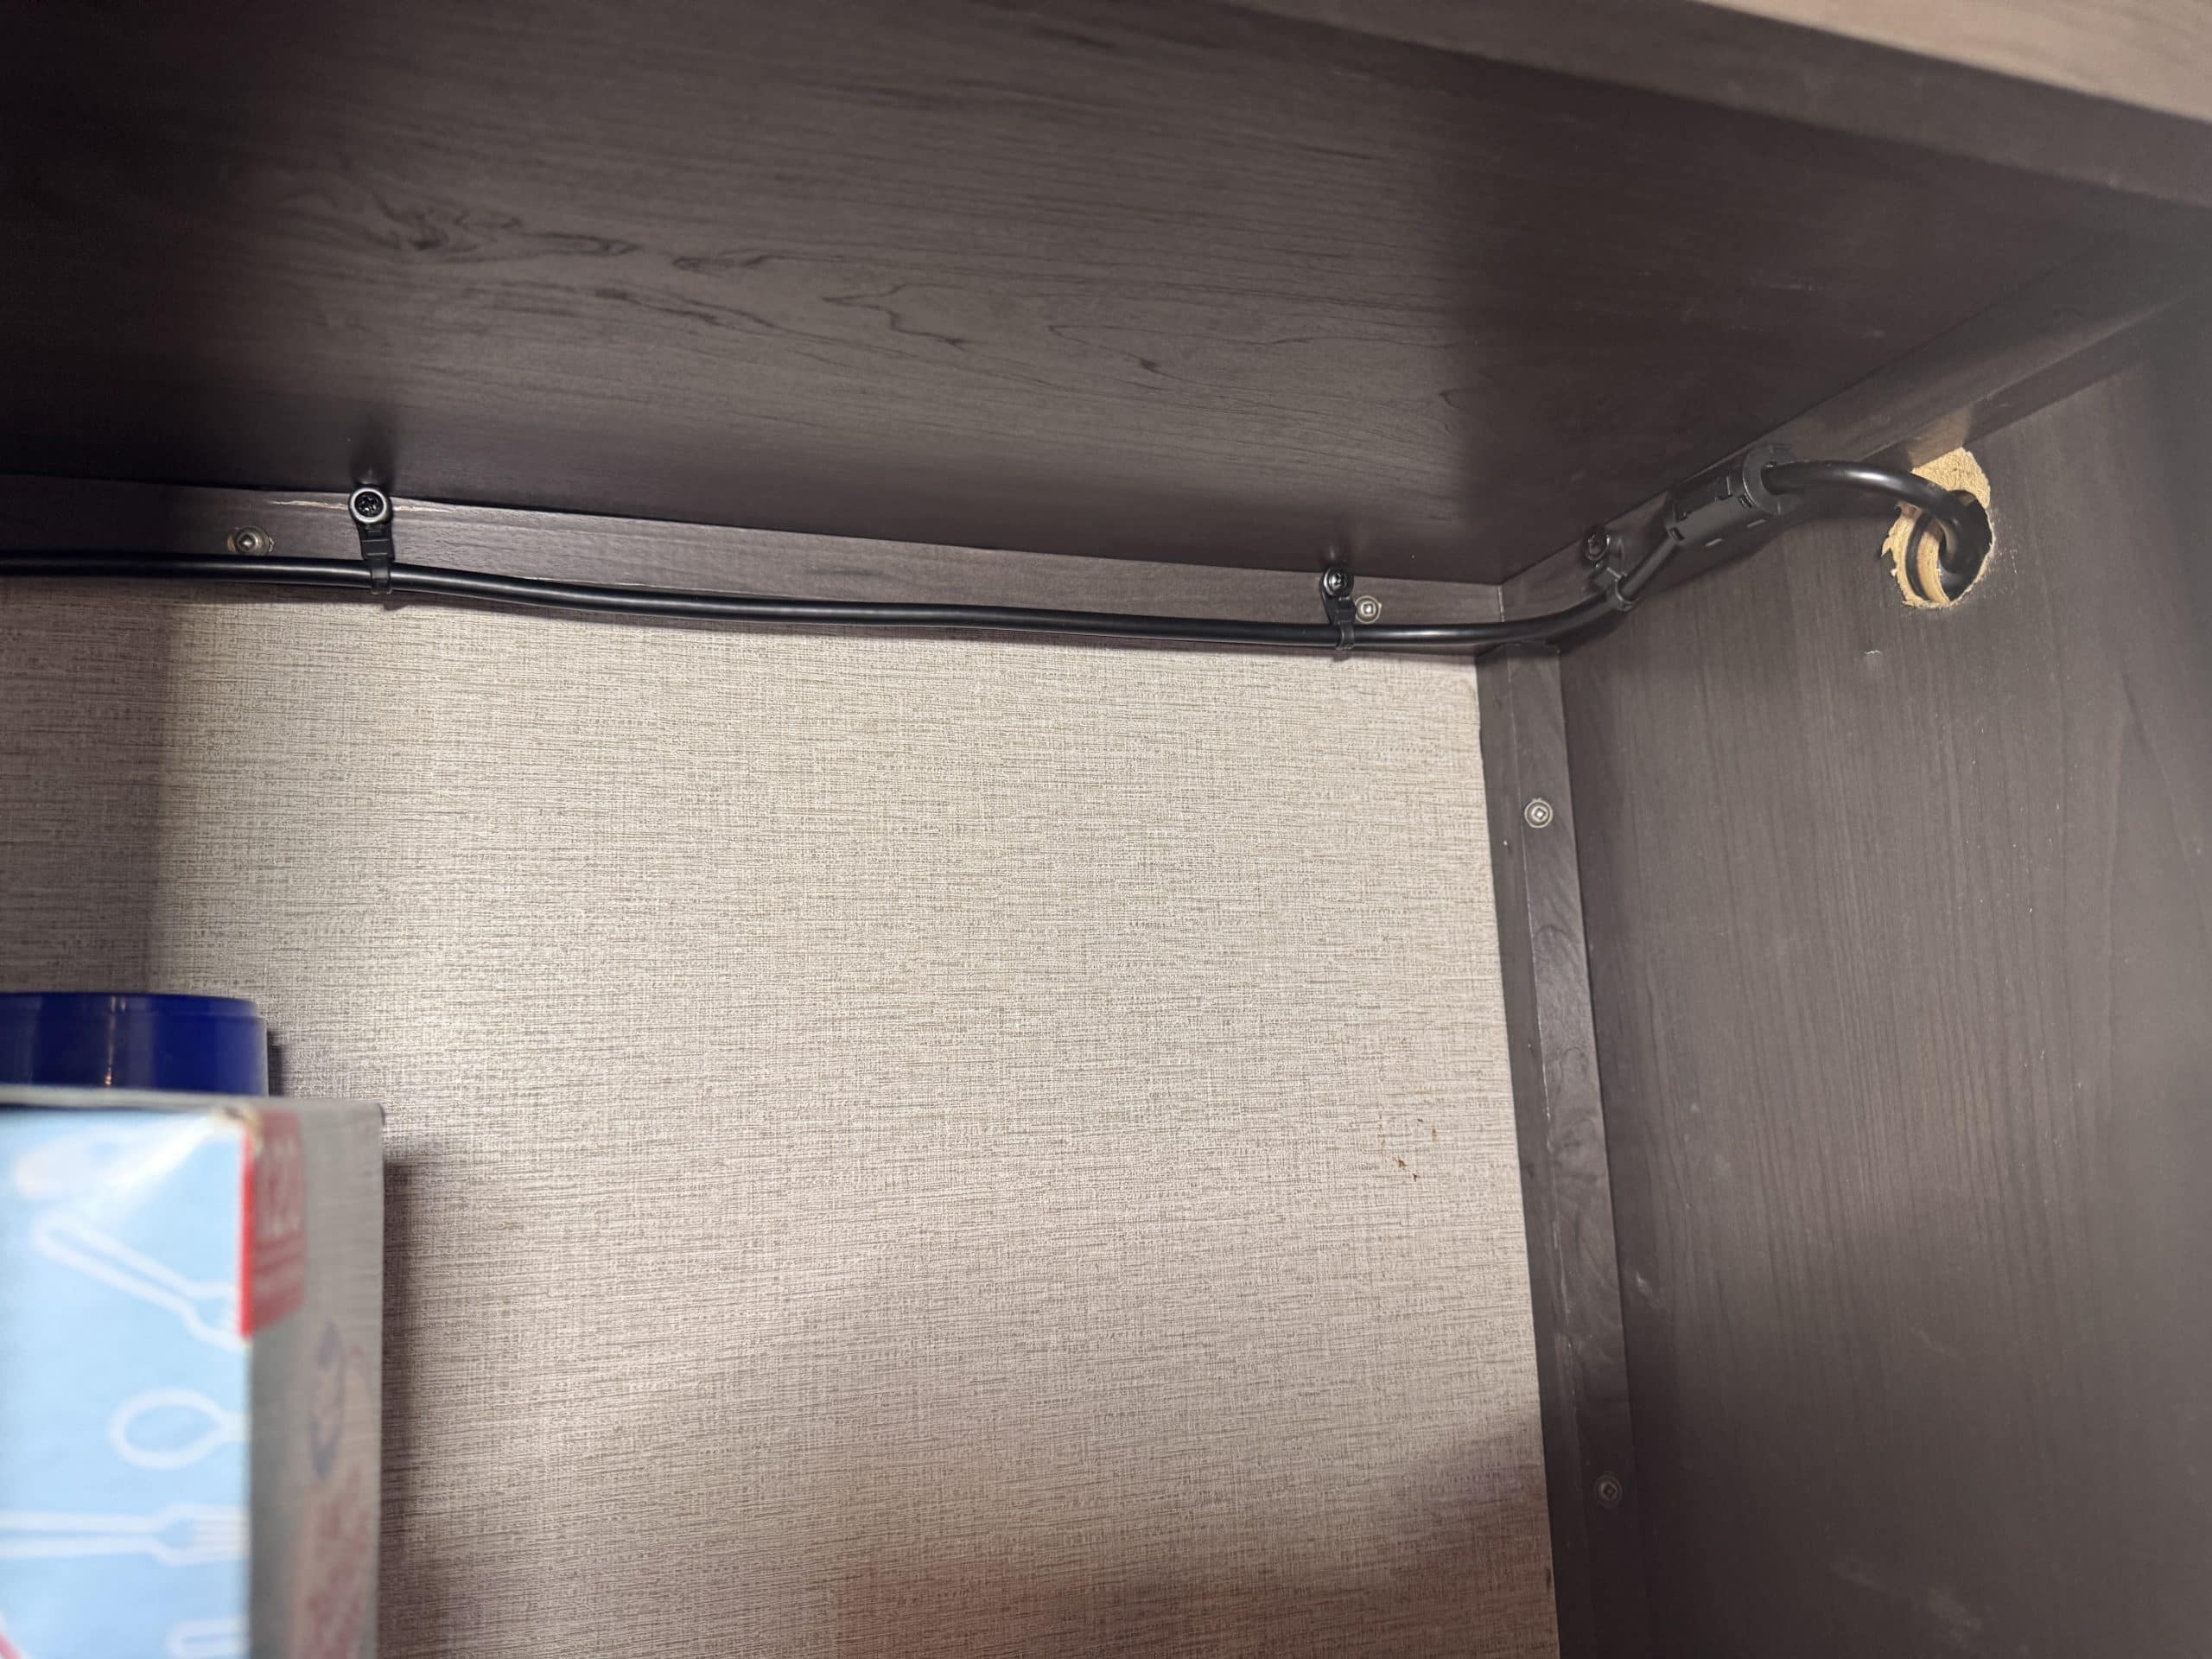
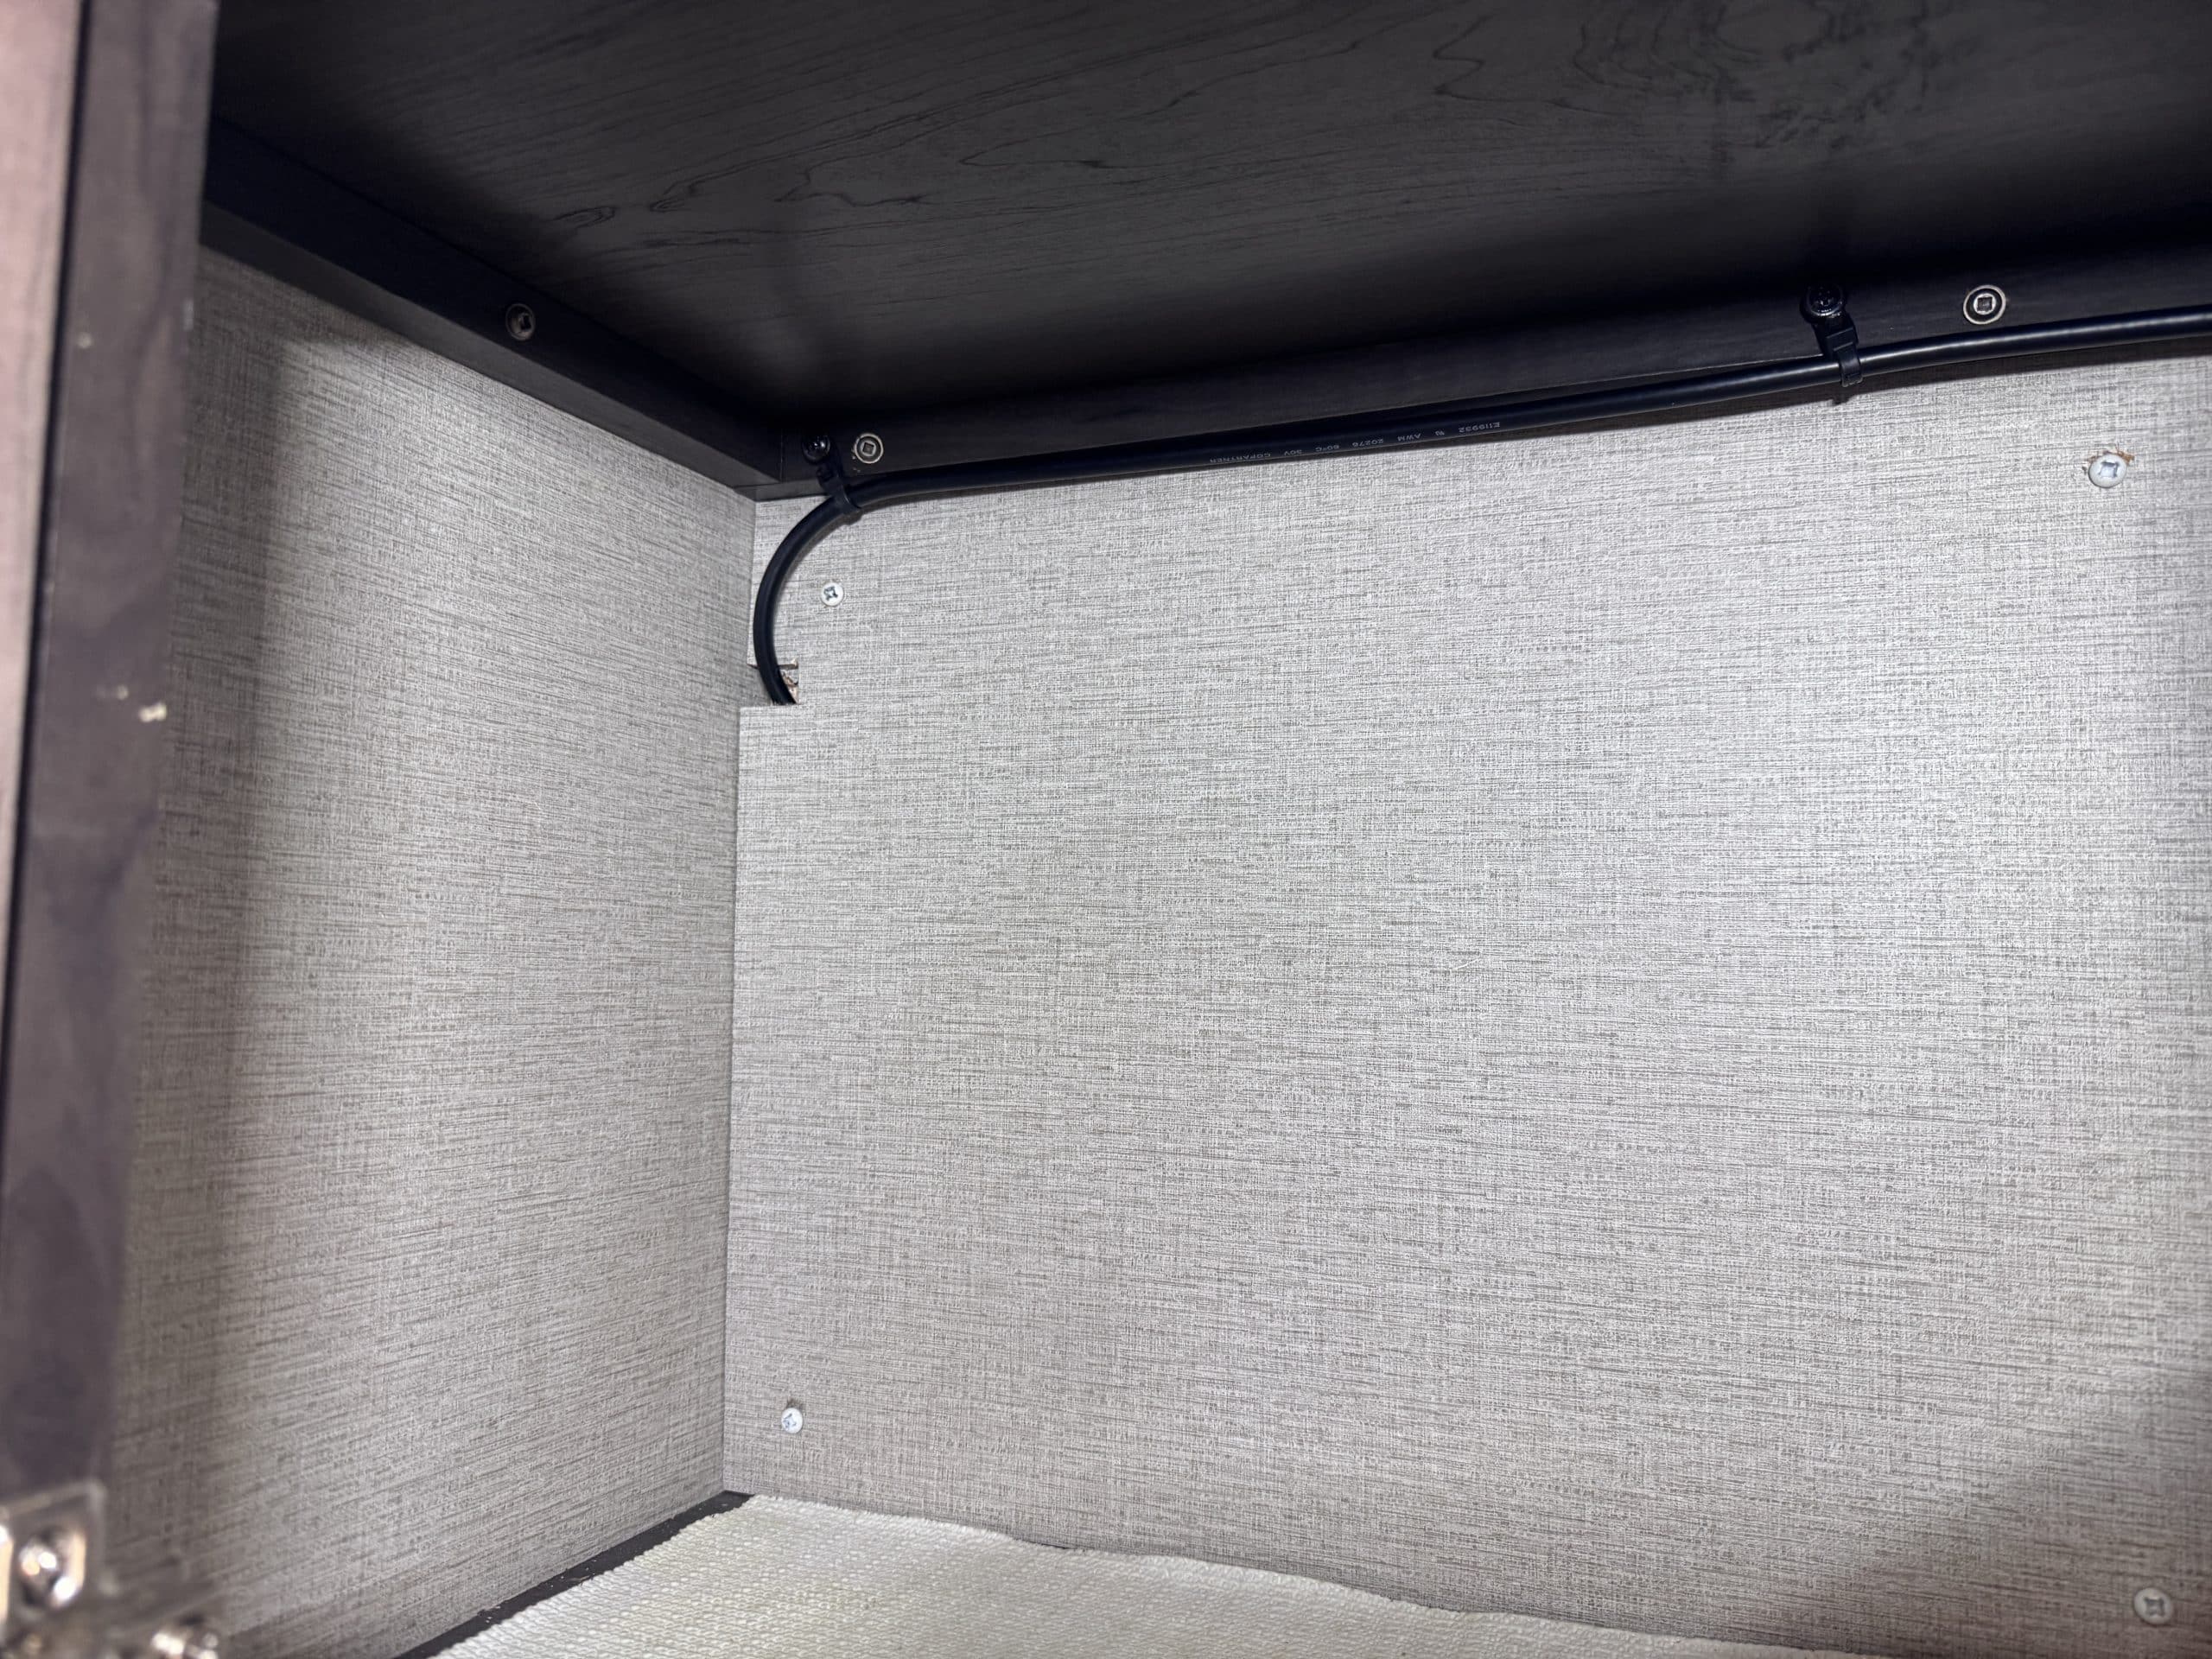
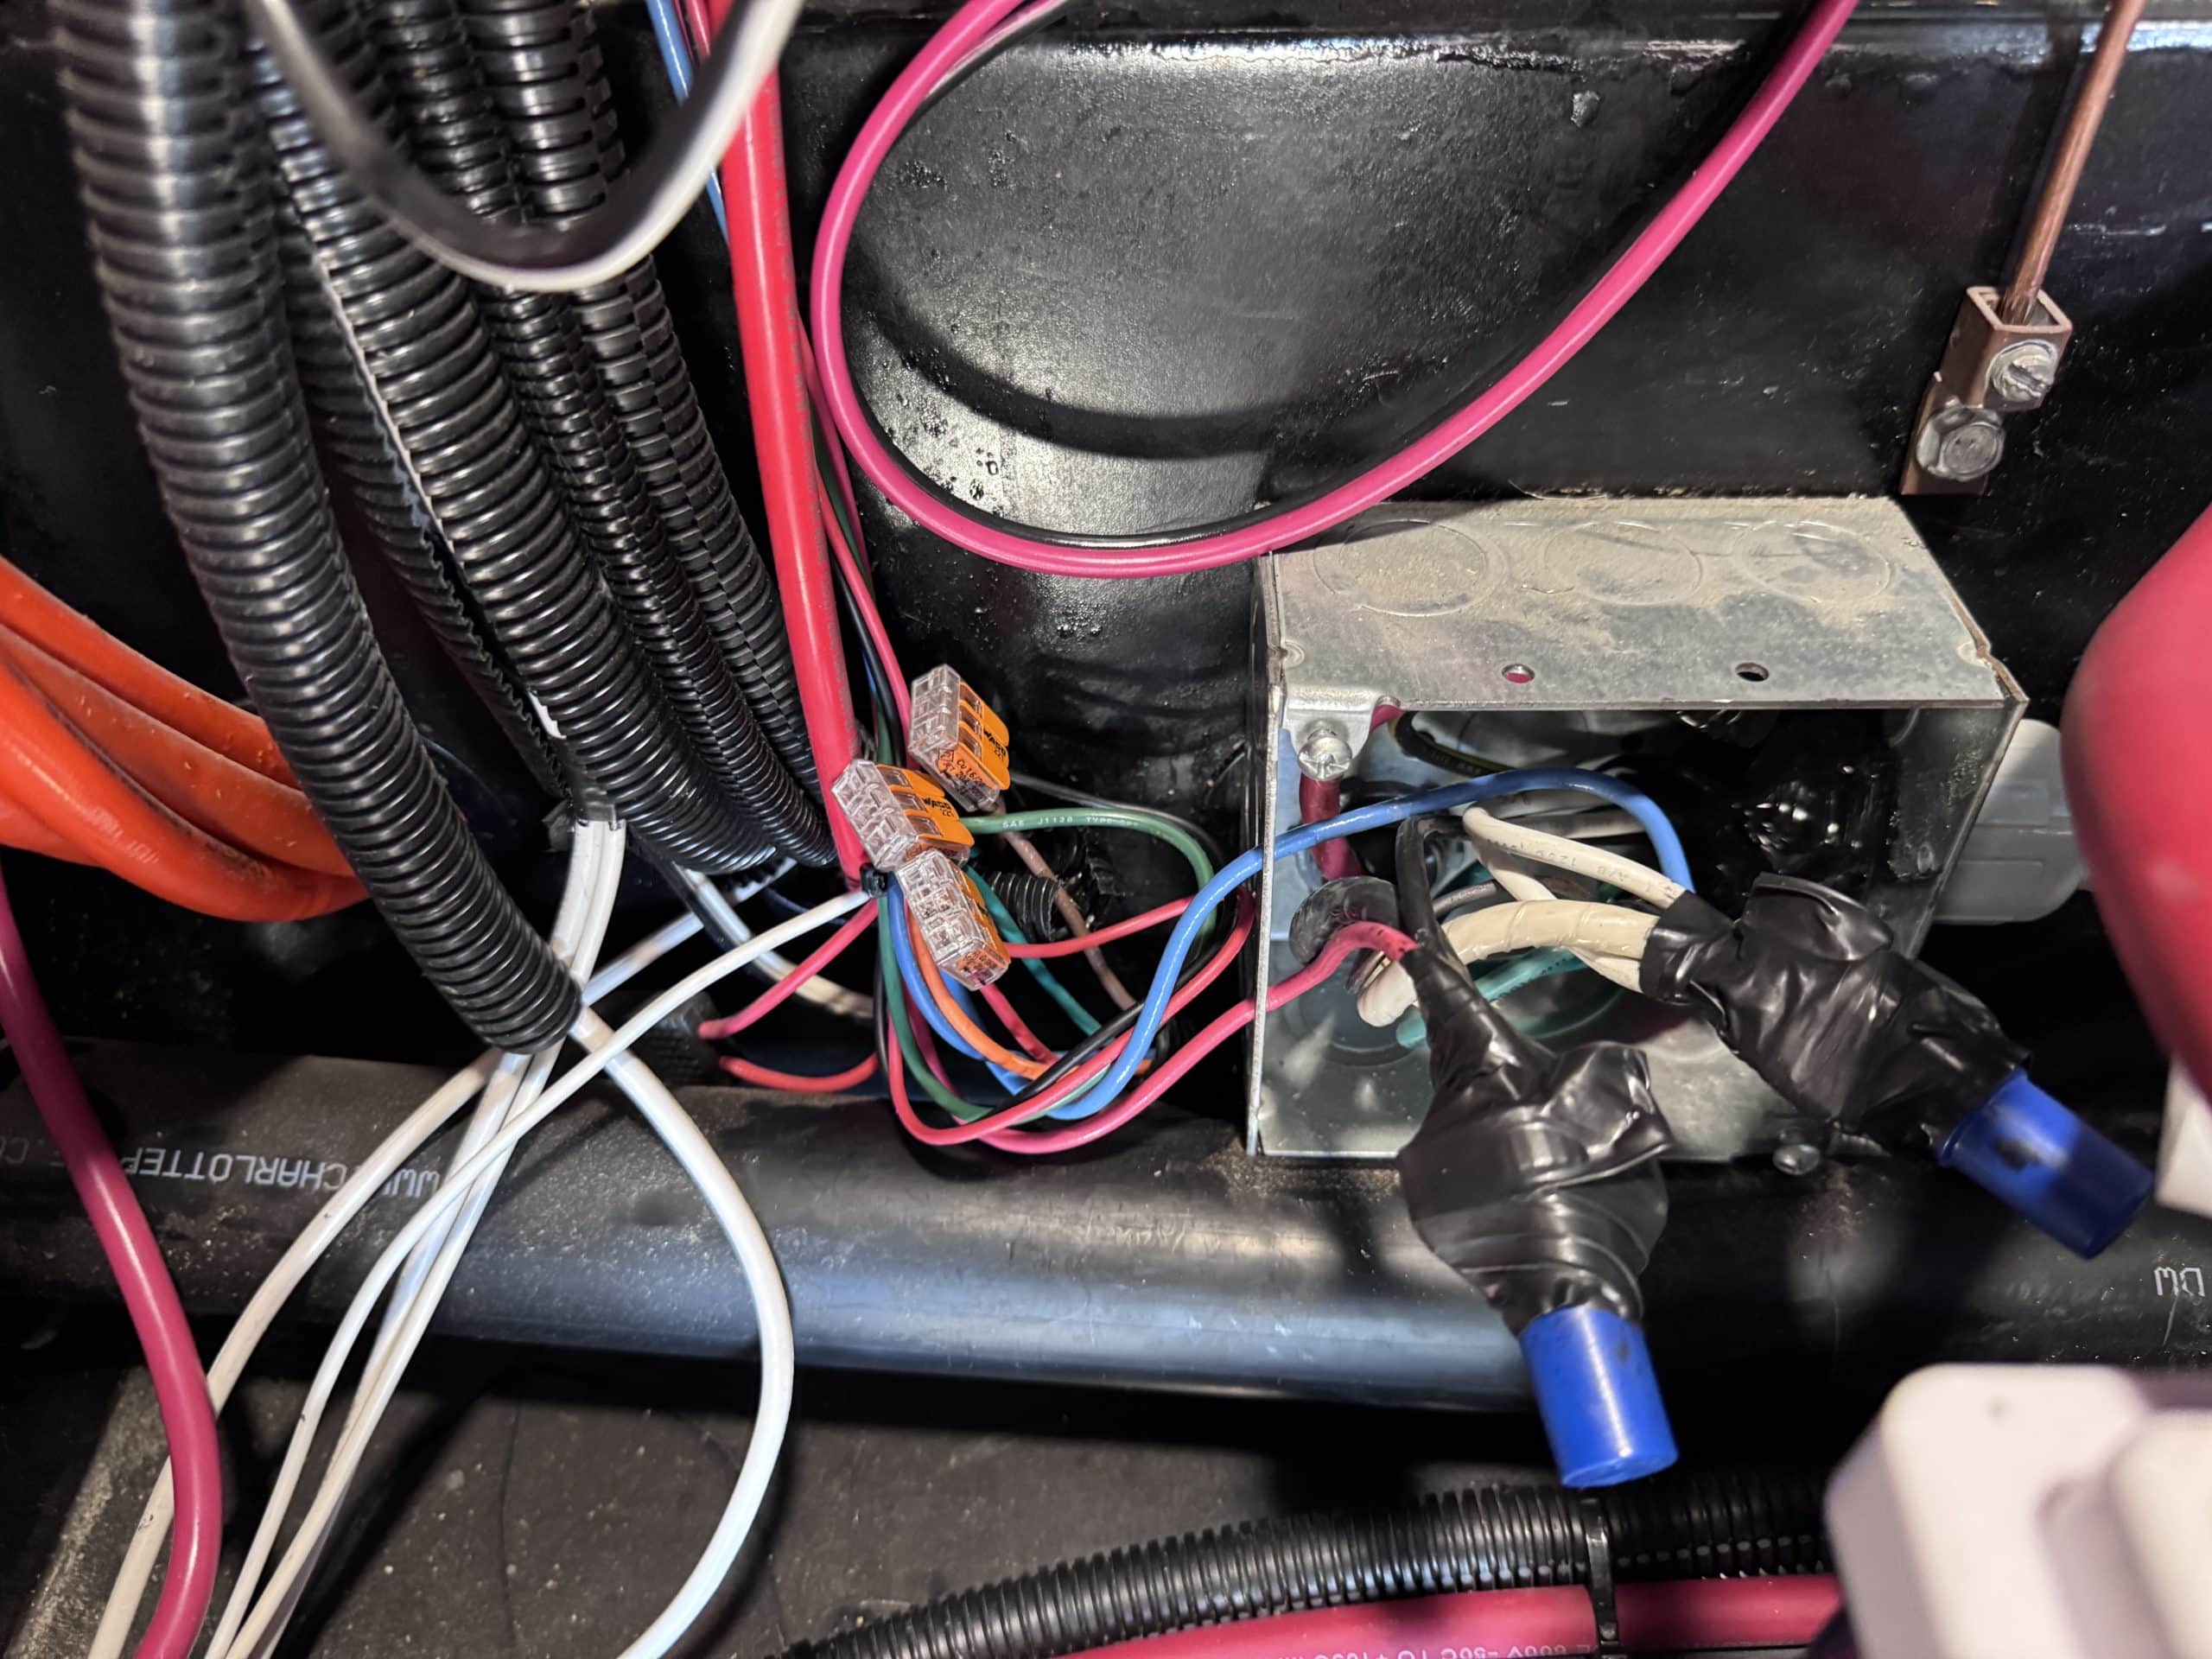
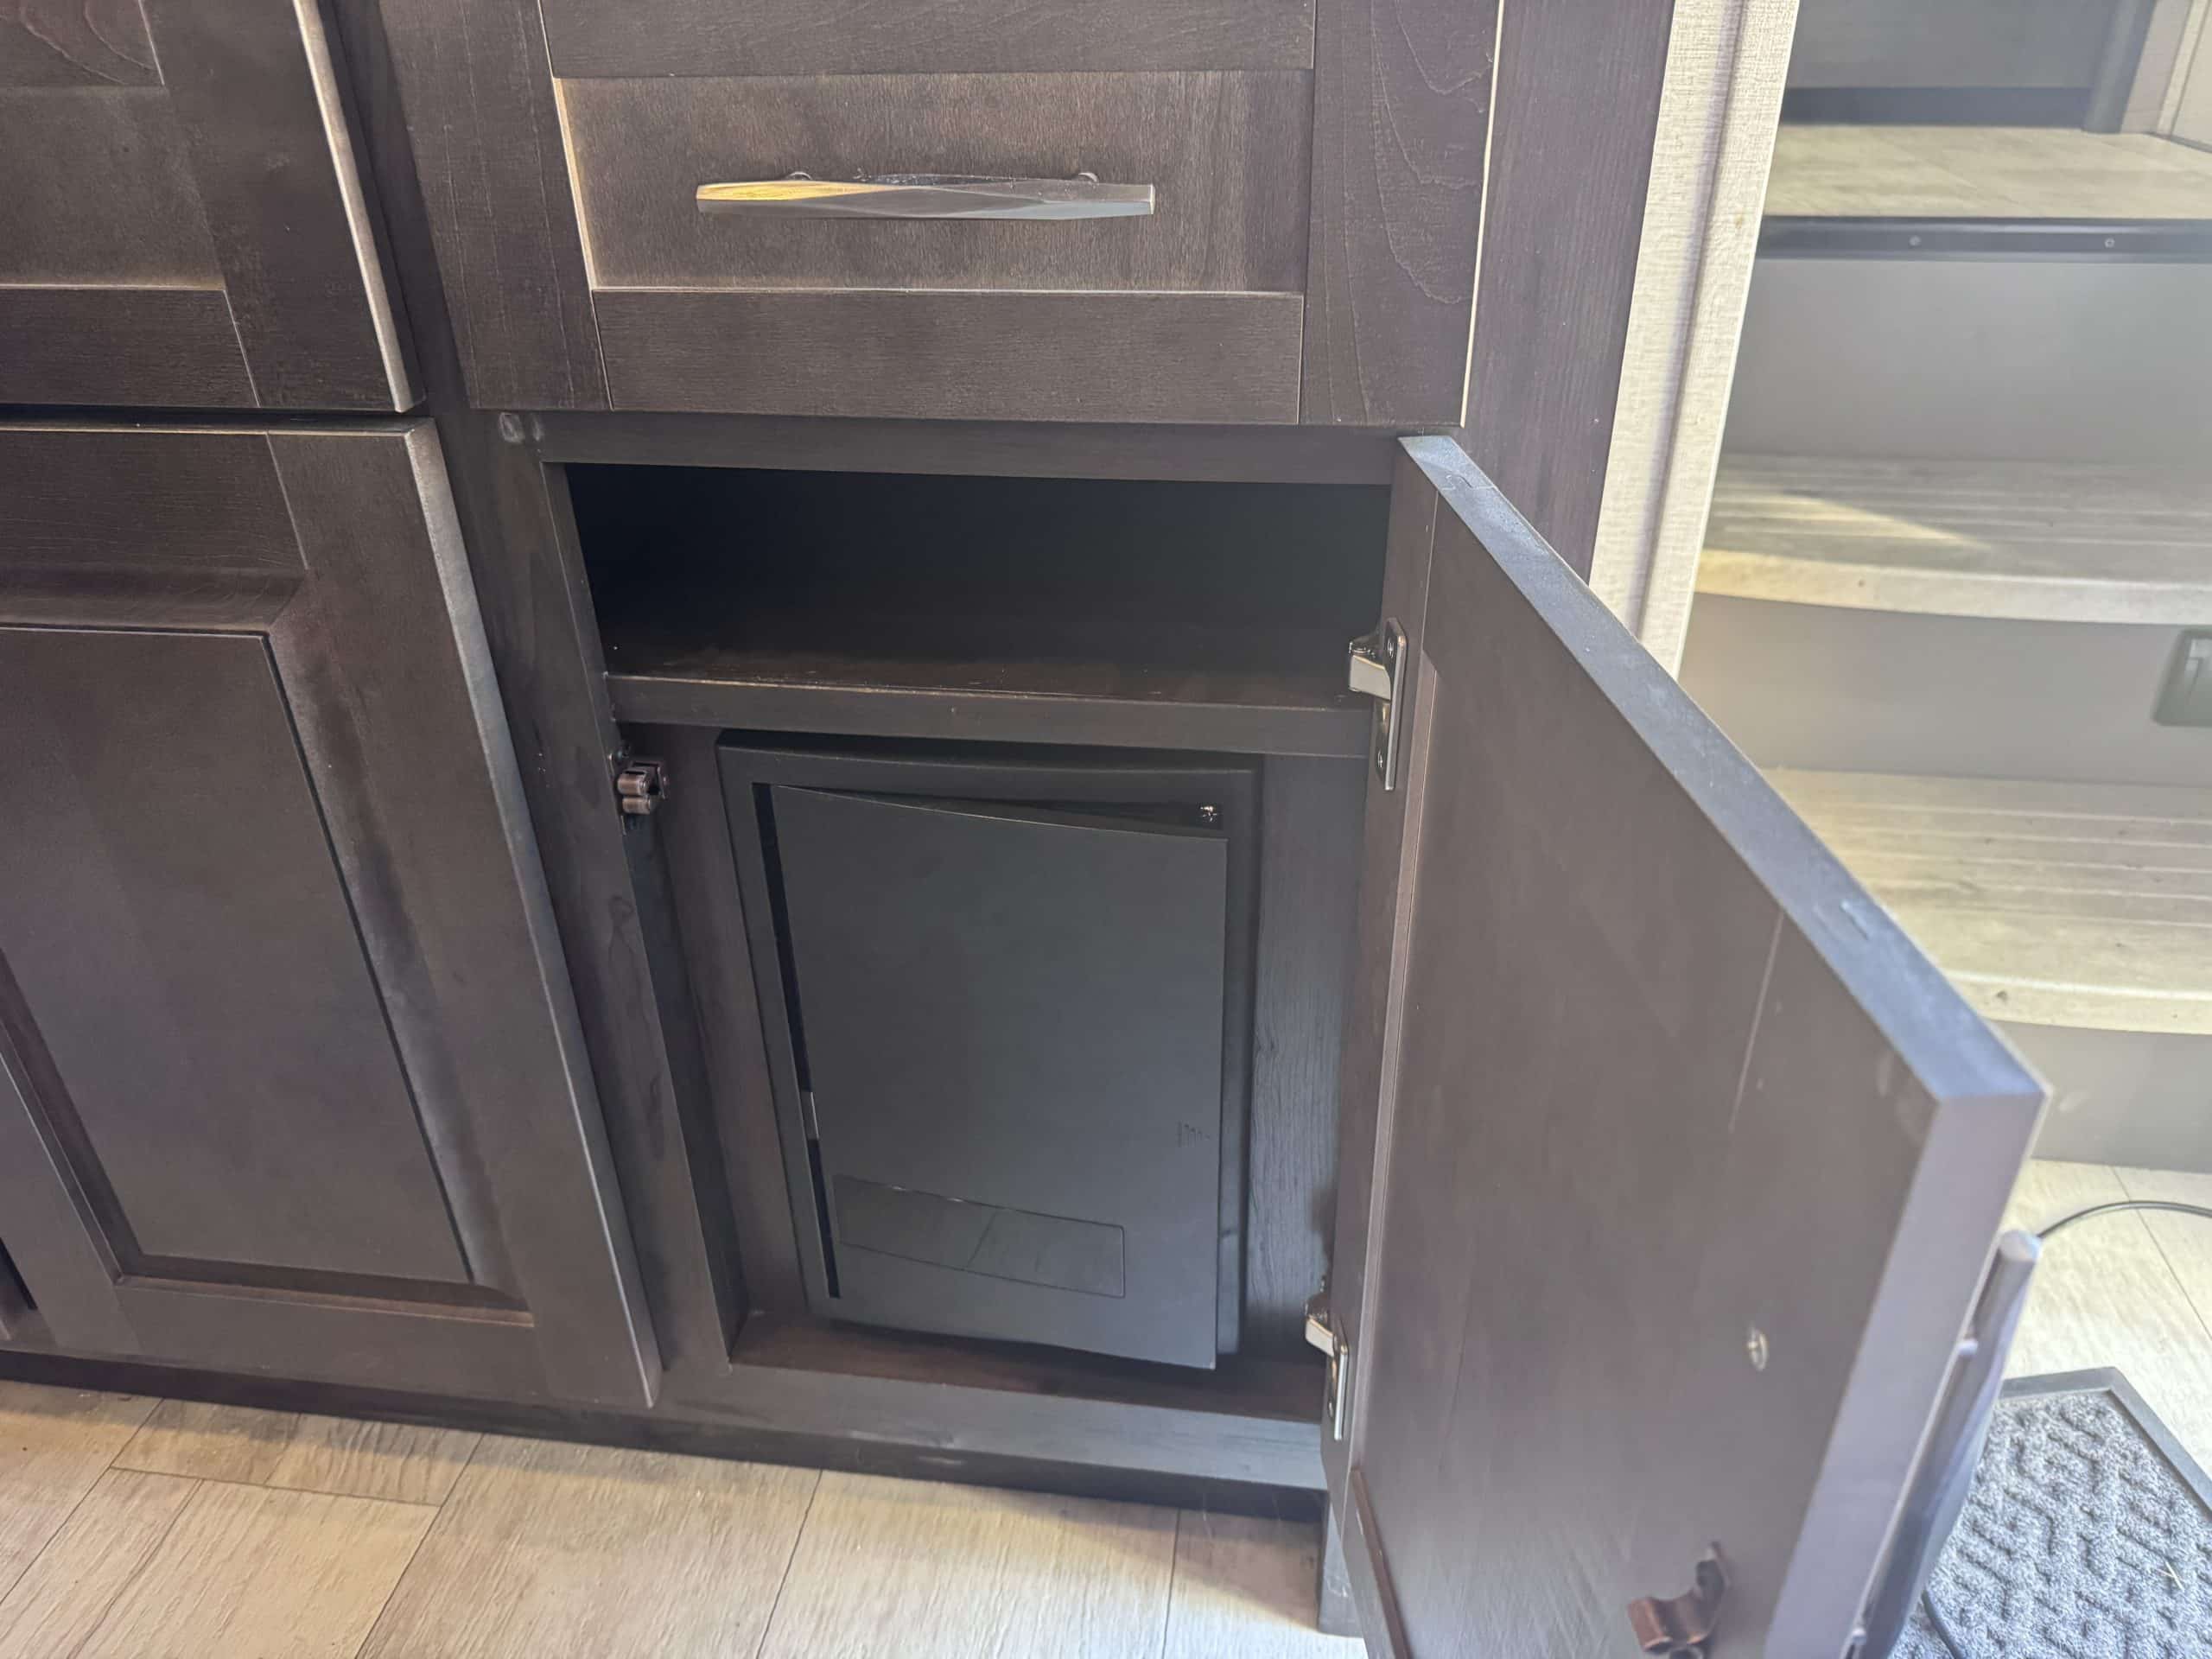
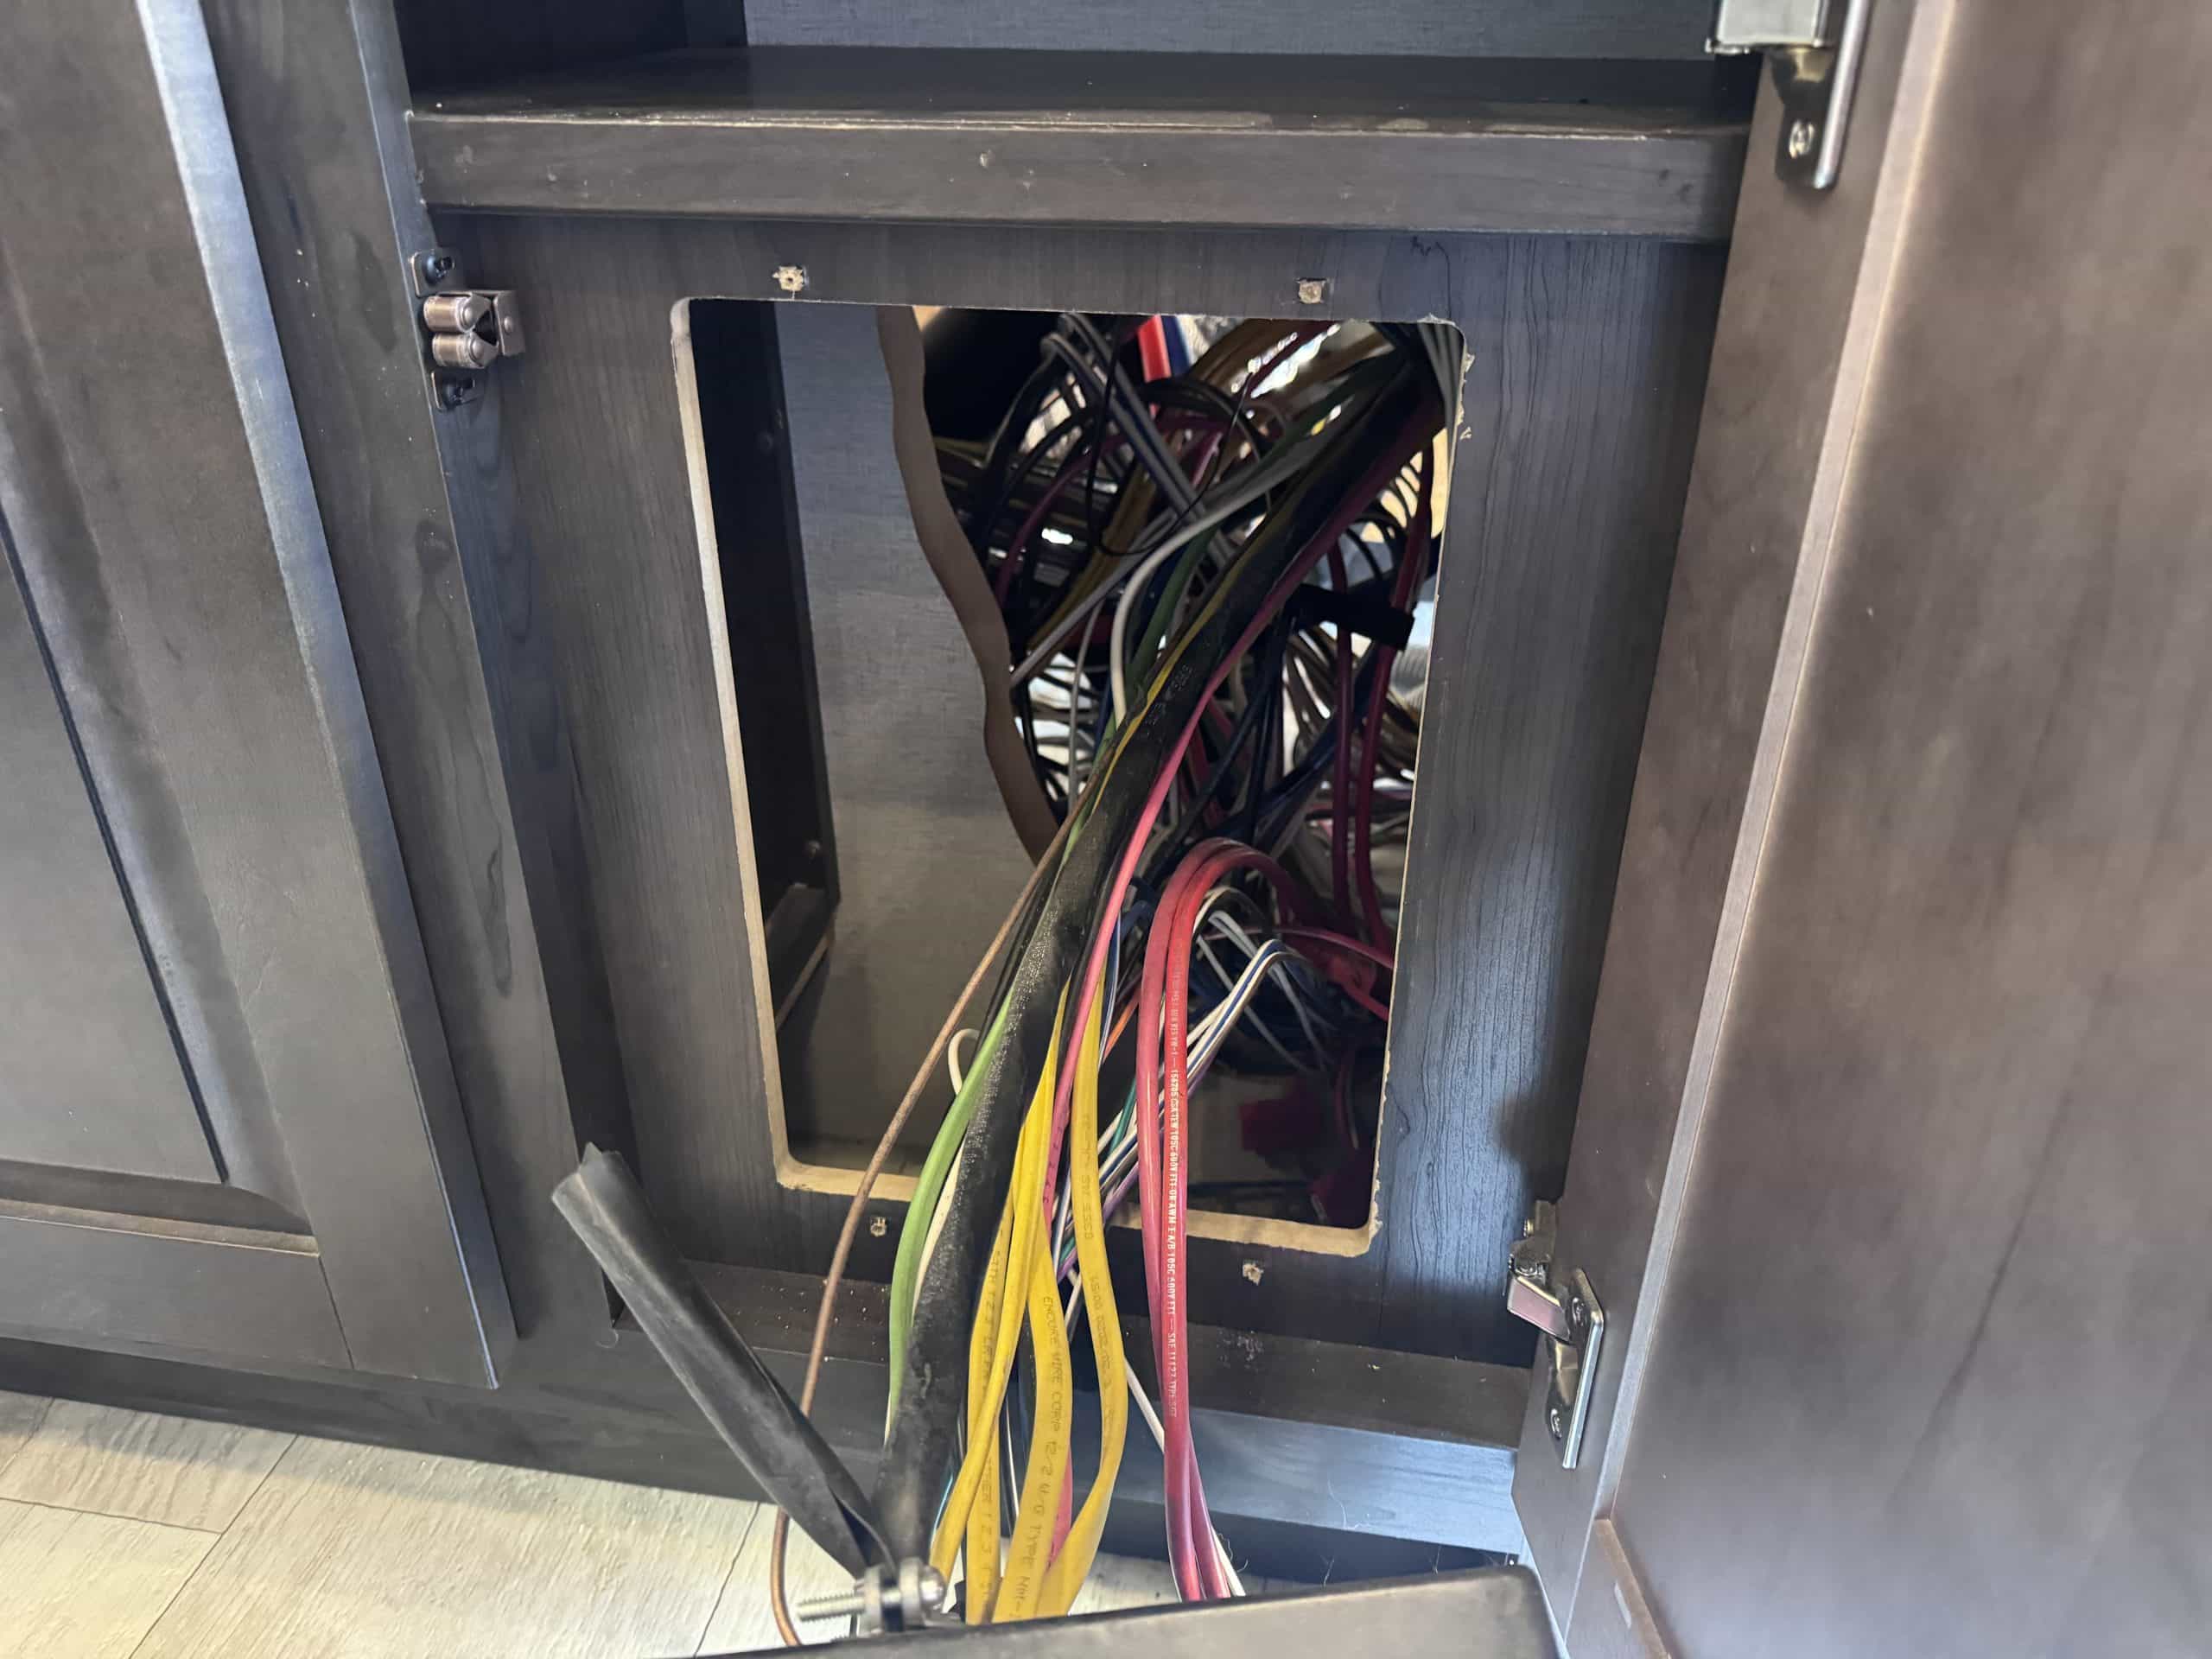
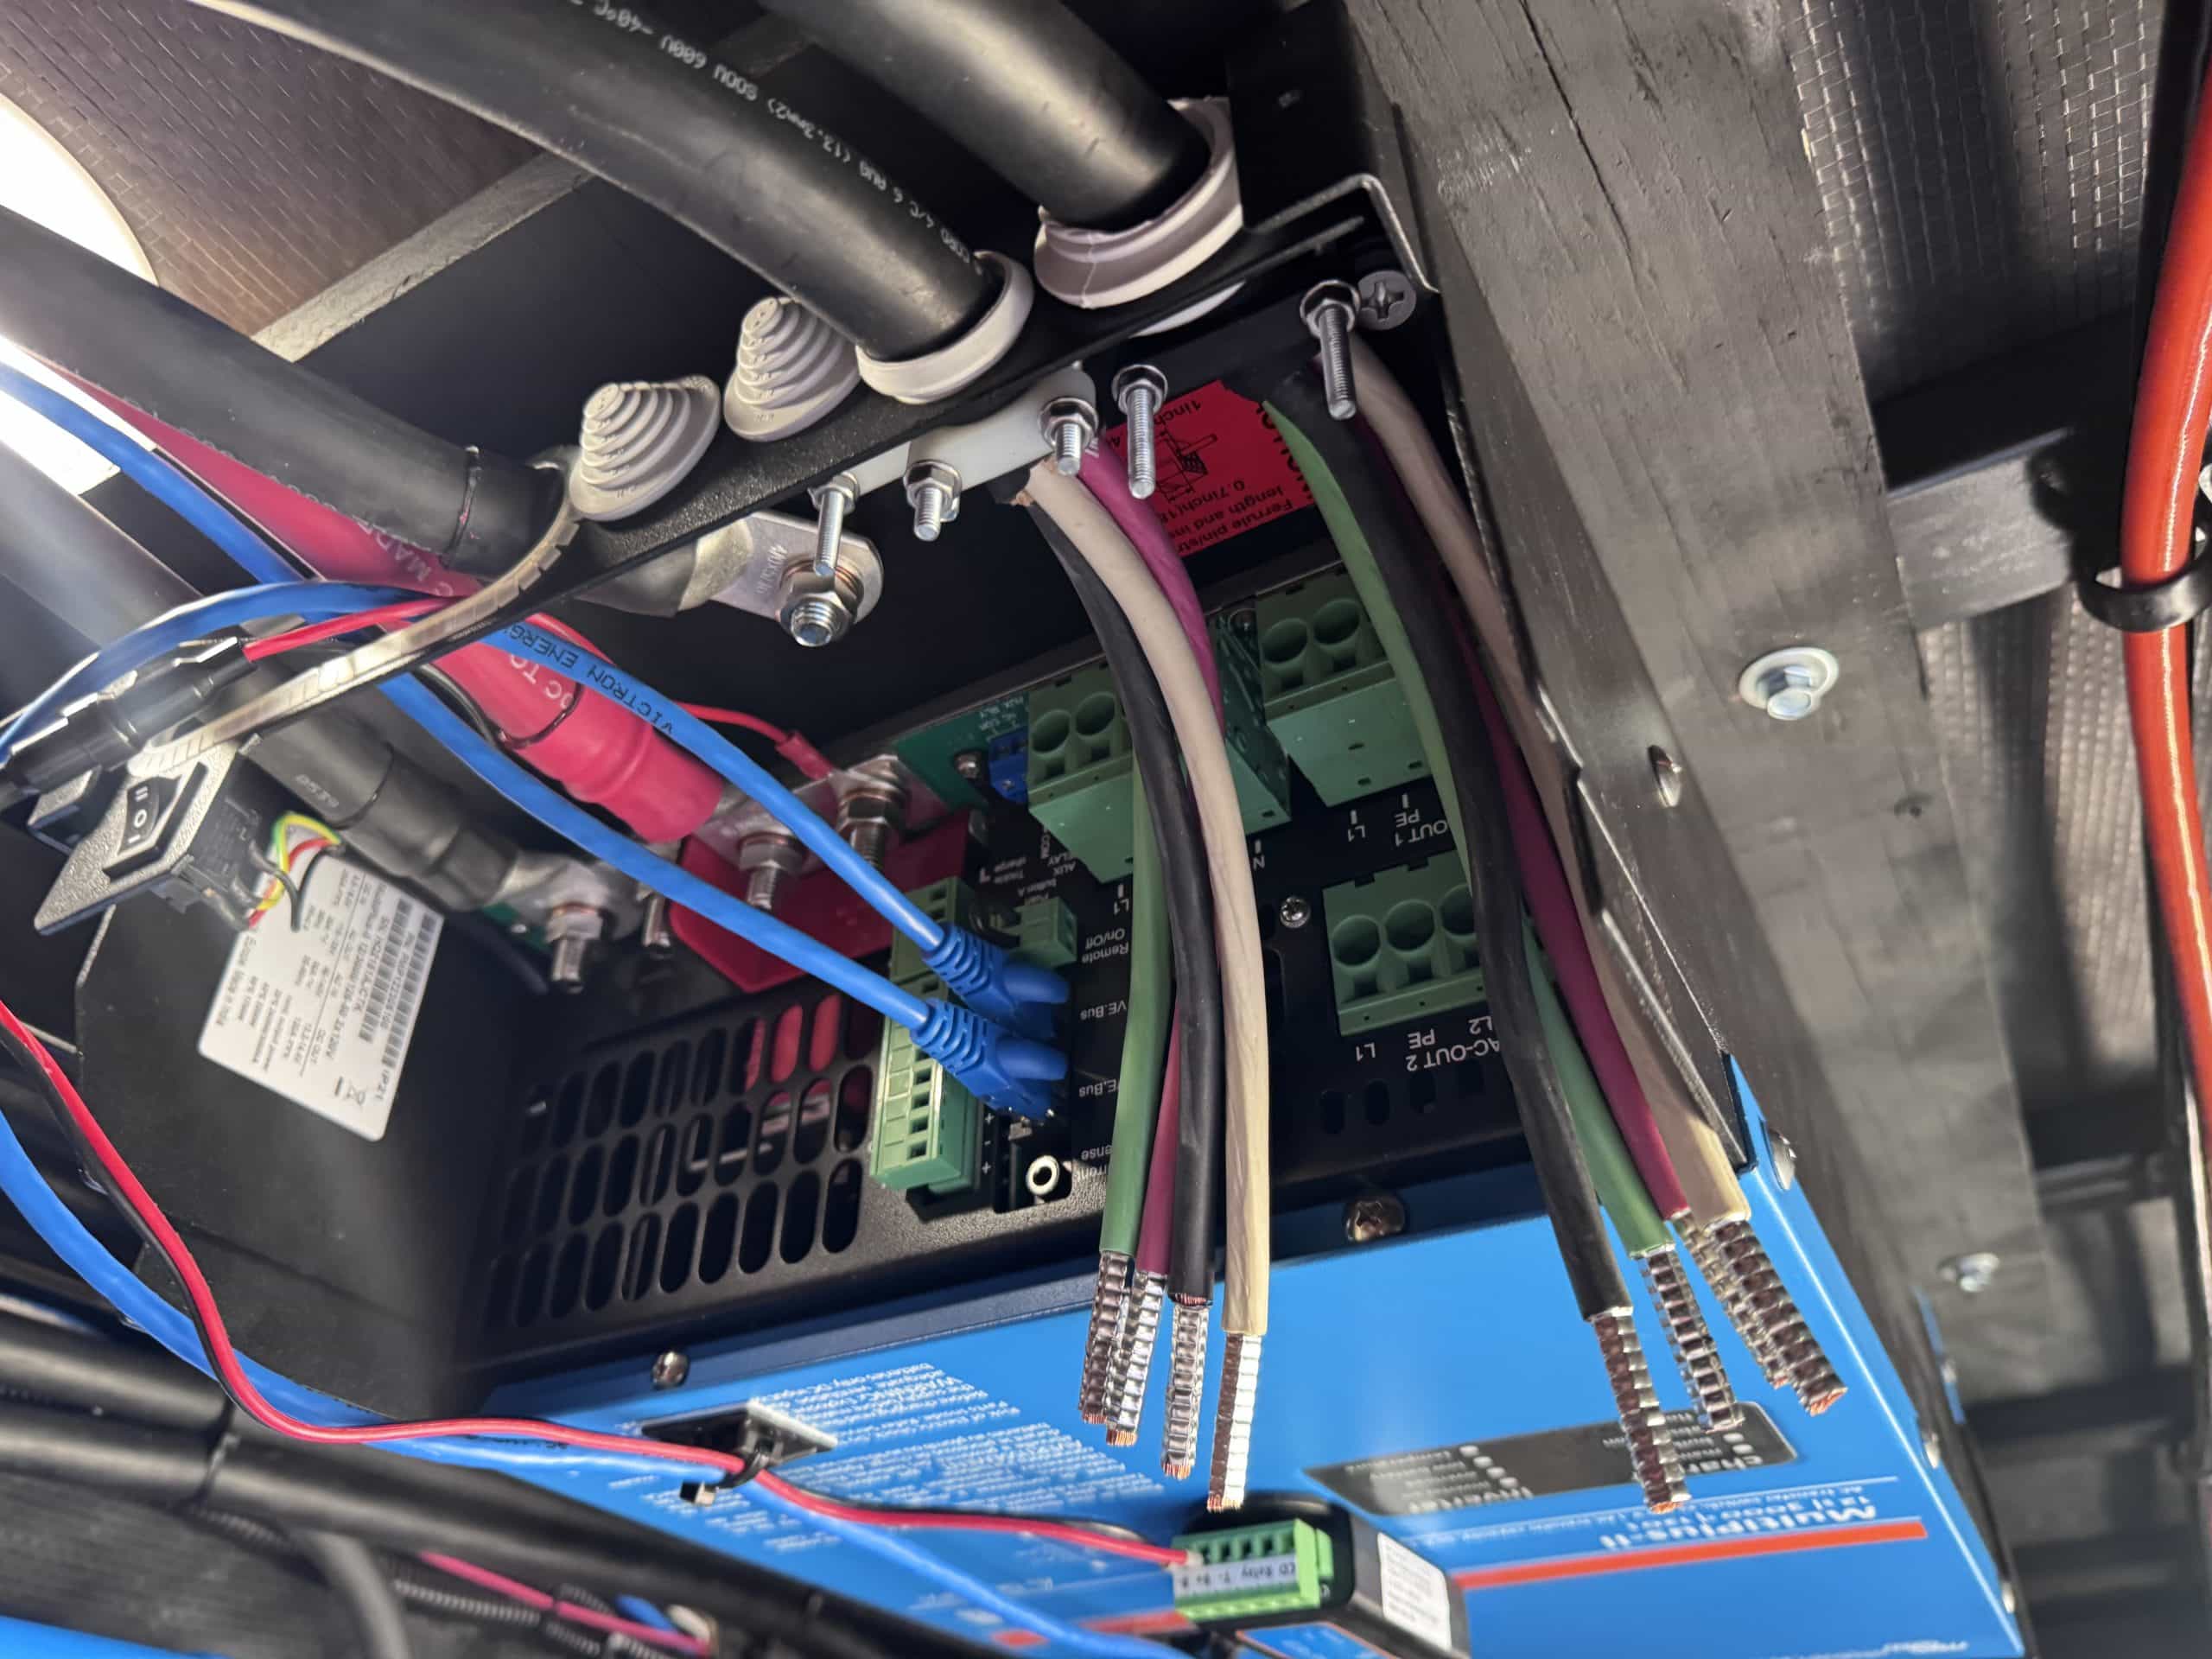
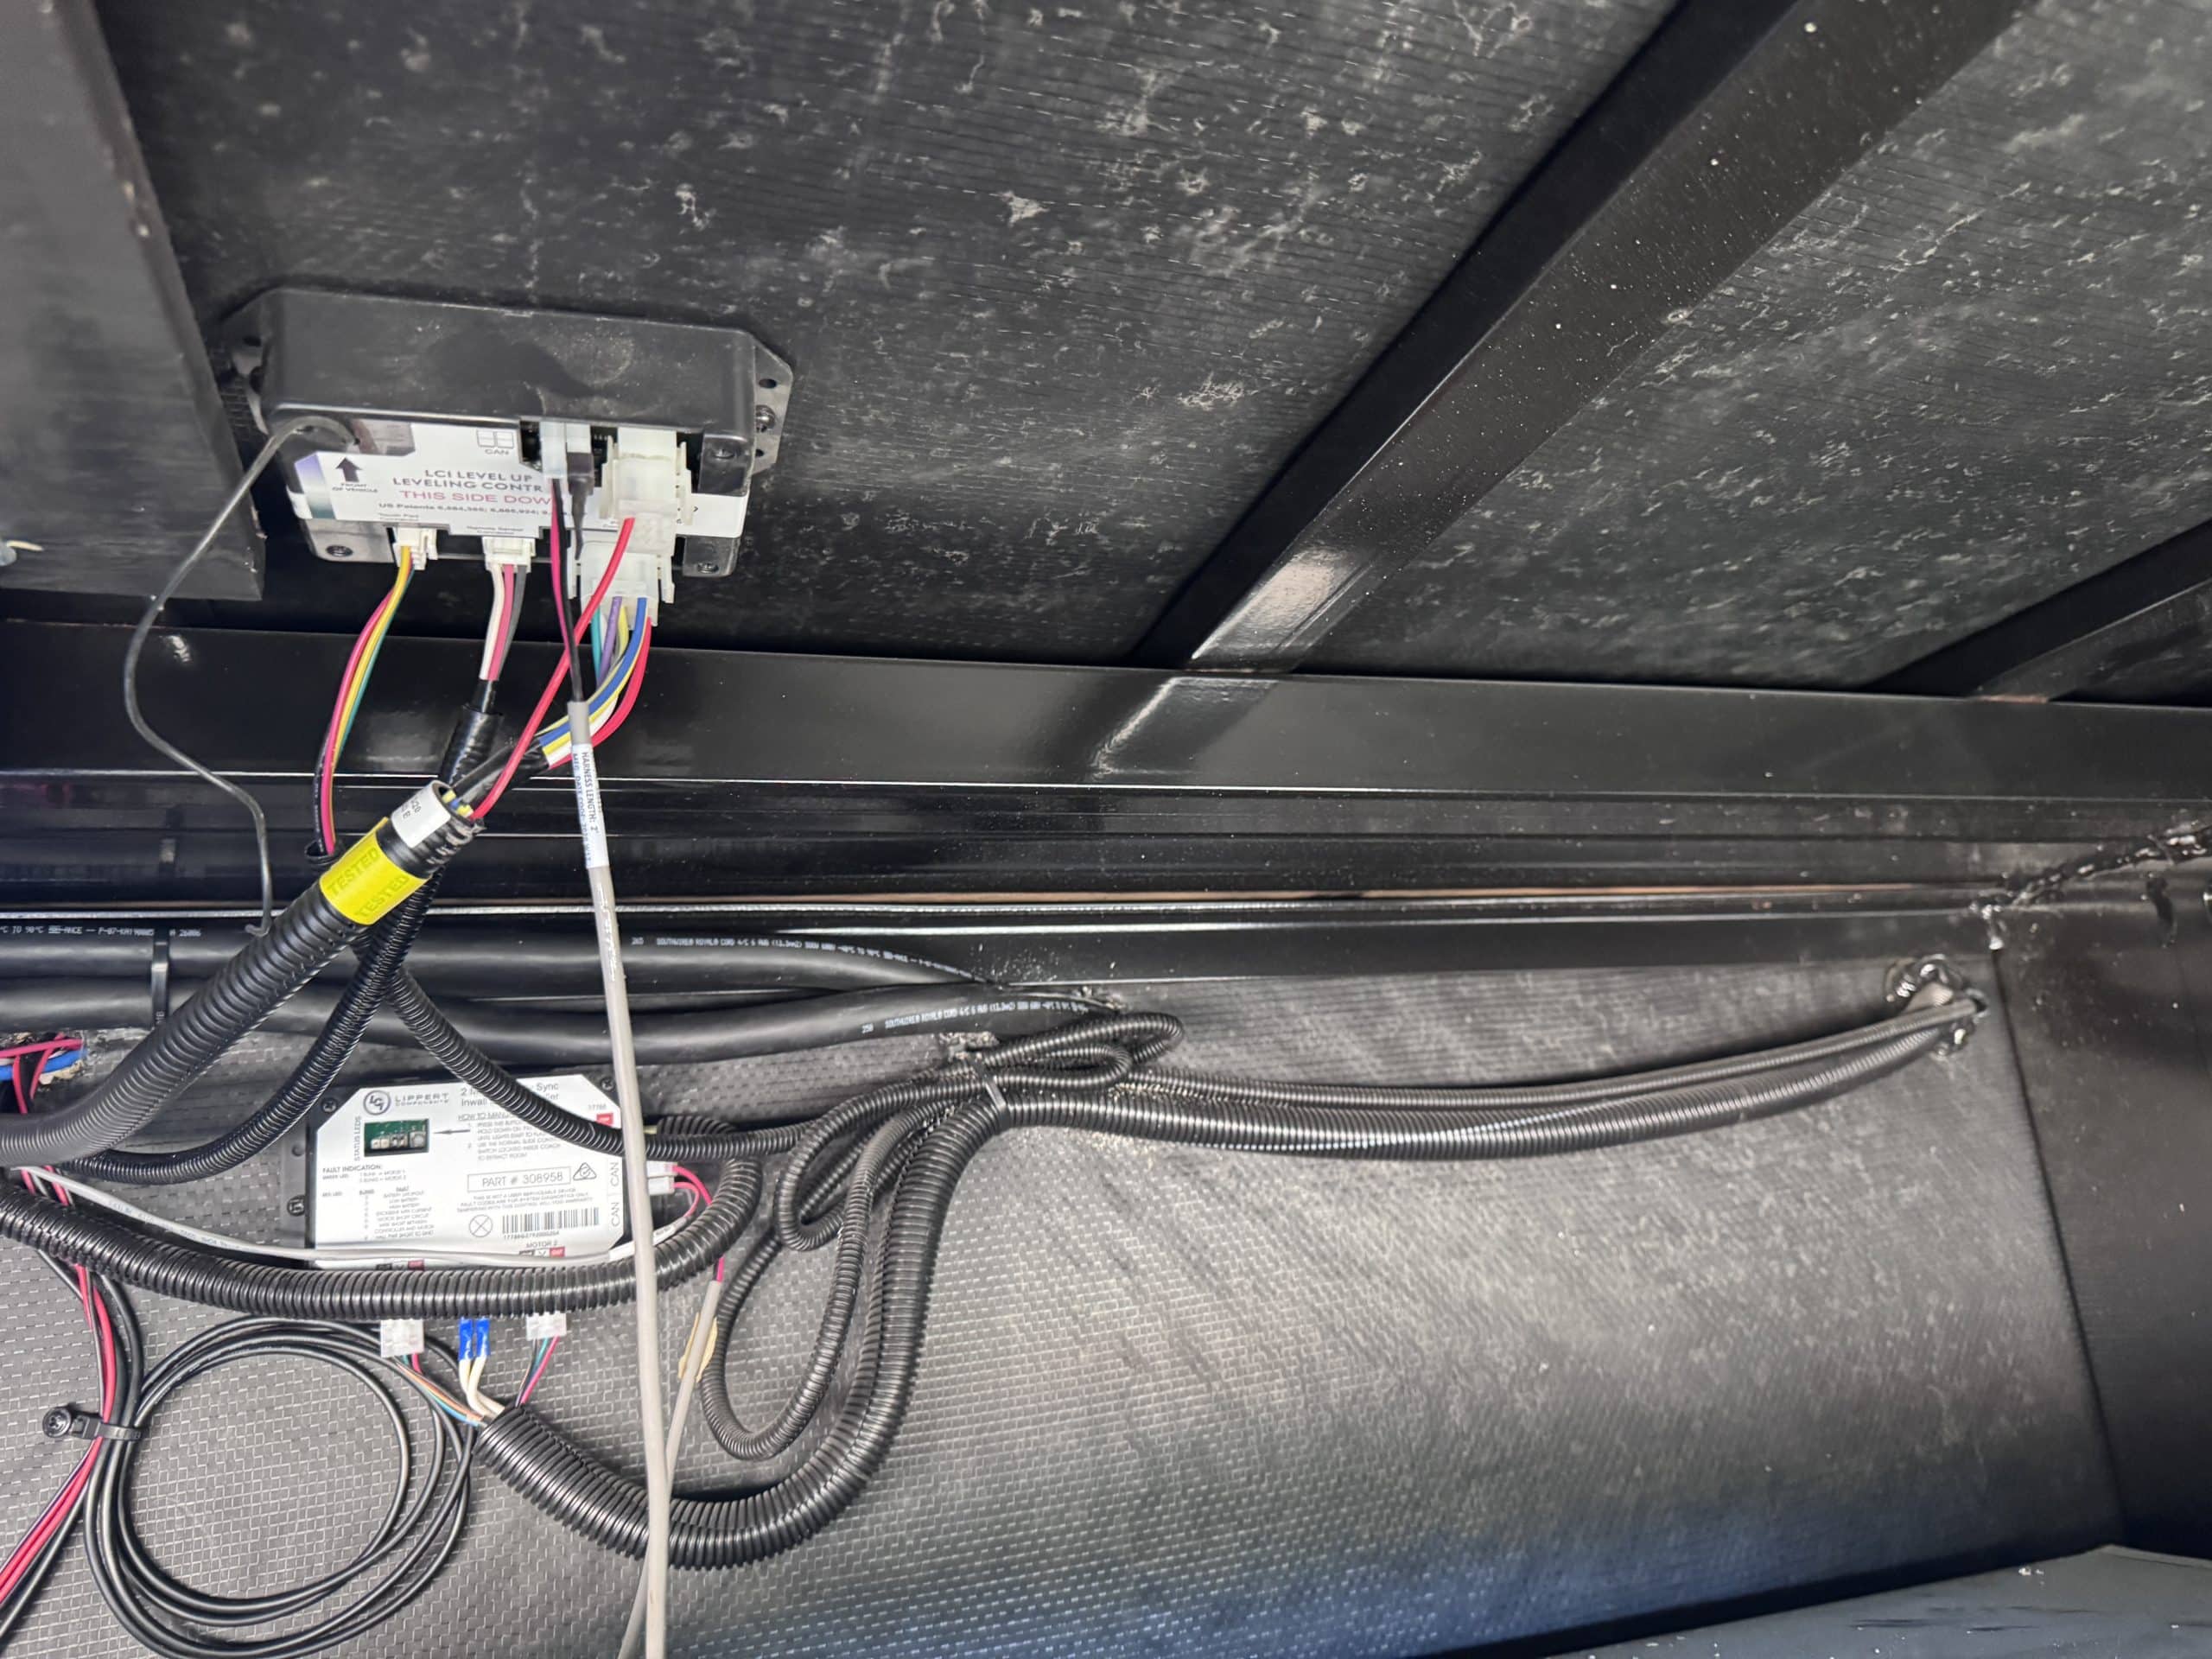
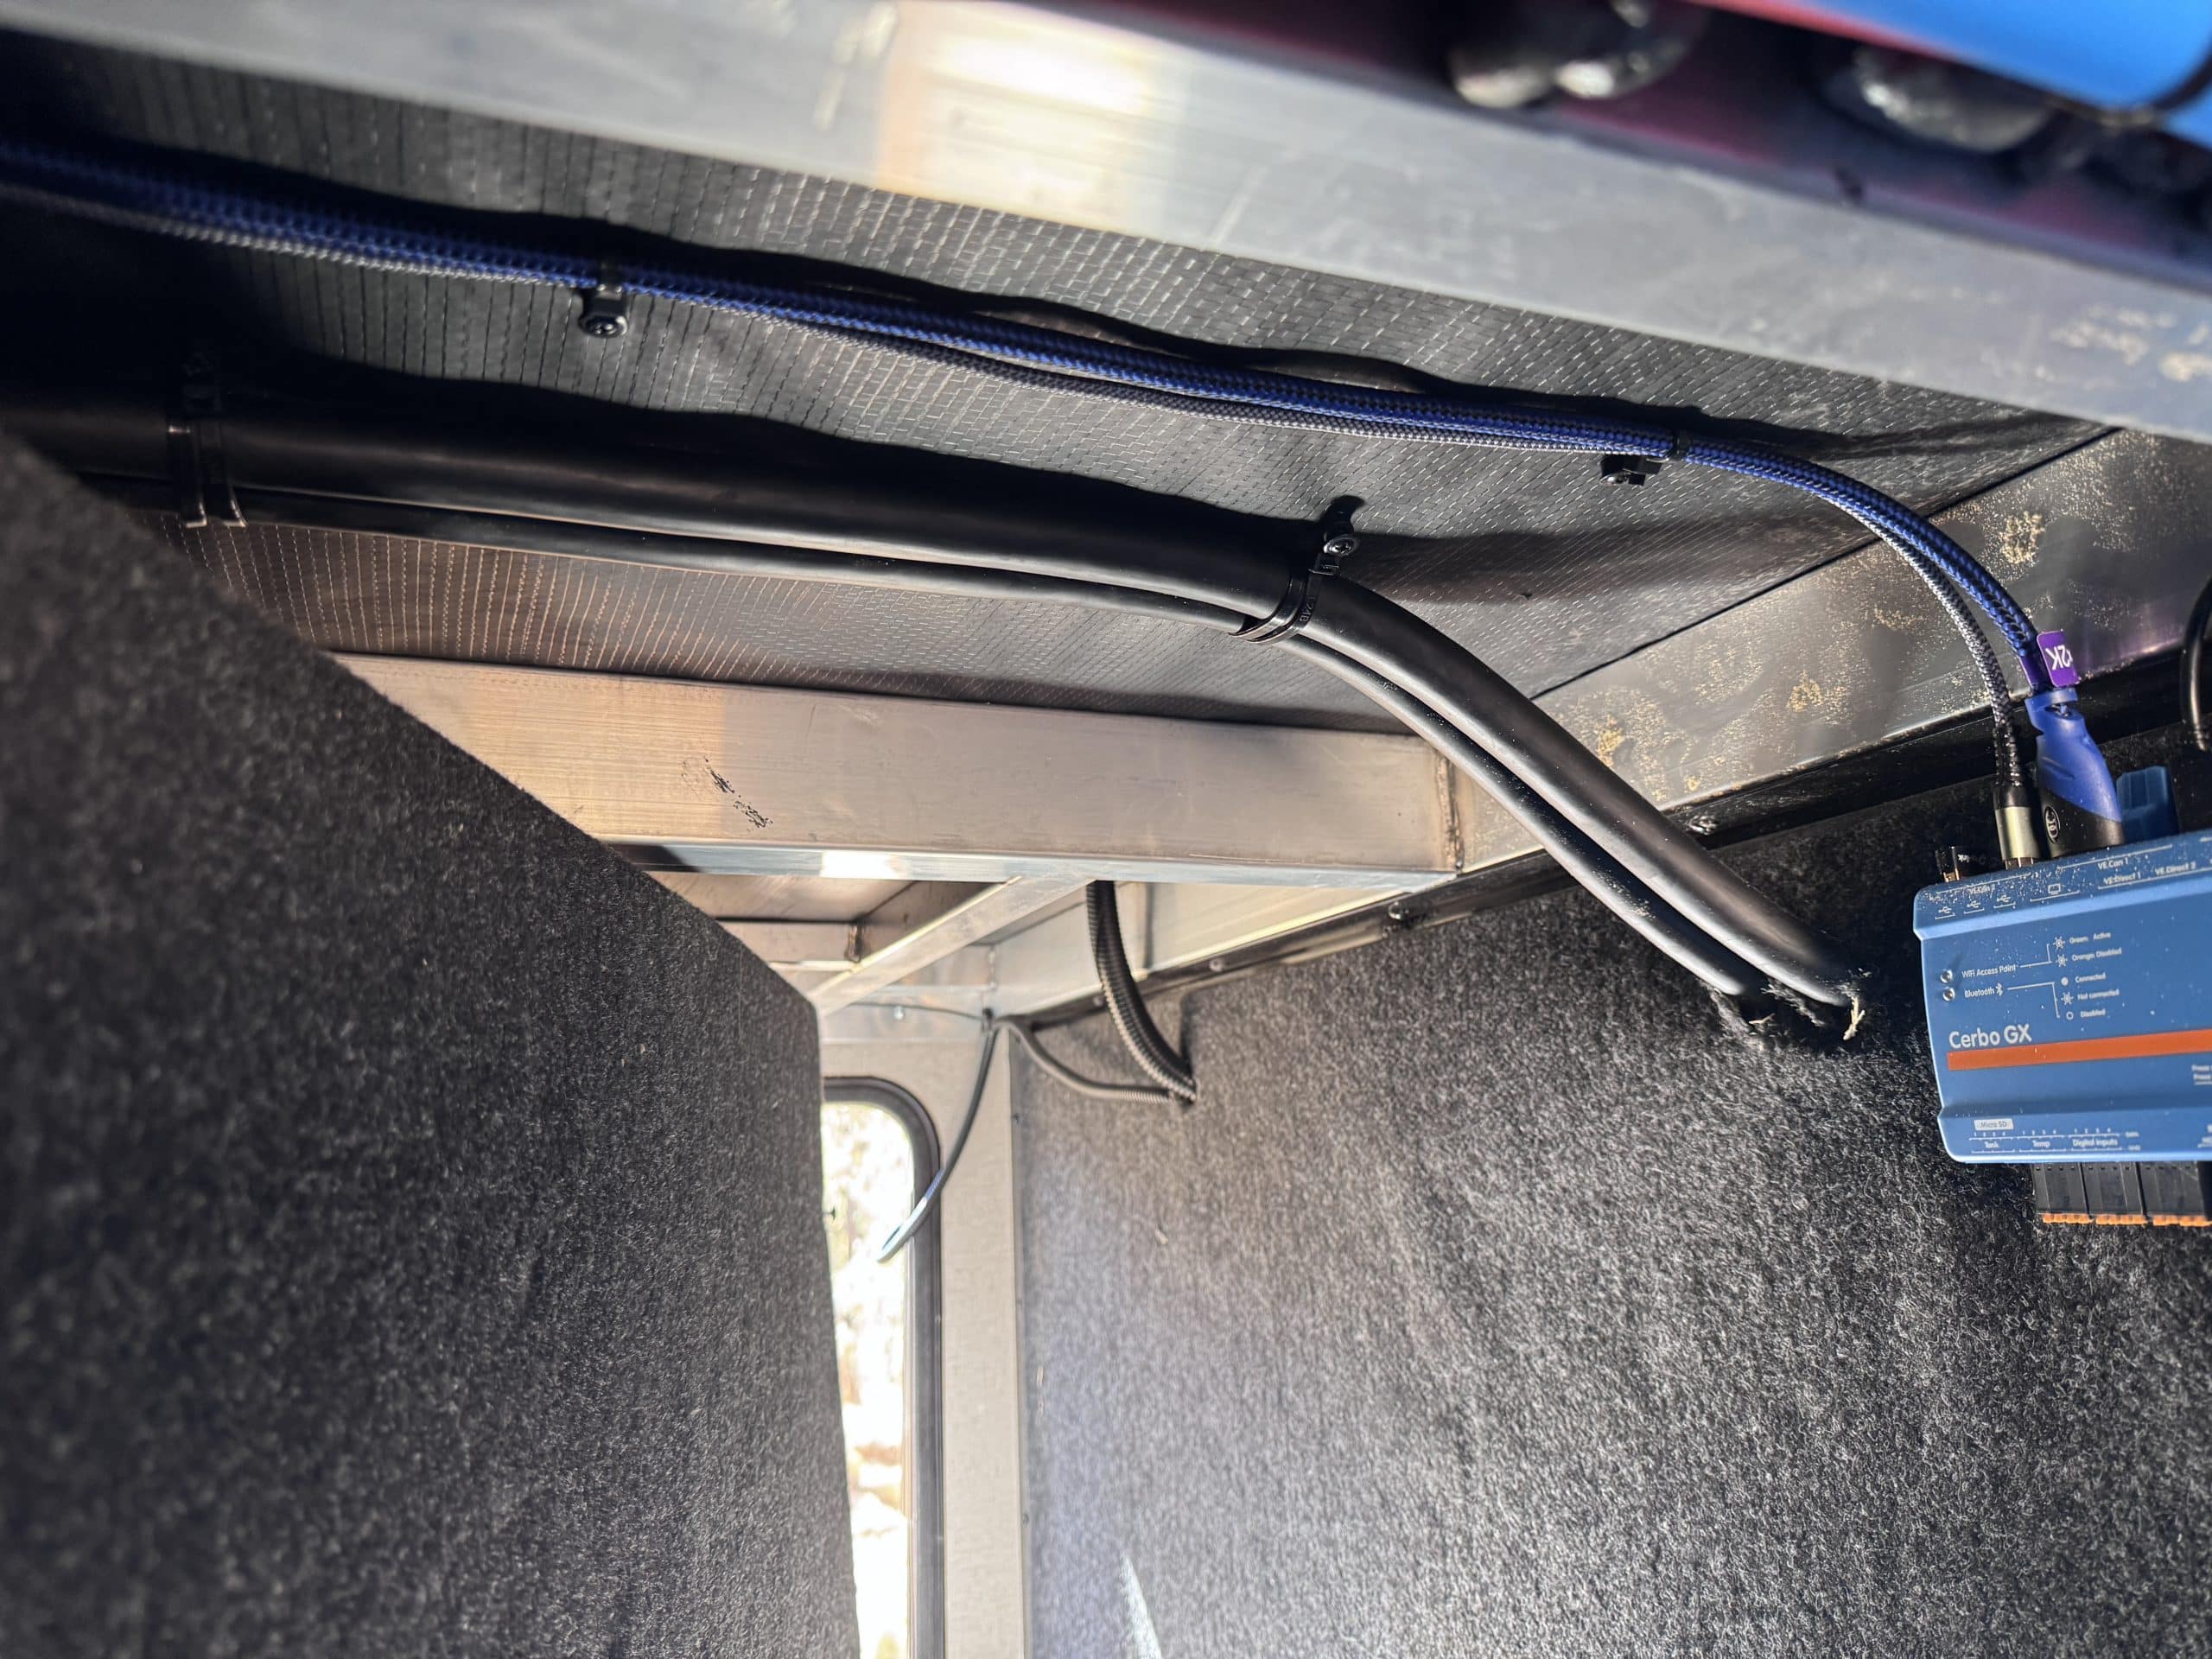
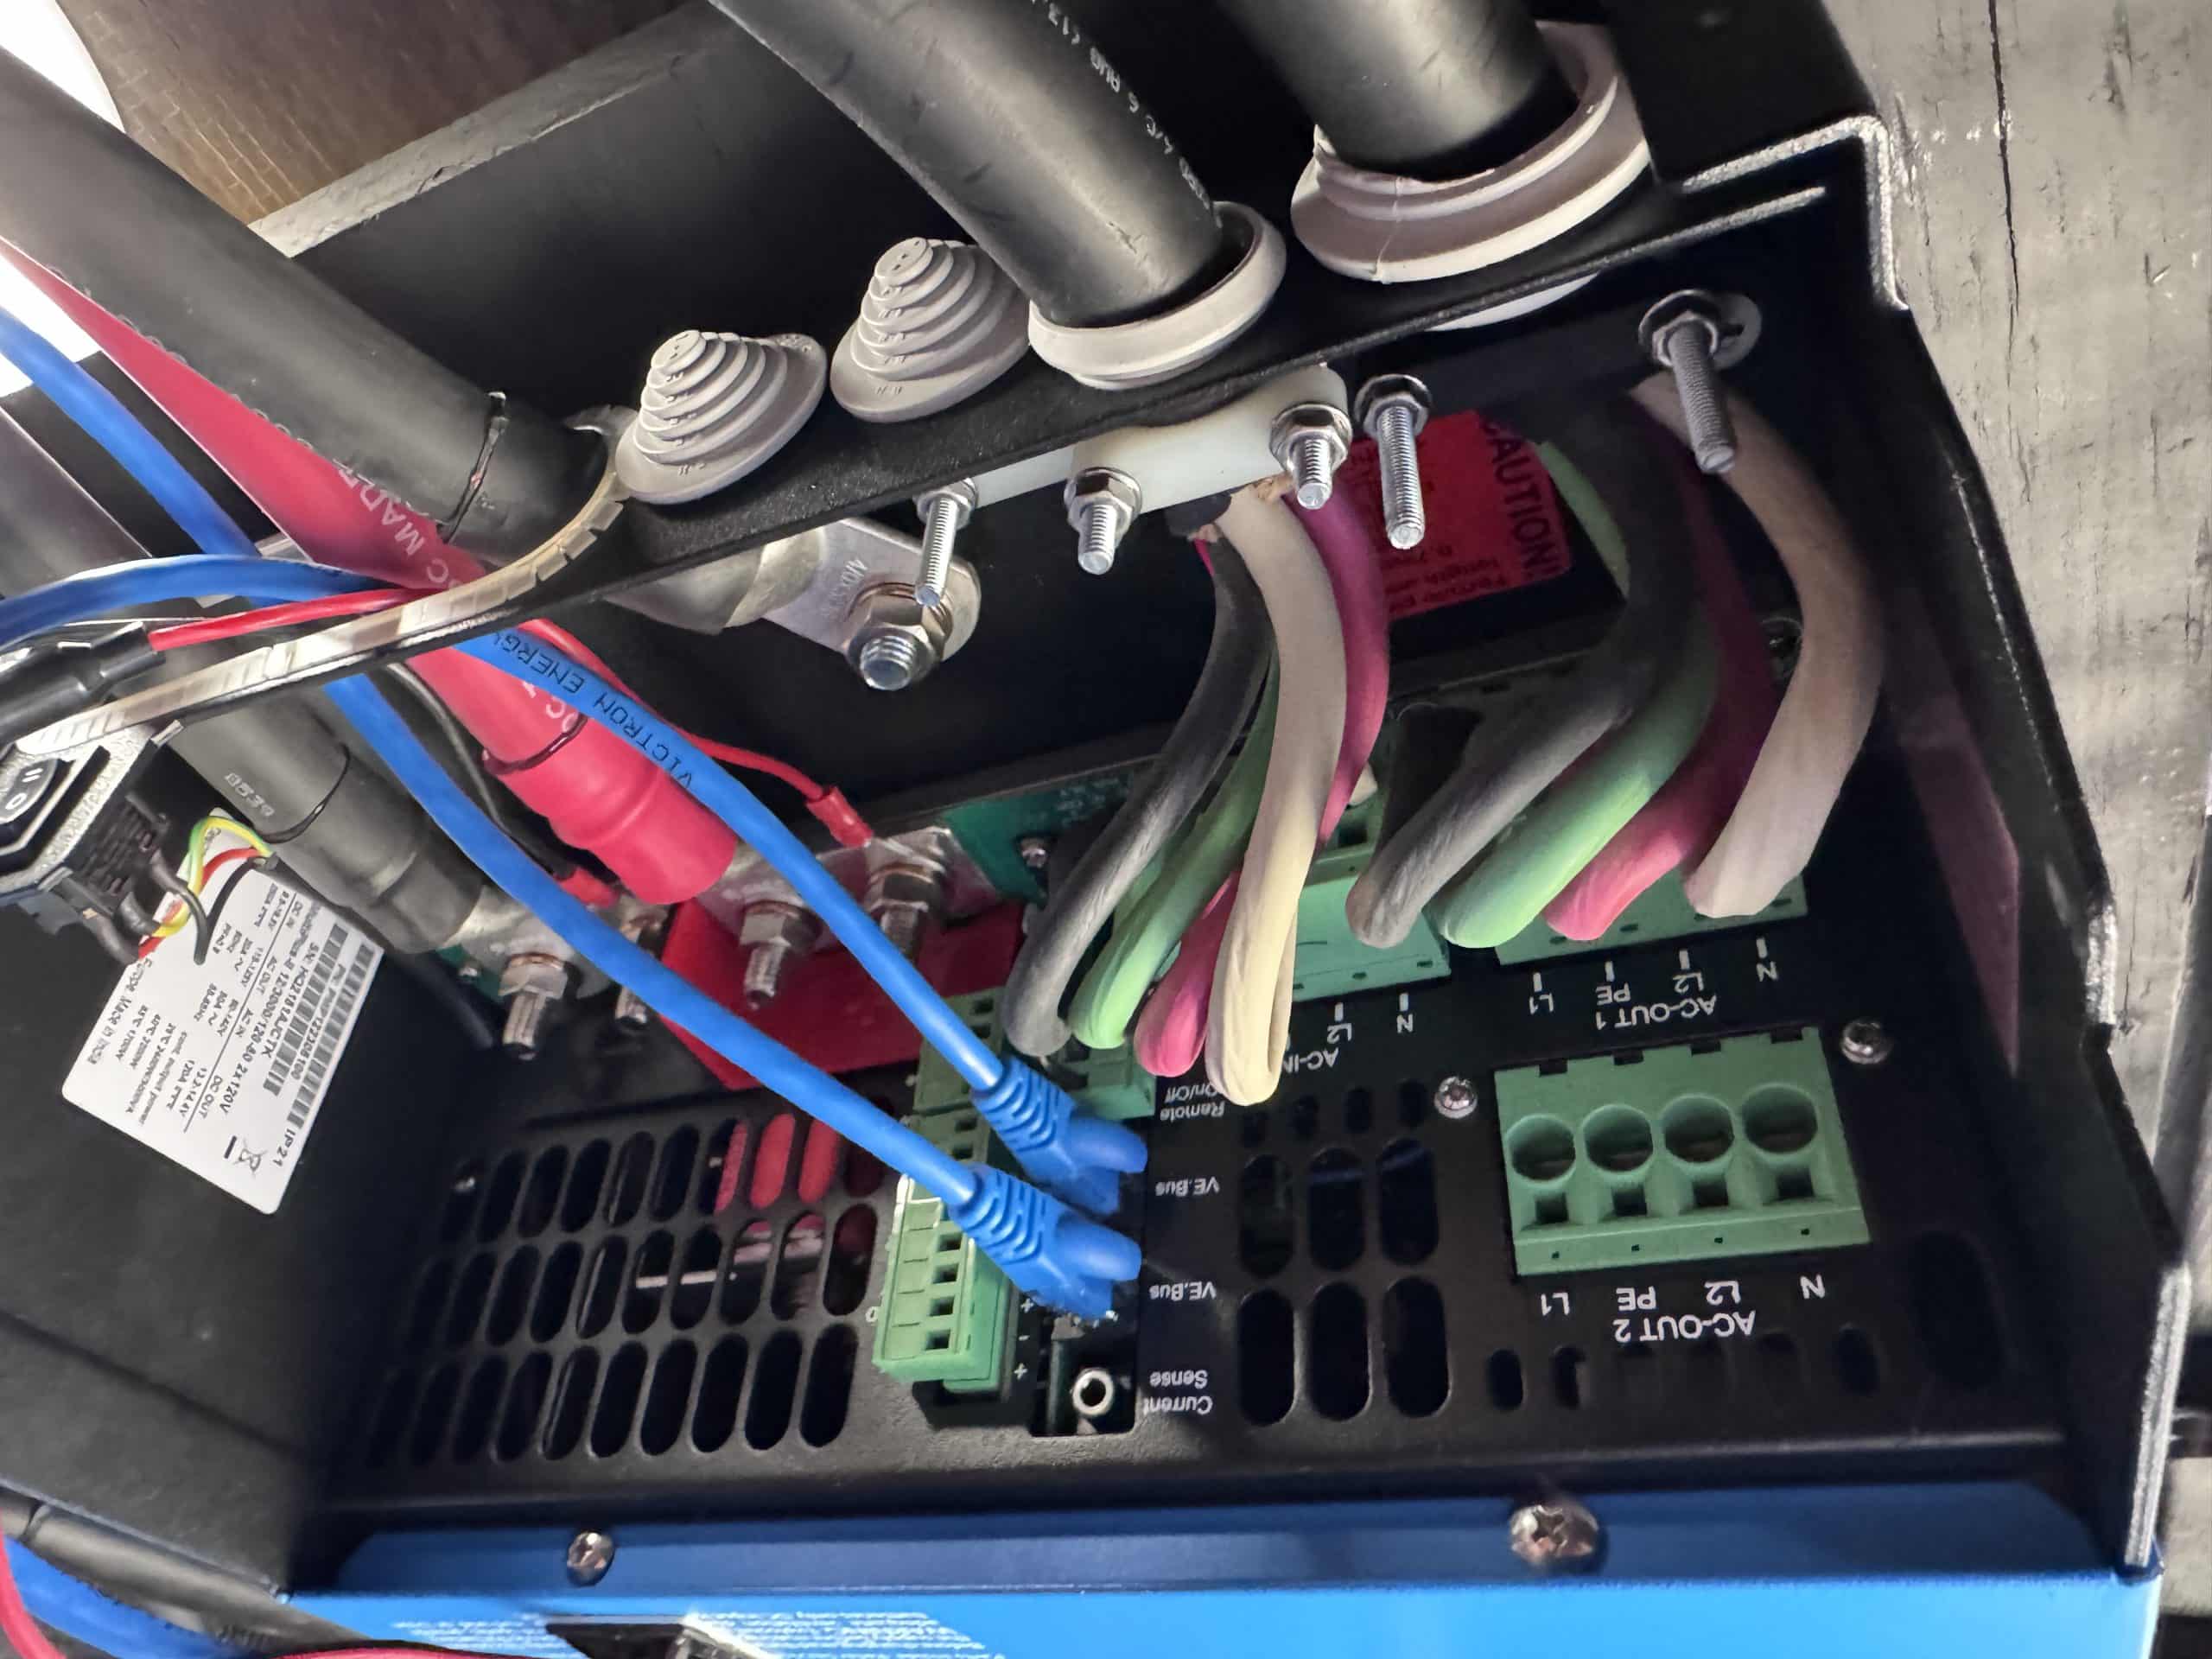
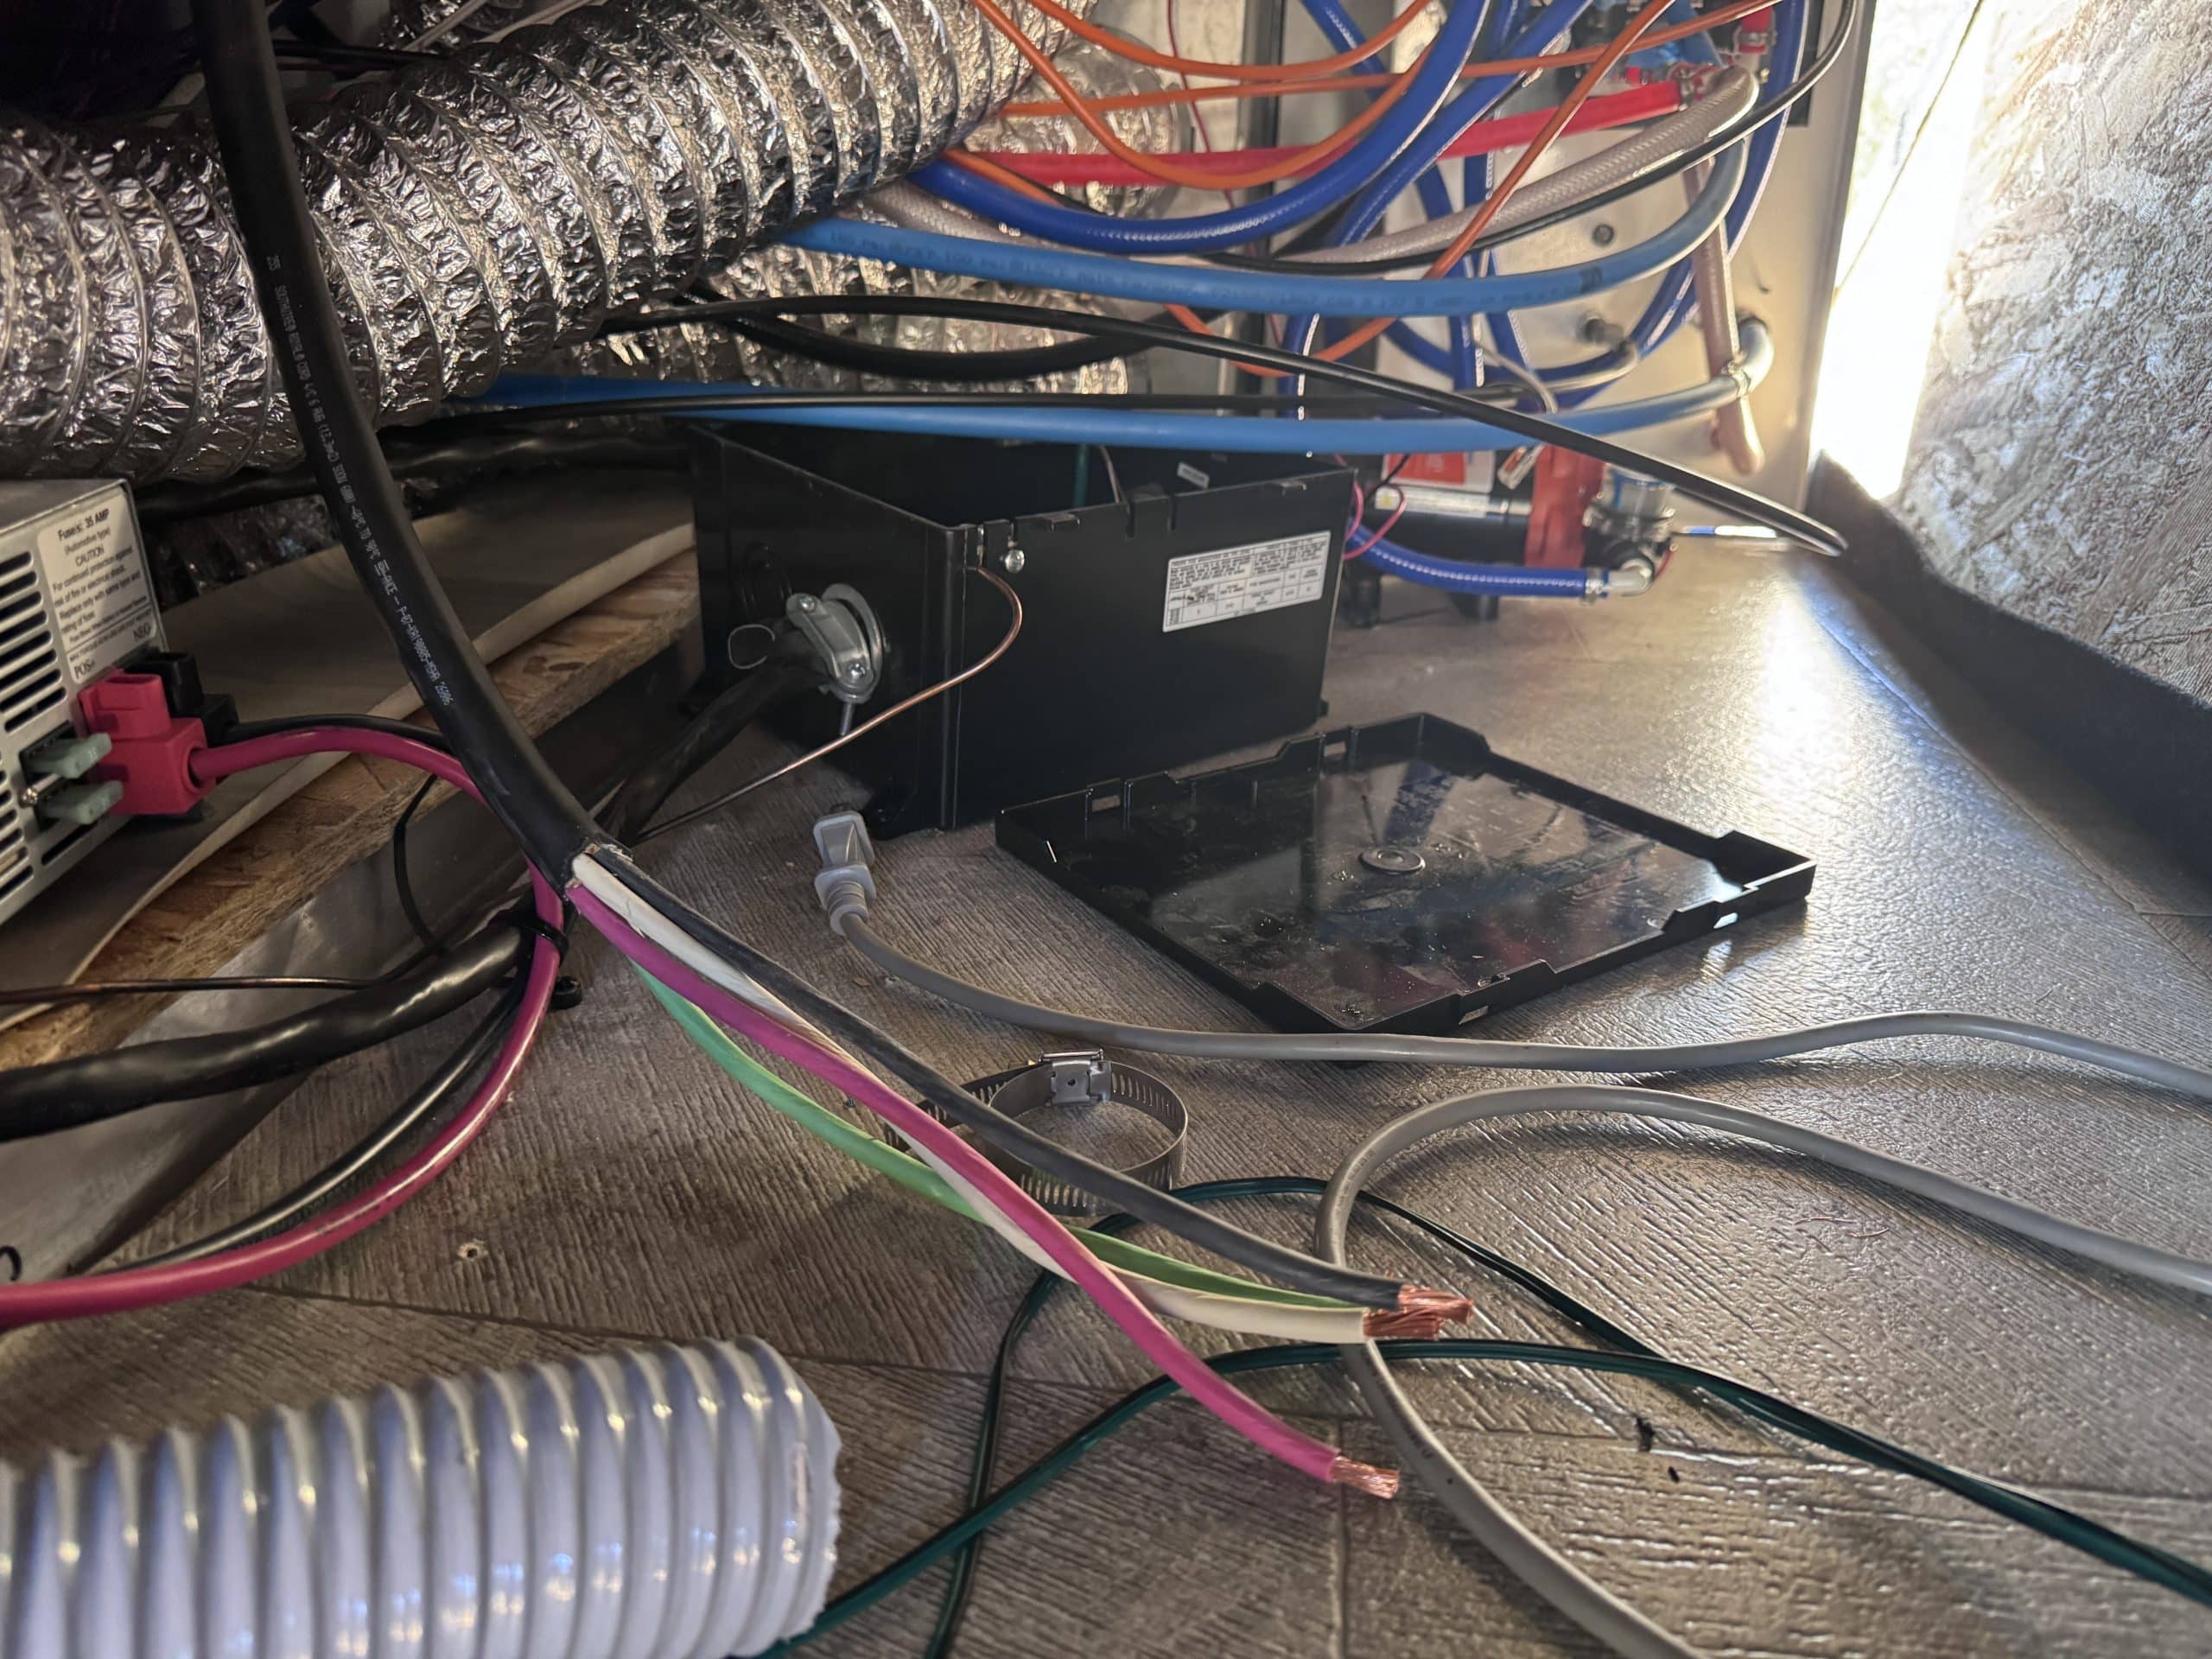
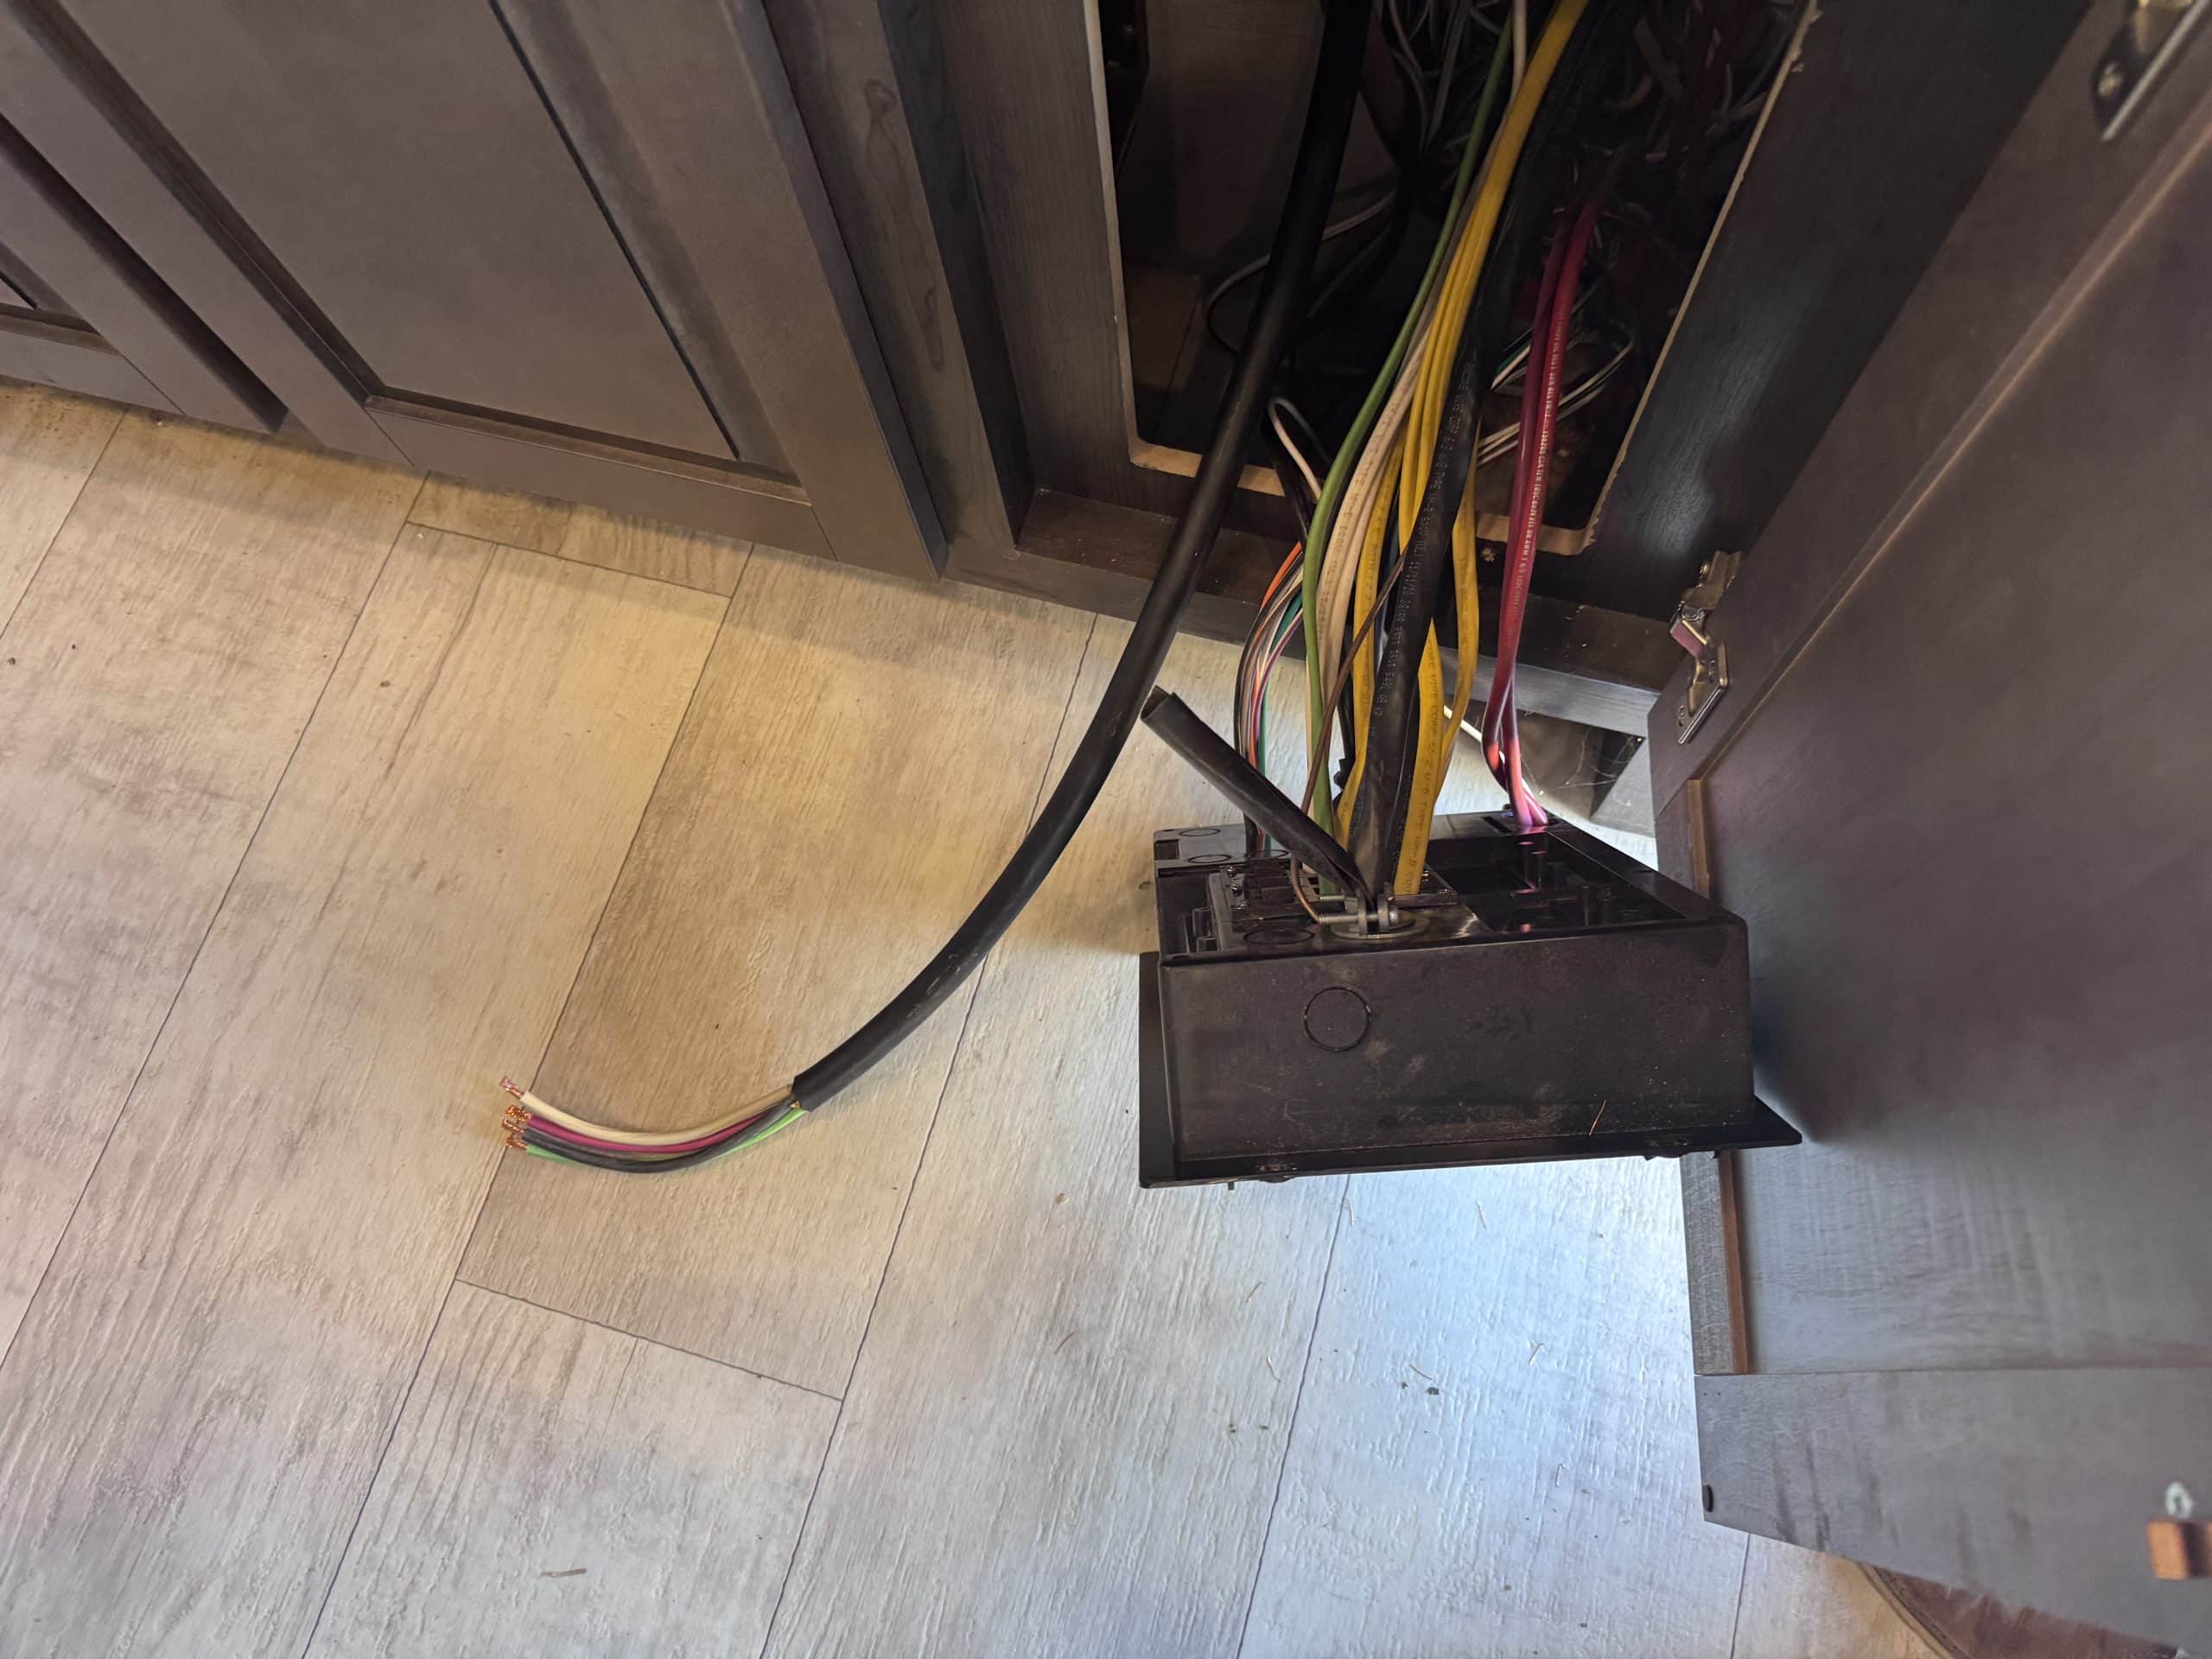
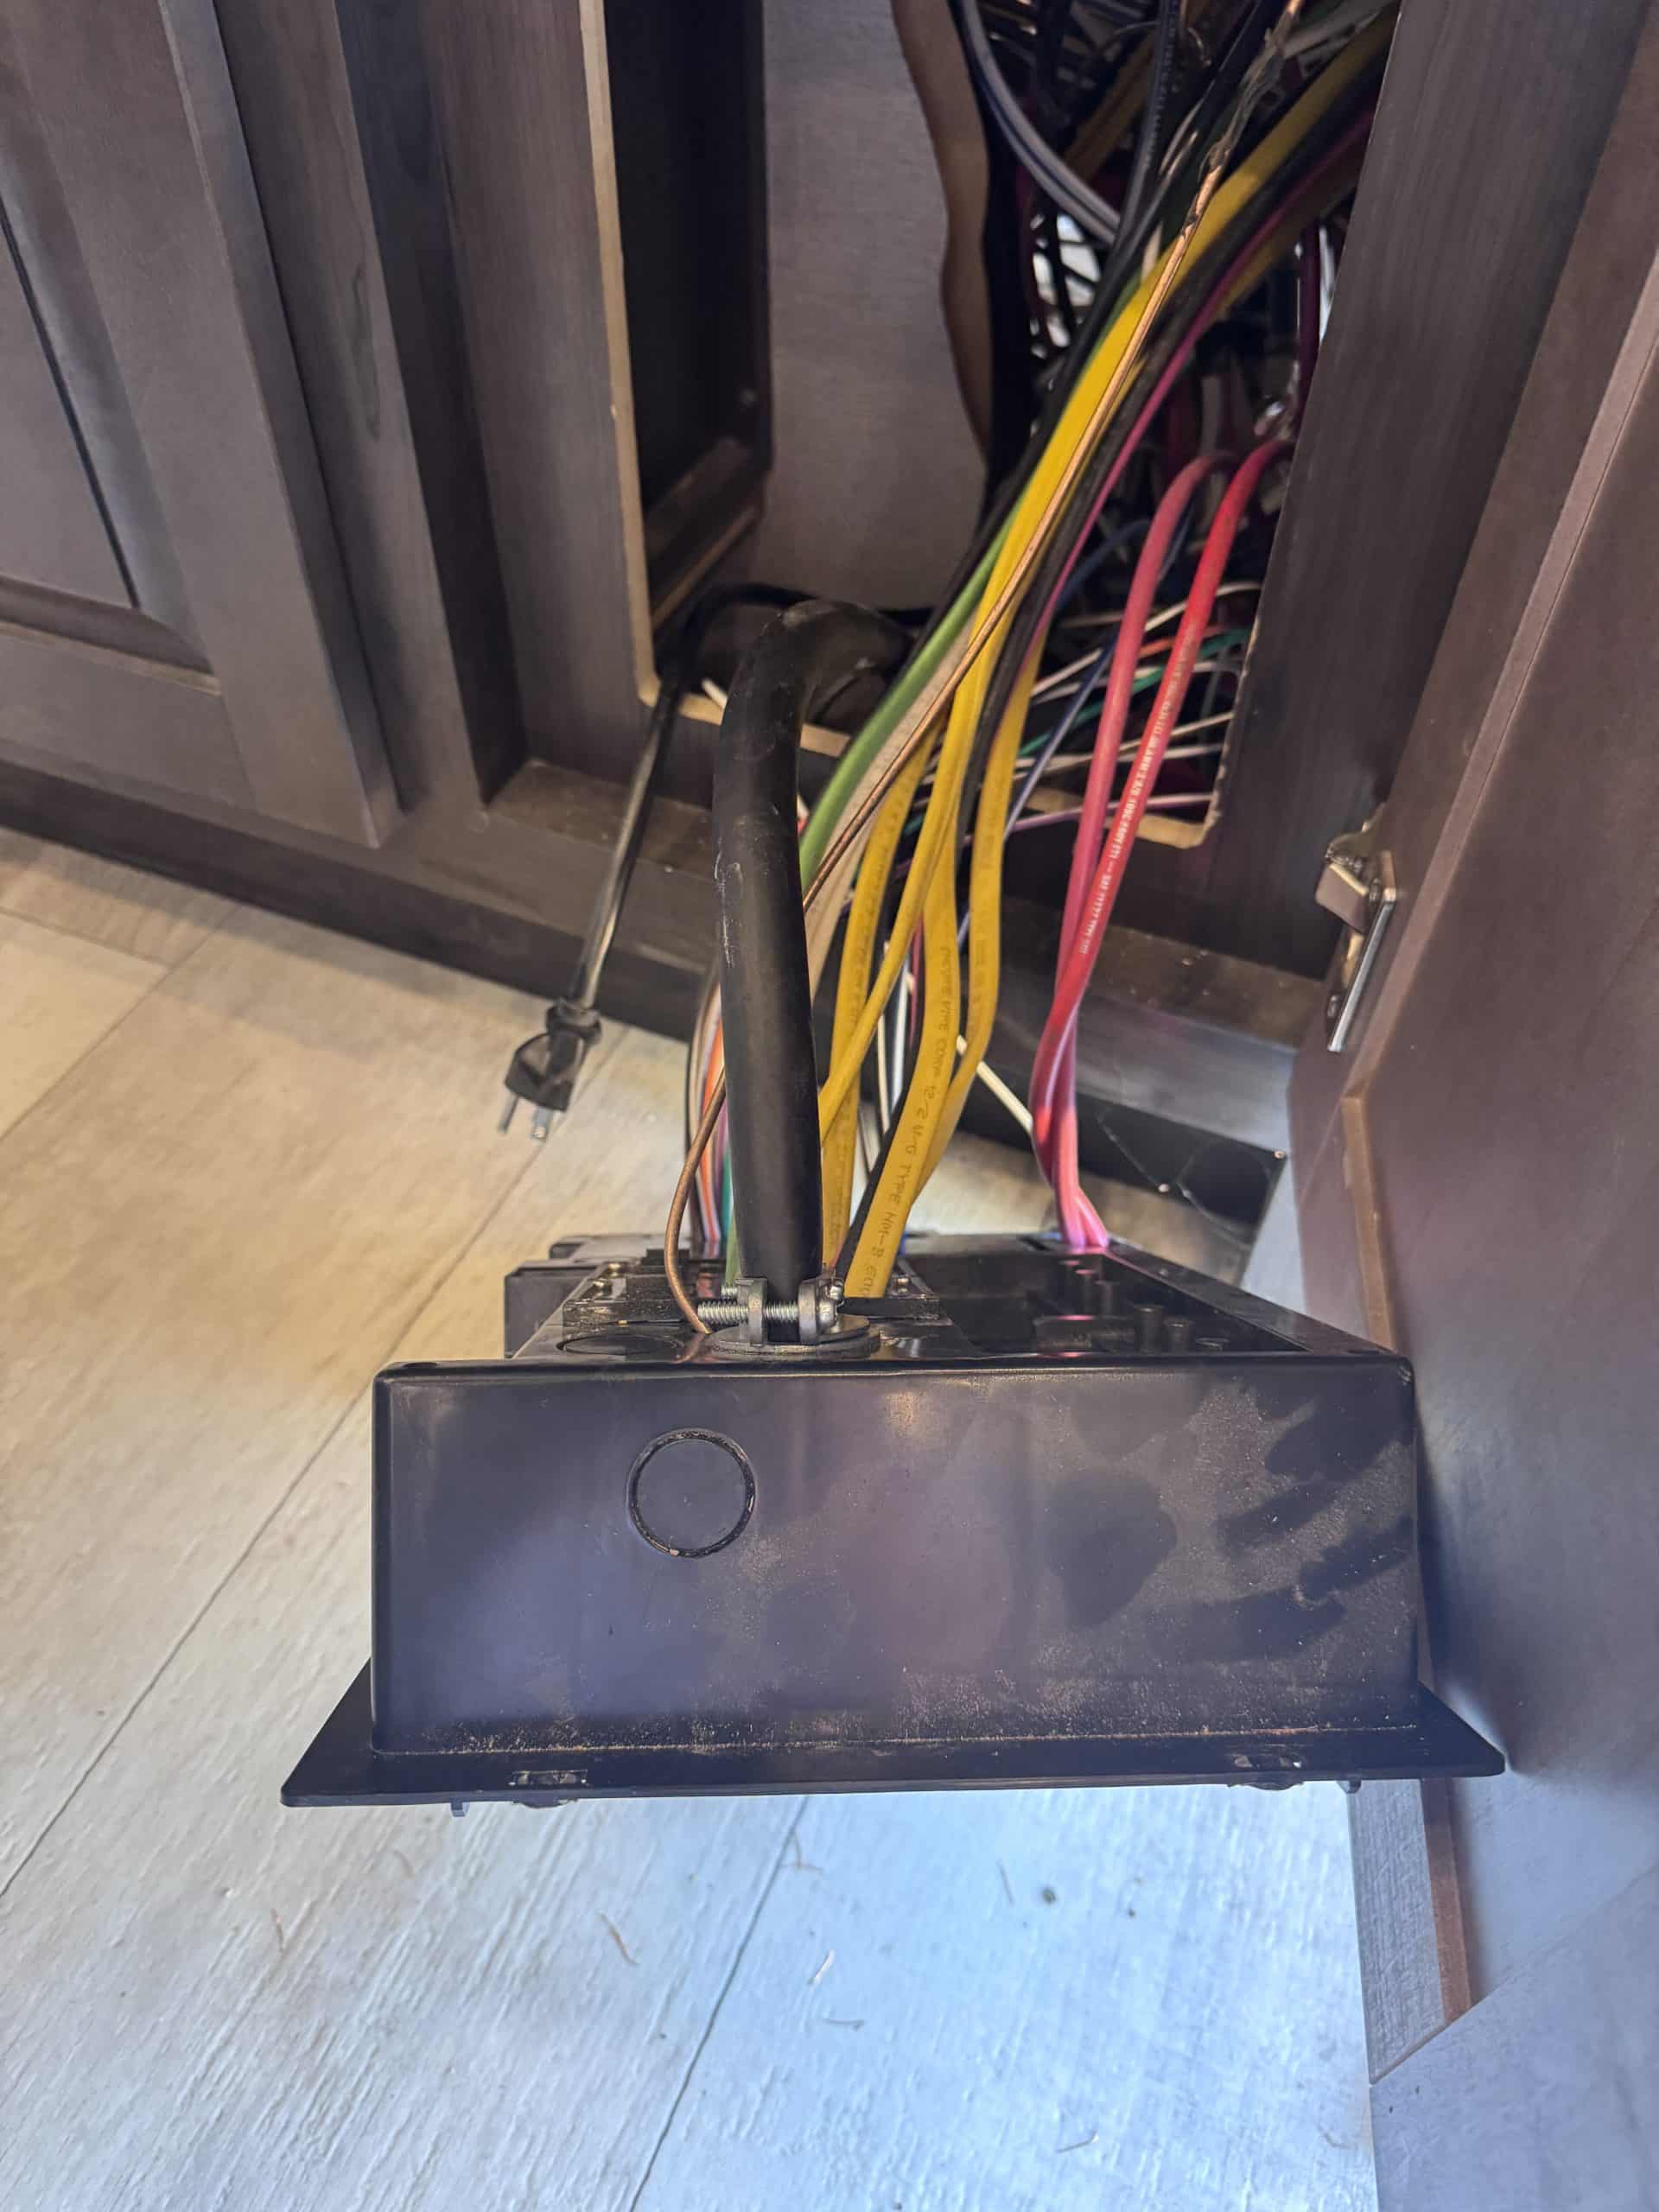
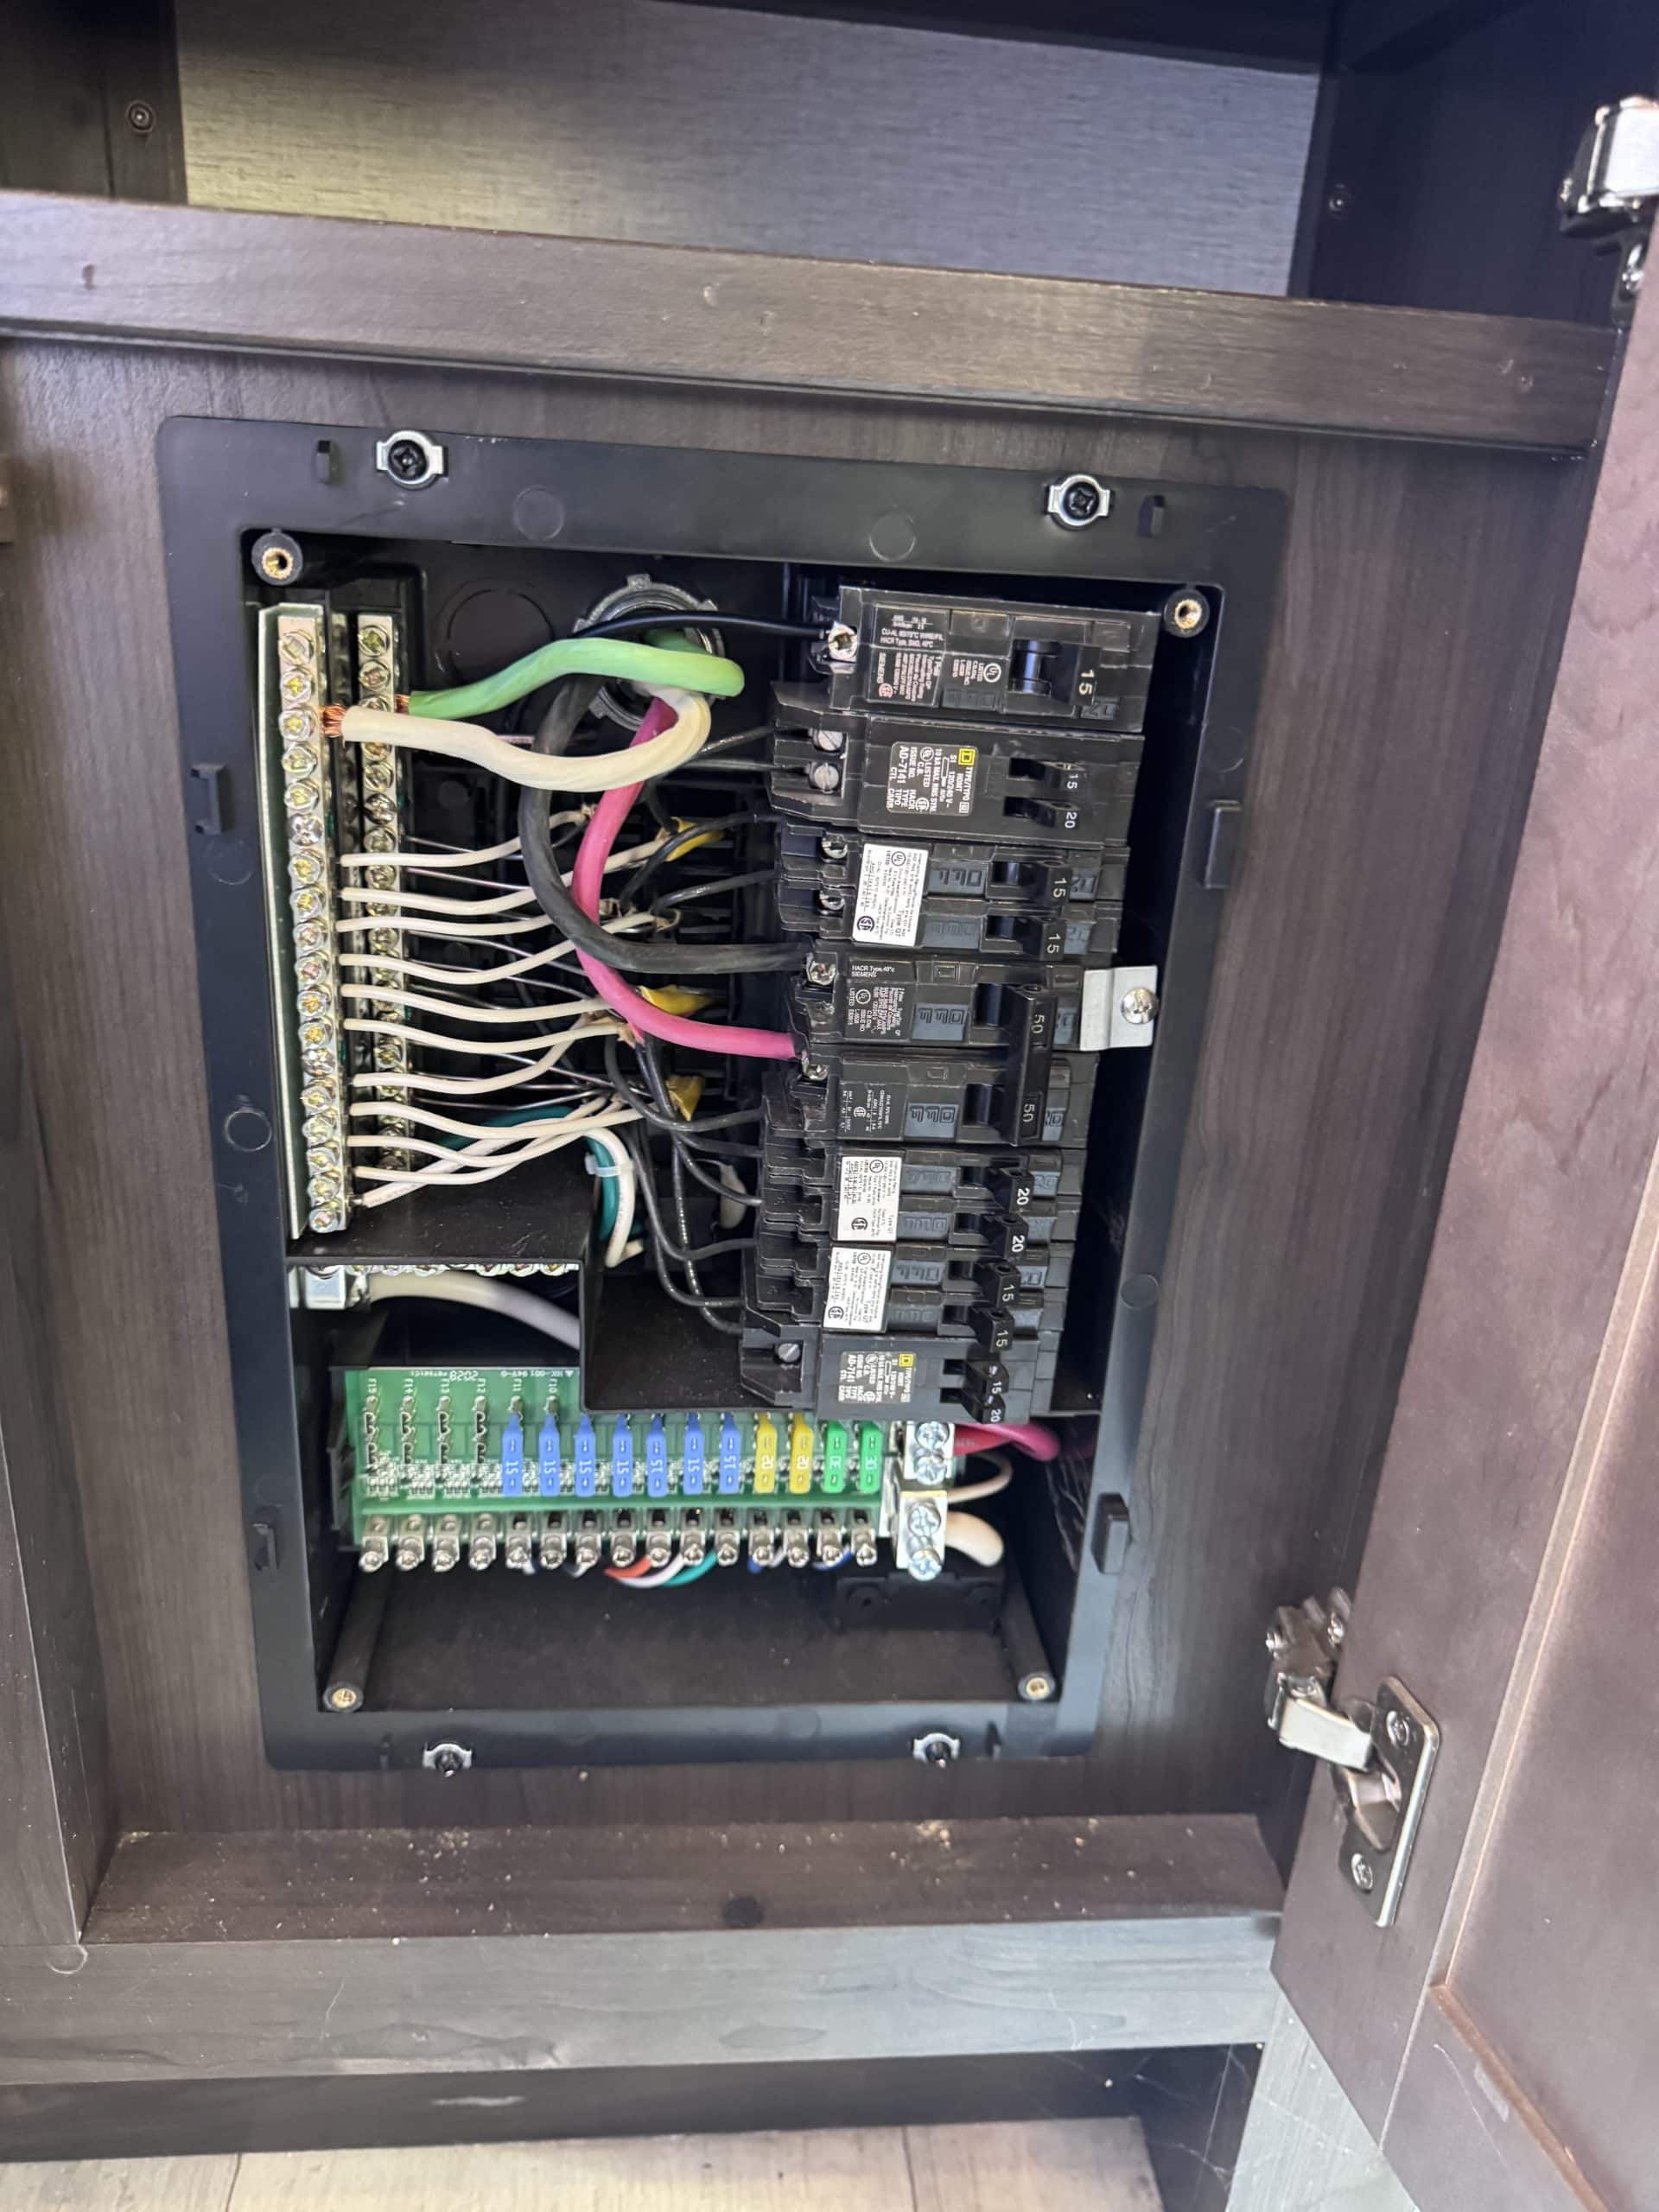
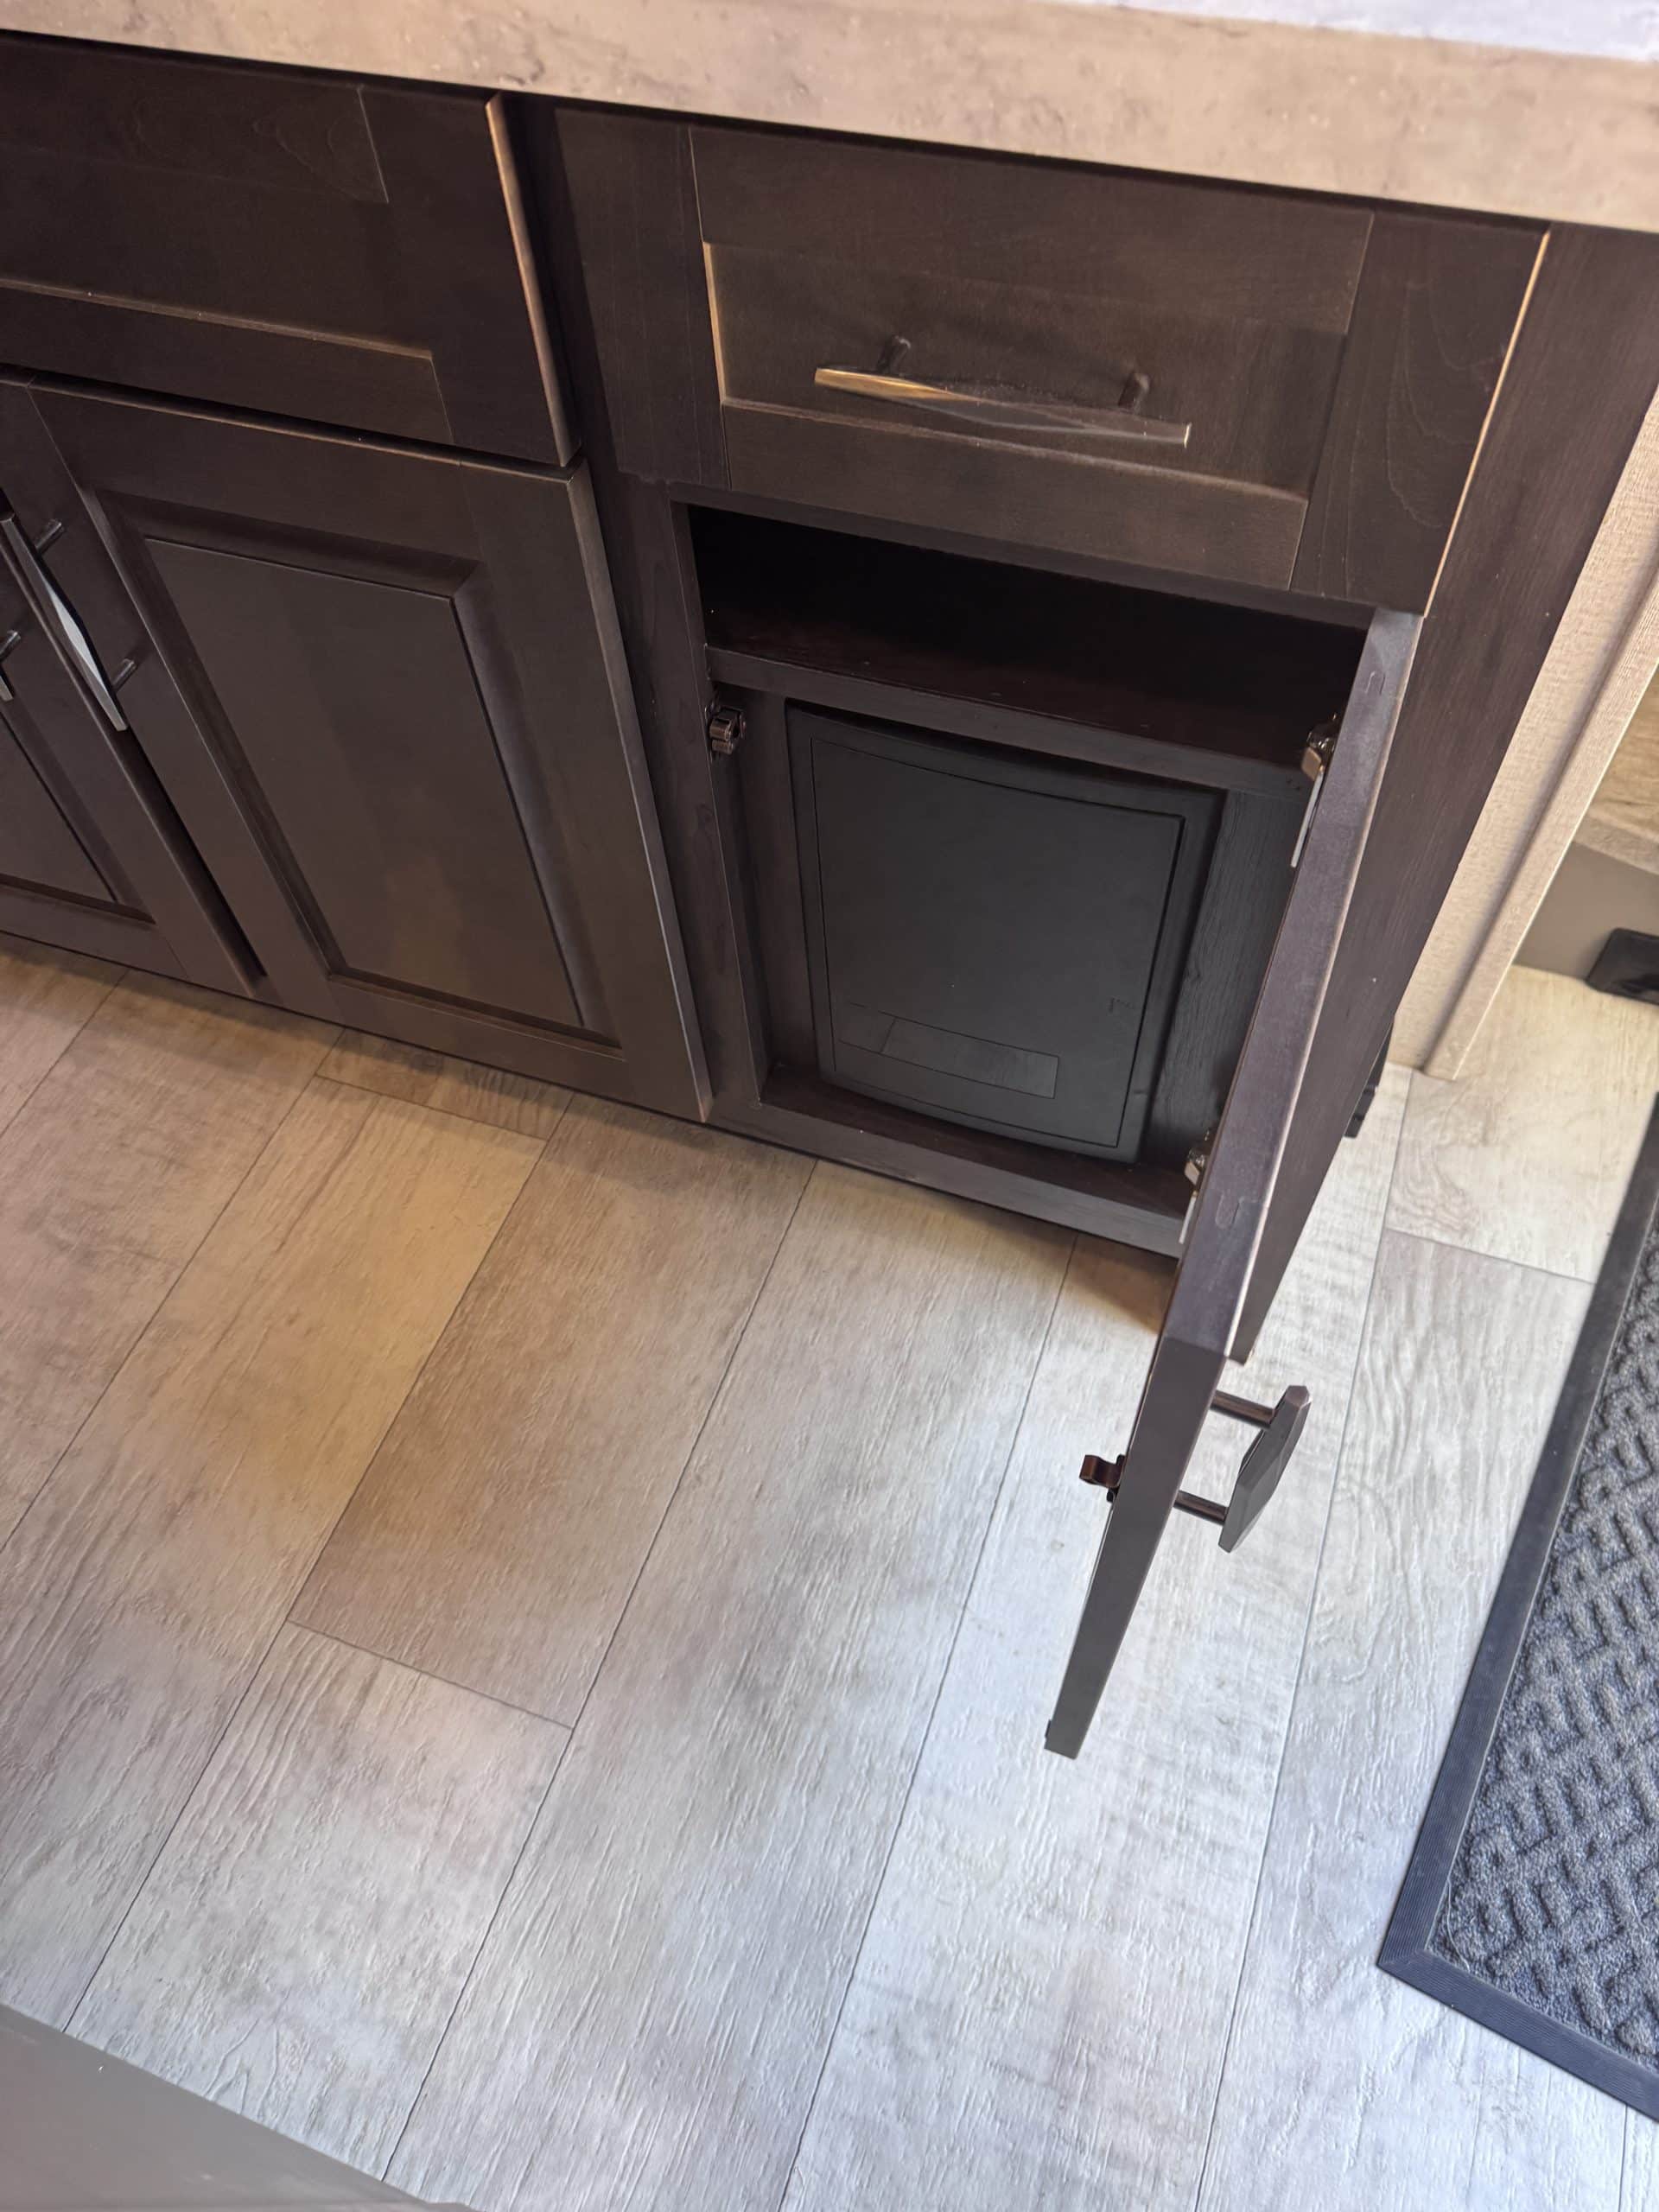
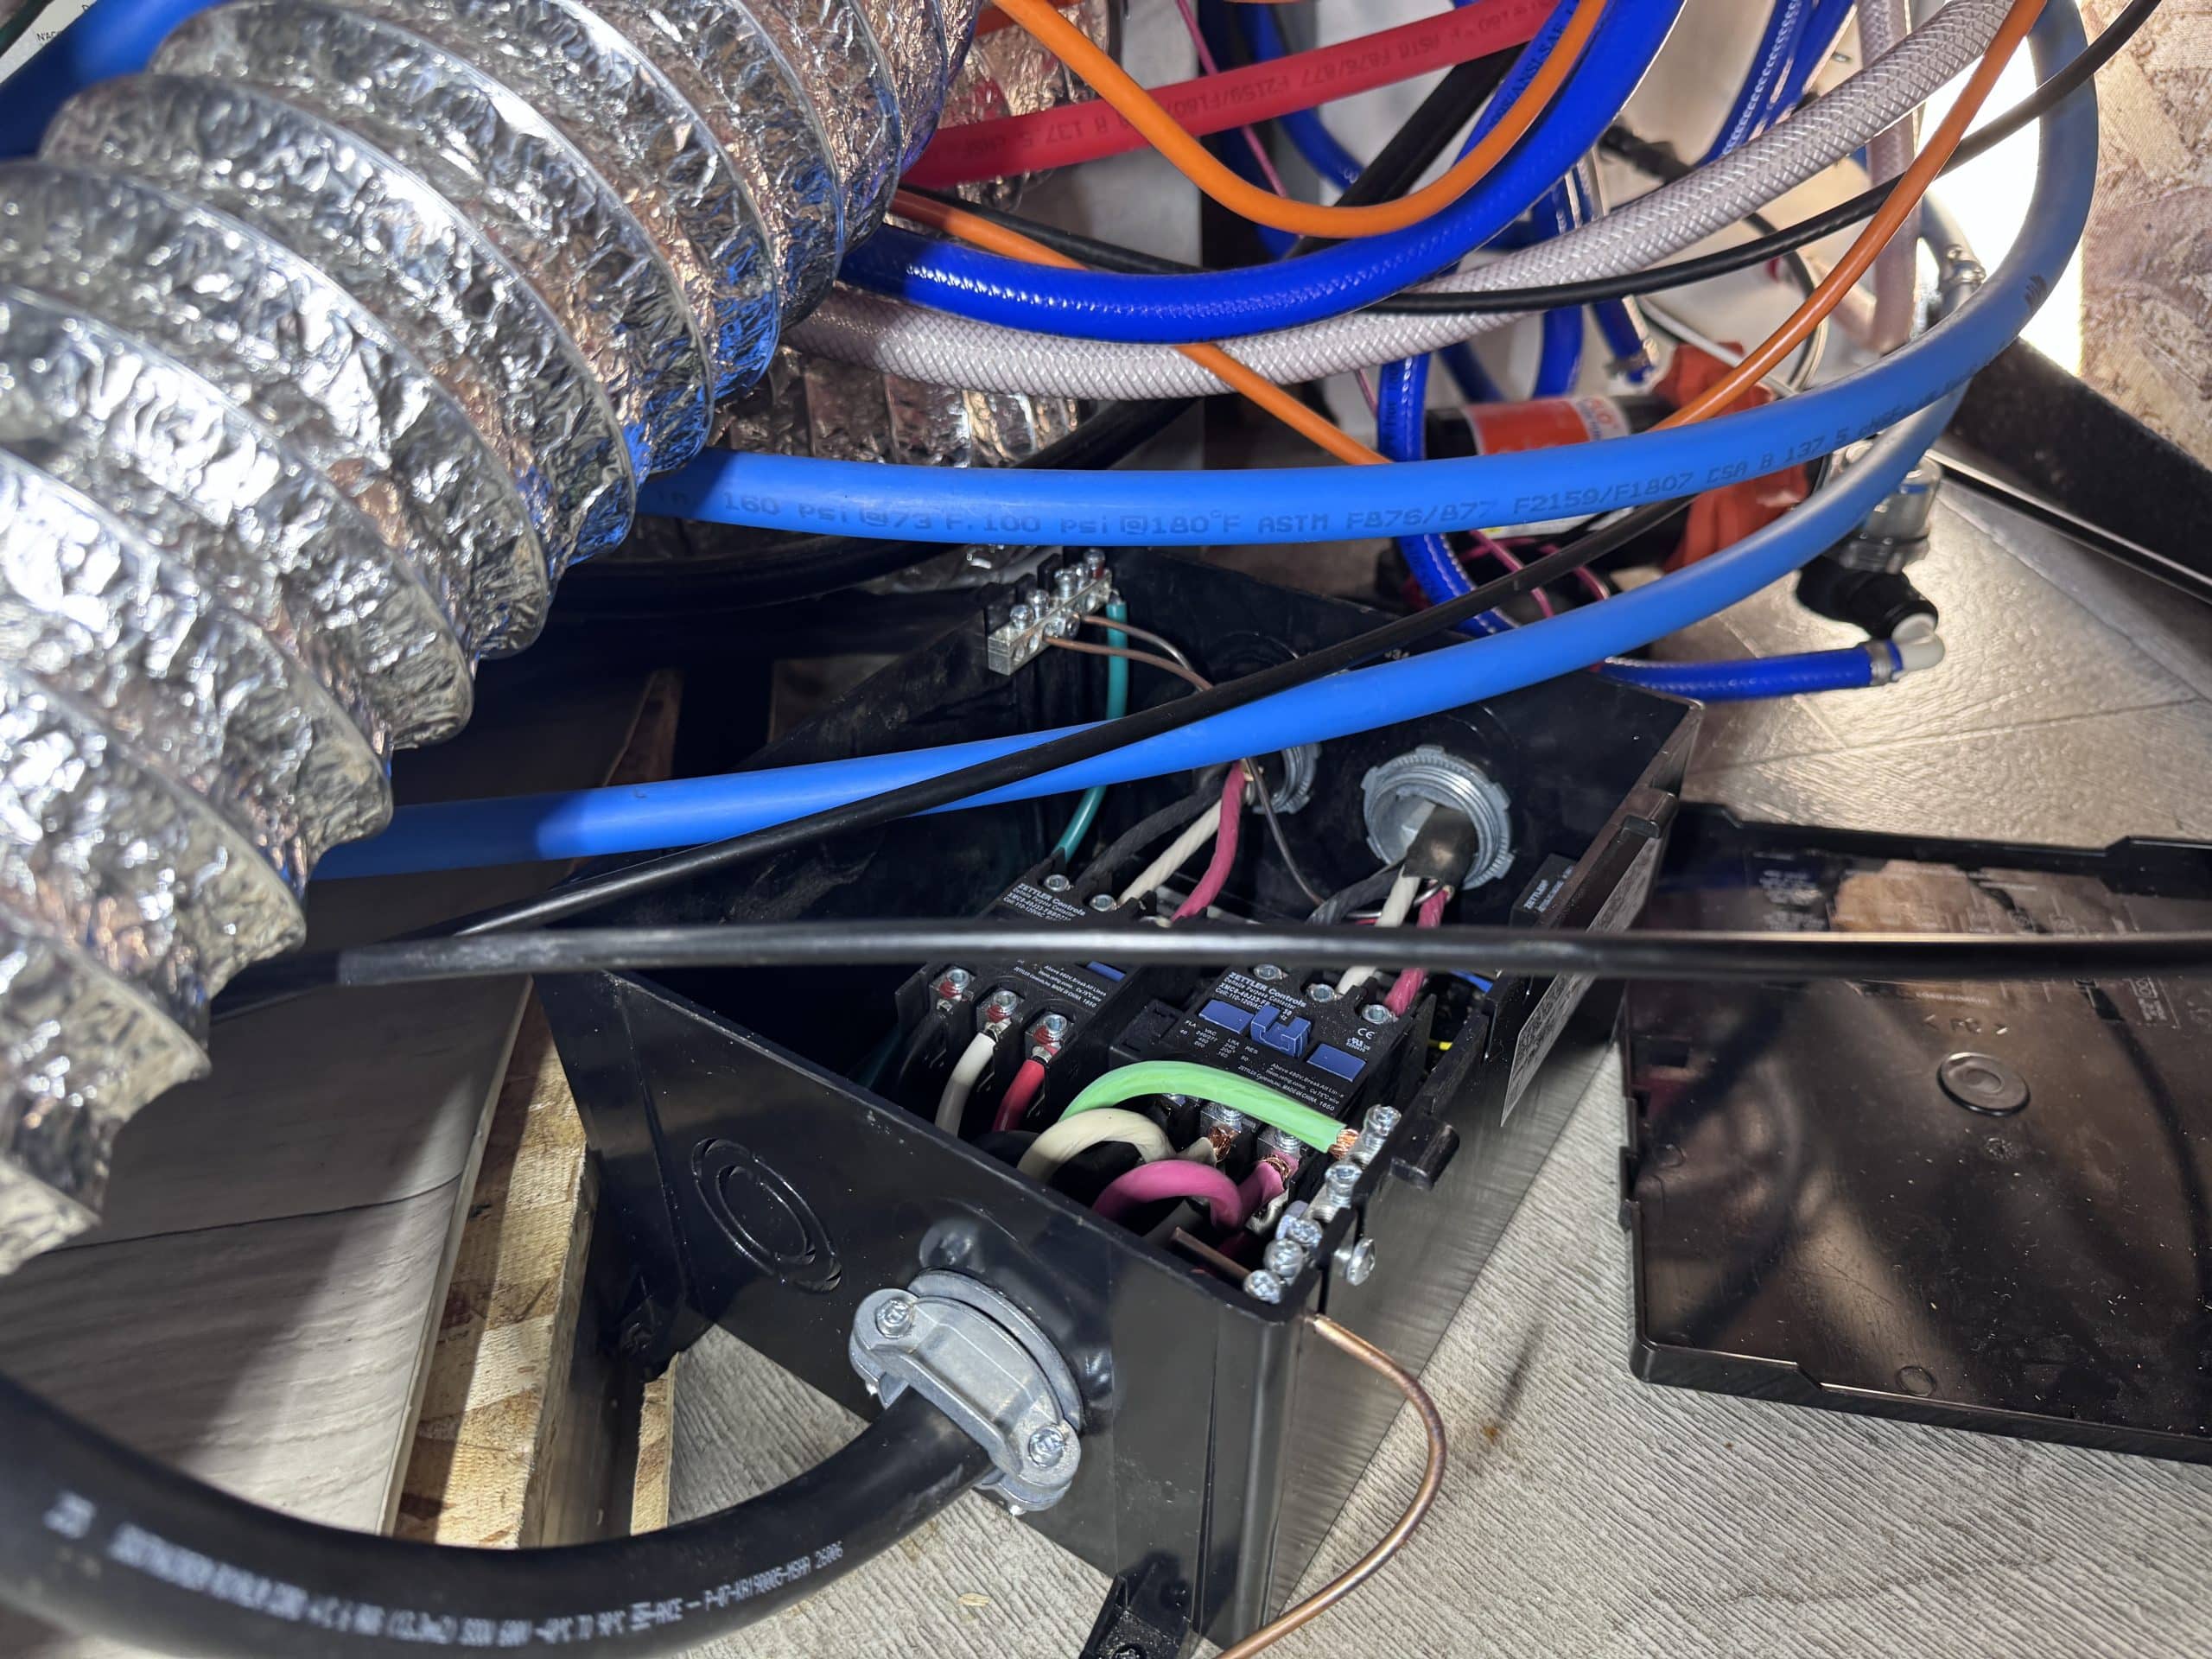
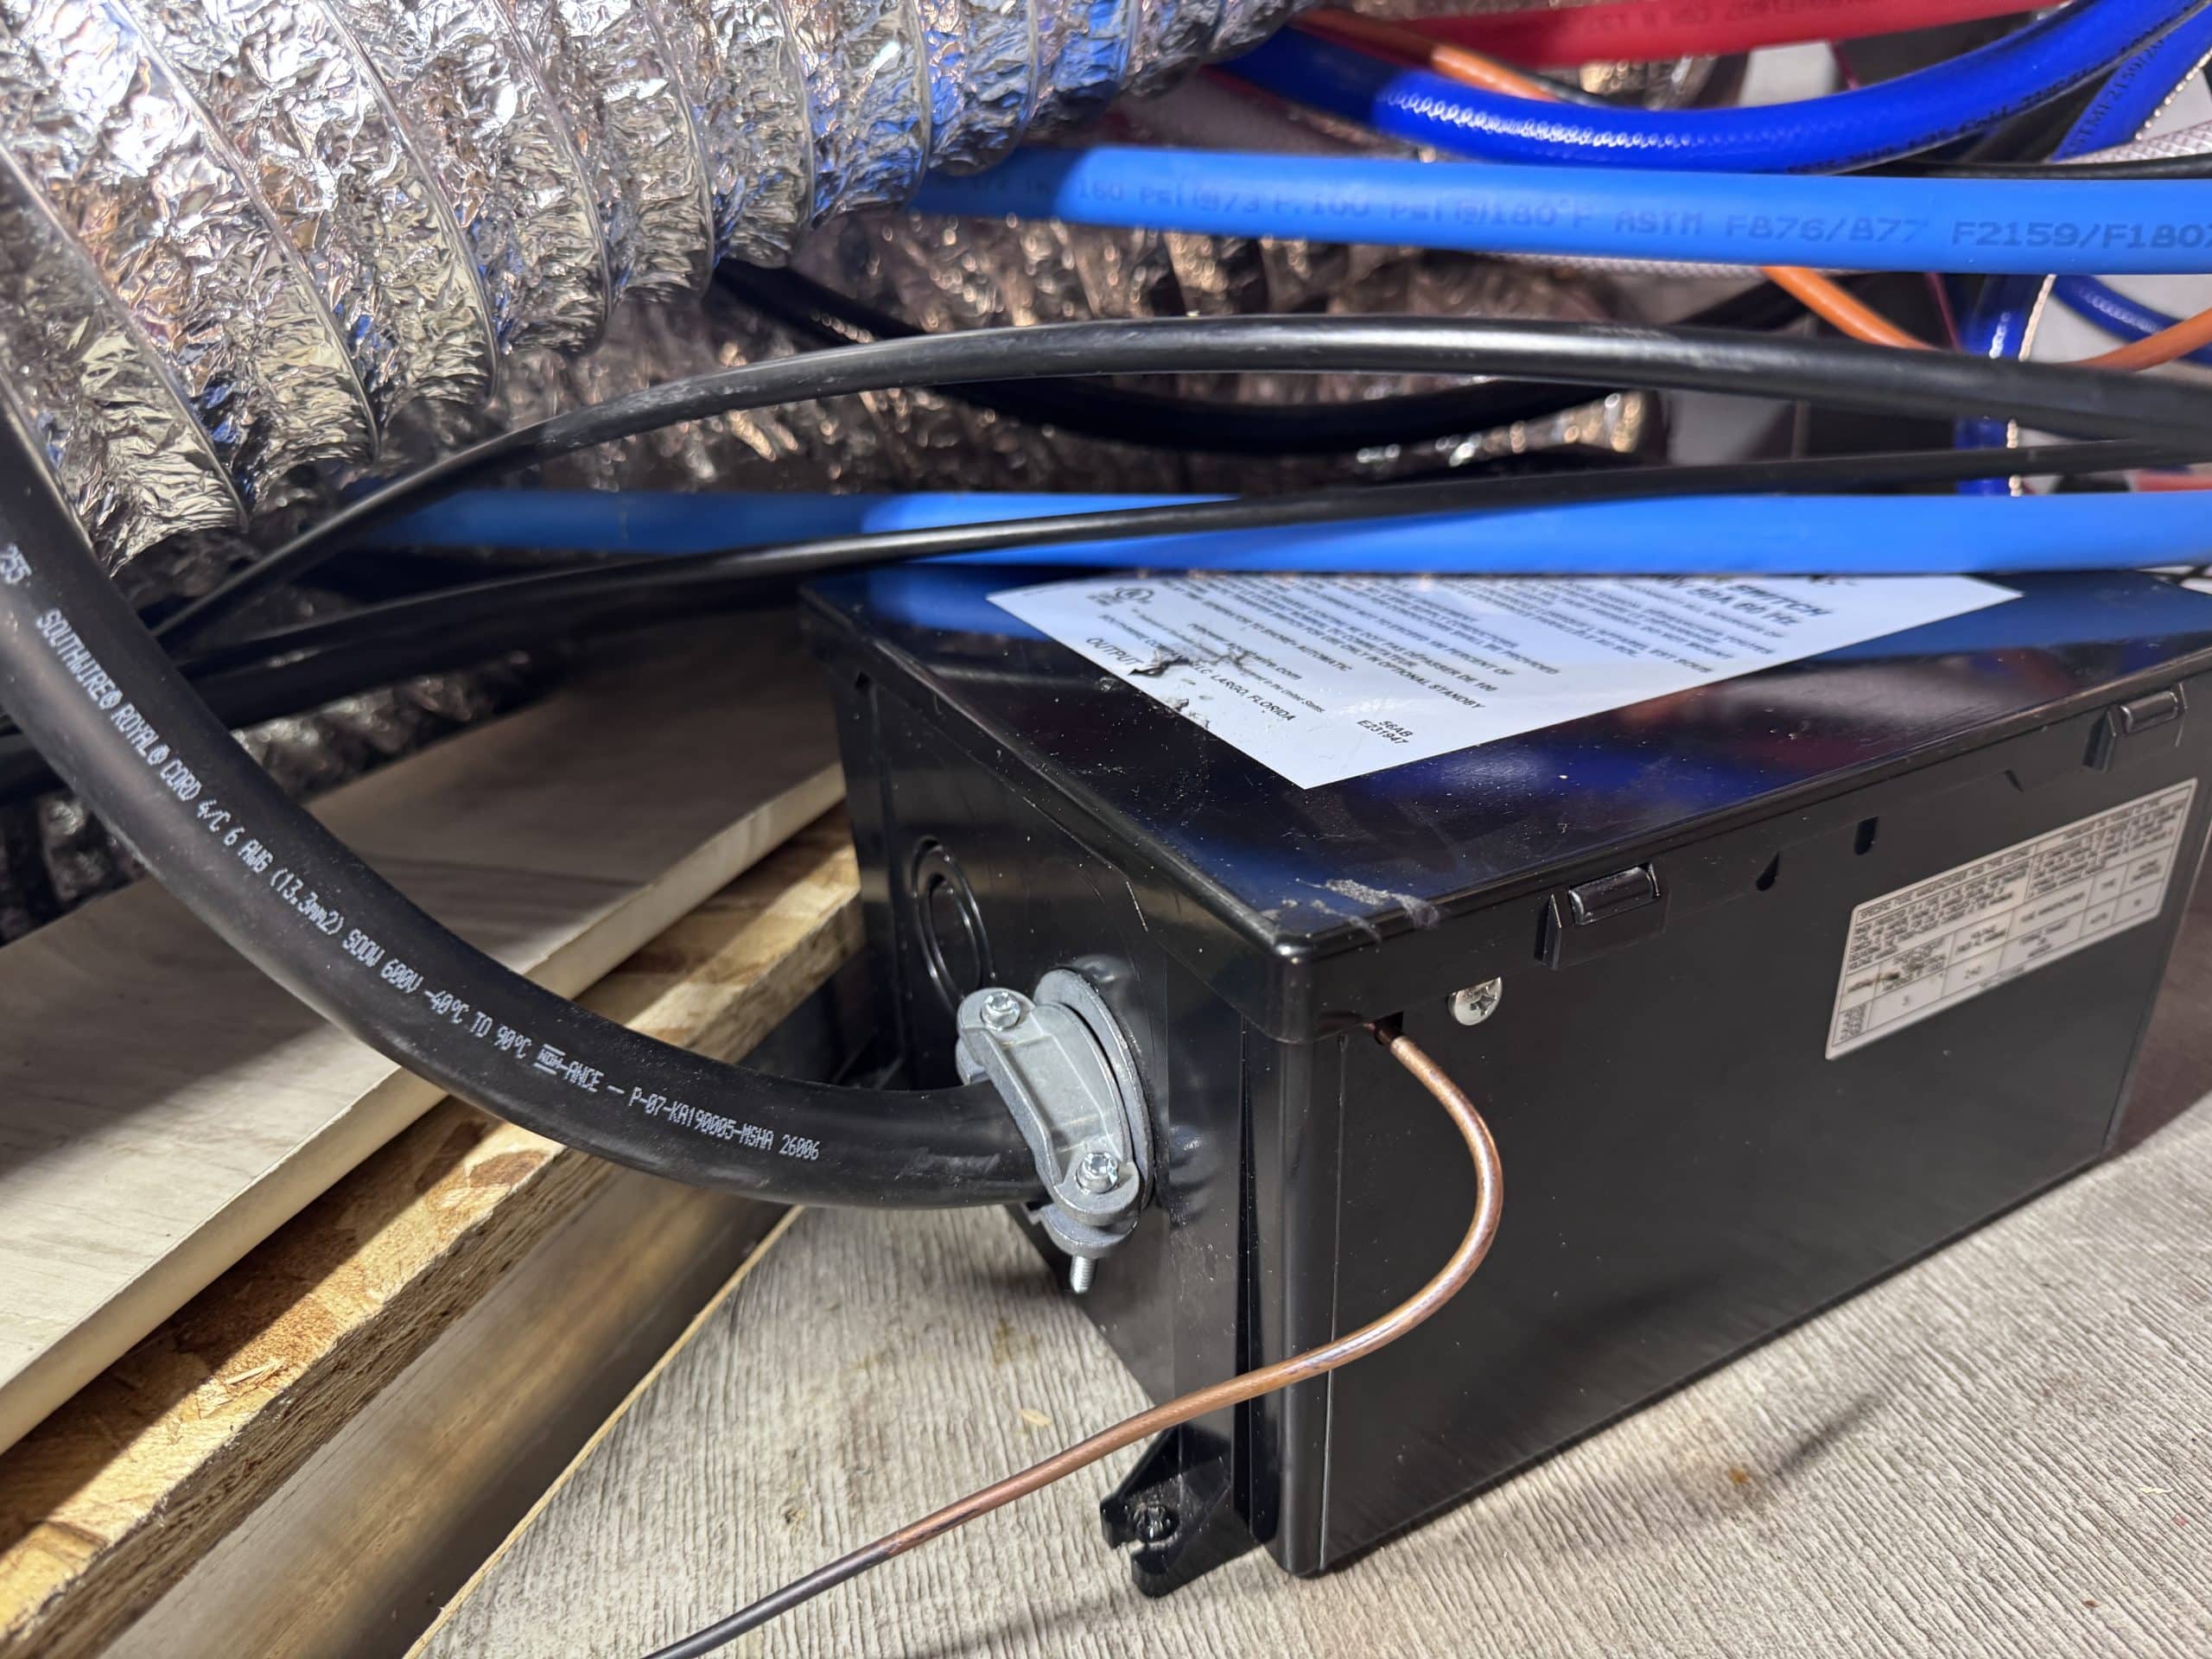
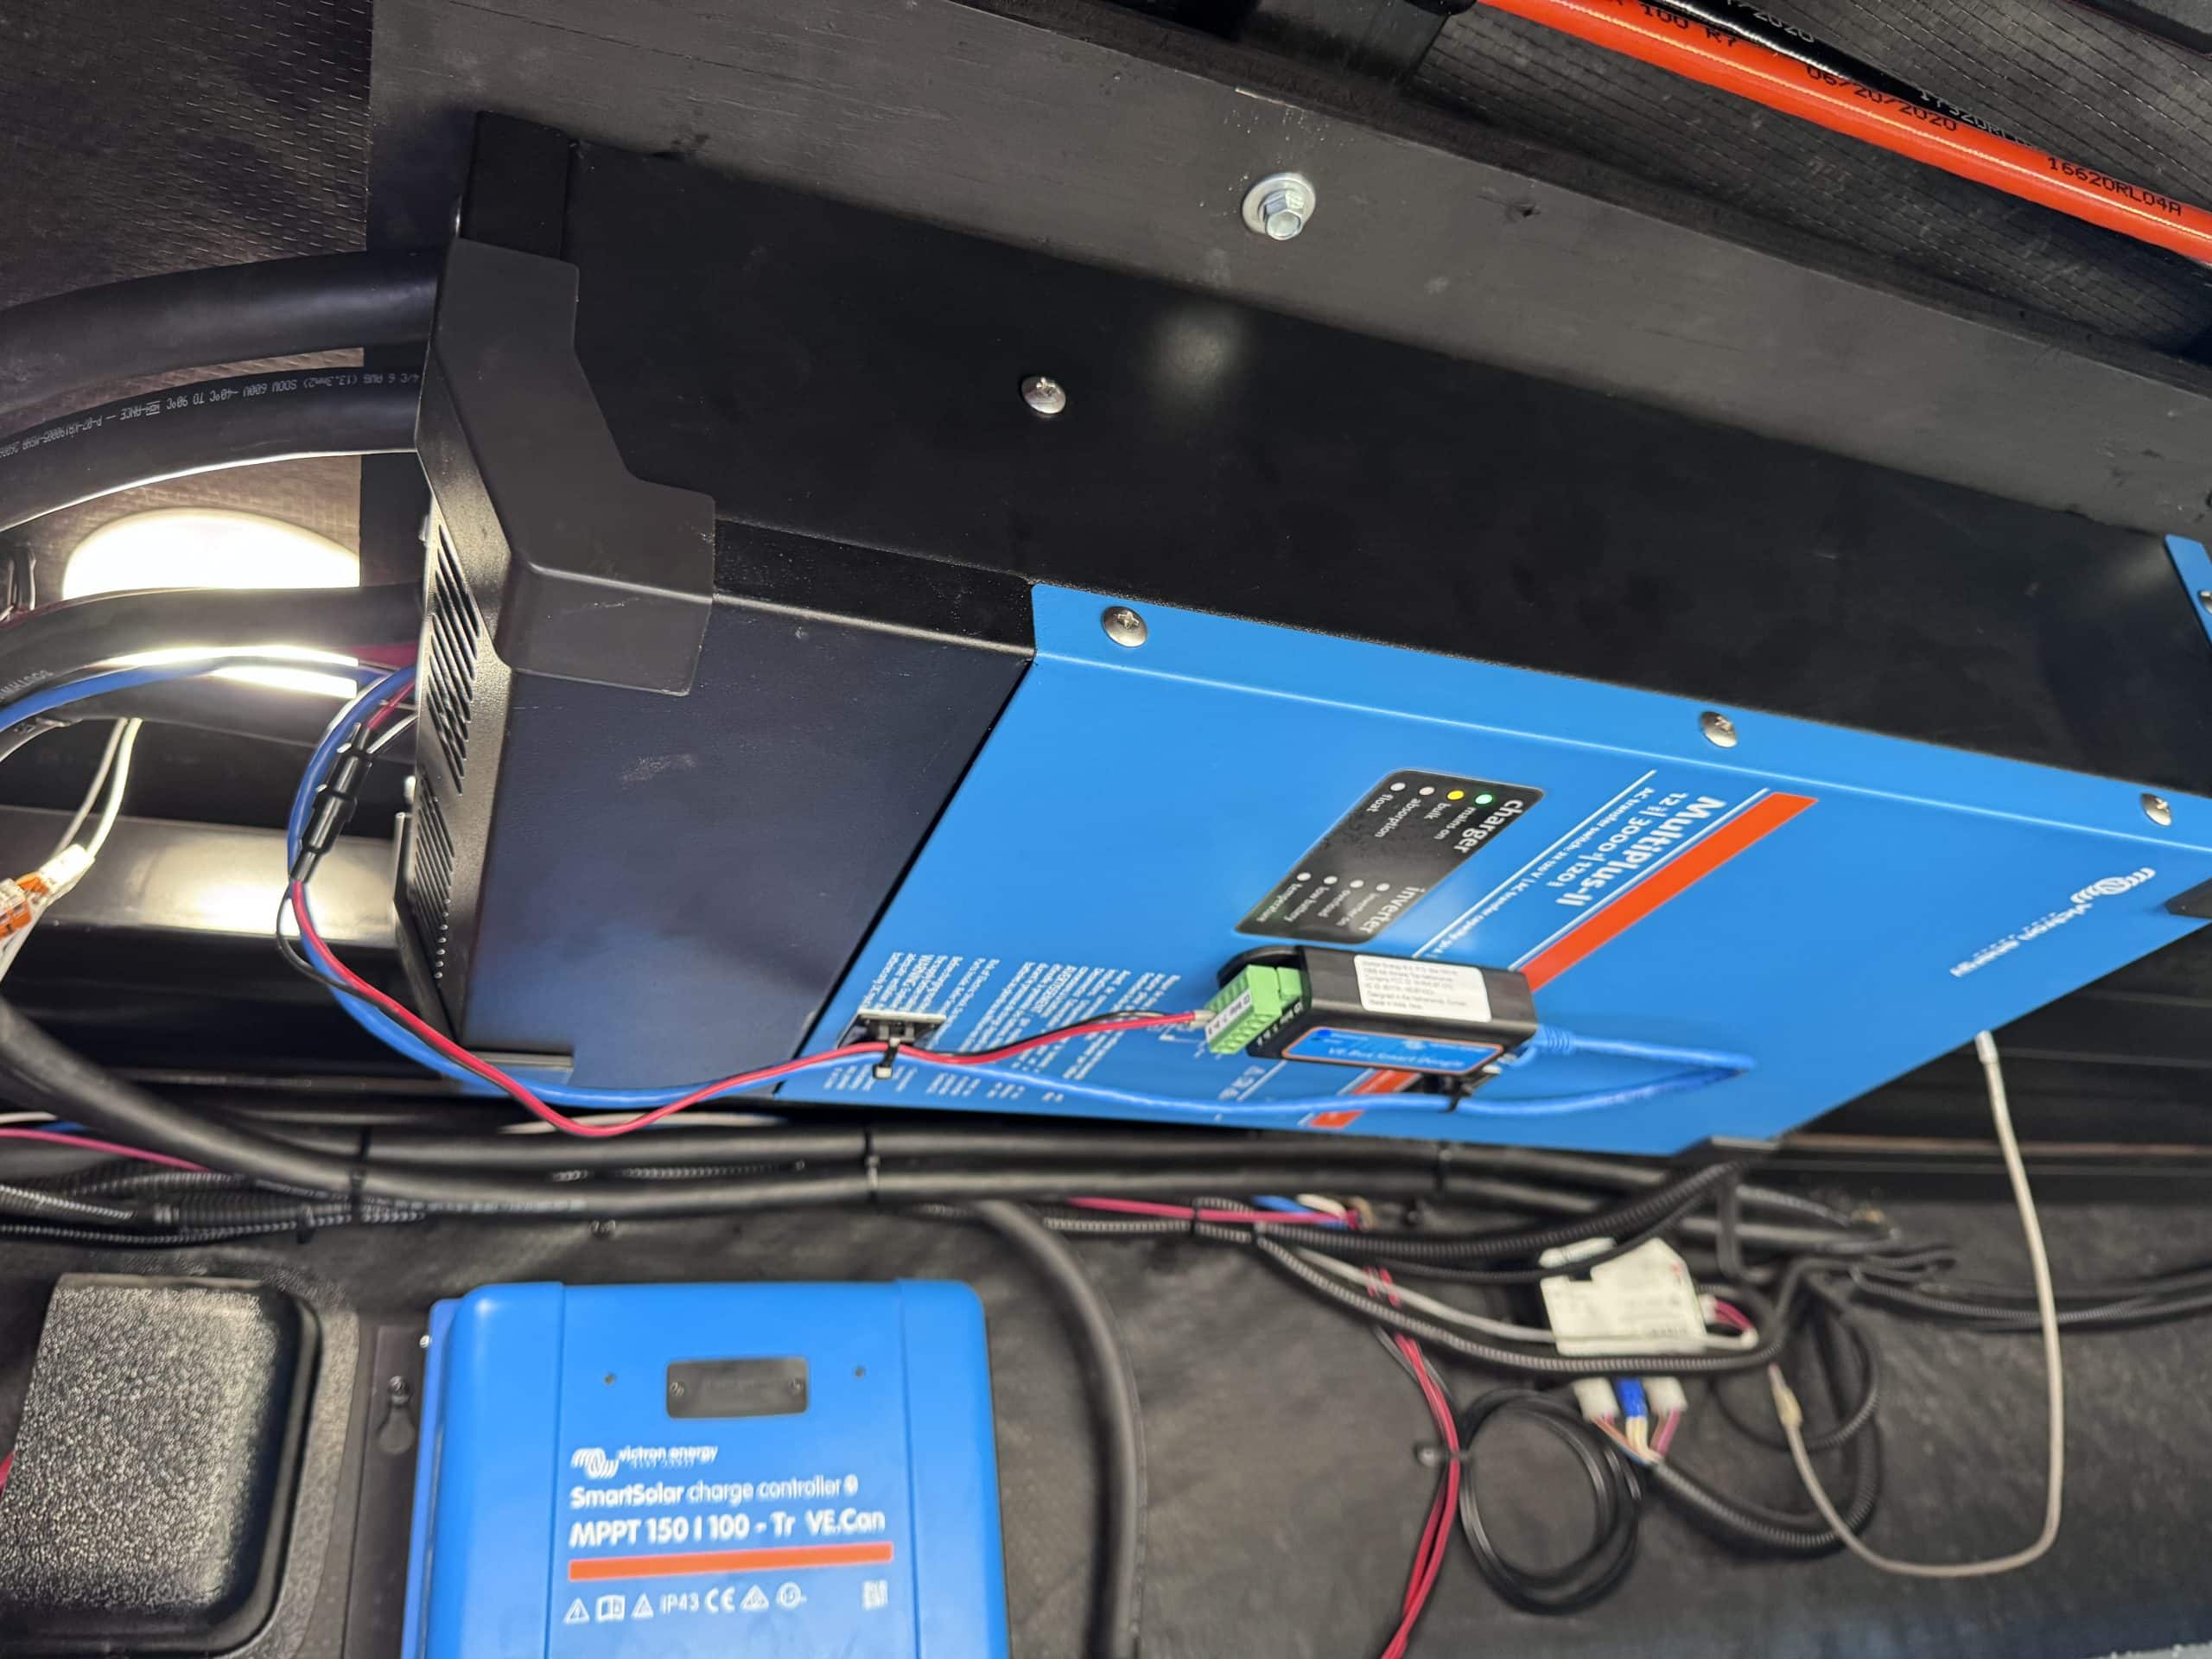
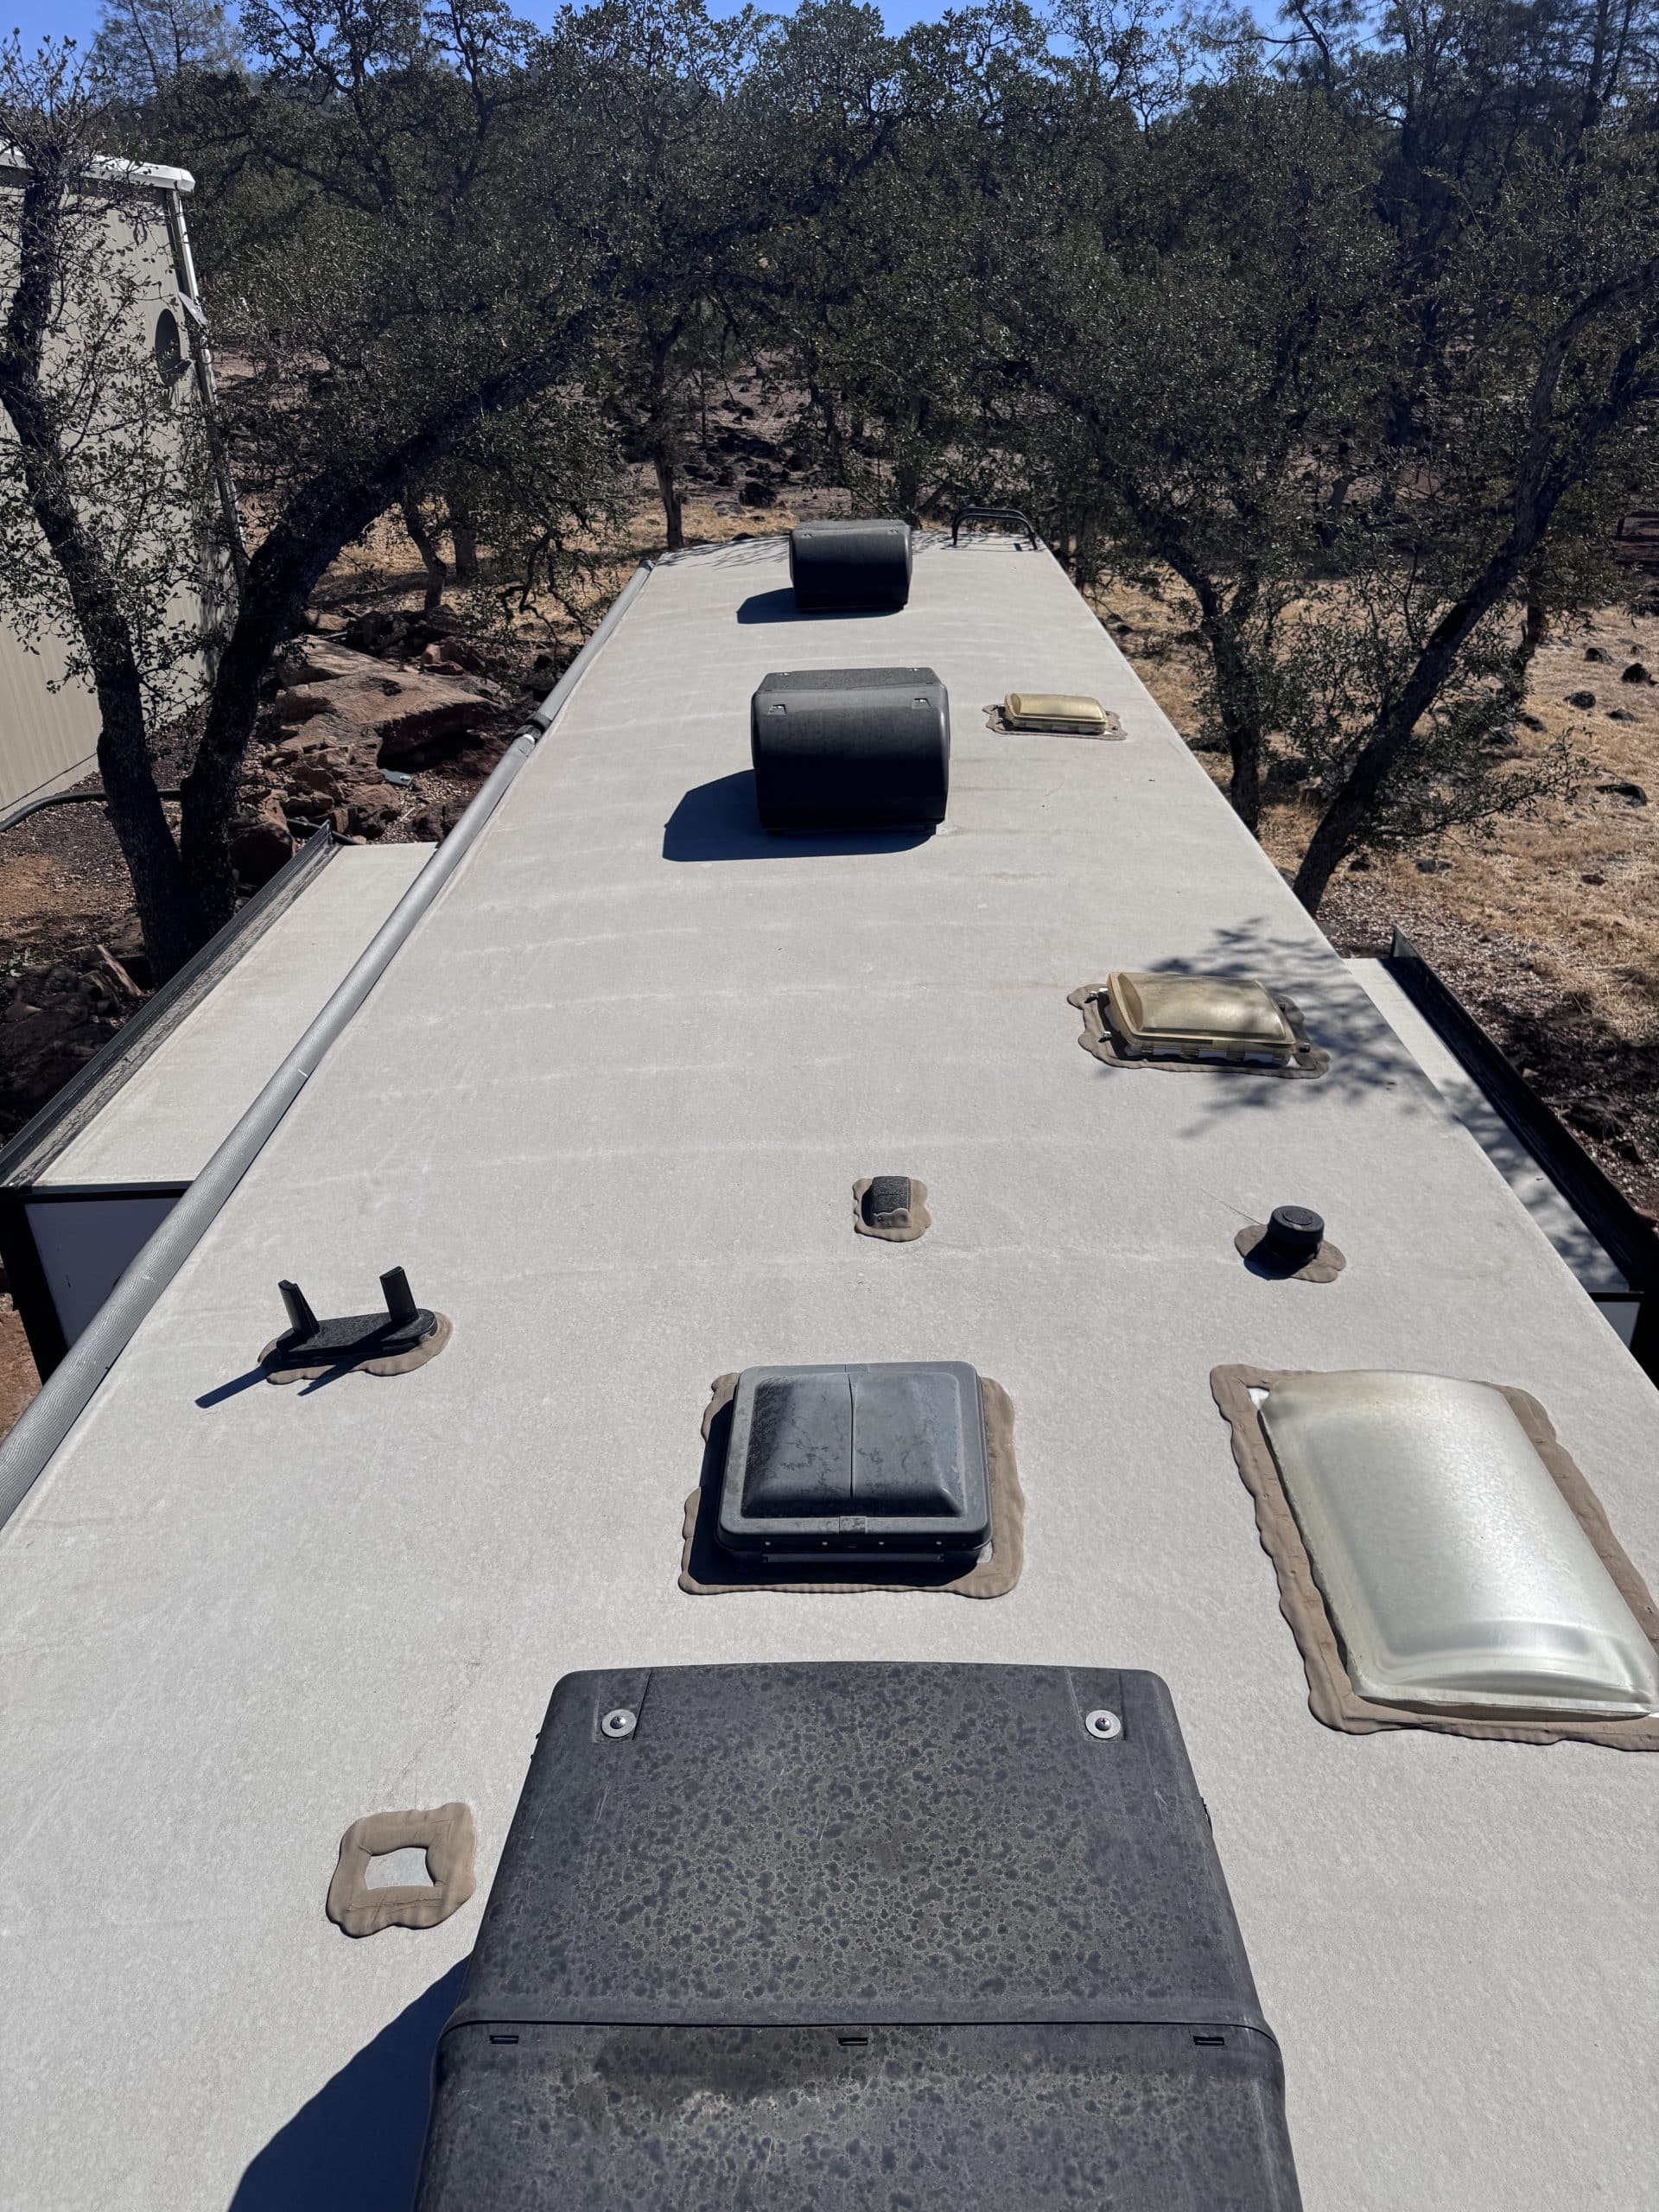
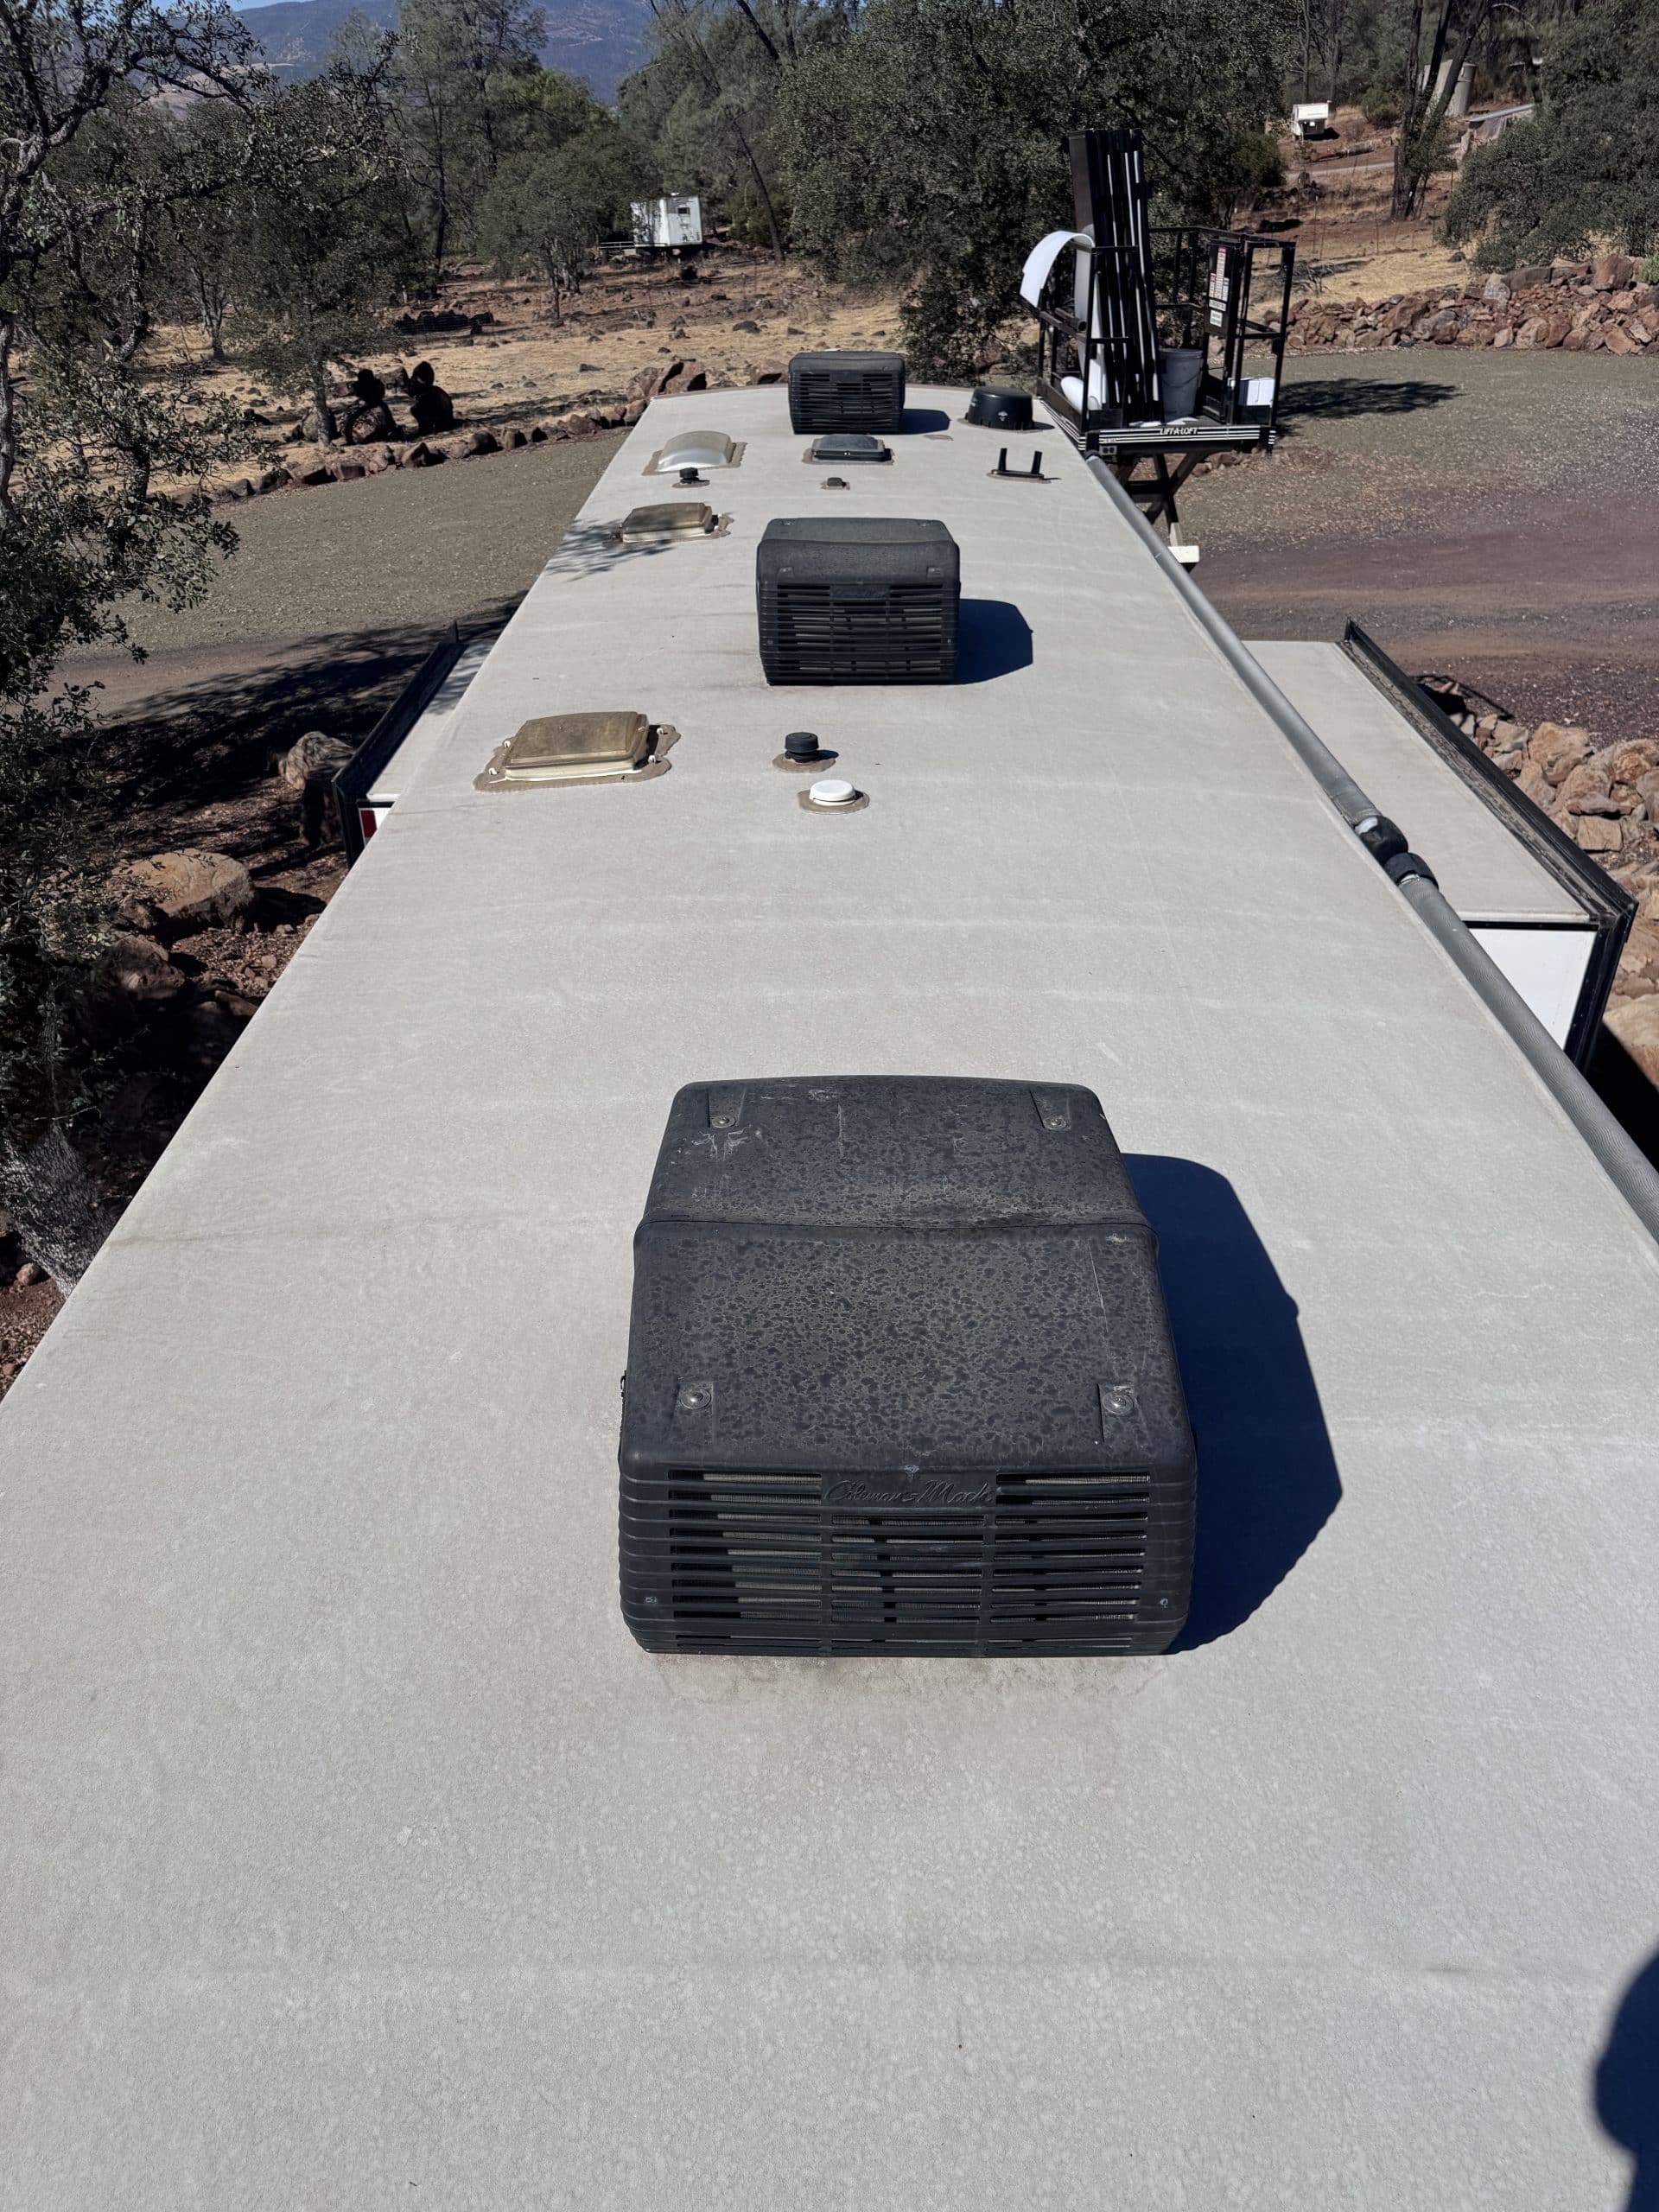
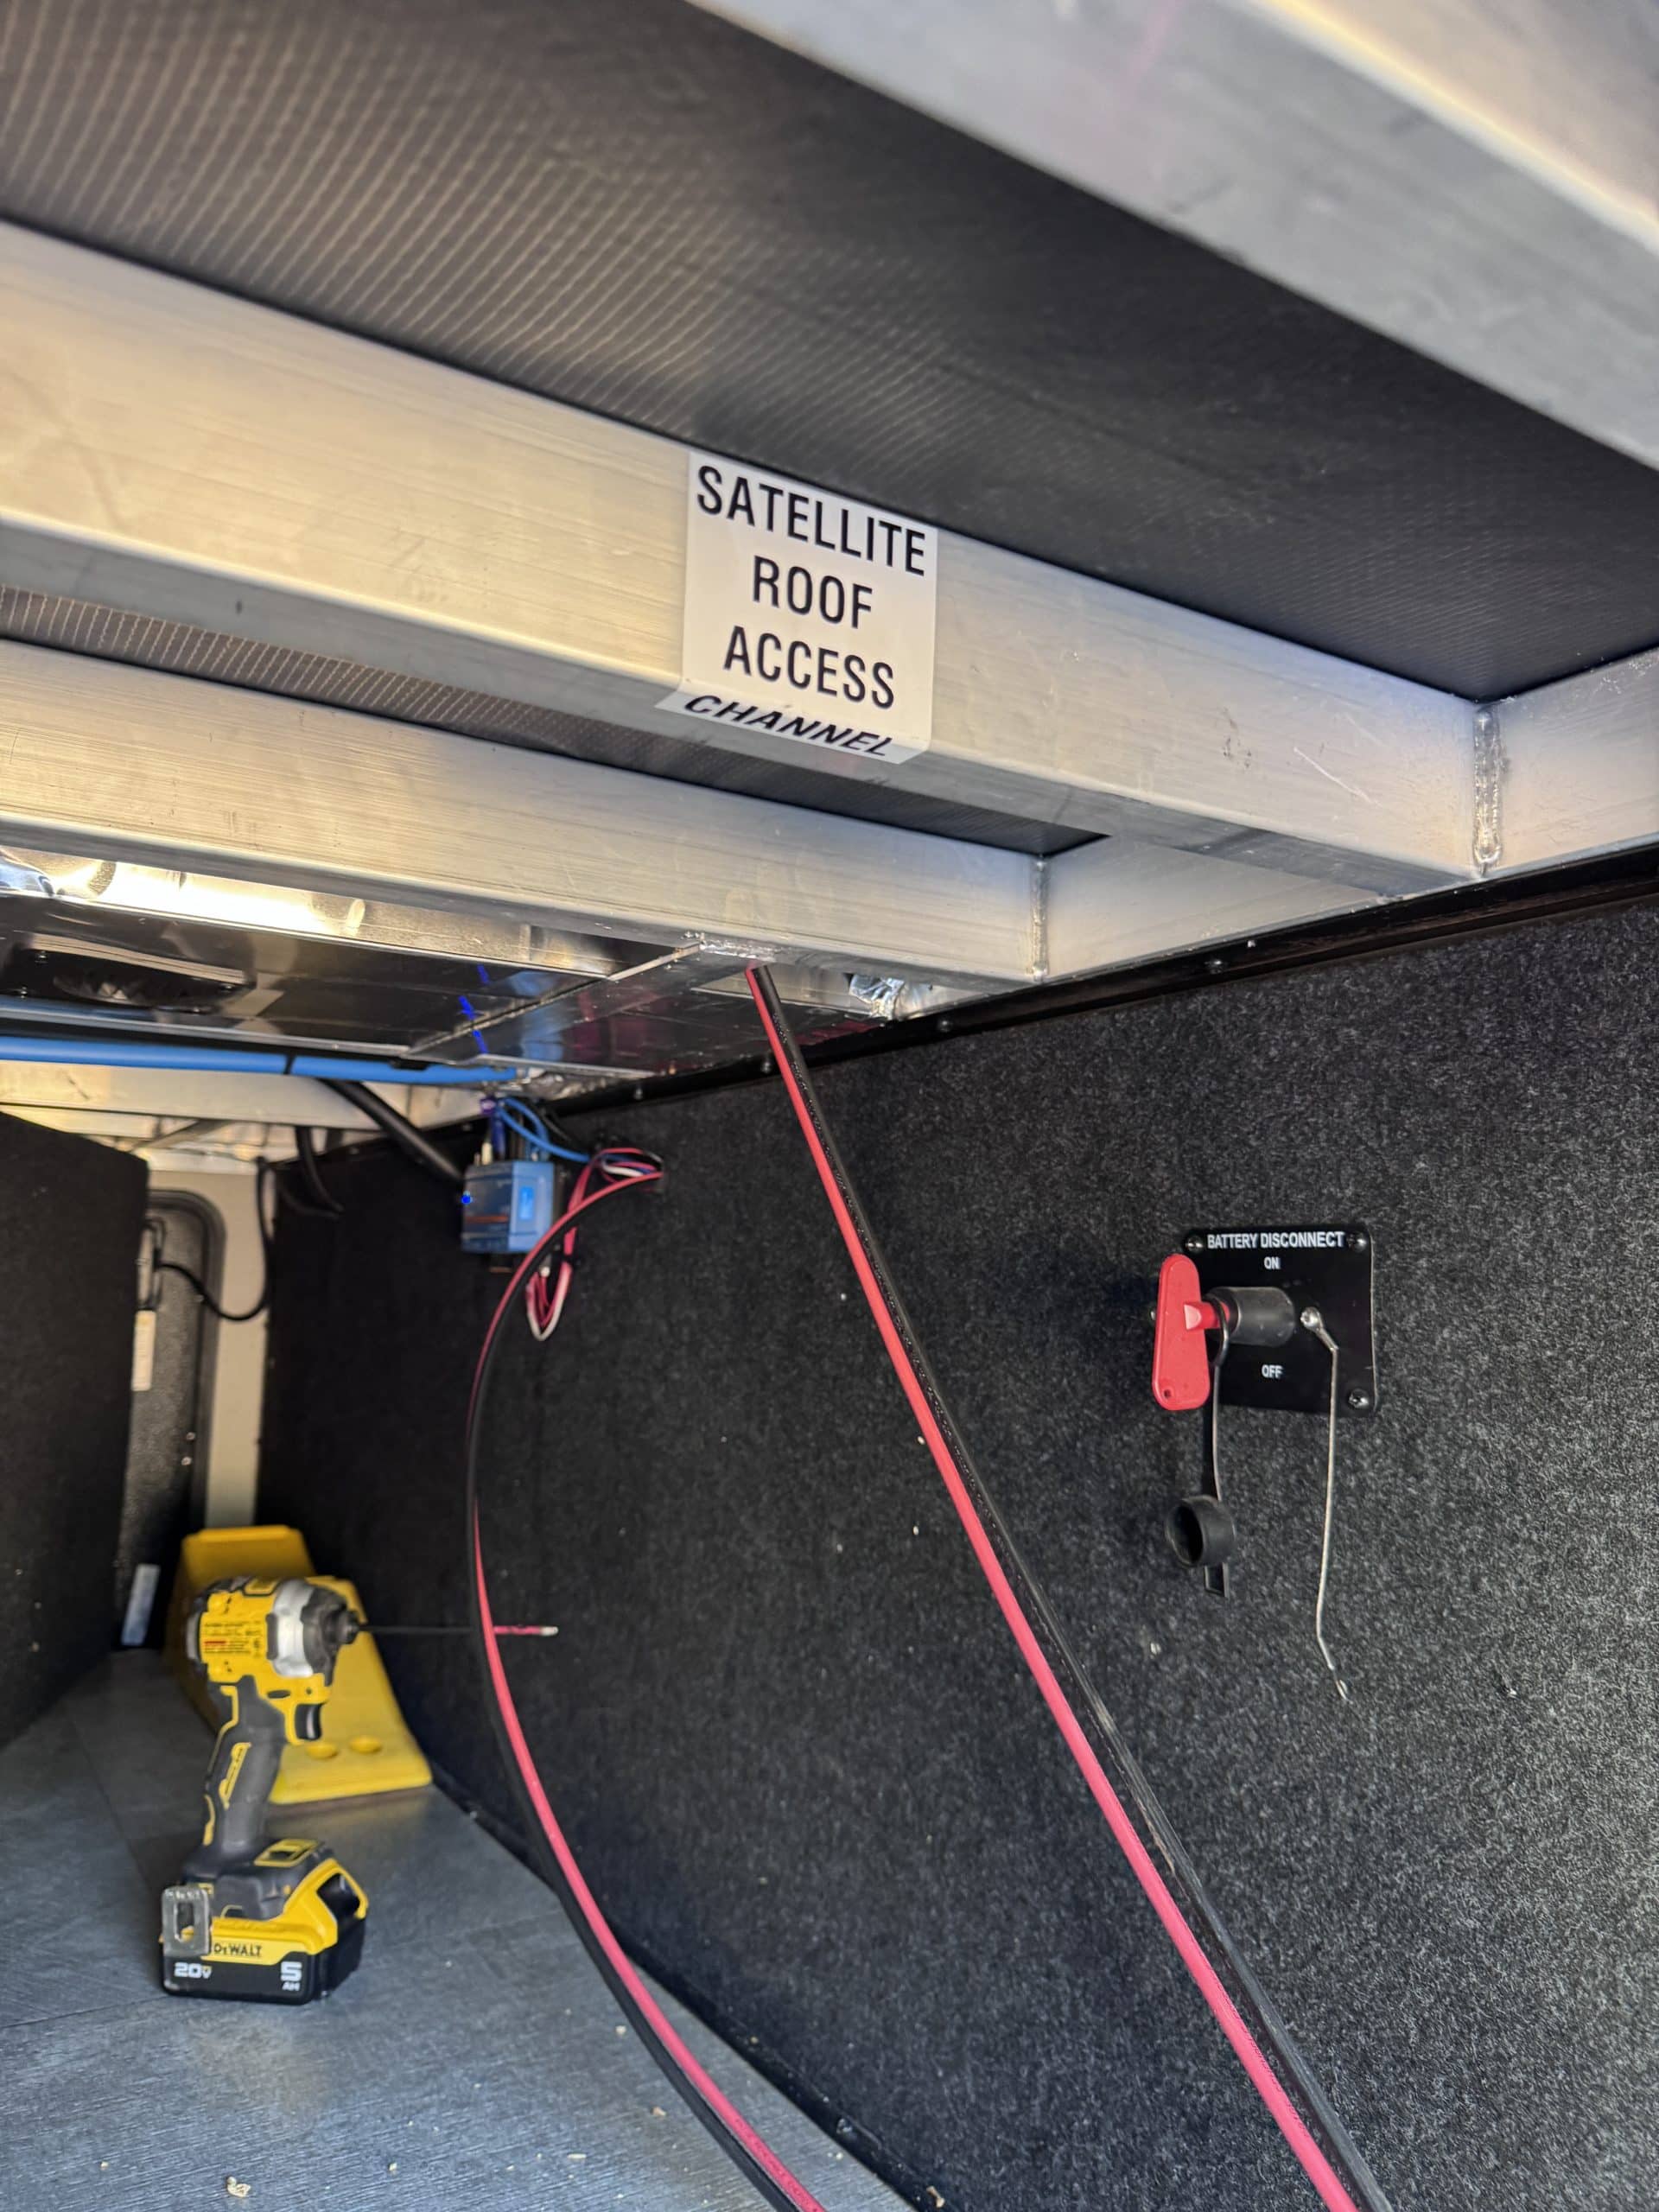
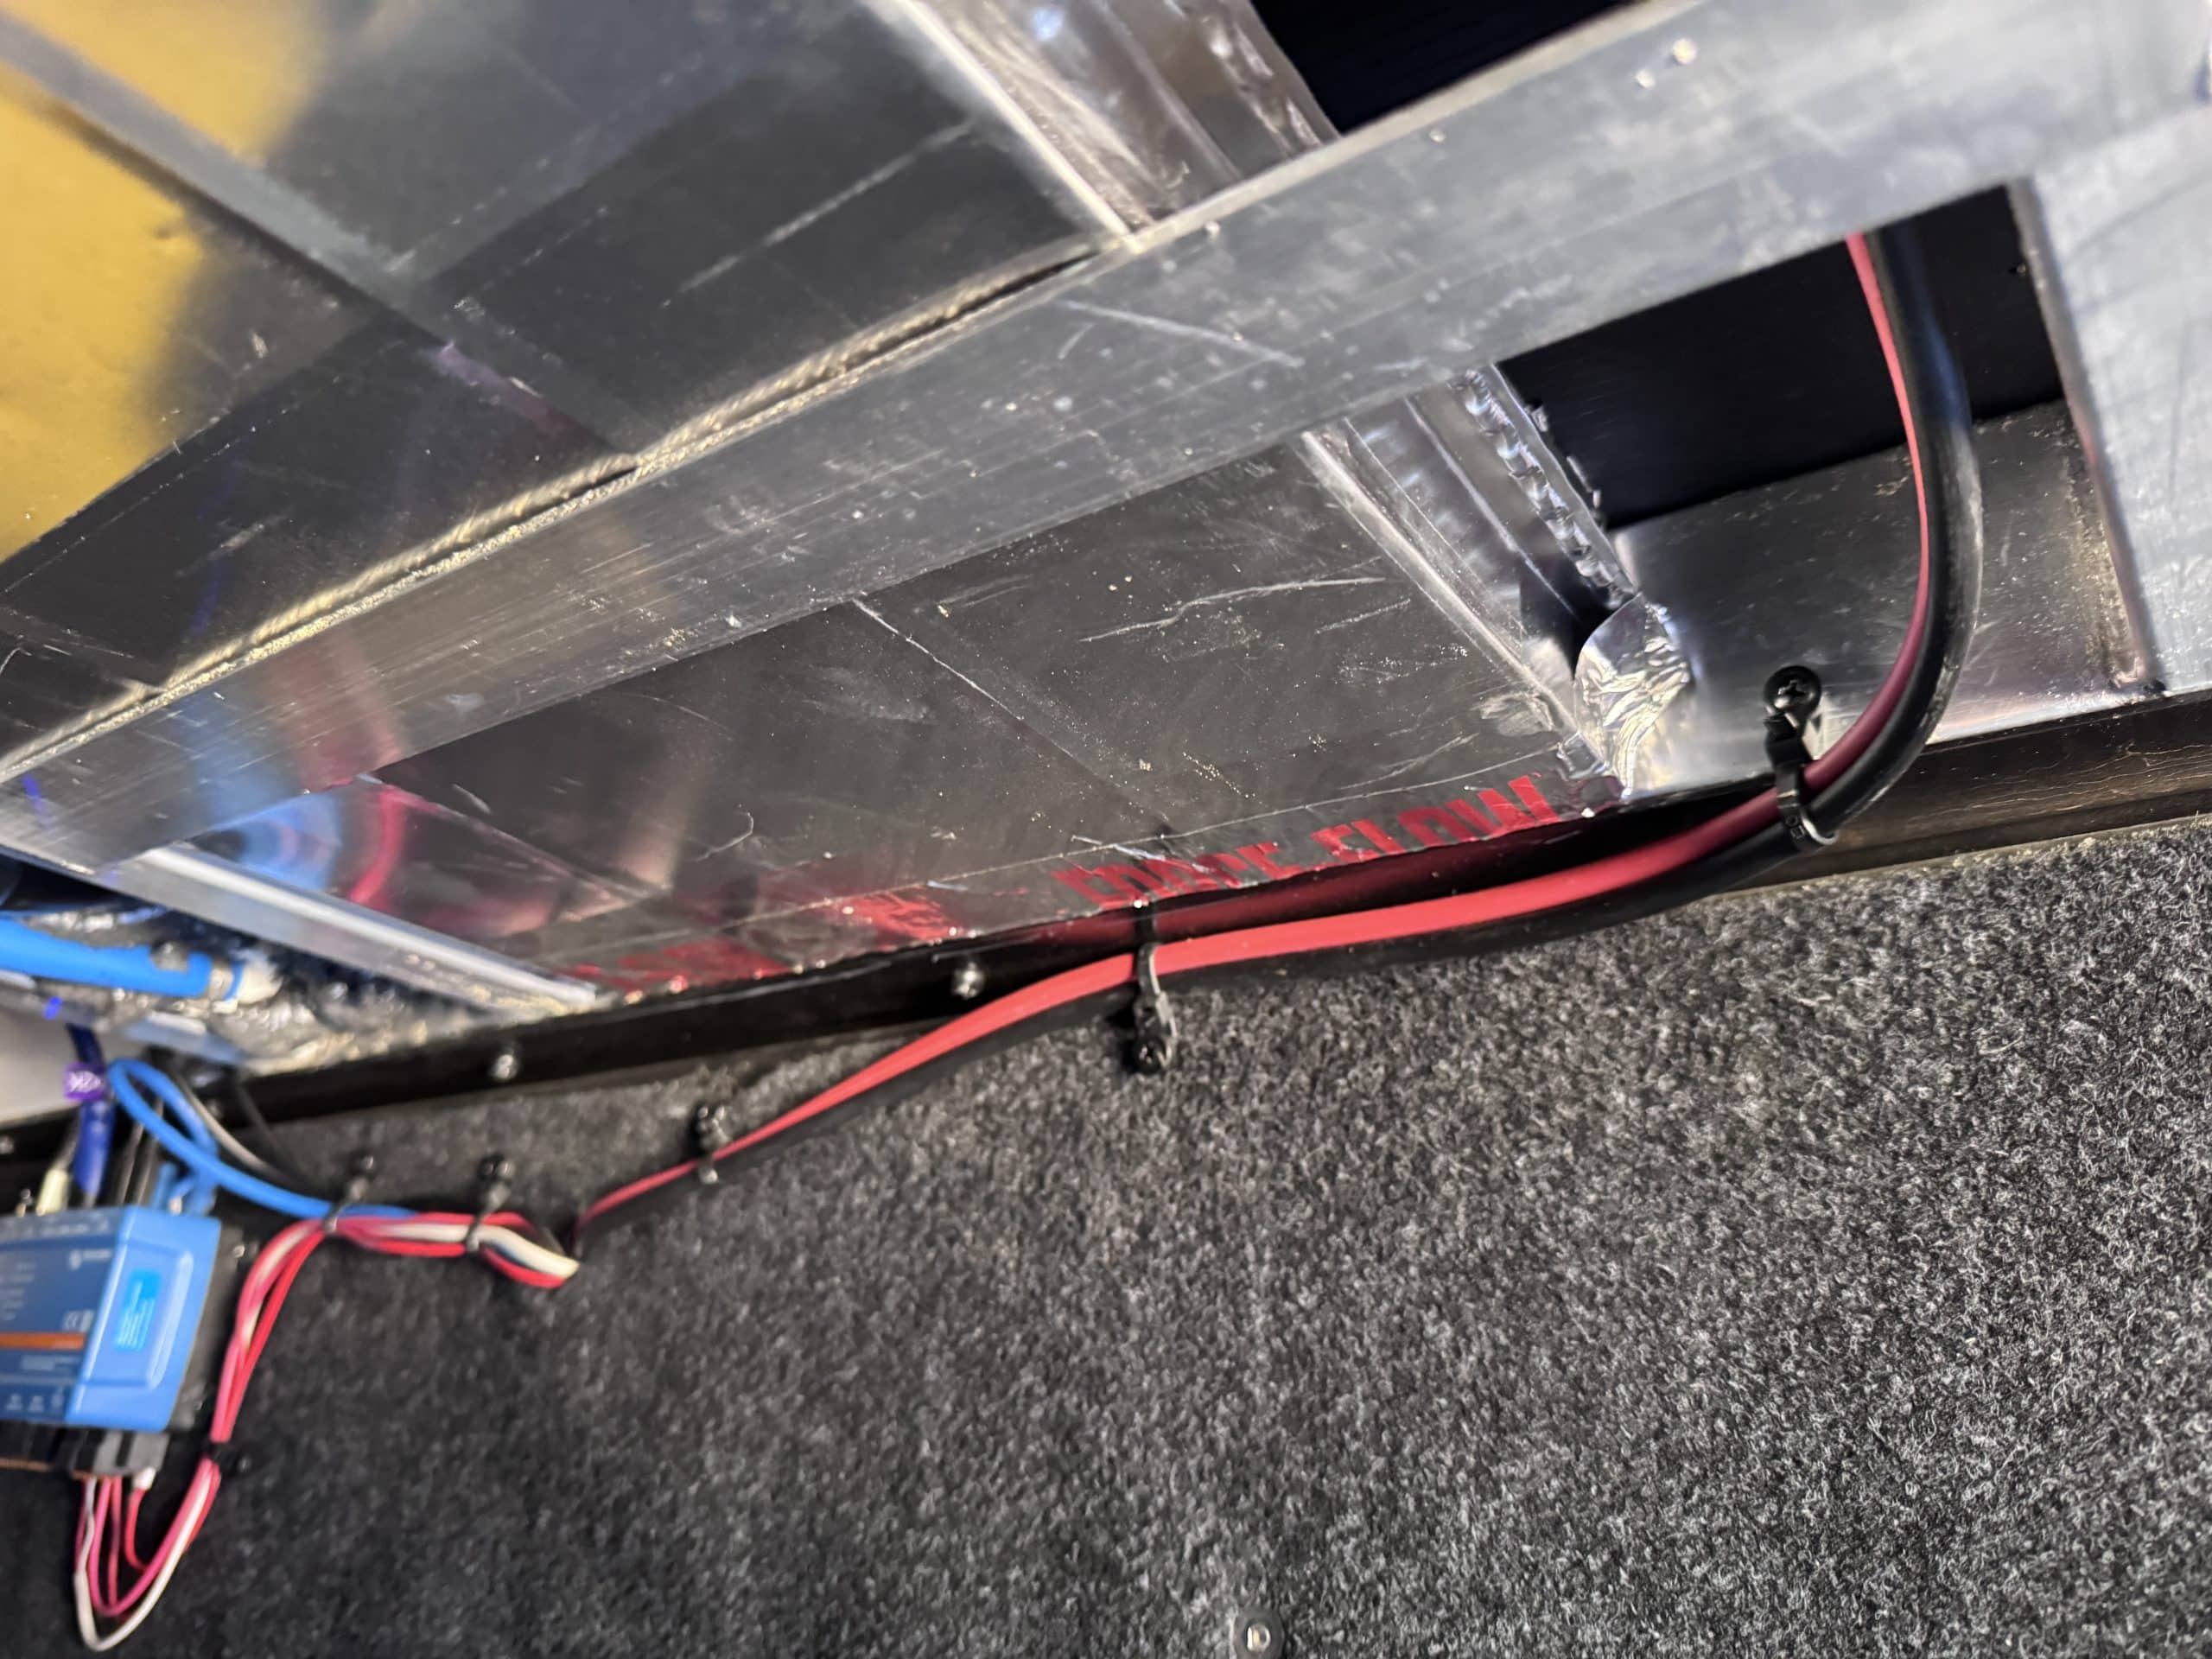
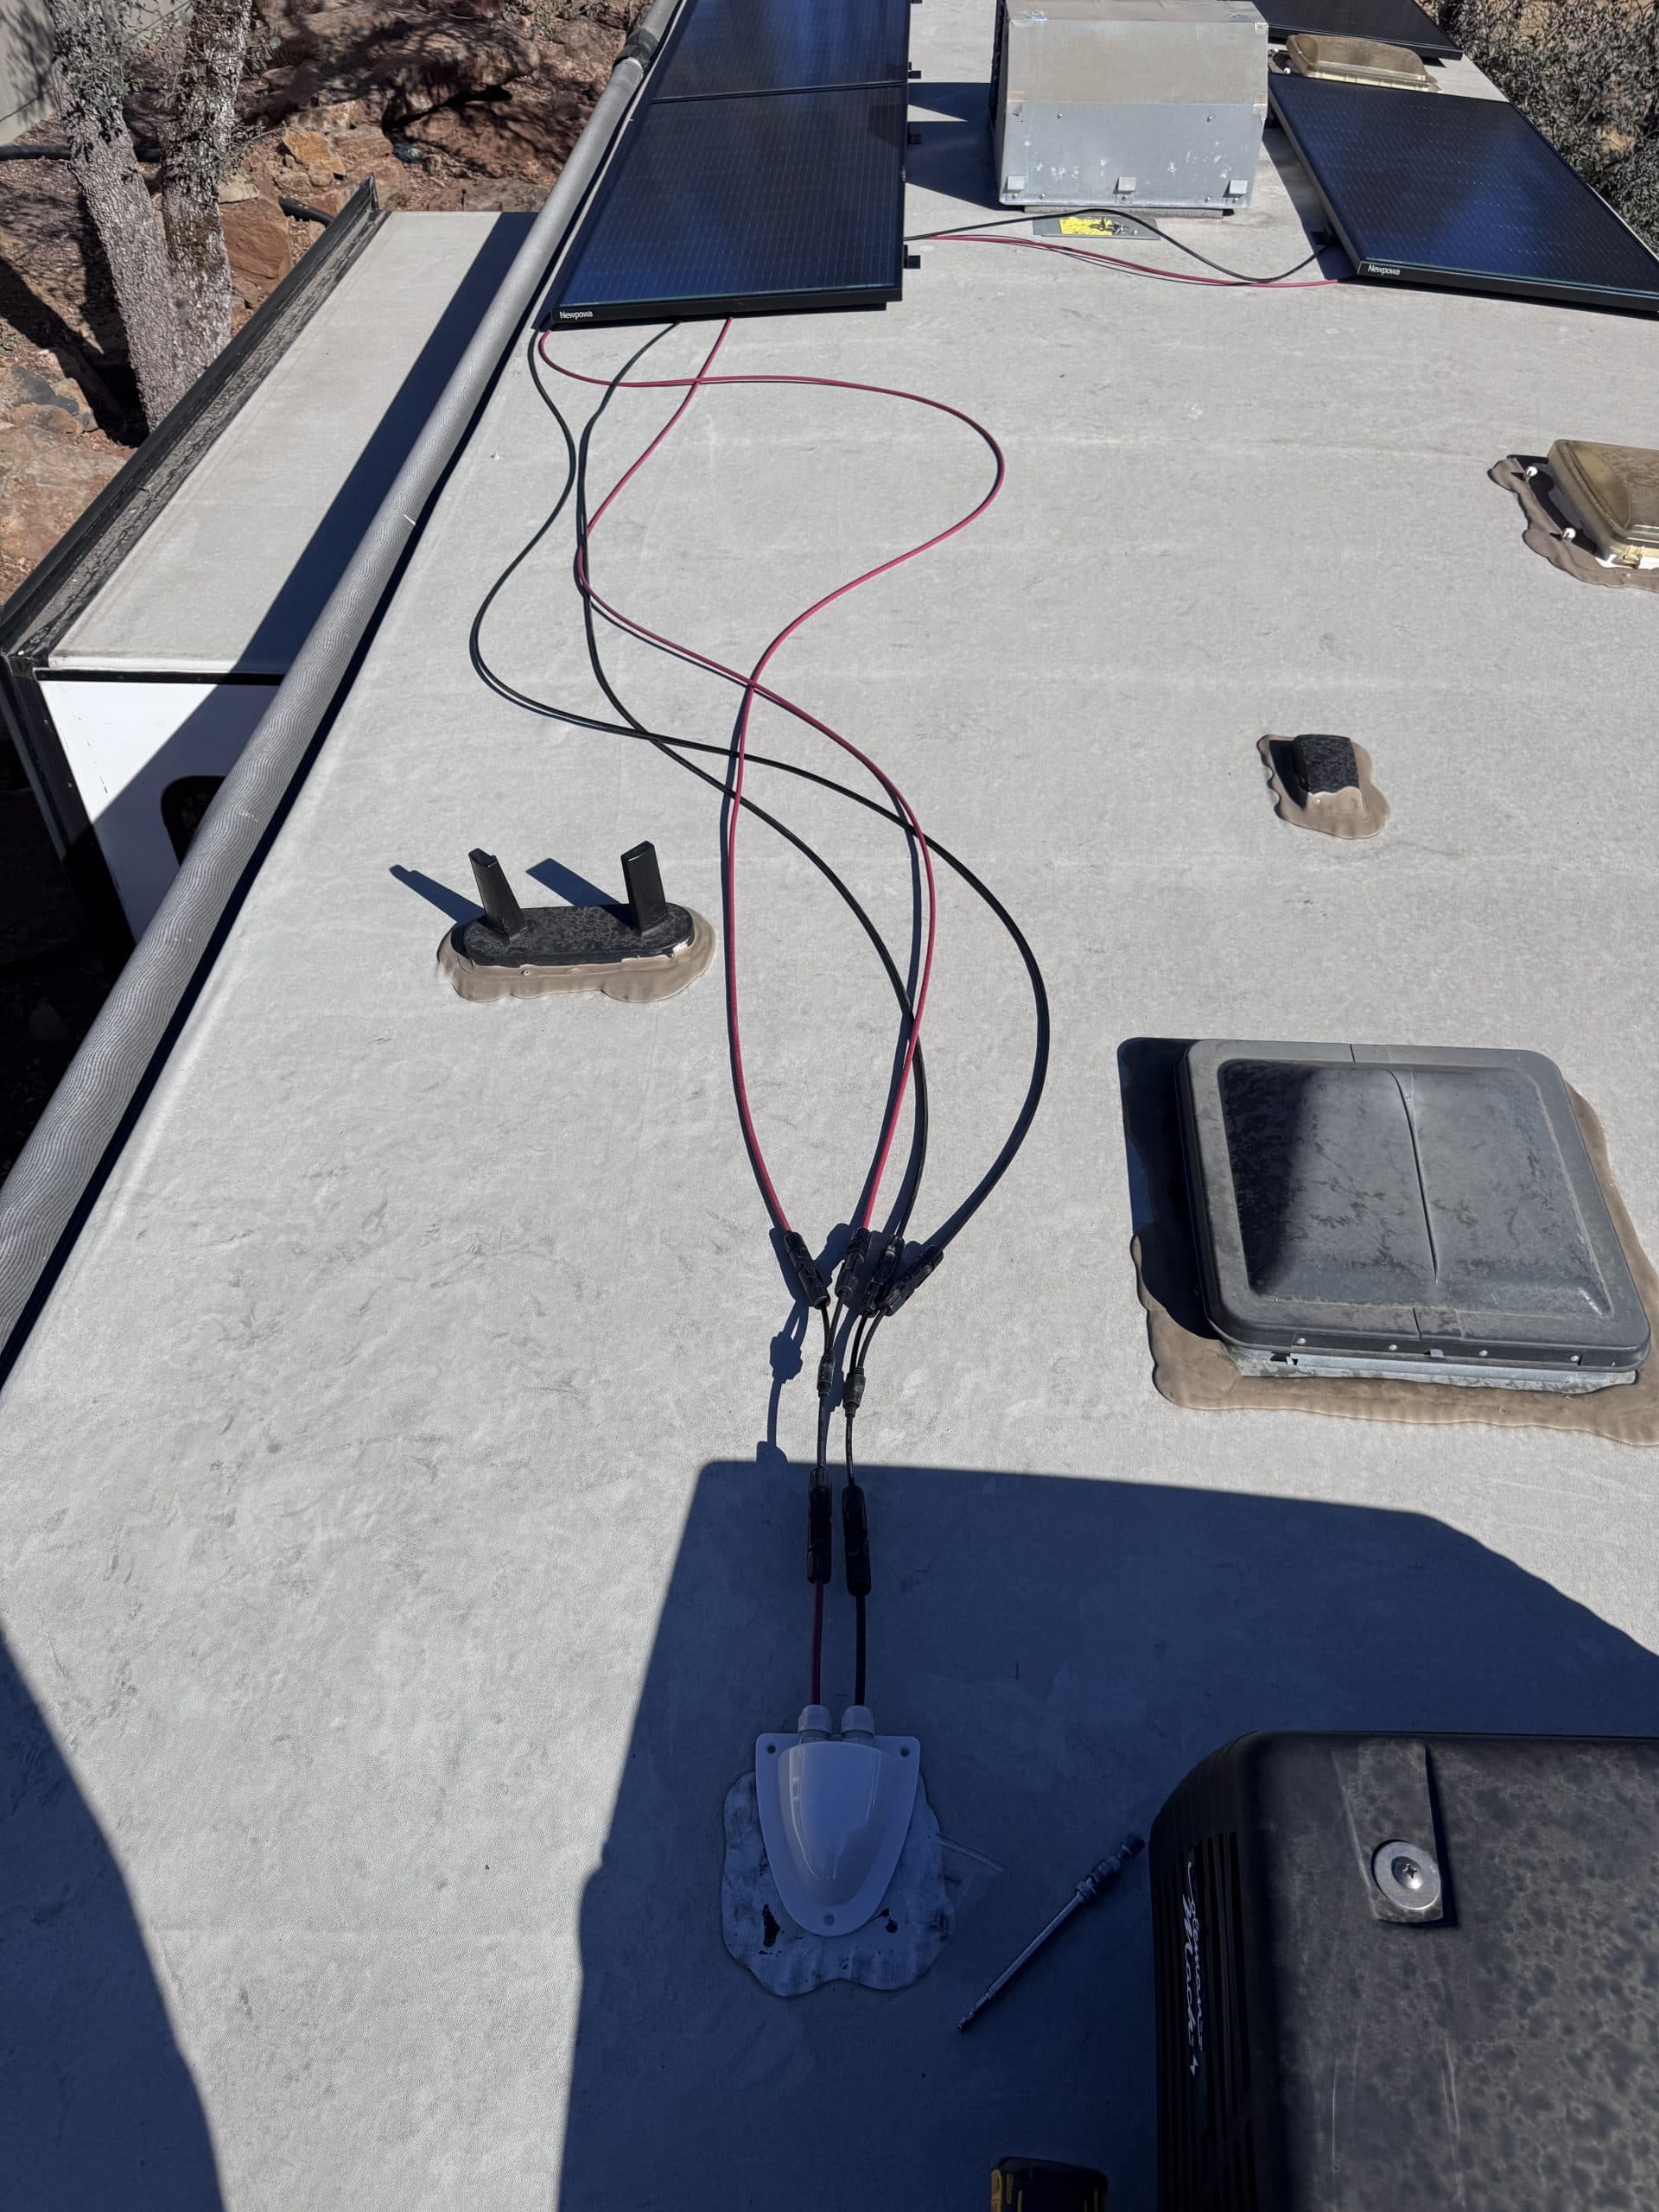
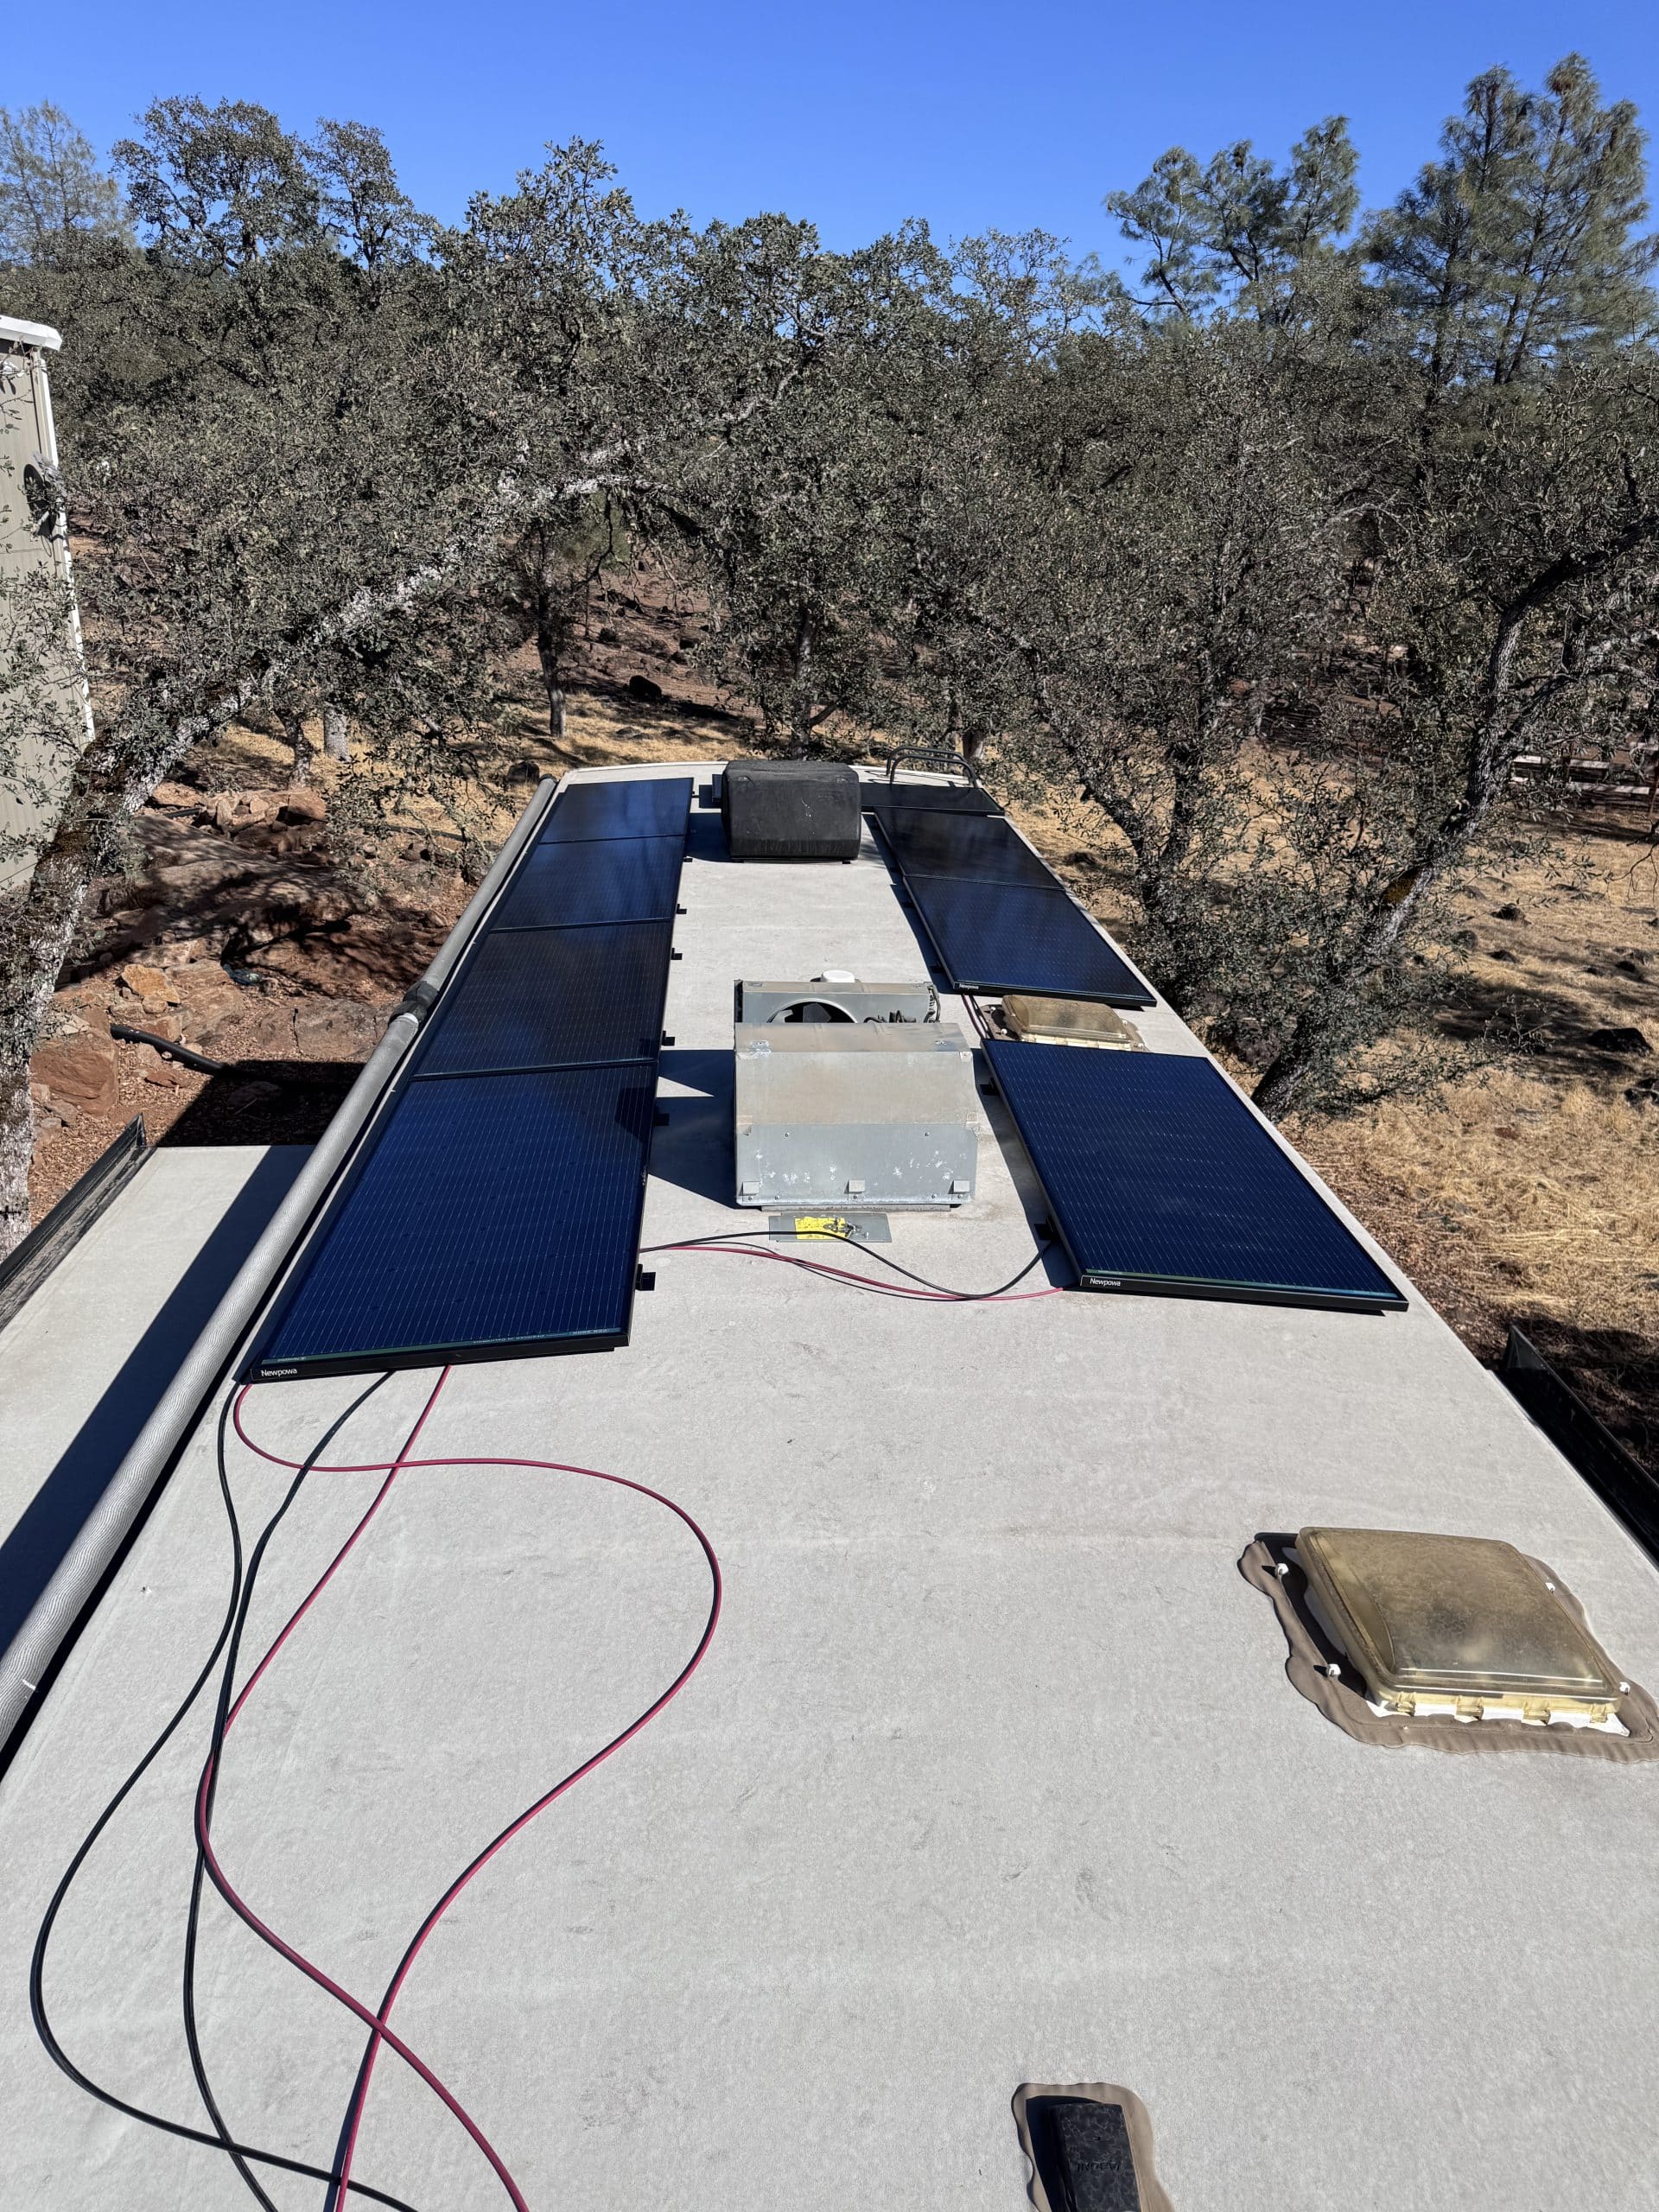
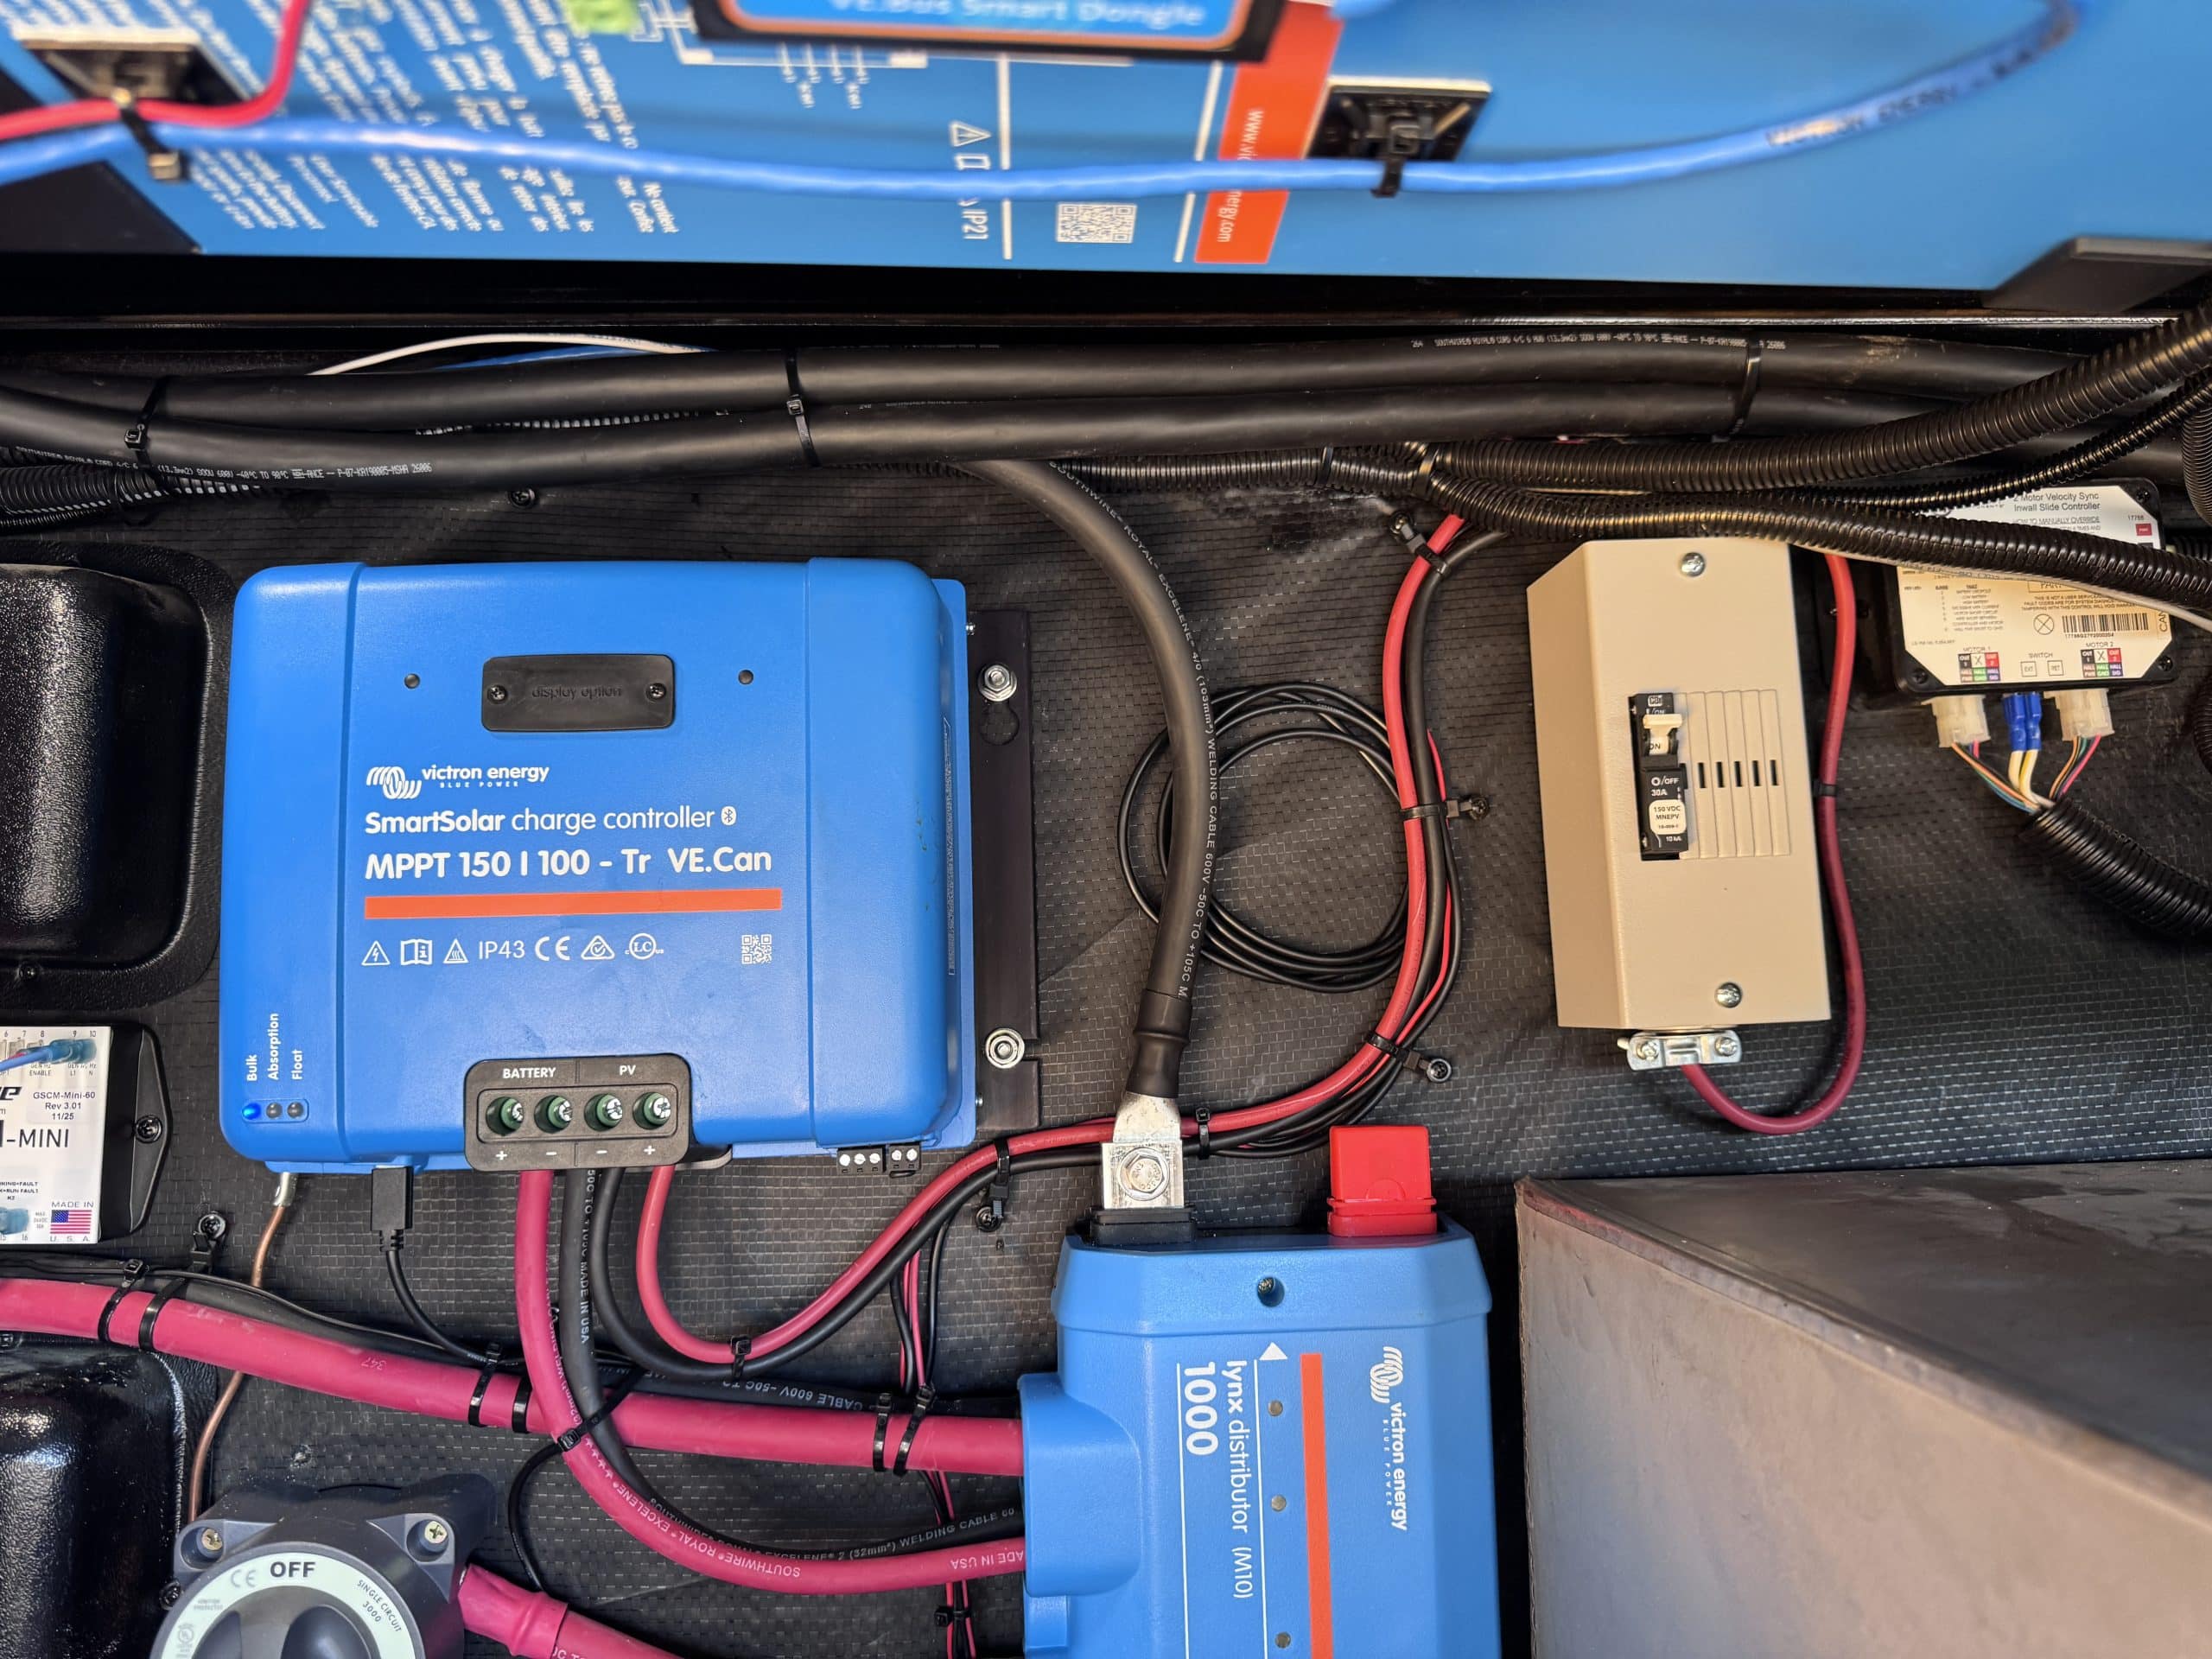
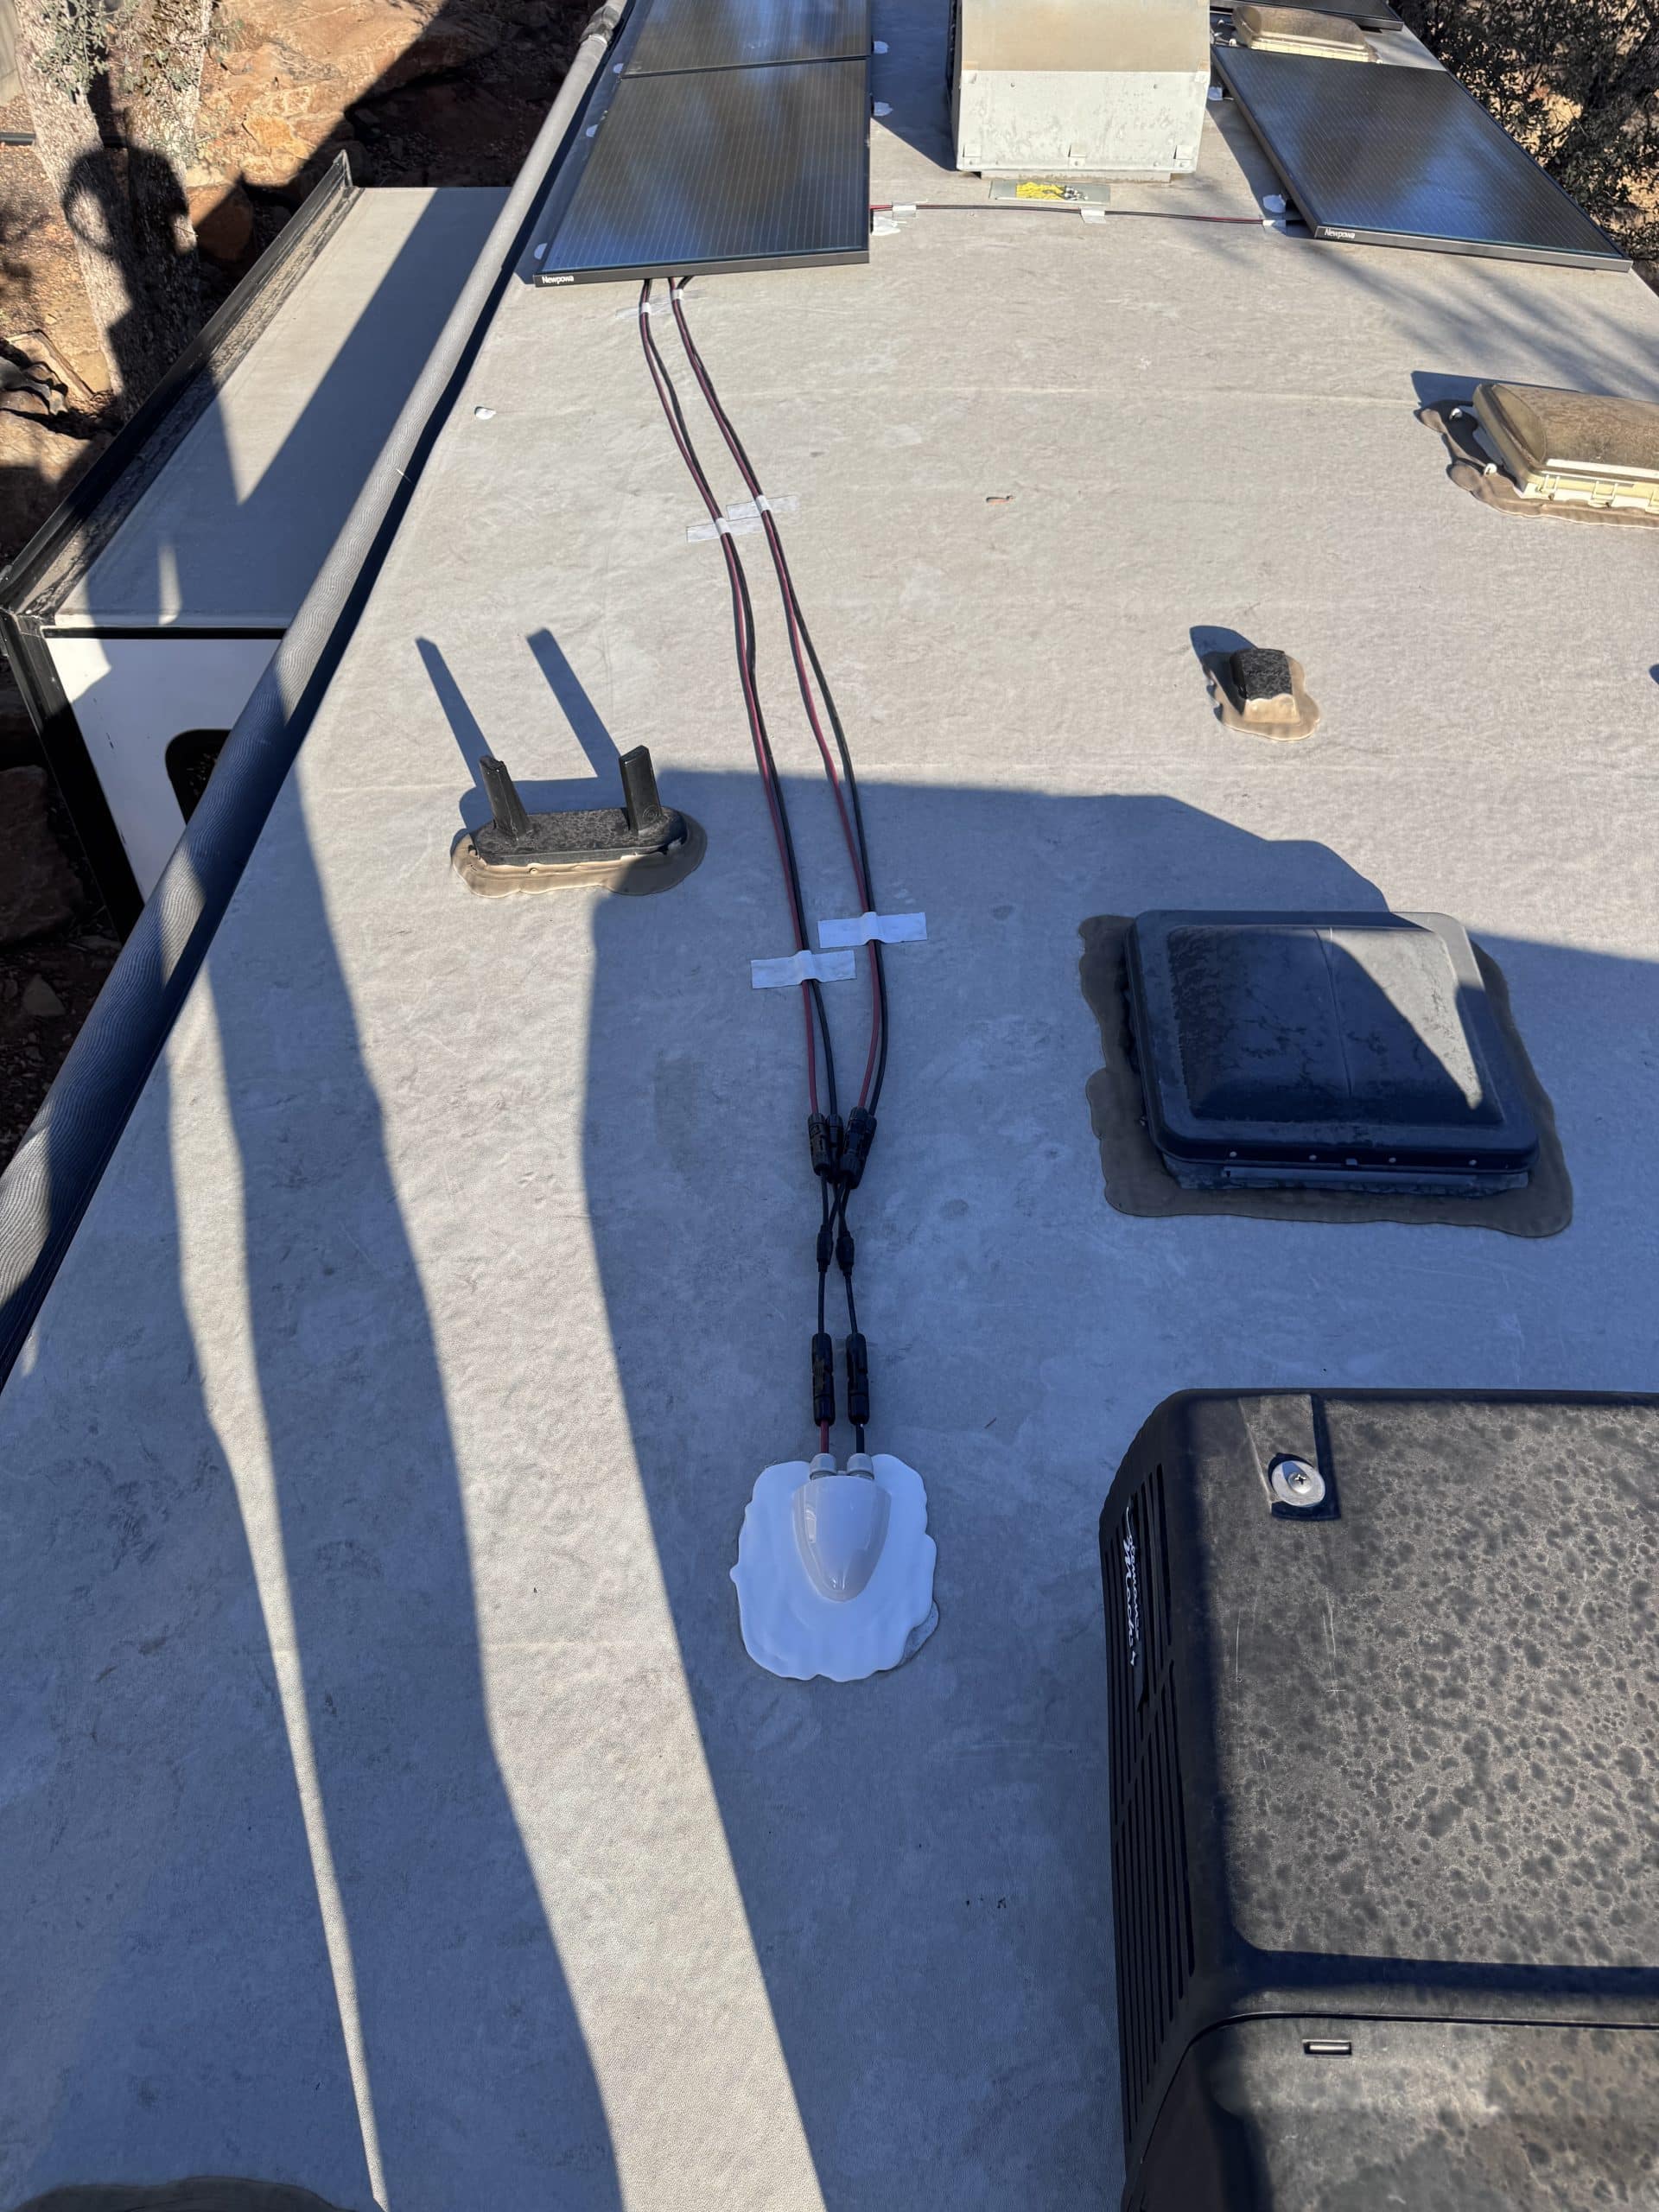
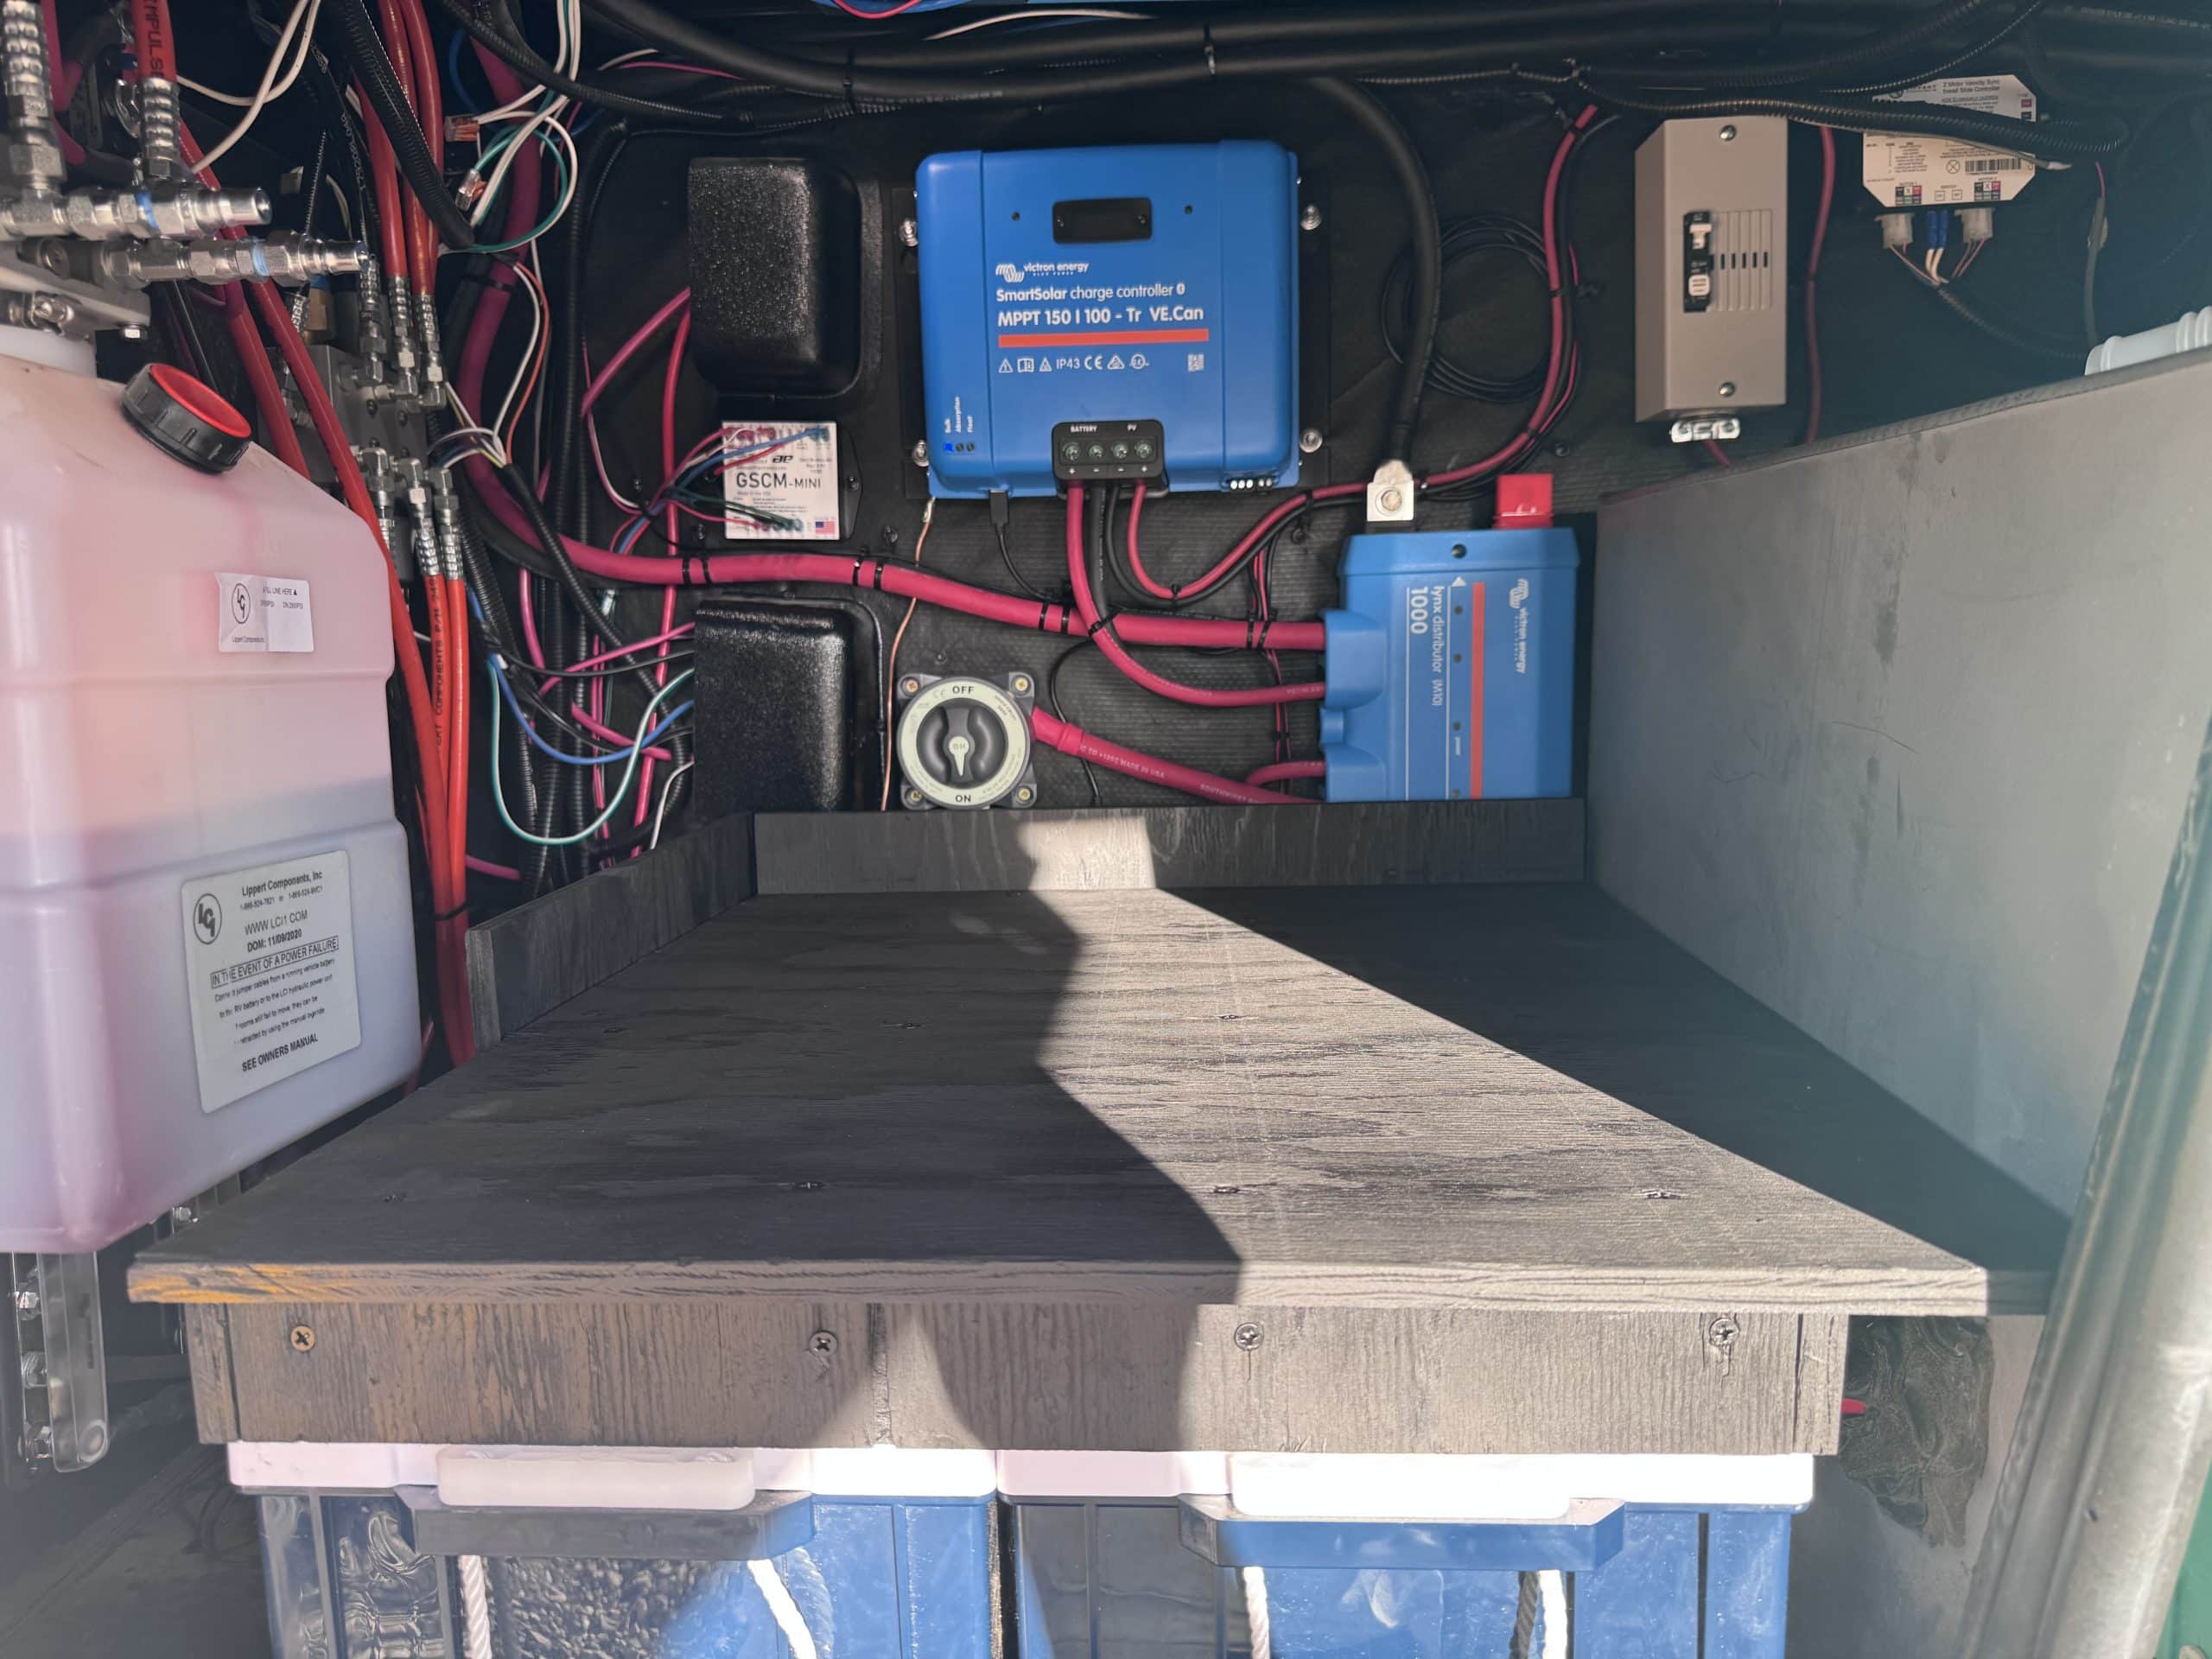
The installation was pretty straight forward and took approximately four days to complete. The system was based around two EPOCH Essential series 460 amp hour lithium batteries. I was able to fit these batteries in the front compartment, next to the generator shroud. I later built a storage tray over top of the batteries for convenience in the compartment. I mounted a Victron Lynx Distributor to the wall of the front compartment and made custom 4/0 (welding cable) battery cables from the batteries to the distributor. The negative cable passed through a 500 amp Victron SmartShunt and the positive cable passed through a Blue Sea 3000 HD On/Off switch. The Lynx Distributor provided fused connections for the batteries, Victron Multiplus II 2×120 inverter charger, the Victron SmartSolar 150/100 MPPT and the OEM 12 volt connections via an additional set of Victron bus bars I added. I mounted the MPPT on the wall above the batteries. The Multiplus was mounted on its back on the ceiling of the compartment. This kept all the DC cable runs relatively short. I added a VE Bus Smart Dongle to the Multiplus to give it Bluetooth communication capabilities. I added a Cerbo GX MK II for system communication and control and remote access via the internet to the system. The Cerbo was mounted to the front wall of the basement compartment (on the opposite side of the wall from the other components in the generator compartment). I added a GX Touch 70 display inside the RV on the side of a cabinet. This placed the display at about eye level as you entered the RV through the main door. The touch 70 gives easy access to control and monitor the system without needing any additional devices. I added generator integration to the Victron system via an Atkinson Electronics GSCM-mini. I mounted eight Newpowa Pro 200 watt solar panels to the roof. These panels were connected in a 4S2P configuration. Power from the panels was run via 10 AWG wire from the roof to the solar controller through a Midnite Solar 30 amp MNEPV solar breaker. Grand Design was nice enough to provide a chase with a pull wire already run from the basement of the RV to the roof. Unfortunately, whomever installed the pull wire decided it would be a good idea to put a zip tie within the chase about half way down and run the pull wire through it. This made the pull wire useless and caused a bit of extra work for me to get things unstuck after I discovered the existense of the zip tie.
Finally, I integrated Ruuvi Tag wireless Bluetooth temperature sensors and Mopeka Pro wireless Bluetooth tank monitors with the Victron system. The temperature sensors monitor the refrigerator temperature, the copartment temperature where the inverter and other components are installed and outdoor temperature. The tank sensors monitor the two onboard propane tanks.
Once the installation was complete, the owner returned to pick up his rig. I spent time with the owner going over the system and how it functions. I got the owner set up with Bluetooth access to all the devices via the Victron Connect app. I also set the owner up on VRM with wireless access to his system and set up a VRM widget for the system on the customer’s phone.